Python Flask
Python Tutorial
Introduction
Installation
Python Version
We recommend using the latest version of Python 3. Flask supports Python 3.5 and newer, Python 2.7, and PyPy.
Virtual environments
Use a virtual environment to manage the dependencies for your project, both in development and in production.
What problem does a virtual environment solve? The more Python projects you have, the more likely it is that you need to work with different versions of Python libraries, or even Python itself. Newer versions of libraries for one project can break compatibility in another project.
Virtual environments are independent groups of Python libraries, one for each project. Packages installed for one project will not affect other projects or the operating system’s packages.
Python 3 comes bundled with the venv module to create virtual environments. If you’re using a modern version of Python, you can continue on to the next section.
Create an environment
Choose proper Python version. In my opinion, I recommend Anaconda Python:
1 | python |
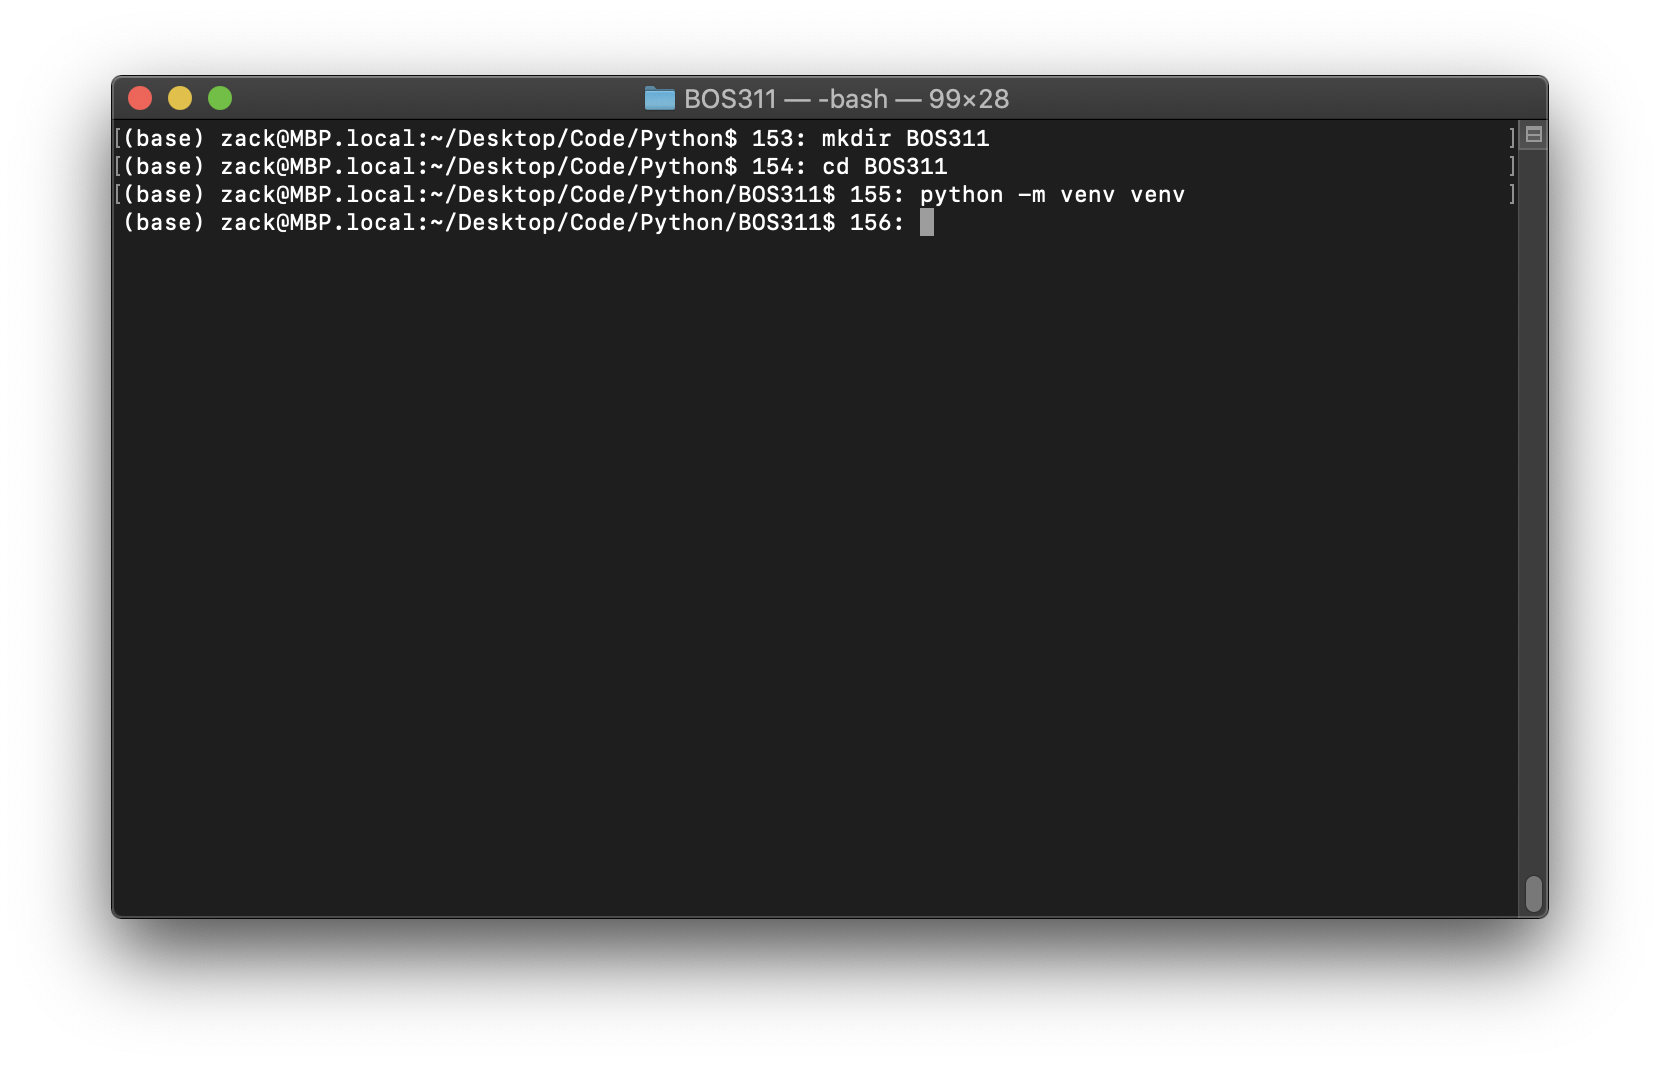
Create a project folder and a venv folder within:
1 | mkdir my_project |
Activate the environment
Before you work on your project, activate the corresponding environment:
1 | . venv/bin/activate |
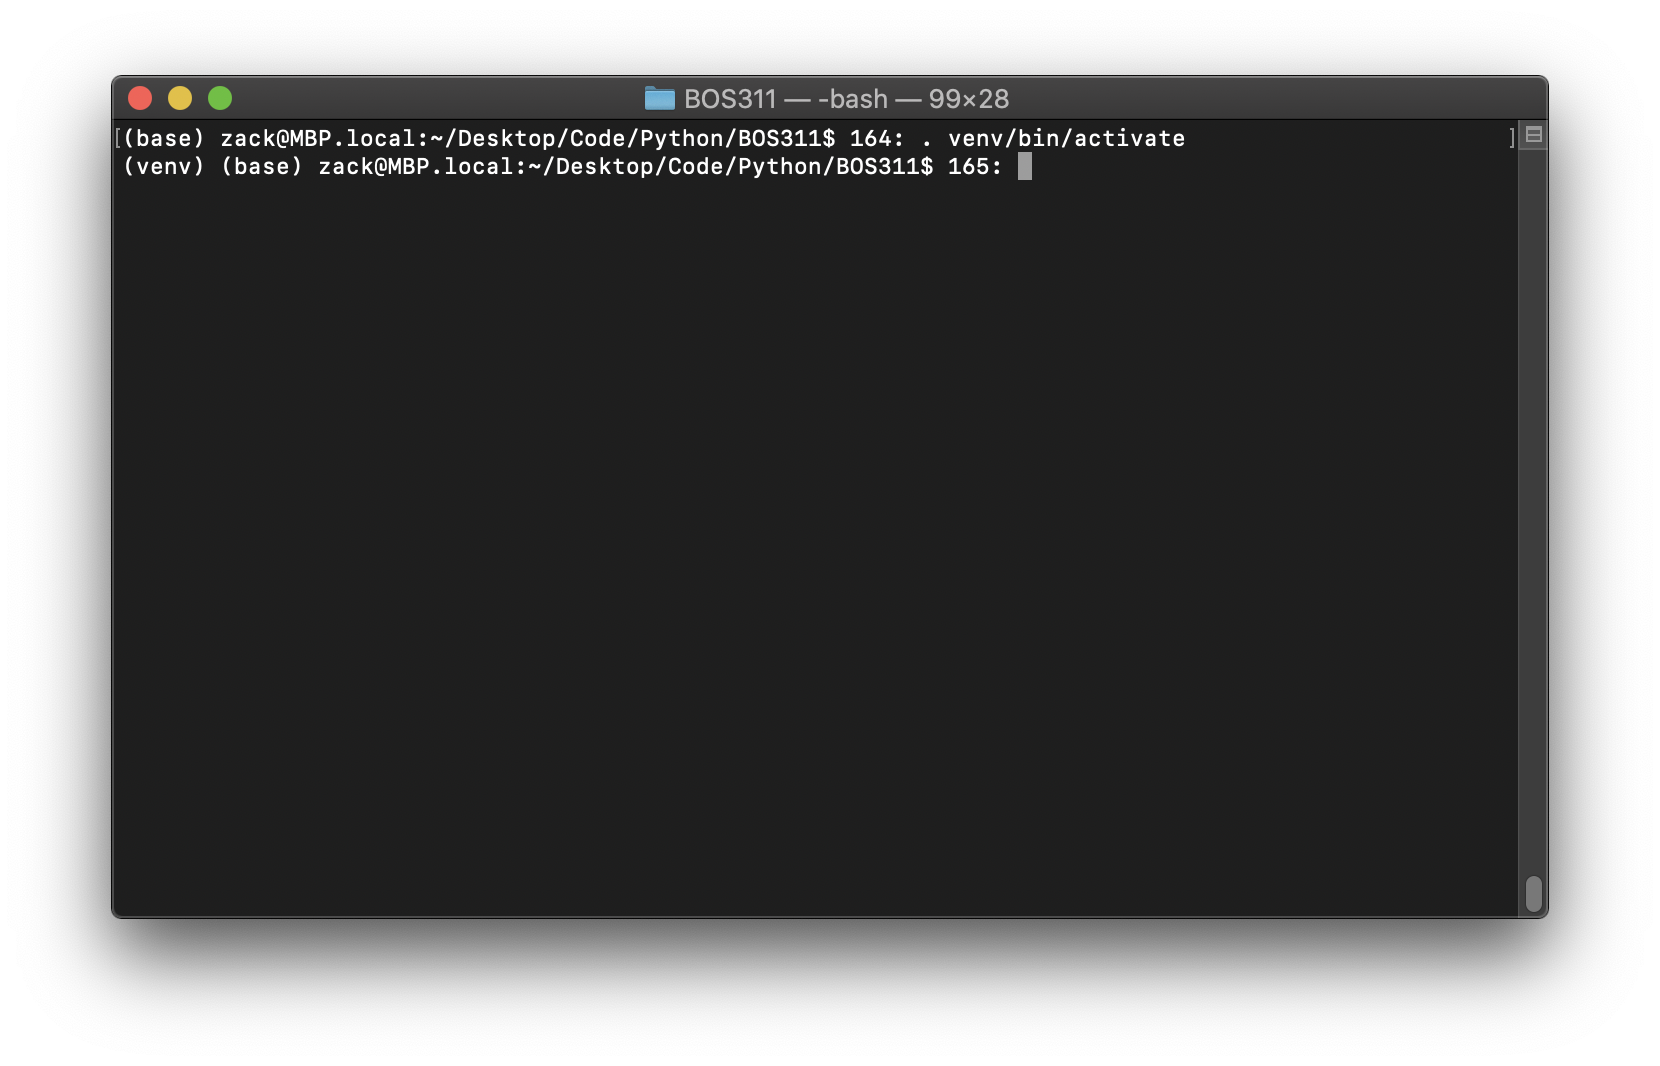
Your shell prompt will change to show the name of the activated environment.
Install Flask
Within the activated environment, use the following command to install Flask:
1 | pip install Flask |
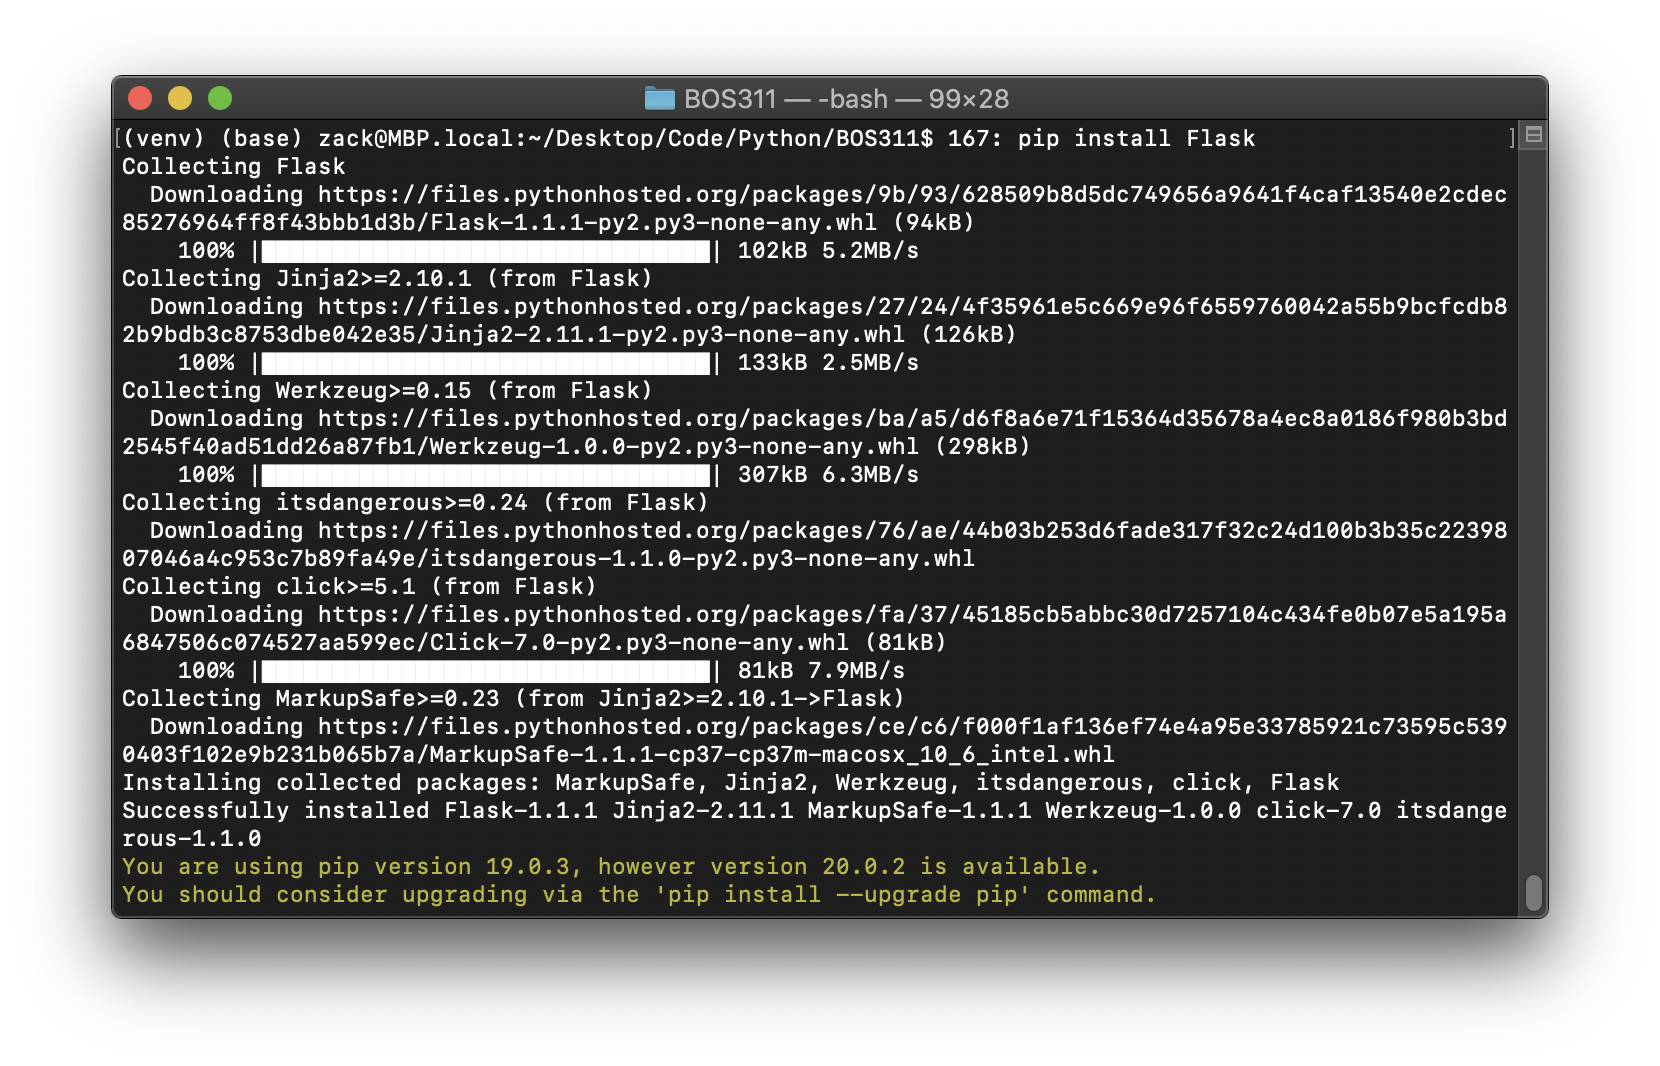
Flask is now installed. Check out the Quickstart or go to the Documentation Overview.
Quickstart
A Minimal Application
A minimal Flask application looks something like this:
1 | from flask import Flask |
So what did that code do?
- First we imported the Flask class. An instance of this class will be our WSGI application.
- Next we create an instance of this class. The first argument is the name of the application’s module or package. If you are using a single module (as in this example), you should use
__name__because depending on if it’s started as application or imported as module the name will be different (‘__main__‘ versus the actual import name). This is needed so that Flask knows where to look for templates, static files, and so on. For more information have a look at the Flask documentation. - We then use the route() decorator to tell Flask what URL should trigger our function.
- The function is given a name which is also used to generate URLs for that particular function, and returns the message we want to display in the user’s browser.
Just save it as hello.py or something similar. Make sure to not call your application flask.py because this would conflict with Flask itself.
1 | vim hello.py |

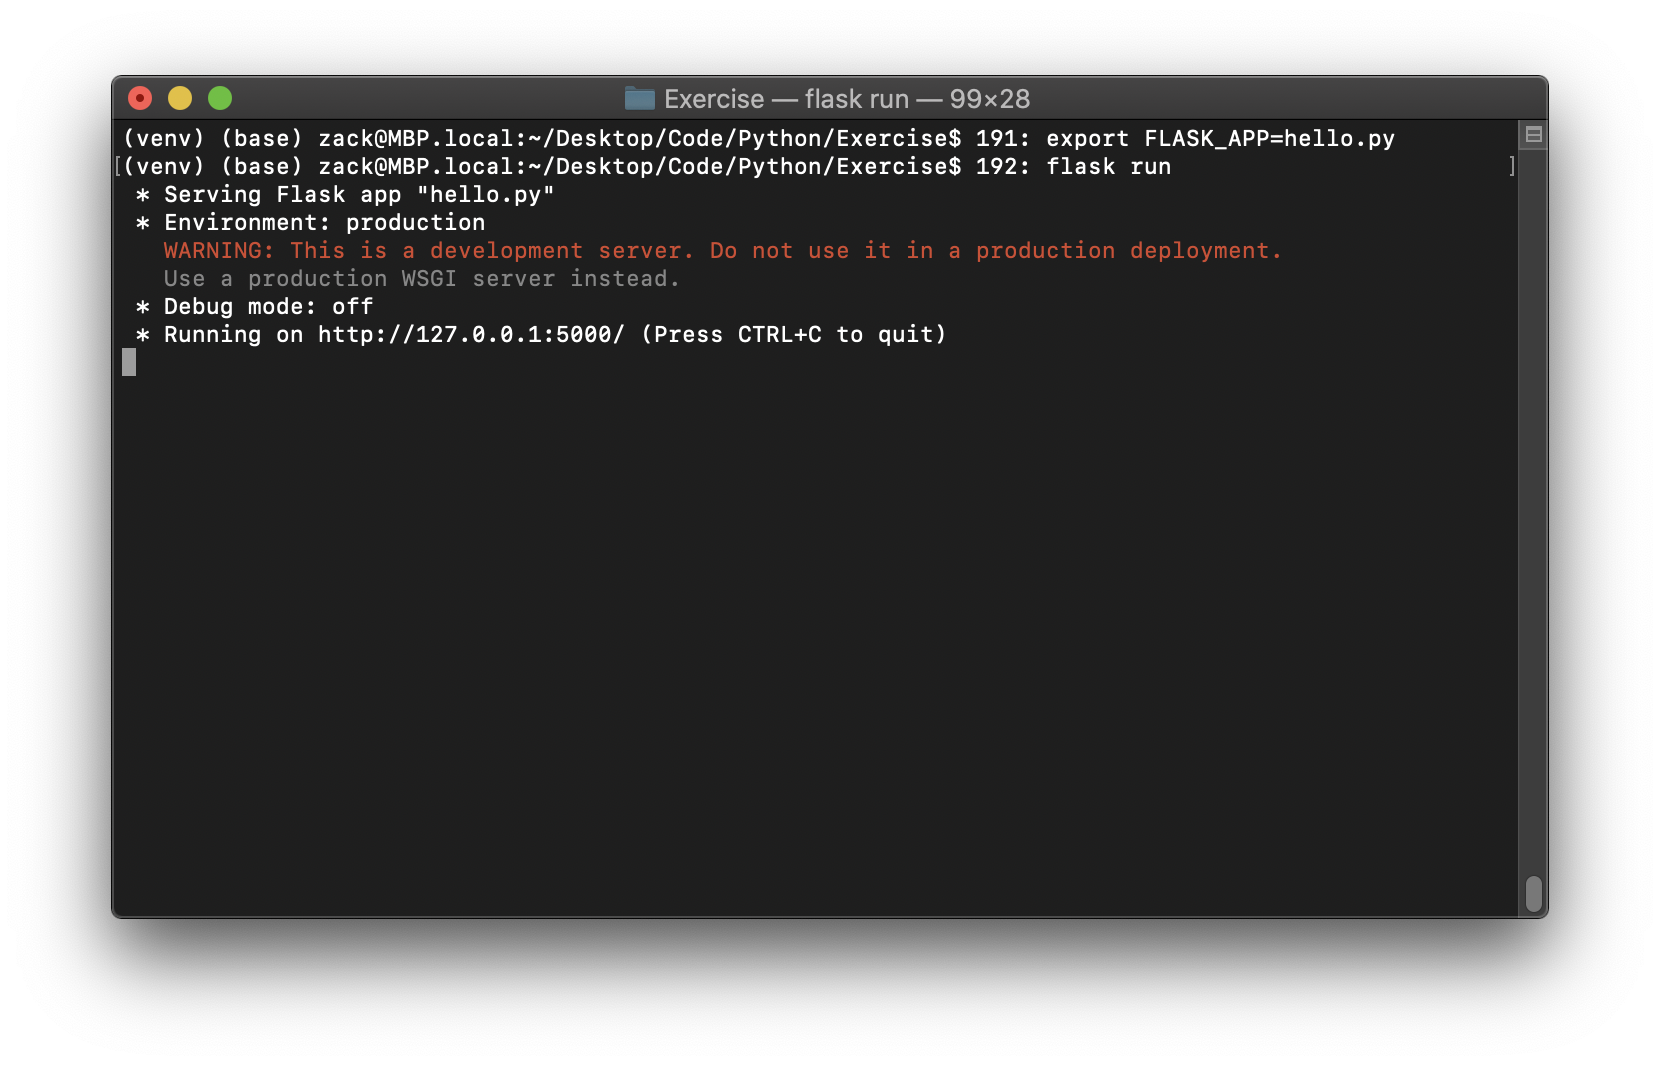
To run the application you can either use the flask command or python’s -m switch with Flask. Before you can do that you need to tell your terminal the application to work with by exporting the FLASK_APP environment variable:
1 | export FLASK_APP=hello.py |

Externally Visible Server
If you run the server you will notice that the server is only accessible from your own computer, not from any other in the network. This is the default because in debugging mode a user of the application can execute arbitrary Python code on your computer.
If you have the debugger disabled or trust the users on your network, you can make the server publicly available simply by adding --host=0.0.0.0 to the command line:
$ flask run –host=0.0.0.0
This tells your operating system to listen on all public IPs.
Routing
Modern web applications use meaningful URLs to help users. Users are more likely to like a page and come back if the page uses a meaningful URL they can remember and use to directly visit a page.
Use the route() decorator to bind a function to a URL.
1 |
|
You can do more! You can make parts of the URL dynamic and attach multiple rules to a function.

Variable Rules
You can add variable sections to a URL by marking sections with <variable_name>. Your function then receives the <variable_name> as a keyword argument. Optionally, you can use a converter to specify the type of the argument like <converter:variable_name>.
1 |
|
Converter types:
| Type | Description |
|---|---|
| string | (default) accepts any text without a slash |
| int | accepts positive integers |
| float | accepts positive floating point values |
| path | like string but also accepts slashes |
| uuid | accepts UUID strings |
One More Thing
Python Algorithms - Words: 2,640
Python Crawler - Words: 1,663
Python Data Science - Words: 4,551
Python Django - Words: 2,409
Python File Handling - Words: 1,533
Python Flask - Words: 874
Python LeetCode - Words: 9
Python Machine Learning - Words: 5,532
Python MongoDB - Words: 32
Python MySQL - Words: 1,655
Python OS - Words: 707
Python plotly - Words: 6,649
Python Quantitative Trading - Words: 353
Python Tutorial - Words: 25,451
Python Unit Testing - Words: 68