AWS DeepLens Lab
AWS DeepLens
DeepLens
Trash Sorter
Reference
Referred from the Original Author
Building a trash sorter with AWS DeepLens
This Jupyter notebook is based on aws-deeplens-custom-trash-detector from Building a trash sorter with AWS DeepLens
Referred from Zacks Shen
A Sample Project with AWS DeepLens
AWS DeepLens - Trash Sorter
Optimized .ipynb for Udacity AWS ML course
Referred from Amazon
Summary
AWS DeepLens is integrated with multiple AWS services. You use these services to create, train, and launch your AWS DeepLens project. To create any AWS DeepLens–based project you will need an AWS account.
Four key components are required for an AWS DeepLens–based project.
- Collect your data: Collect data and store it in an Amazon S3 bucket.
- Train your model: Use a Jupyter Notebook in Amazon SageMaker to train your model.
- Deploy your model: Use AWS Lambda to deploy the trained model to your AWS DeepLens device.
- View model output: Use Amazon IoT Greengrass to view your model’s output after the model is deployed.
Machine Learning workflow review
The machine learning workflow contains several steps first introduced in Lesson 2. Let’s briefly review the different steps and how they relate to the AWS DeepLens project.
- Define the problem.
- Using machine learning, we want to improve how trash is sorted. We’re going to identify objects using a video stream, so we identify this as a computer vision–based problem.
- We have access to data that already contains the labels, so we classify this as a supervised learning task.
- Build the dataset.
- Data is essential to any machine learning or computer vision–based project. Before going out and collecting lots of data, we investigate what kinds of data already exist and if they can be used for our application.
- In this case, we have the data already collected and labeled.
- Train the model.
- Now that we have our data secured for this project, we use Amazon SageMaker to train our model. We cover specifics about this process in the demonstration video.
- Evaluate the model.
- Model training algorithms use loss functions to bring the model closer to its goals. The exact loss function and related details are outside the scope of this class, but the process is the same.
- The loss function improves how well the model detects the different class images (compost, recycling, and landfill) while the model is being trained.
- Model Inference.
- We deploy our trained model to our AWS DeepLens device, where inference is performed locally.
Services
- DeepLens
- S3
- Lambda
- IoT Greengrass
Task Details
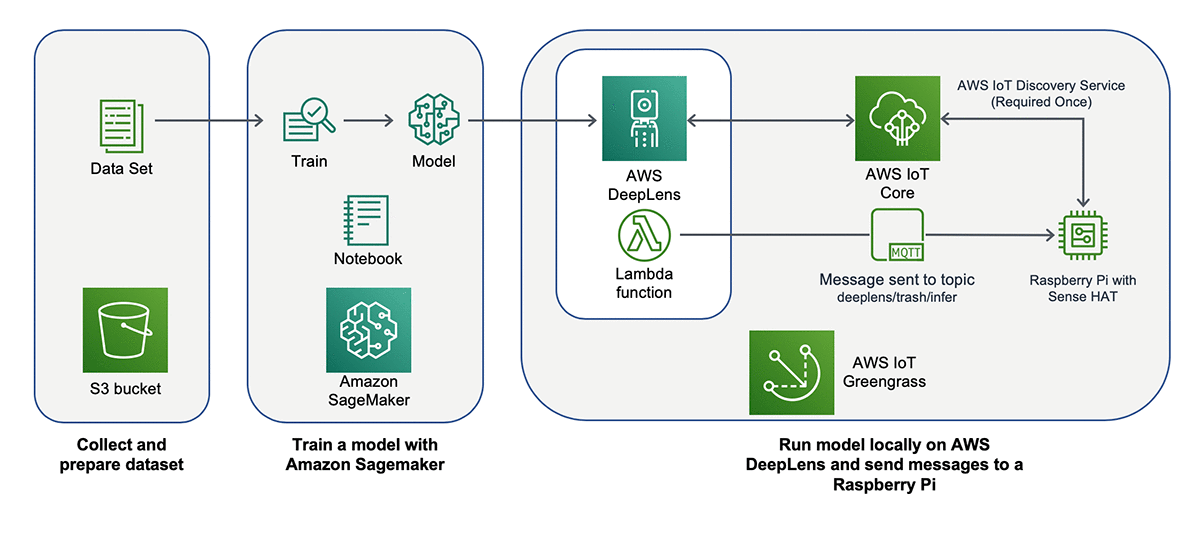
In this lab we only perform the left two parts.
Demo: Using the AWS console to set up and deploy an AWS DeepLens project
The following video demonstrates the end-to-end application (trash-sorting project) discussed in the previous video. This video shows you how to complete this project using the AWS console.
Important
- Storing data, training a model, and using AWS Lambda to deploy your model incur costs on your AWS account. For more information, see the AWS account requirements page.
- You are not required to follow this demo on the AWS console. However, we recommend you watch it and understand the flow of completing a computer vision project with AWS DeepLens.
- S3 Configuration
- Create a S3 bucket as the data storage
- SageMaker Configuration
- Create a SageMaker Notebook instance and upload .ipynb file to your instance
- Machine Learning on SageMaker
- Deploy your model on DeepLens(Not available without DeepLens device)
S3 Configuration
Services -> S3
Create bucket
Create a S3 bucket start with deeplens-.
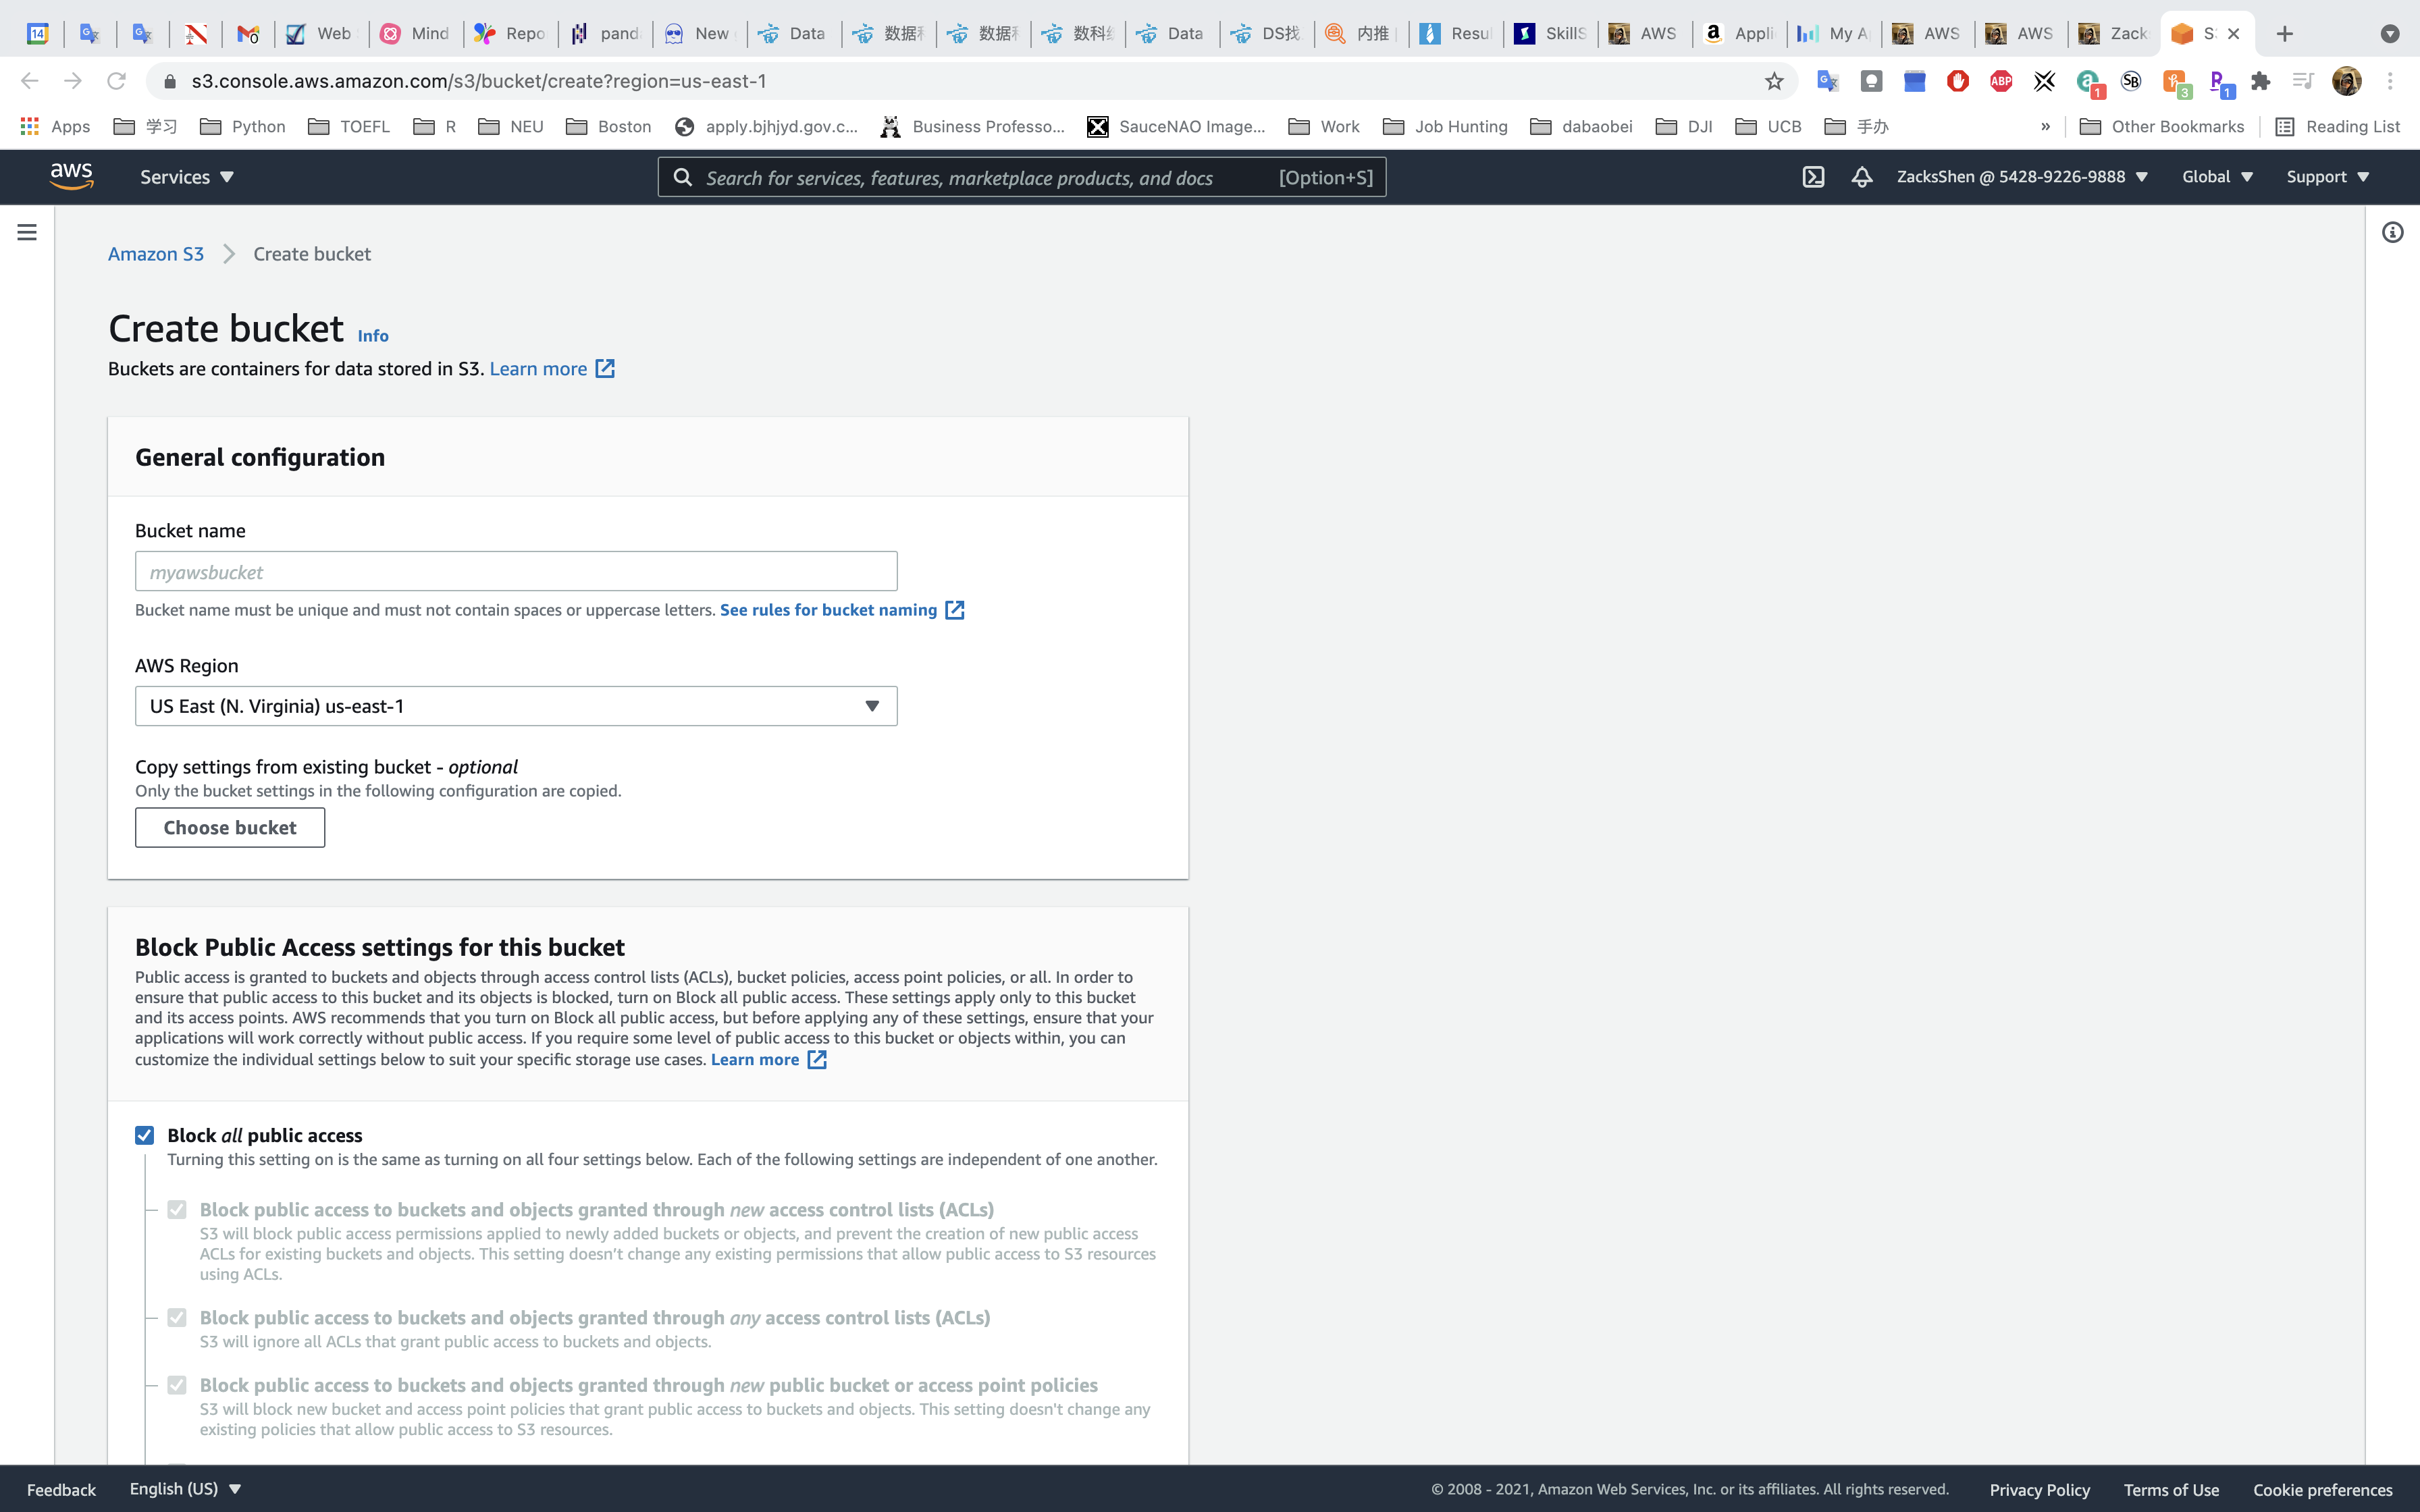
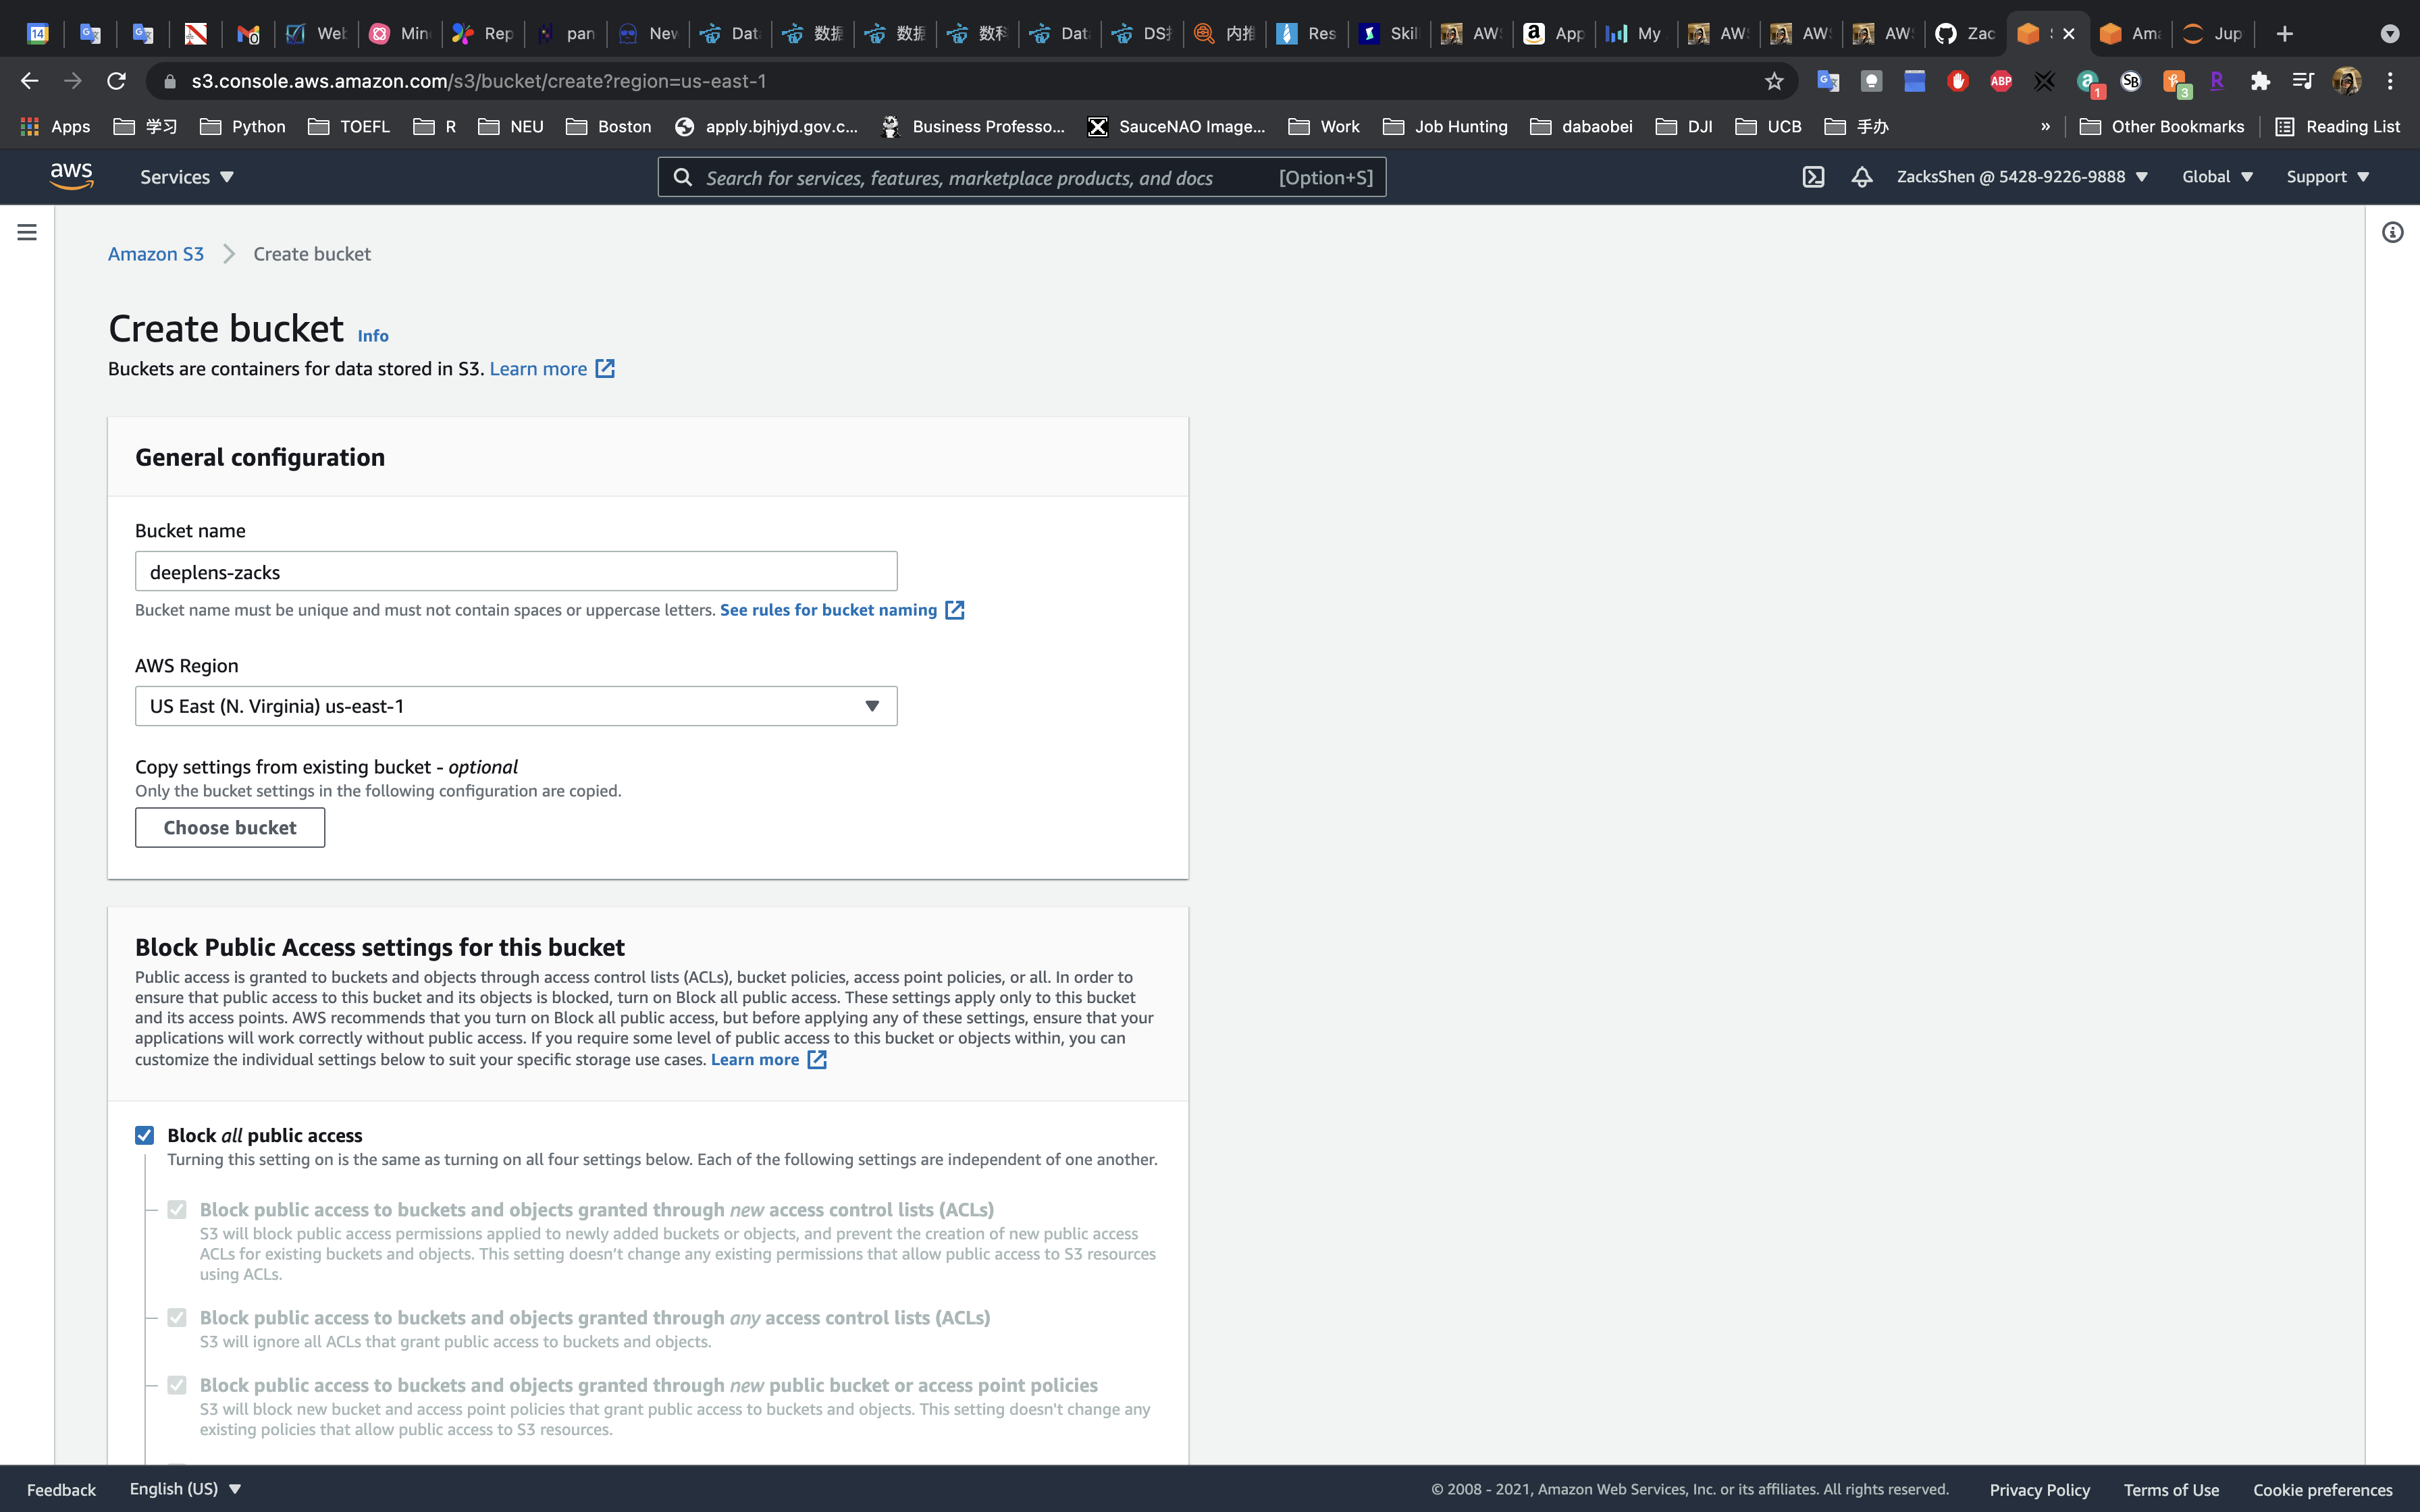
Click on Create bucket
SageMaker Configuration
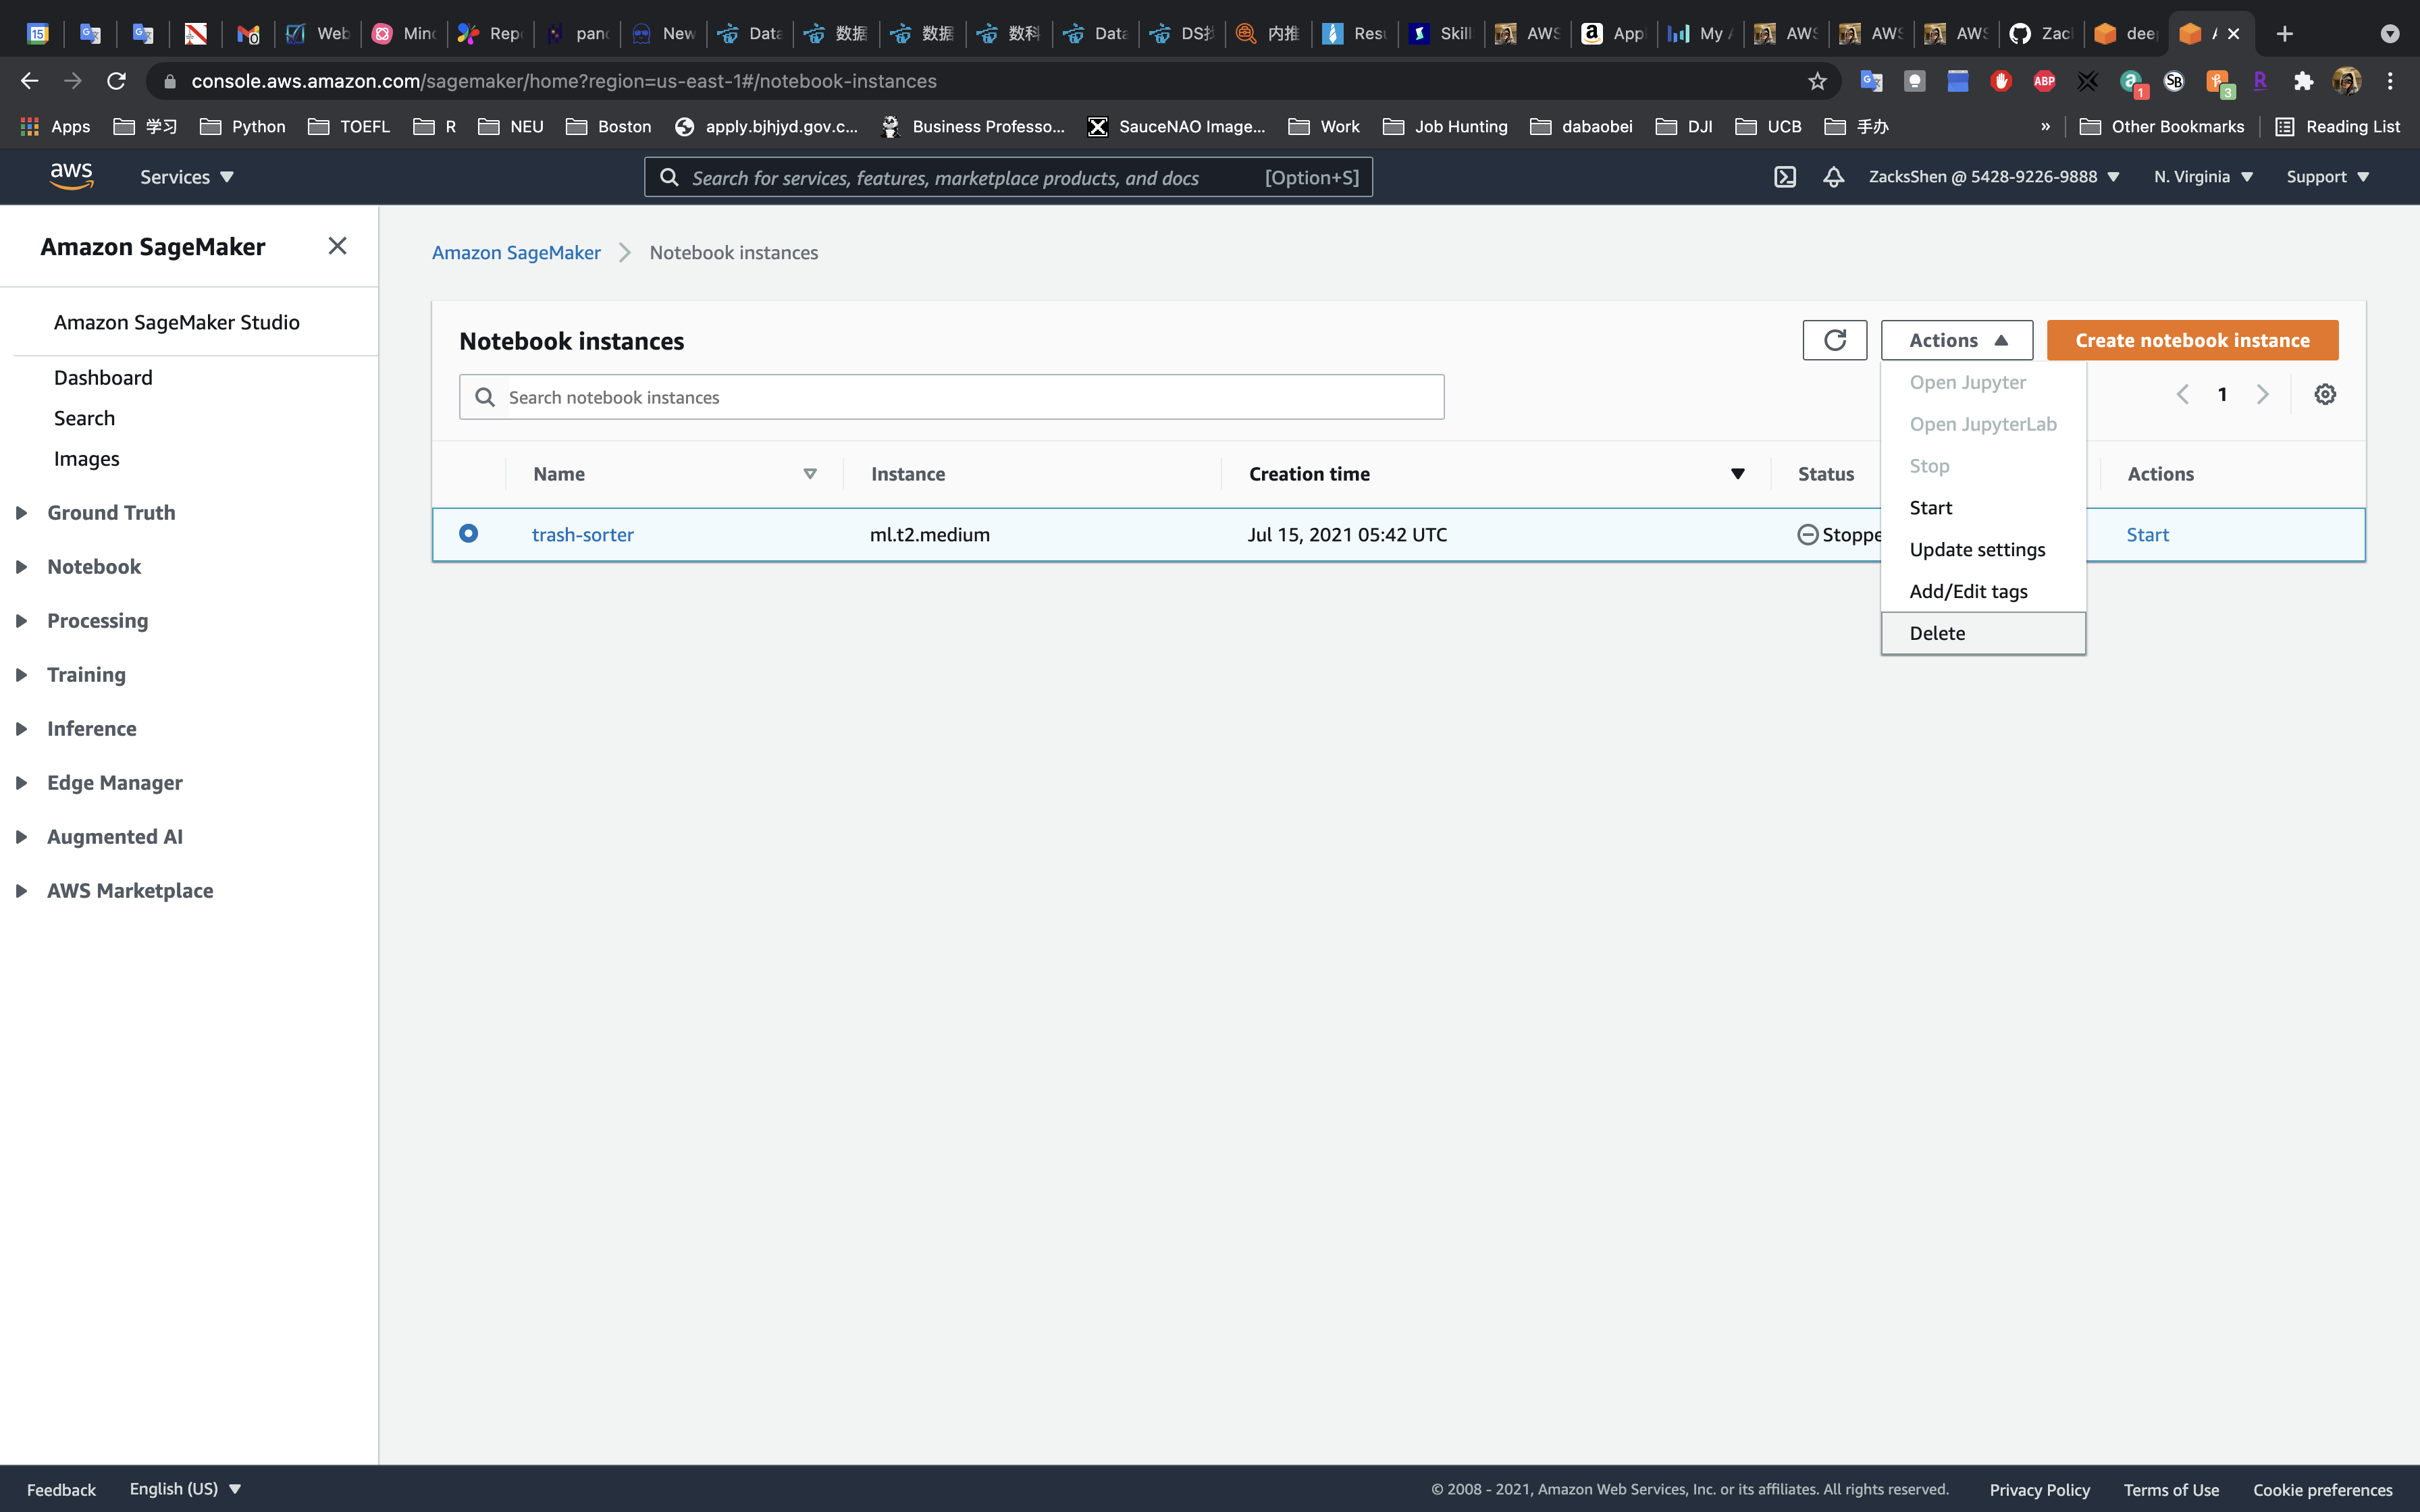
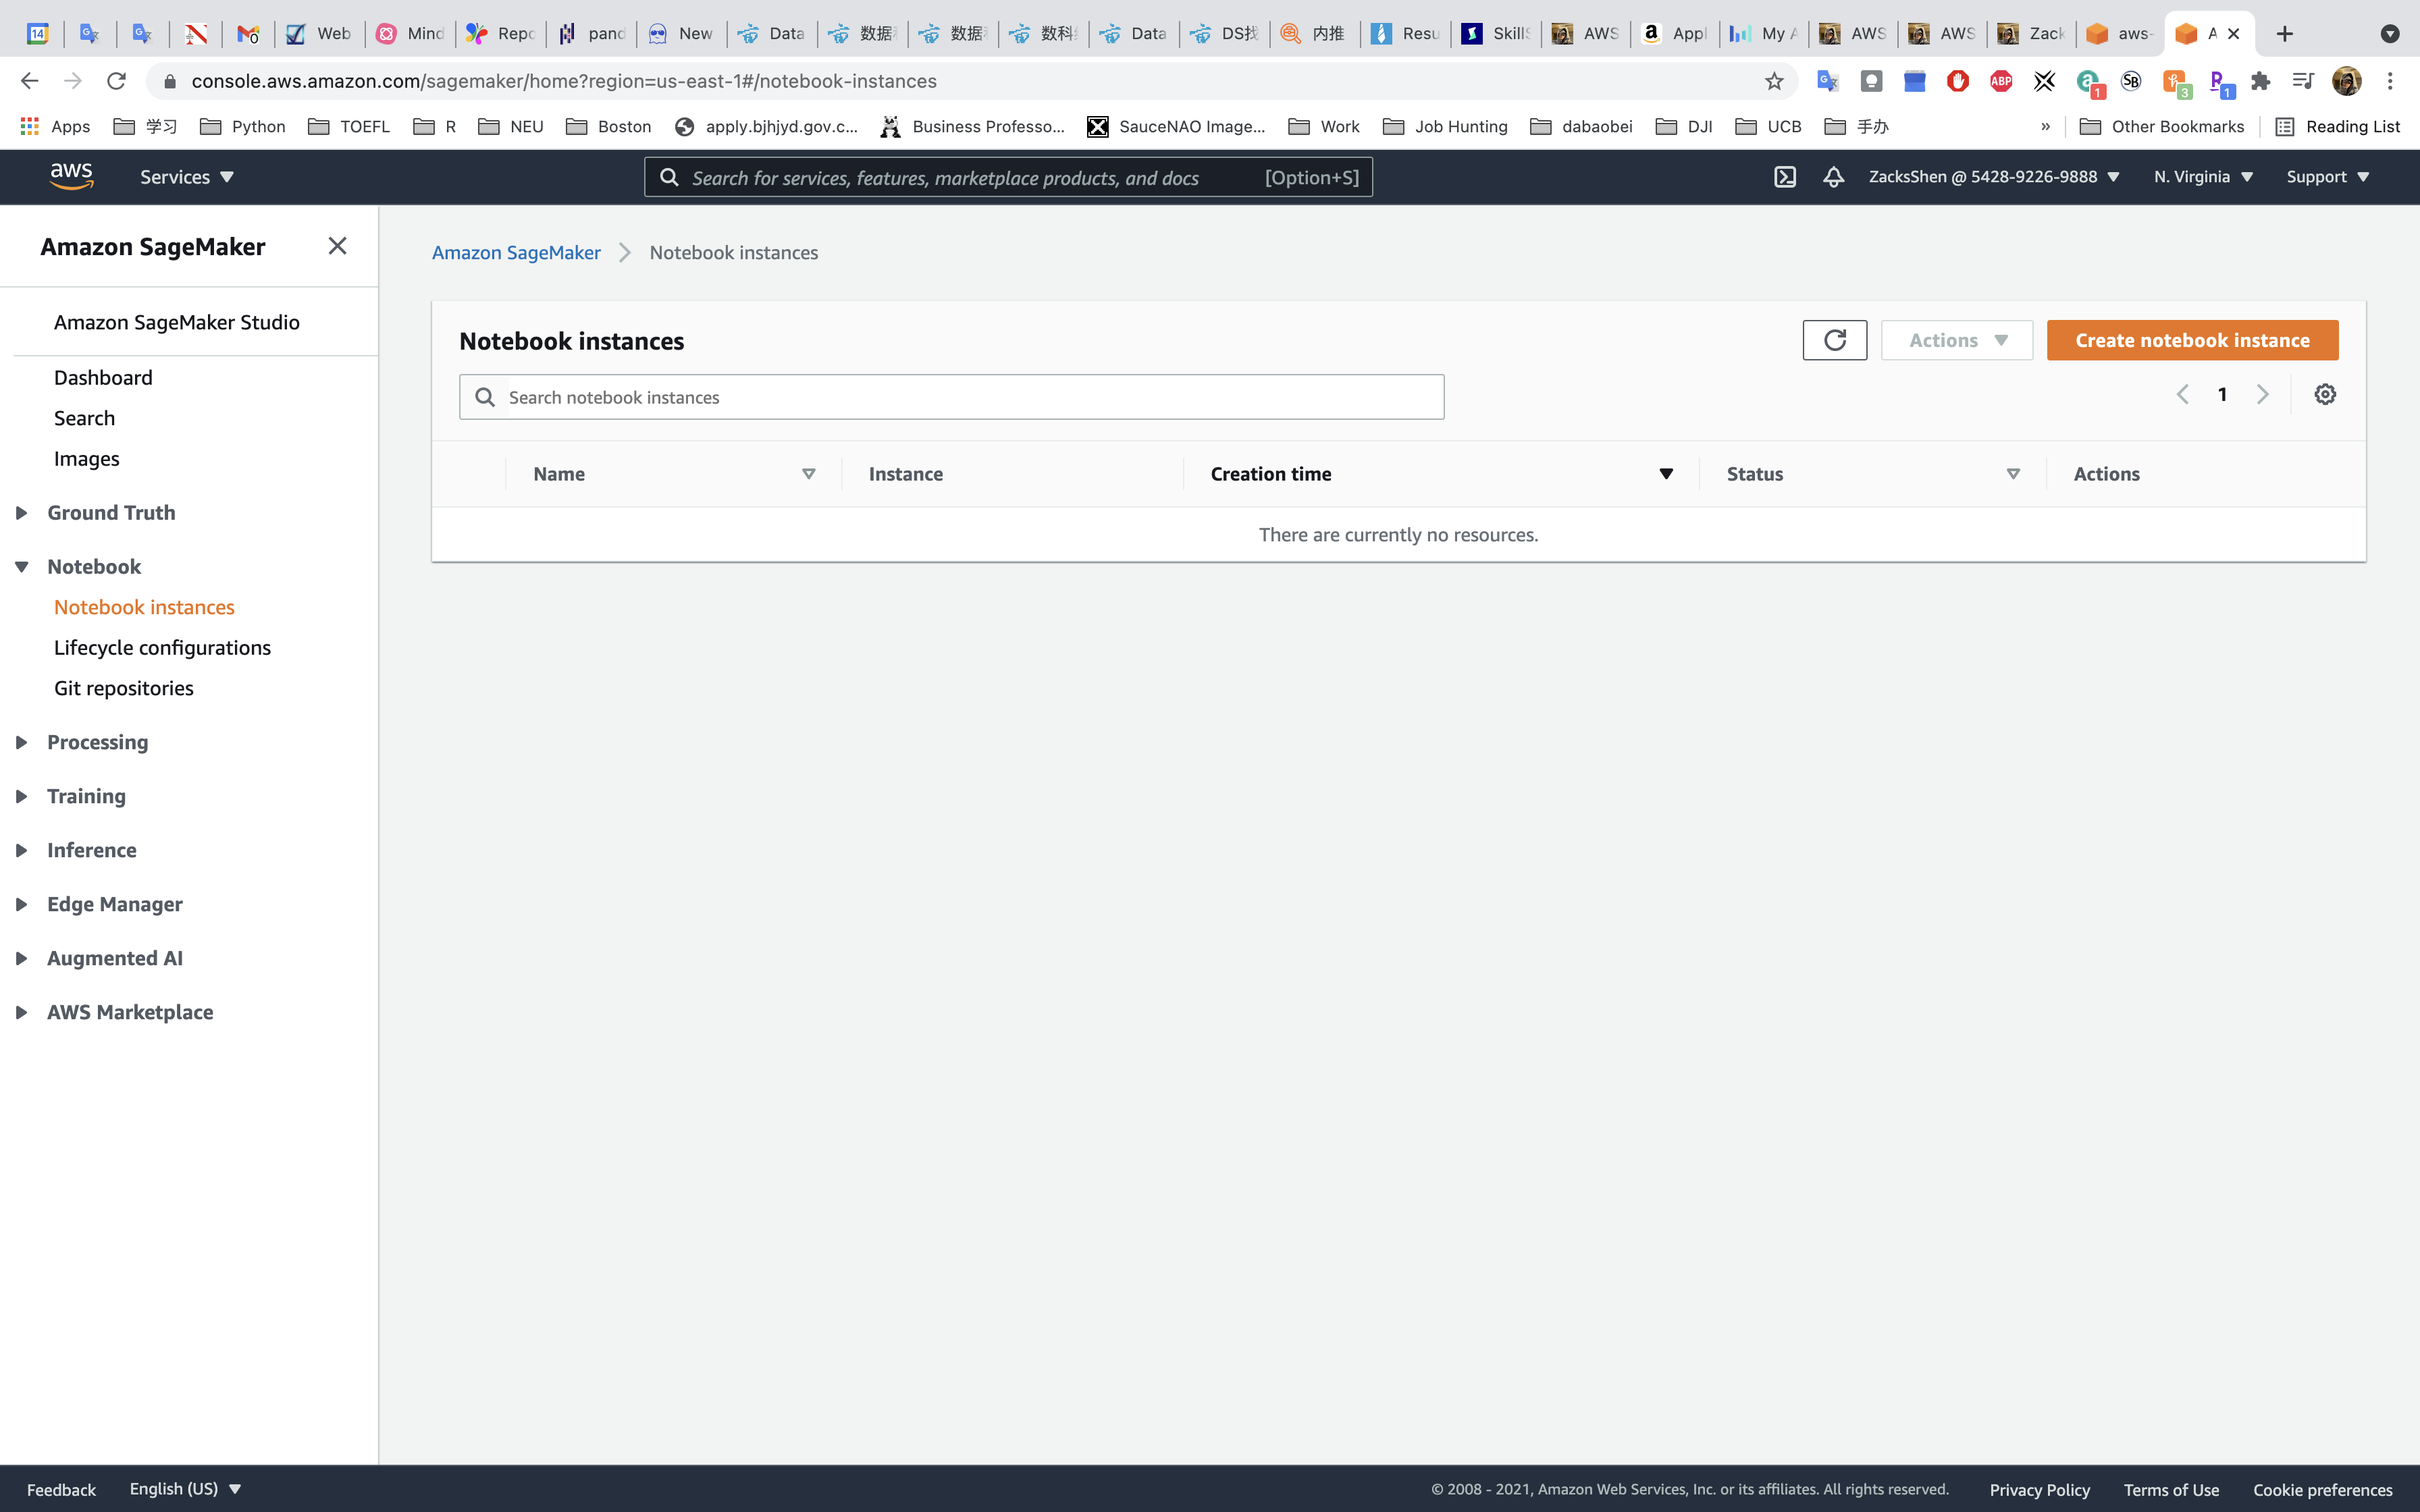
Services -> SageMaker -> Notebook -> Notebook instances
Create Jupyter Notebook Instance
Click on Create notebook instance
Notebook instance settings
- Notebook instance name:
trash-sorter - Notebook instance type:
ml.t2.medium
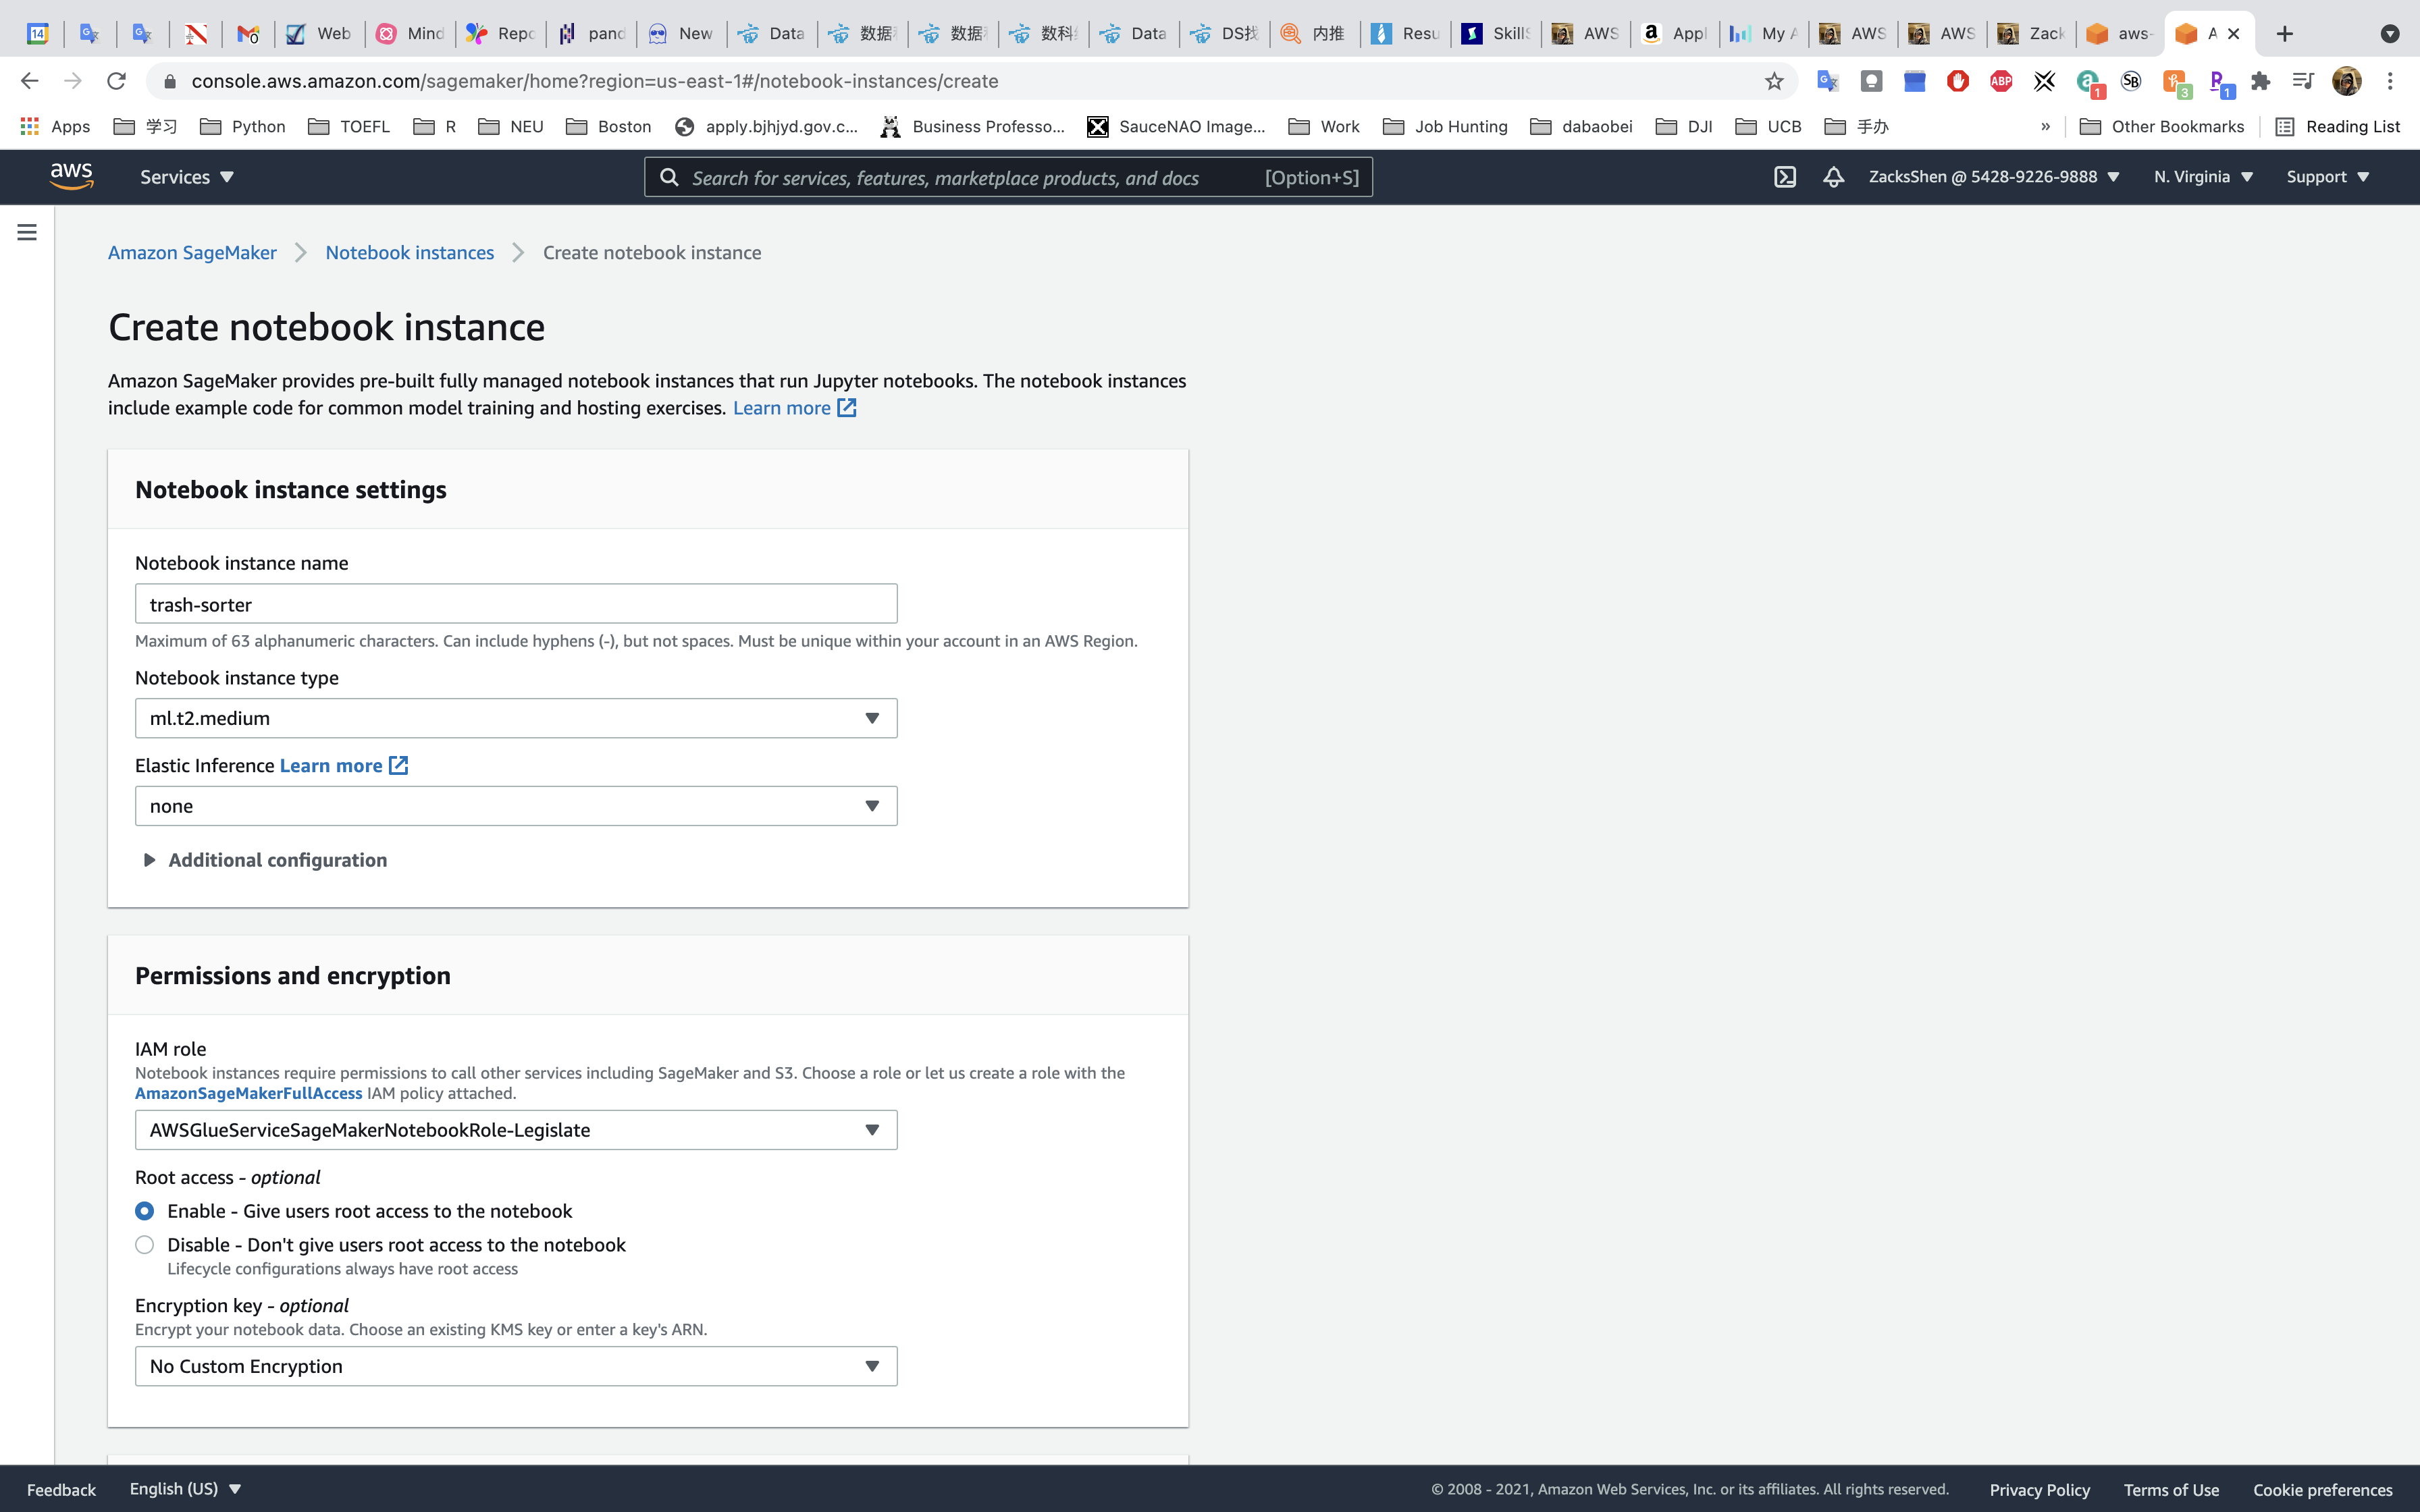
Permissions and encryption
- IAM role:
create a new role
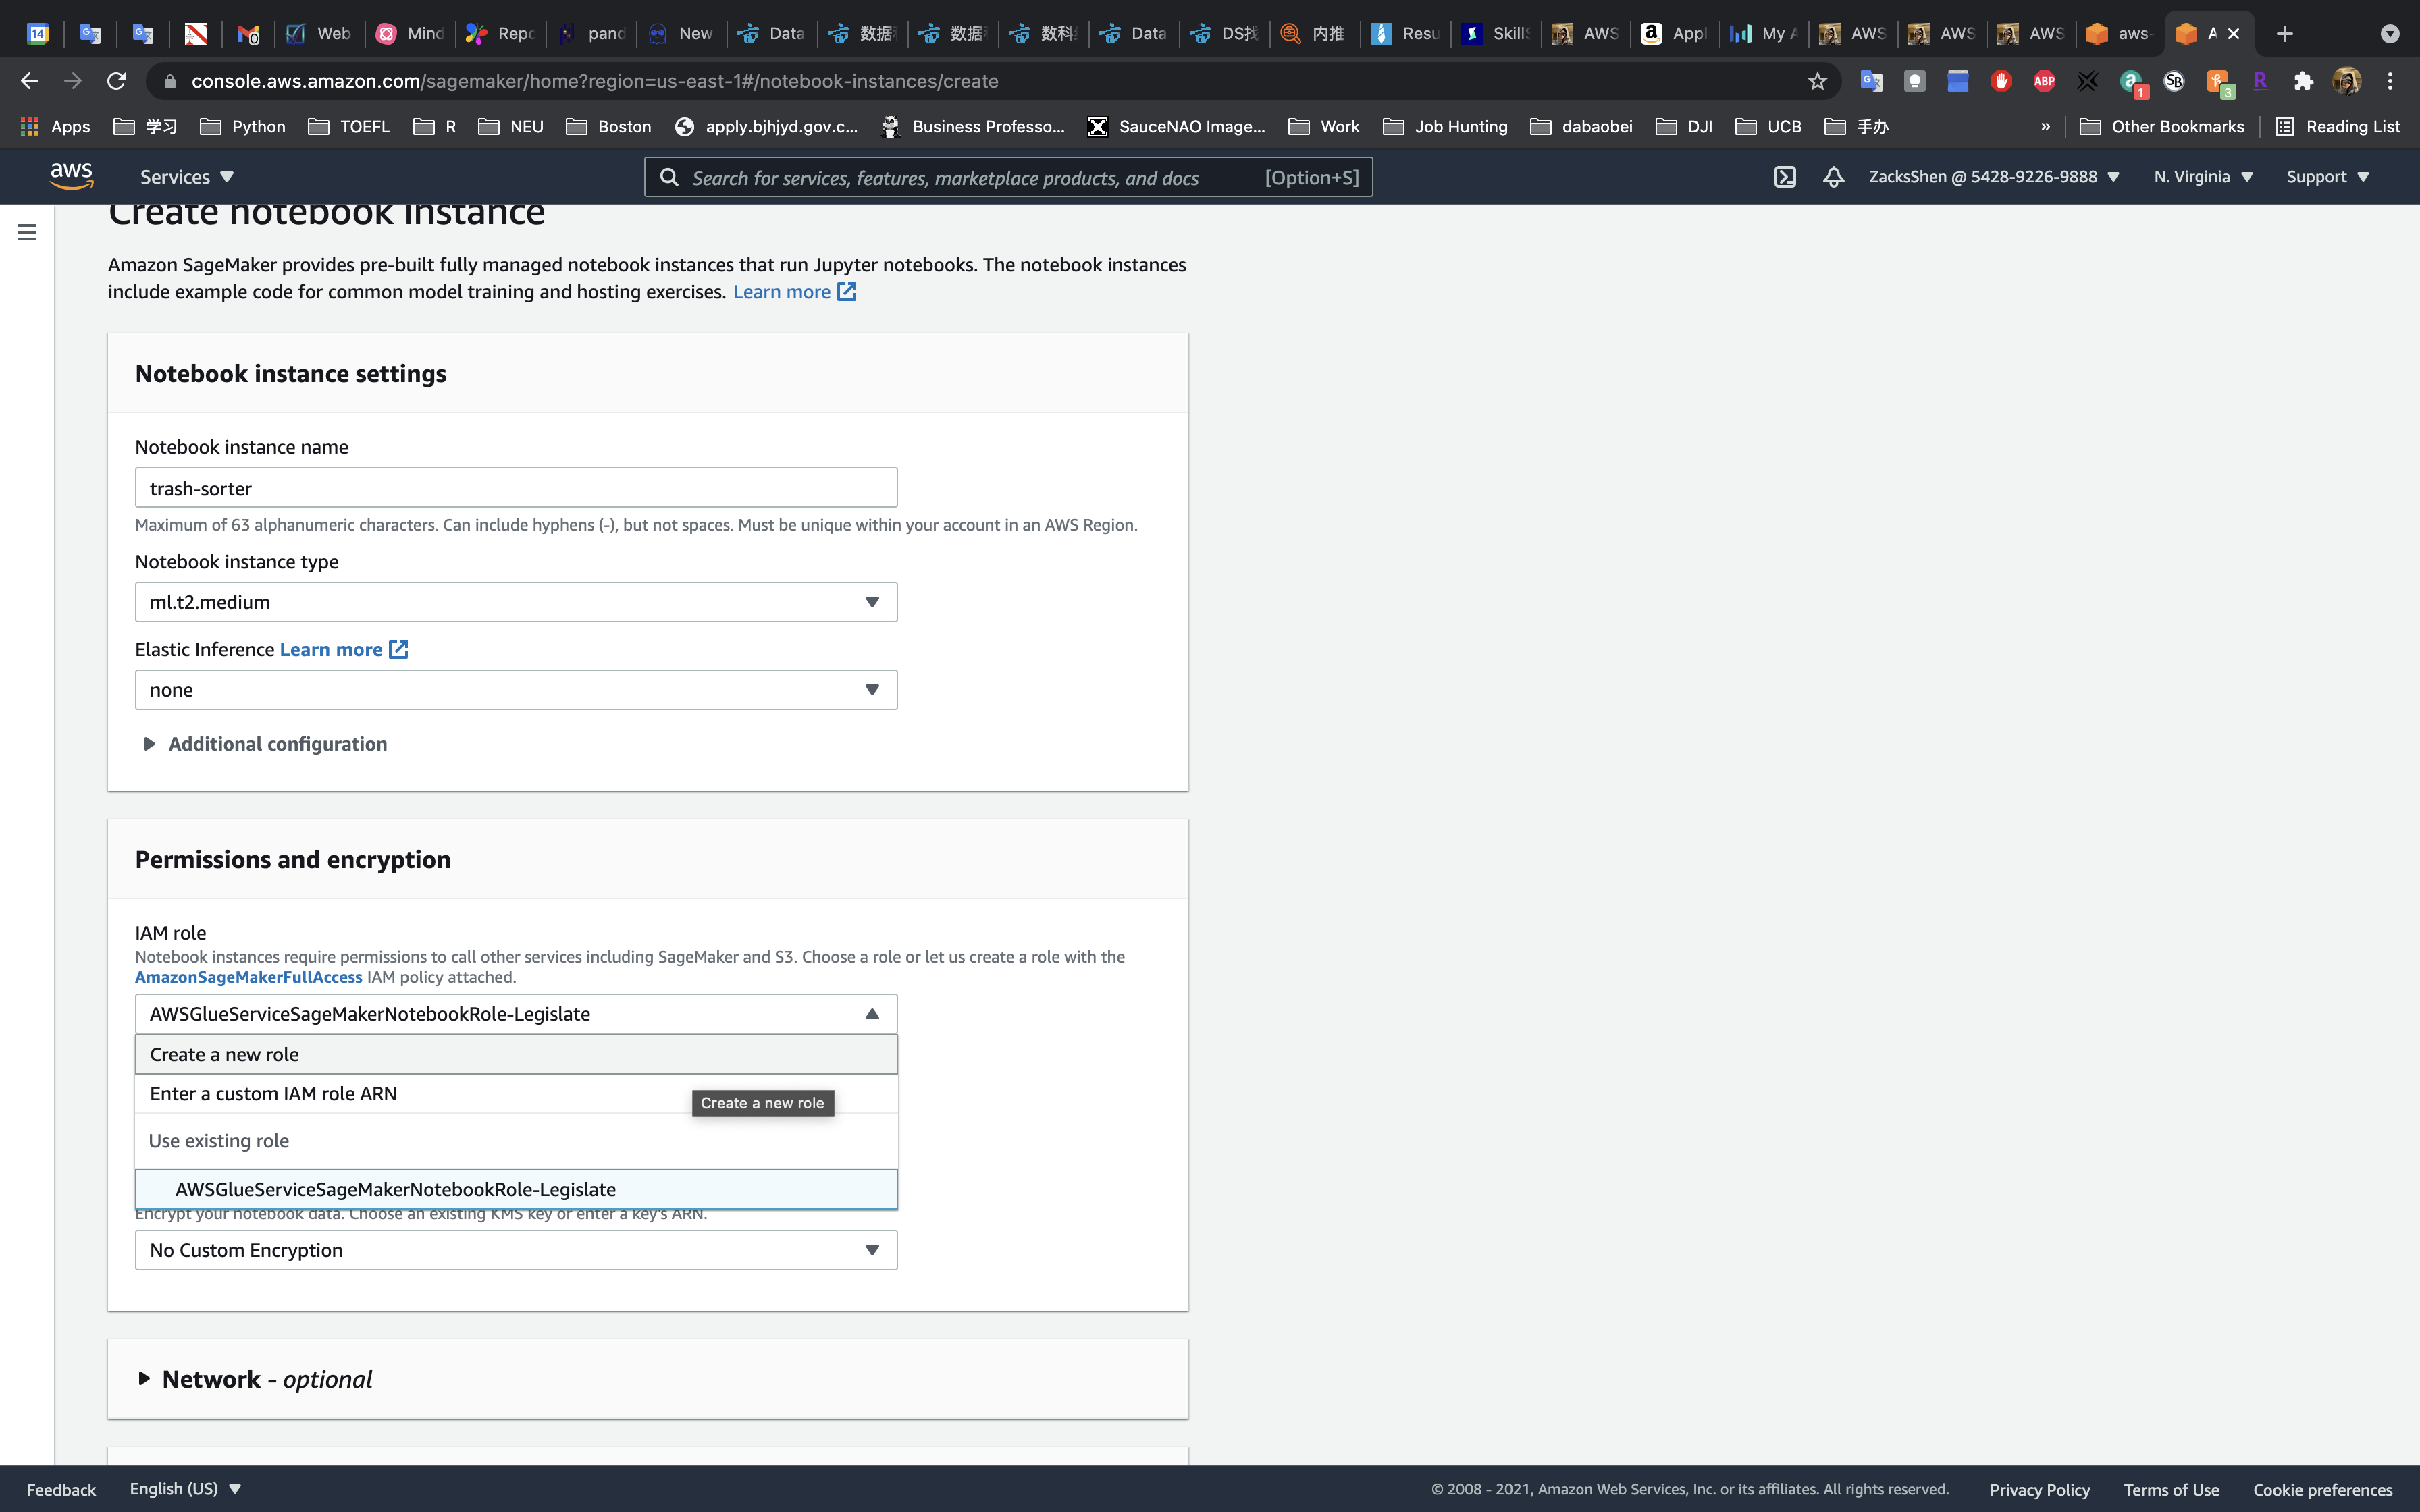
- Specific S3 buckets: the bucket you created earlier for this lab
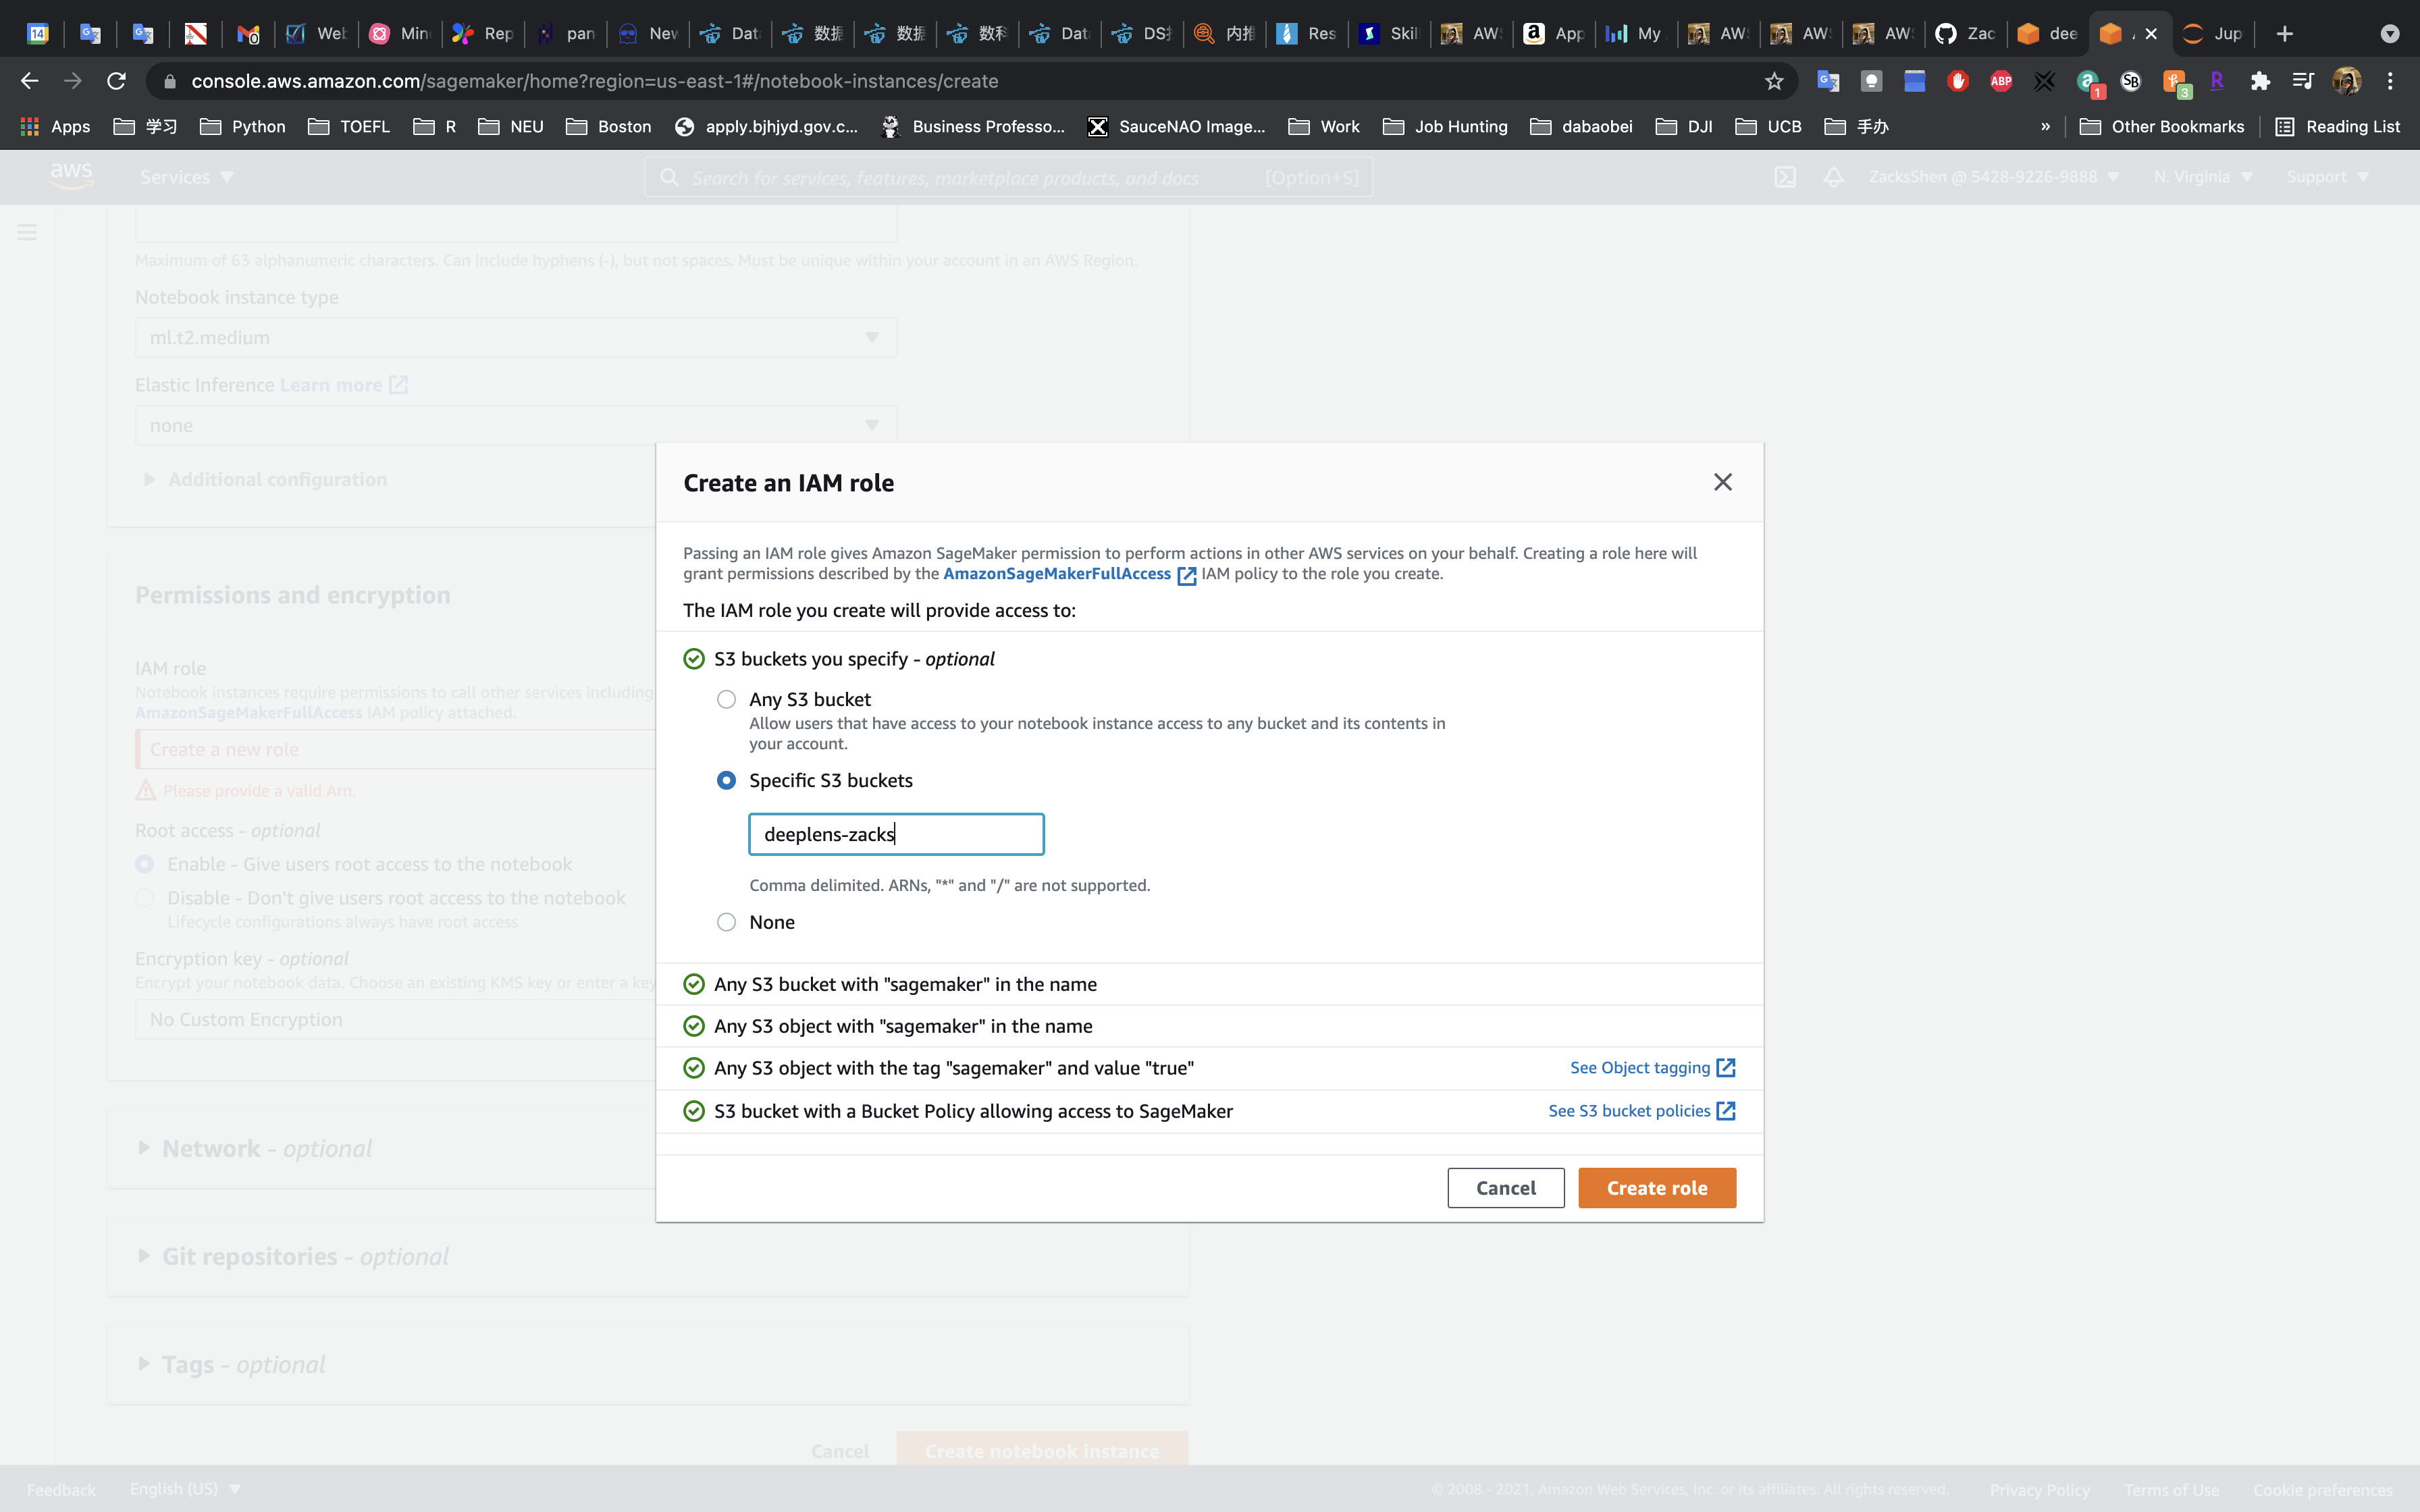
Click on Create role
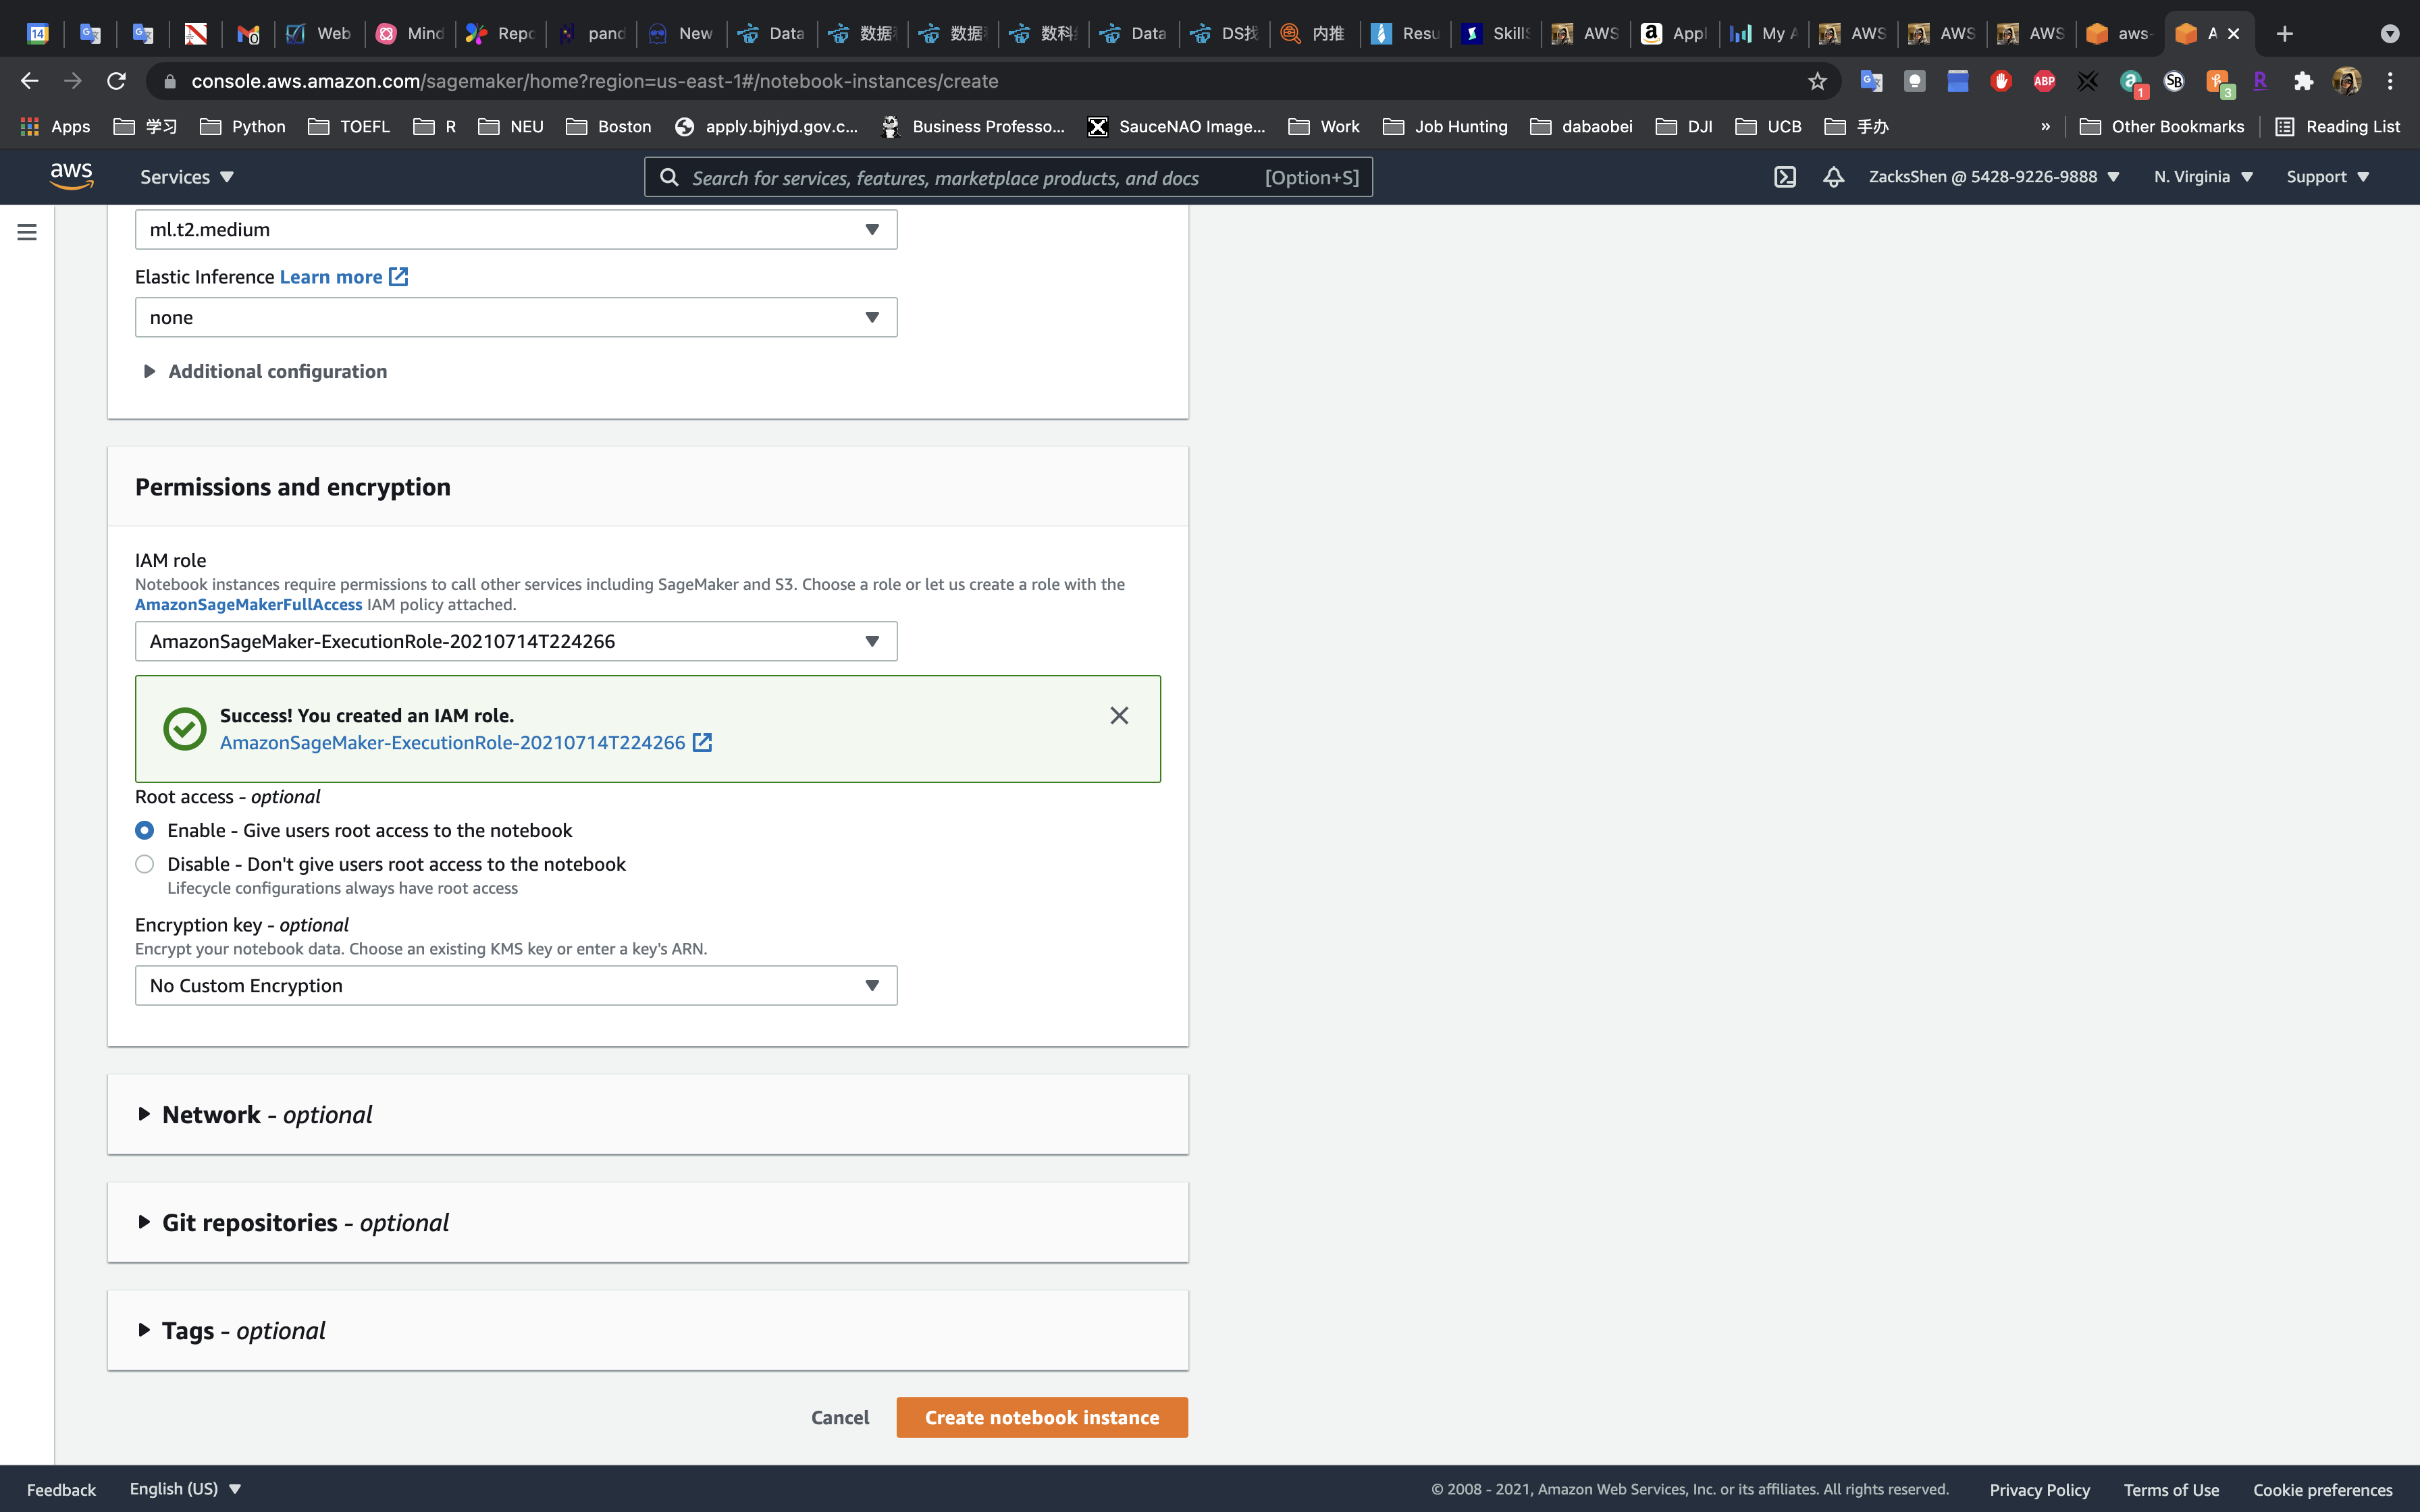
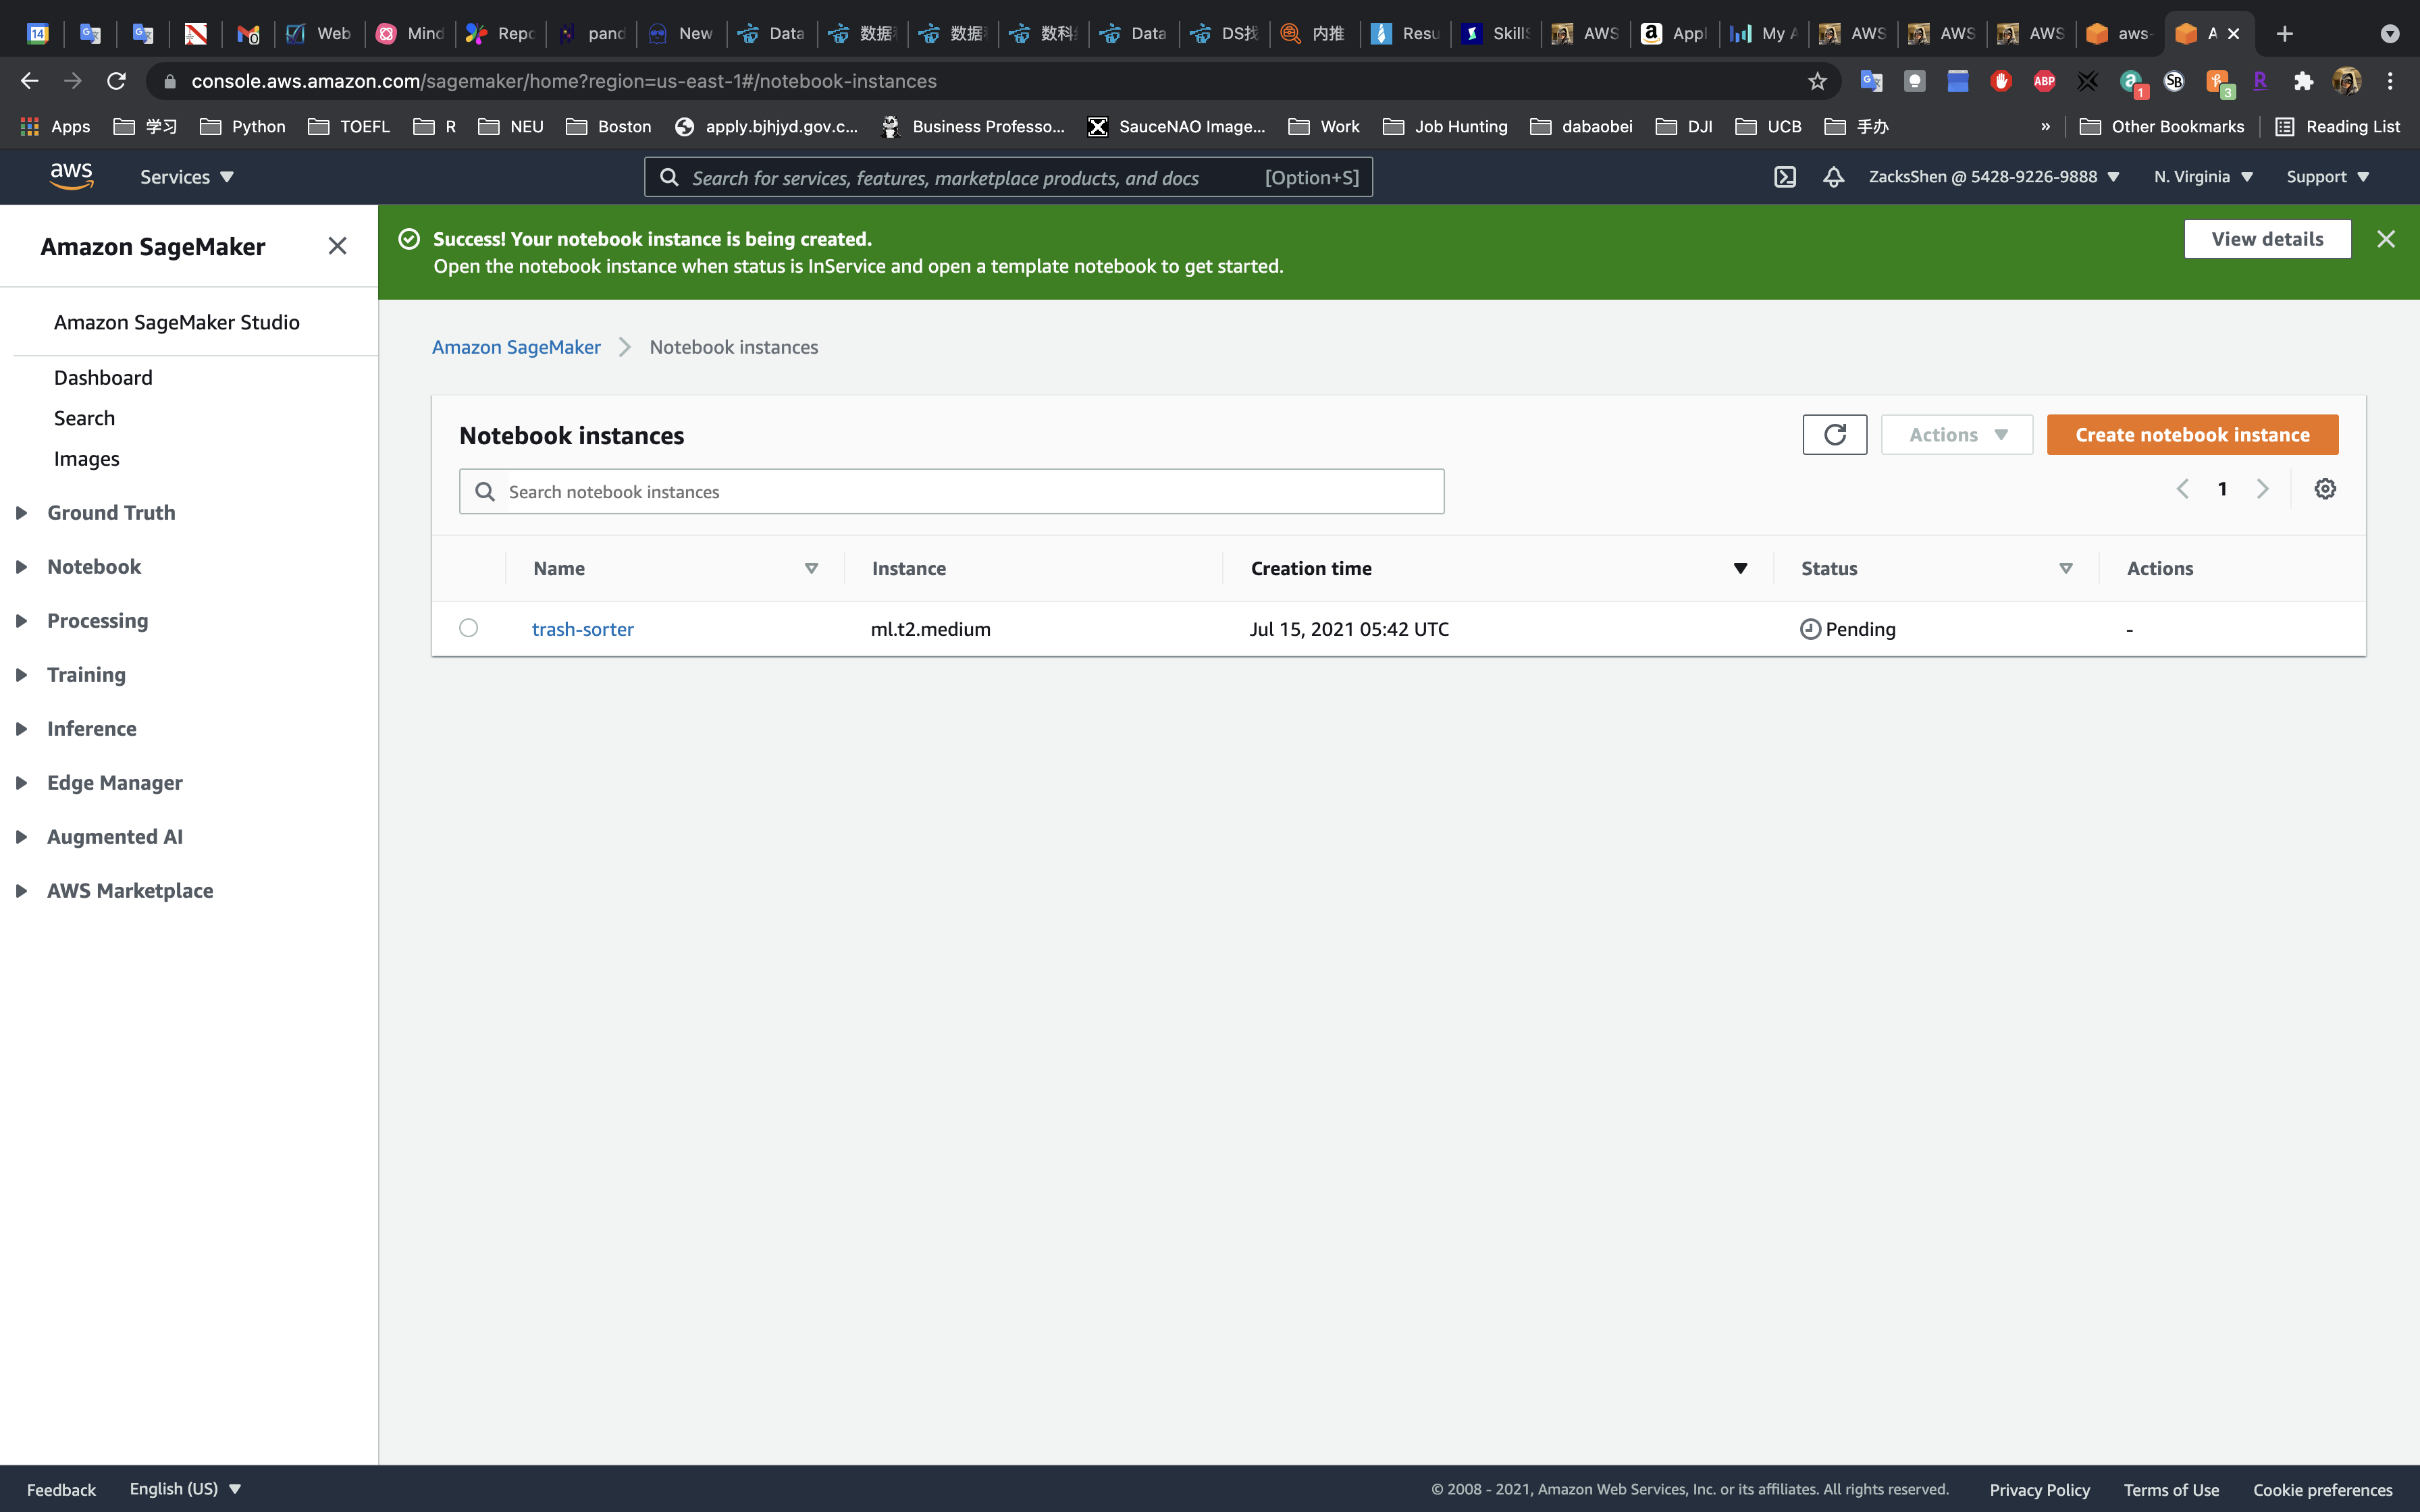
Click on Create notebook instance
Wait until status switch to InService
Upload aws-deeplens-custom-trash-detector.ipynb to Notebook Instance
- Download Optimized .ipynb for Udacity AWS ML course
- or Download Original File
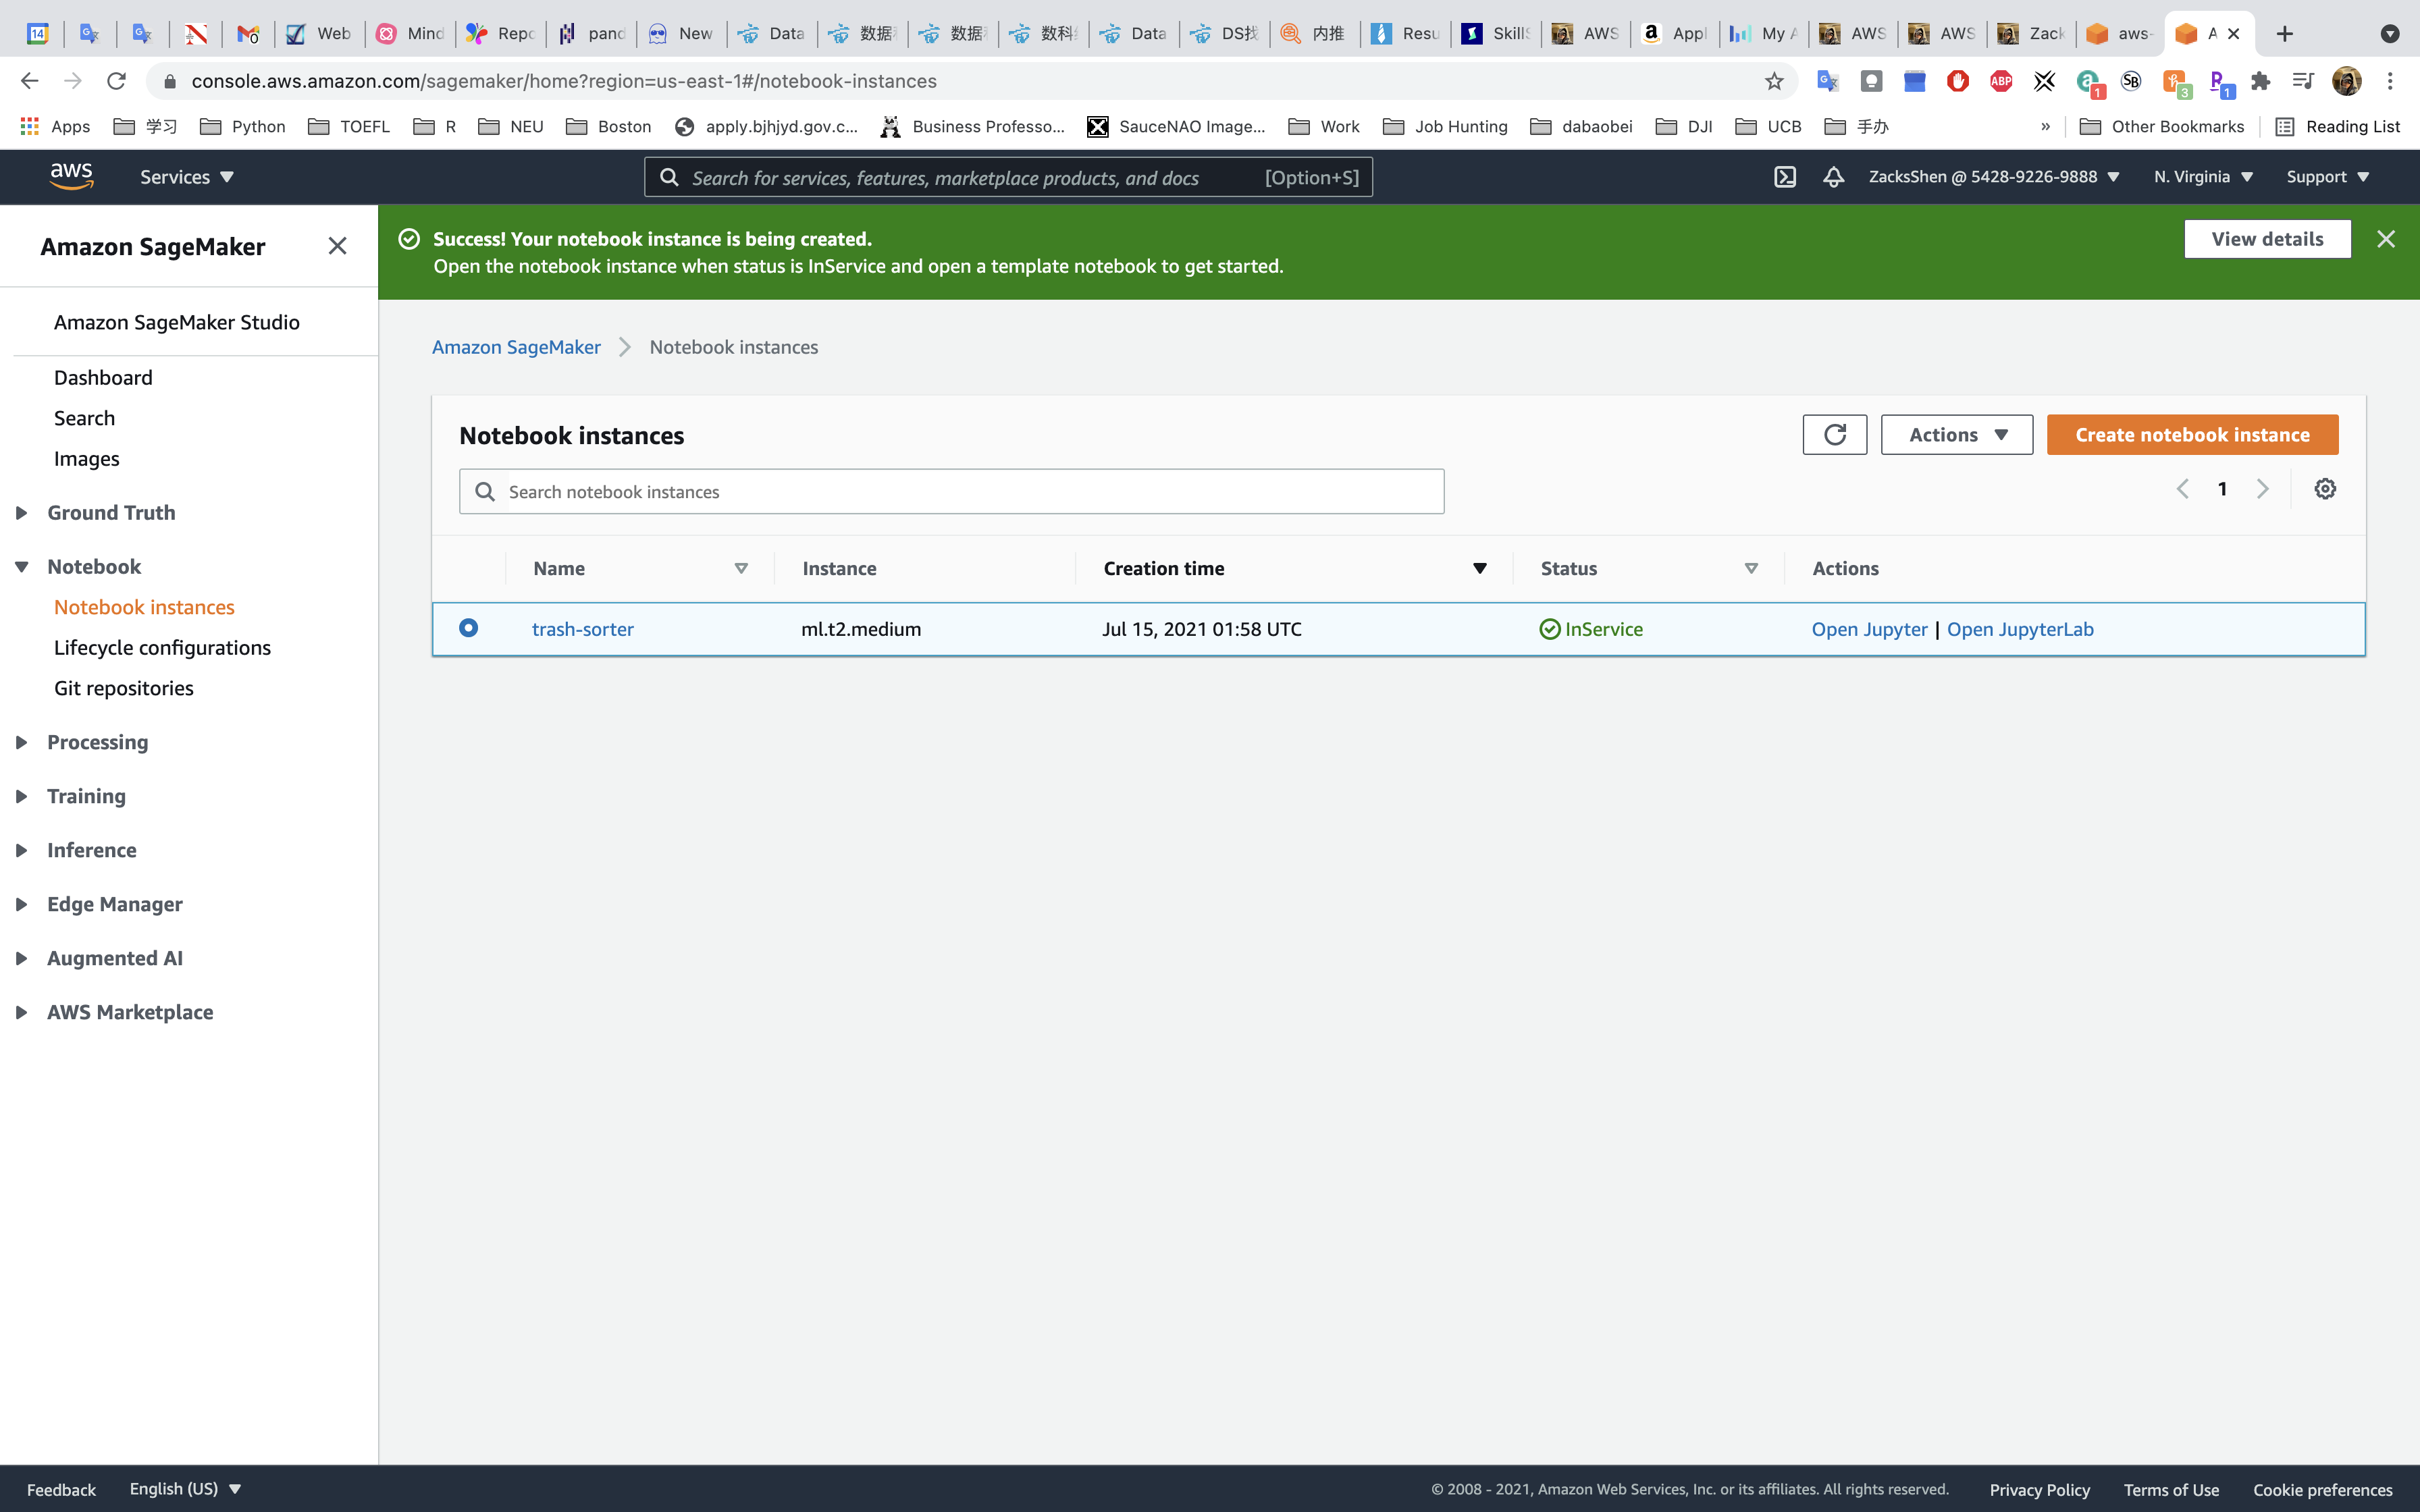
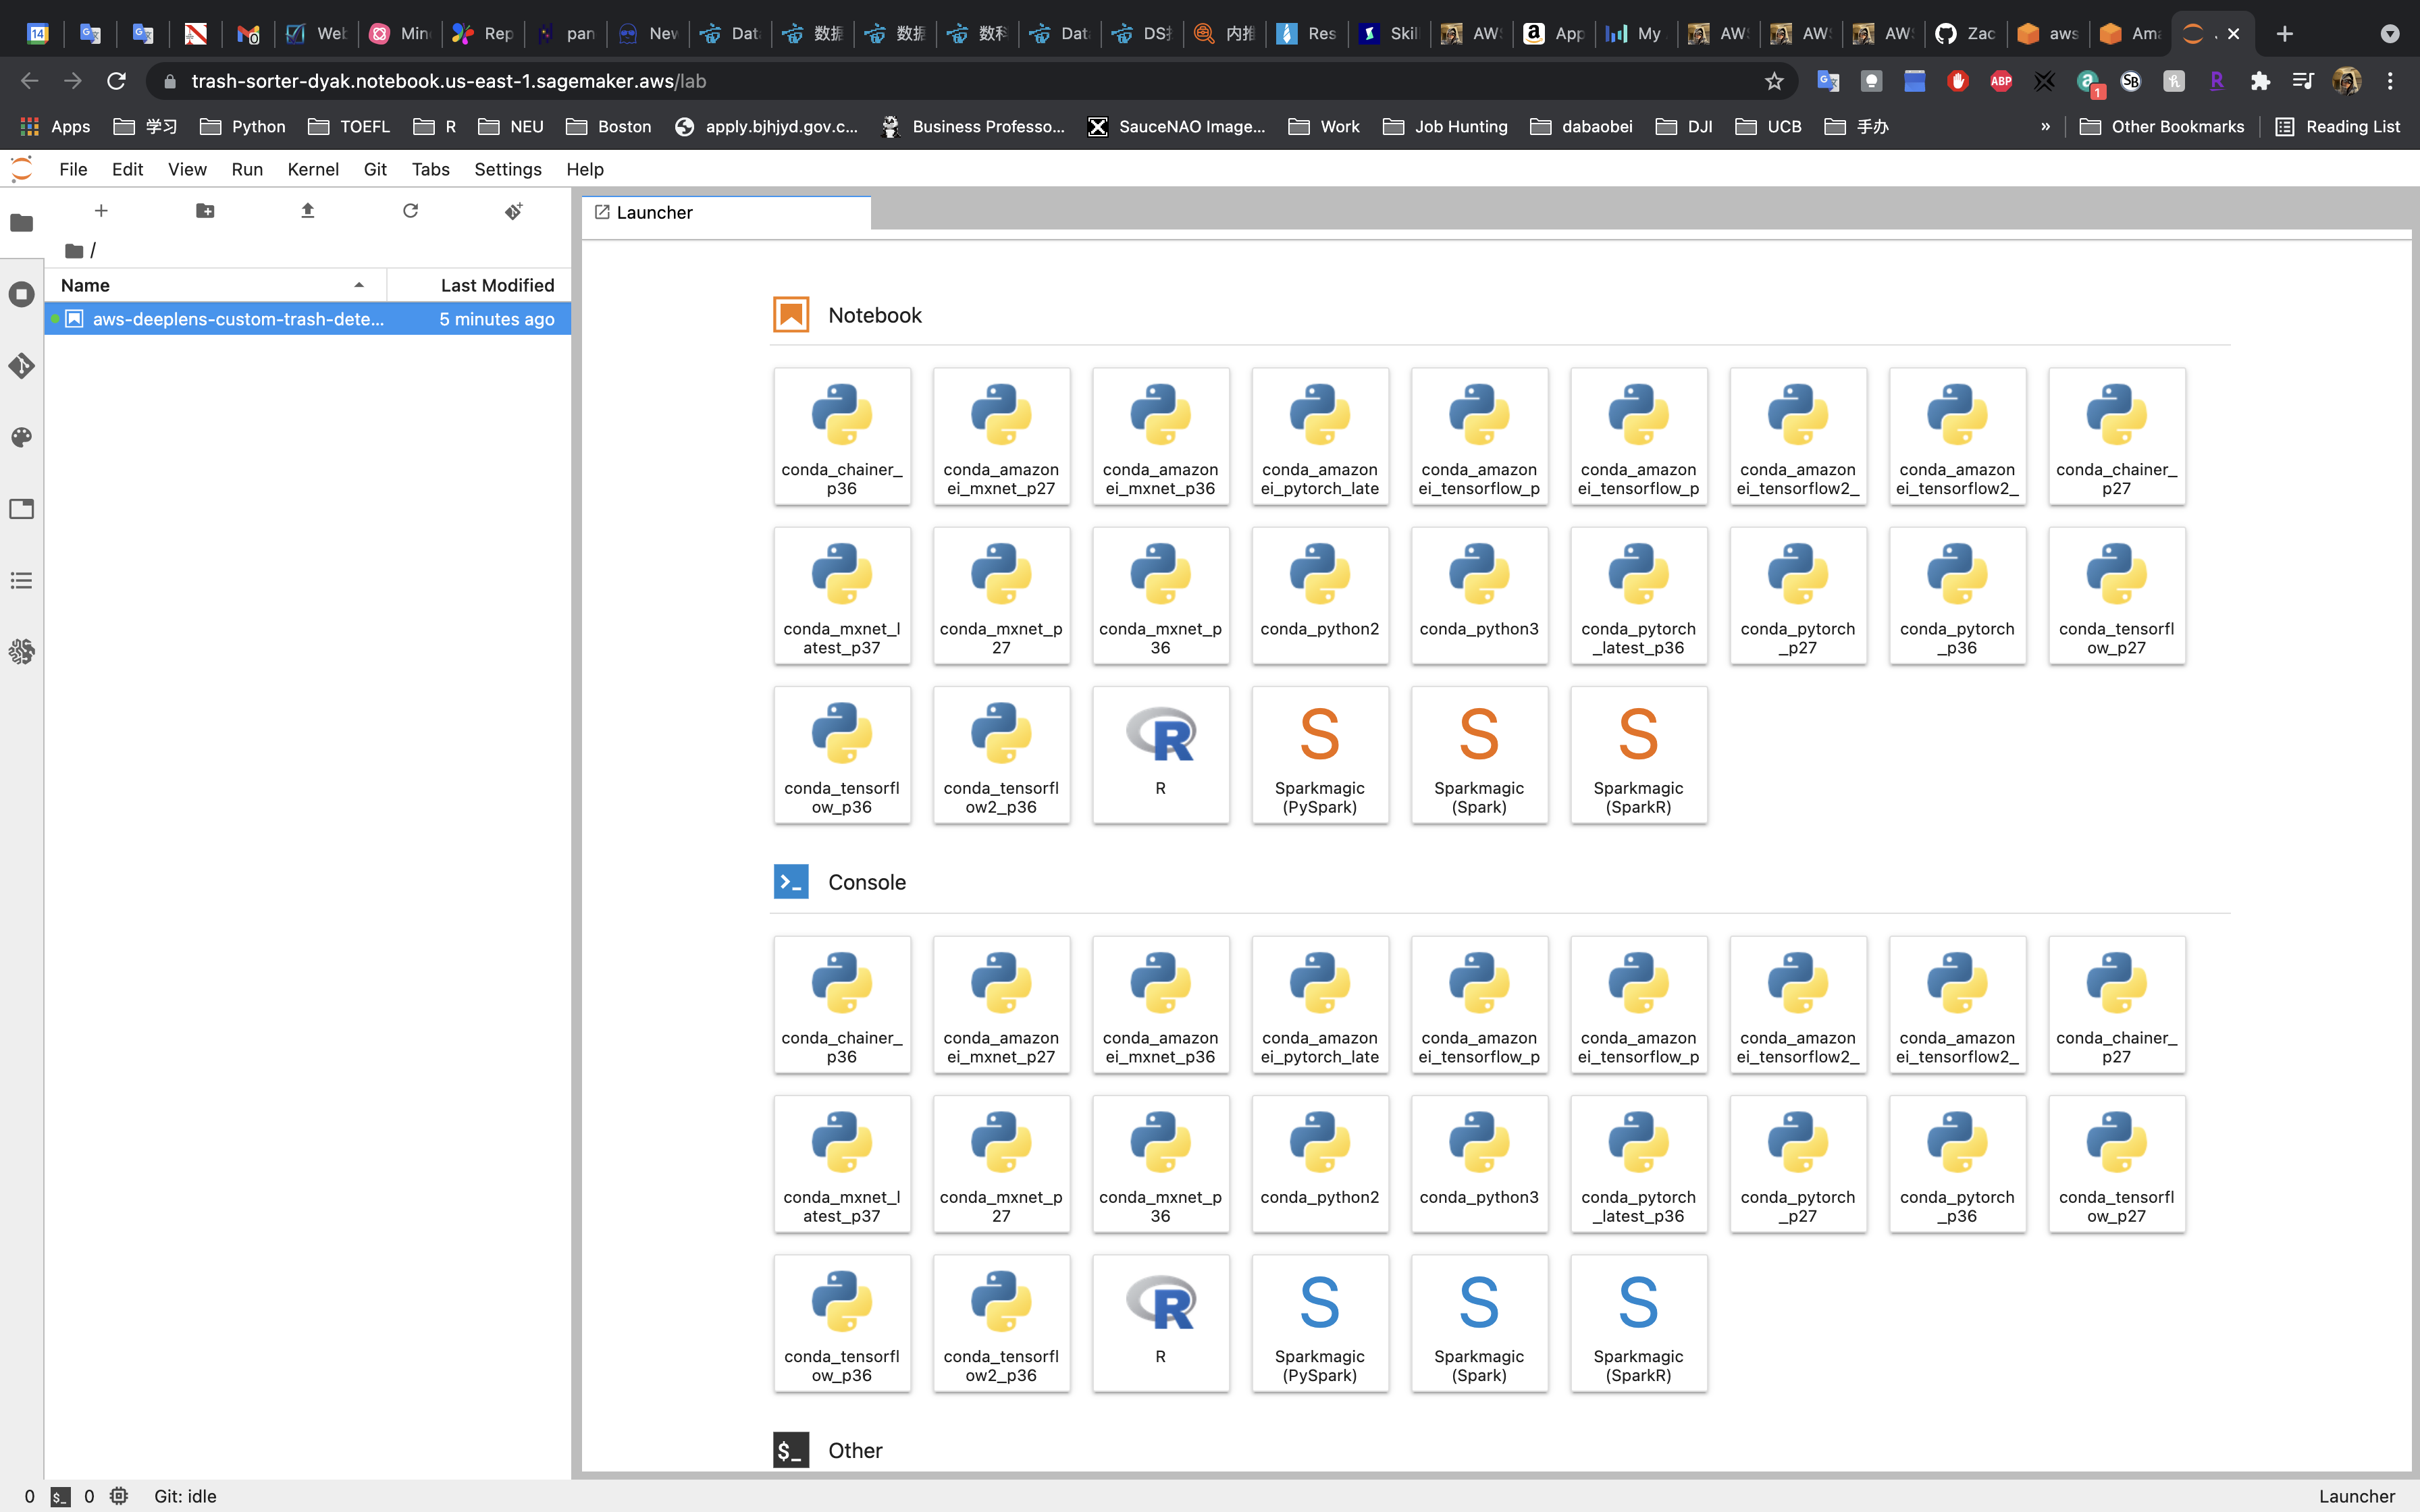
Click on Open JupyterLab

Click on Upload Files on the left and top of the window.
JupyterLab
JupyterLab Configuration
Select your .ipynb file
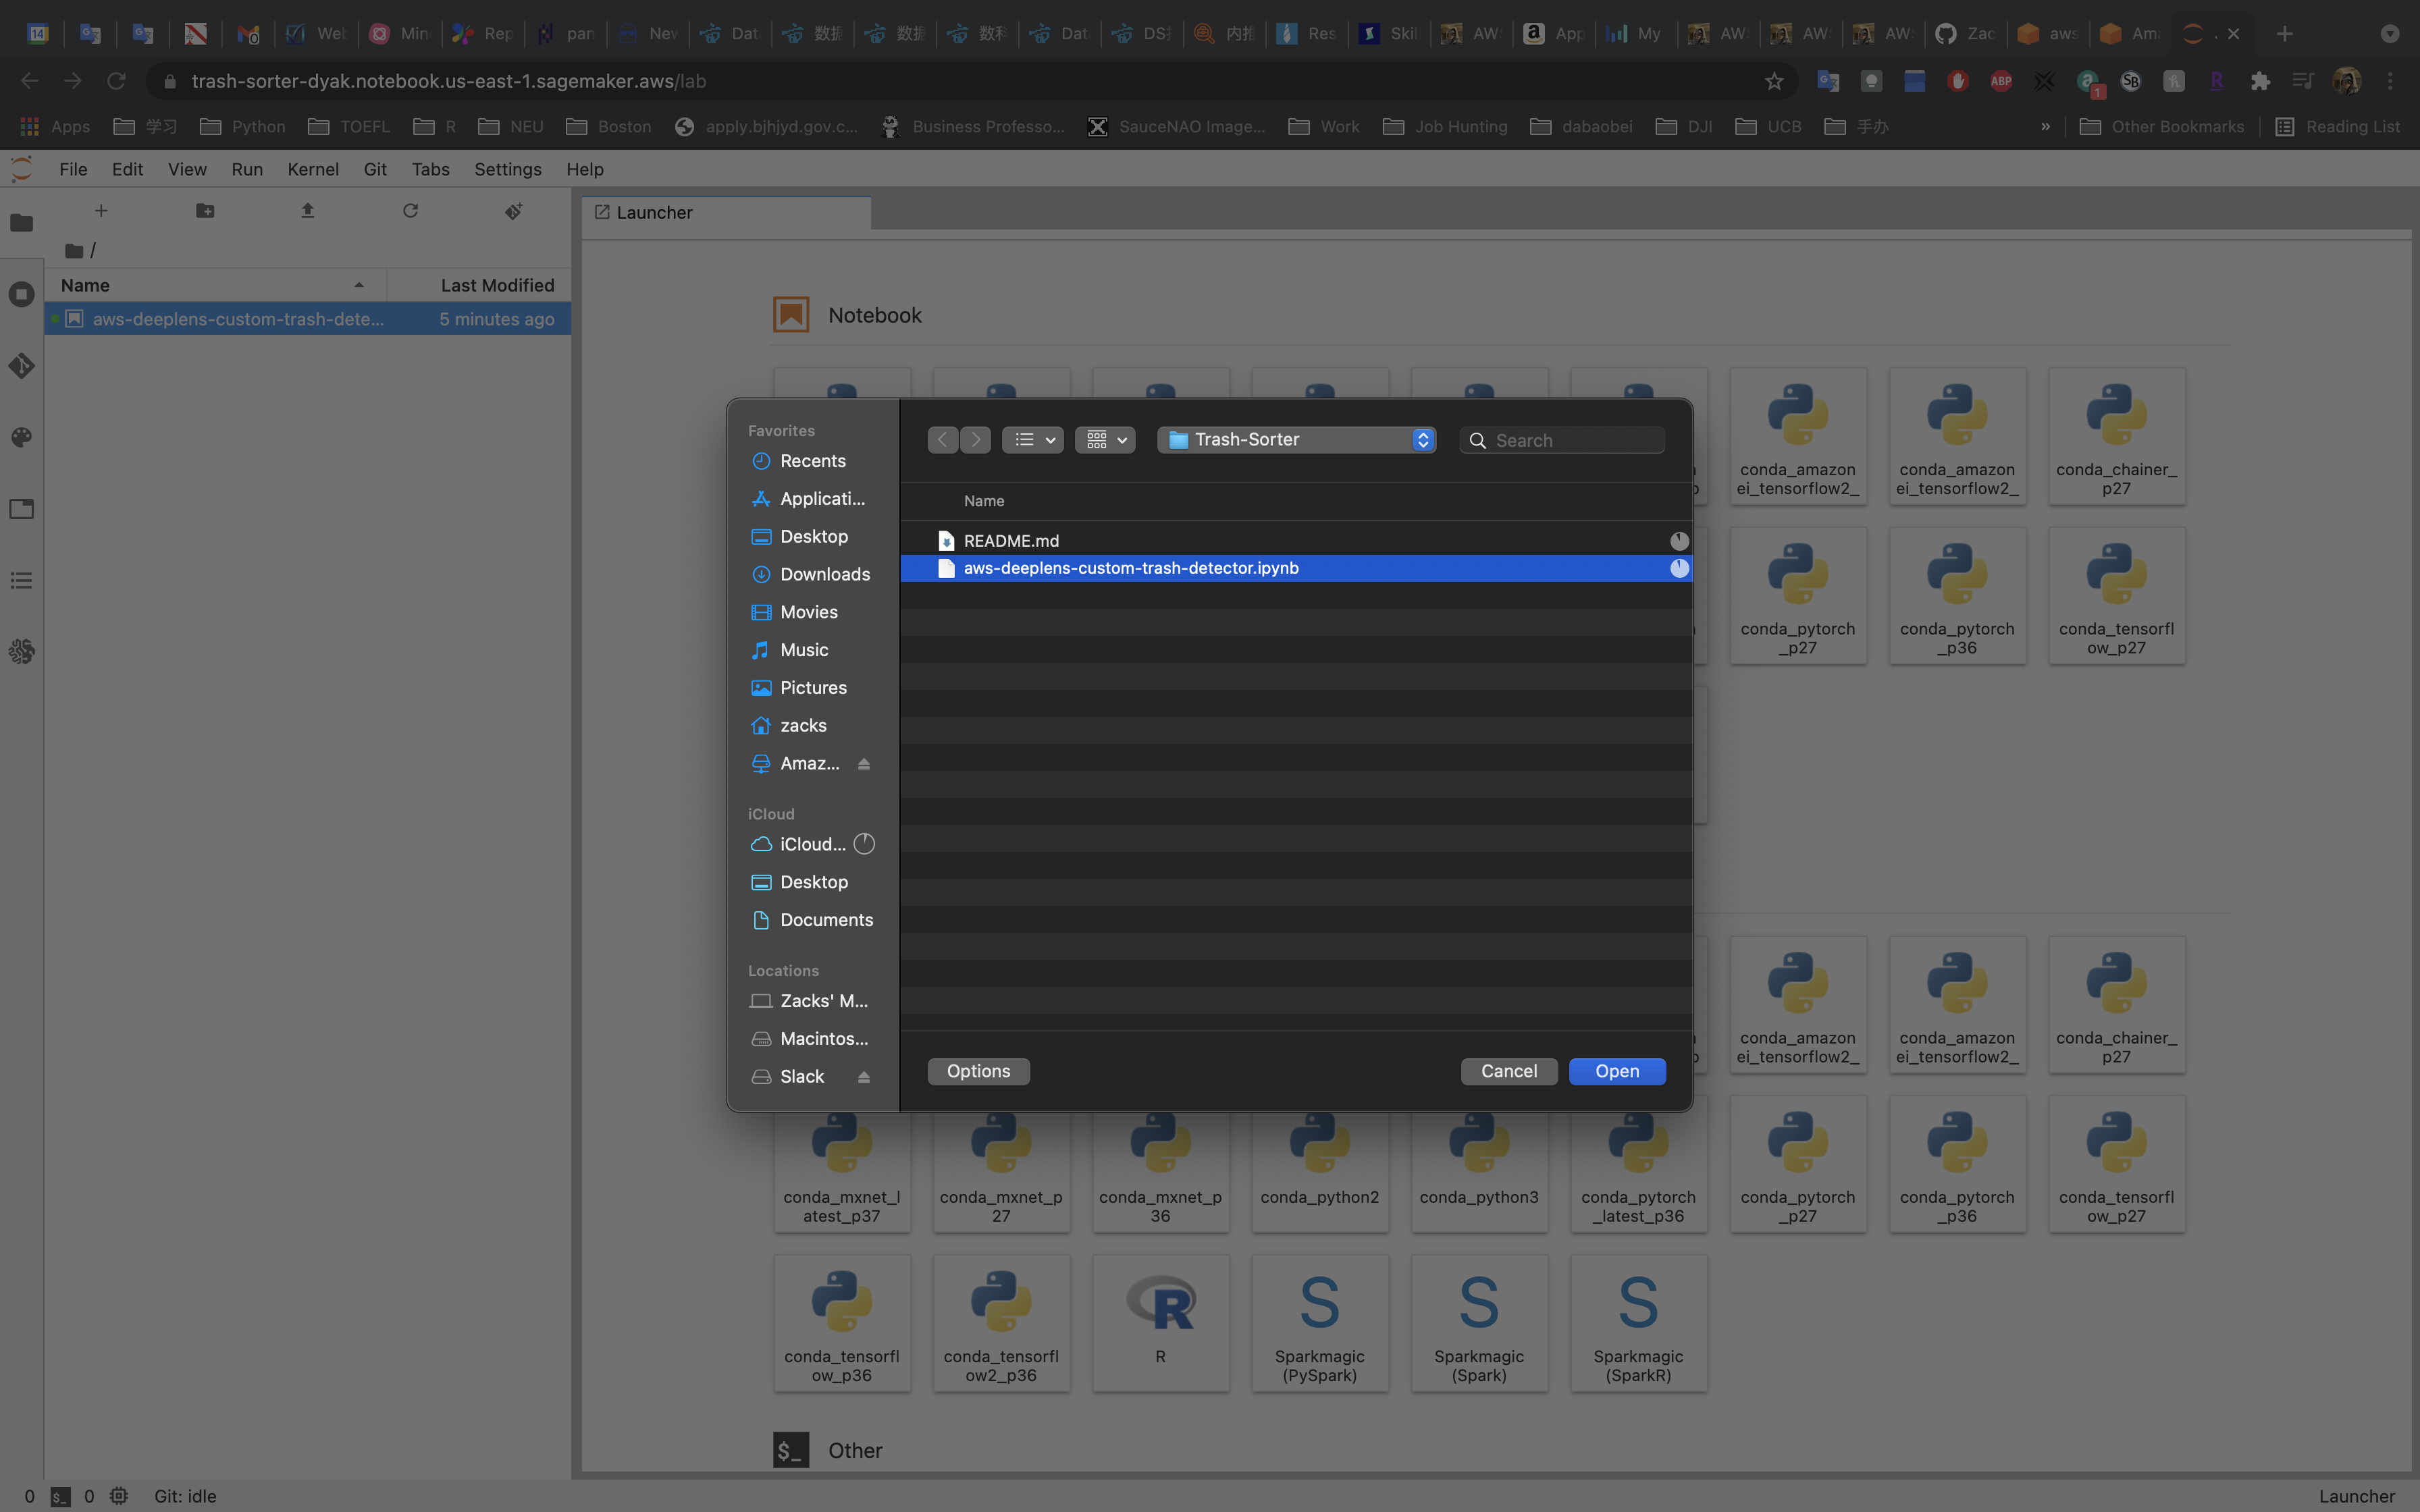
Double click your .ipynb file
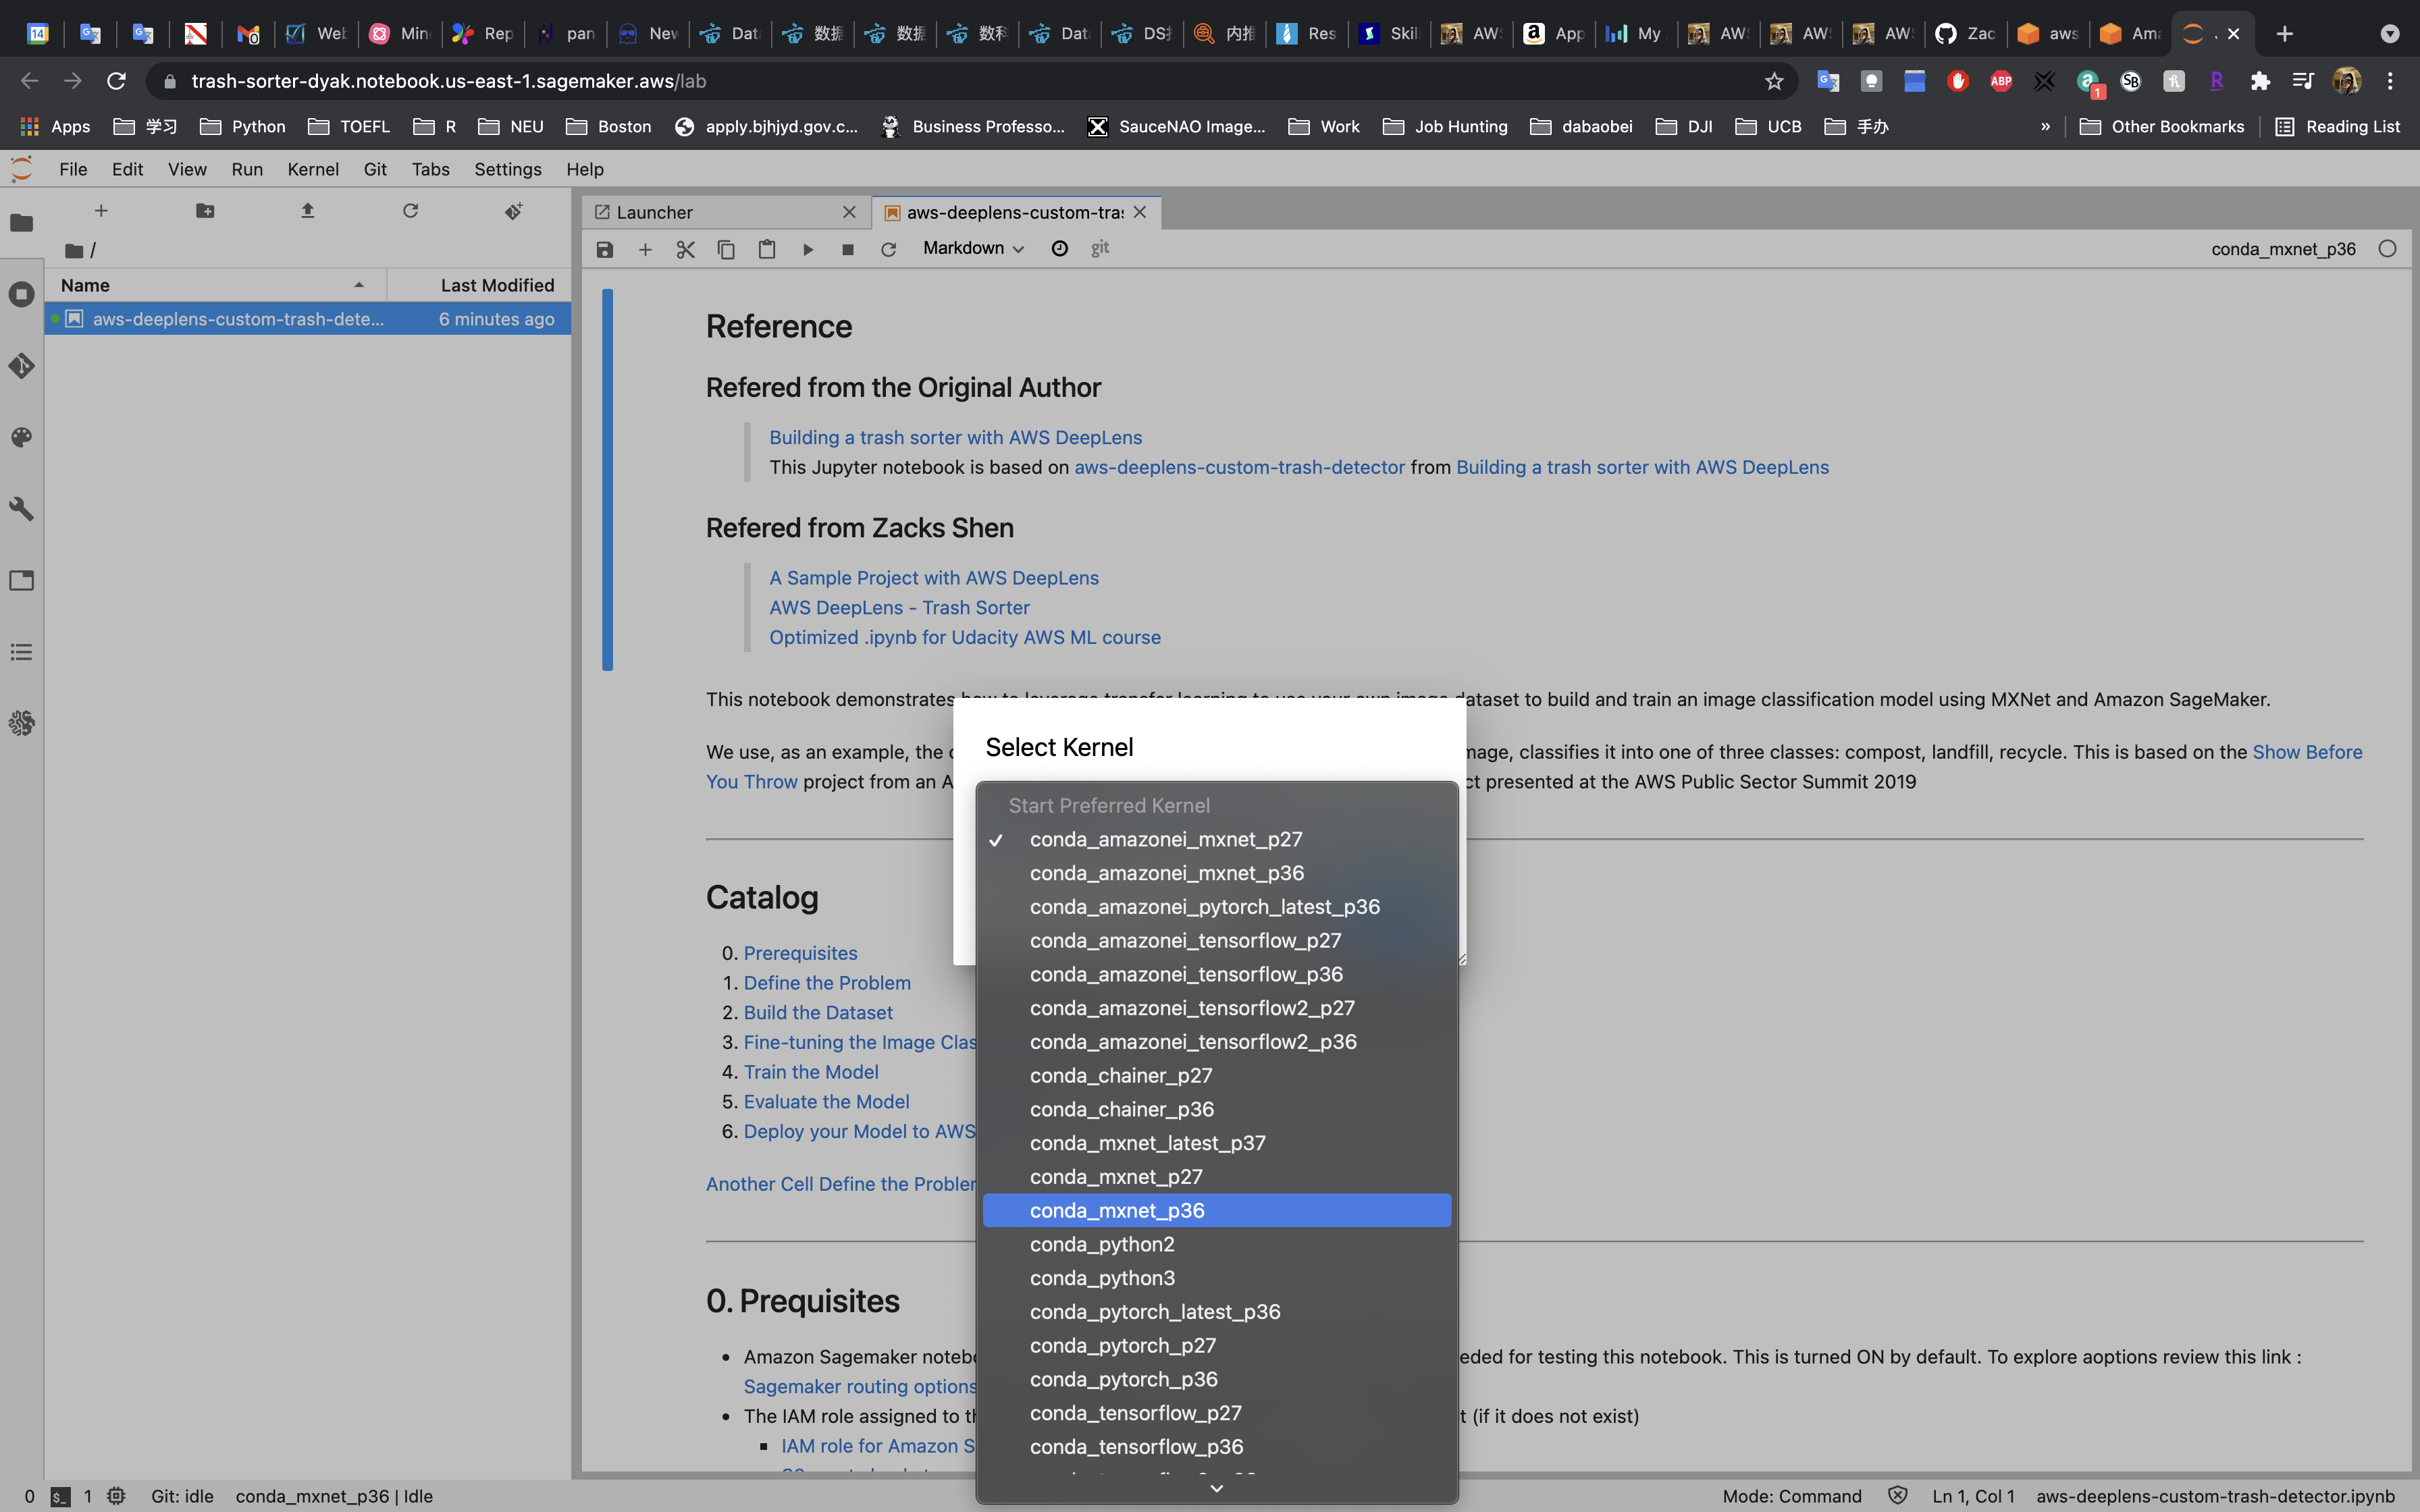
Select conda_mxnet_p36, then click on Select
Click on Table of content to view catalog
0. Prerequisites
Amazon S3 bucket info
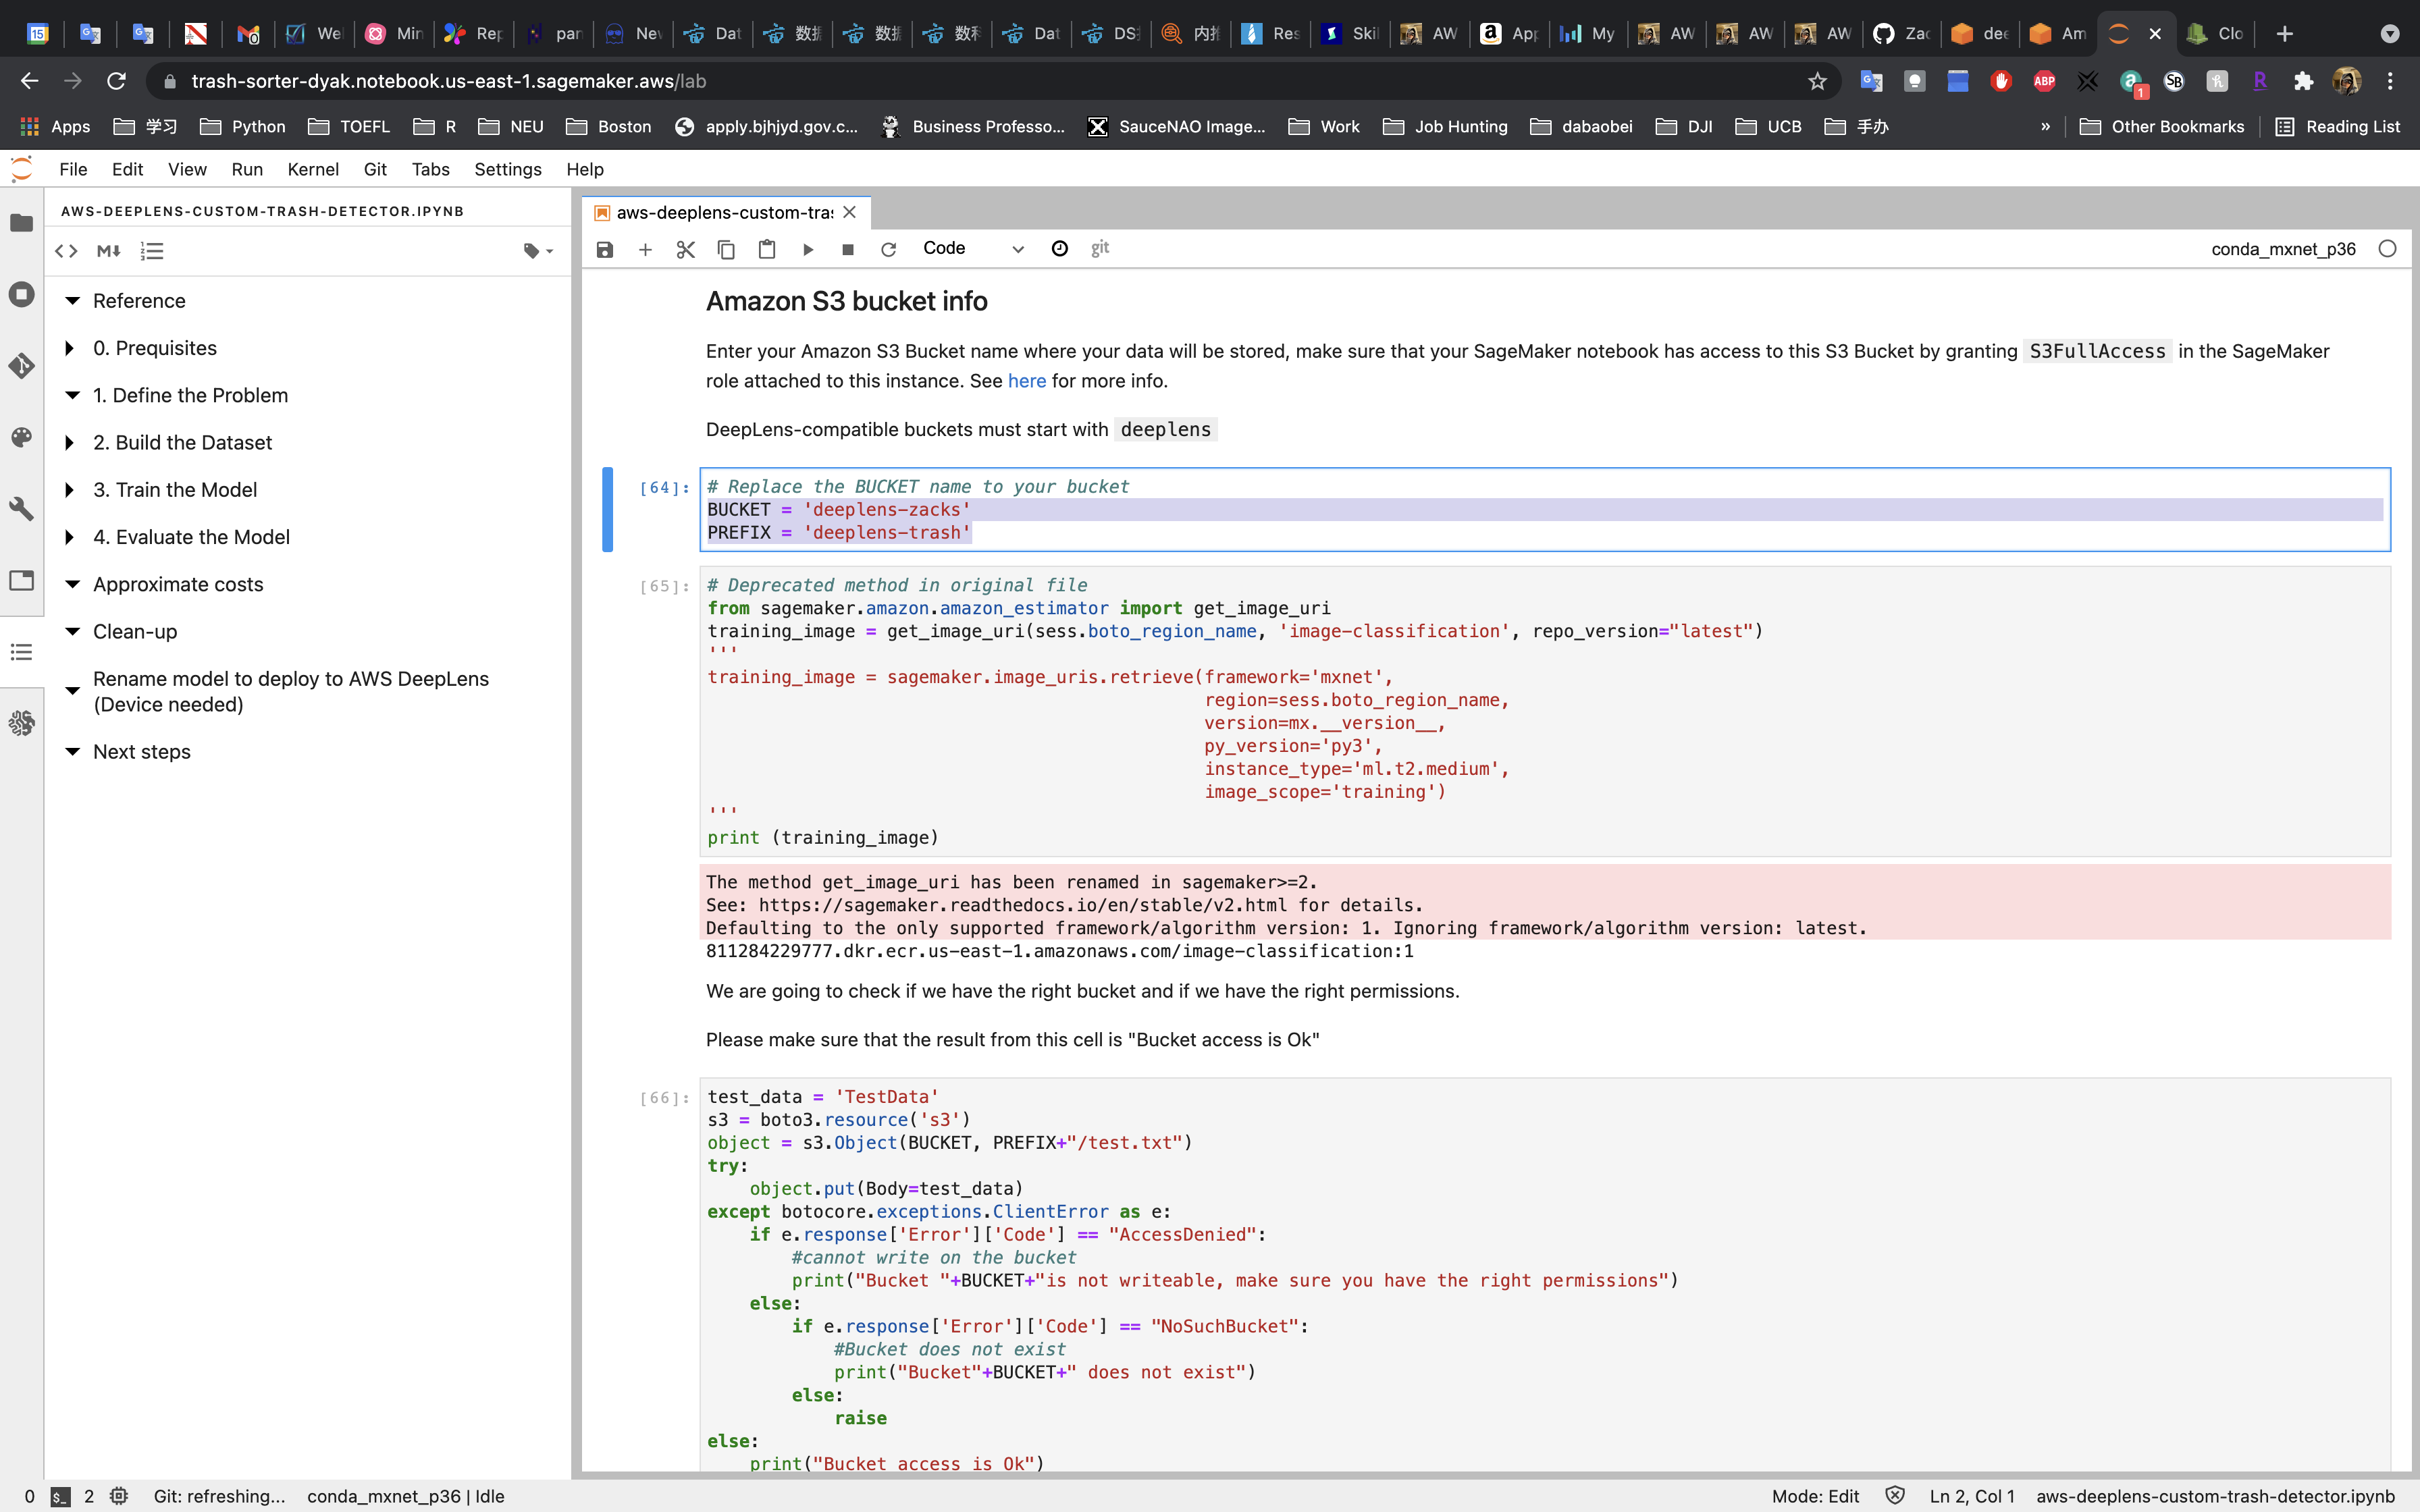
You MUST replace the BUCKET to your bucket name.
You MUST replace the PREFIX to yours.
- Prefix can be any name.
- Prefix is used to name the files and folds in the next steps.
If your bucket name (the path) is correct and with proper permissions, you can see Bucket access is OK.
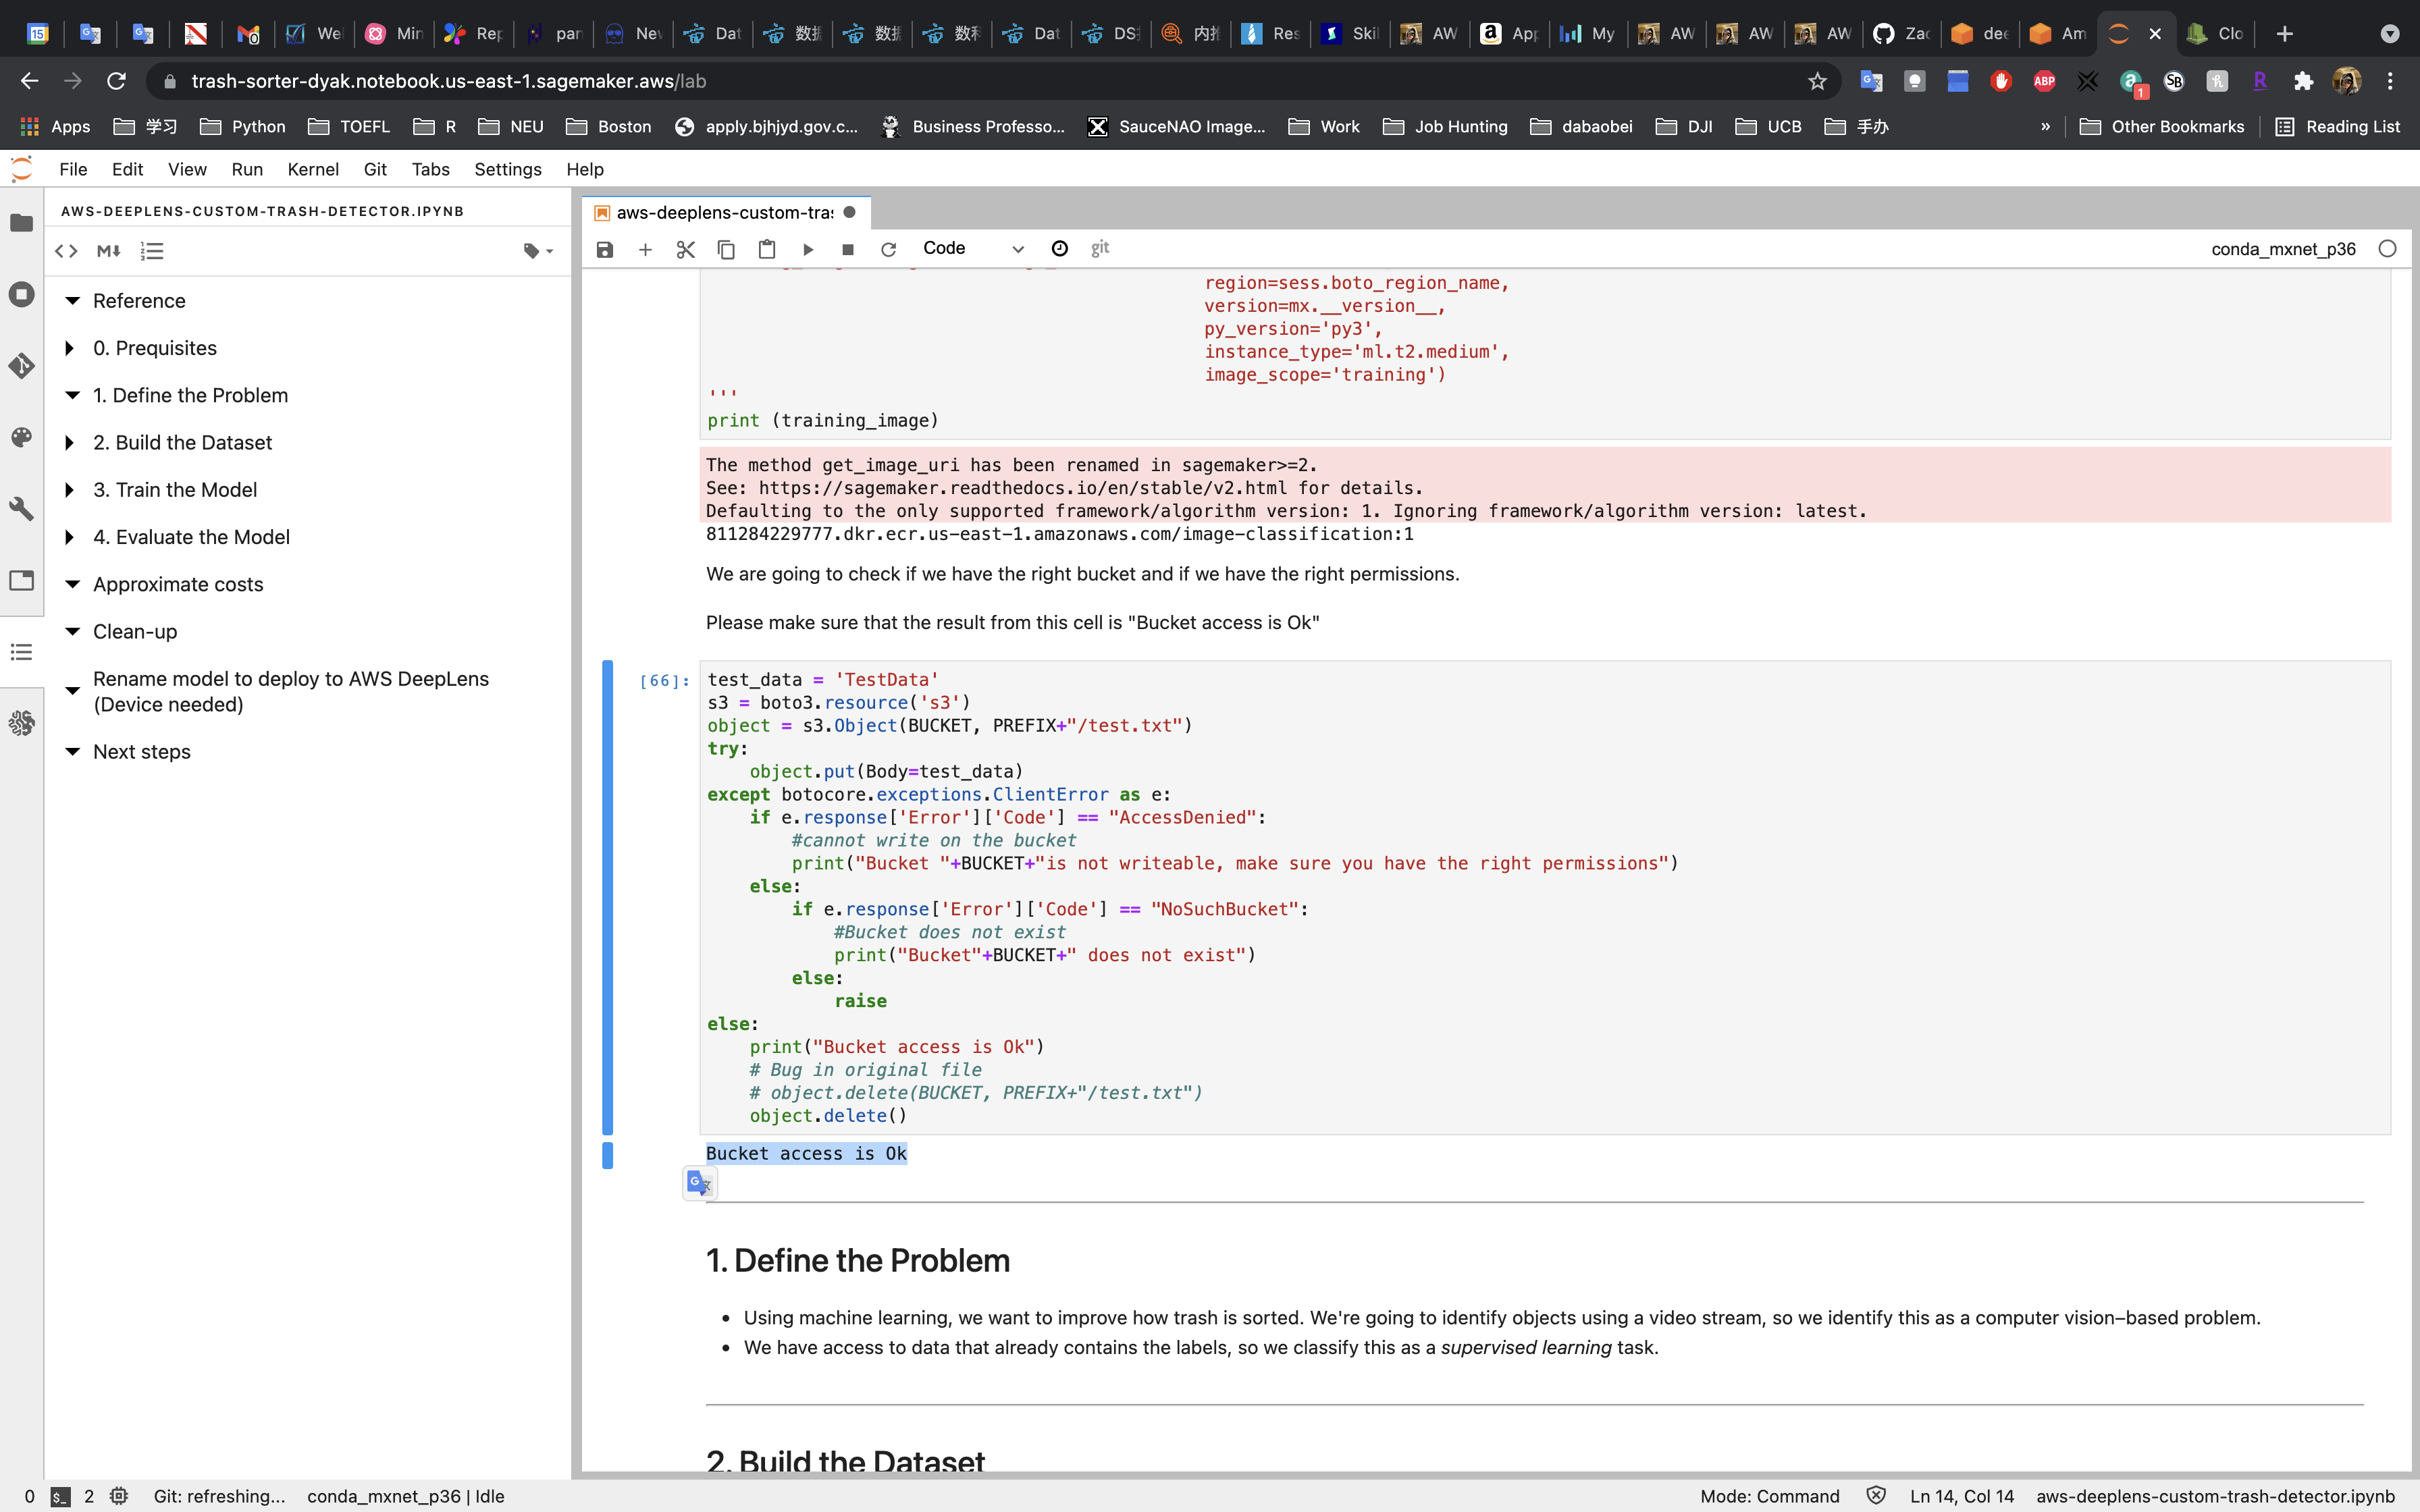
Otherwise, check your BUCKET and PREFIX values.
And the S3 permission of your SageMaker Jupyter Instance should be the following(the bucket name should be yours):
1 | { |
2. Build the Dataset
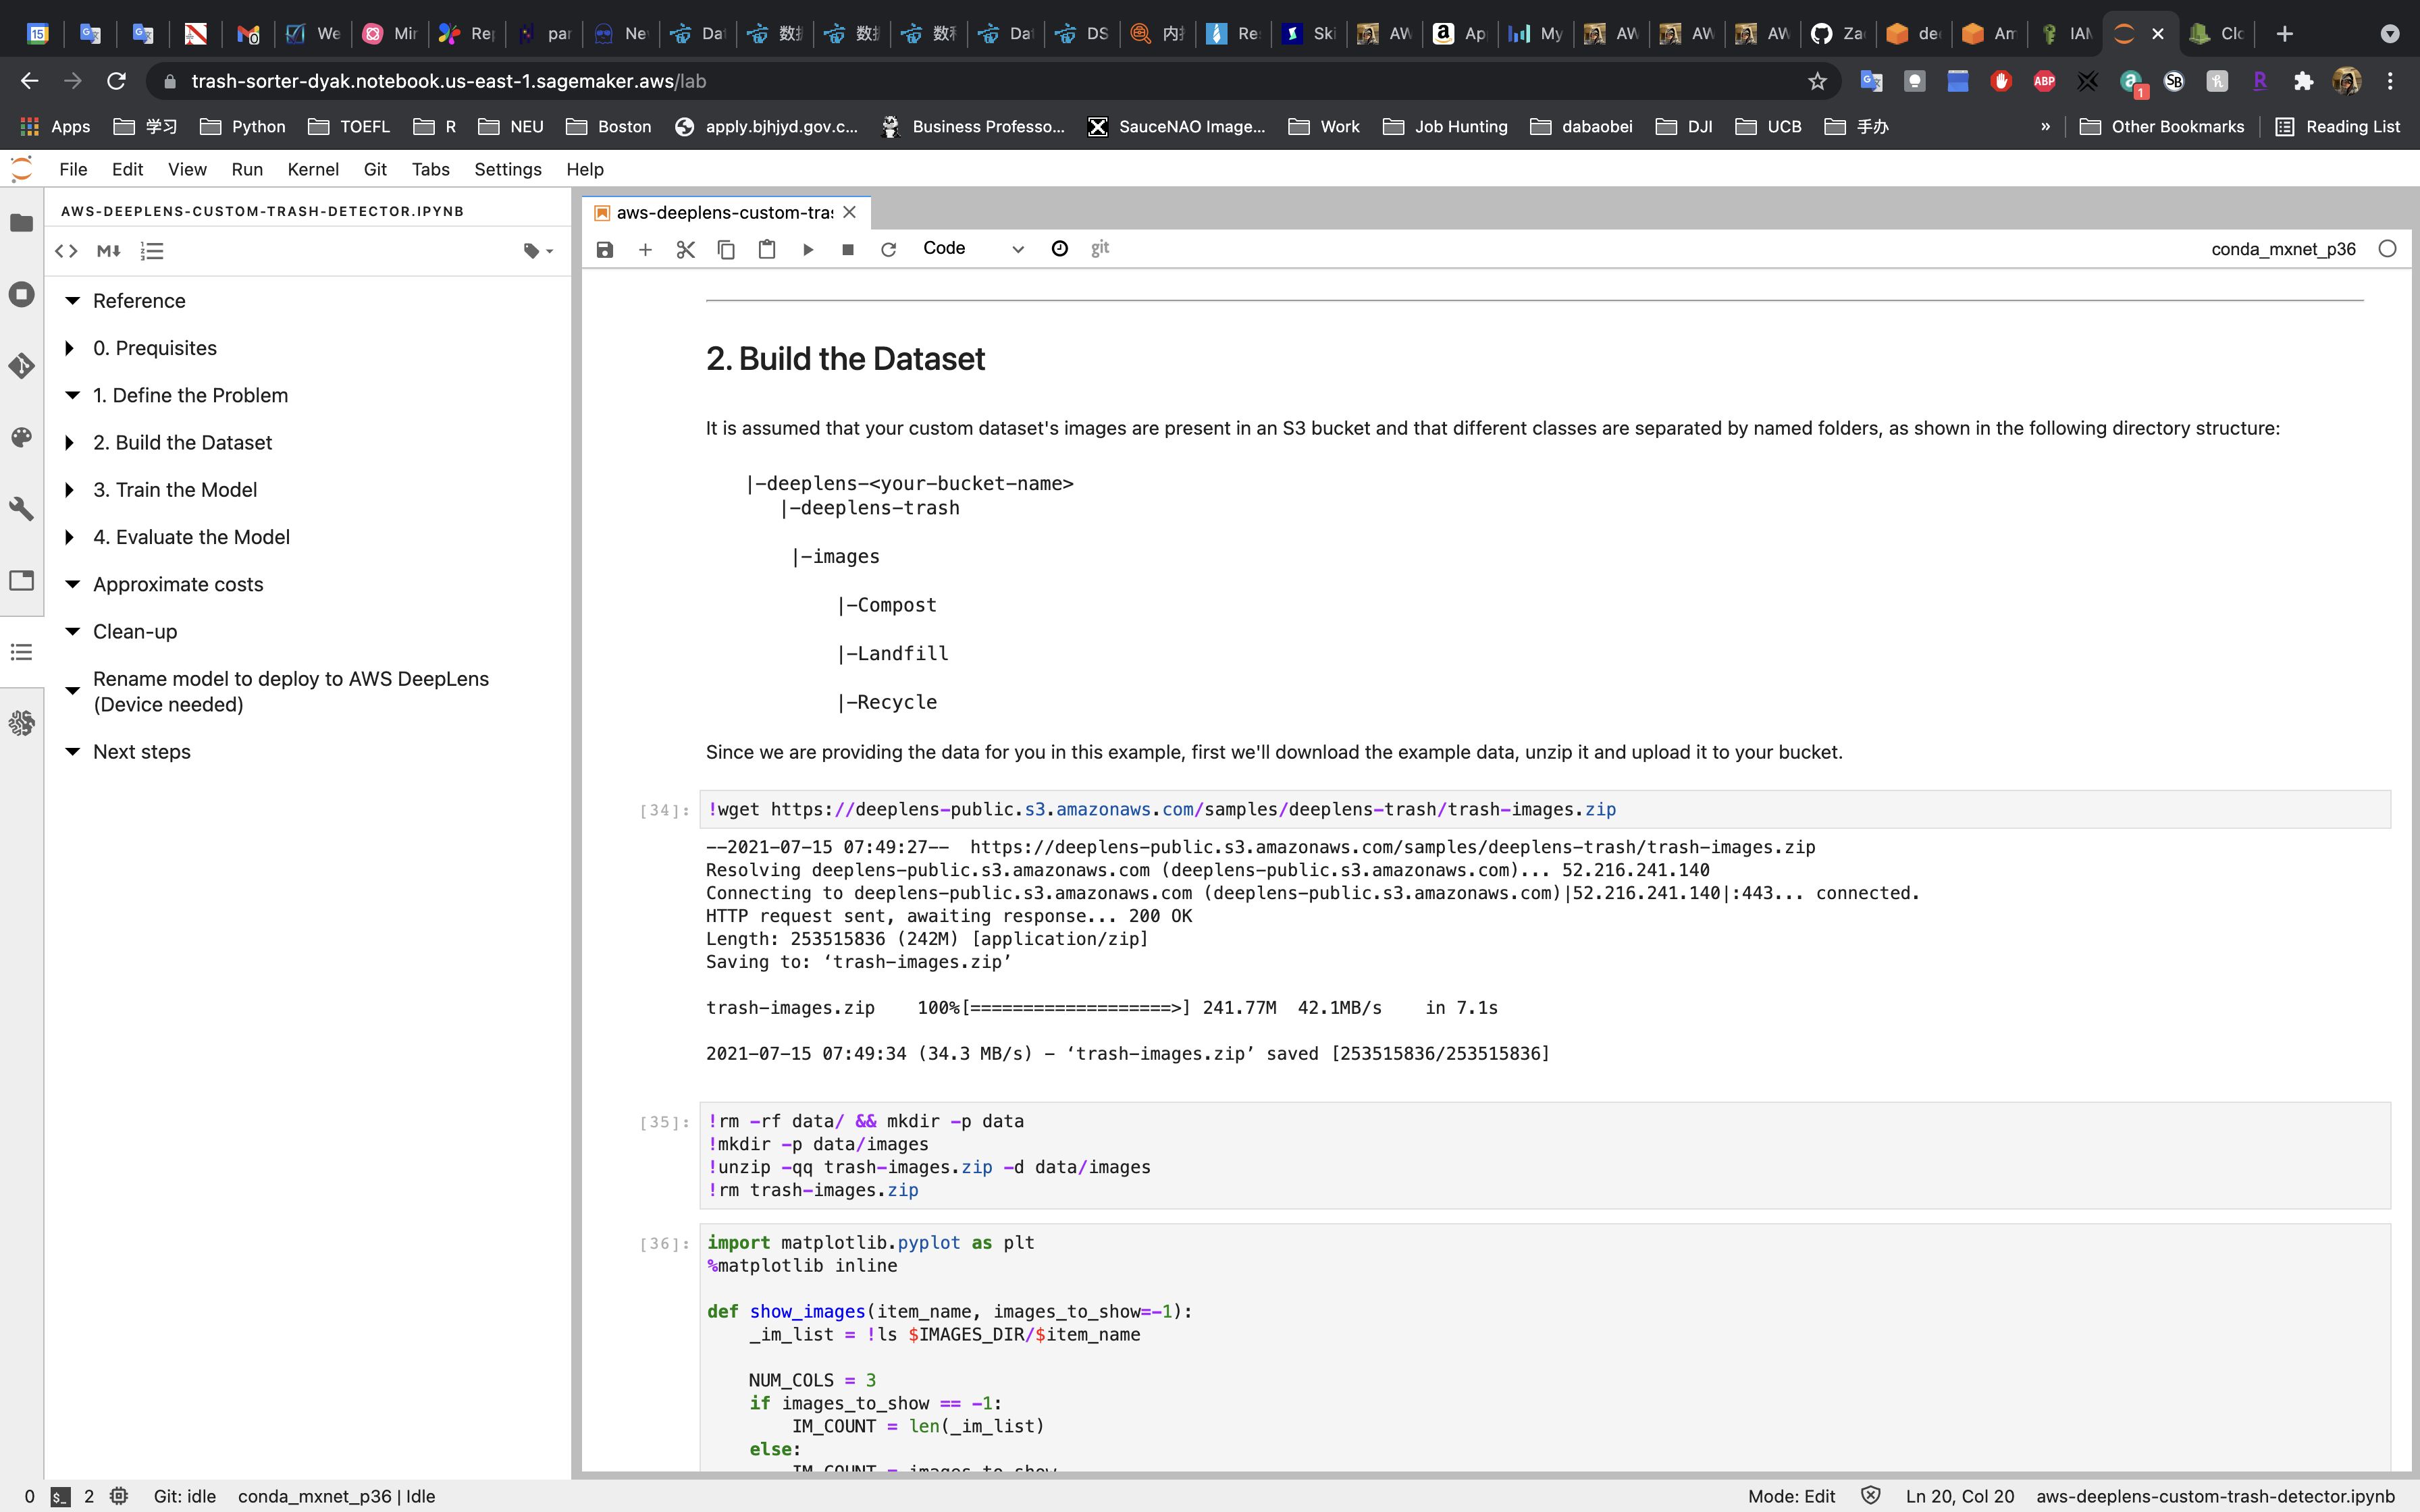
We download the dataset from https://deeplens-public.s3.amazonaws.com/samples/deeplens-trash/trash-images.zip to SageMaker instance.
After display the images, we copy the dataset from SageMaker instance to S3 bucket.

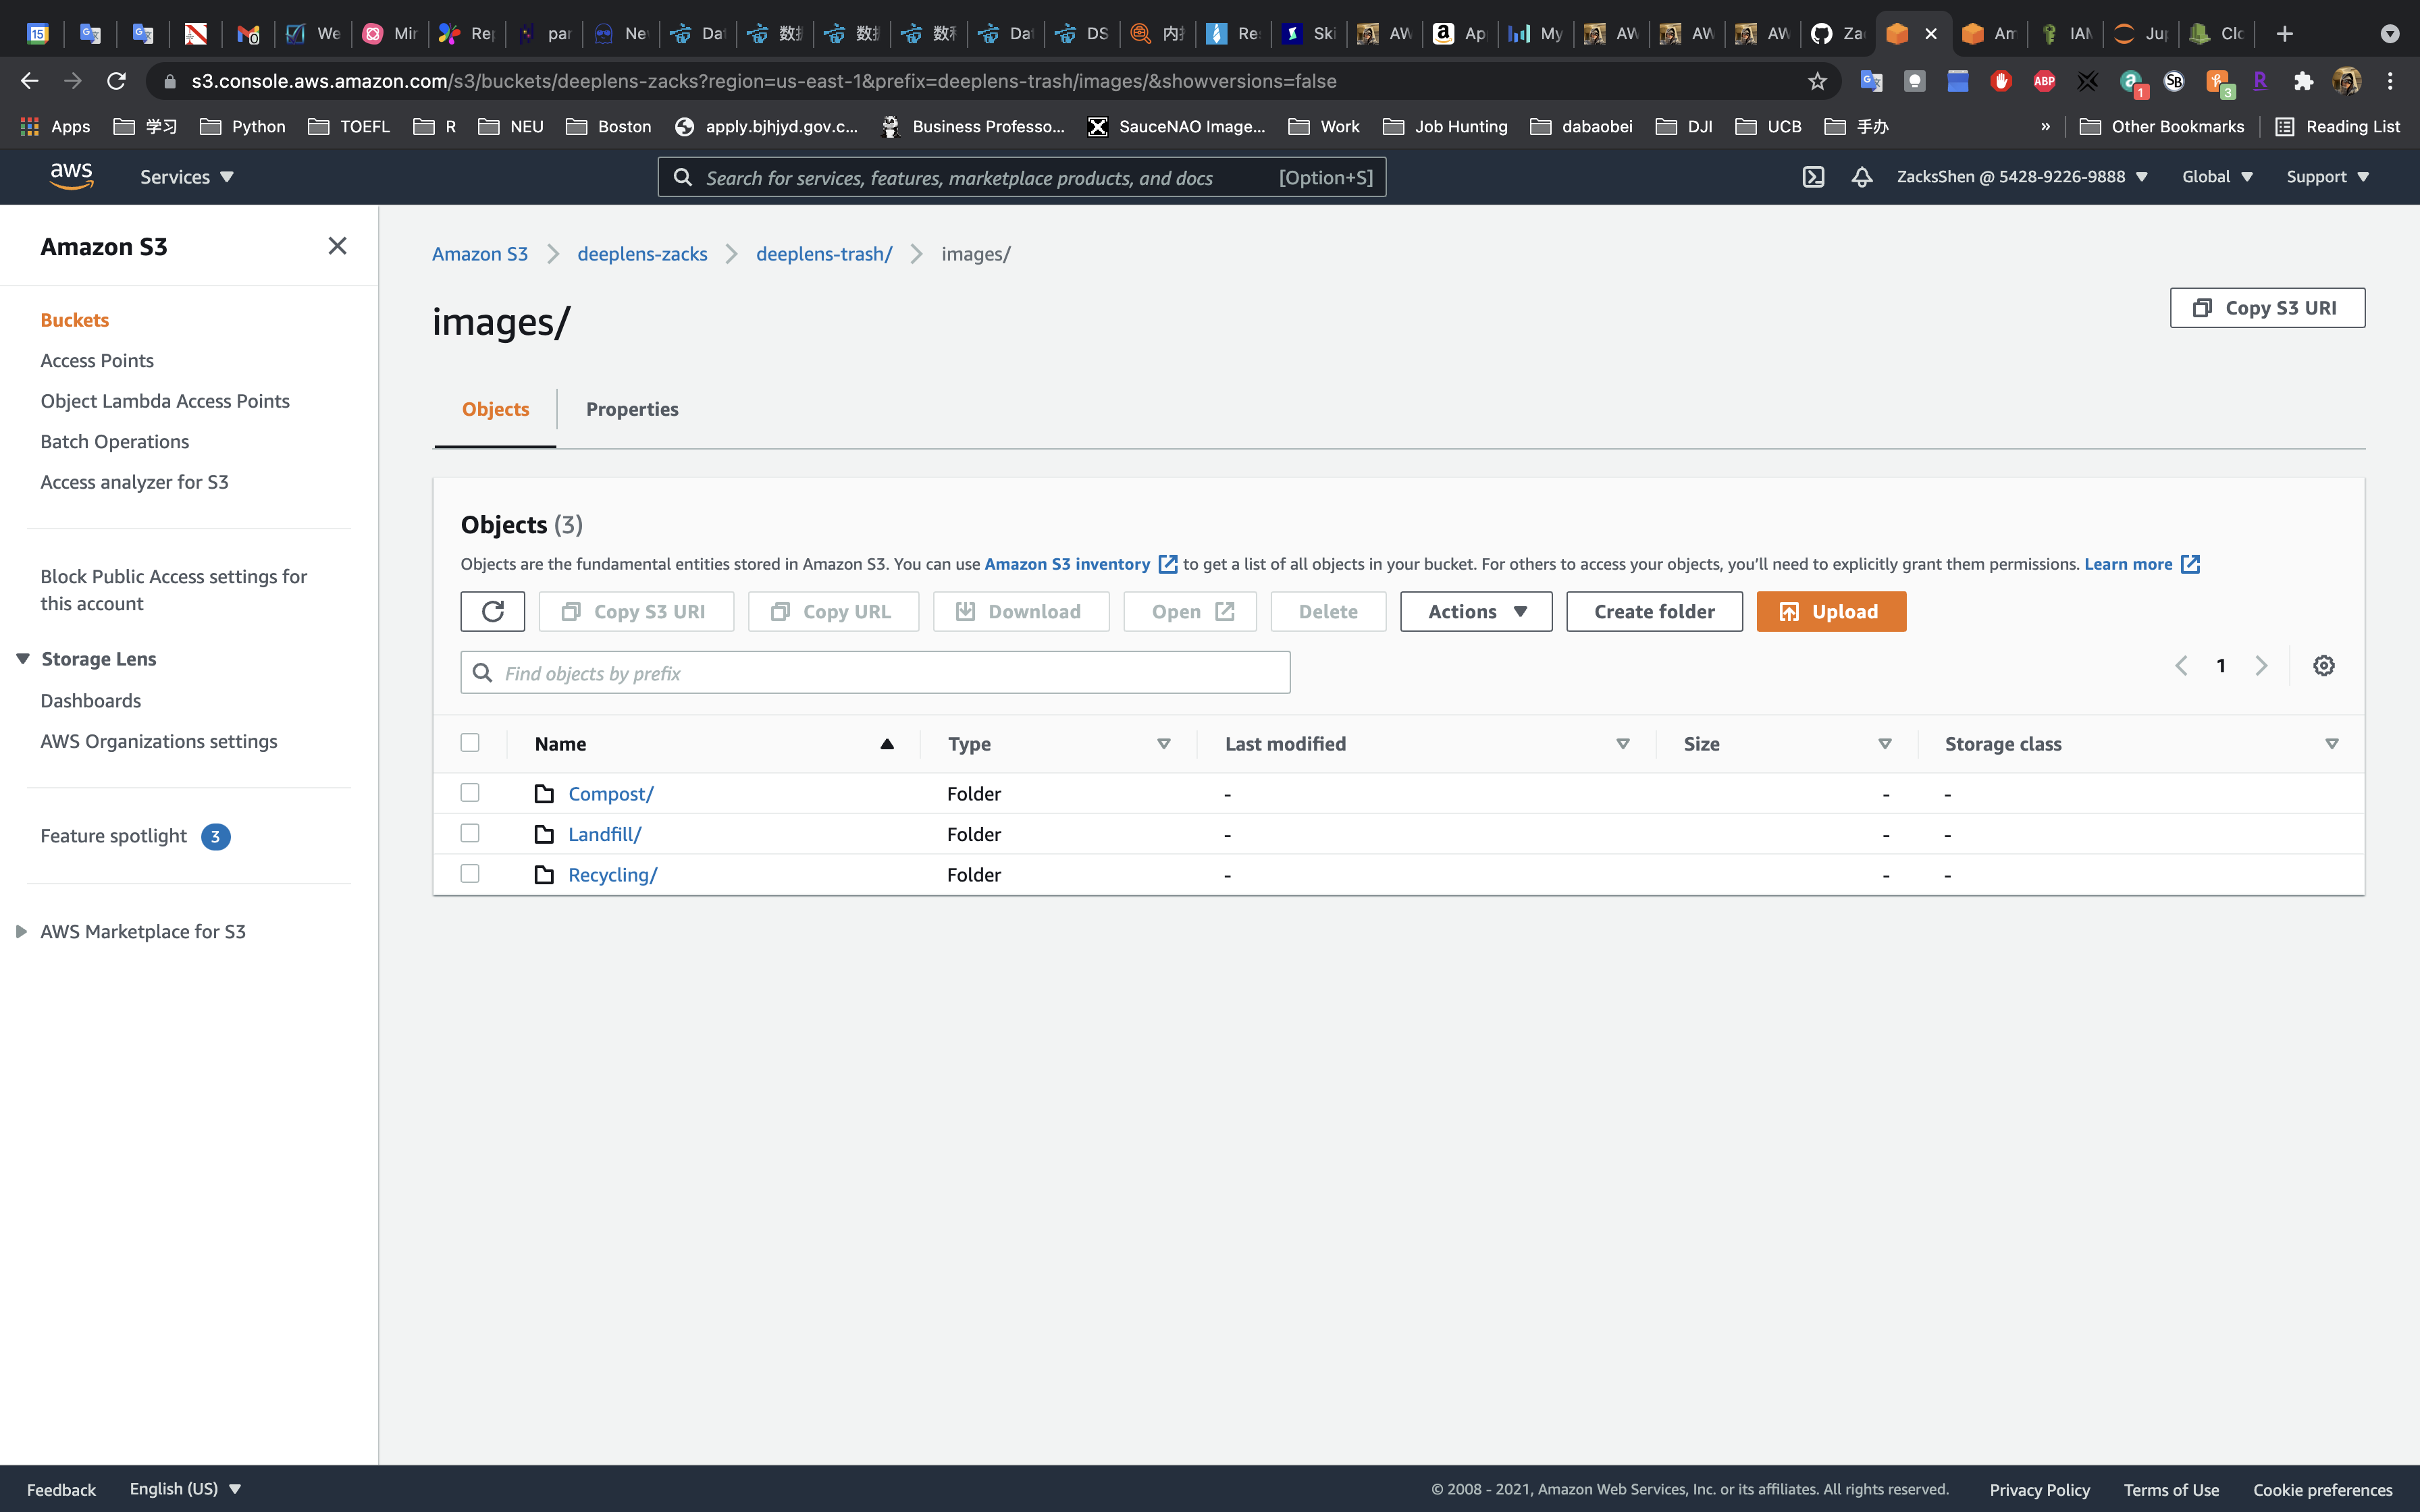
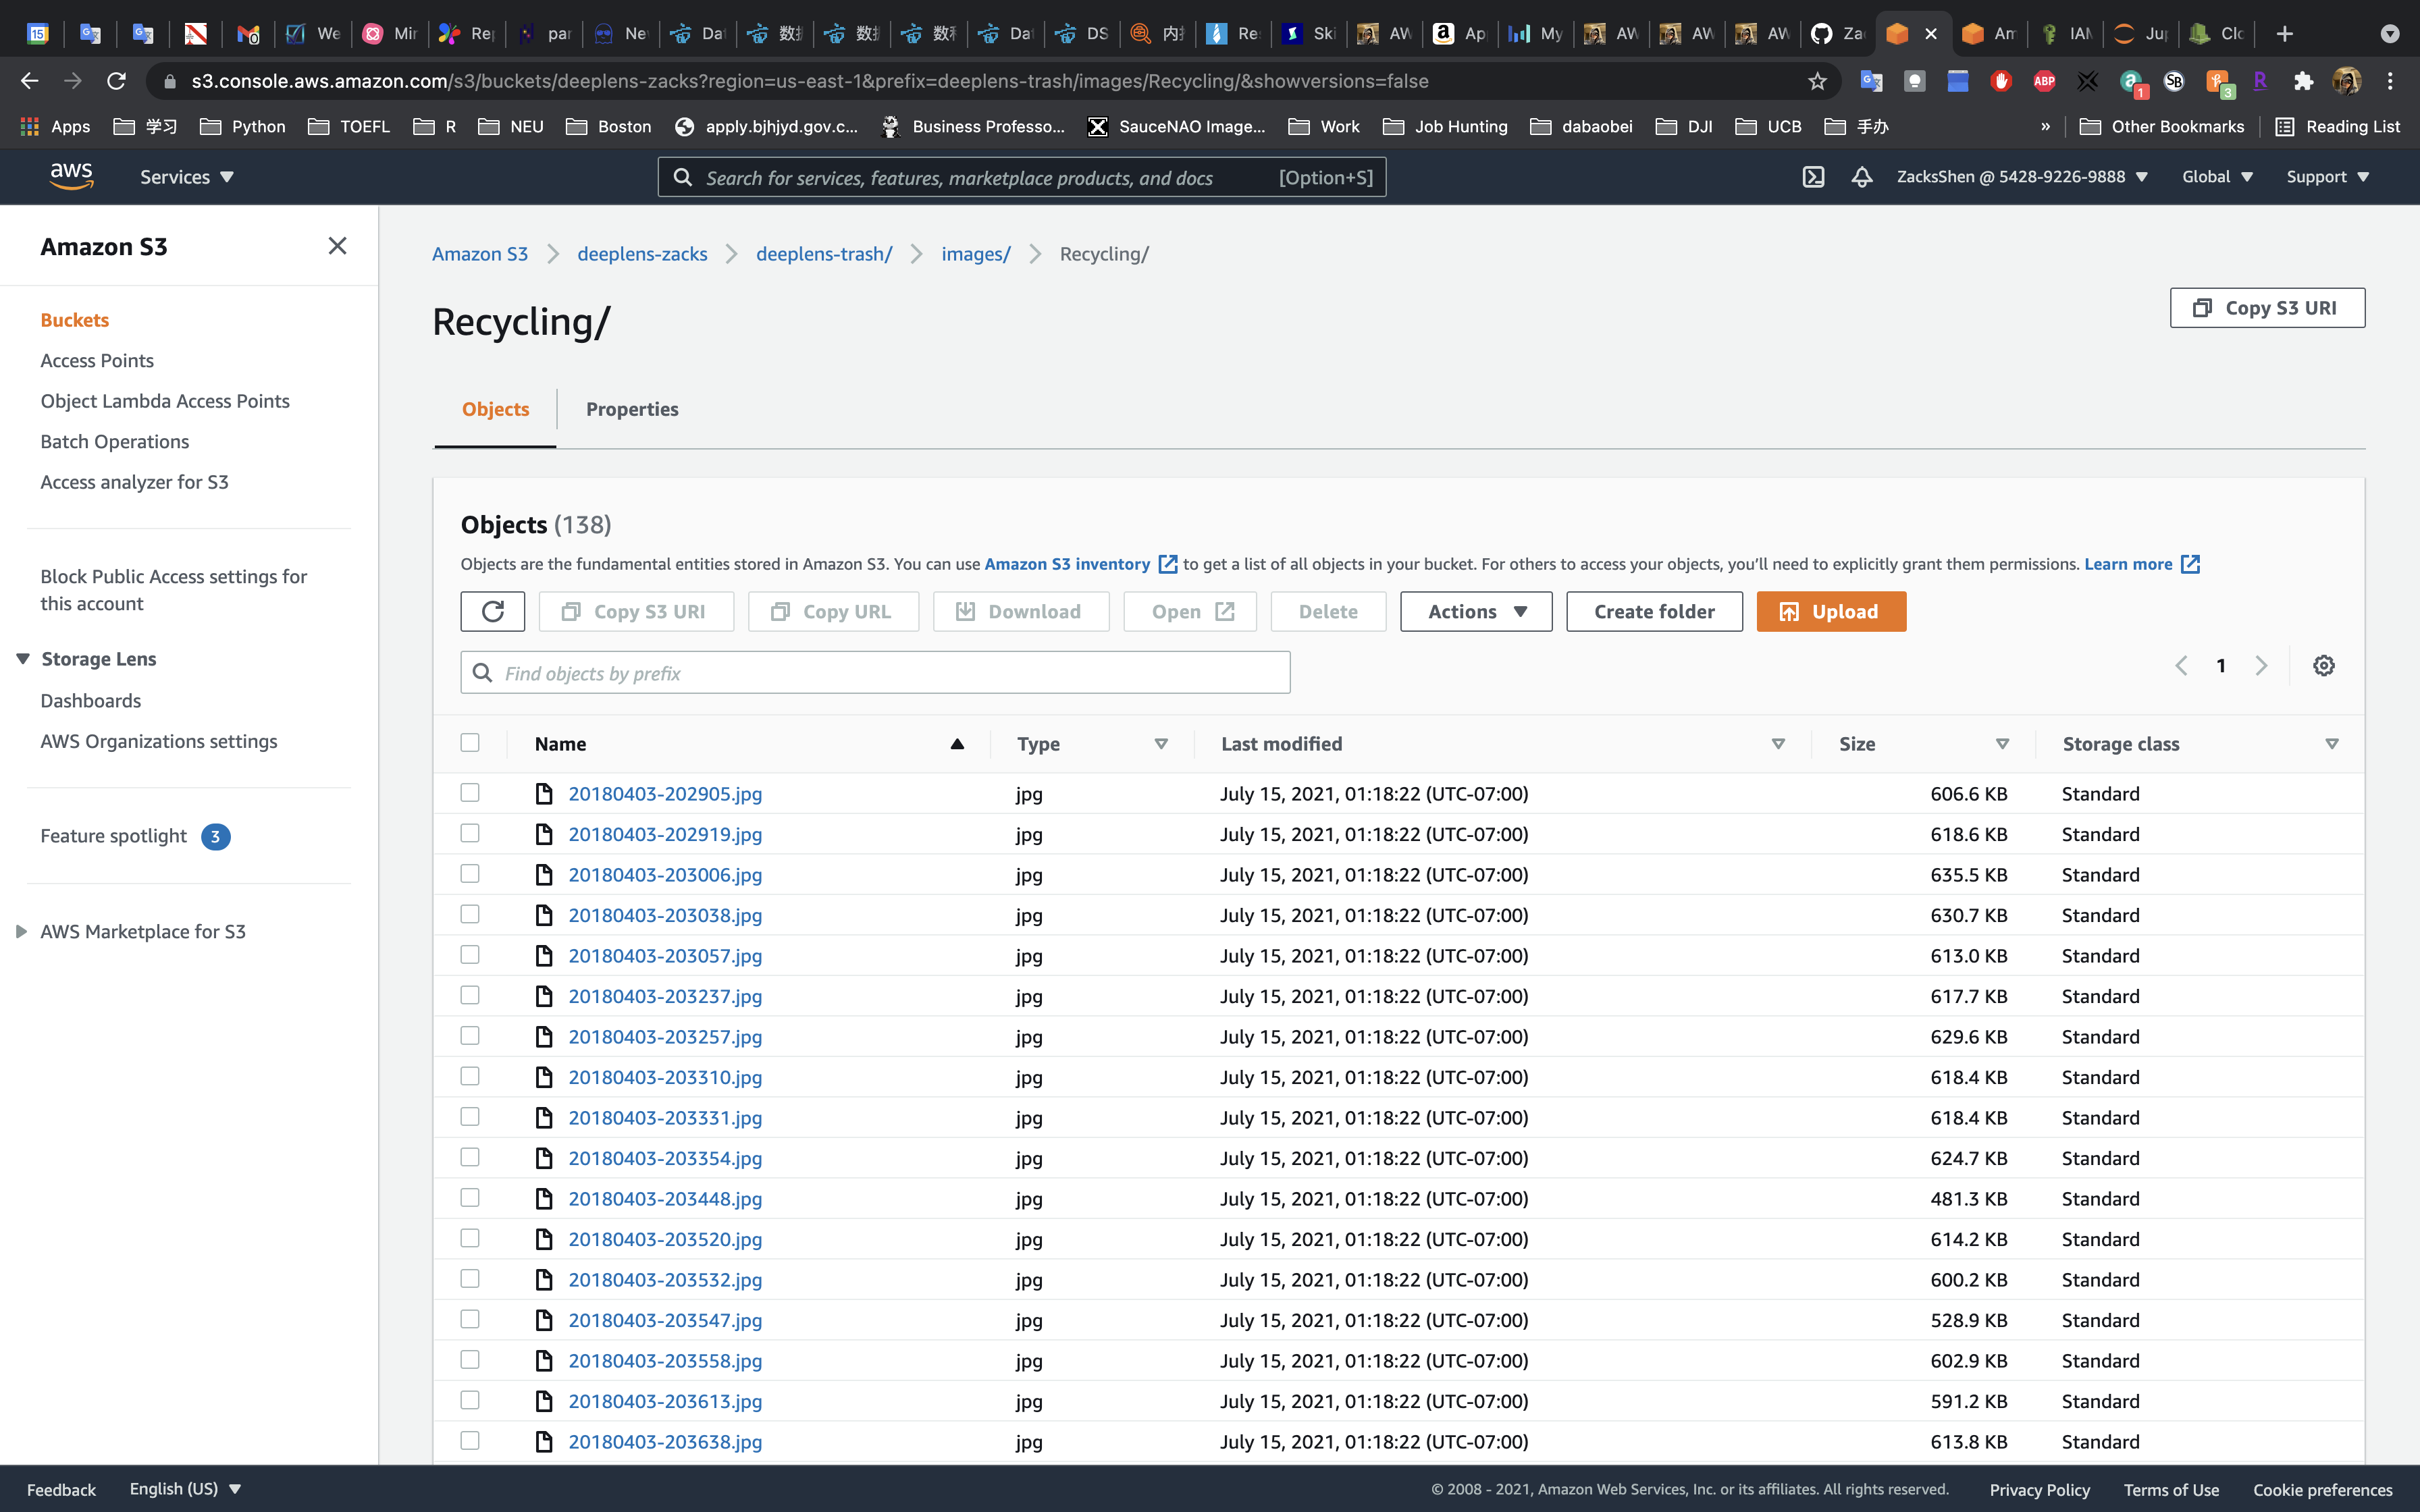
You can also check the images in your S3 bucket.
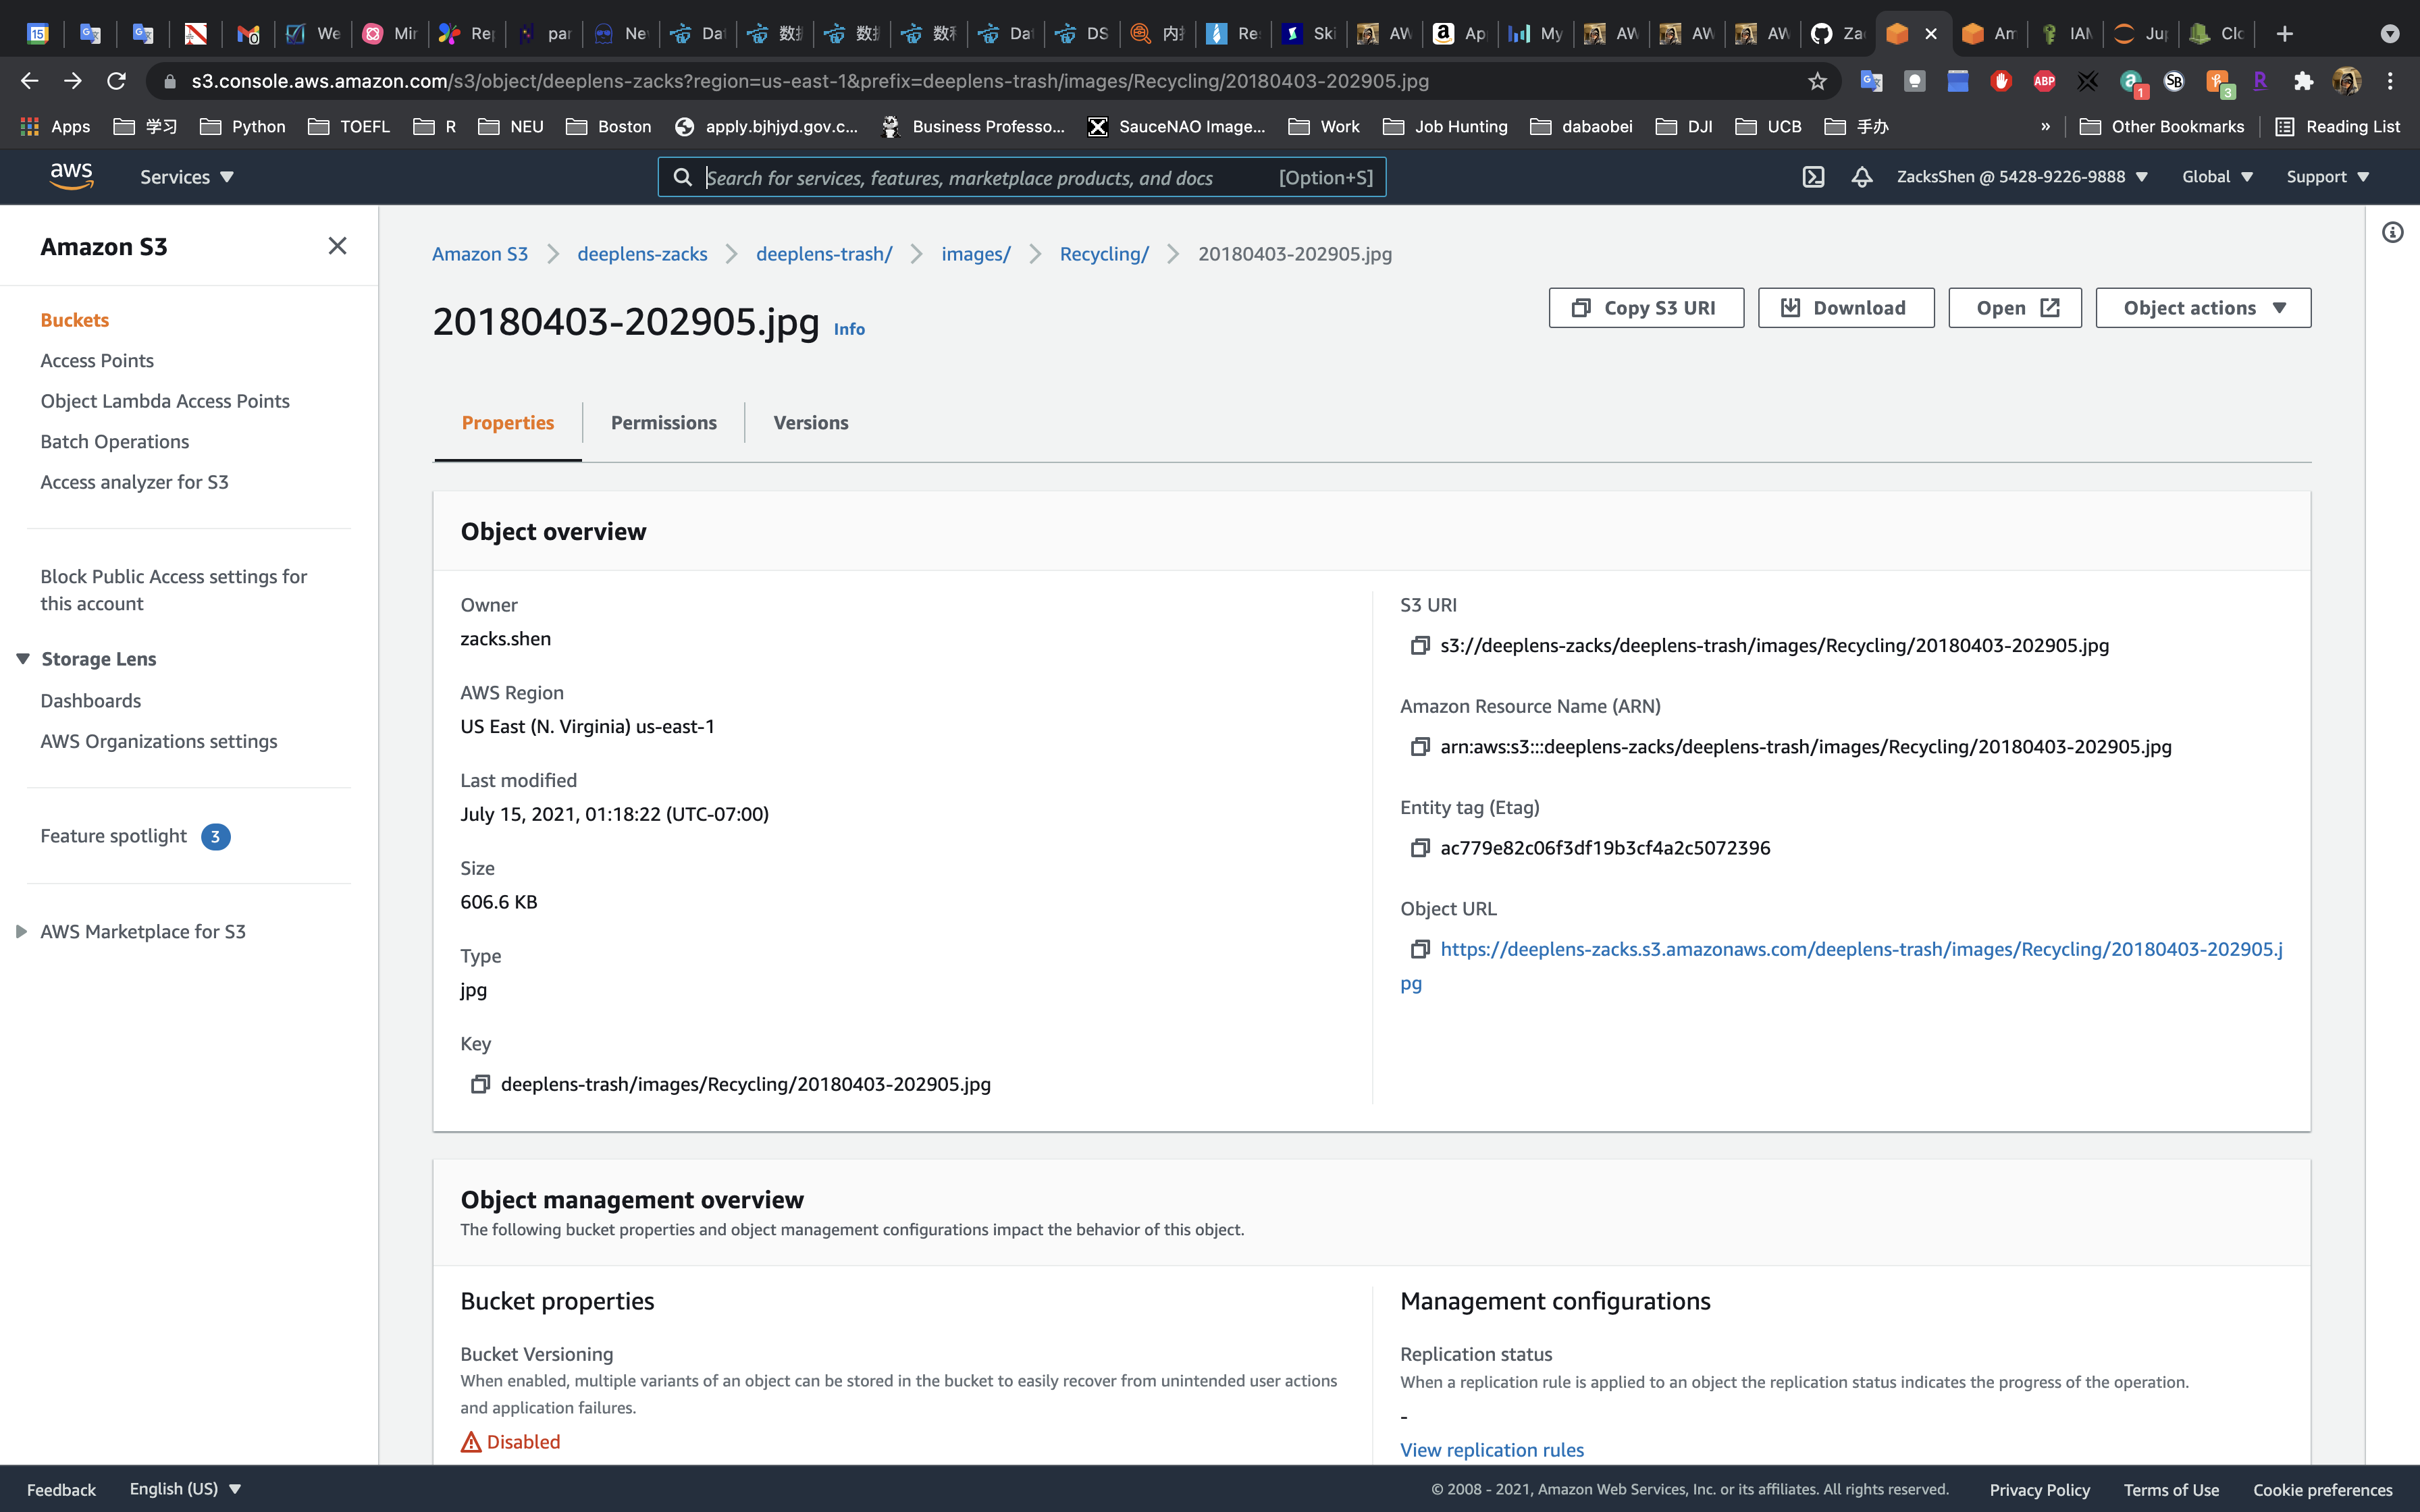
Tip: You may not open your image from the Internet if you do not grant Public Access permission to your S3 bucket.
We have 384 training samples, 155 validation, and 10 test.
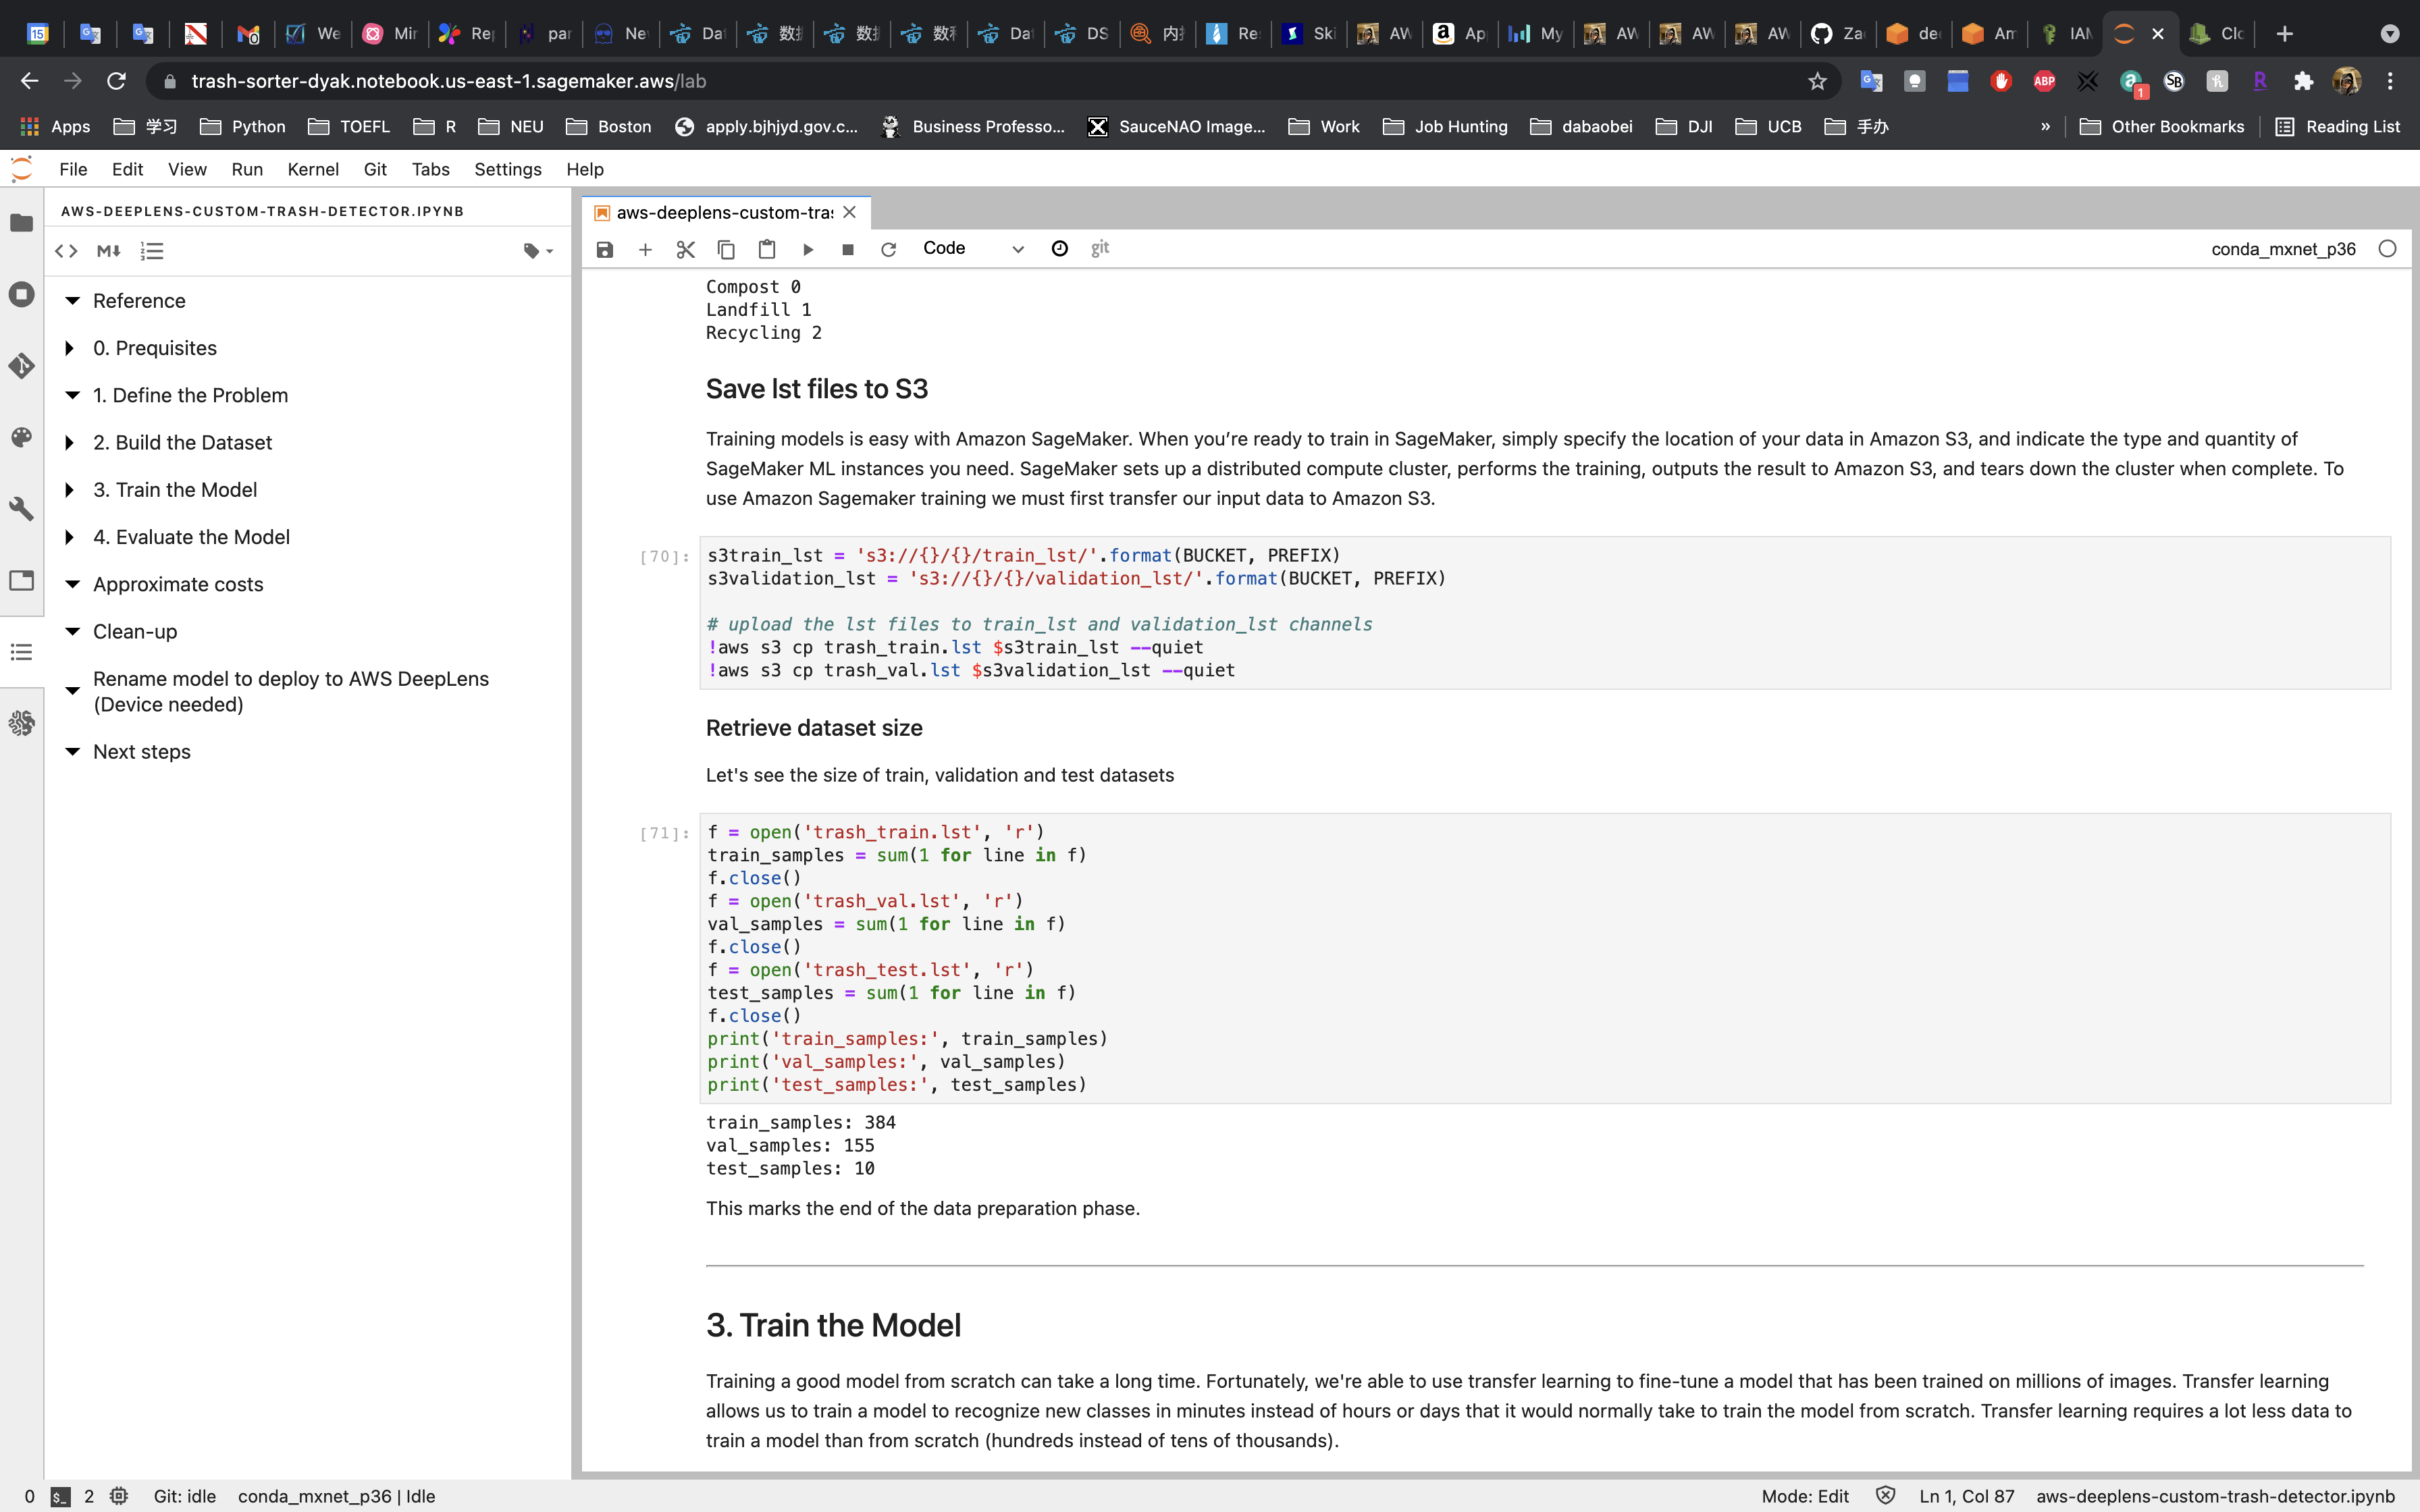
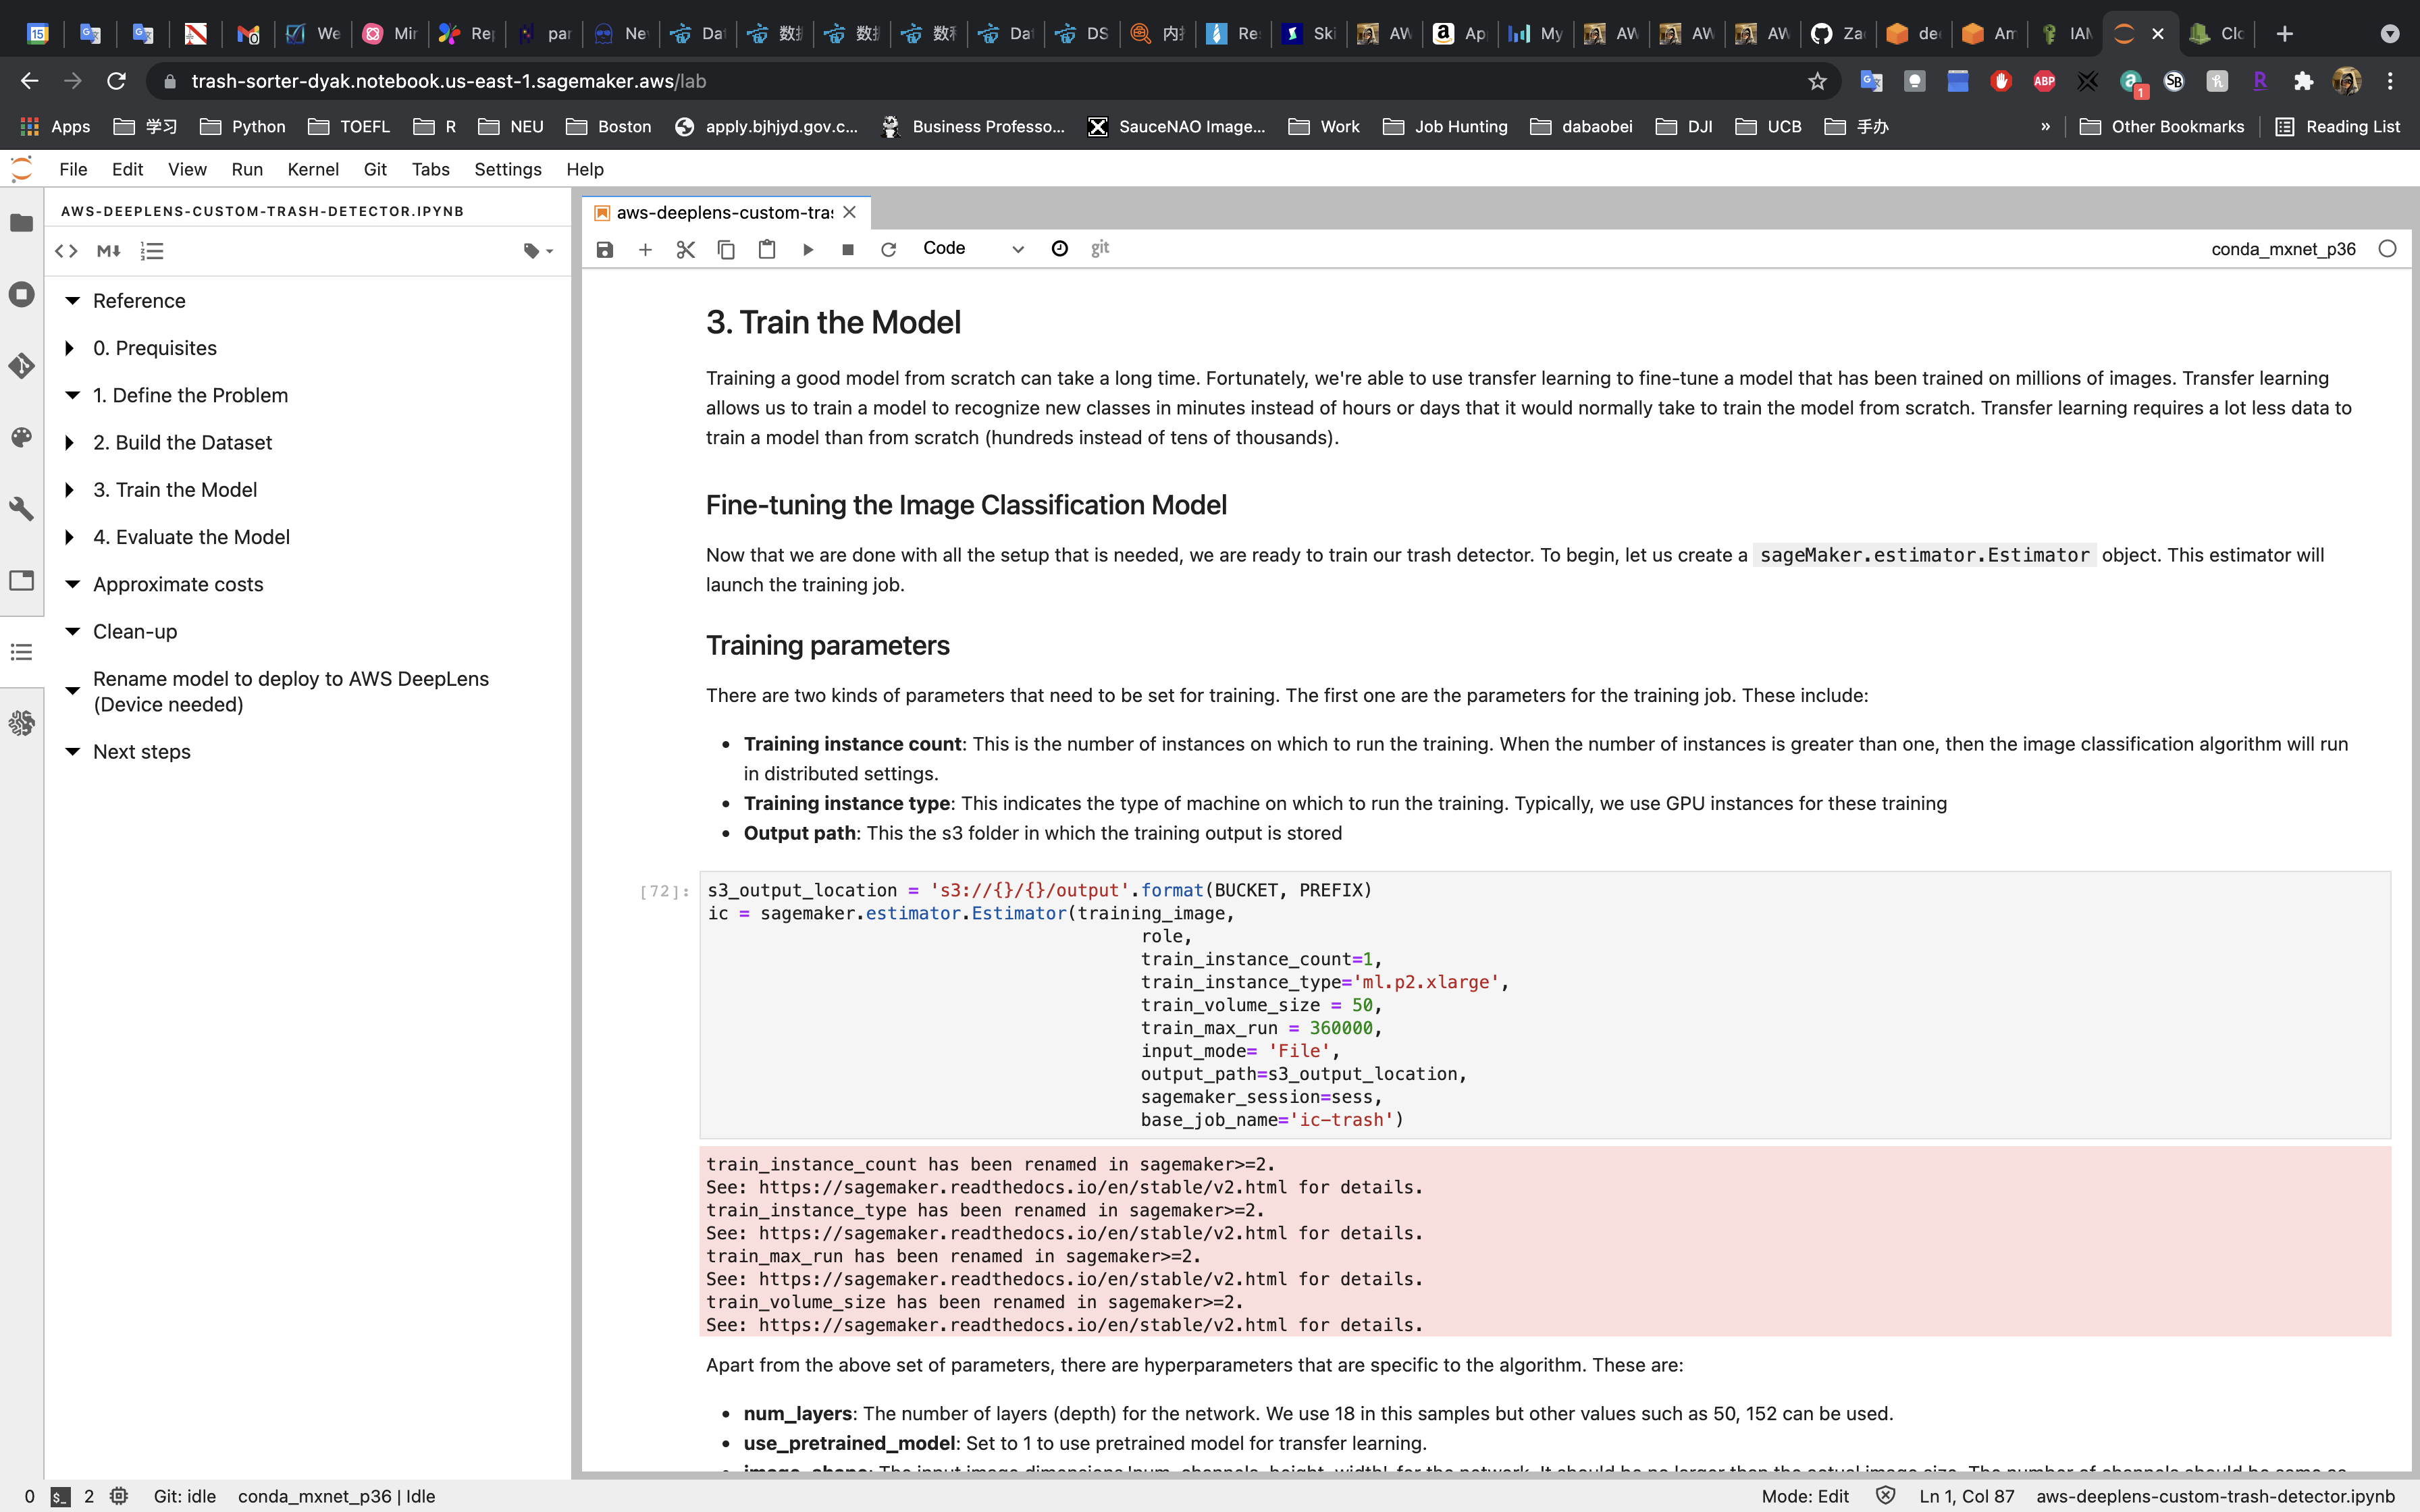
3. Train the Model
Set the Model Parameters.
Set the Hyperparameters.
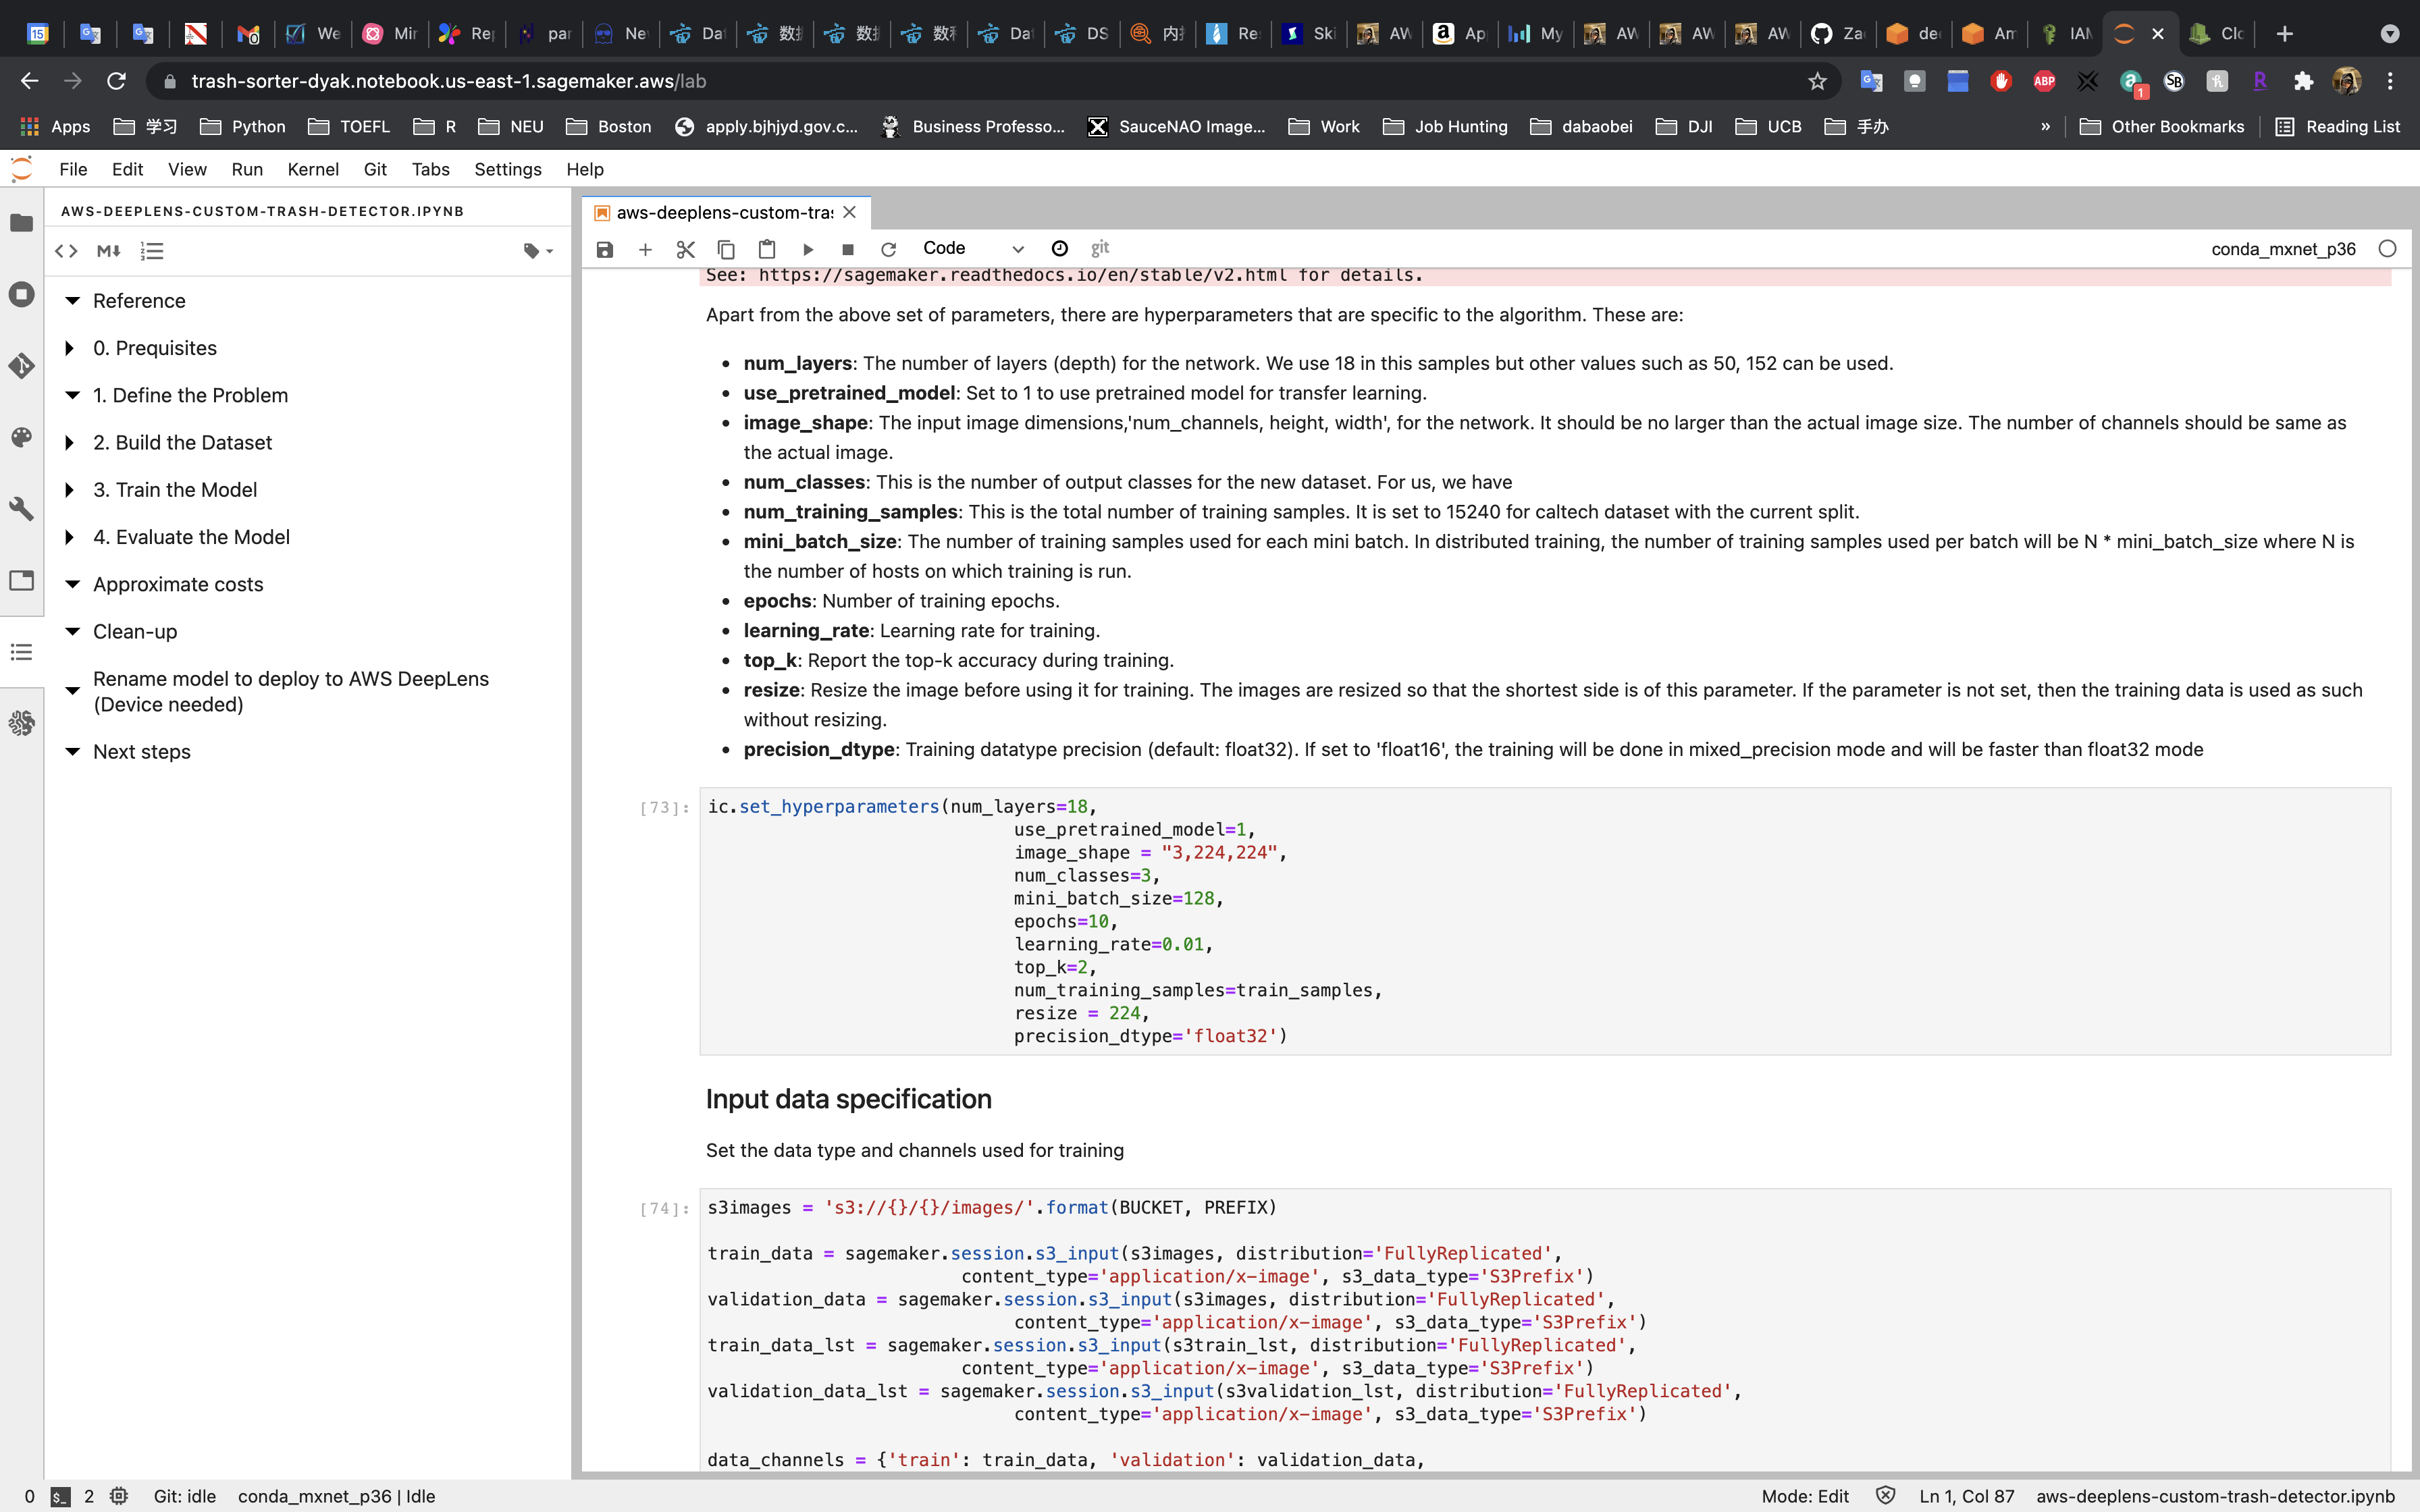
Input data specification
Training
Training may take around 7 minutes.
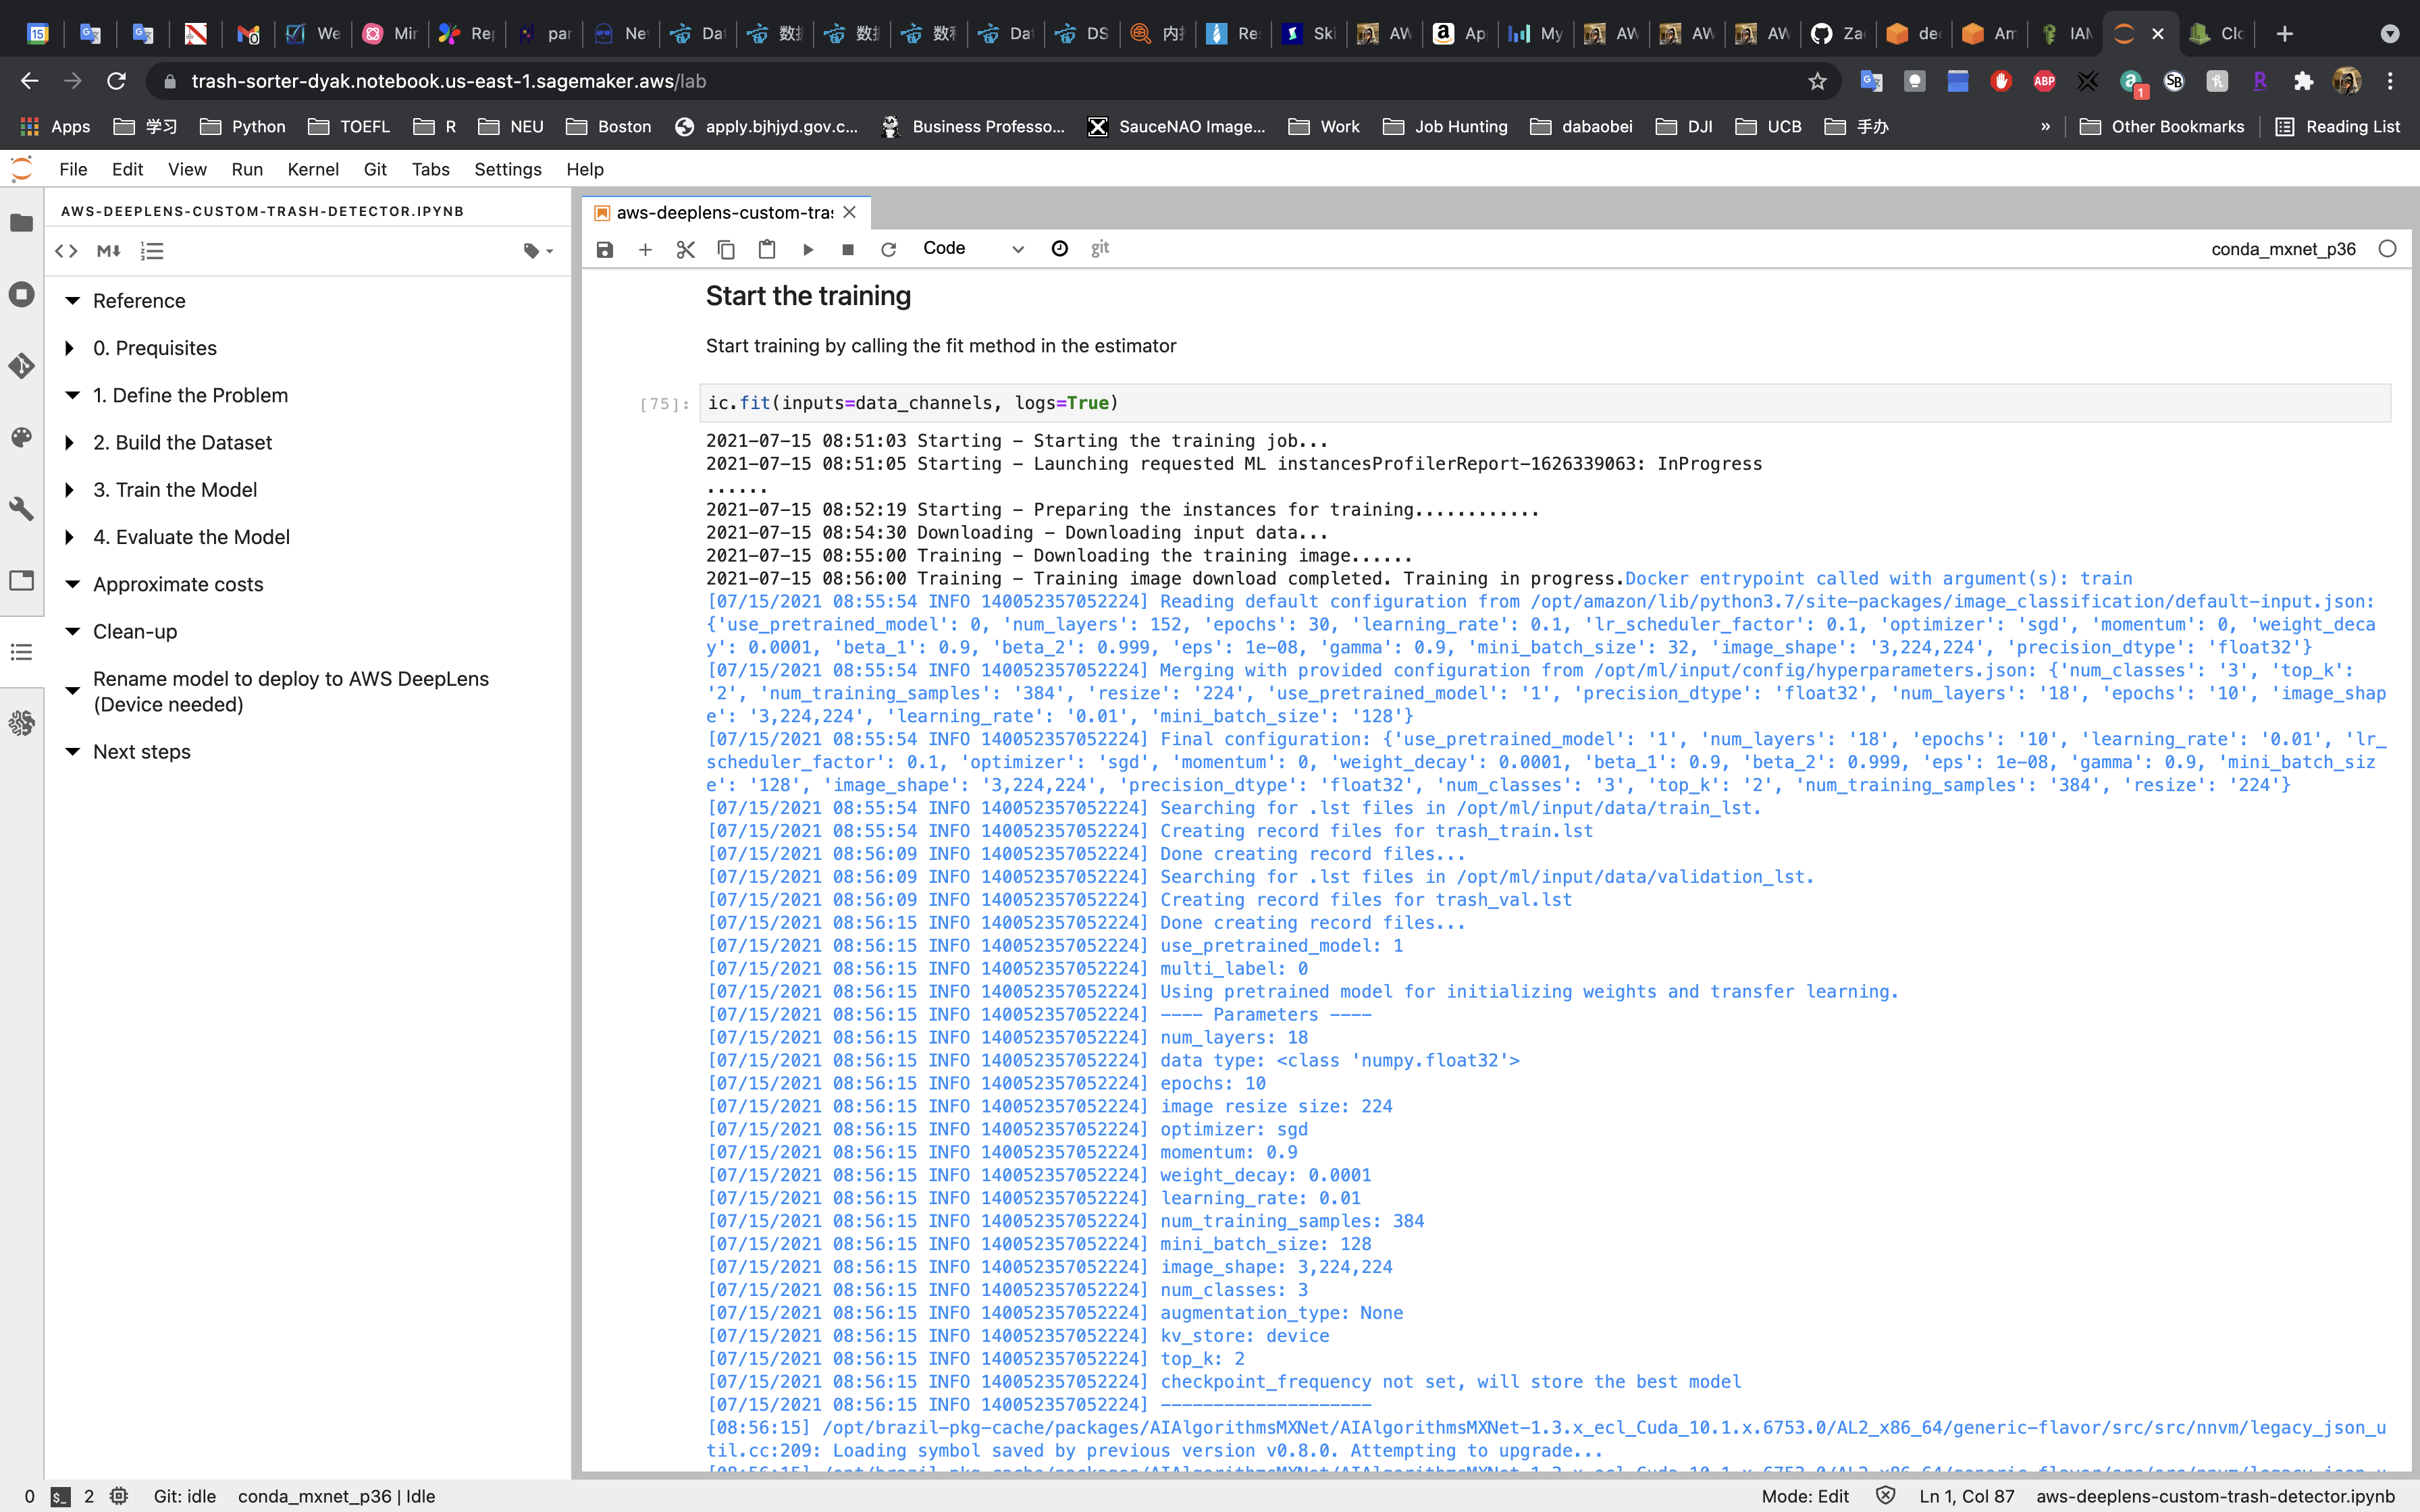
Once it finished, you can see the log end info.
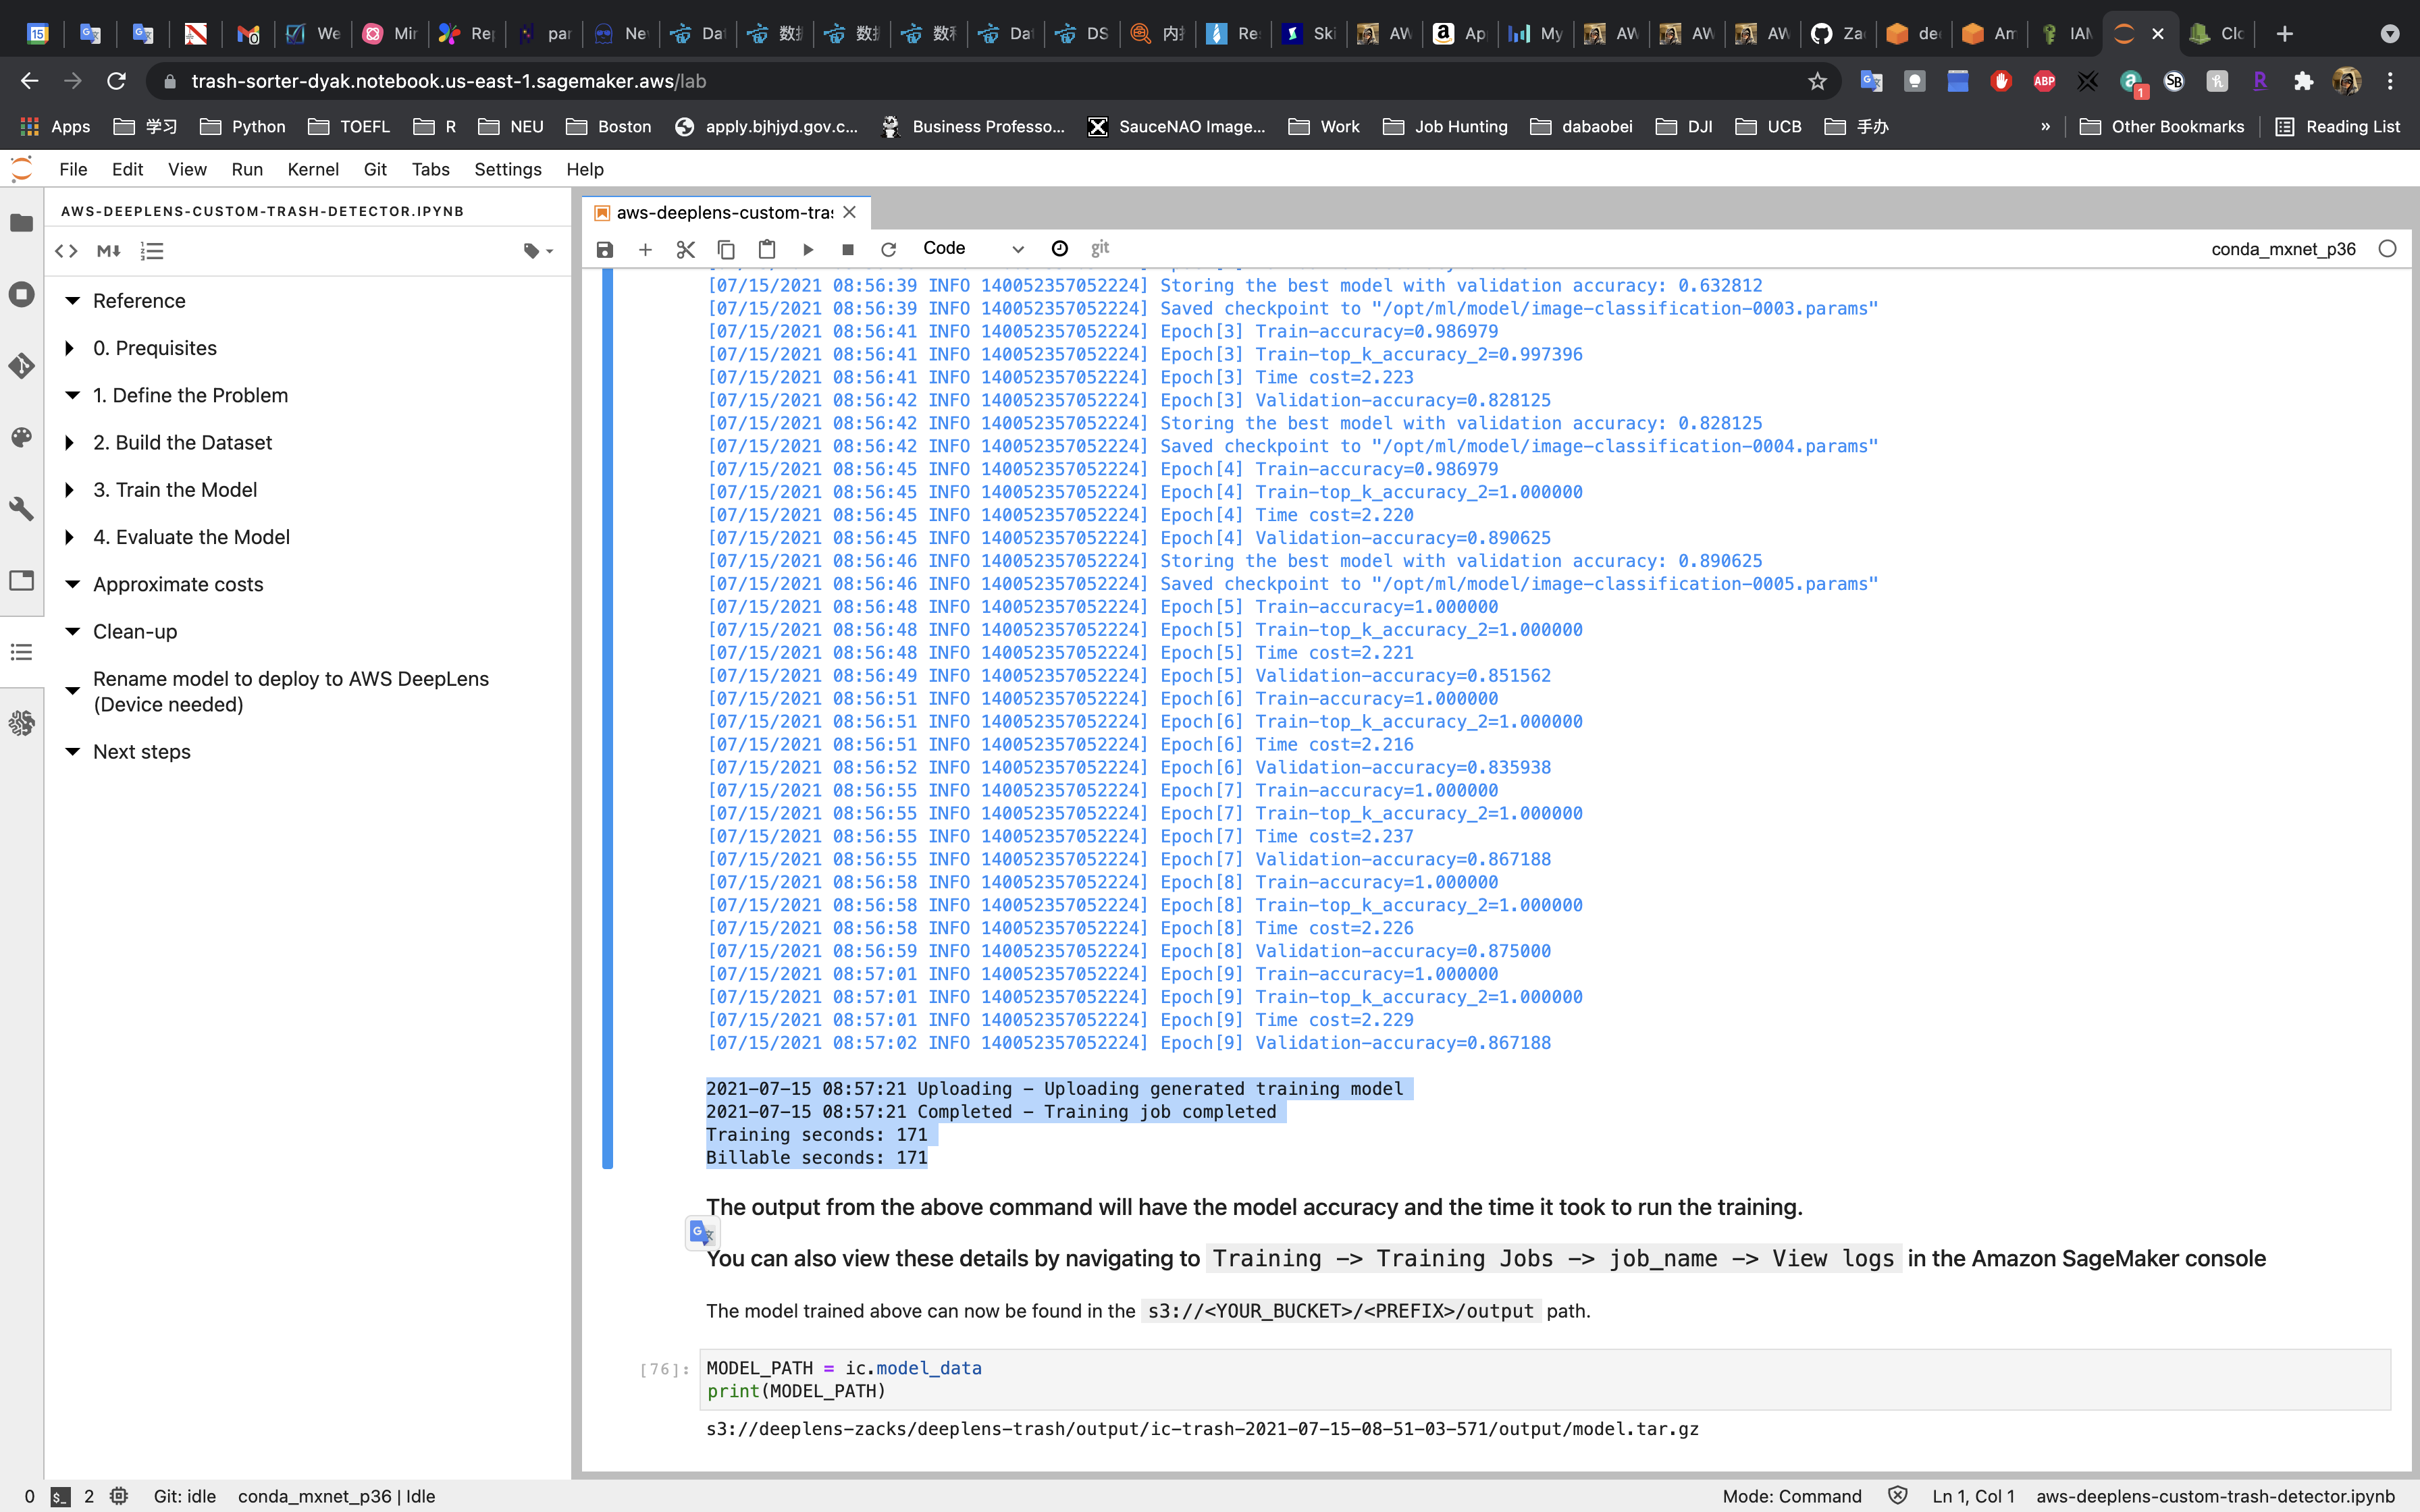
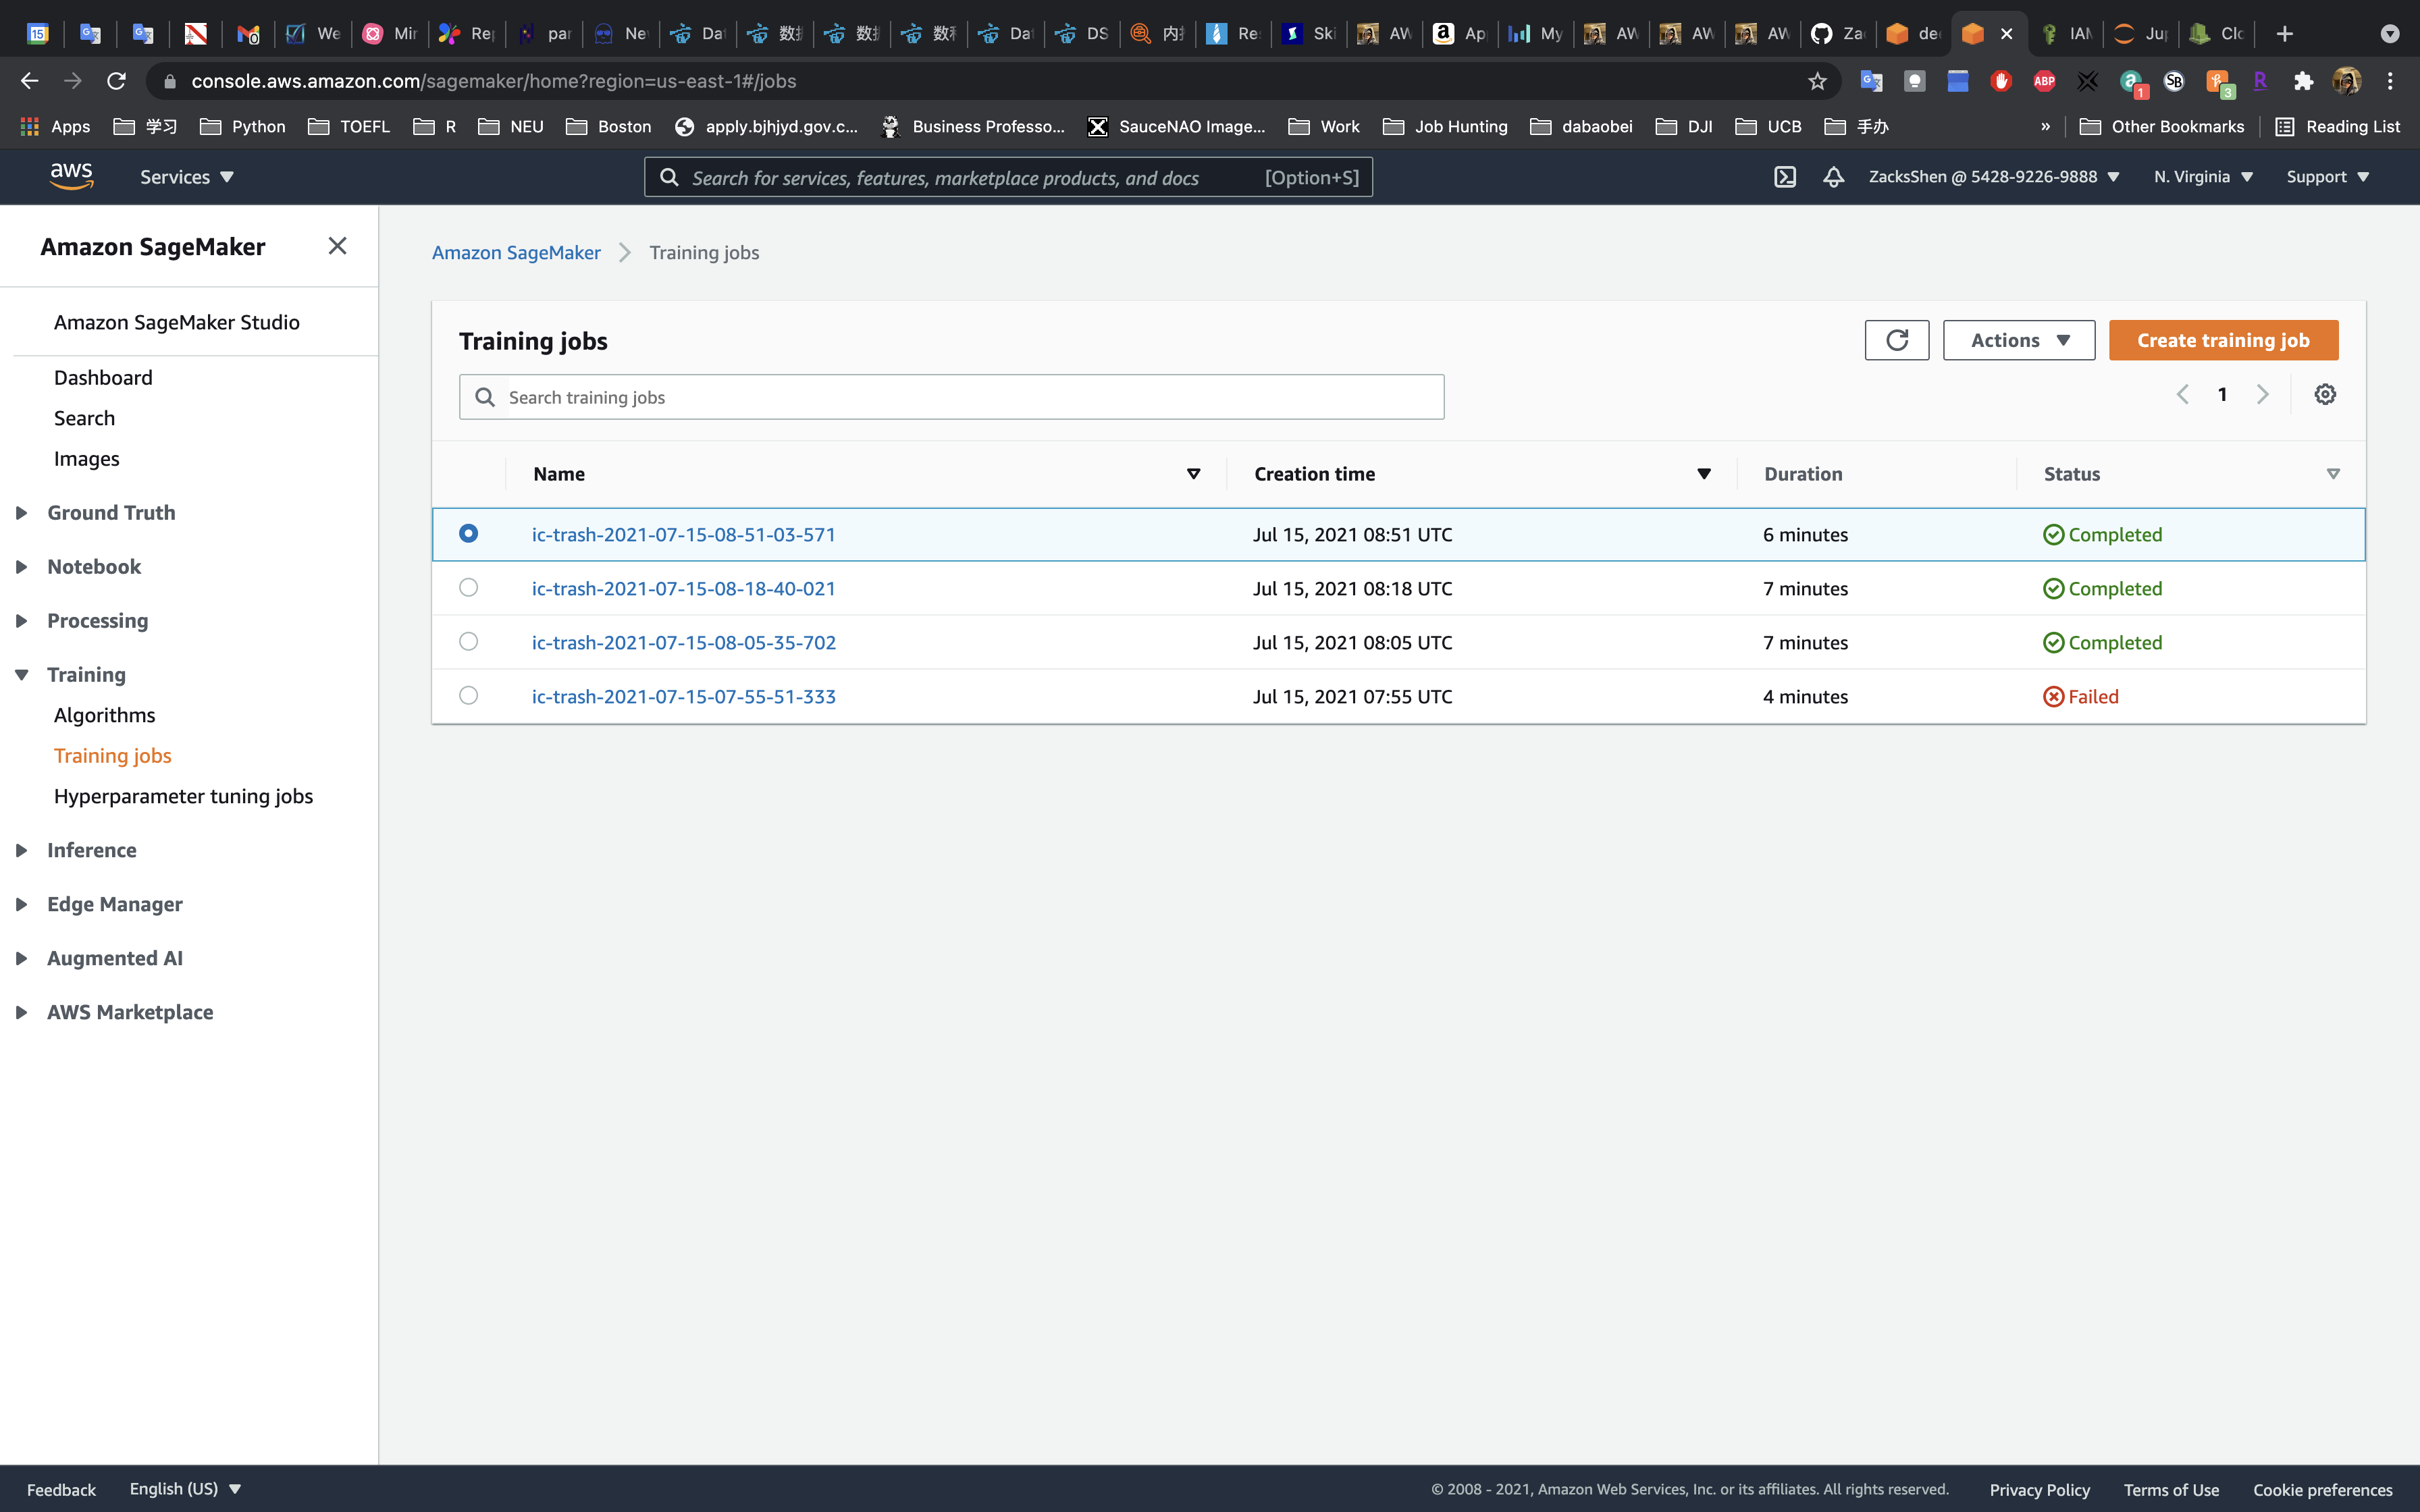
You can also check the training status on the AWS console (Services -> SageMaker -> Training -> Training jobs)
4. Evaluate the Model
Deploy to a SageMaker Endpoint
We deploy the model to a SageMaker Endpoint. It may take around 15 minutes.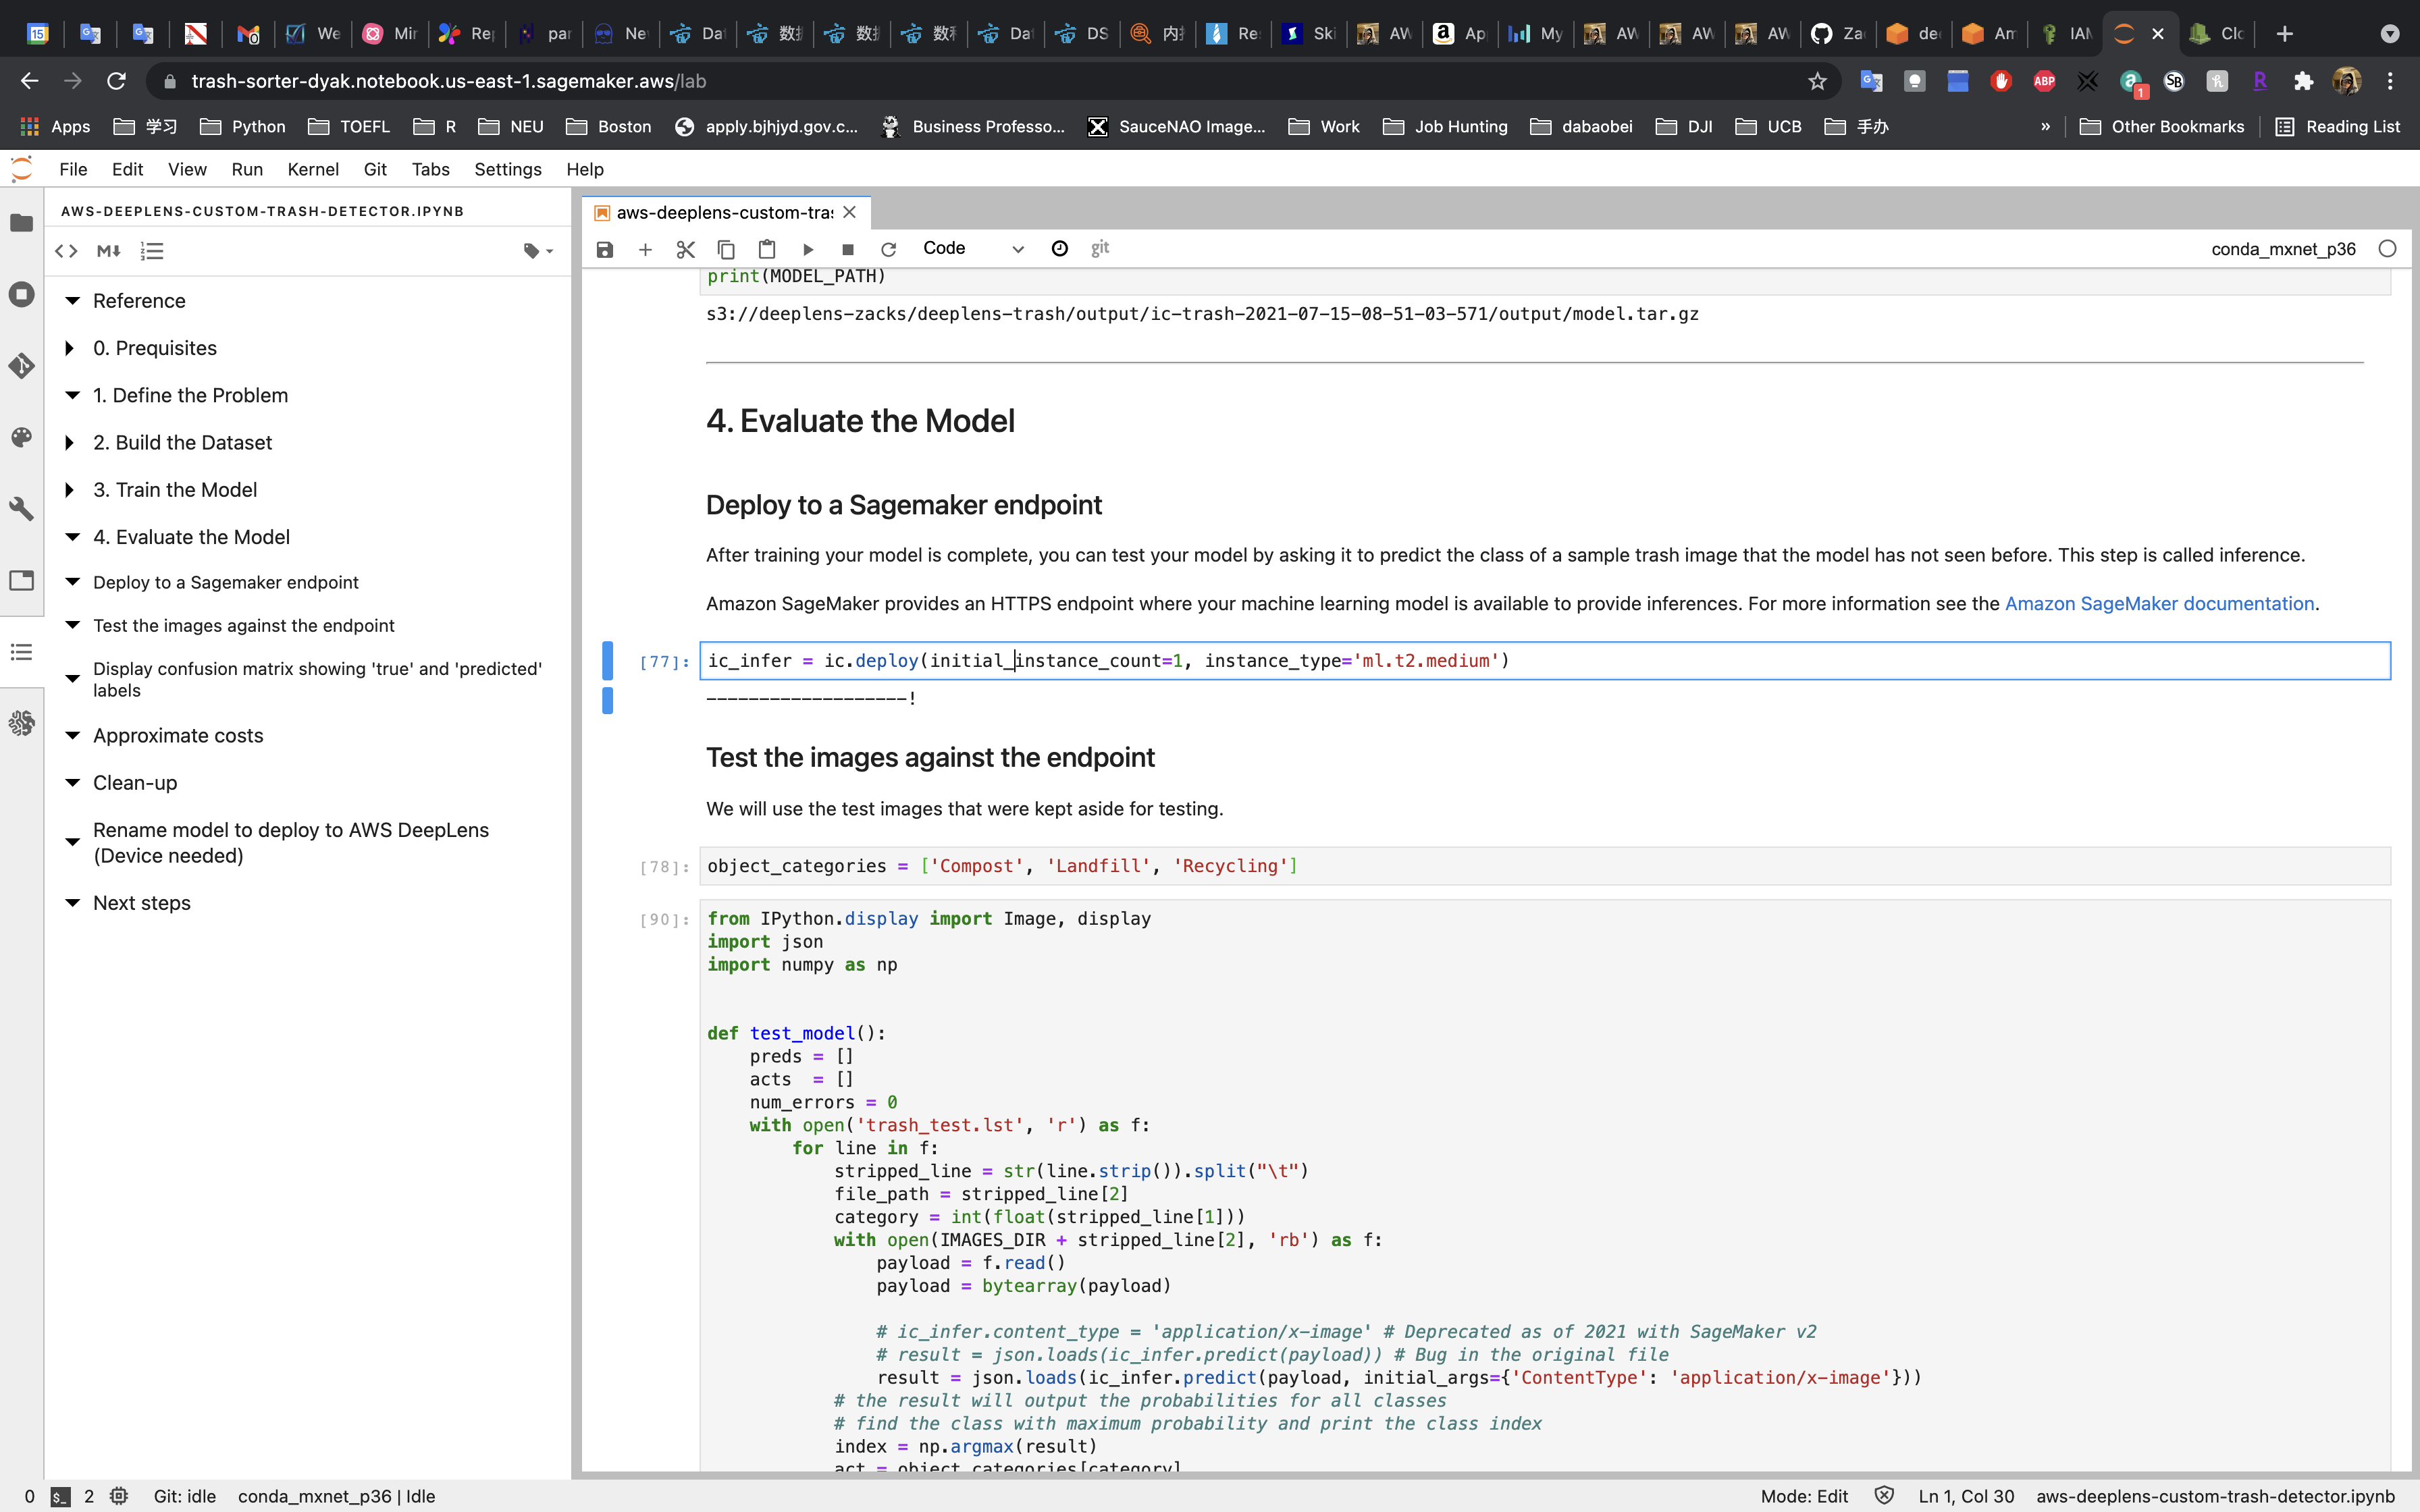
Test
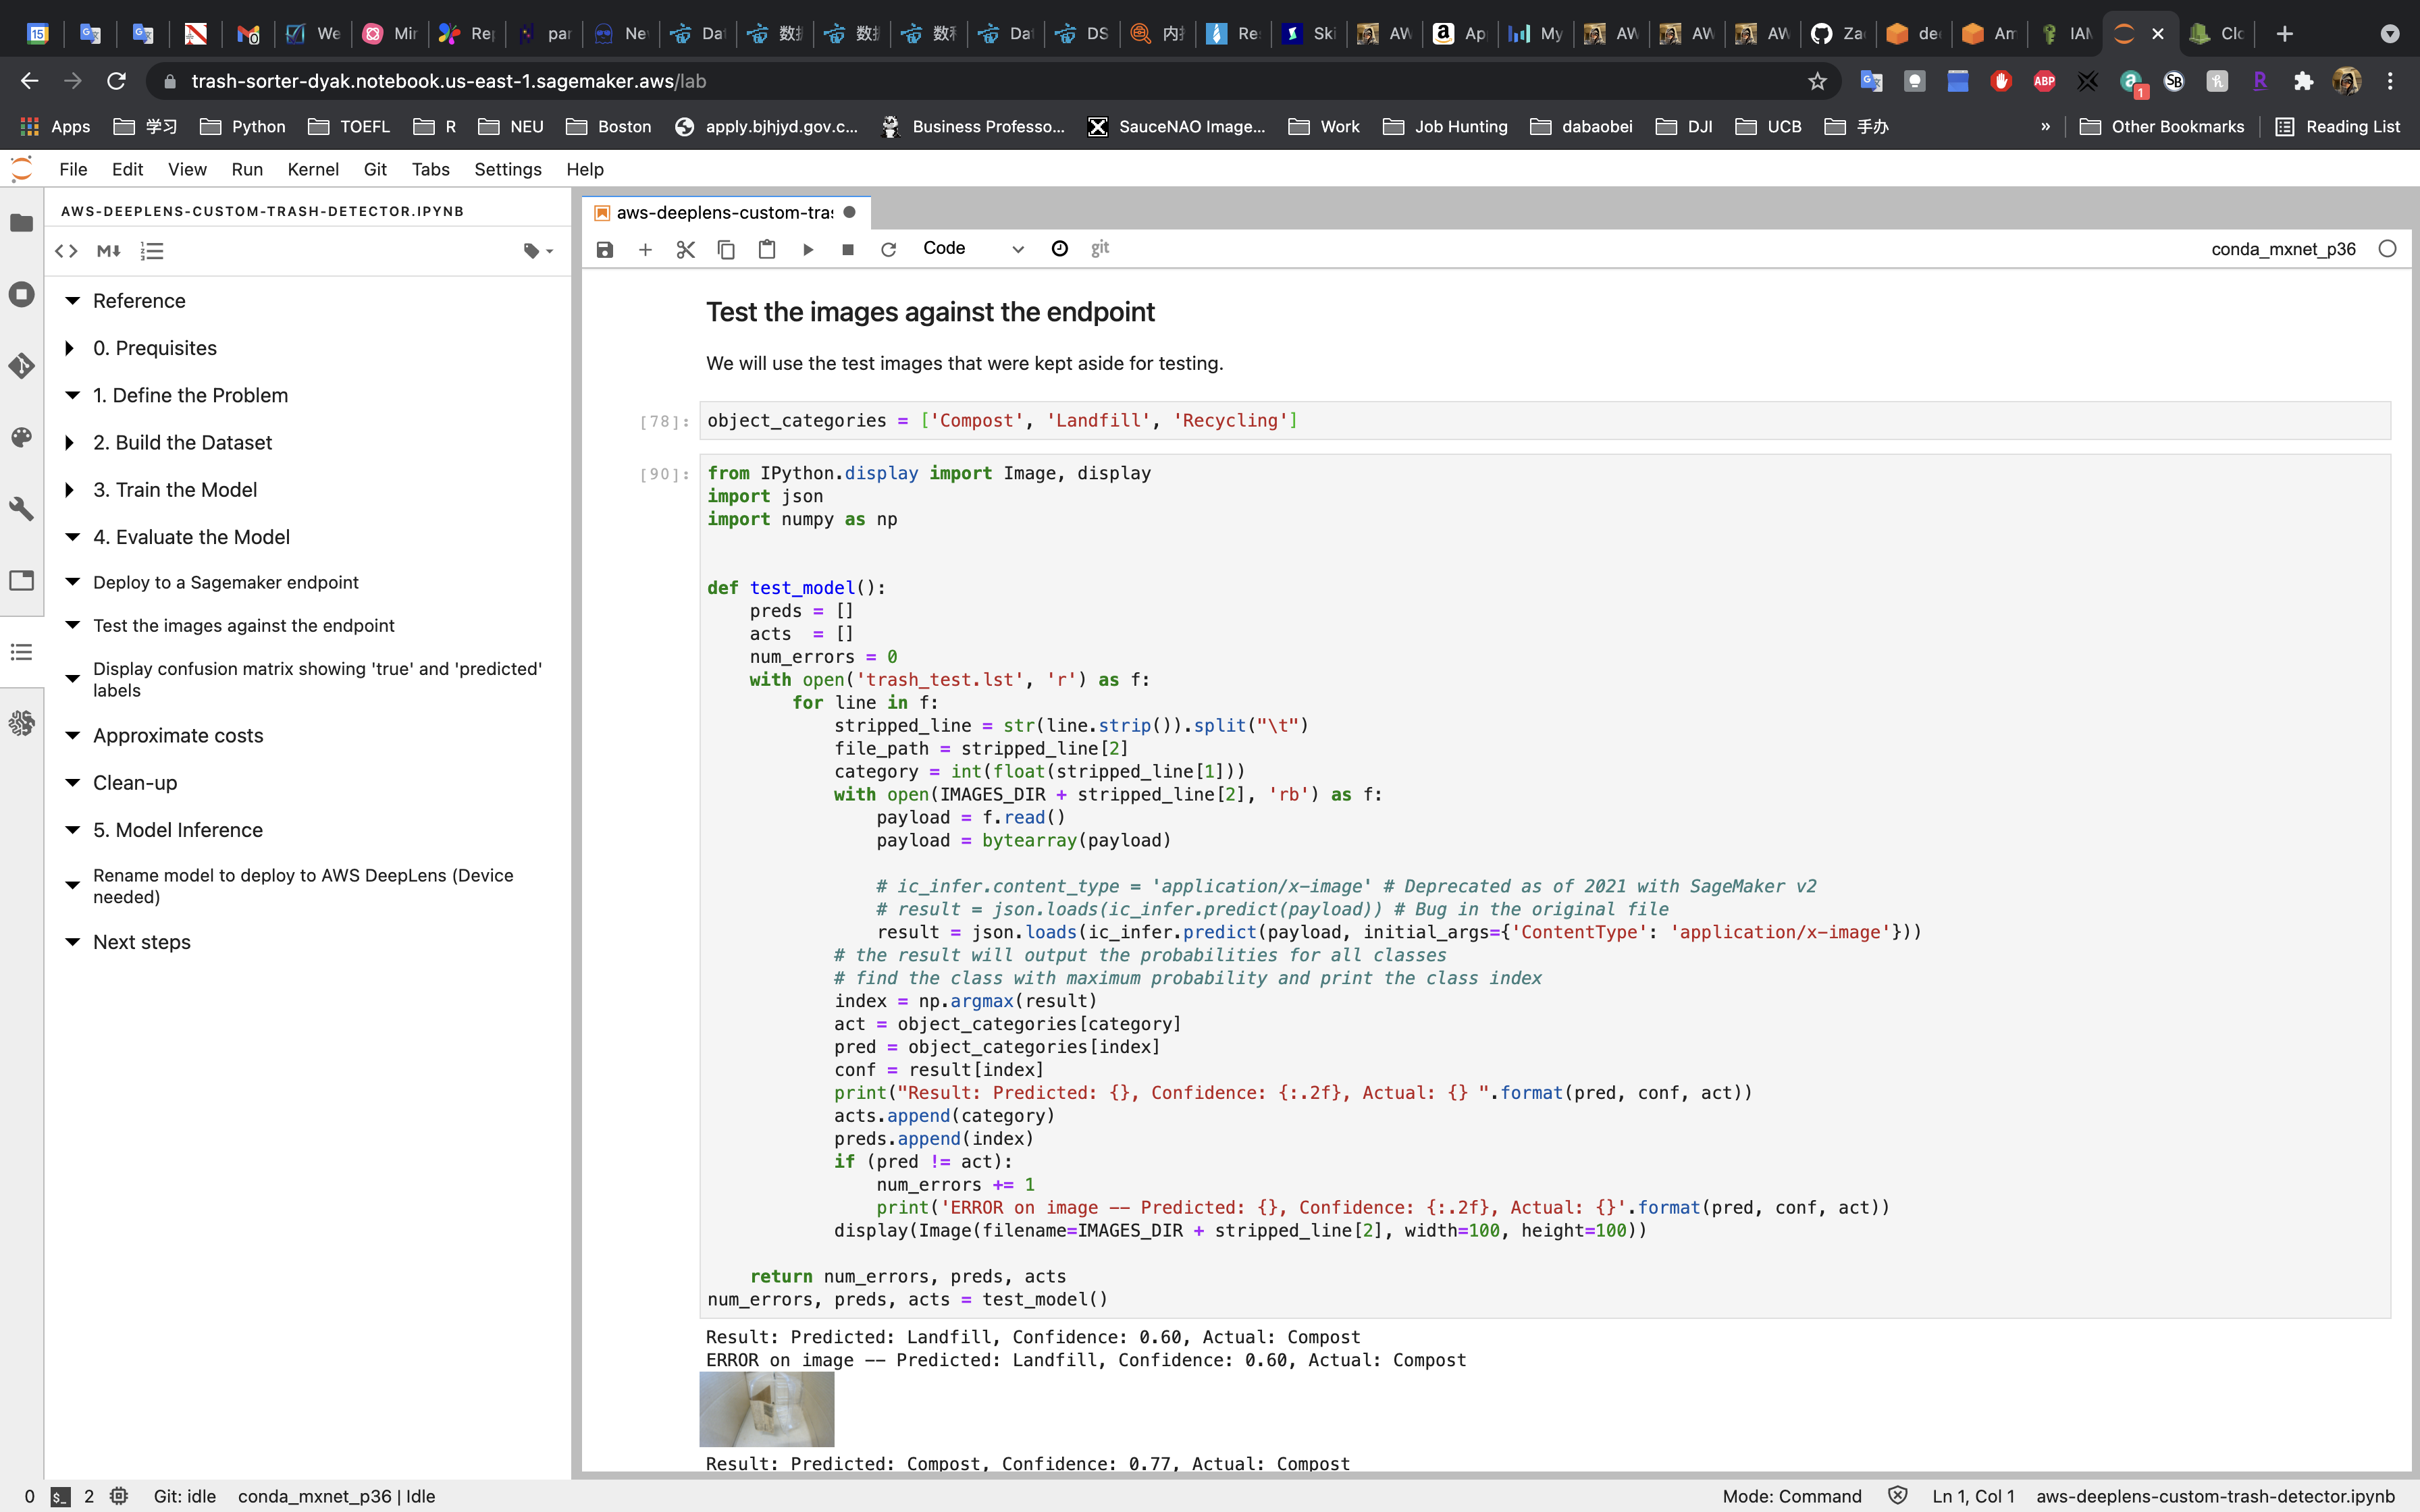
We have 10 test data, and two of them are wrong.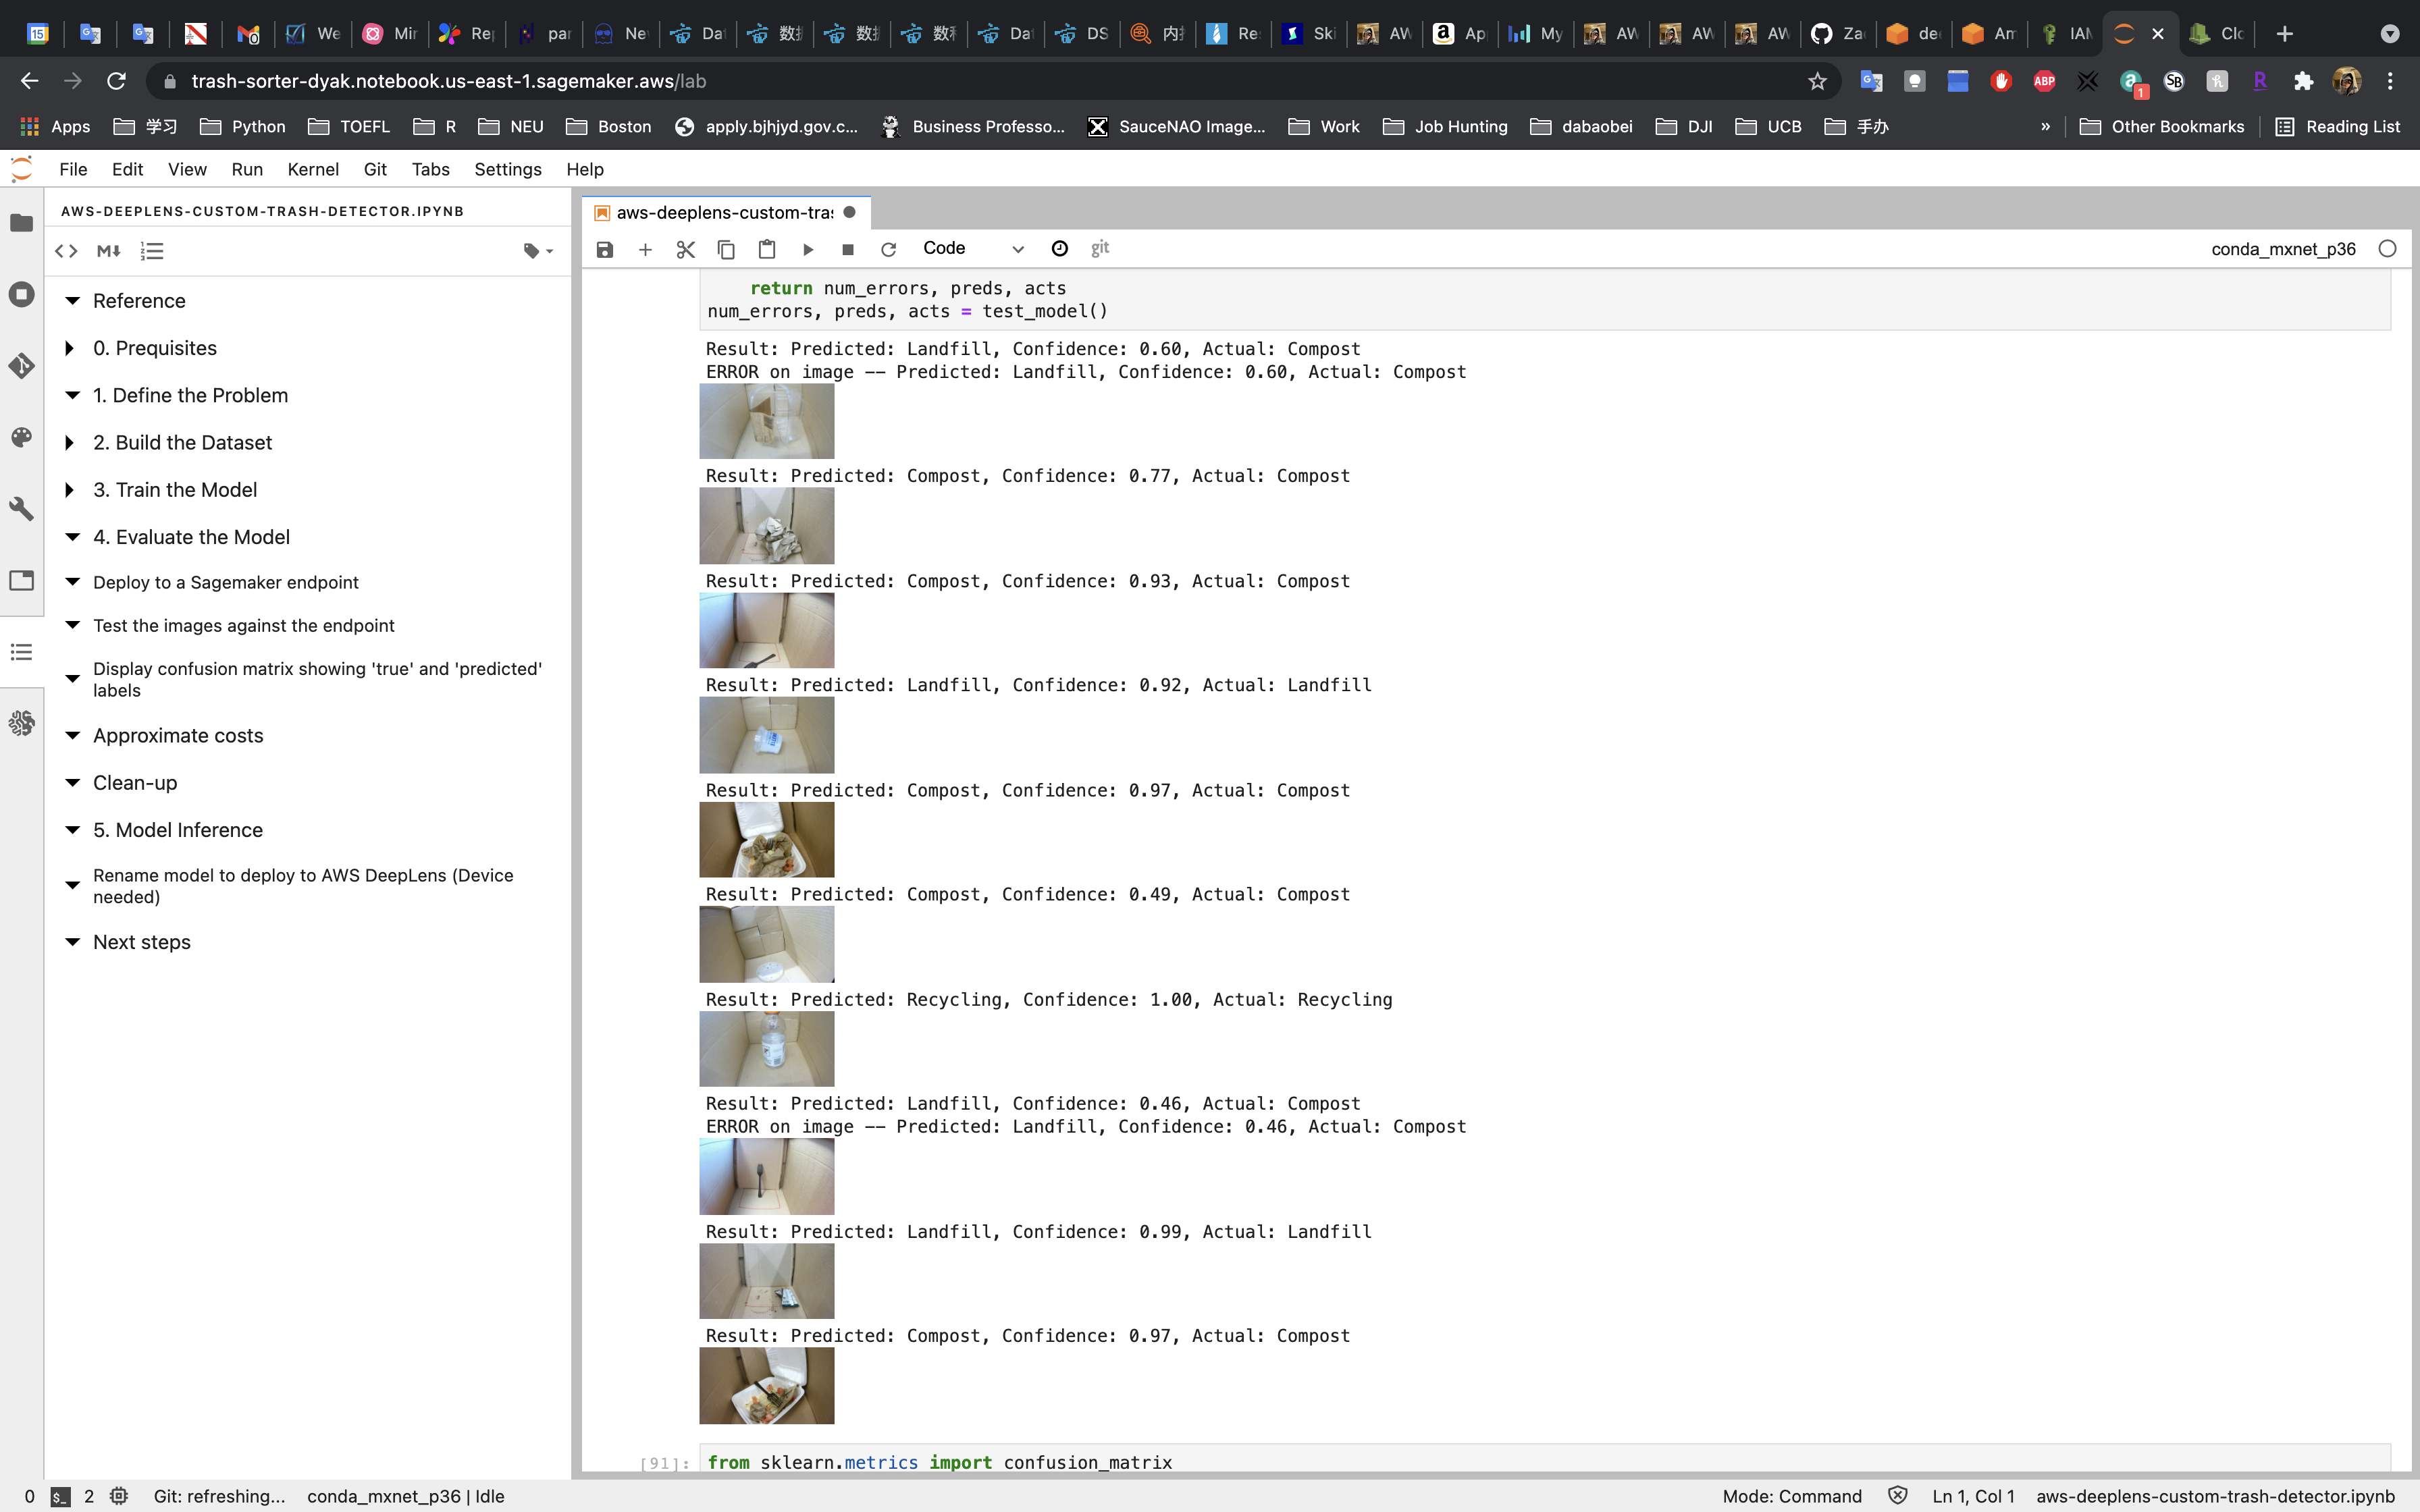
In this model, if the confidence is over 0.65, the prediction is probably correct.
Confusion Matrix
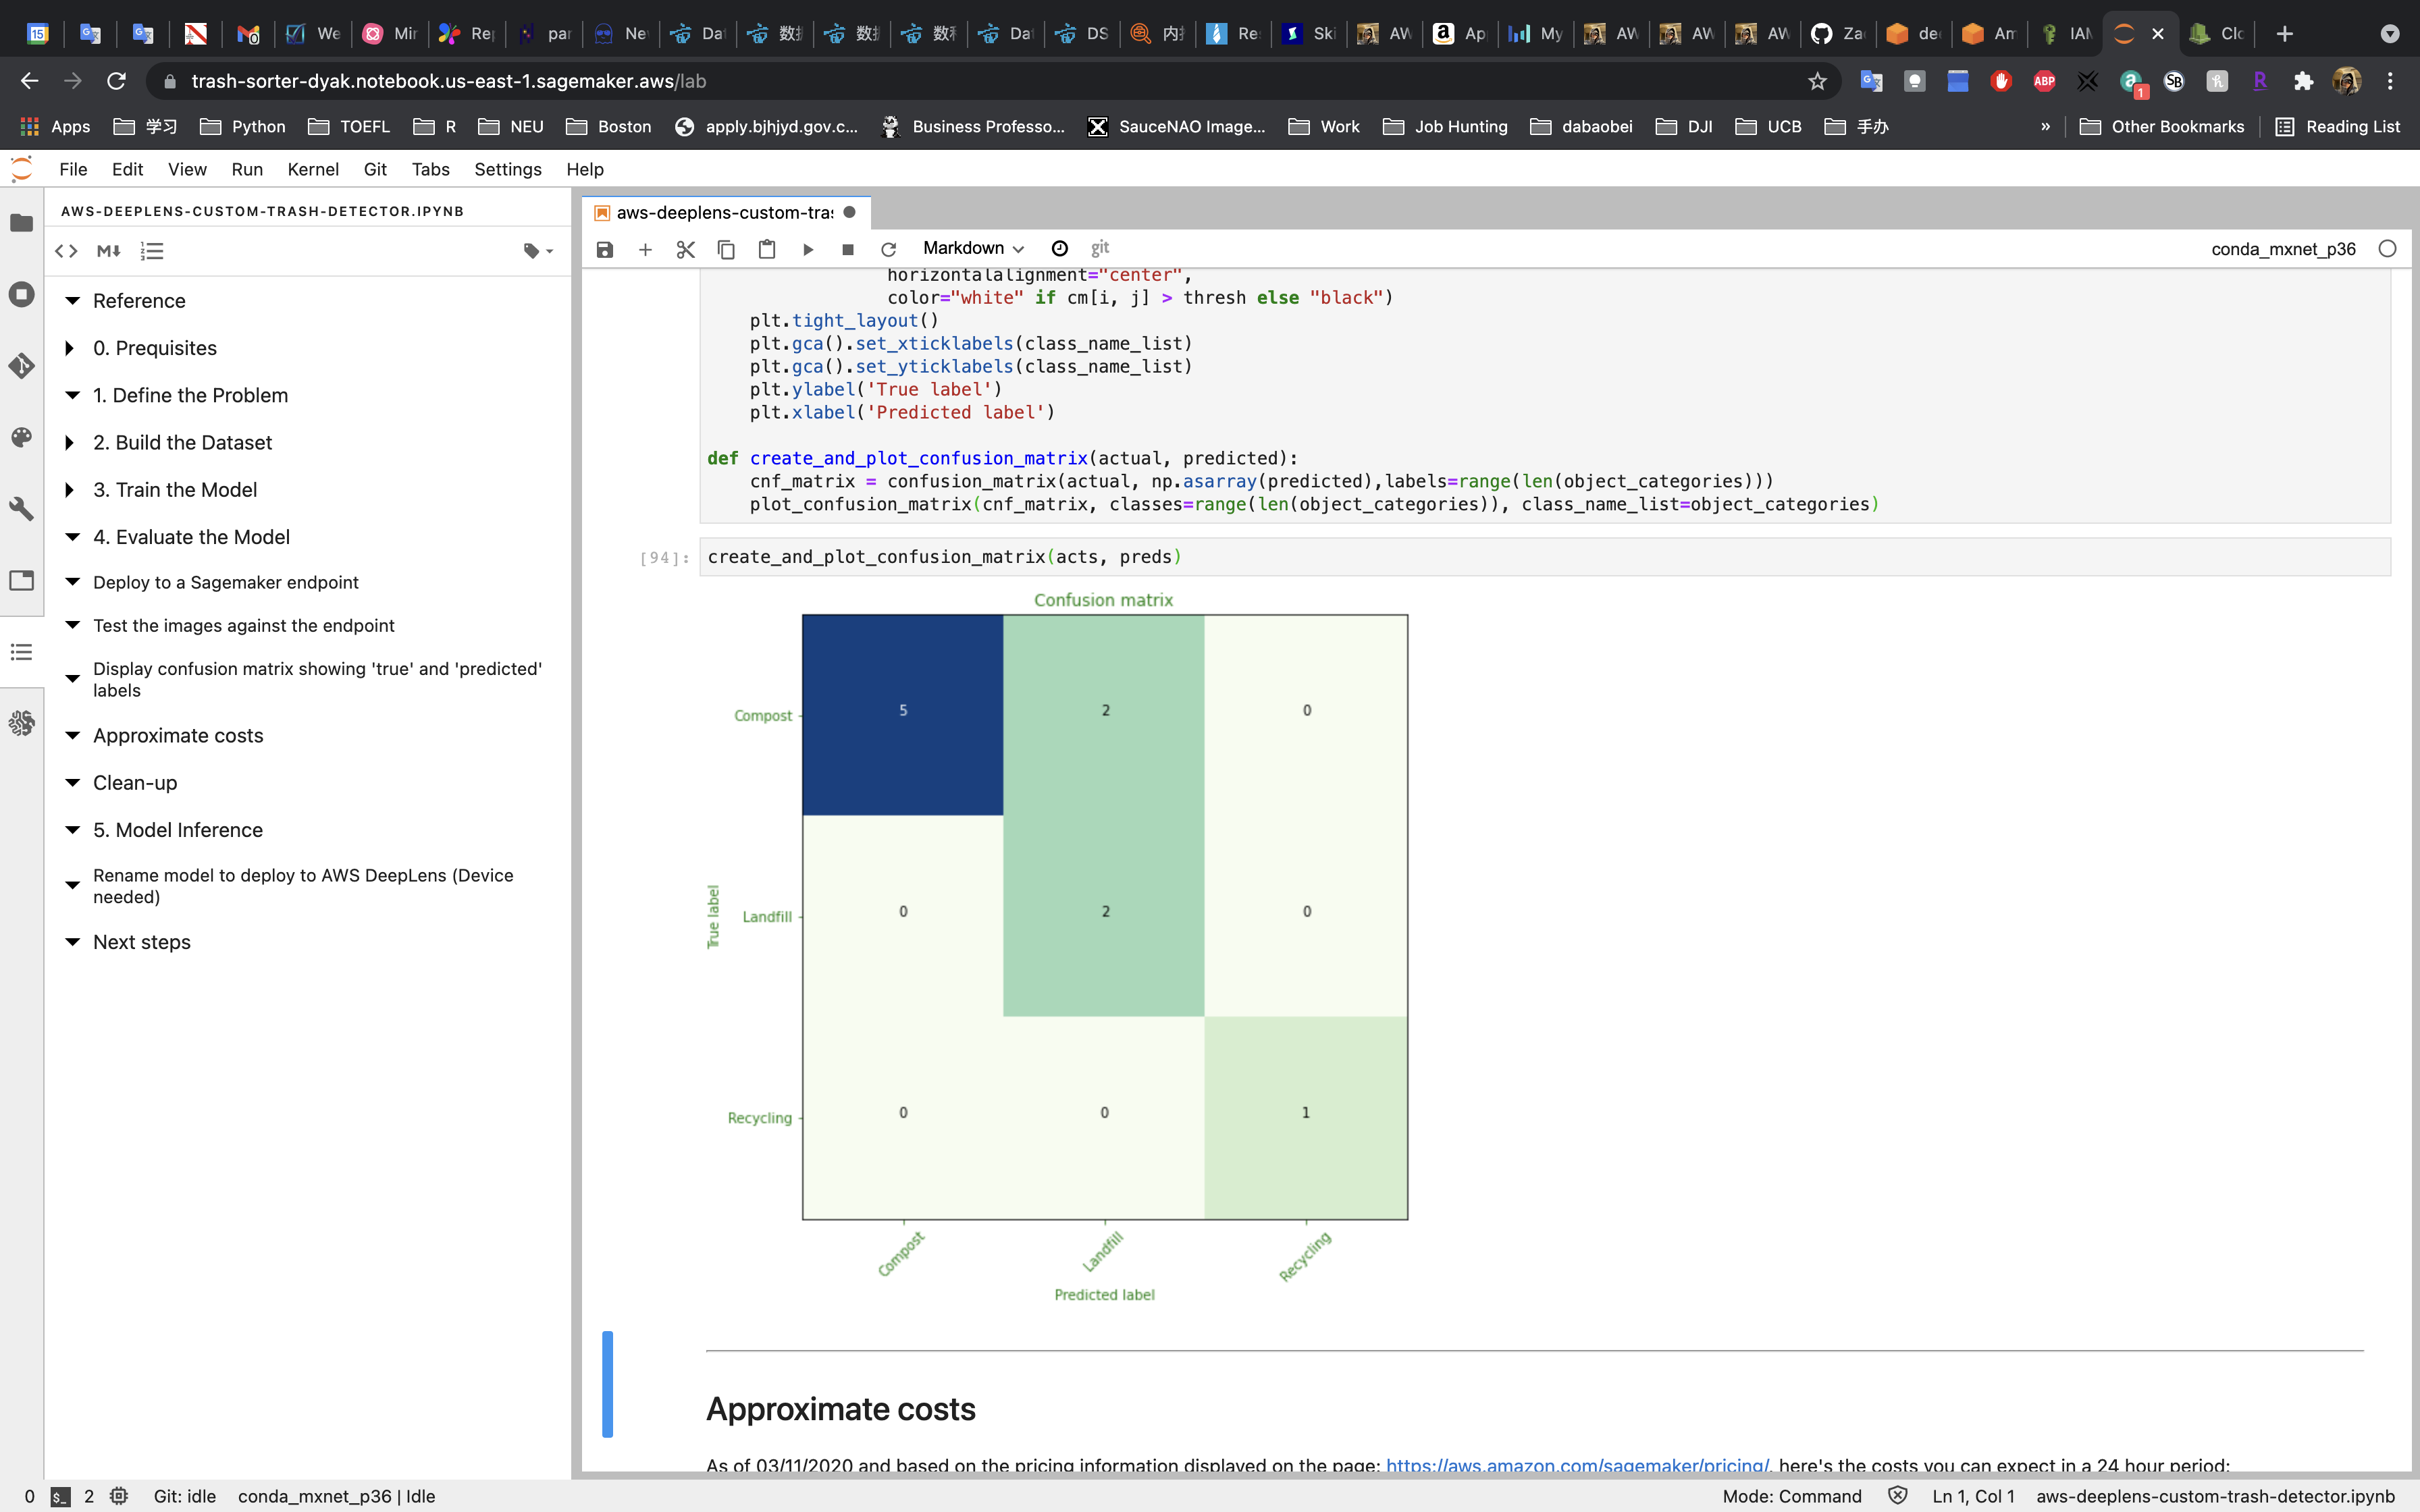
As we can see, the confusion matrix clearly shows the model performance.
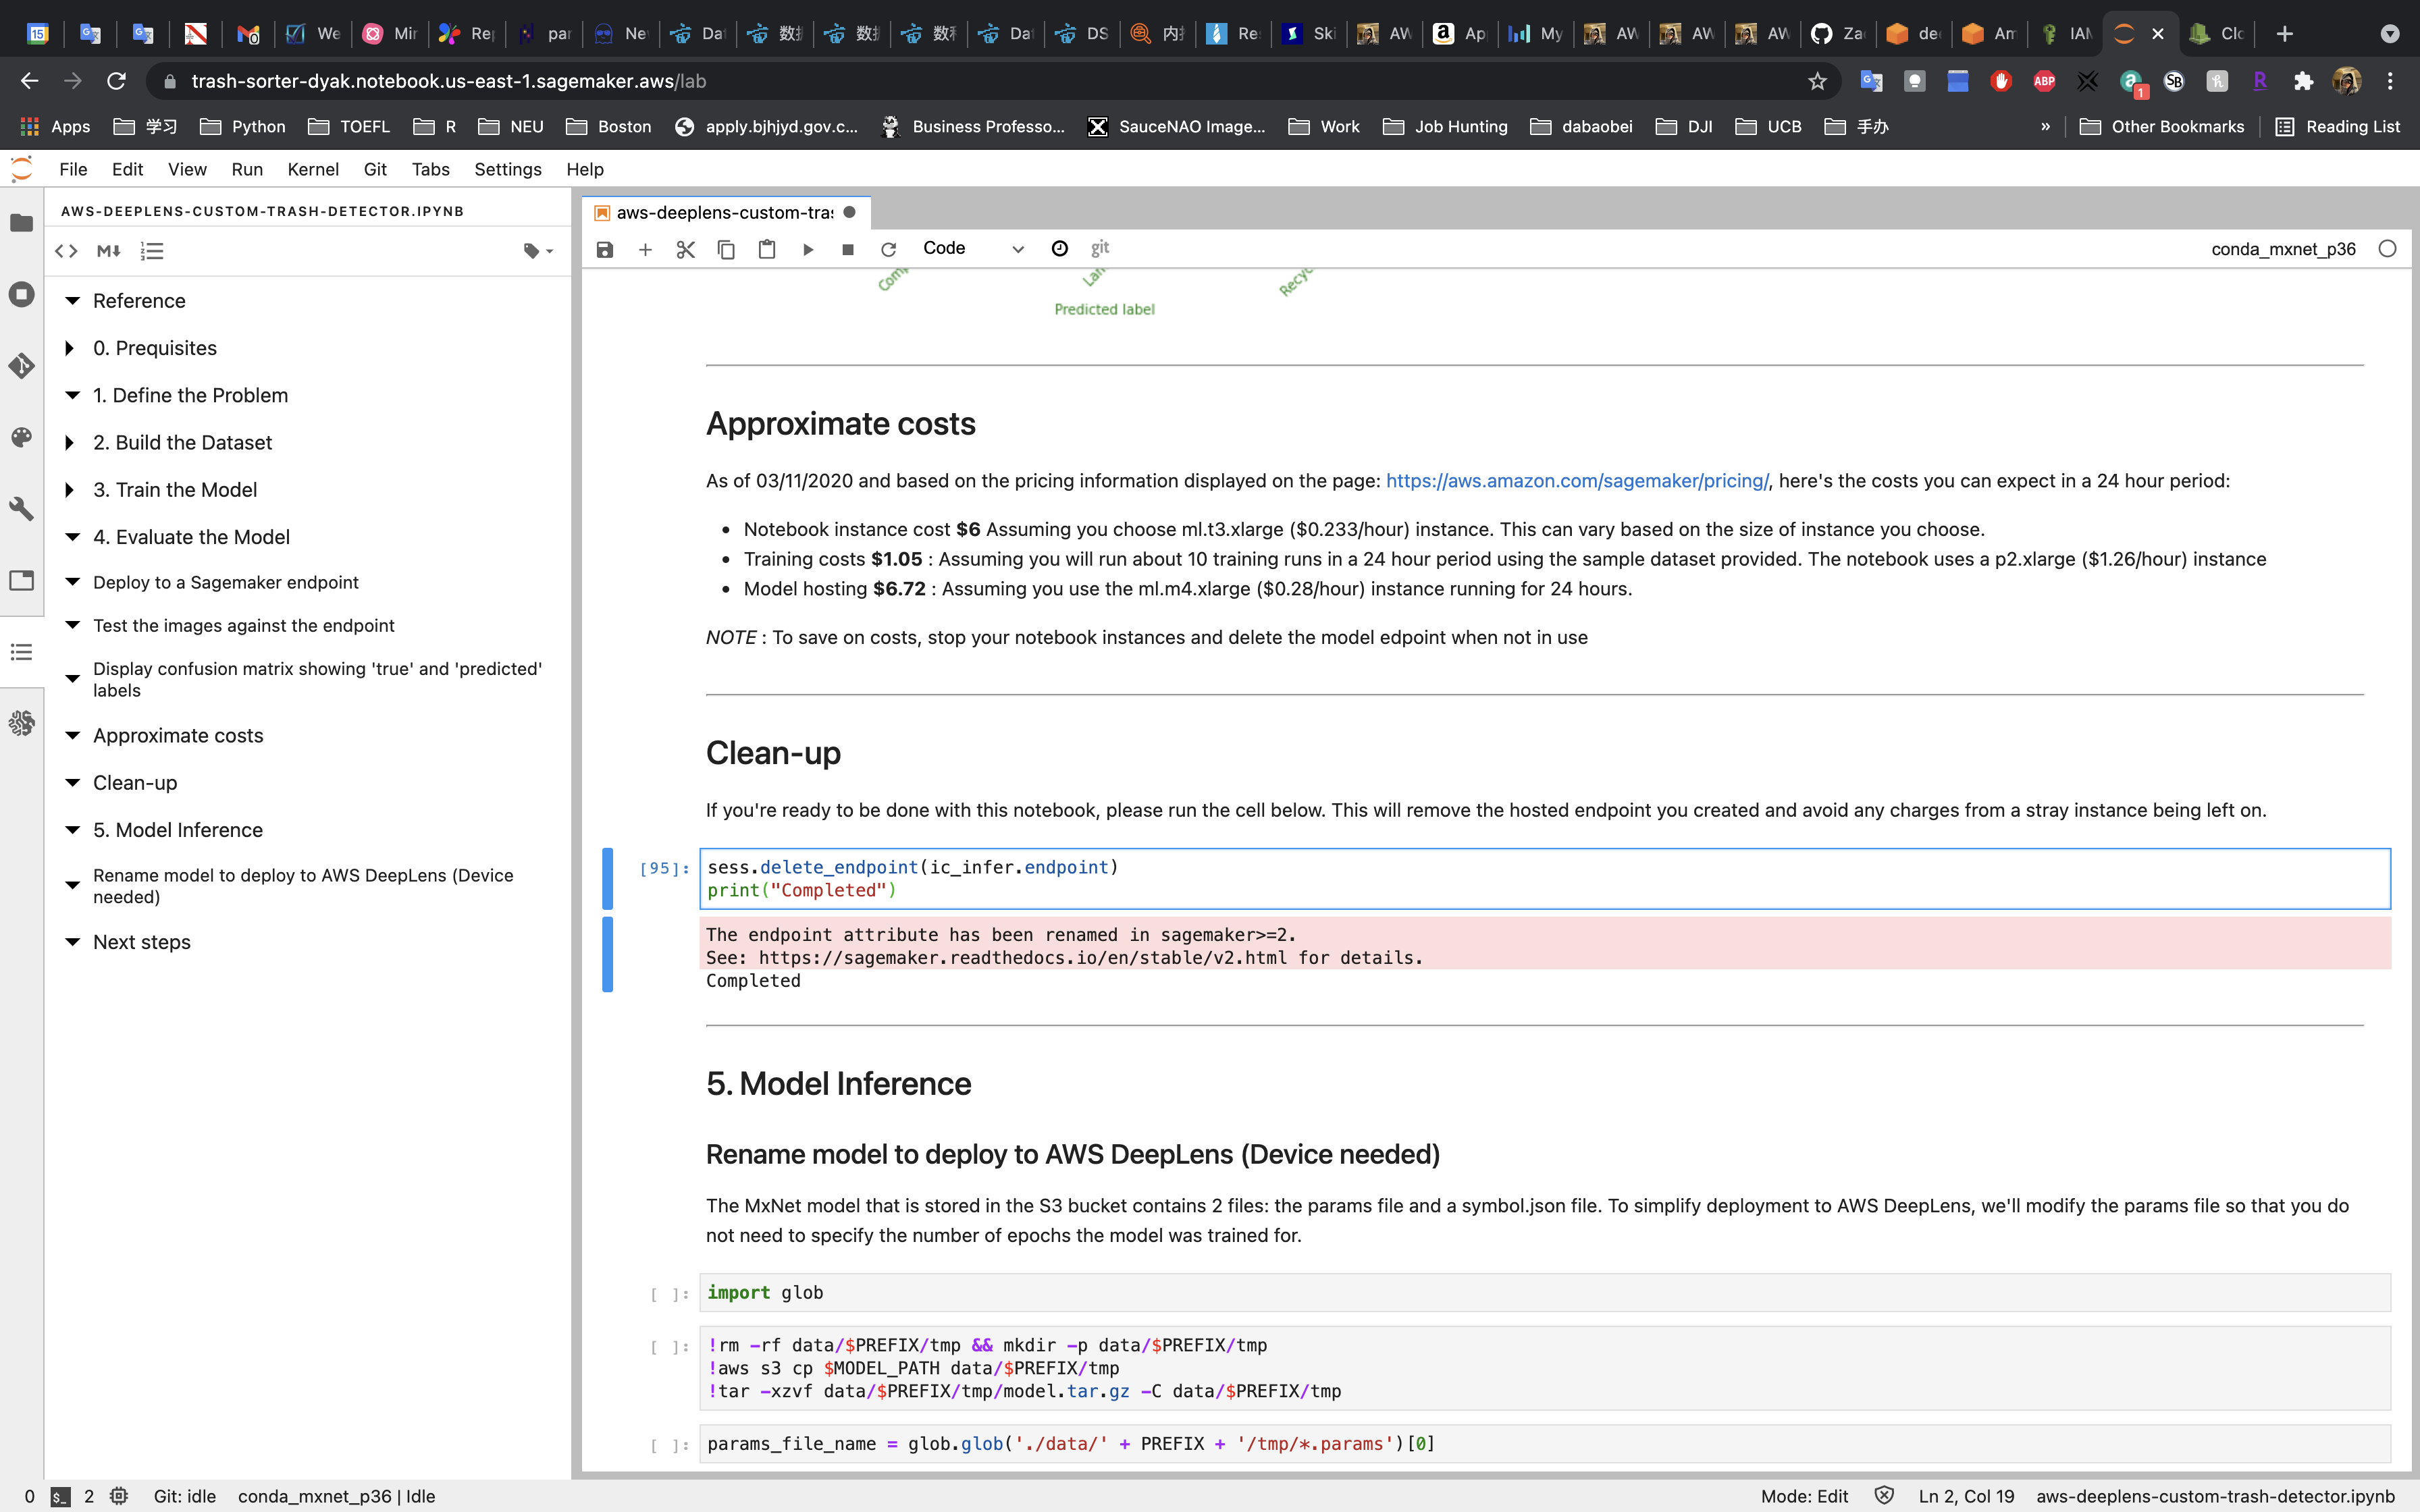
Clean-up
Don’t forget to terminate the SageMaker Endpoint (we created earlier to deploy the model). Otherwise, you will be charge more.
5. Model Inference
Since I don’t have a Amazon DeepLens device, I will not run the following code.
You can watch it on YouTube.
Delete SageMaker Notebook Instance
Services -> SageMaker -> Notebook instances
Click on Actions -> Stop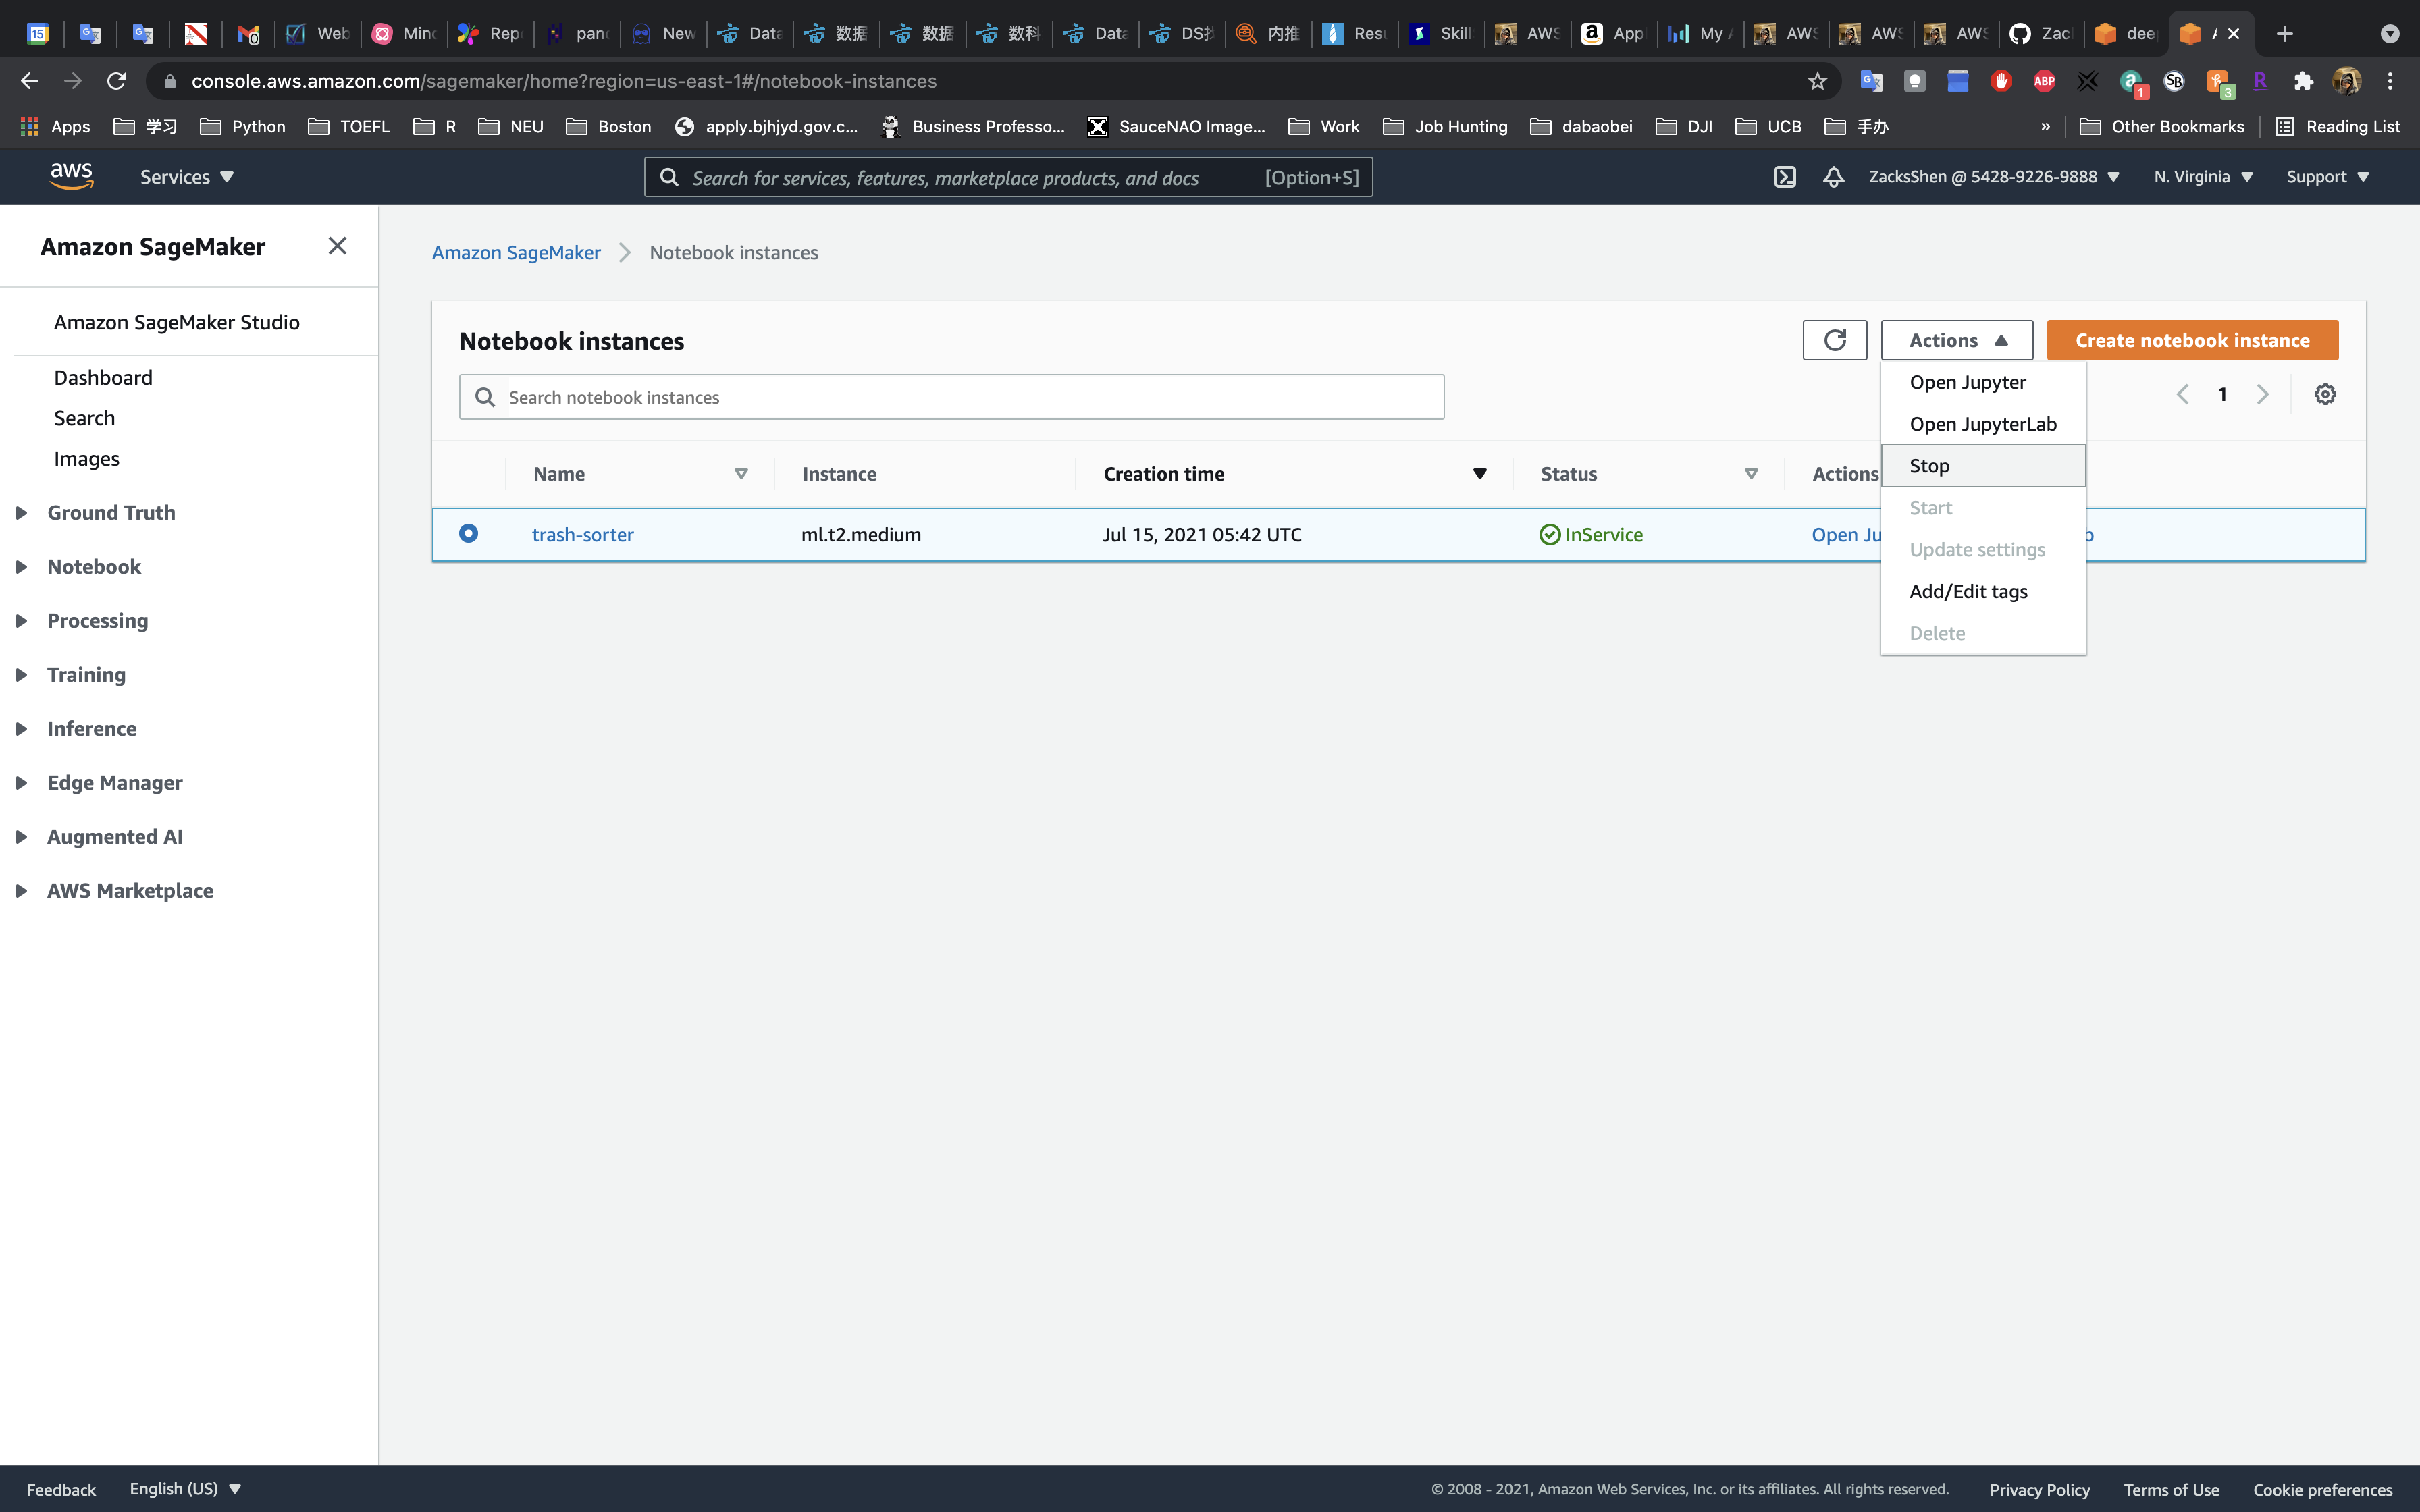
Wait until the Status switch to Stopped.
Then Click on Actions -> Delete