AWS Lambda Lab
AWS Lambda Lab
Introduction to Amazon Lambda
https://play.whizlabs.com/site/task_details?lab_type=1&task_id=18&quest_id=35
https://docs.aws.amazon.com/lambda/latest/dg/with-s3-example.html
Lab Details
- This lab walks you through the creation and usage a serverless AWS service called AWS Lambda. In this lab, we will create a sample Lambda function to be triggered on an S3 Object upload event. The lambda function will make a copy of that object and place it in a different s3 bucket.
Task Details
- Log in to the AWS Management Console.
- Create two S3 buckets. One for the source and one for the destination.
- Create a Lambda function to copy the object from one bucket to another bucket.
- Test the Lambda Function.
Architecture Diagram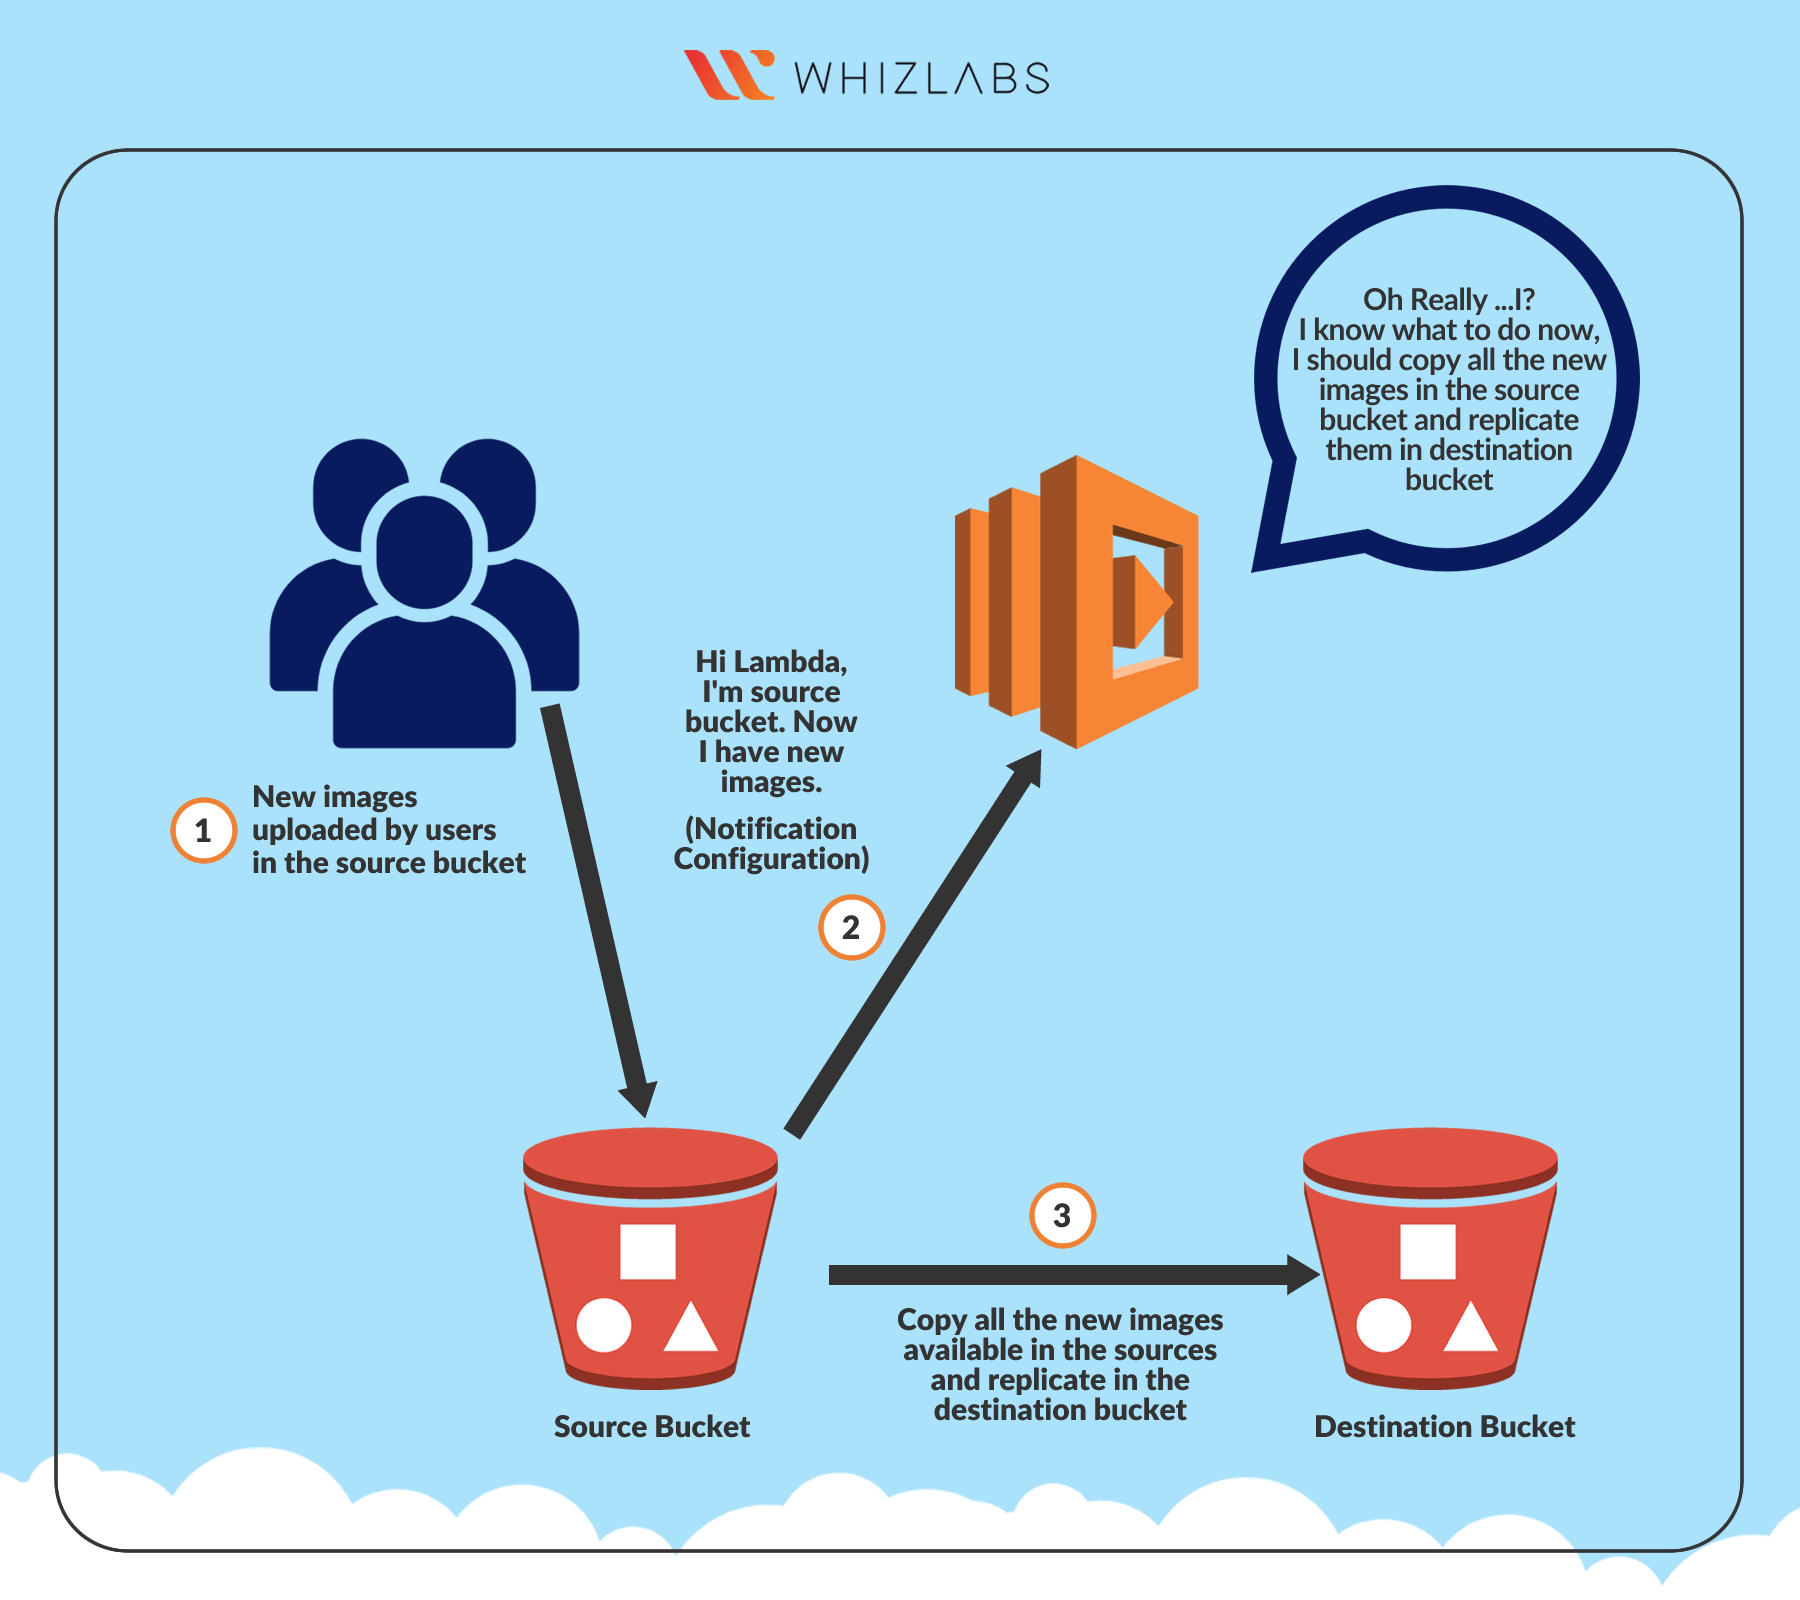
S3 Configuration
Services -> S3
Create Amazon S3 Bucket (Source Bucket)
Click on Create bucket.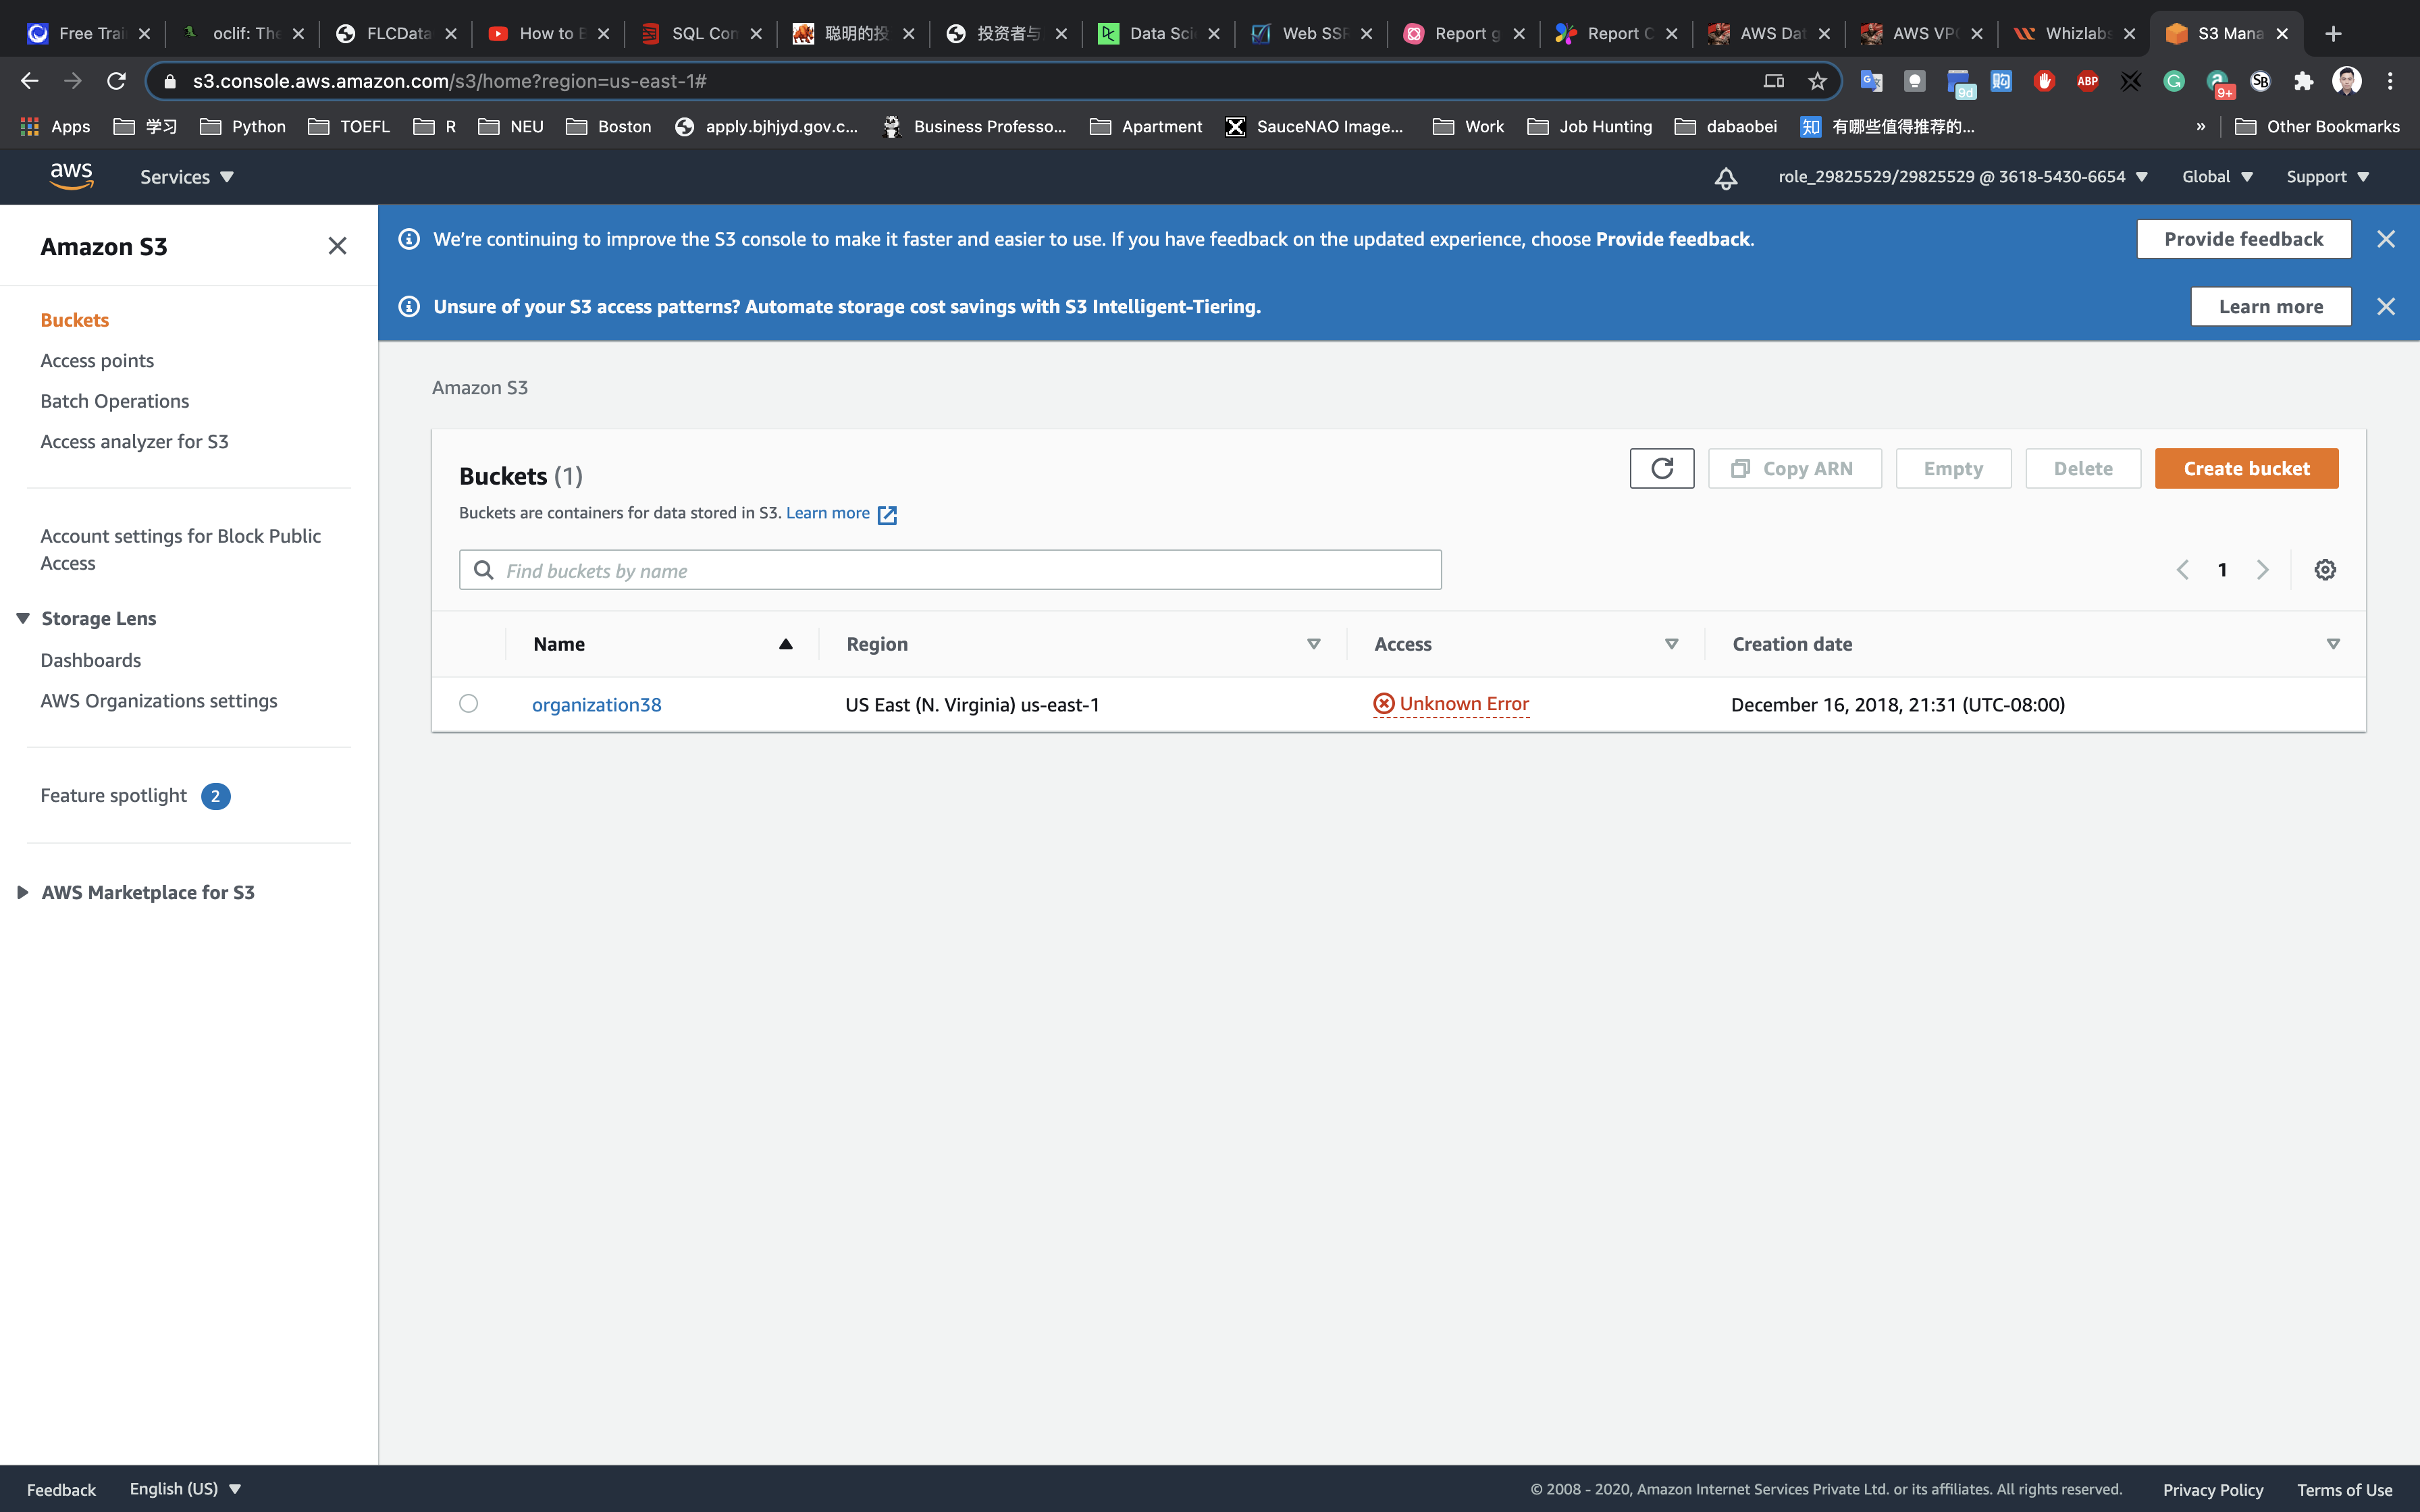
- Bucket Name:
your_source_bucket_name - Region:
US East (N. Virginia)
Note: Every S3 bucket name is unique globally, so create the bucket with a name not currently in use.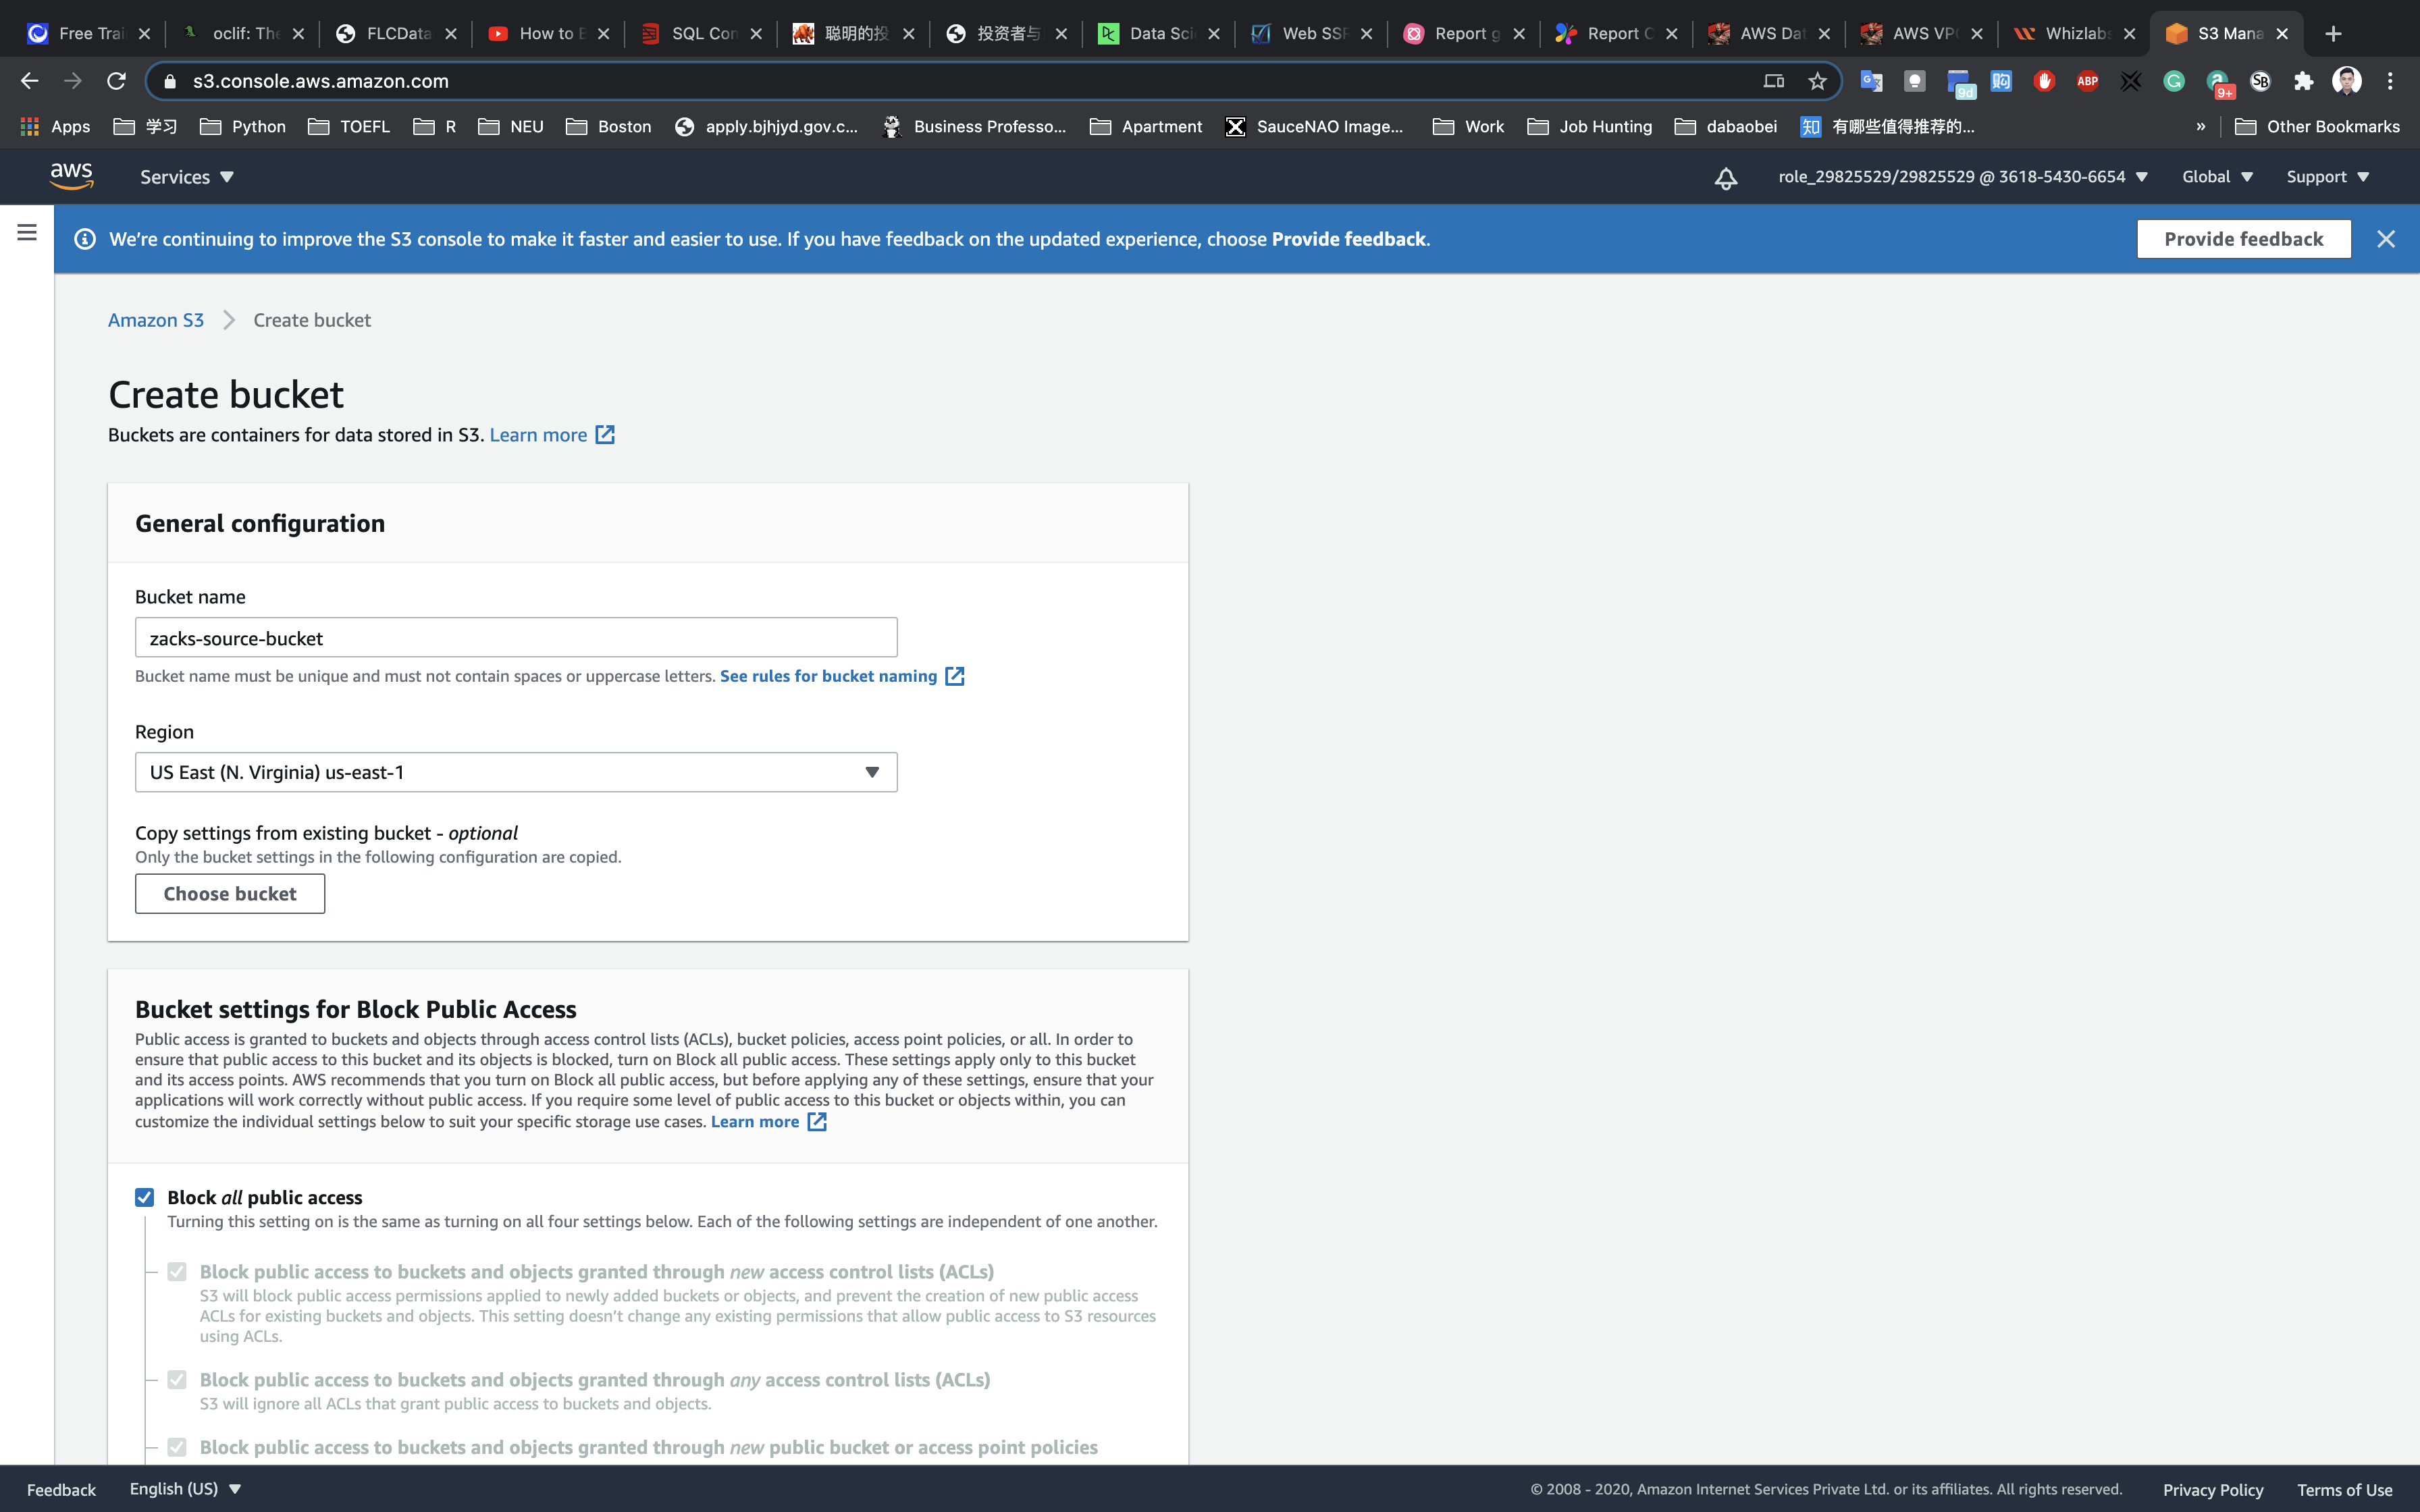
Leave other settings as default and click on the Create button.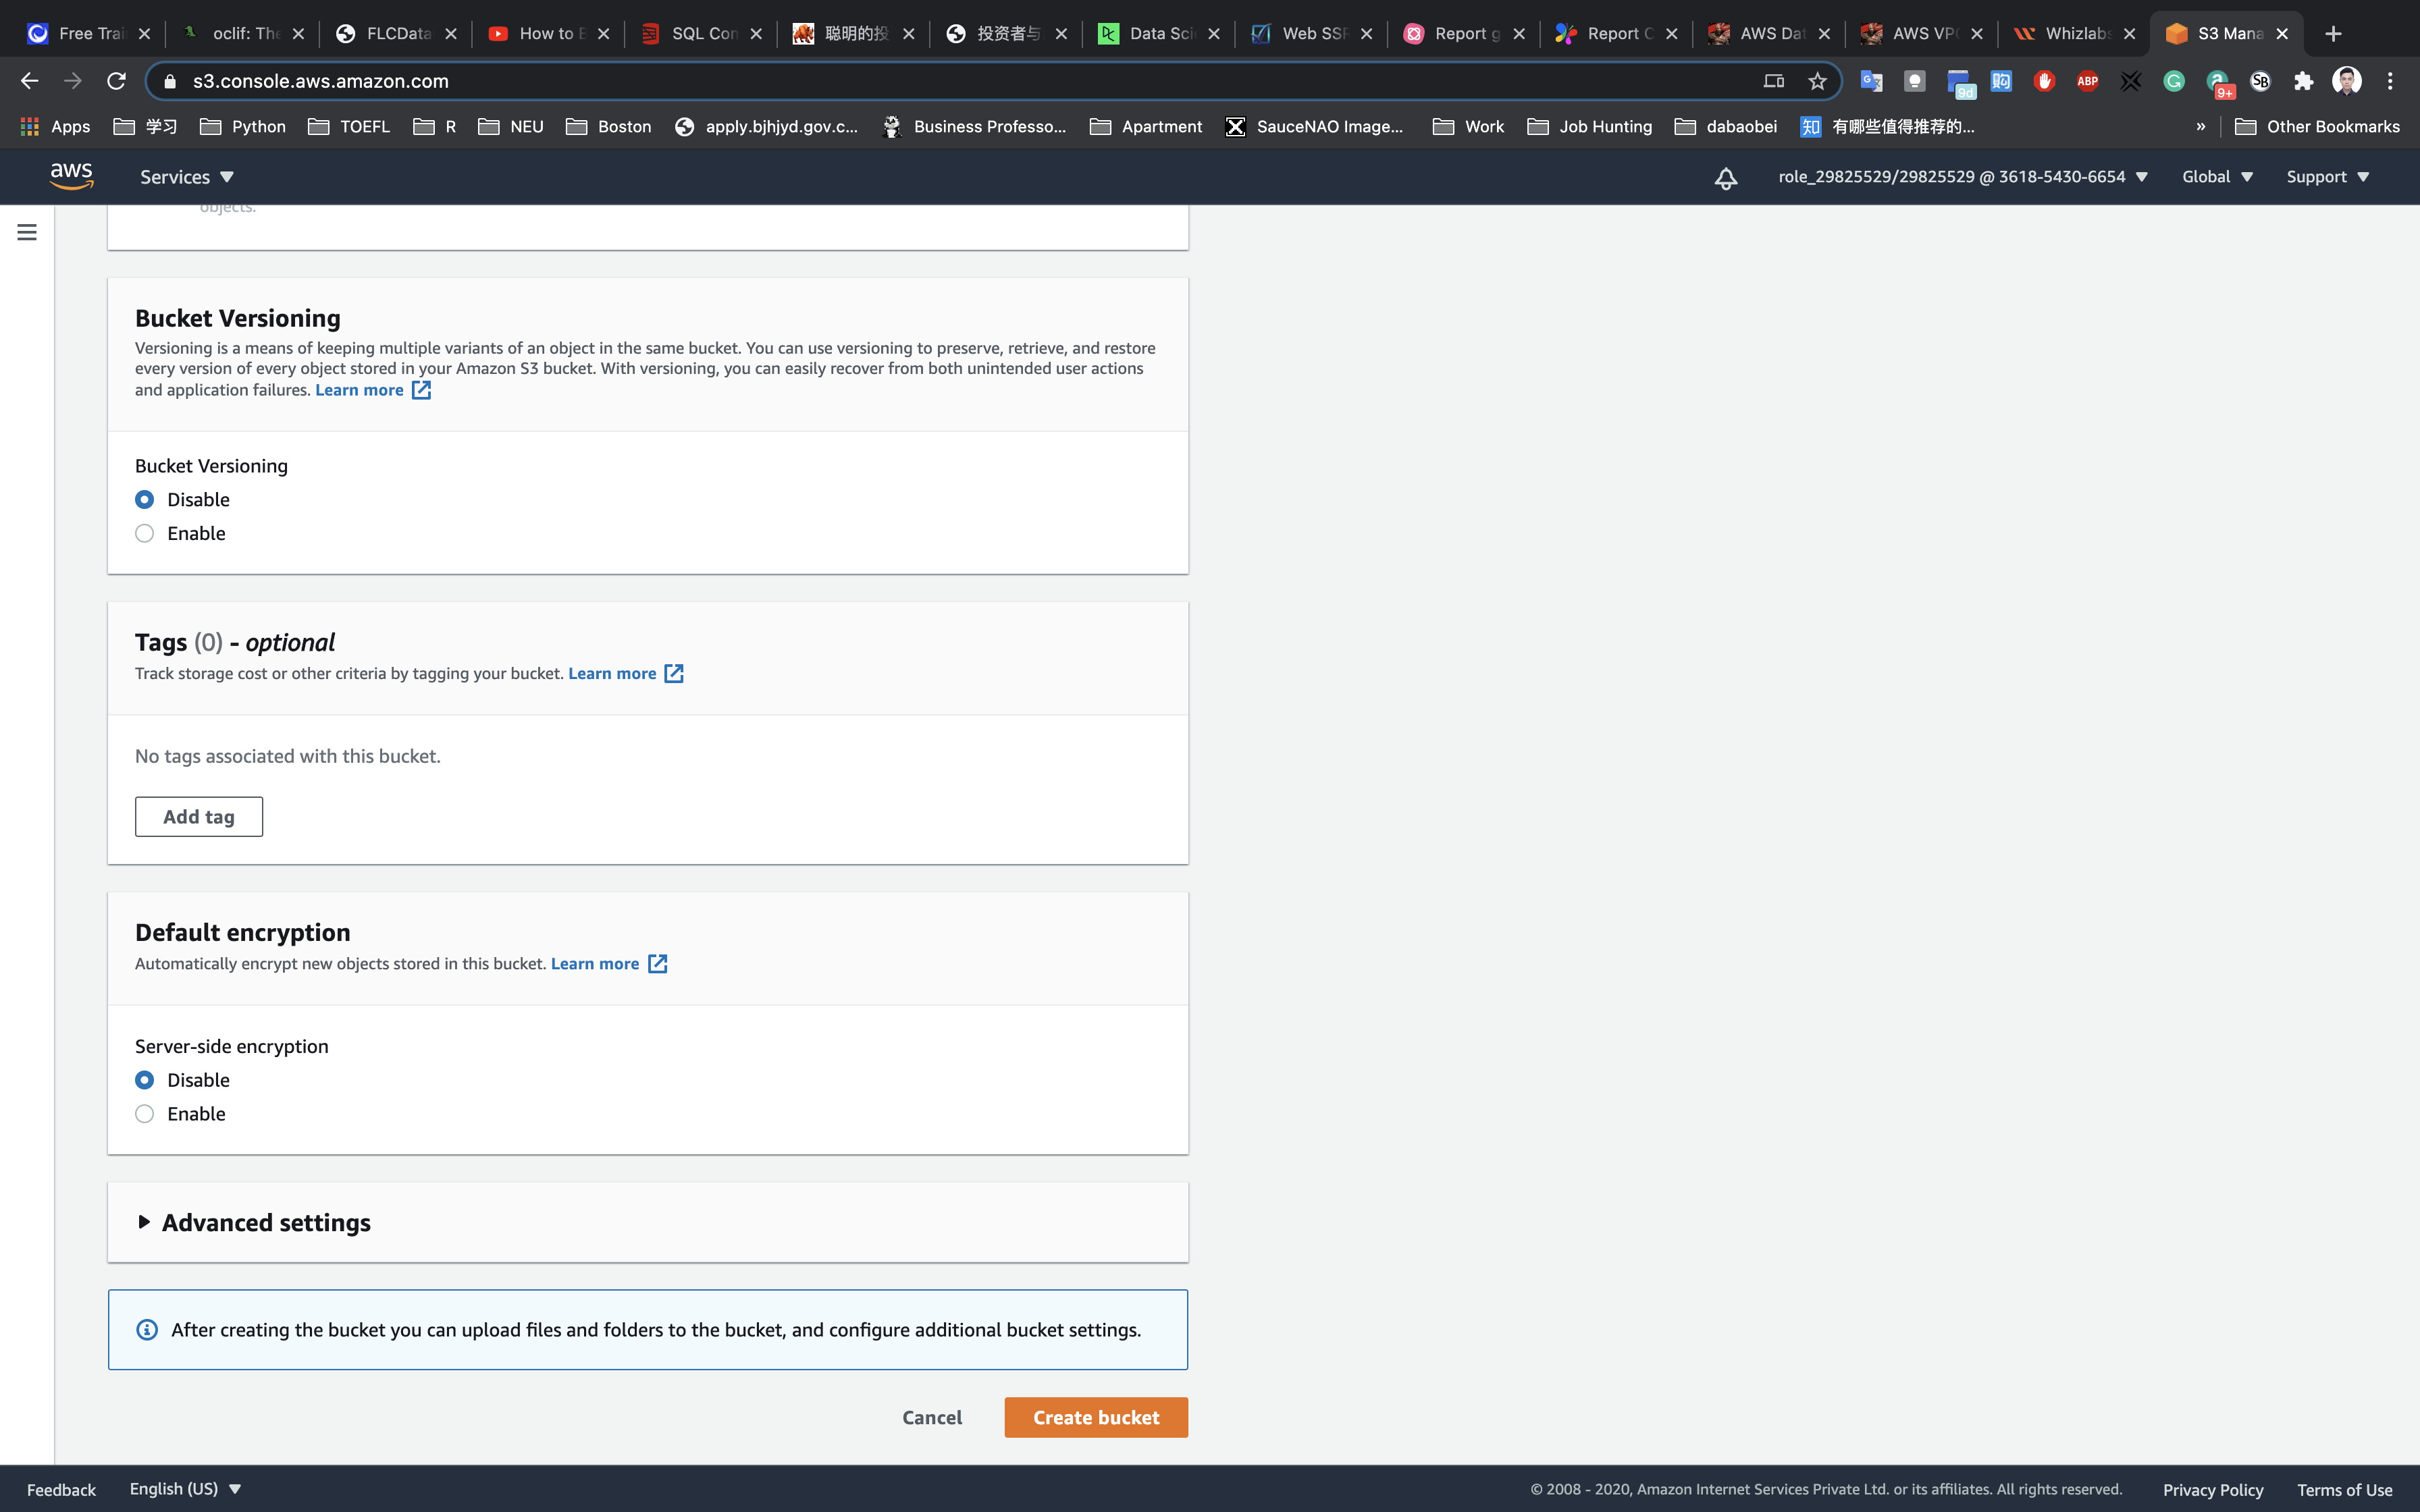
Once the bucket is created successfully, select your S3 bucket (click on the checkbox).
Click on the Copy Bucket ARN to copy the ARN.
- arn:aws:s3:::zacks-source-bucket
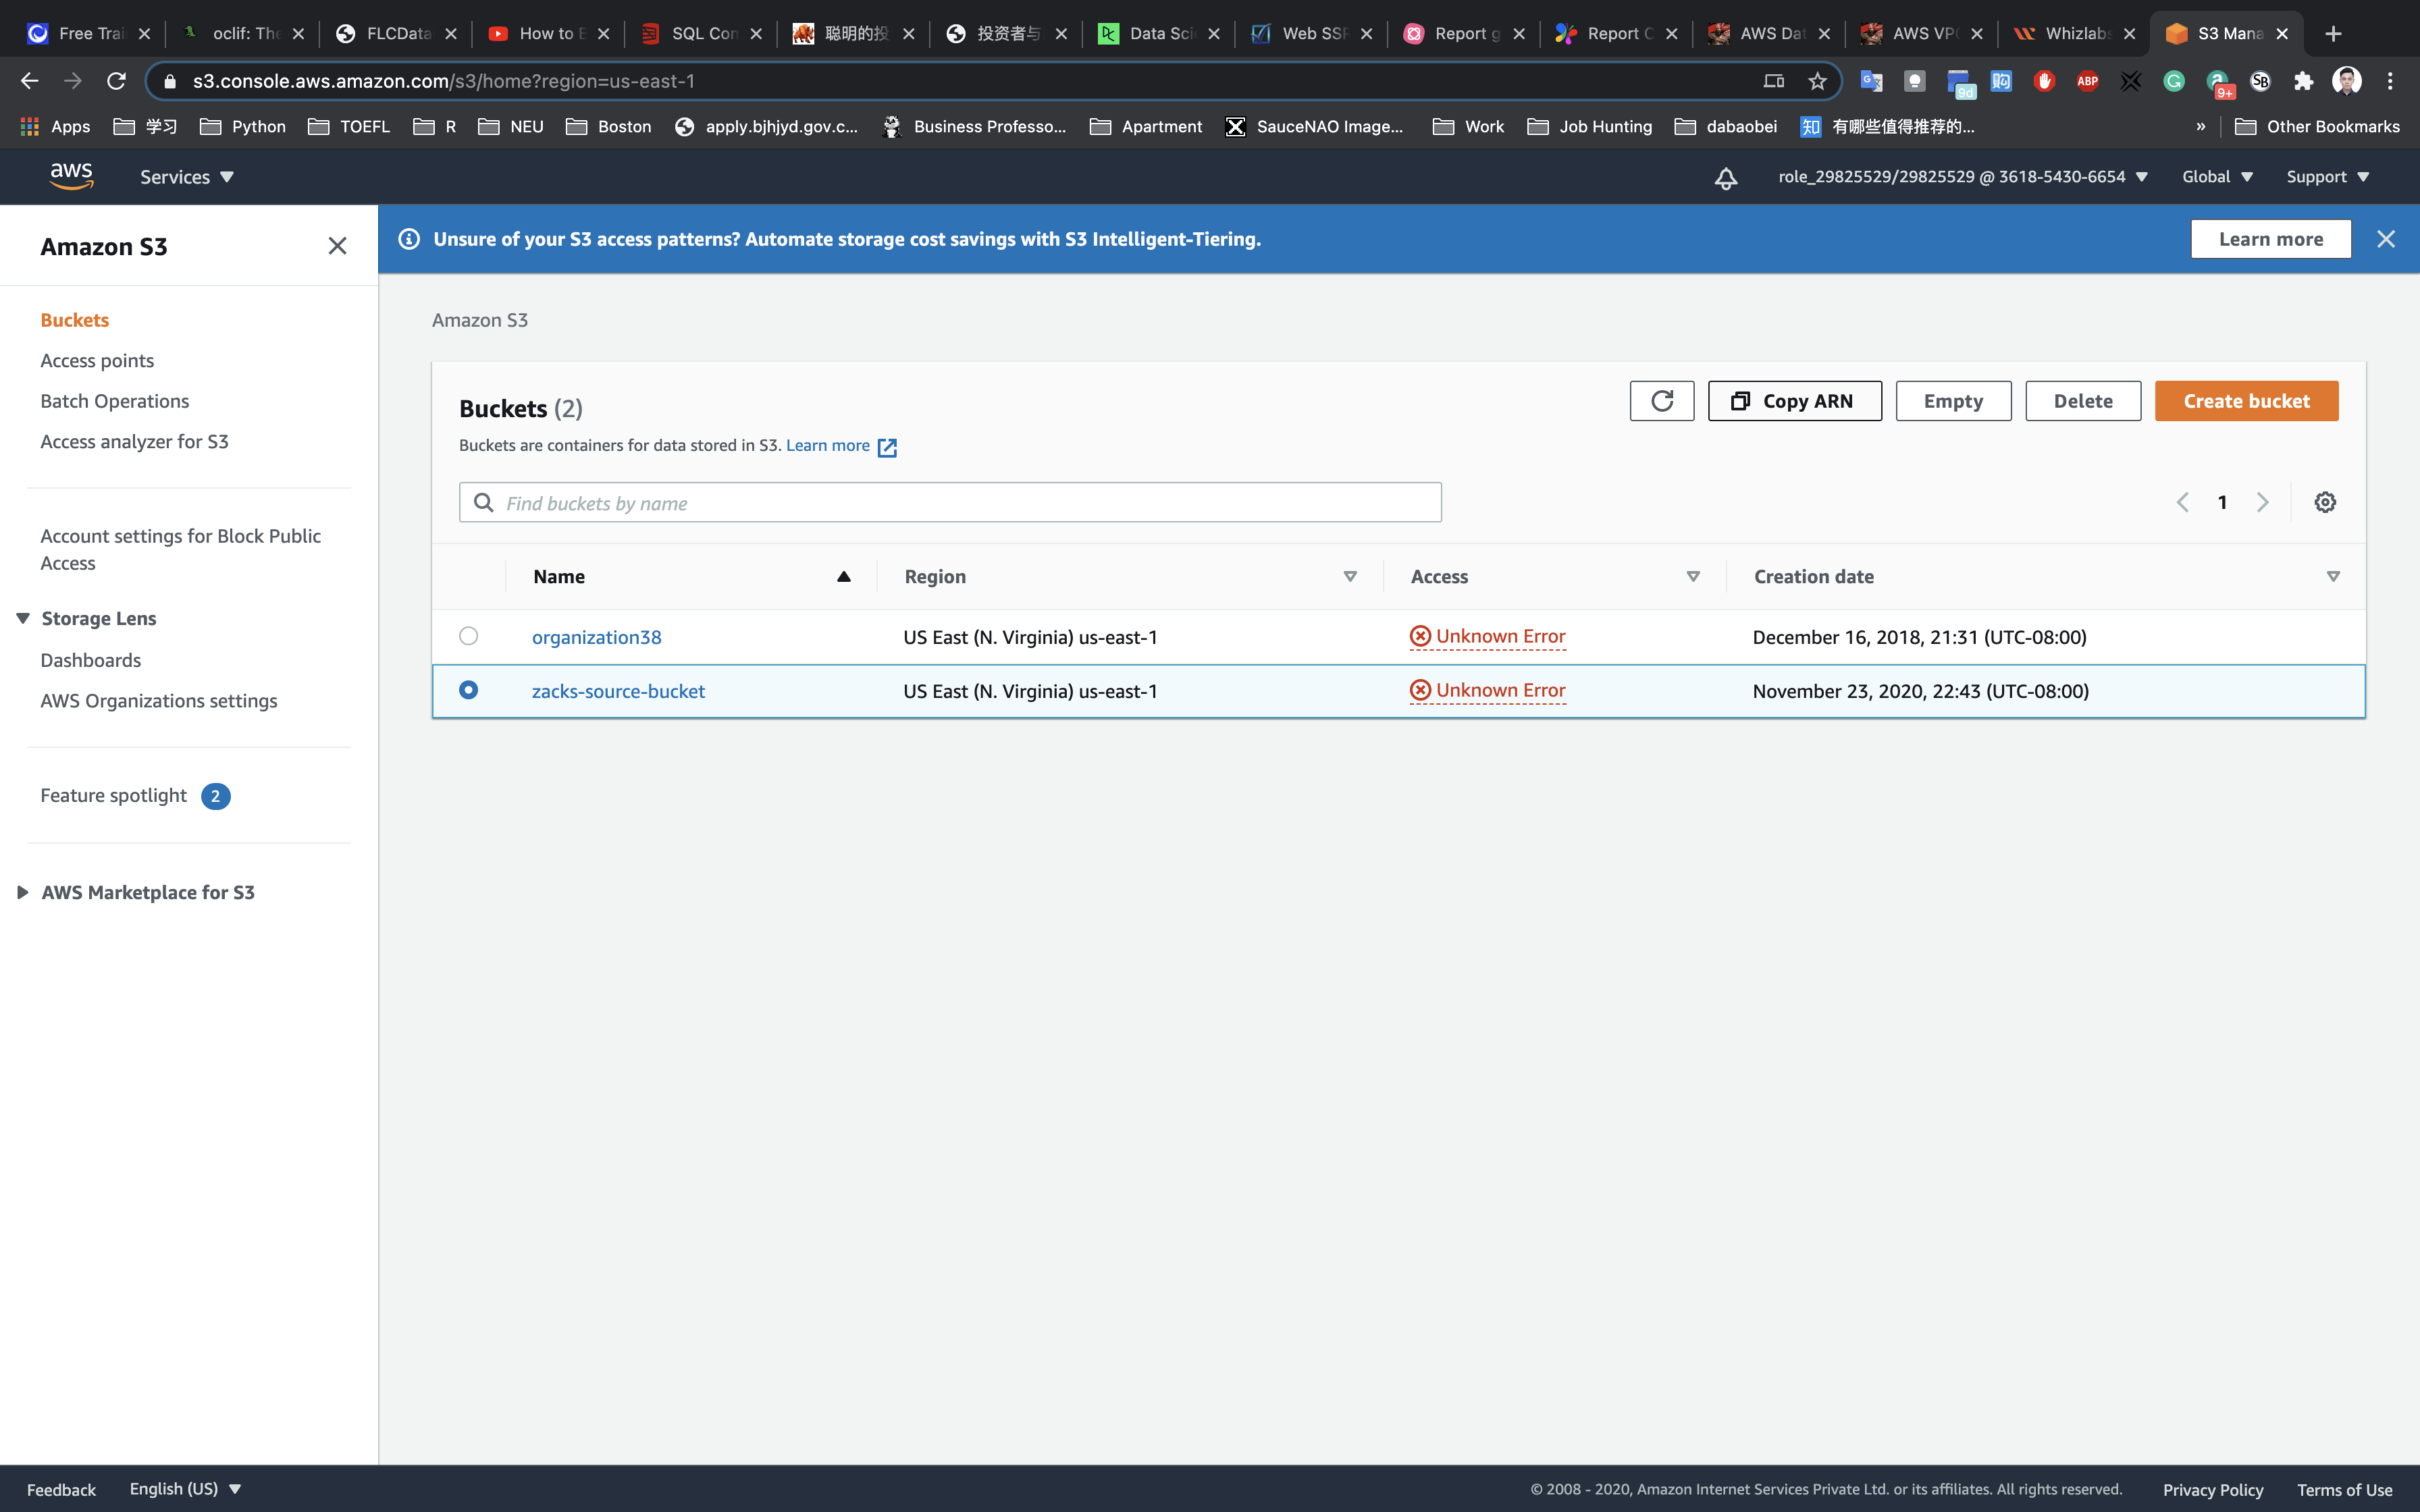
Save the source bucket ARN in a text file for later use.
Create Amazon S3 Bucket (Destination Bucket)
Click on Create bucket.
- Bucket Name:
your_destination_bucket_name - Region:
US East (N. Virginia)
Note: Every S3 bucket name is unique globally, so create the bucket with a name not currently in use.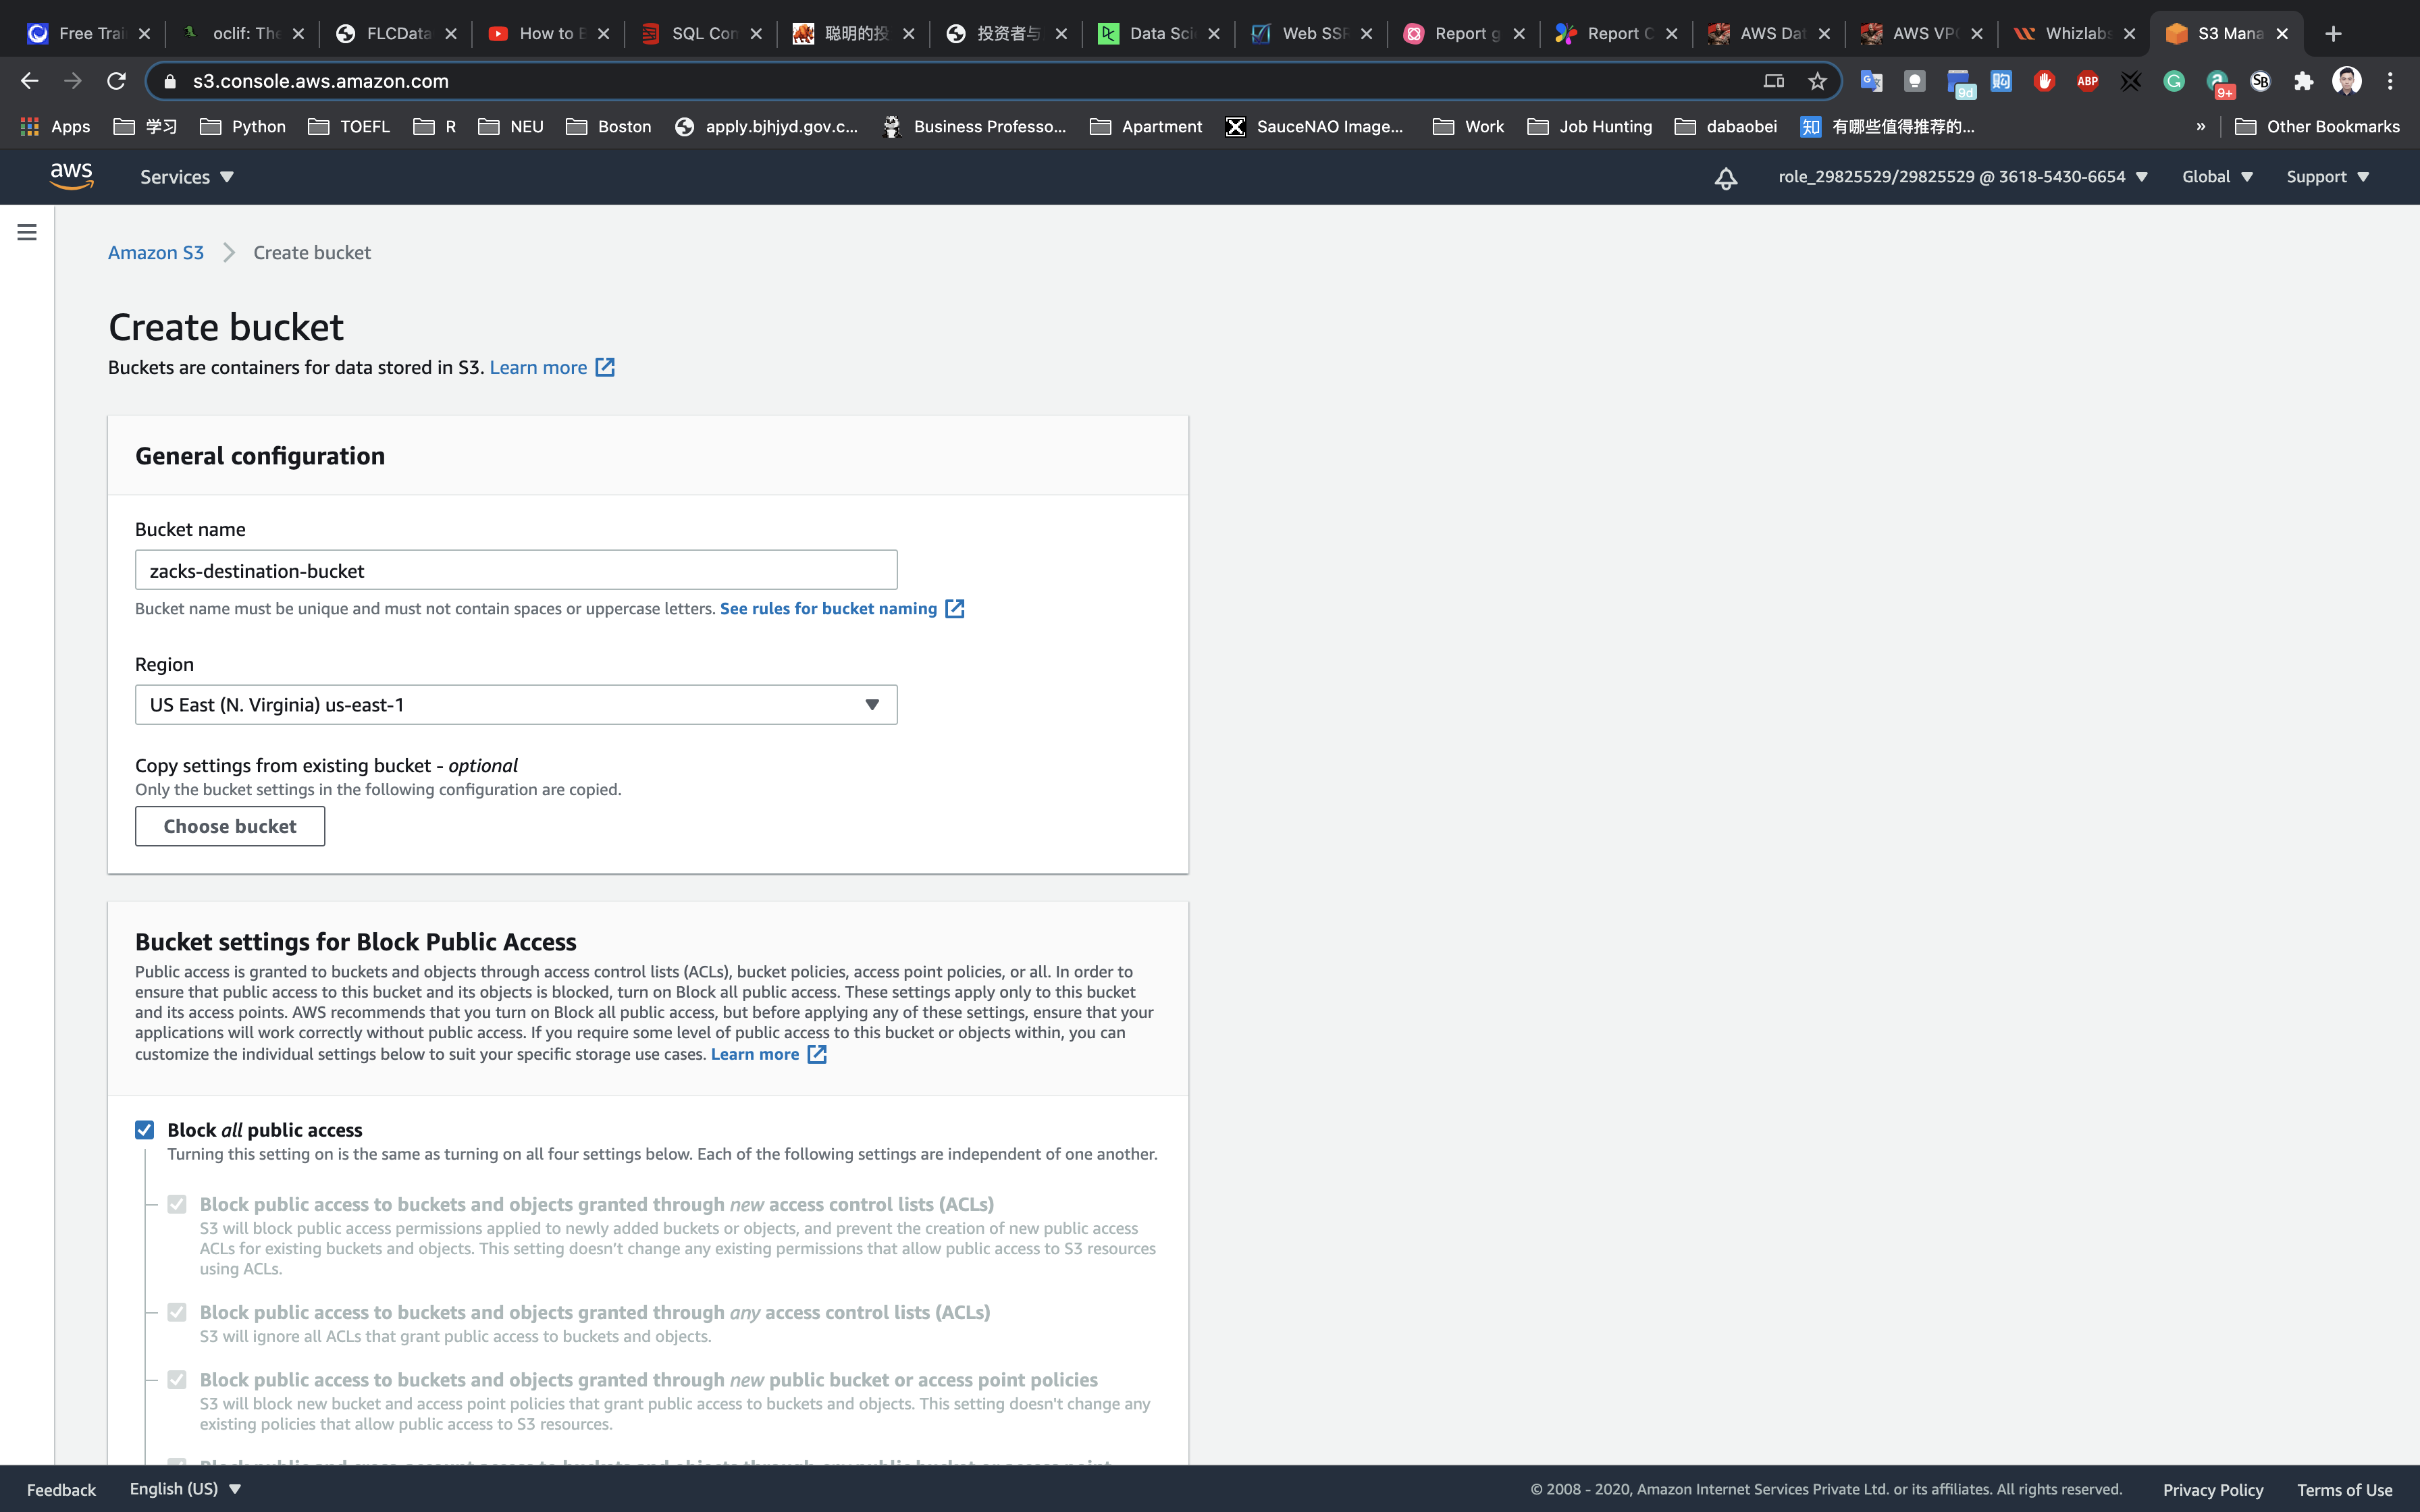
Leave other settings as default and click on the Create button.
Once the bucket is created successfully, select your S3 bucket (click on the checkbox).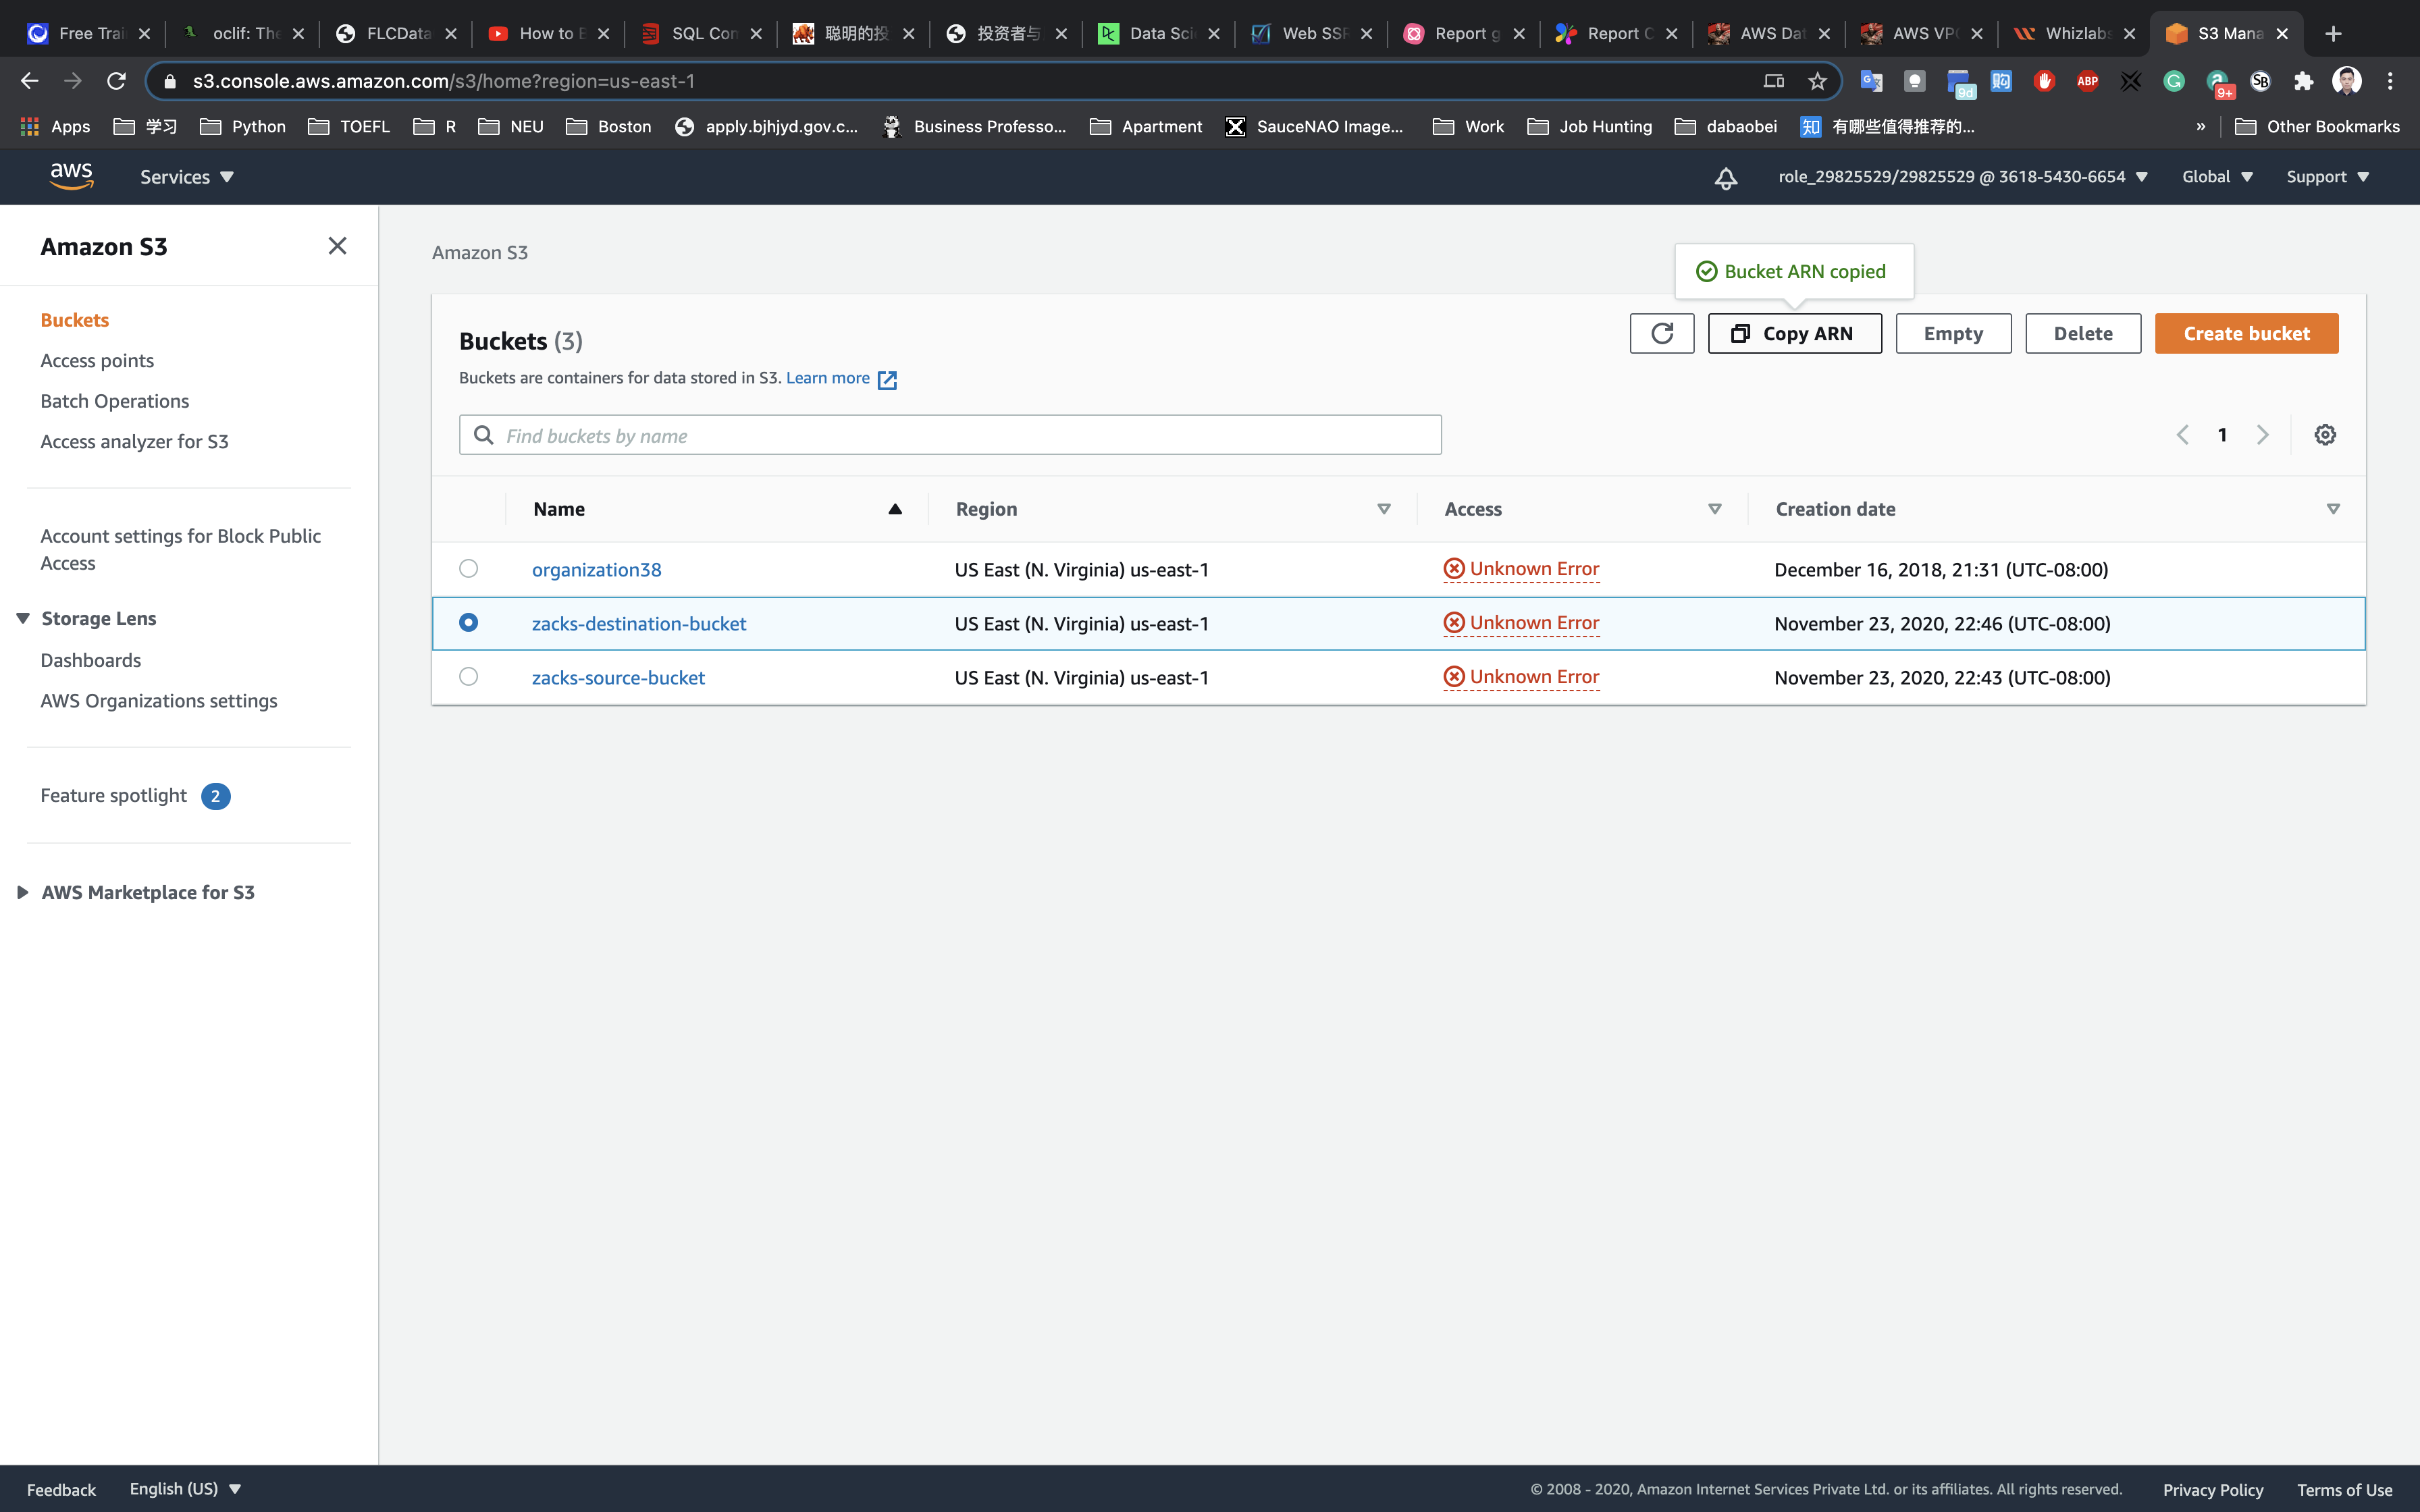
Click on the Copy Bucket ARN to copy the ARN.
- arn:aws:s3:::zacks-destination-bucket
Save the source bucket ARN in a text file for later use.
Now we have two S3 buckets (Source and Destination). We will make use of our AWS Lambda function to copy the content from source bucket to destination bucket.
IAM Configuration
Services -> IAM -> Policies
Create an IAM Policy
As a pre-requisite for creating the Lambda function, we need to create a user role with a custom policy.
Click on Create policy.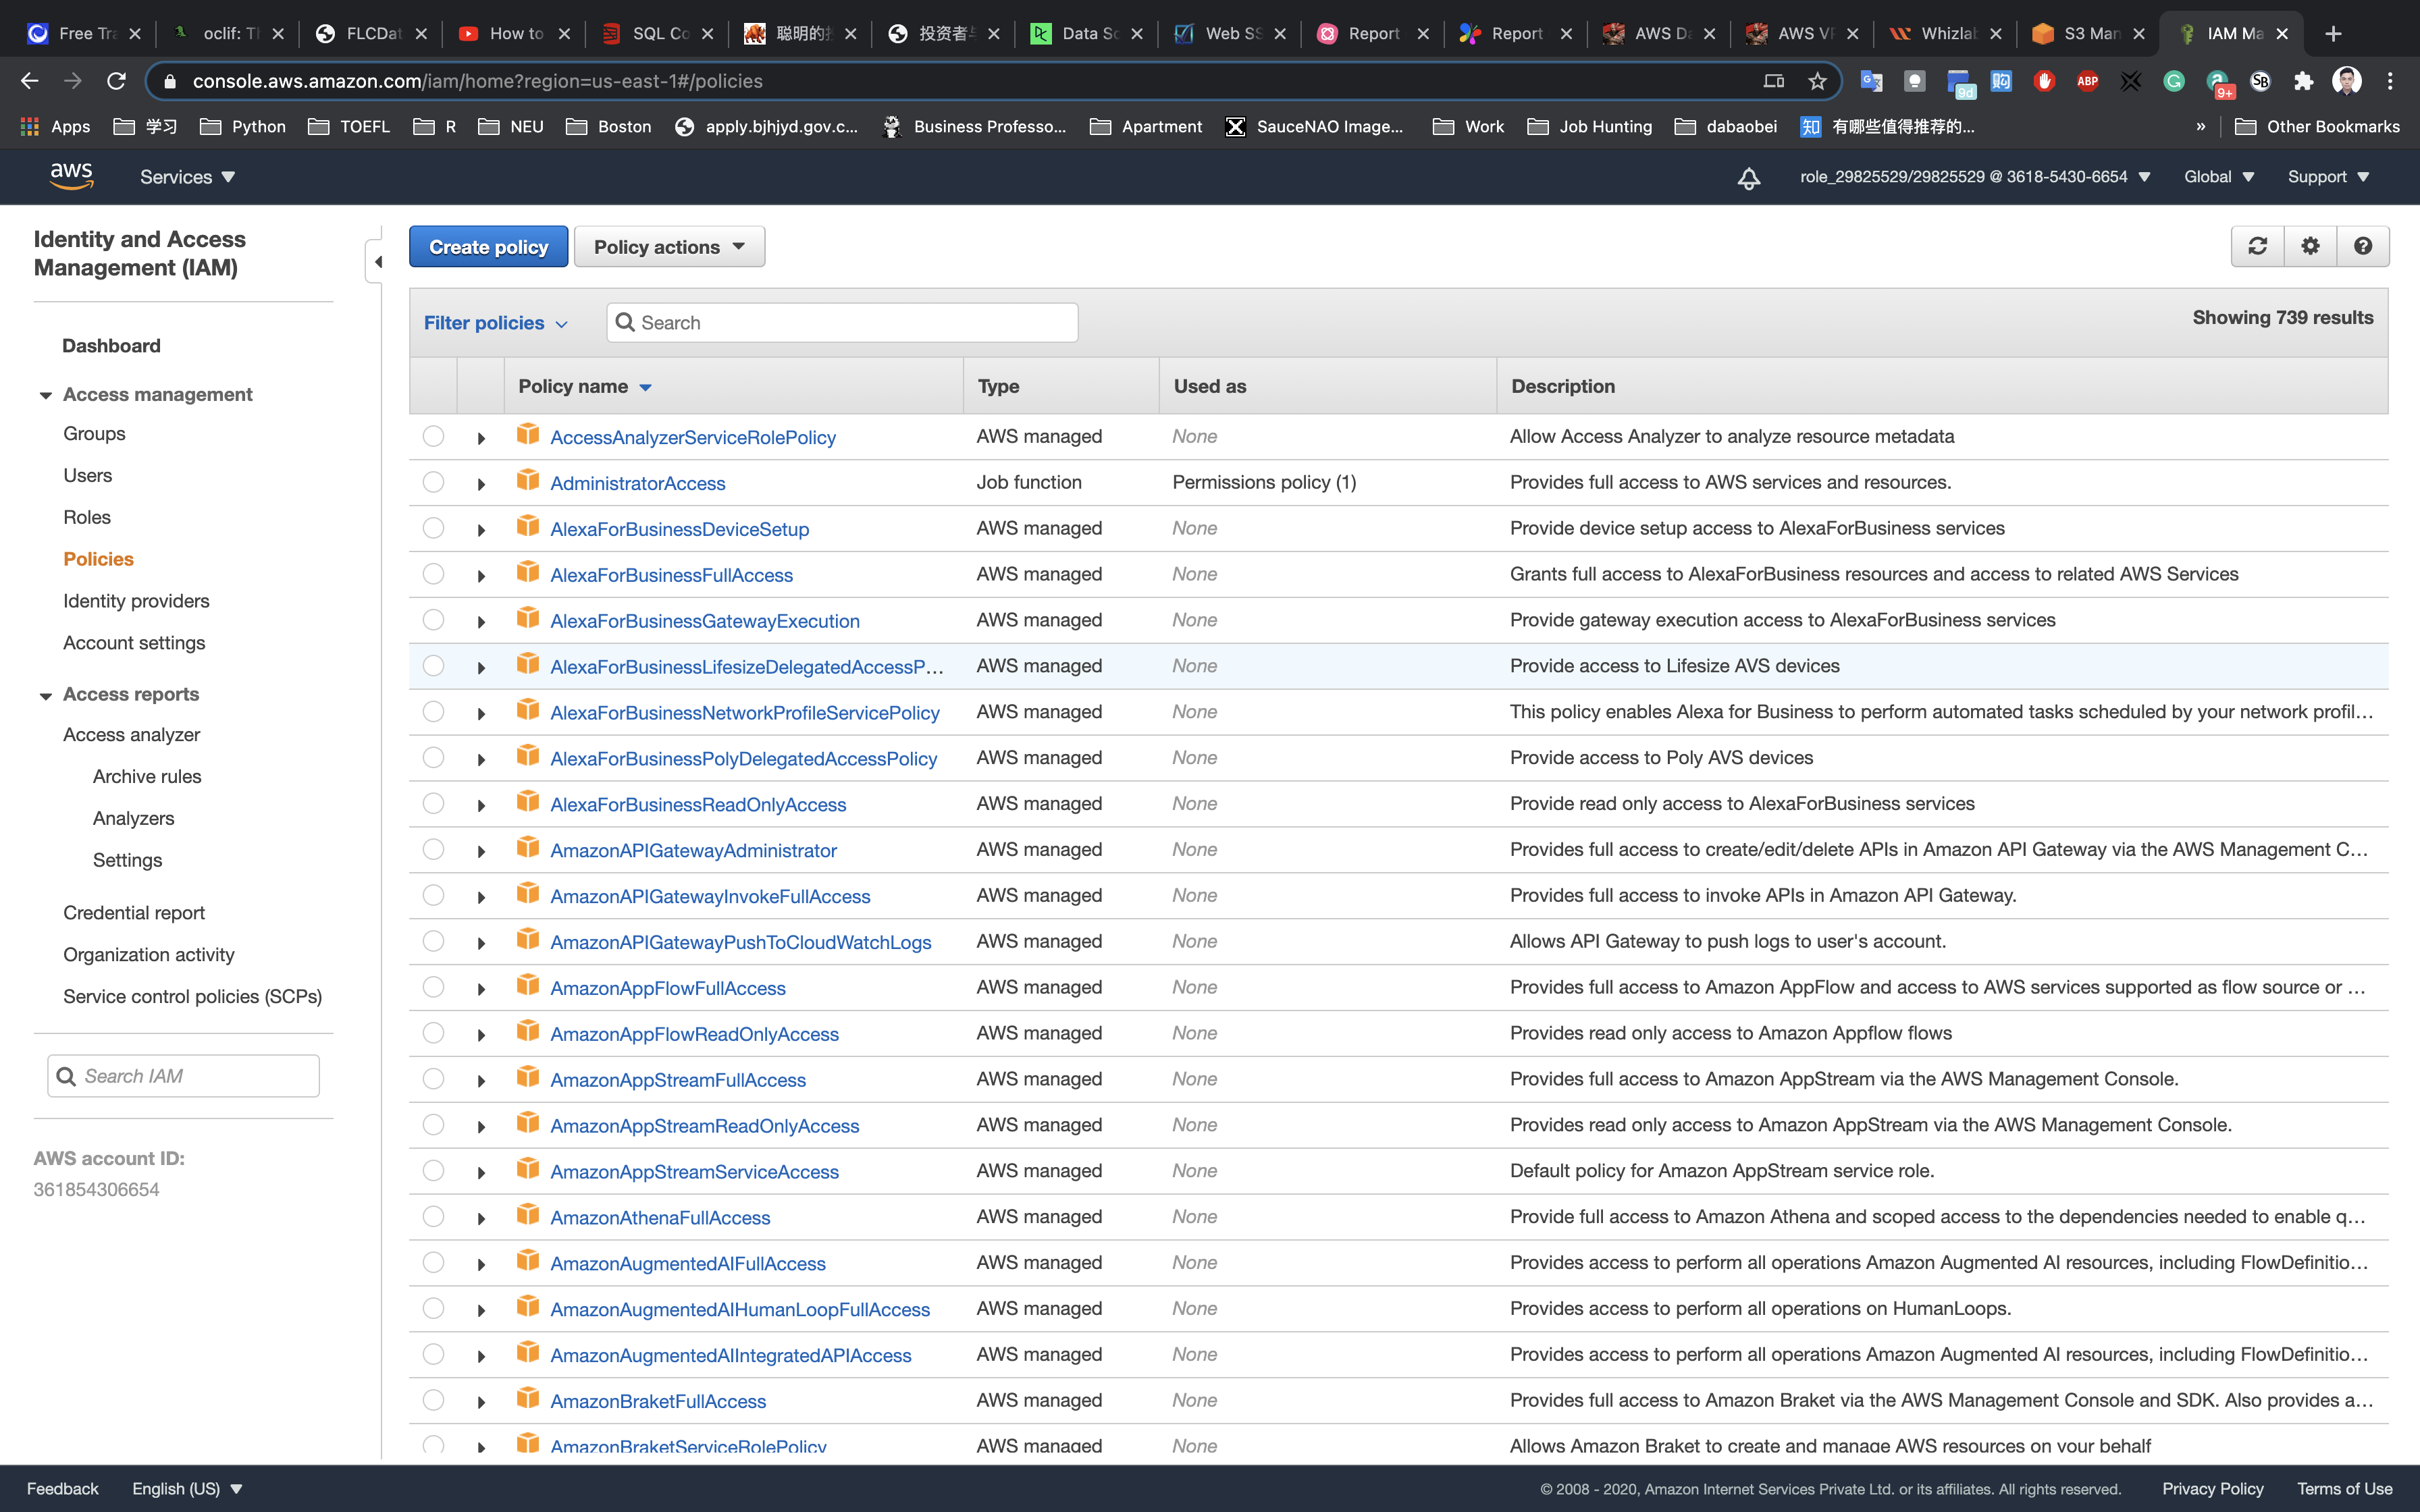
Click on the JSON tab and copy-paste the below policy statement in the editor:
1 | { |
Make sure you have /* after the arn name.
Click on Review policy.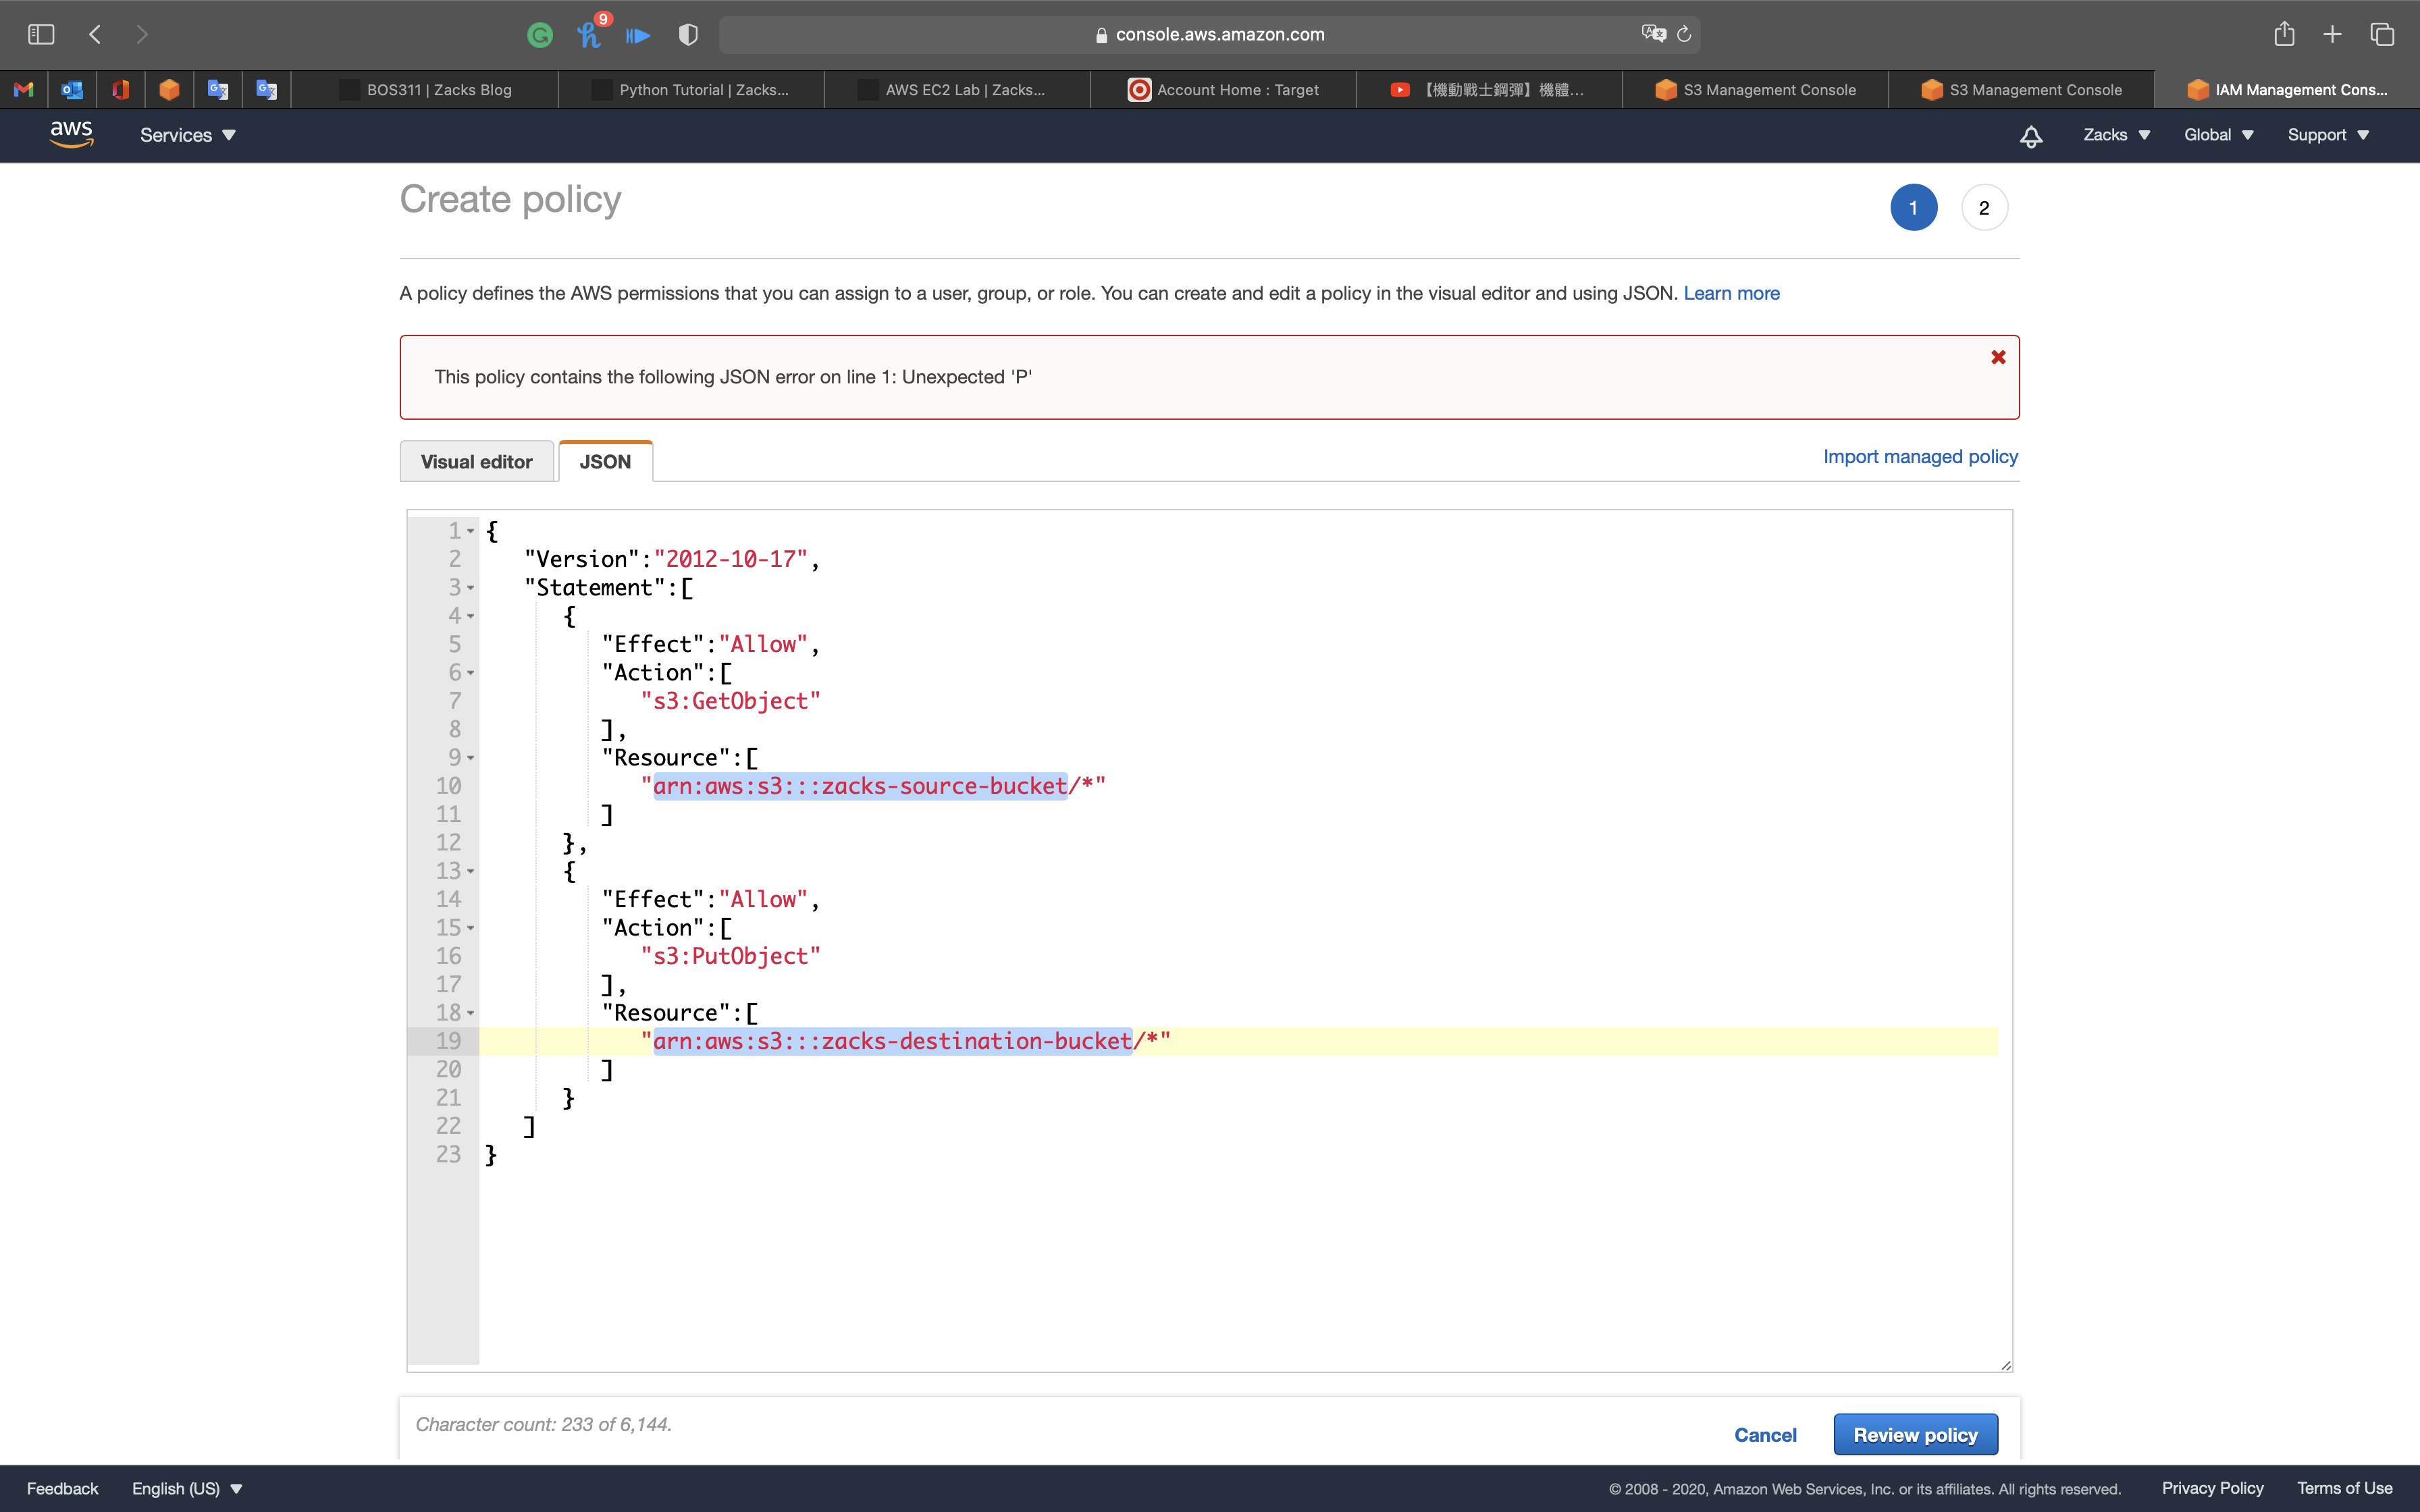
On the Create Policy Page:
- Policy Name:
mypolicy.
Click on the Create policy button.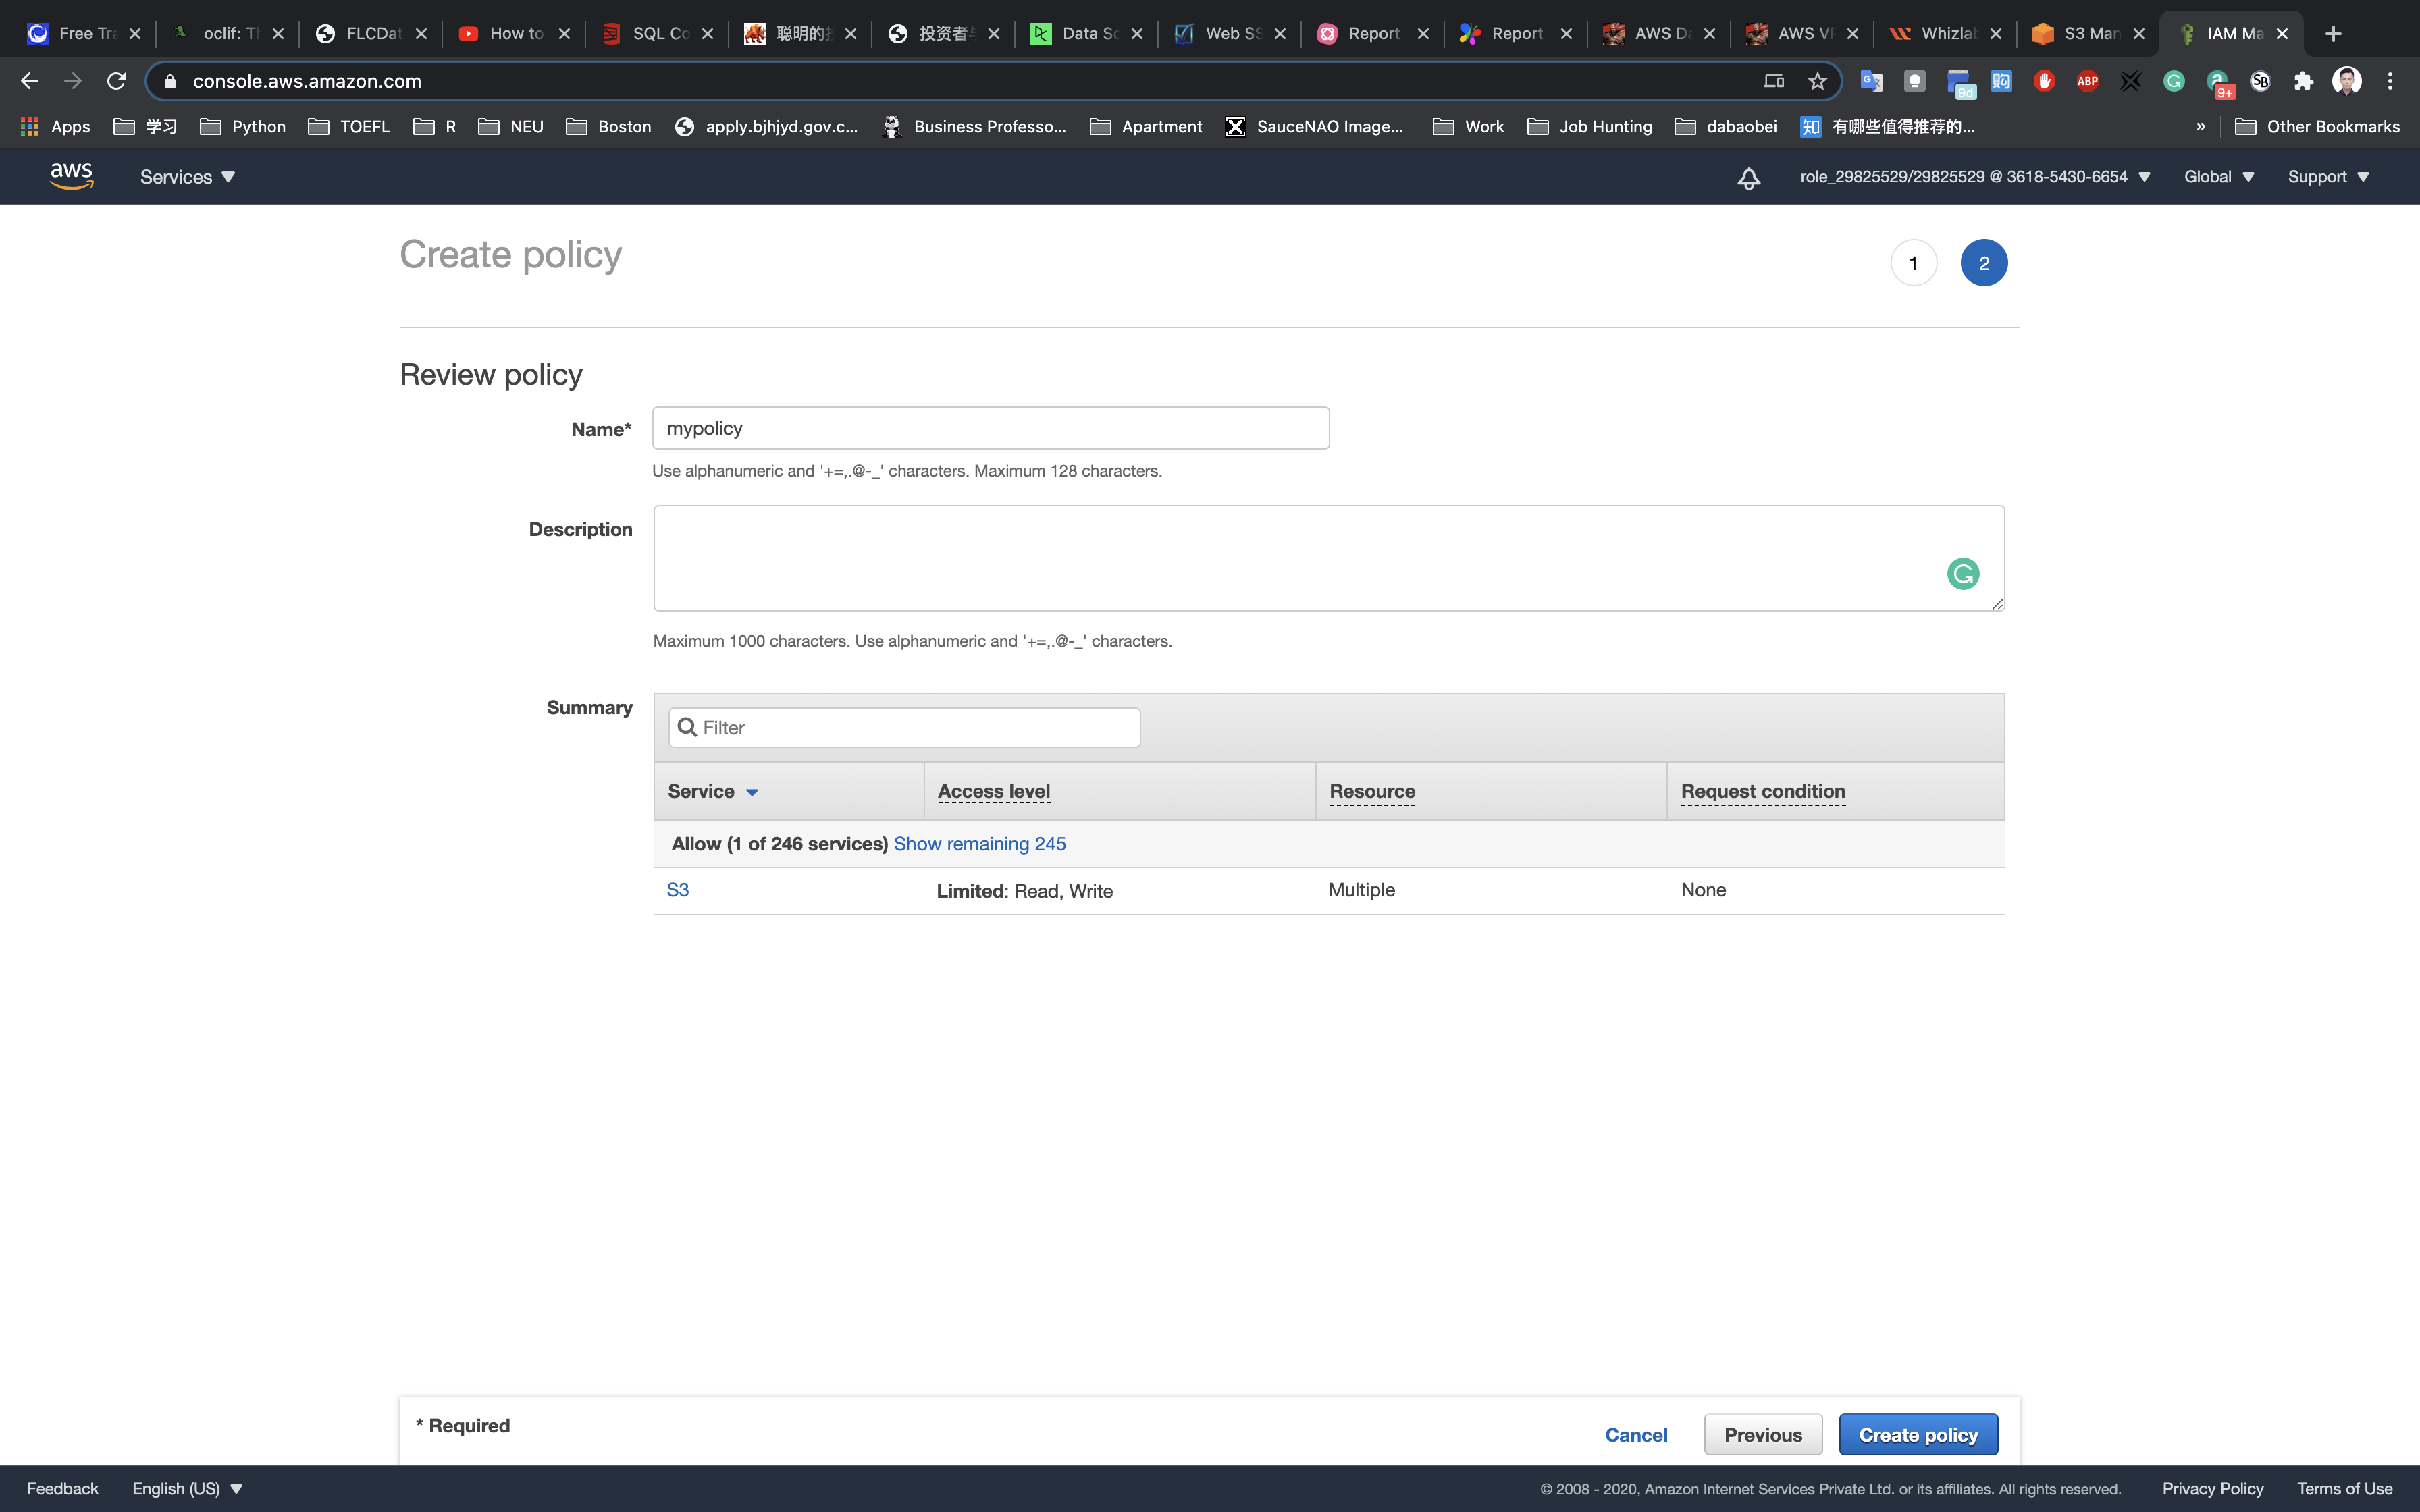
An IAM Policy with the name mypolicy is created.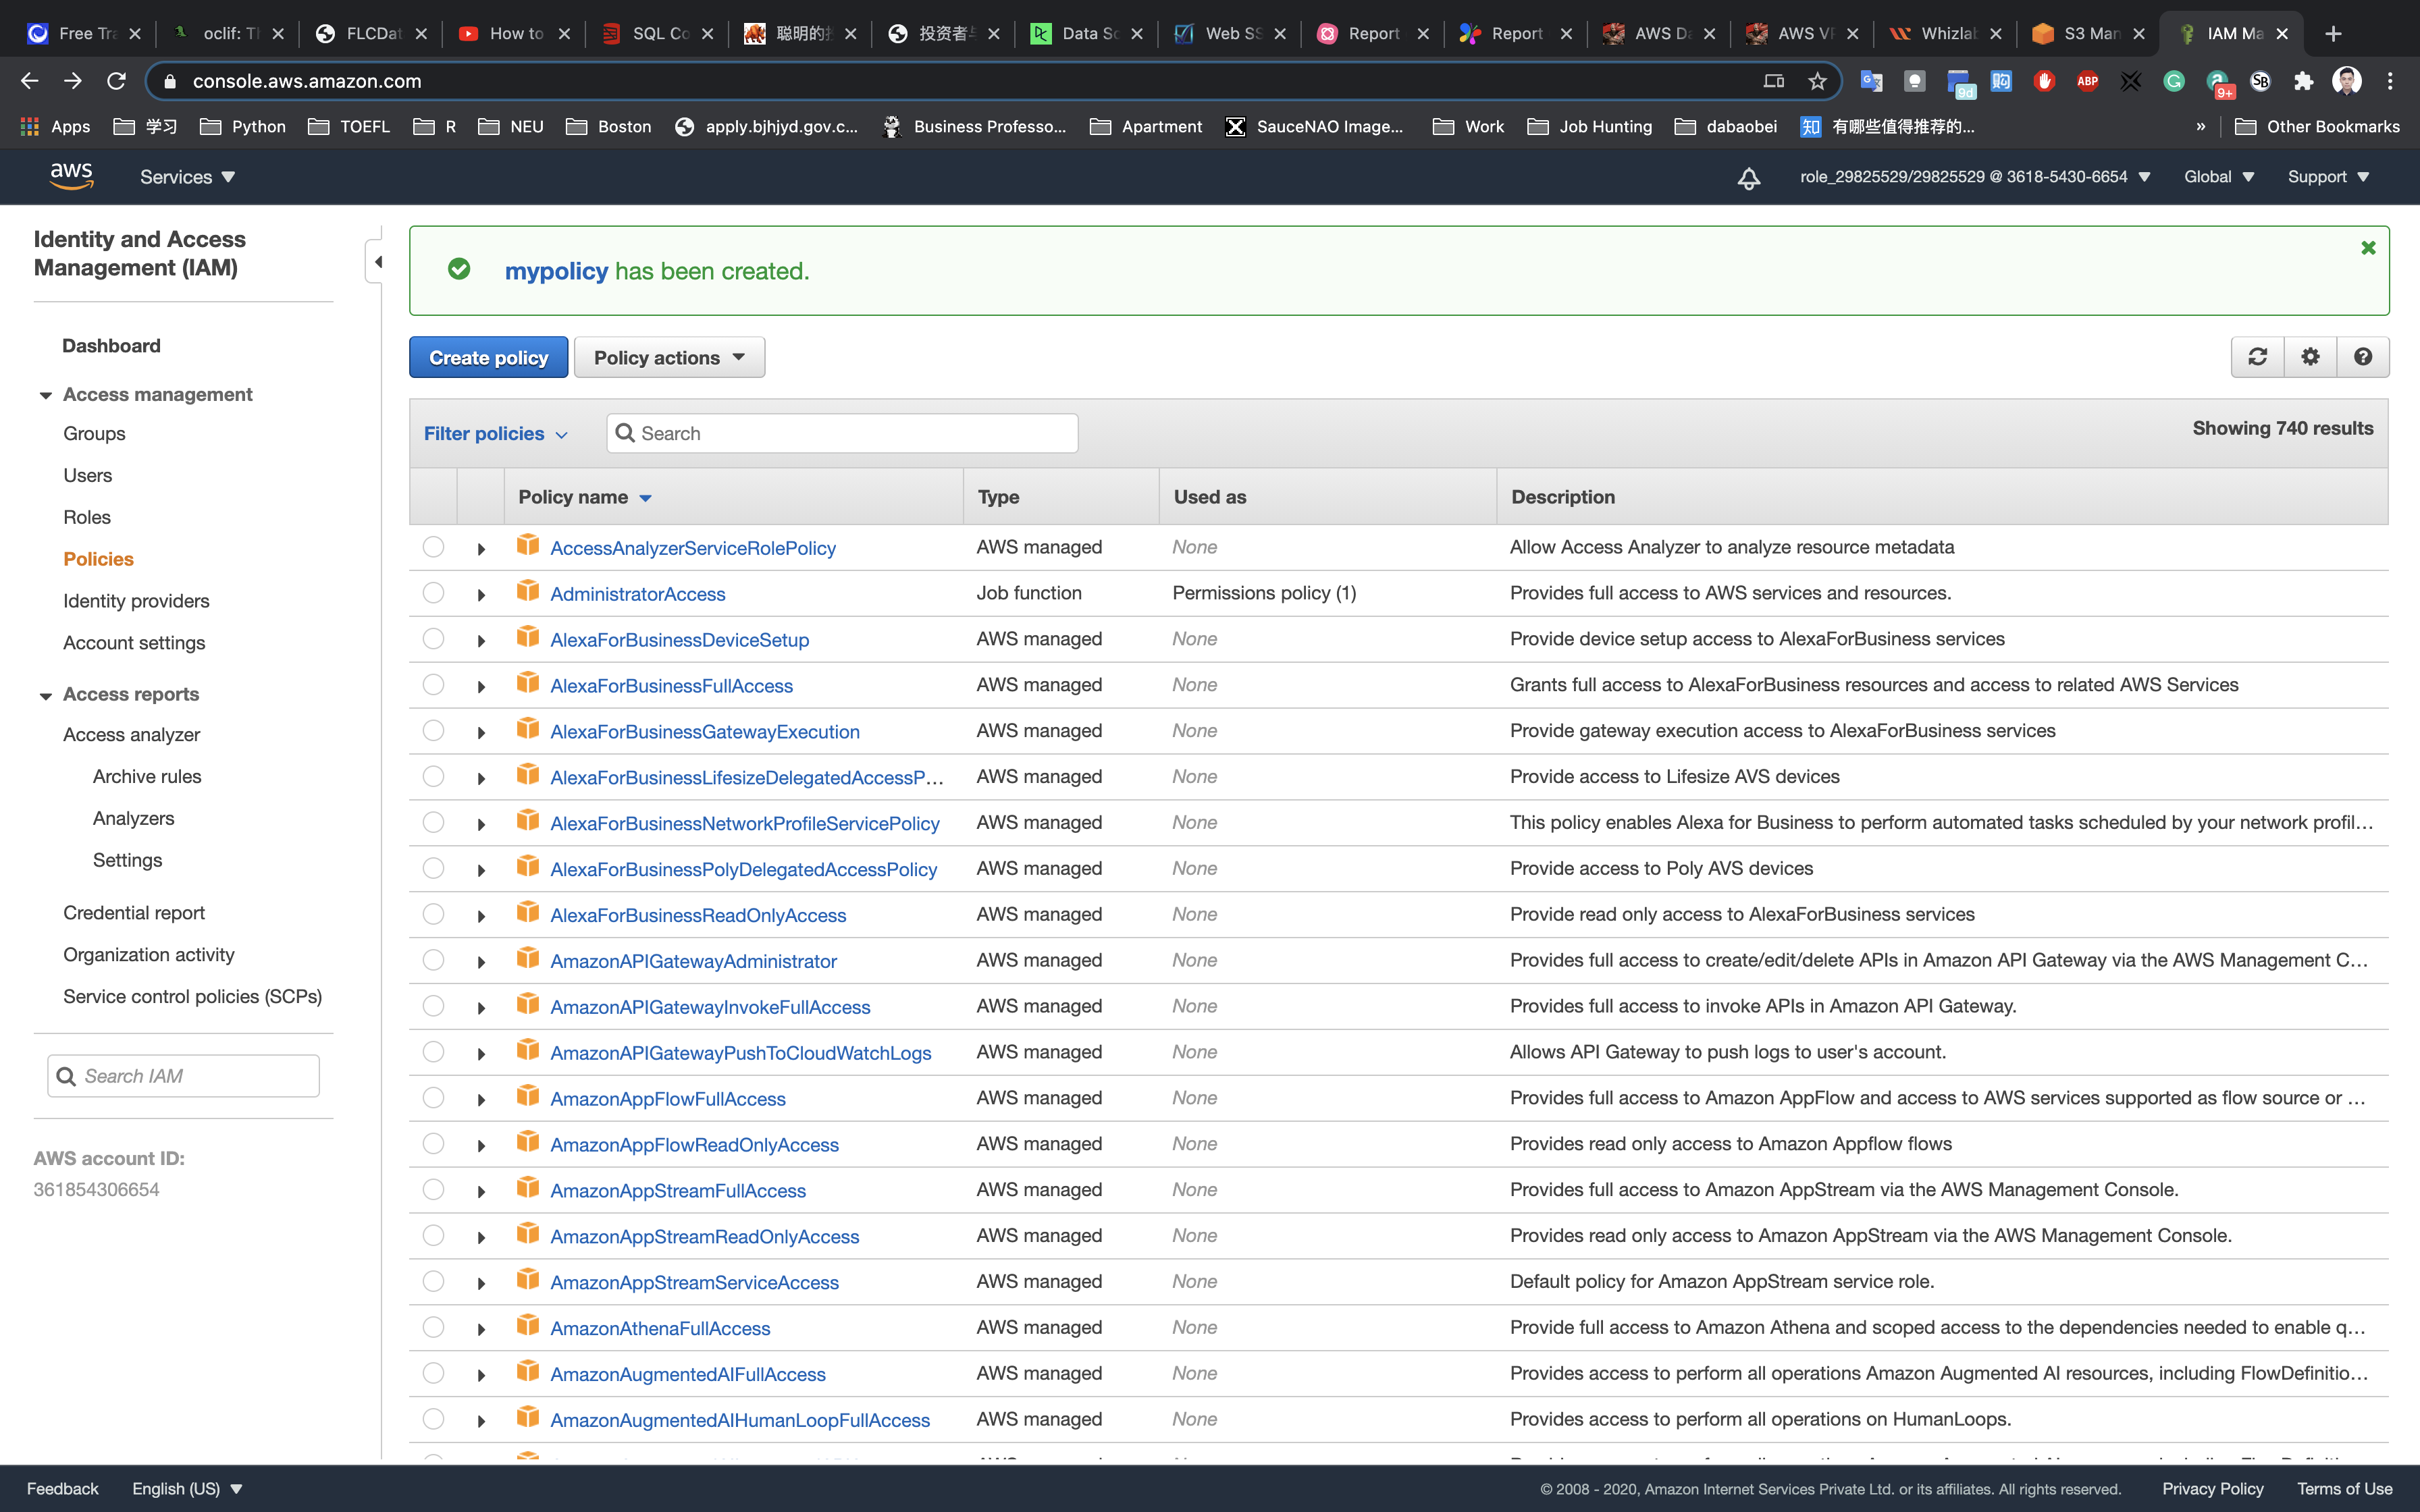
Create an IAM Role
In the left menu, click on Roles. Click on the Create role button.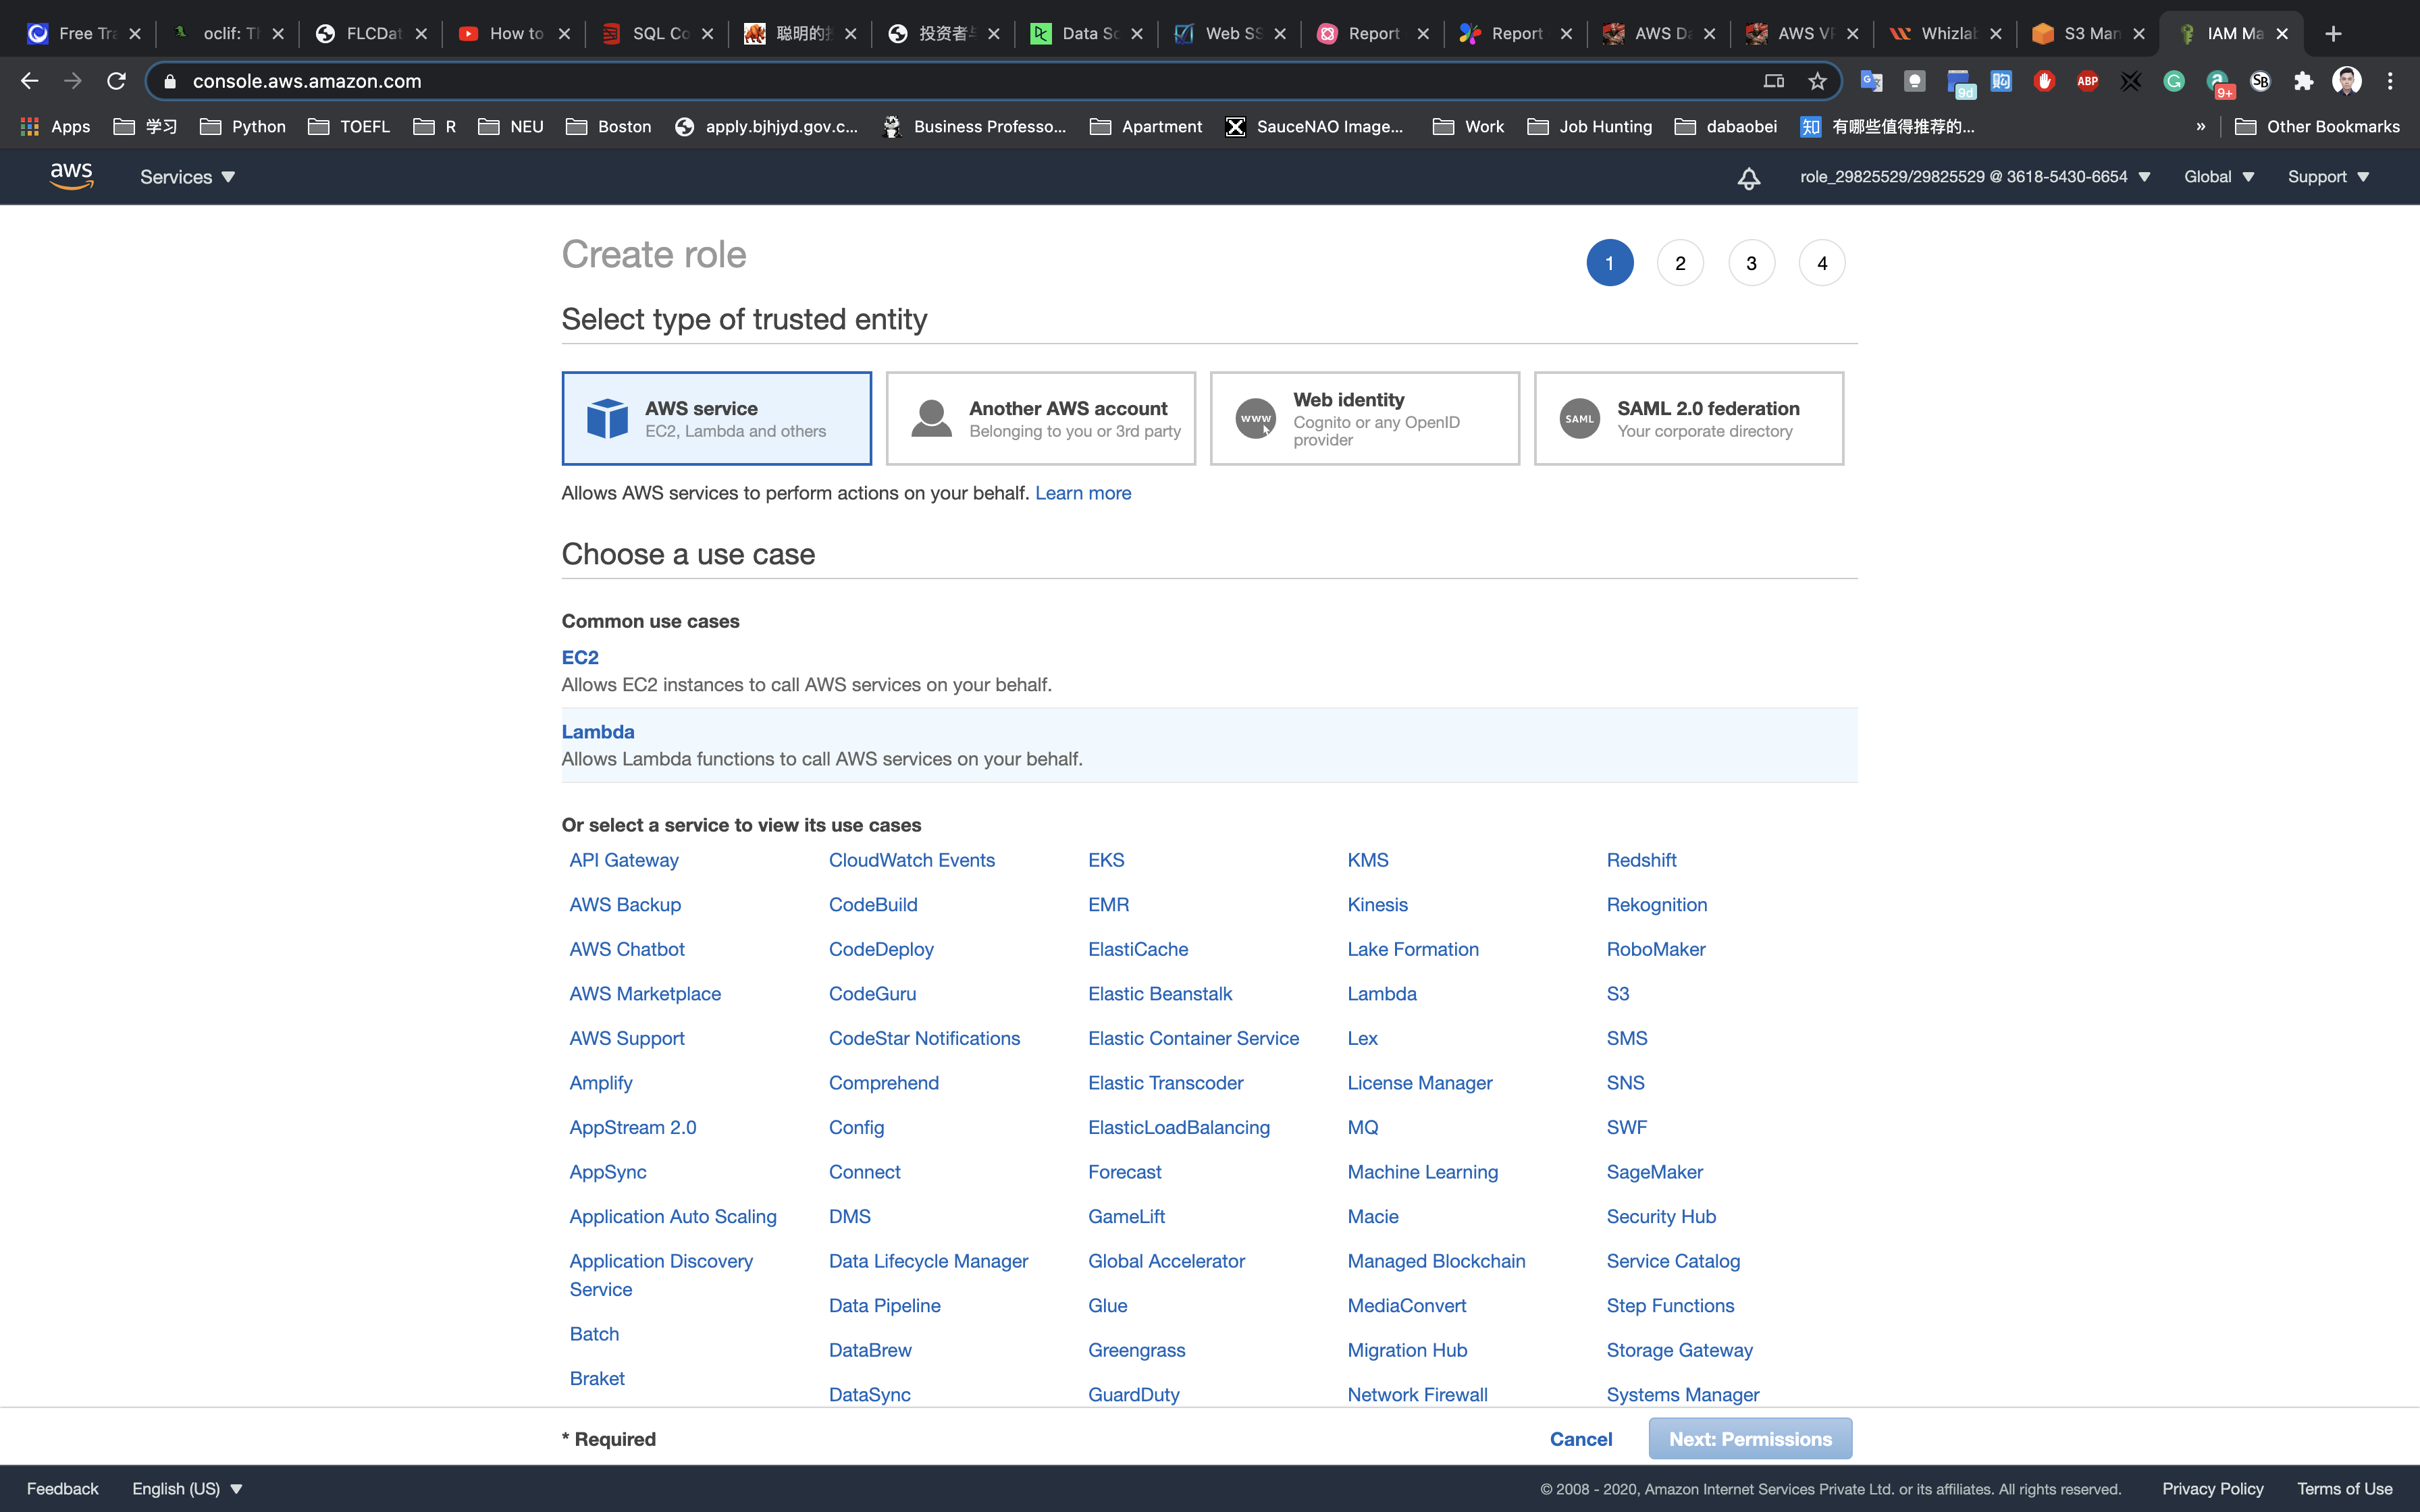
Select Lambda from AWS Services list.
Click on Next: Permissions.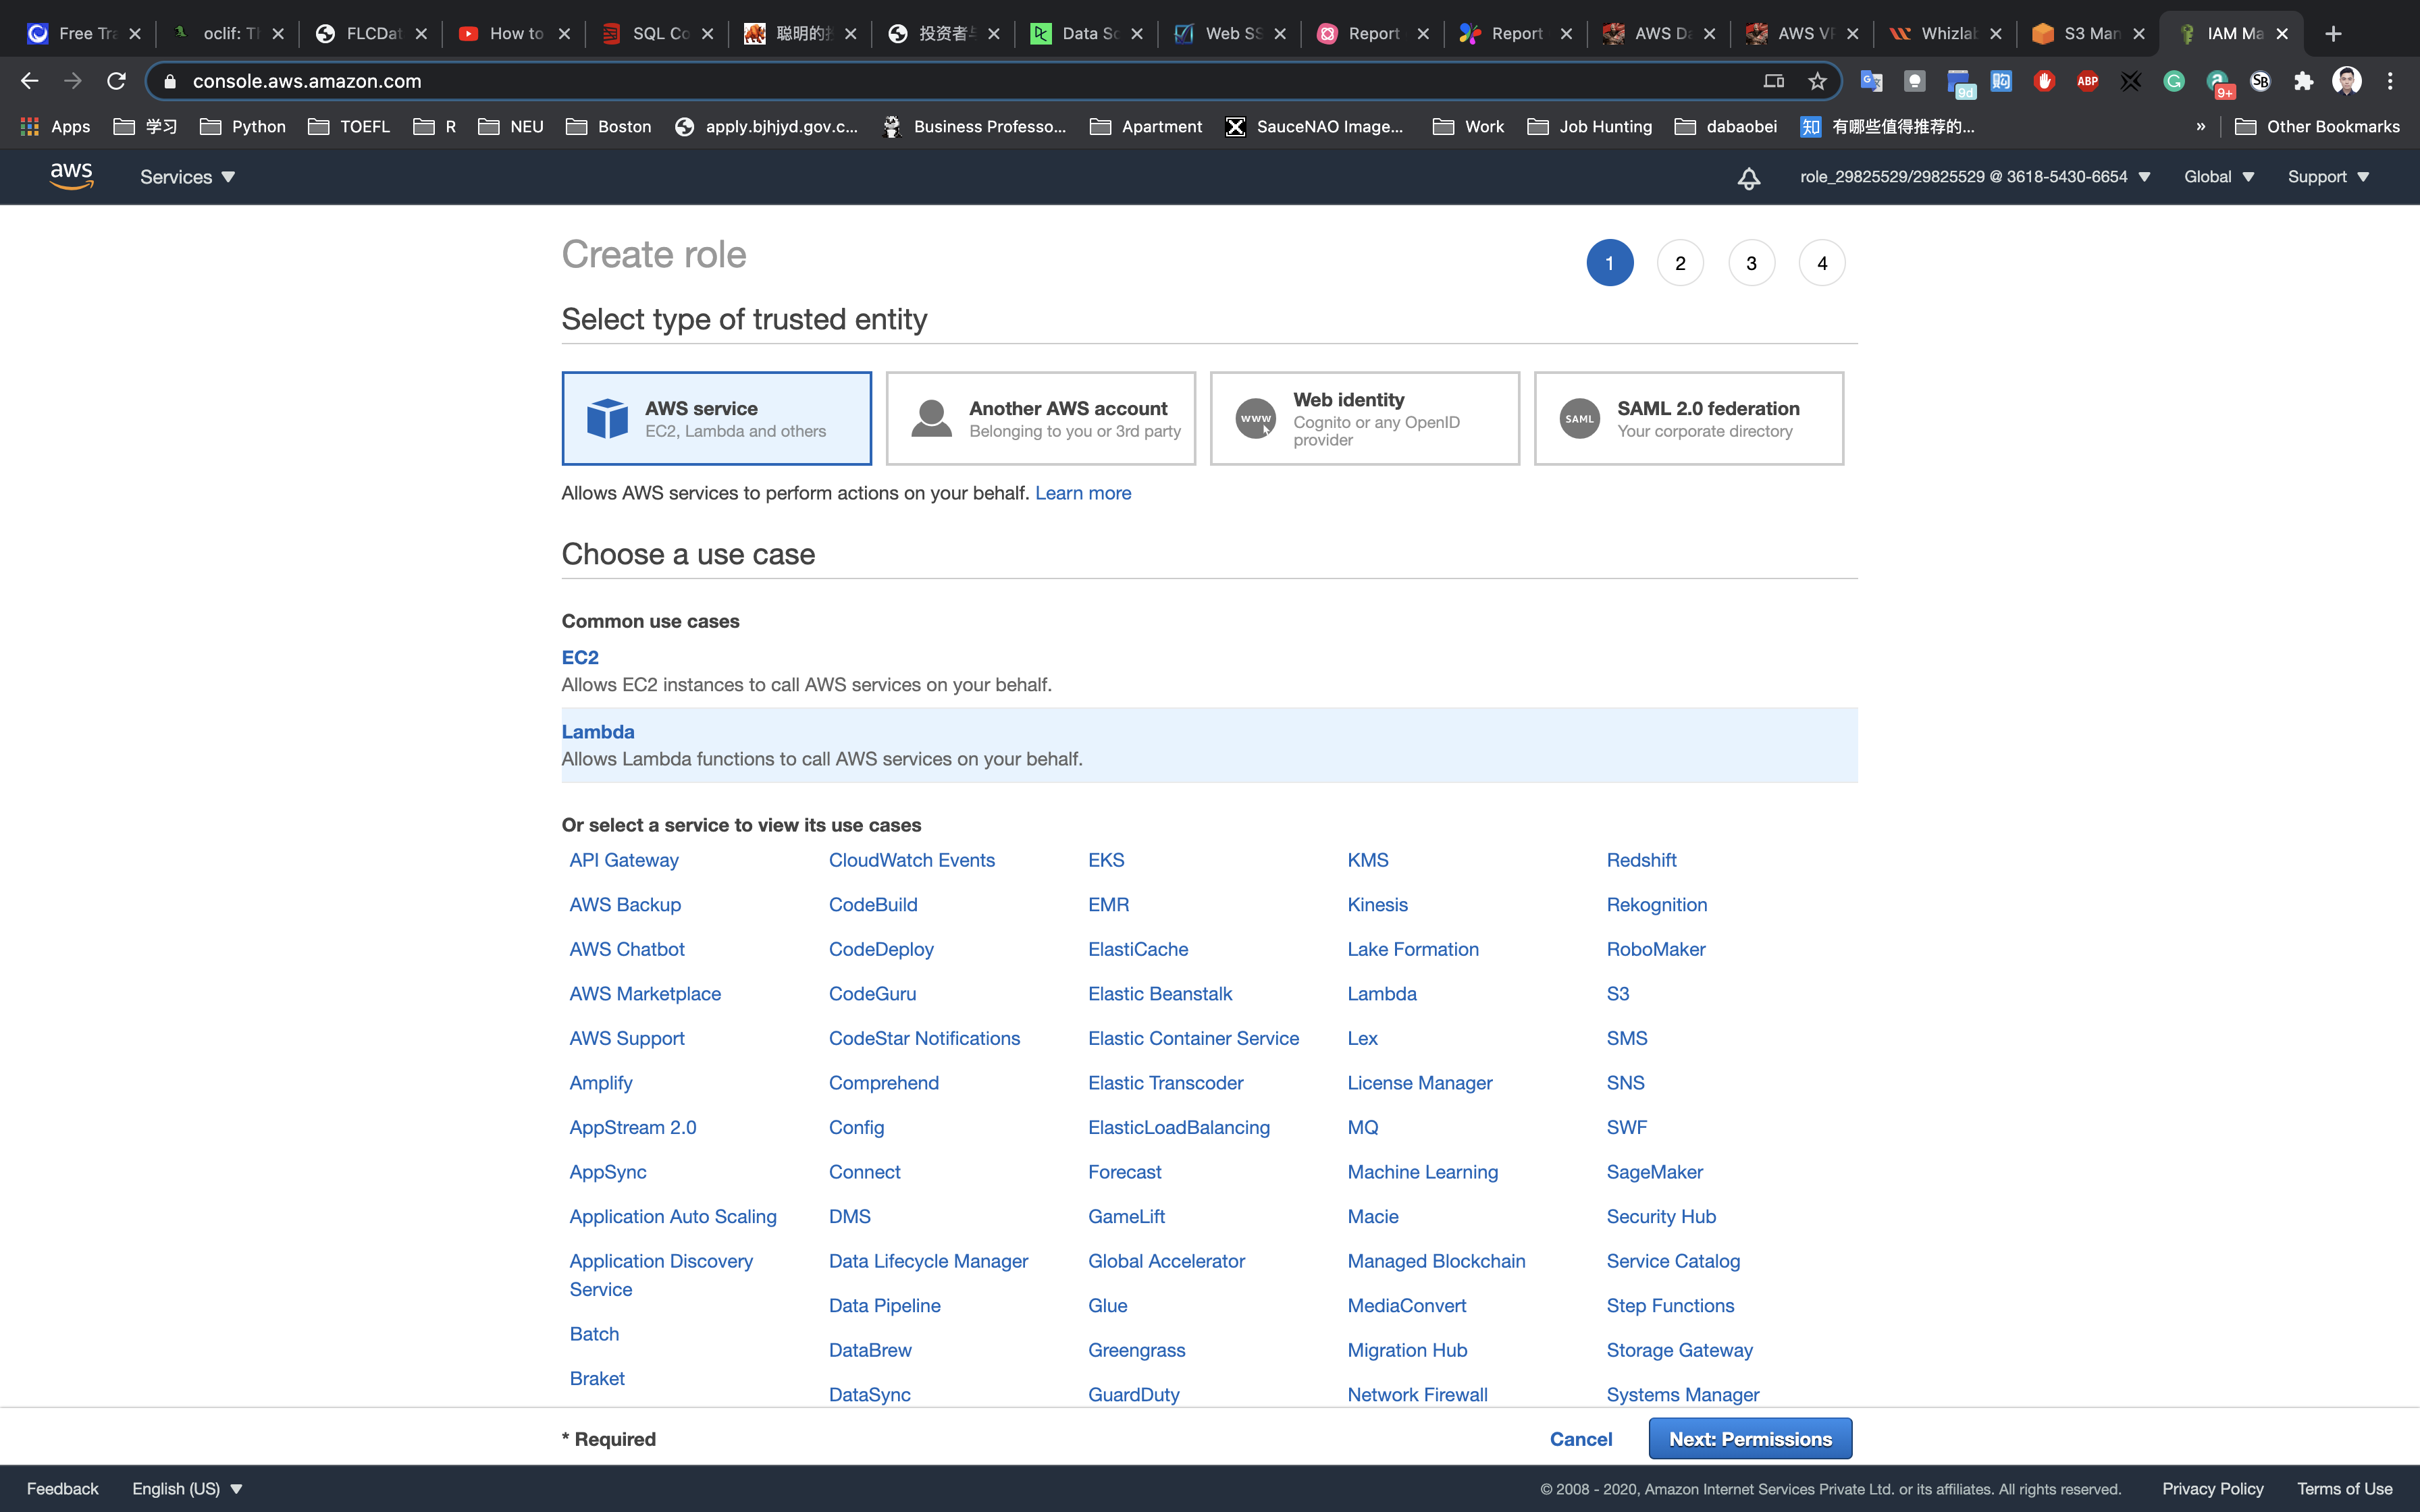
Filter Policies: Now you can see a list of policies. Search for your policy by name (mypolicy).
Select your policy and click on the Next: Tags.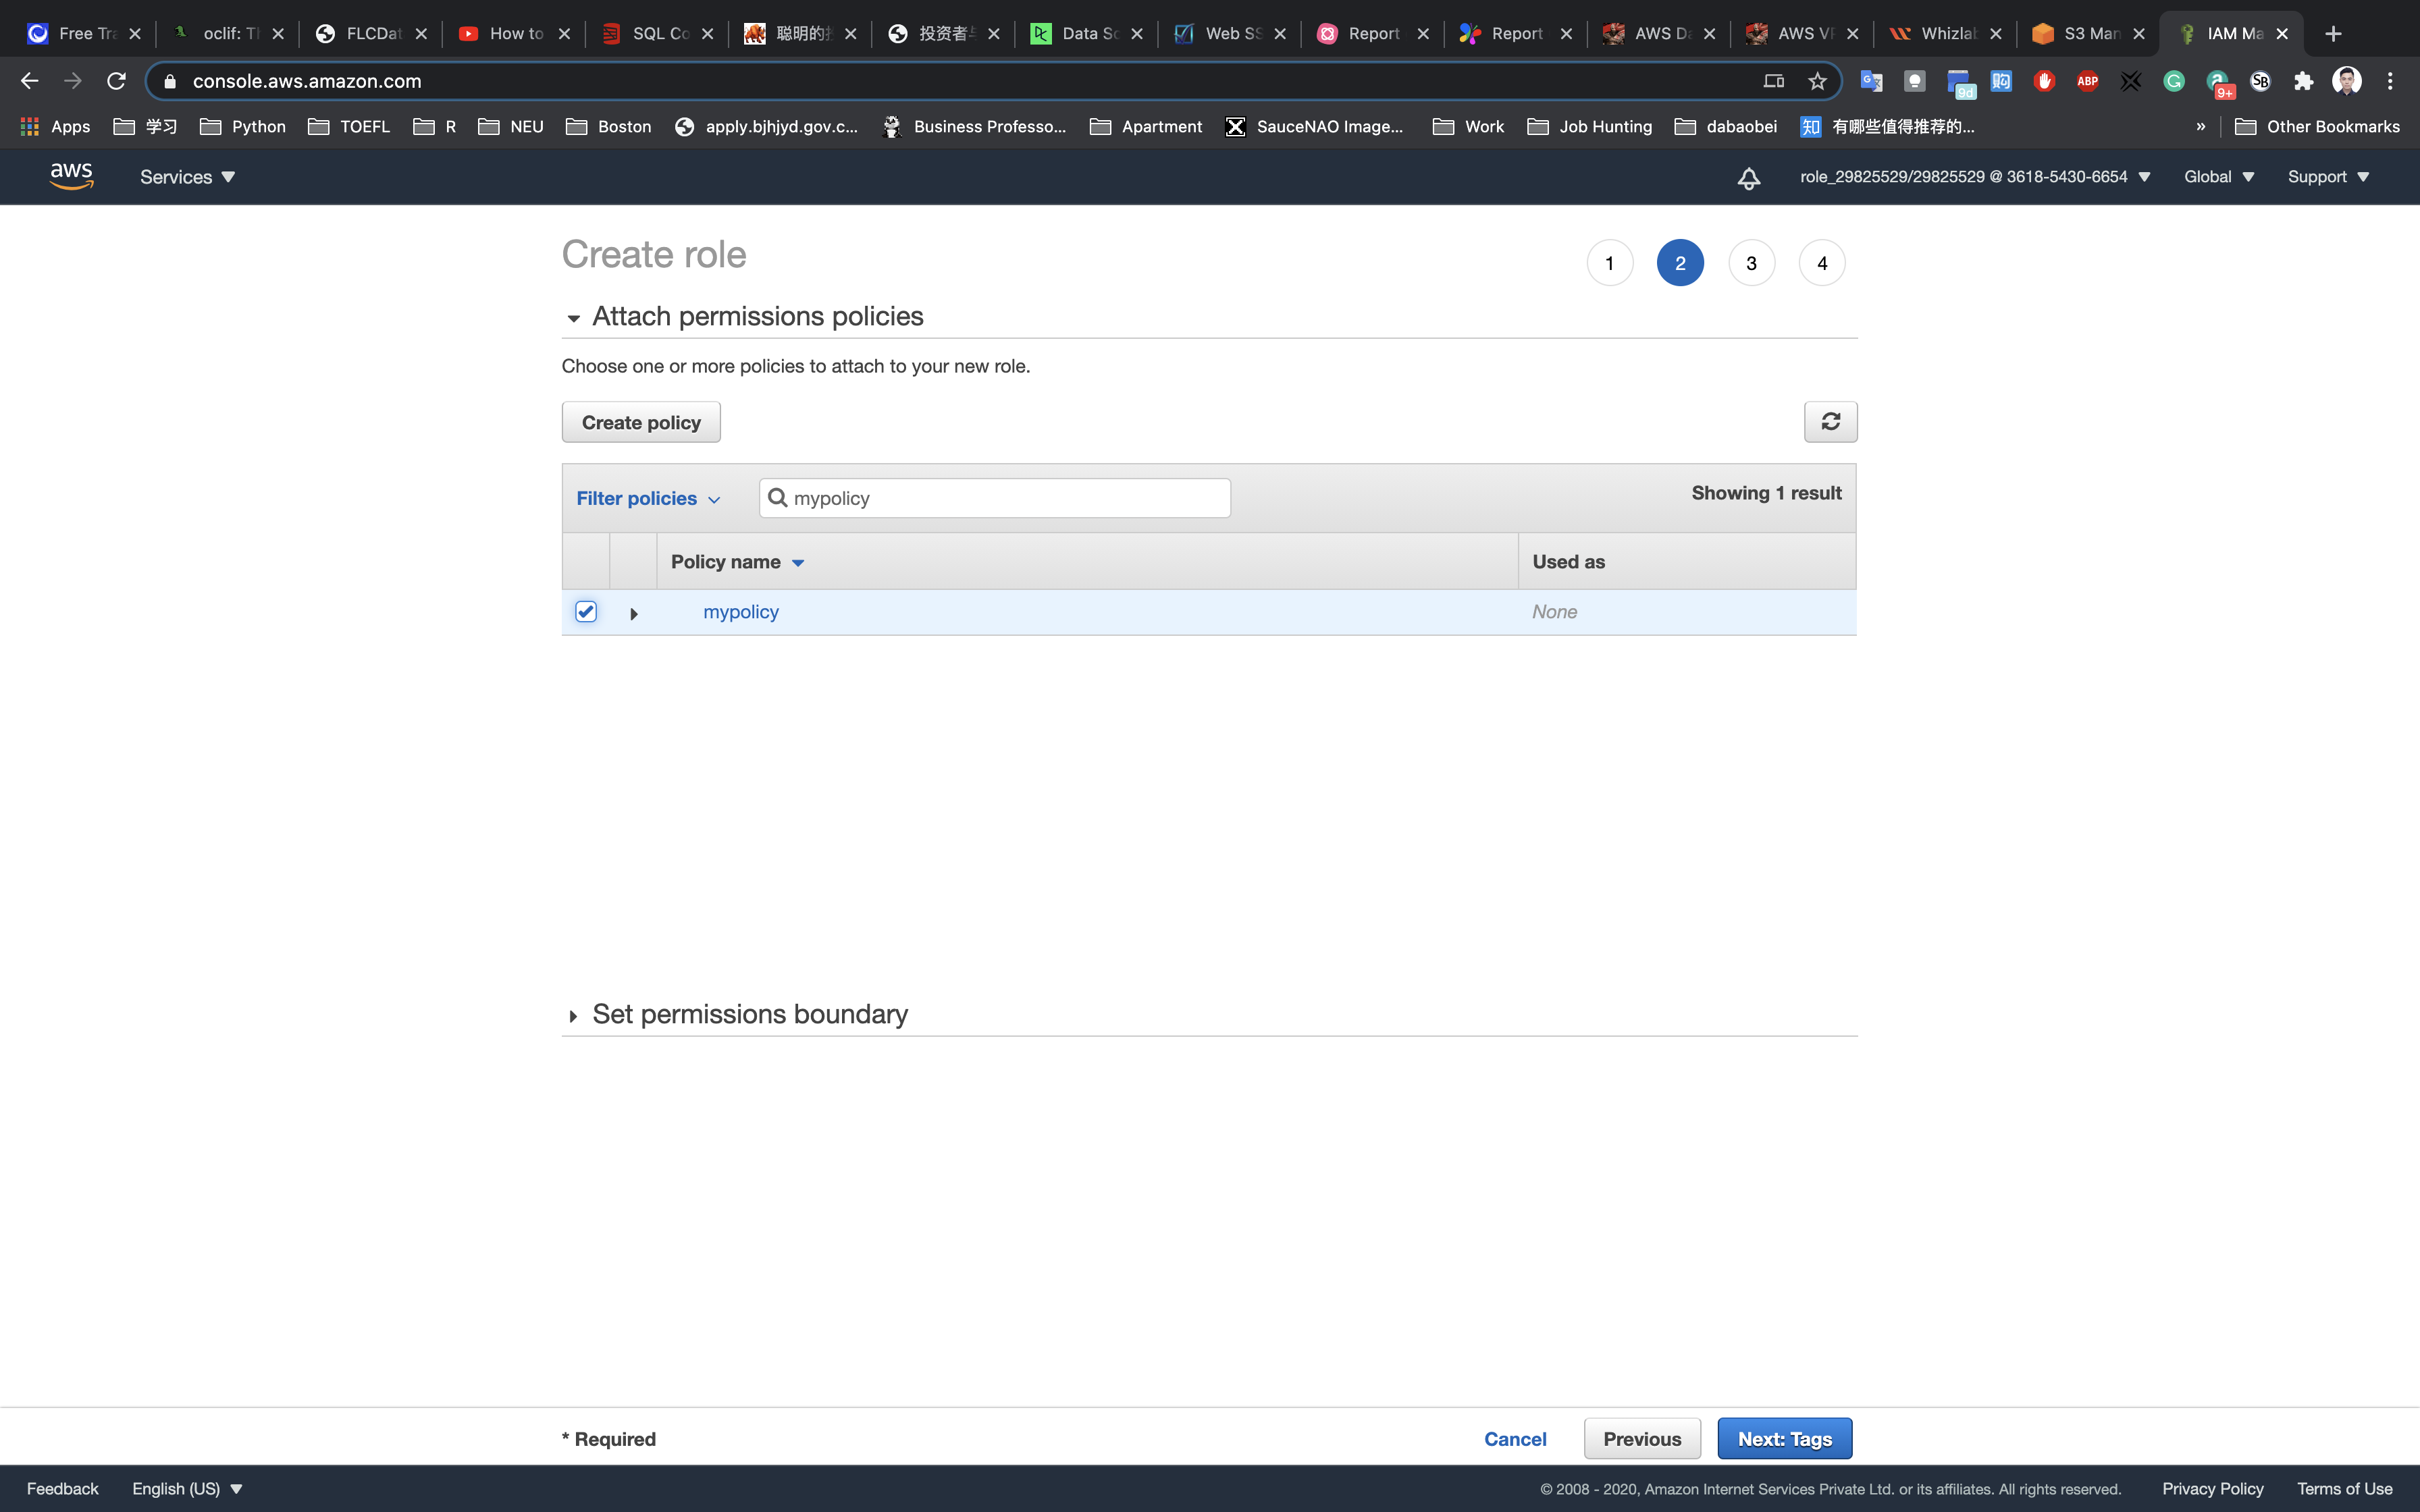
Add Tags: Provide key-value pair for the role:
- Key:
Name - Value:
myrole
Click on the Next: Review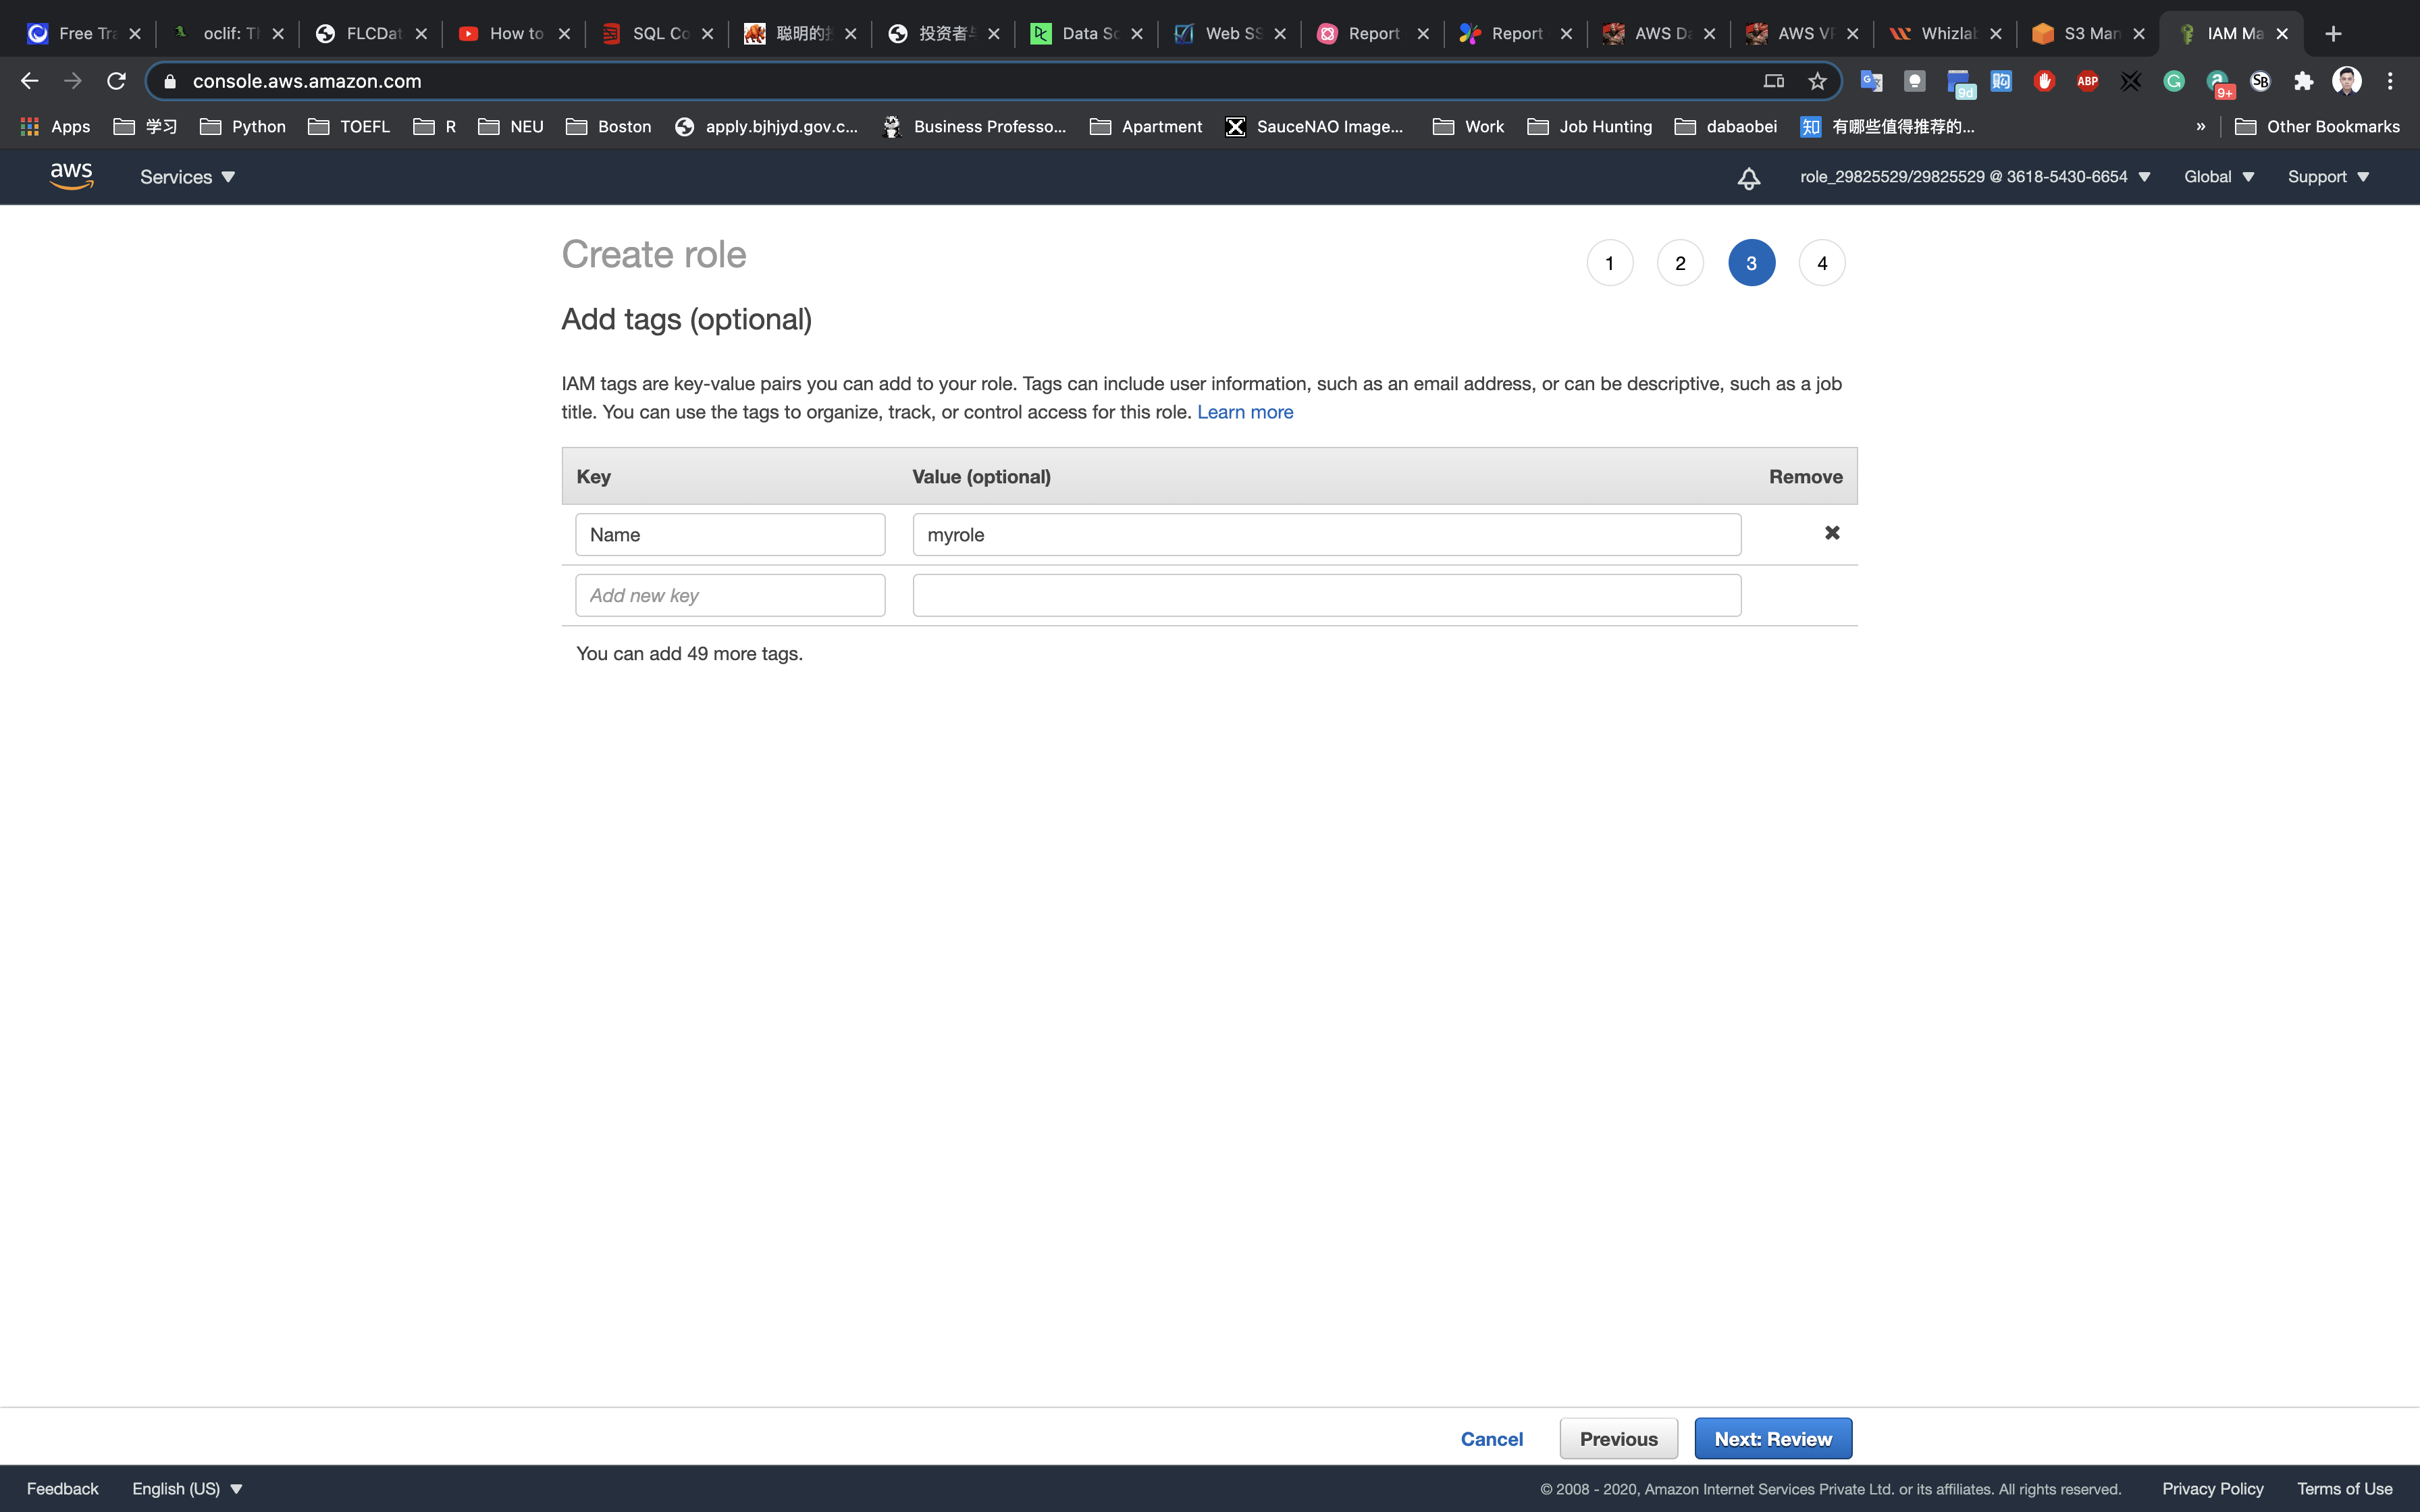
Role Name:
- Role name:
myrole
Click on the Create role button.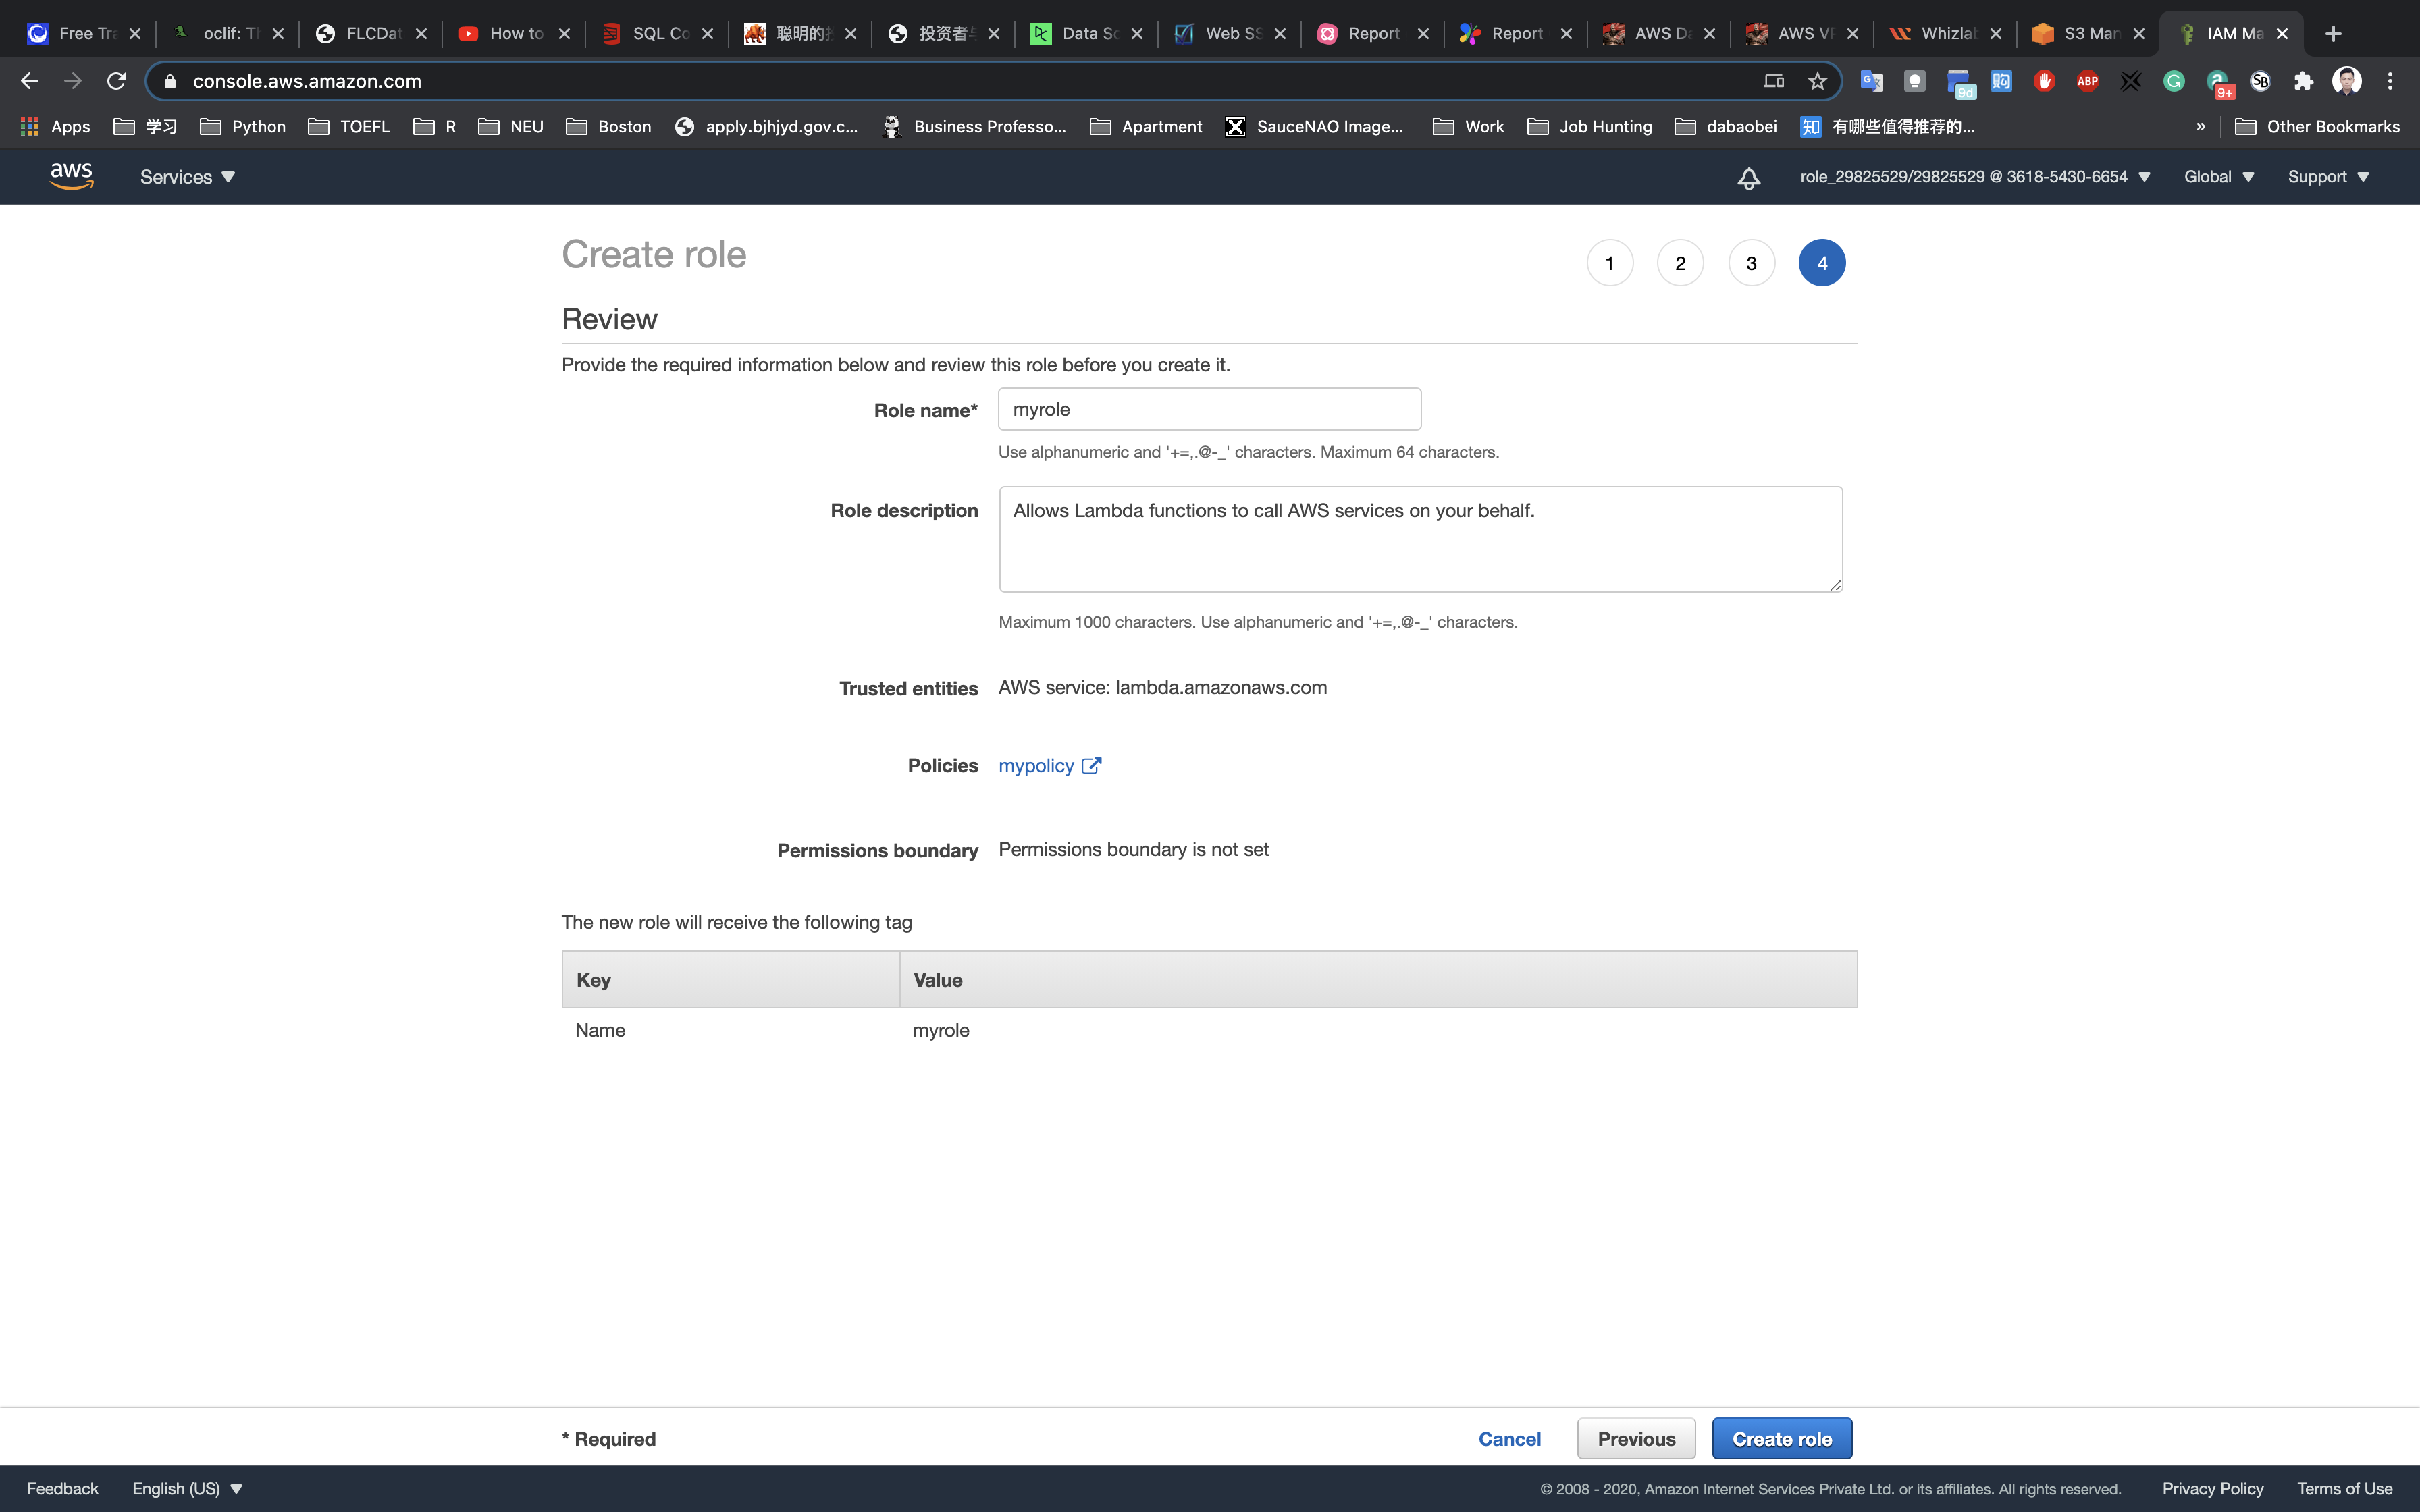
You have successfully created an IAM role by name myrole.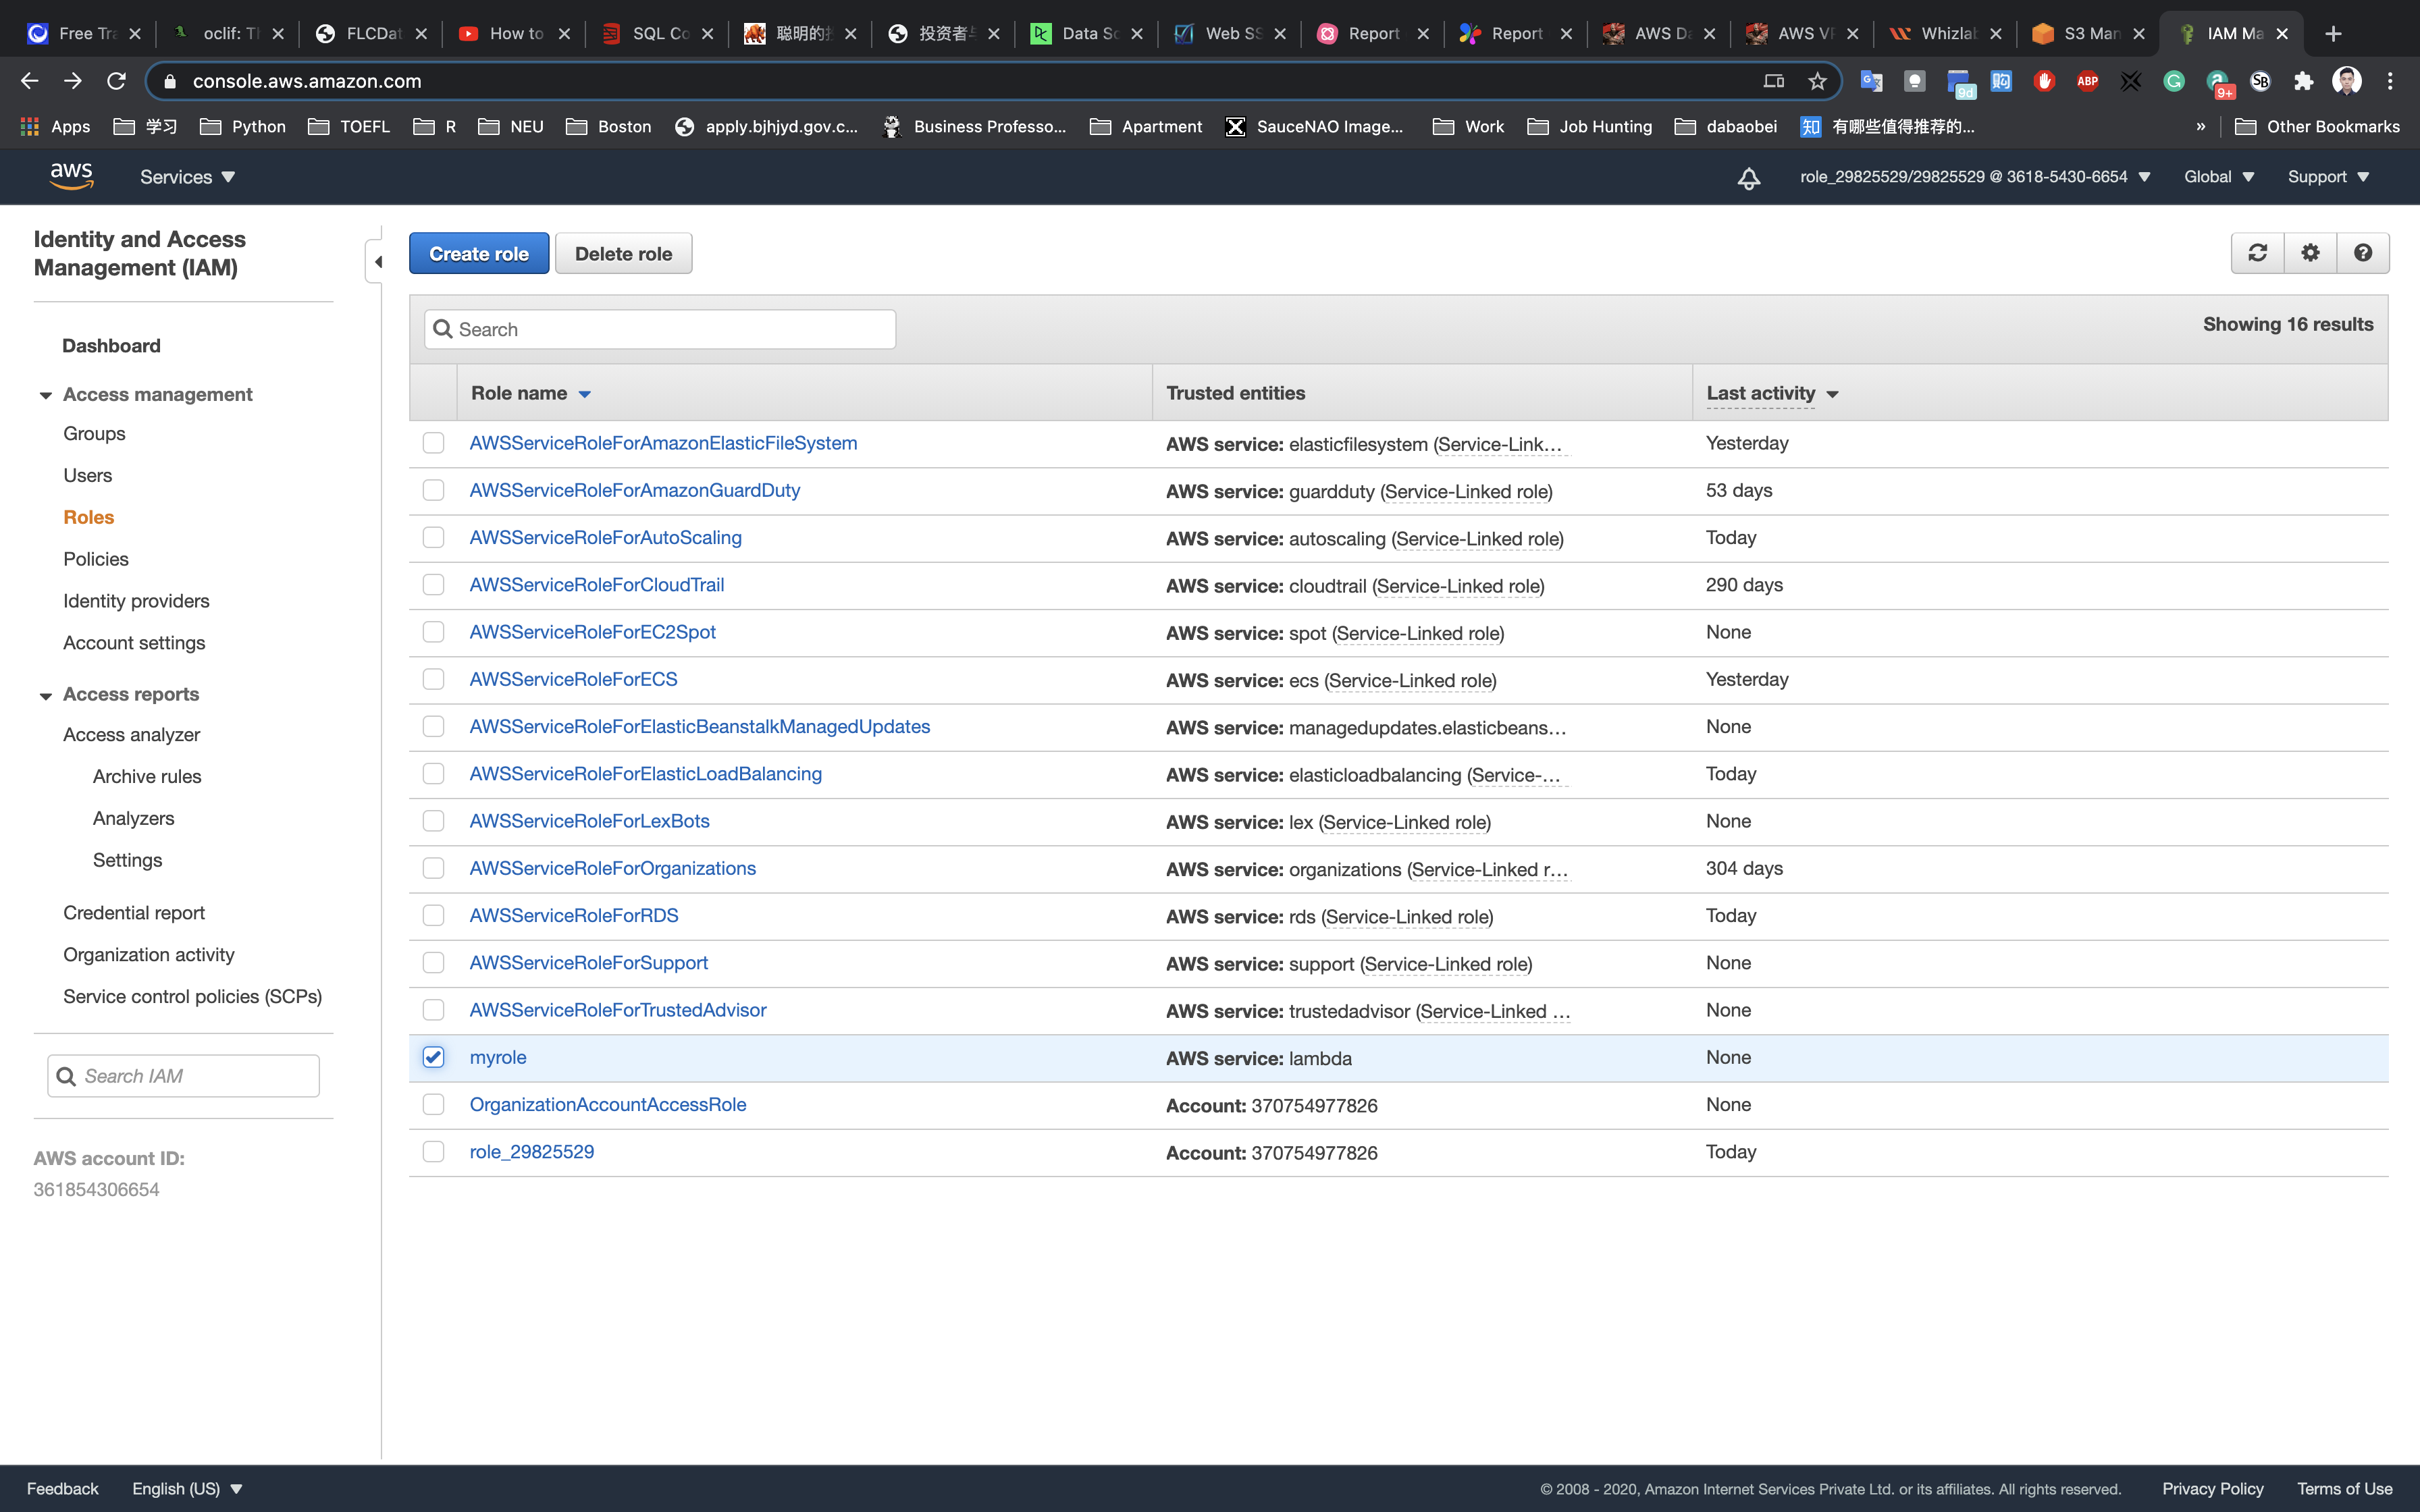
Lambda Configuration
Services -> Lambda
Create a Lambda Function
Click on the Create a function button.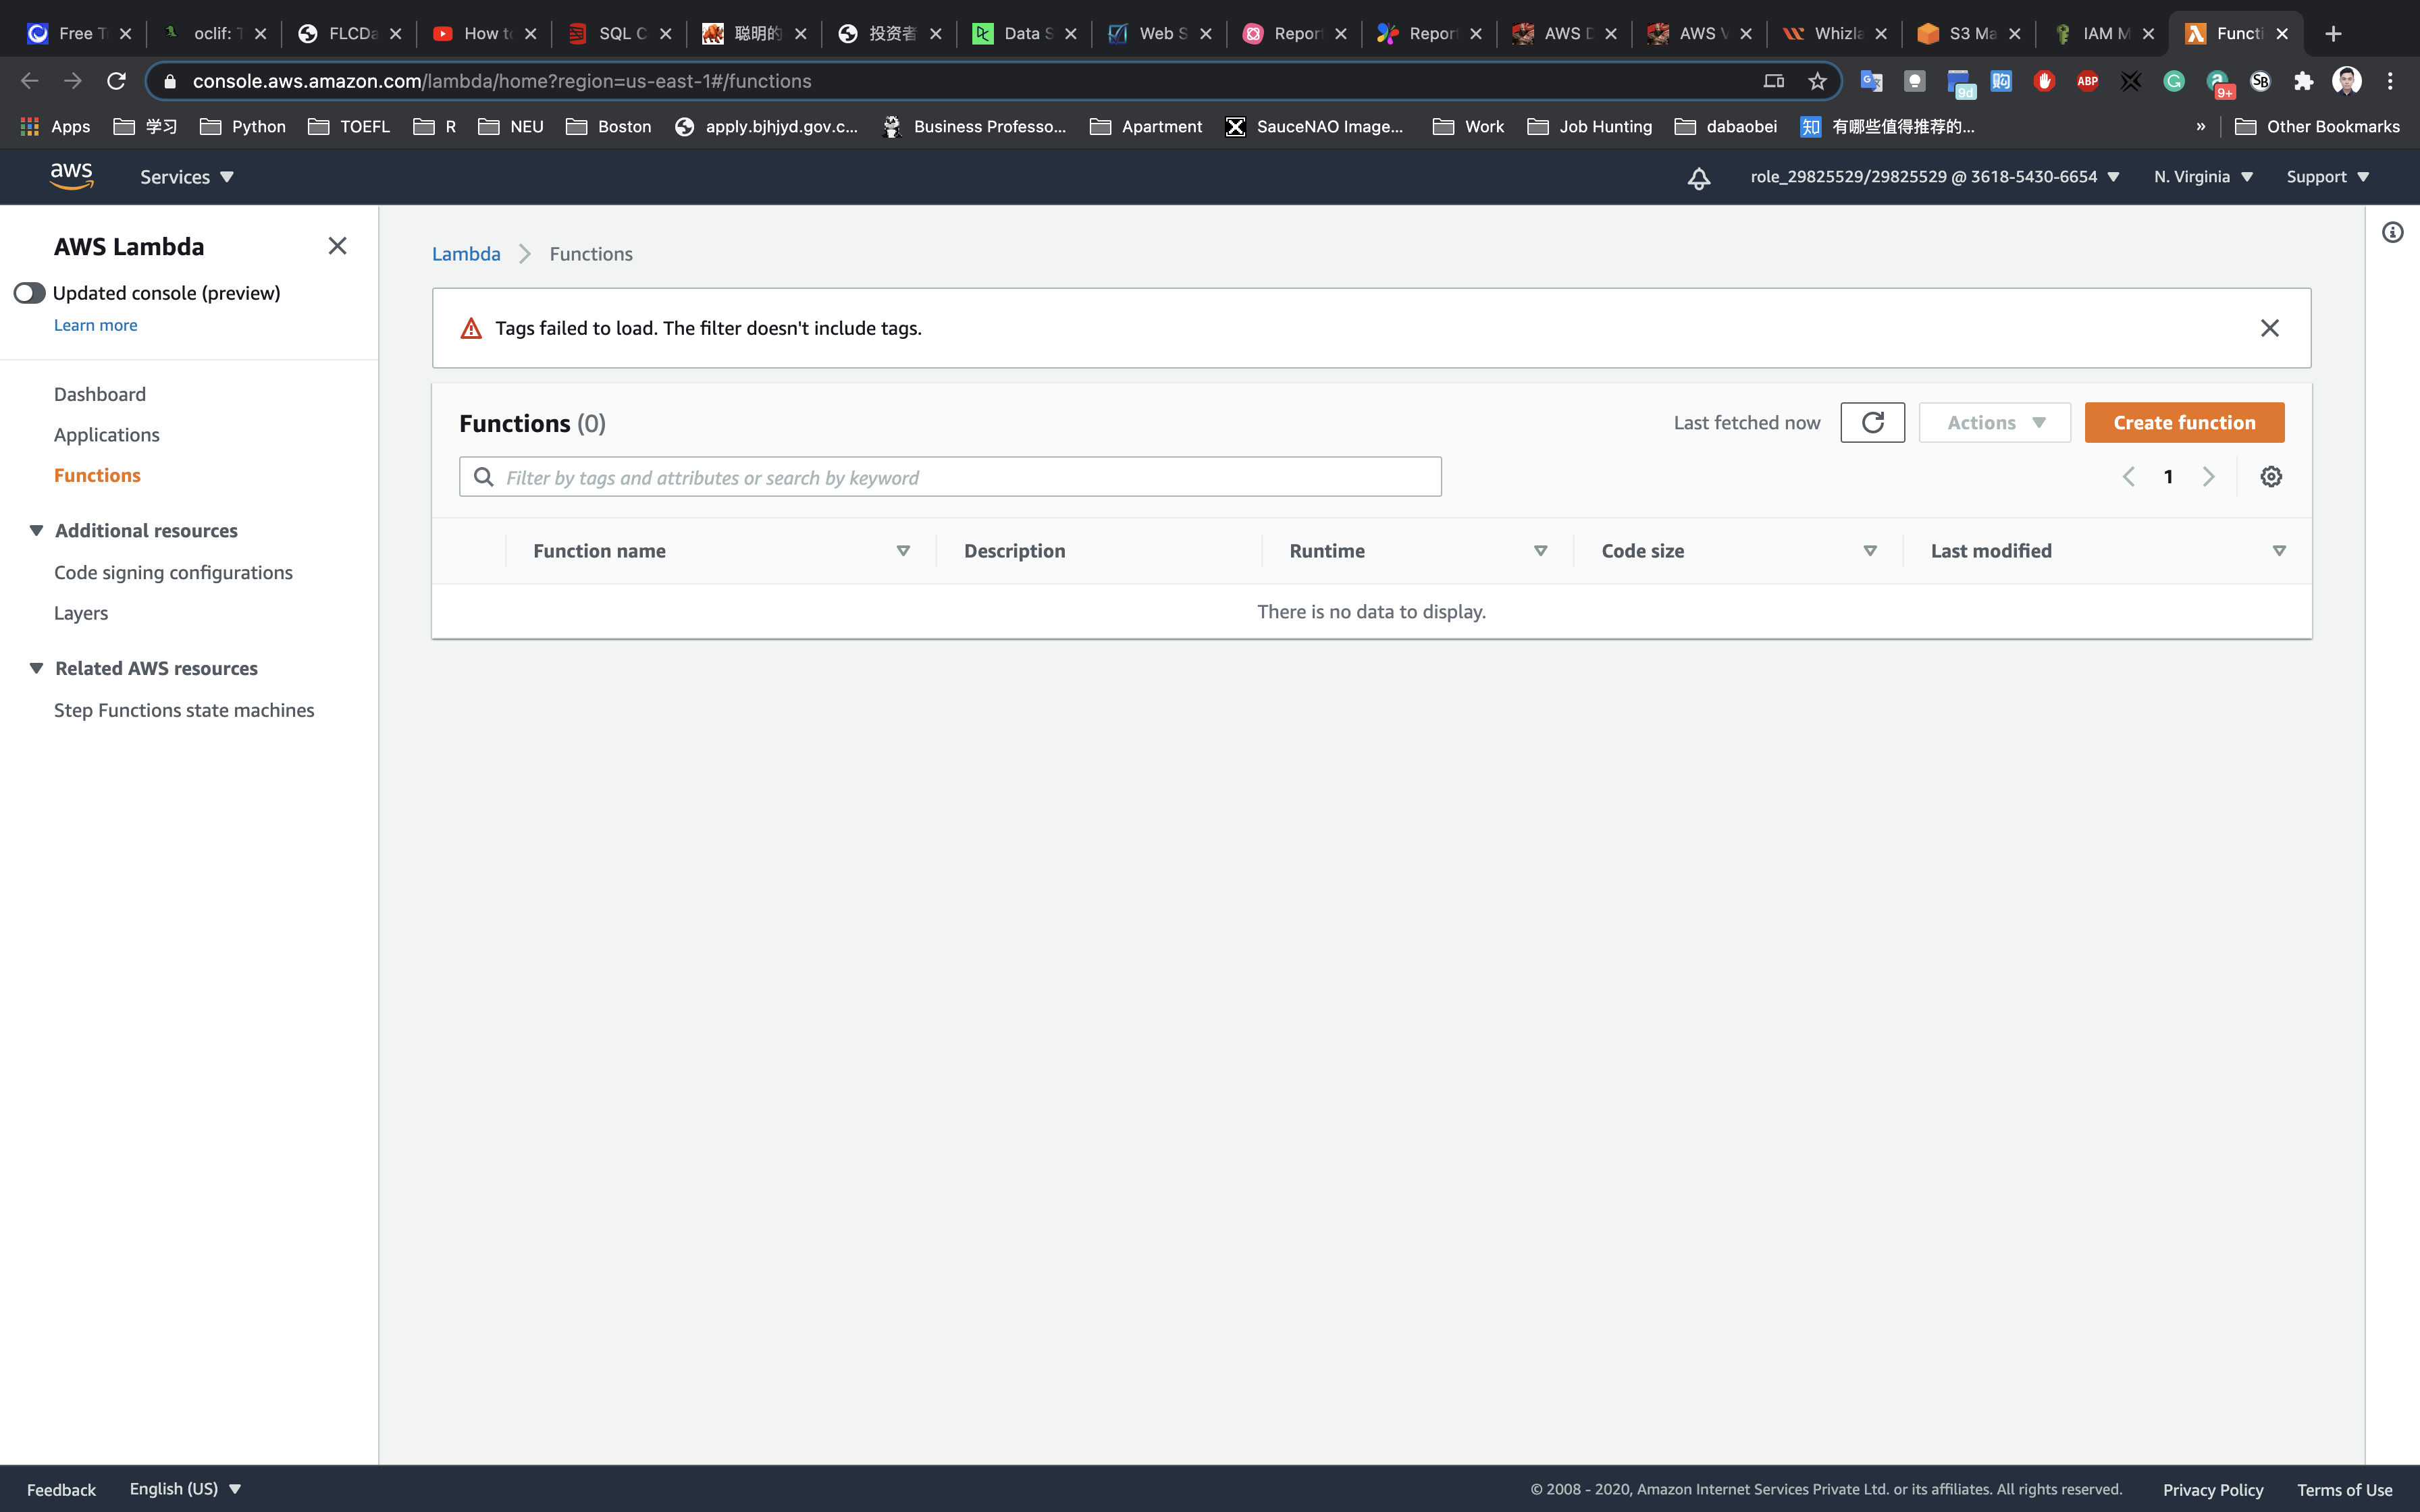
Choose Author from scratch.
- Function name:
mylambdafunction - Runtime: Select
Node.js 12x
Role: In the permissions section, select use an existing role.
- Existing role: Select
myrole
Click on Create function
Configuration Page: On this page, we need to configure our lambda function.
If you scroll down a little bit, you can see the Function code section. Here we need to write a NodeJs function which copies the object from the source bucket and paste it into the destination bucket.
Remove the existing code in AWS lambda index.js. Copy the below code and paste it into your lambda index.js file.
1 | var AWS = require("aws-sdk"); |
You need to change the source and destination bucket name (not ARN!) in the index.js file based on your bucket names.
Save the function by clicking on Deploy in the right corner.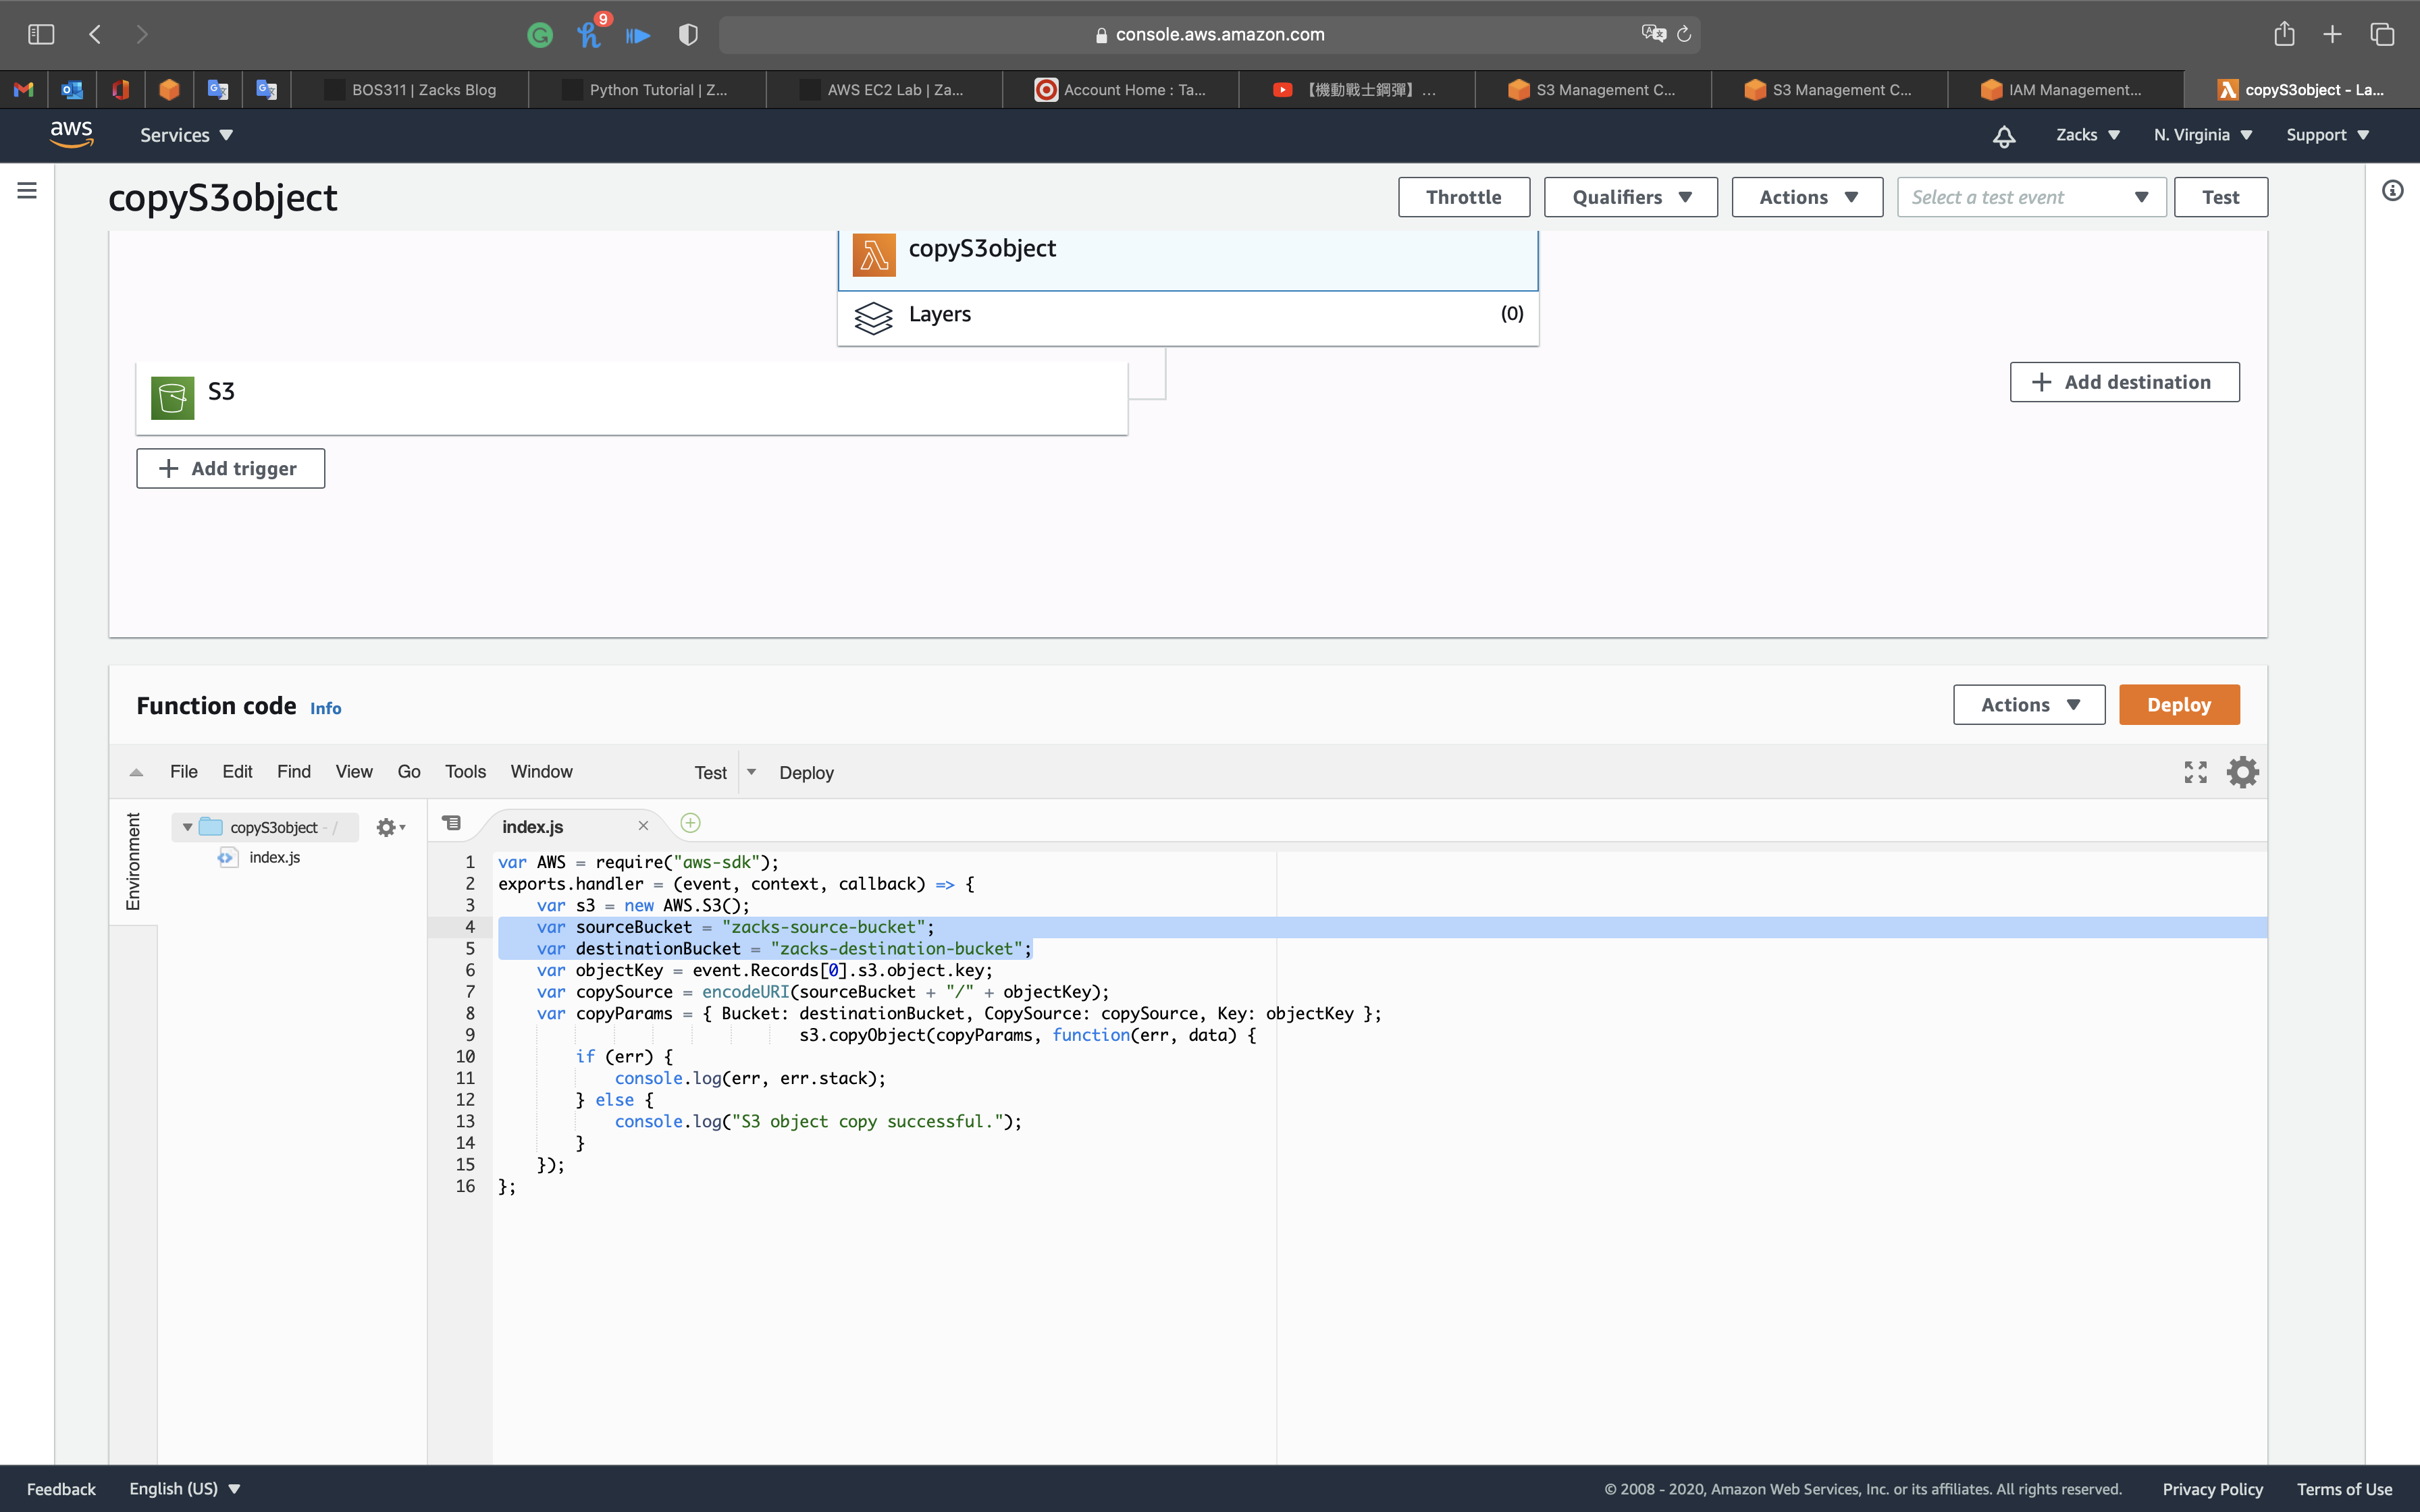
Adding Triggers to Lambda Function
Go to the top and left page, click on + Add trigger under Designer`.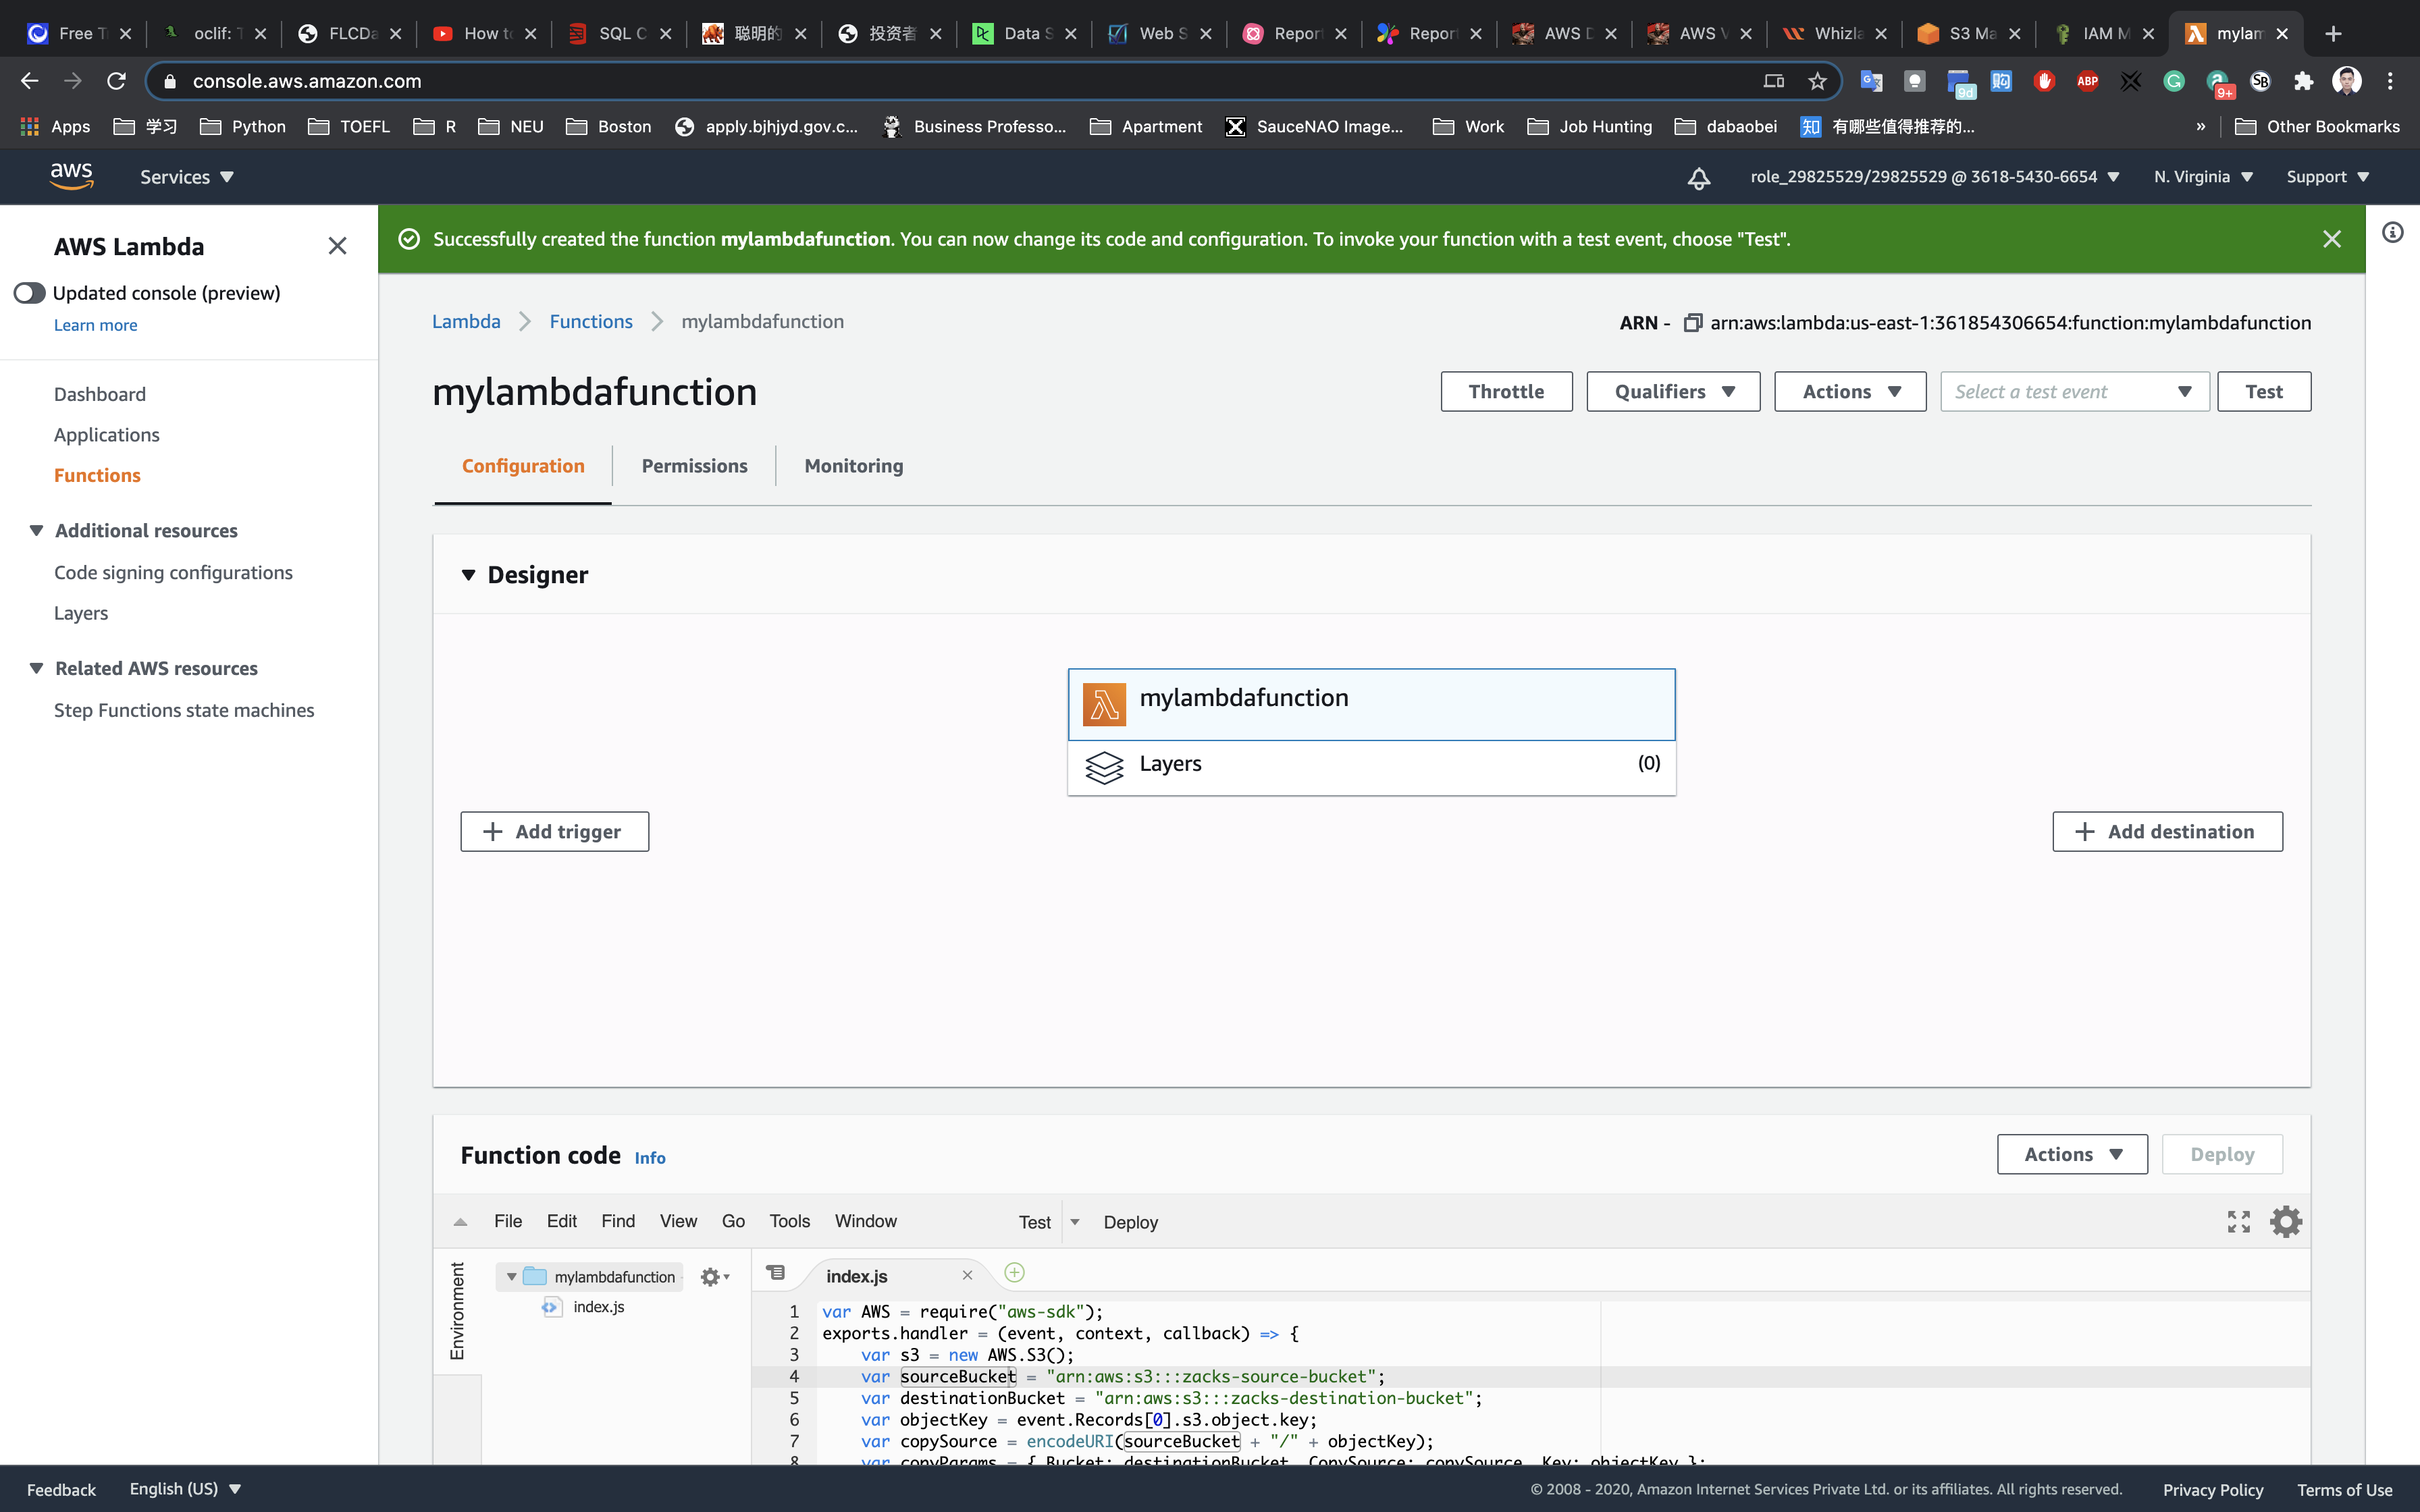
Scroll down the list and select S3 from the trigger list. Once you select S3, a form will appear. Enter these details:
- Bucket: Select your source bucket -
your_source_bucket_name. - Event type:
All object create events
Leave other fields as default.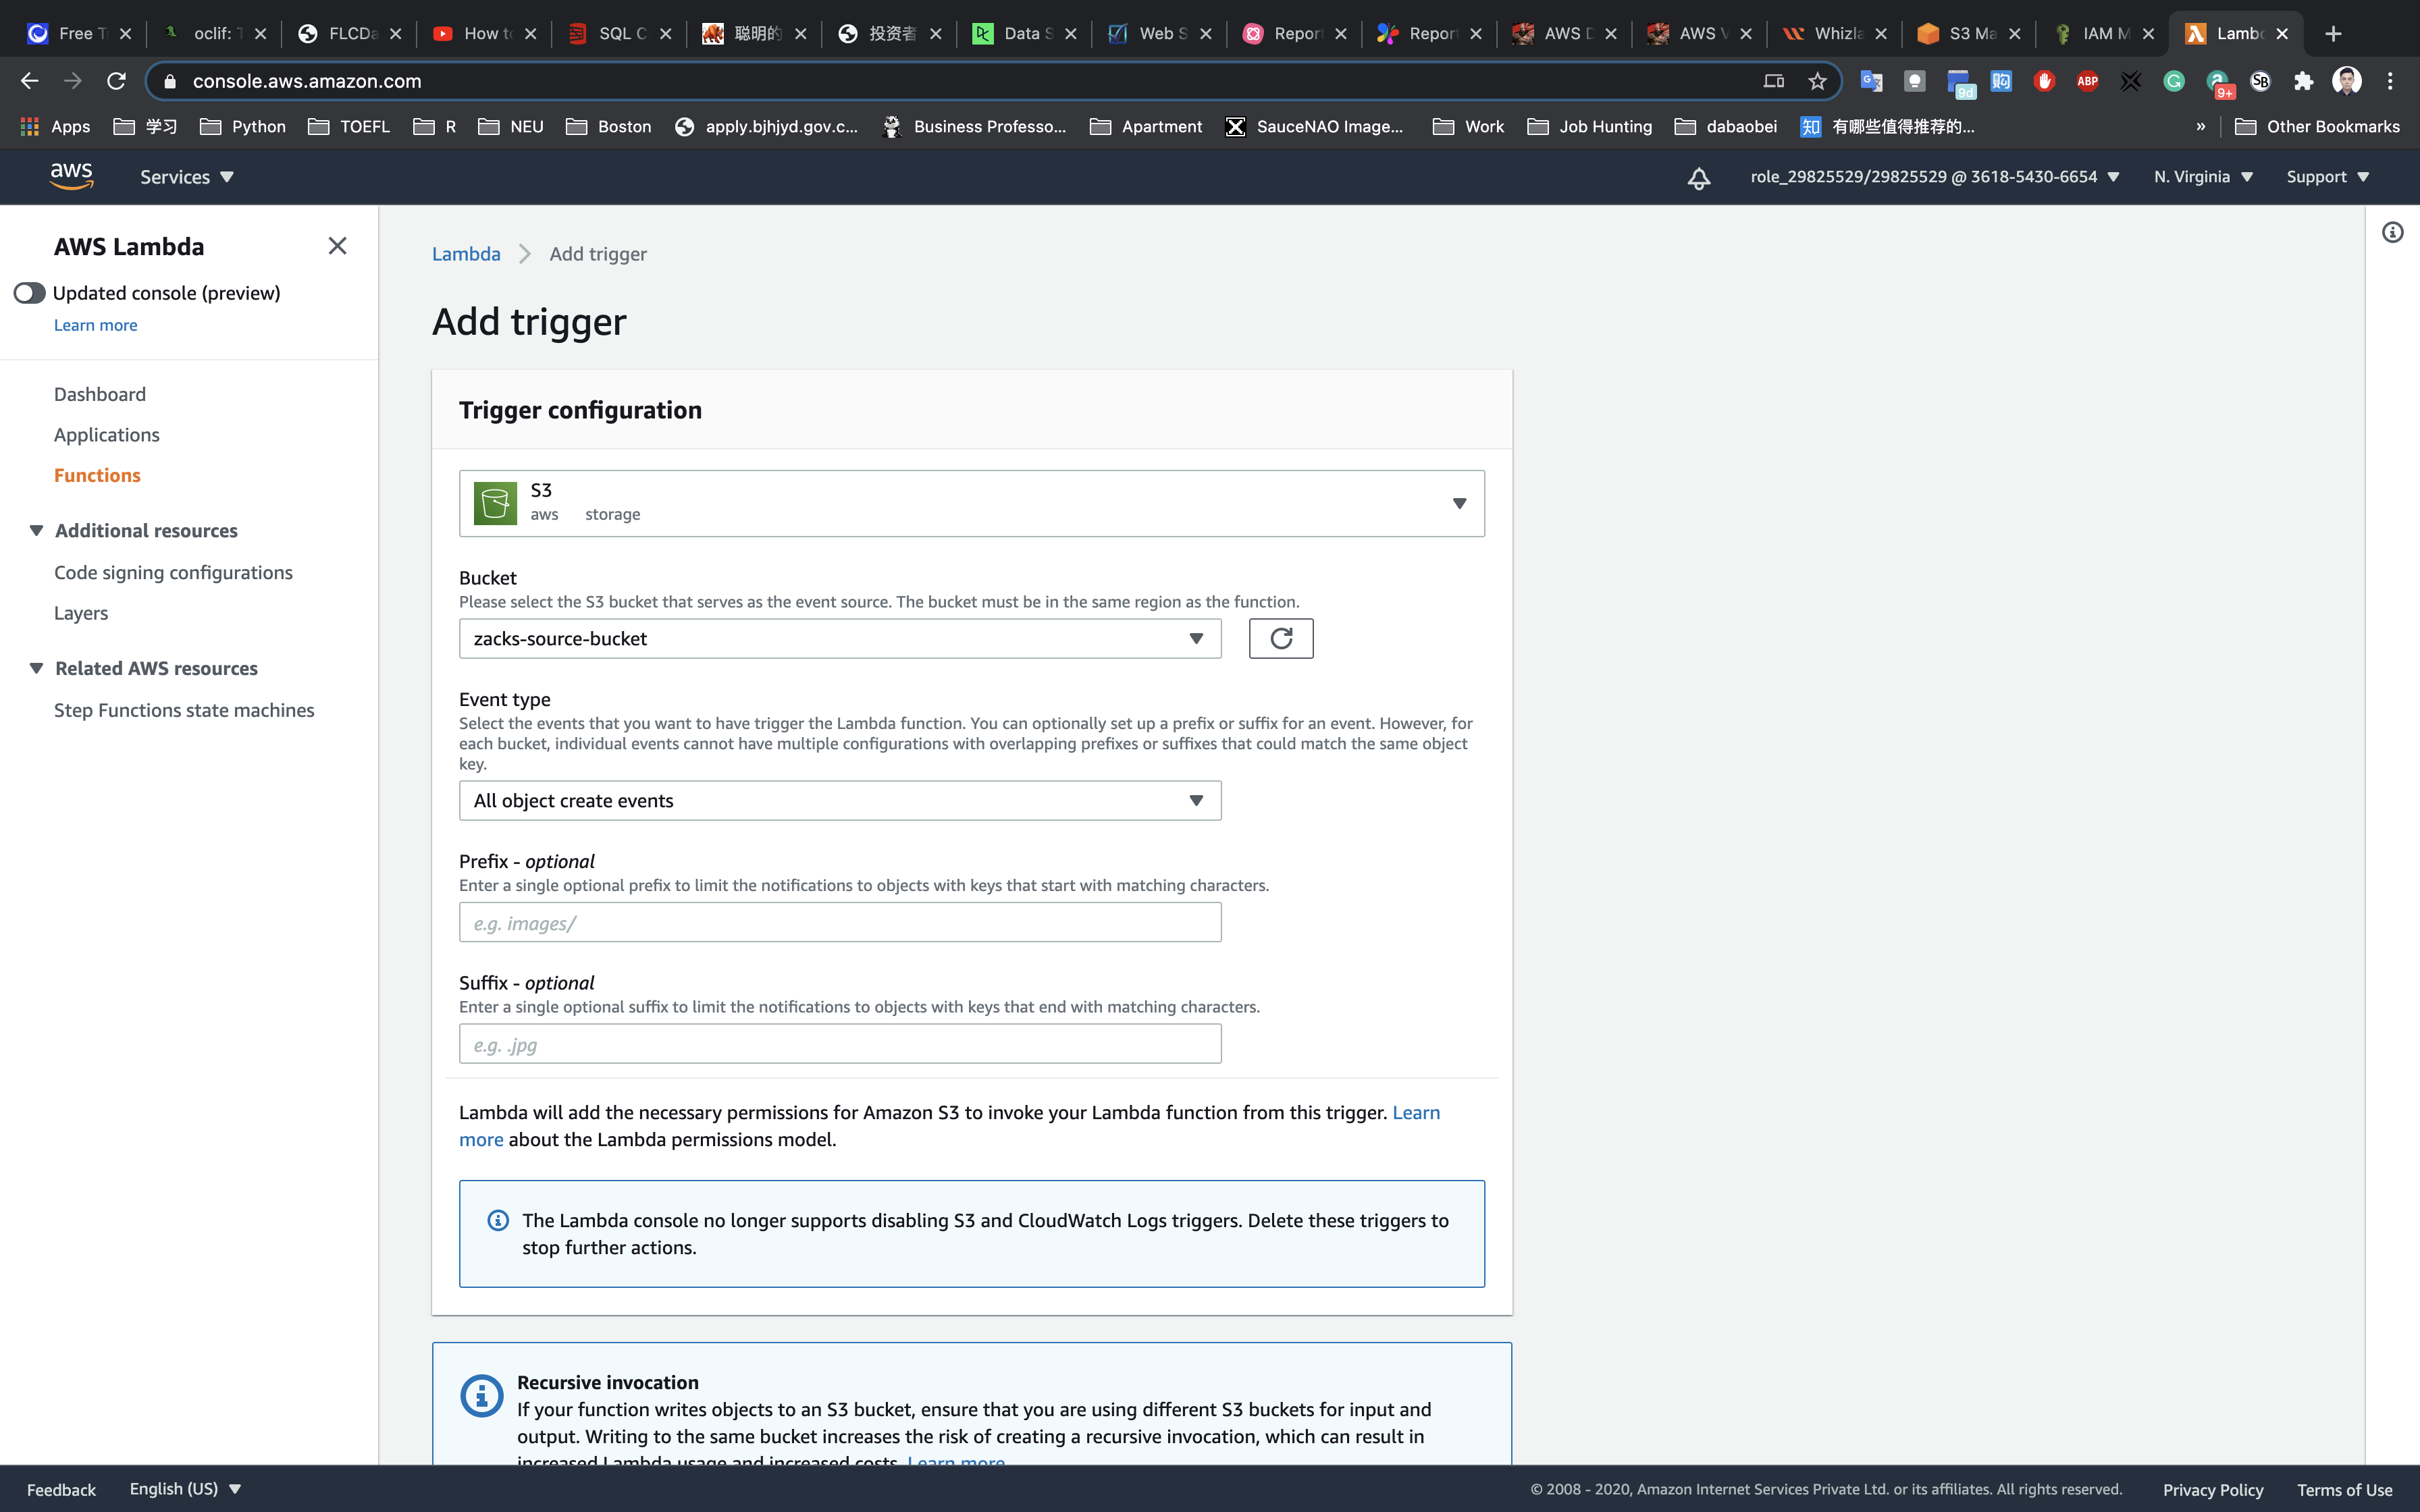
And check this option of Recursive invocation to avoid failures in case you upload multiple files at once.
Click on Add.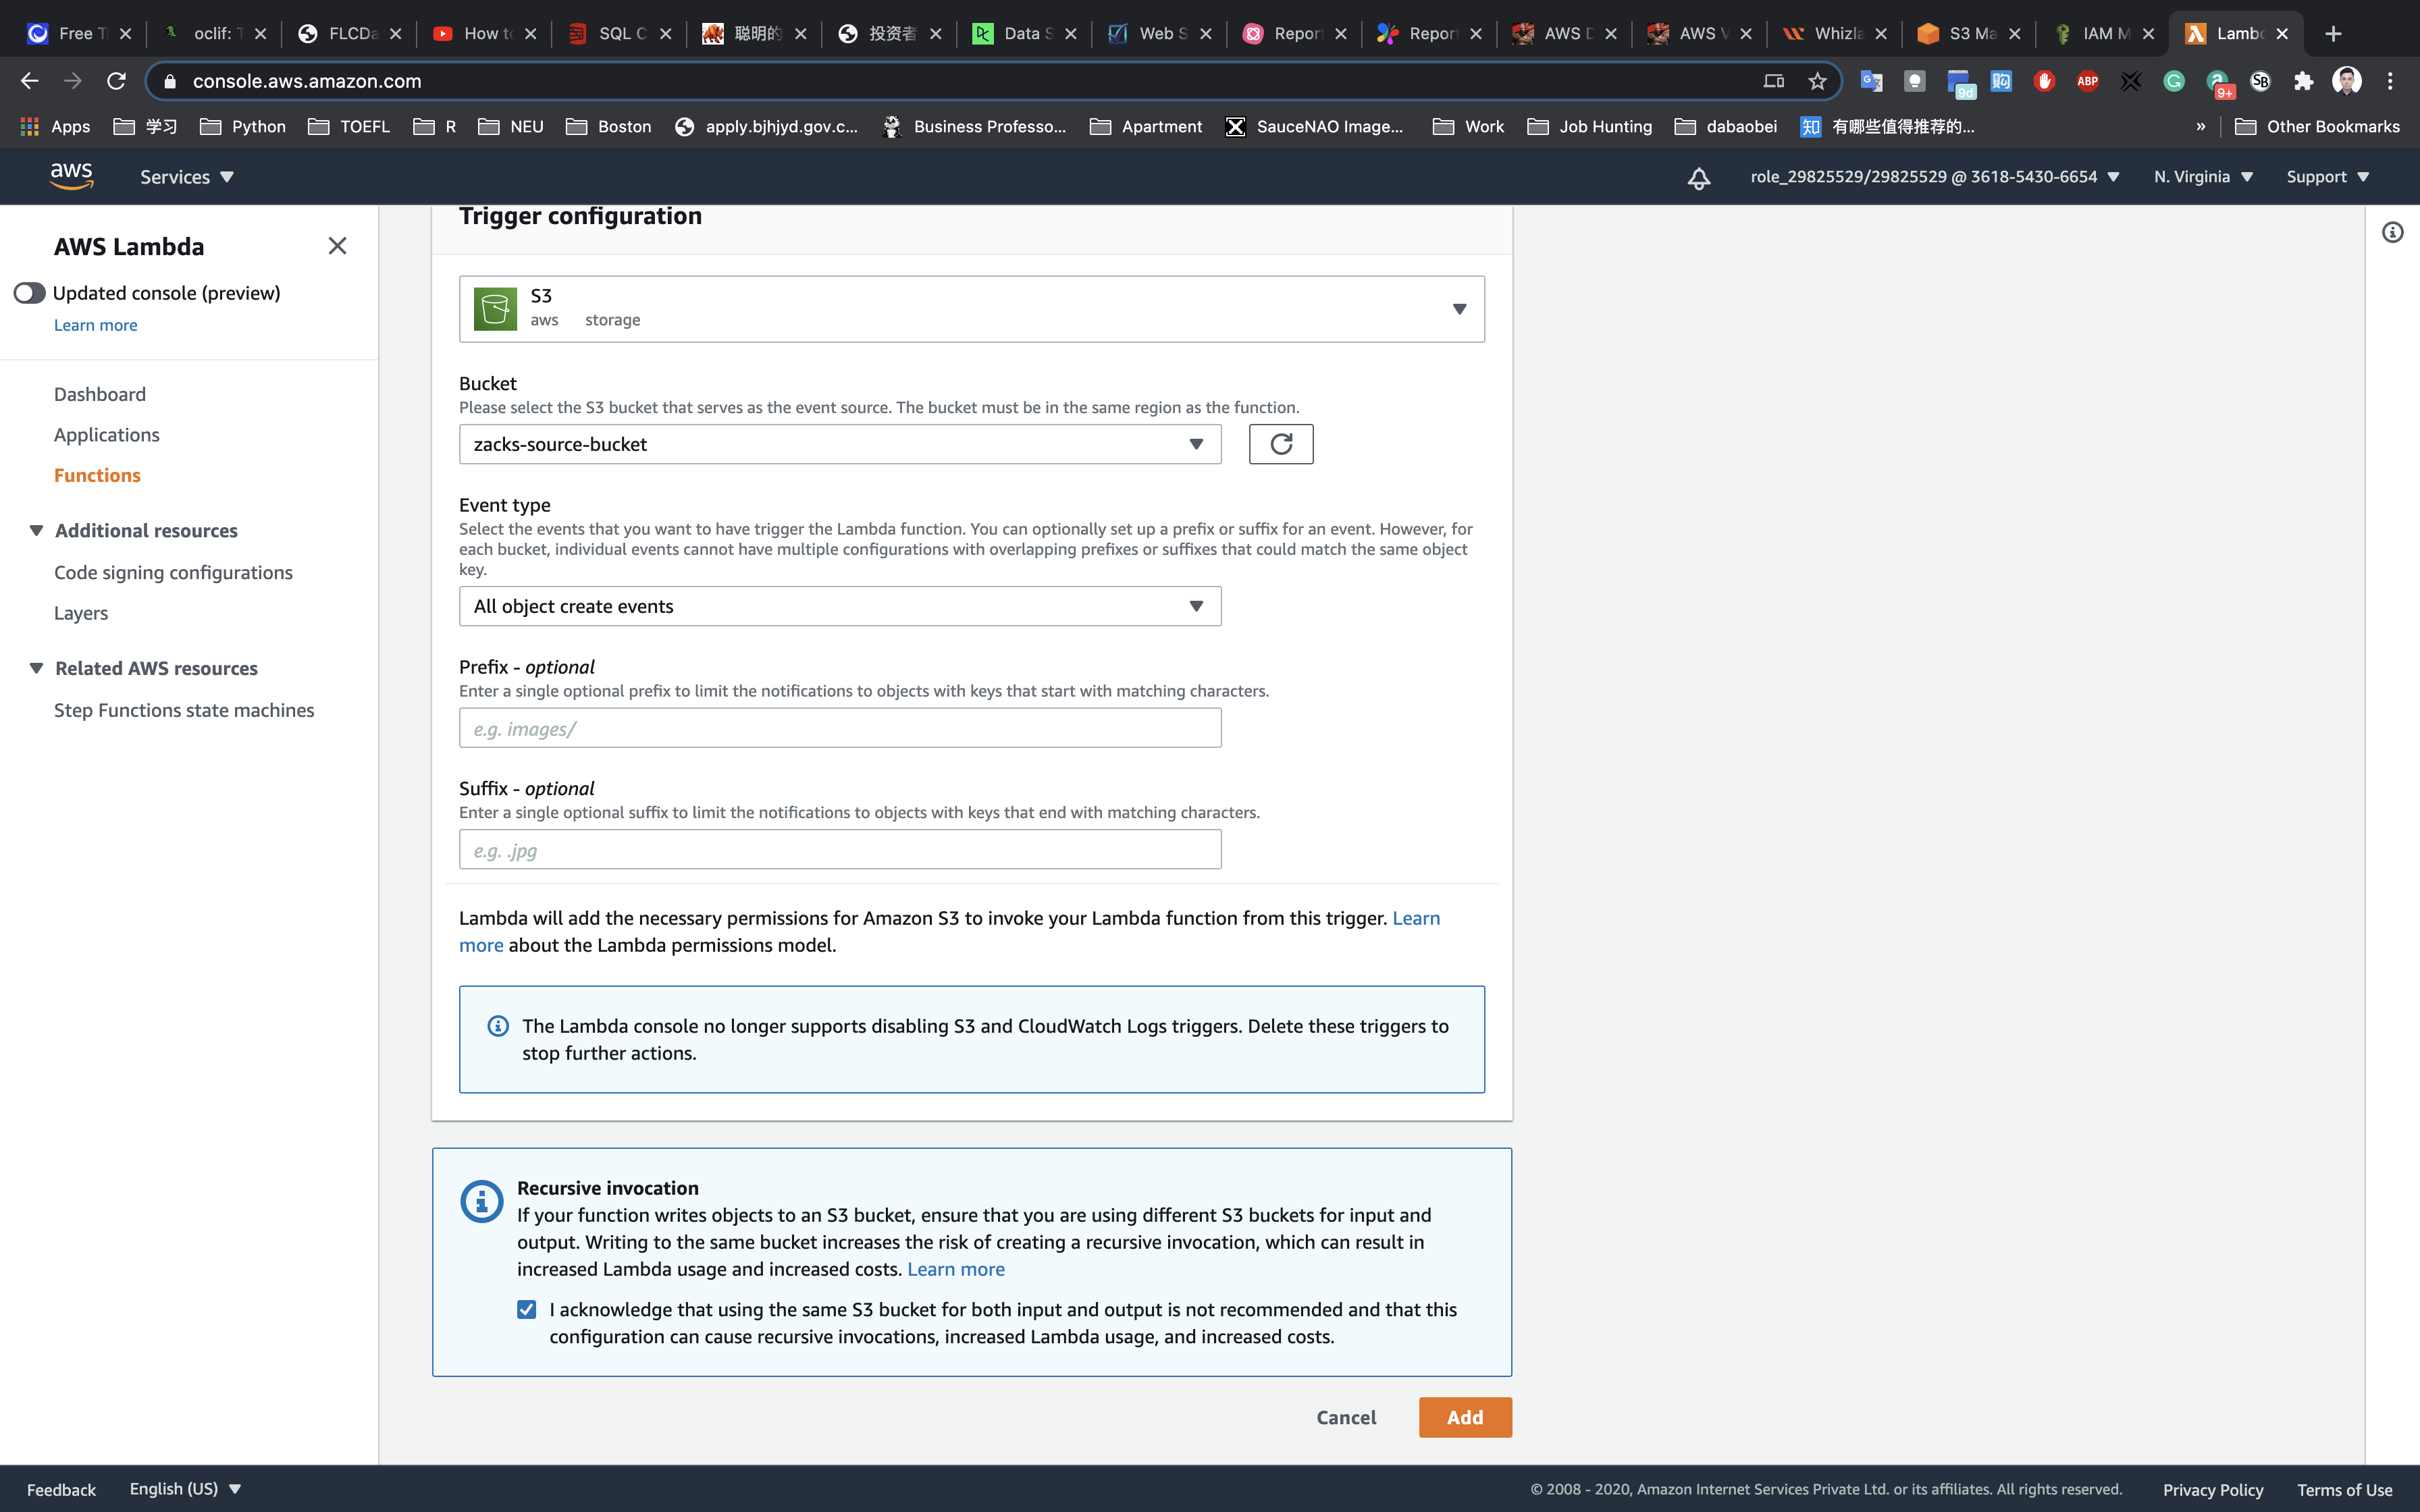
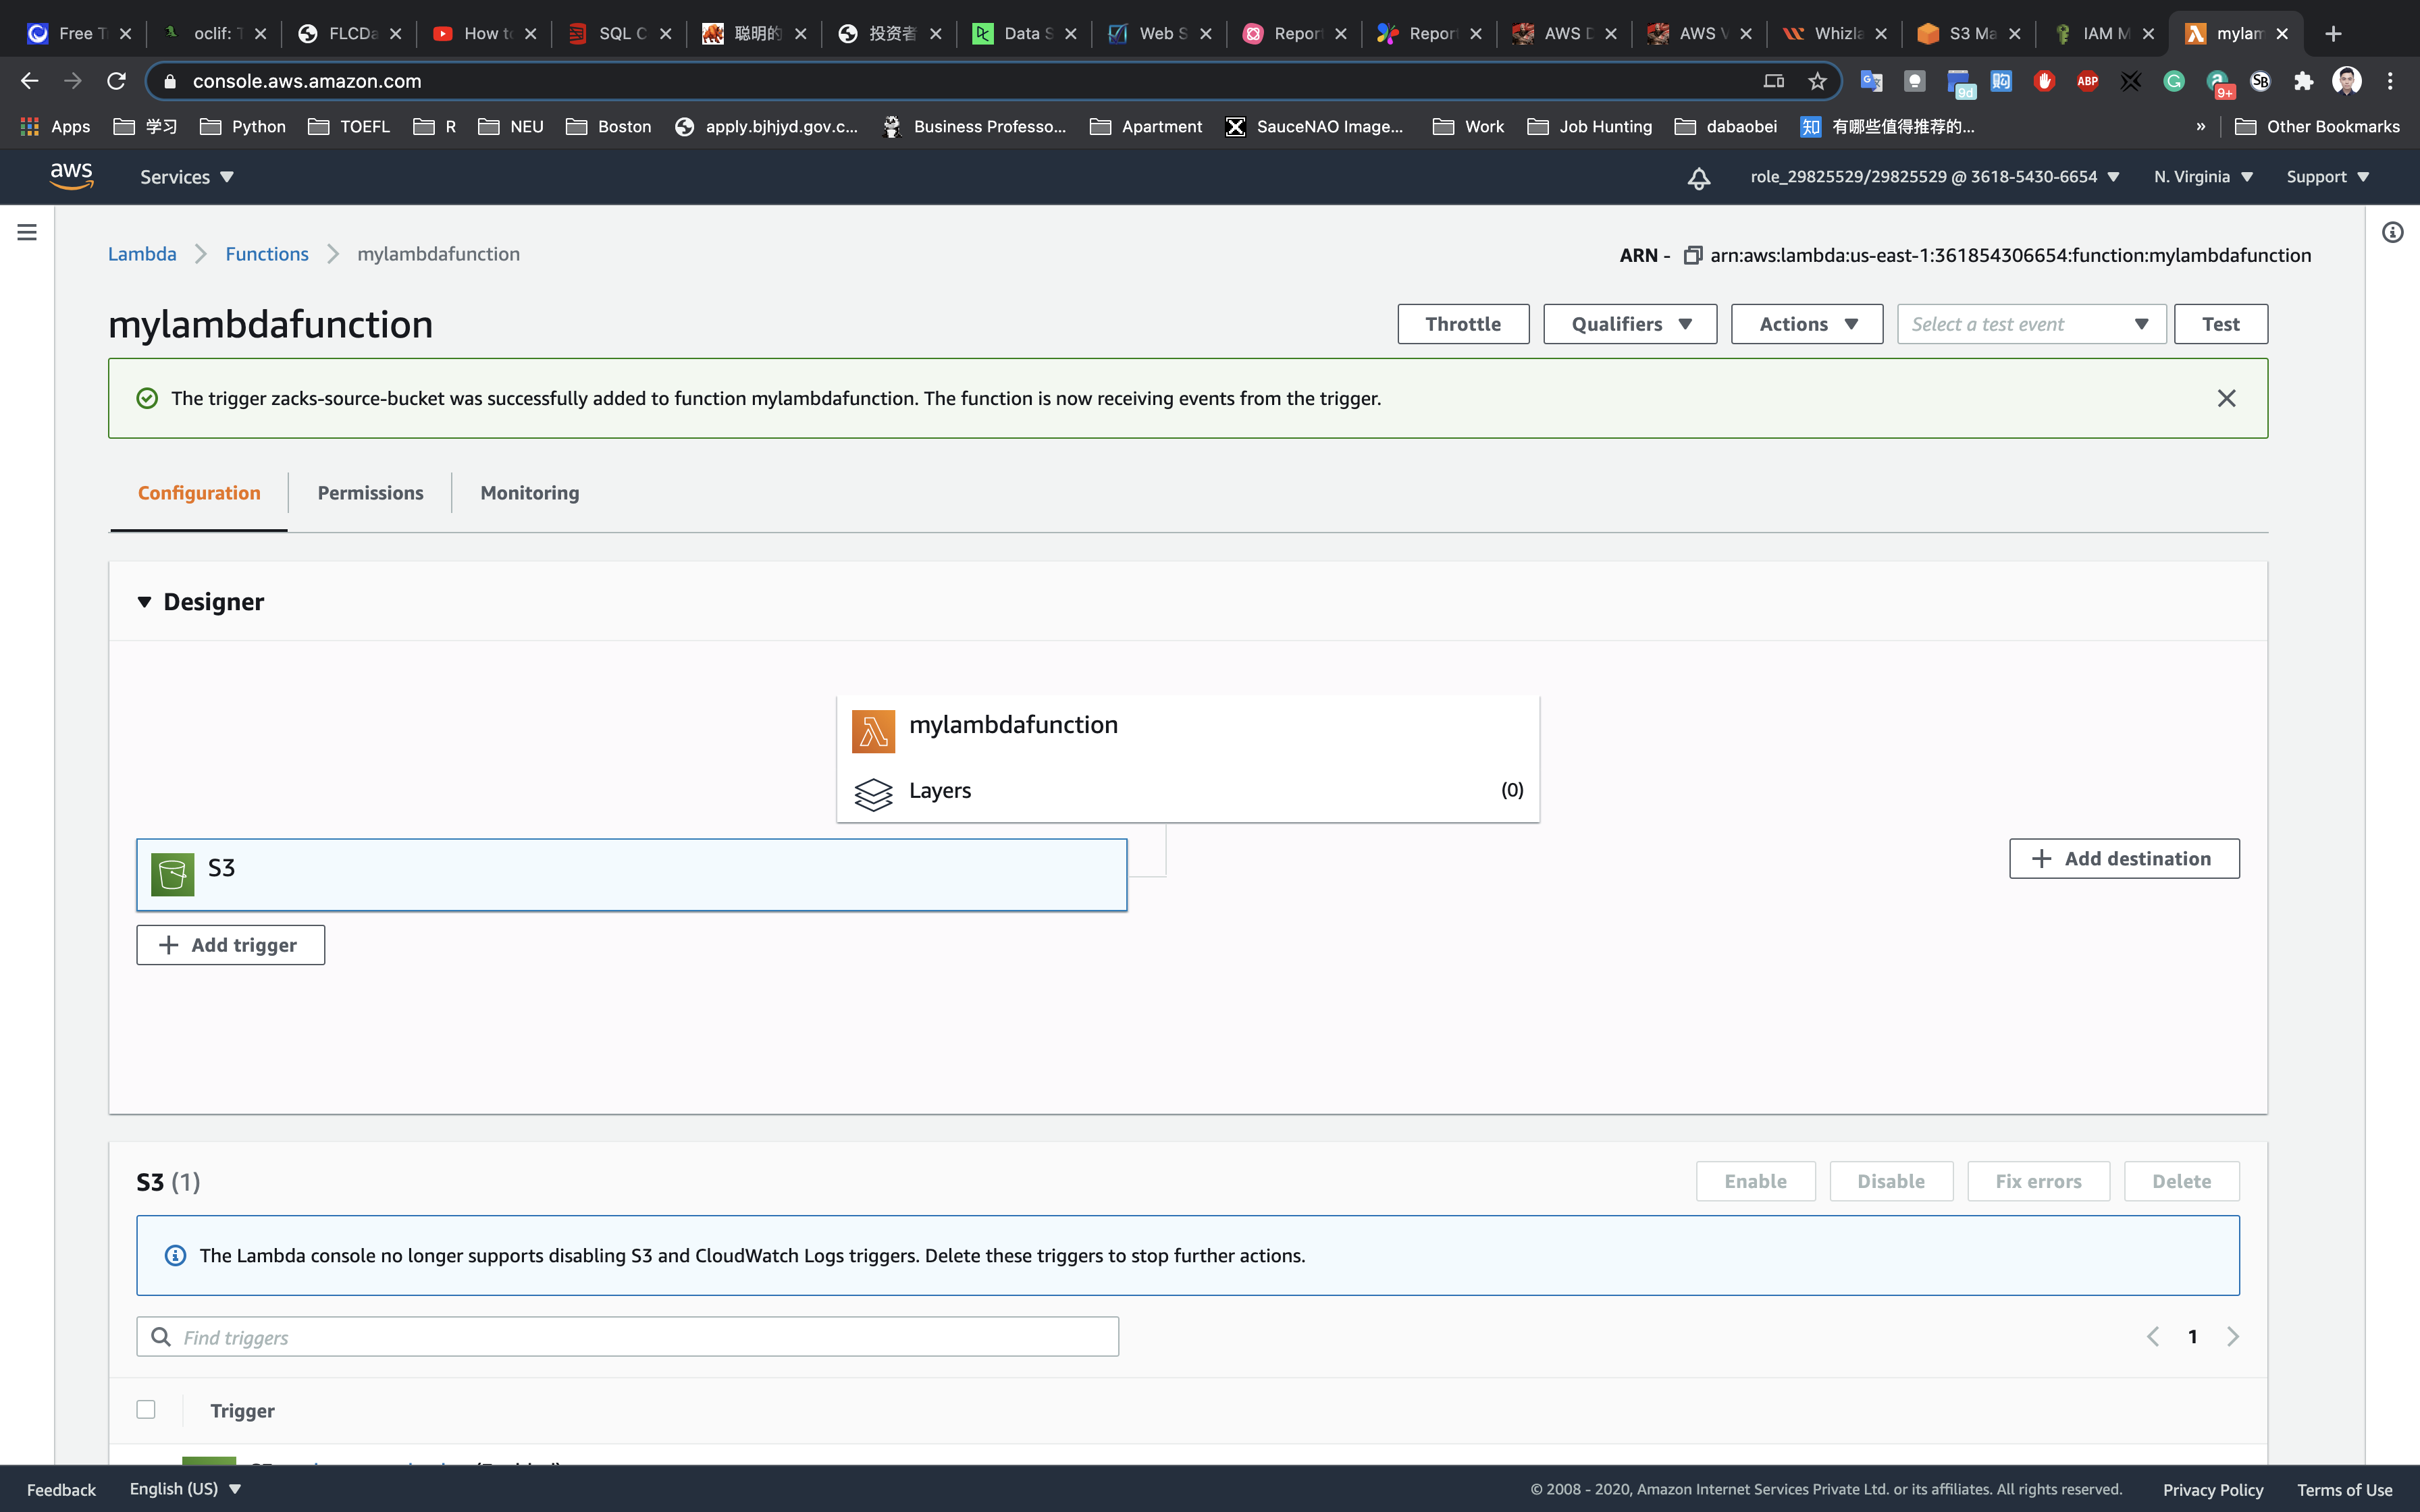
Validation Test
Prepare an image on your local machine.
Go to Bucket list and click on source bucket - your_source_bucket_name.
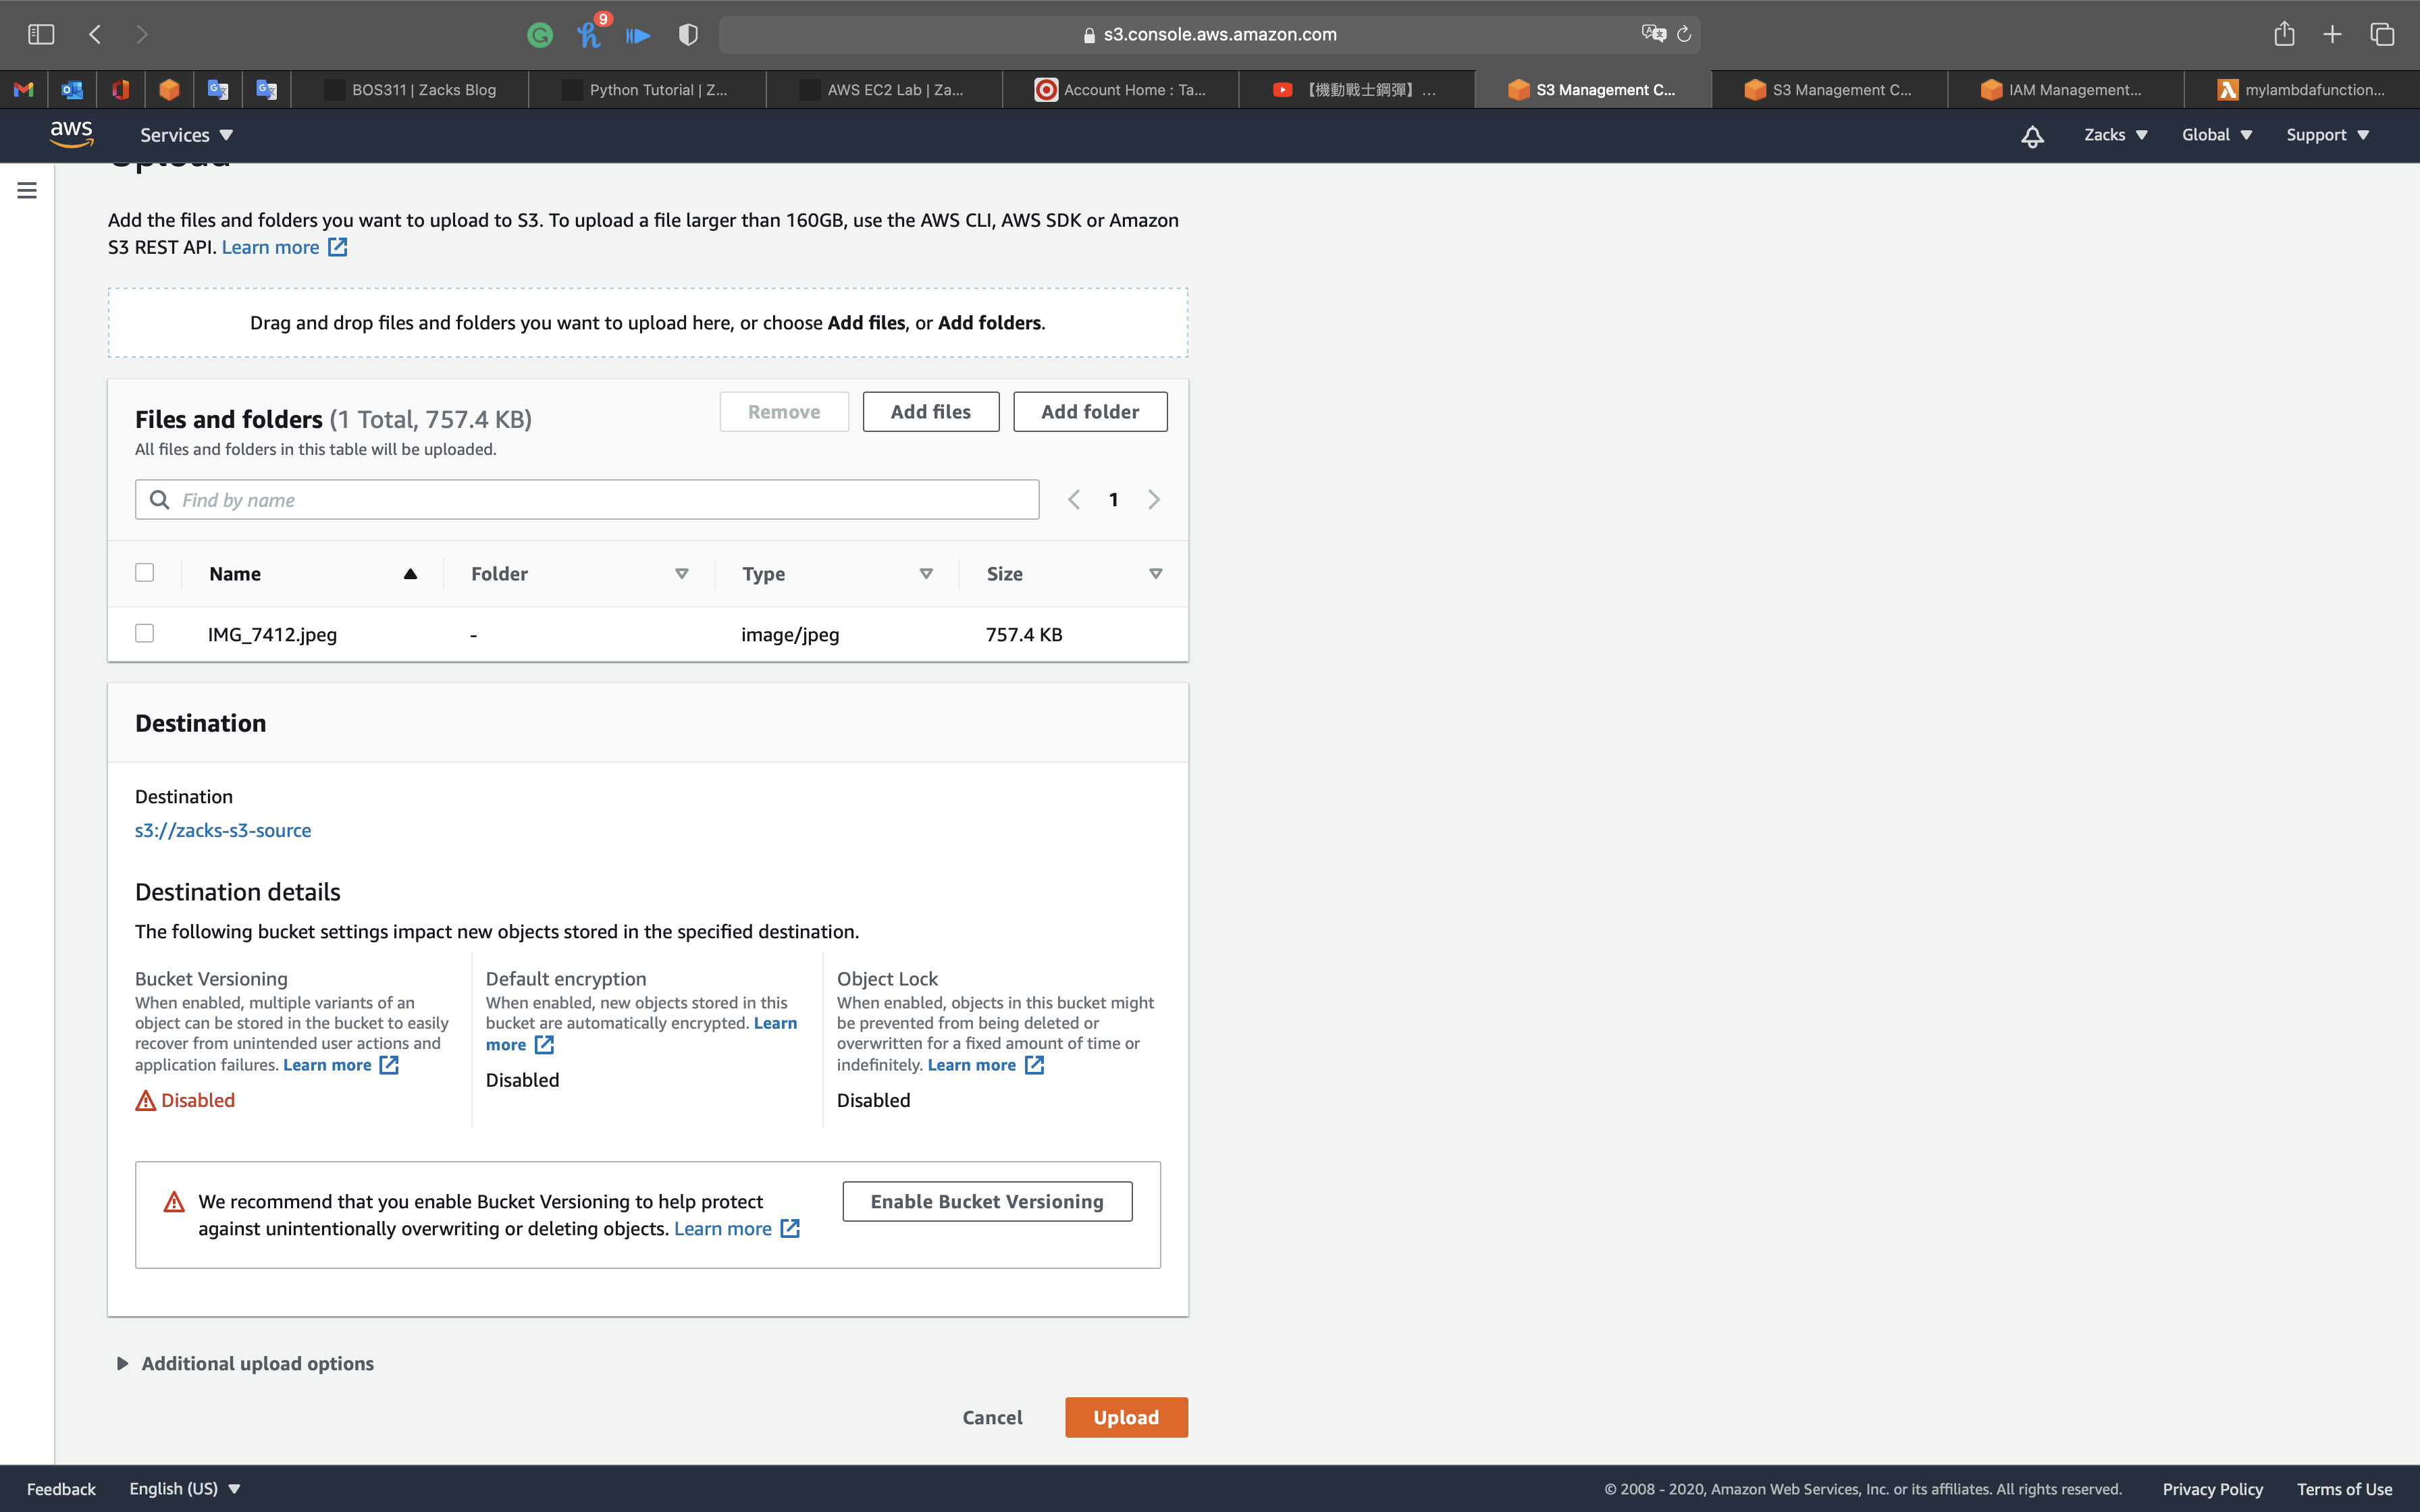
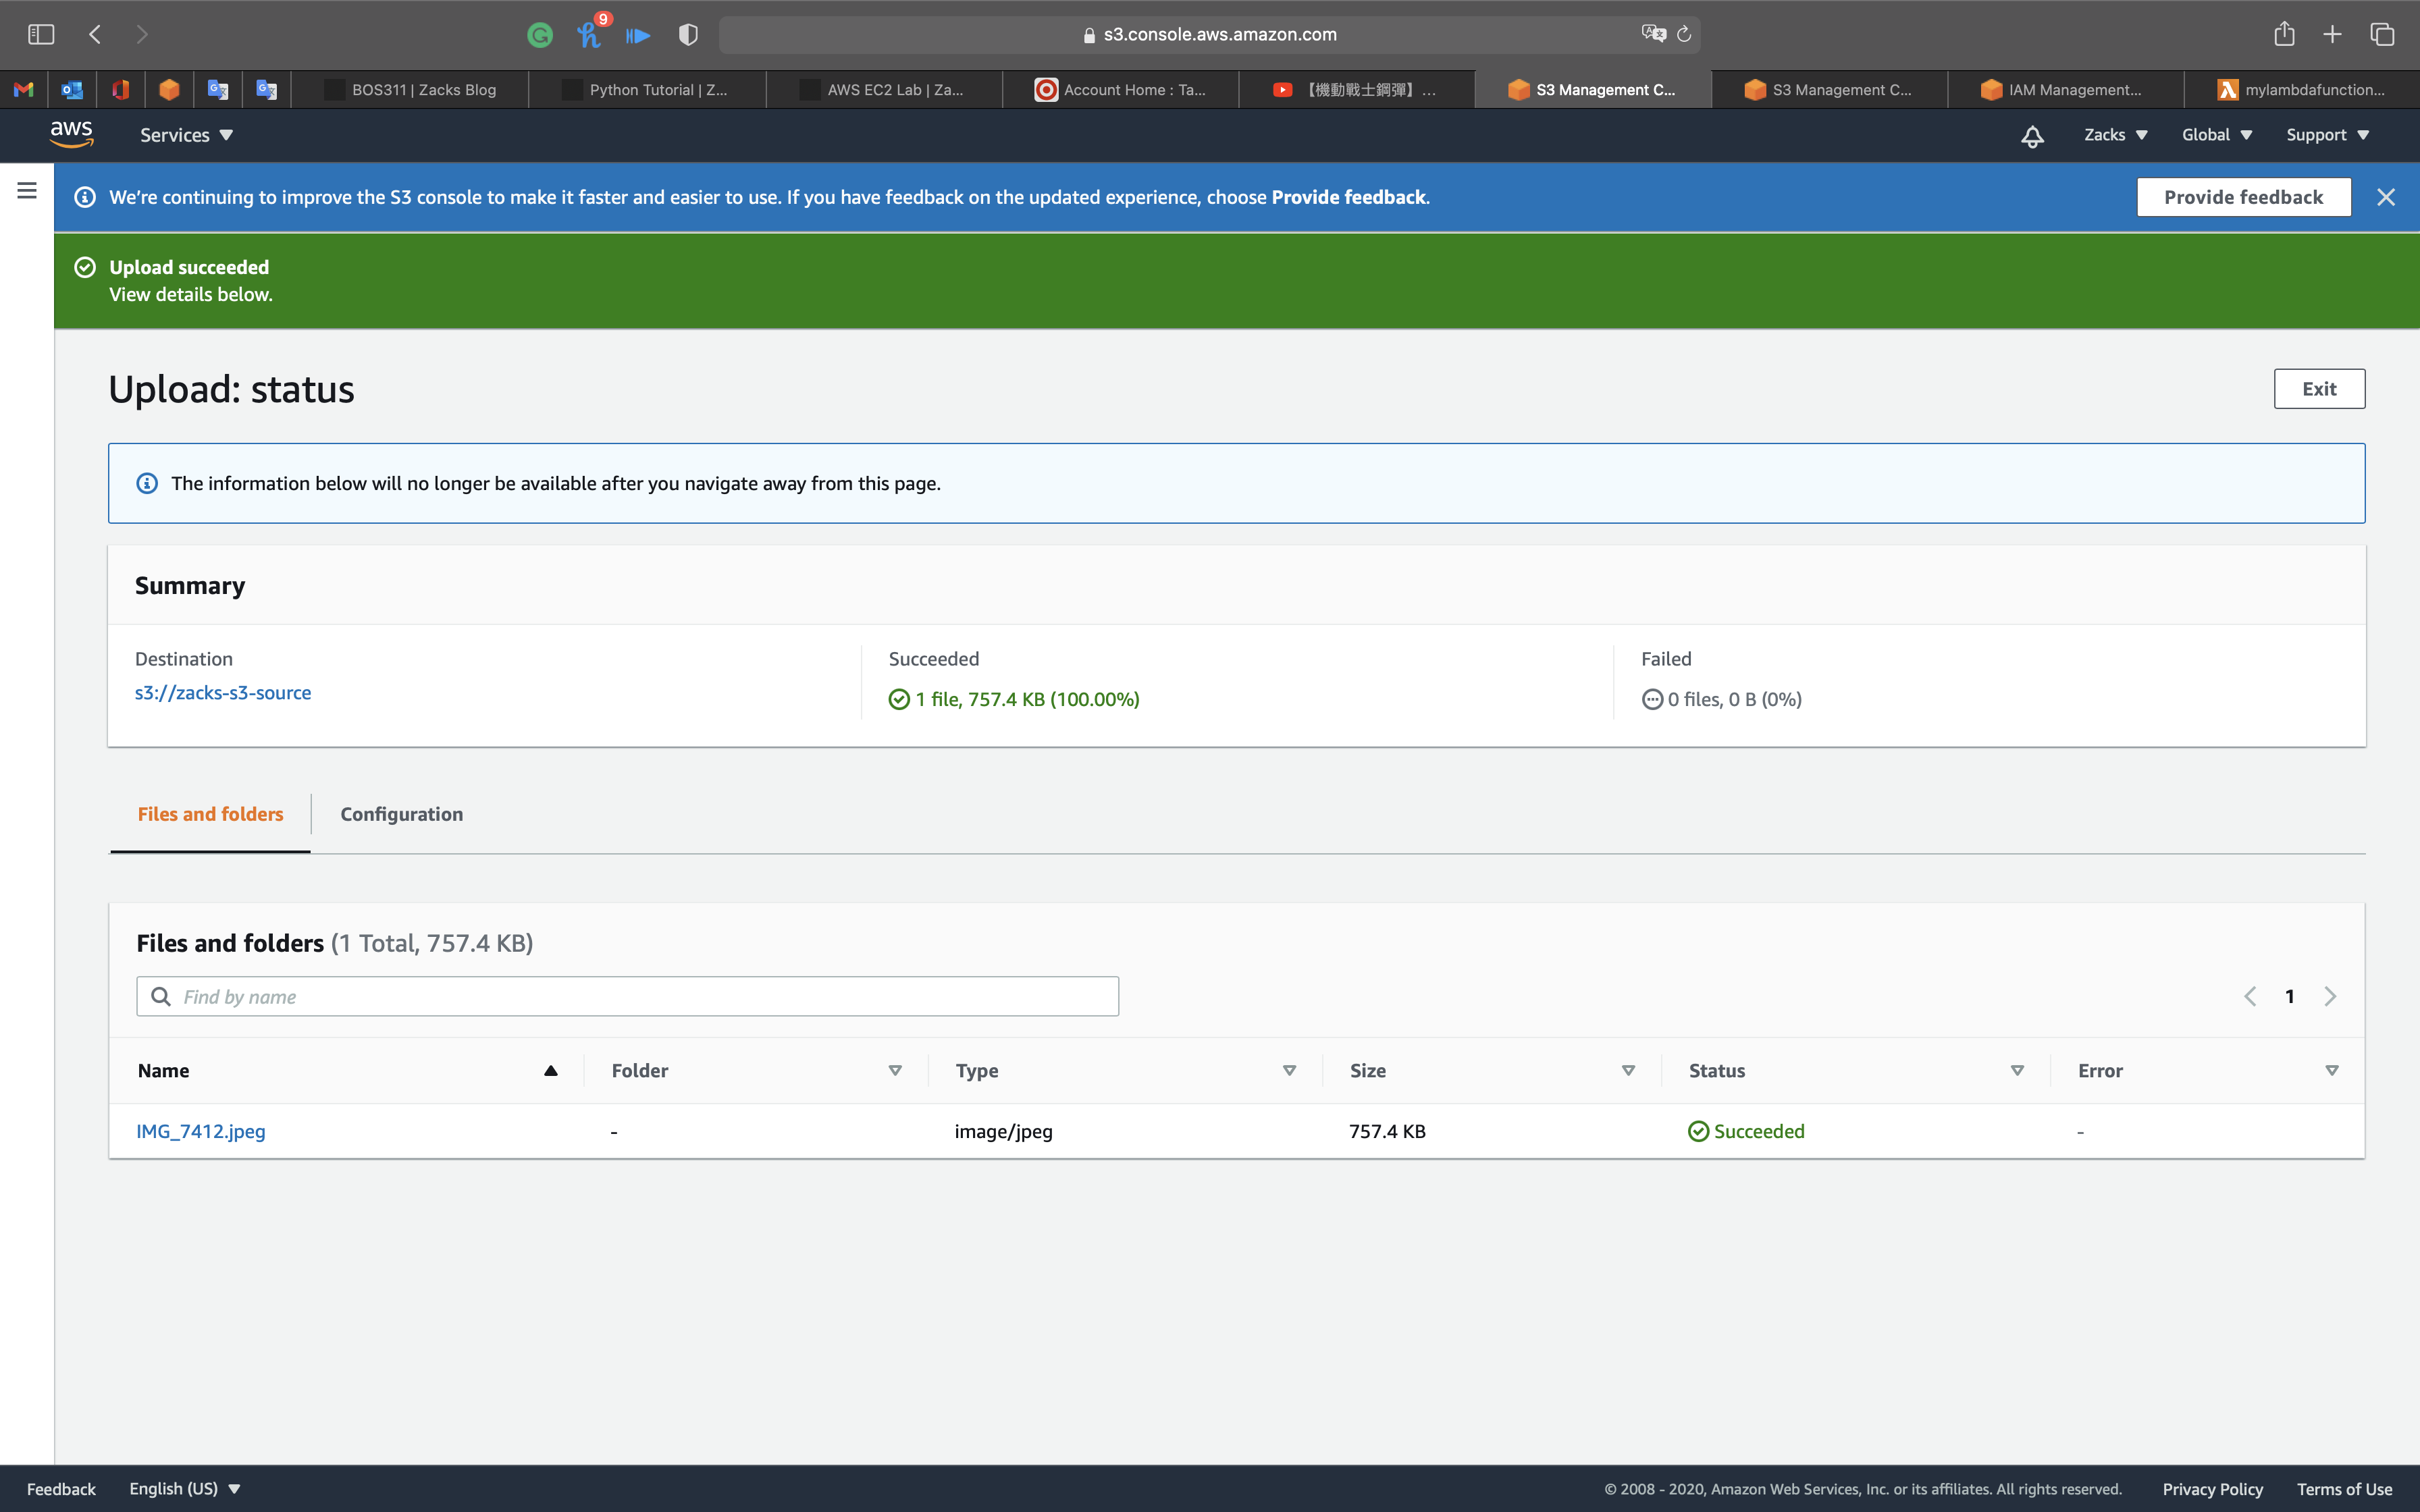
Upload image to source S3 bucket. To do that:
- Click on the
Uploadbutton. - Click on
Add filesto add the files. - Select the image and click on the
Uploadbutton to upload the image.
Now go back to the S3 list and open your destination bucket - your_destination_bucket_name.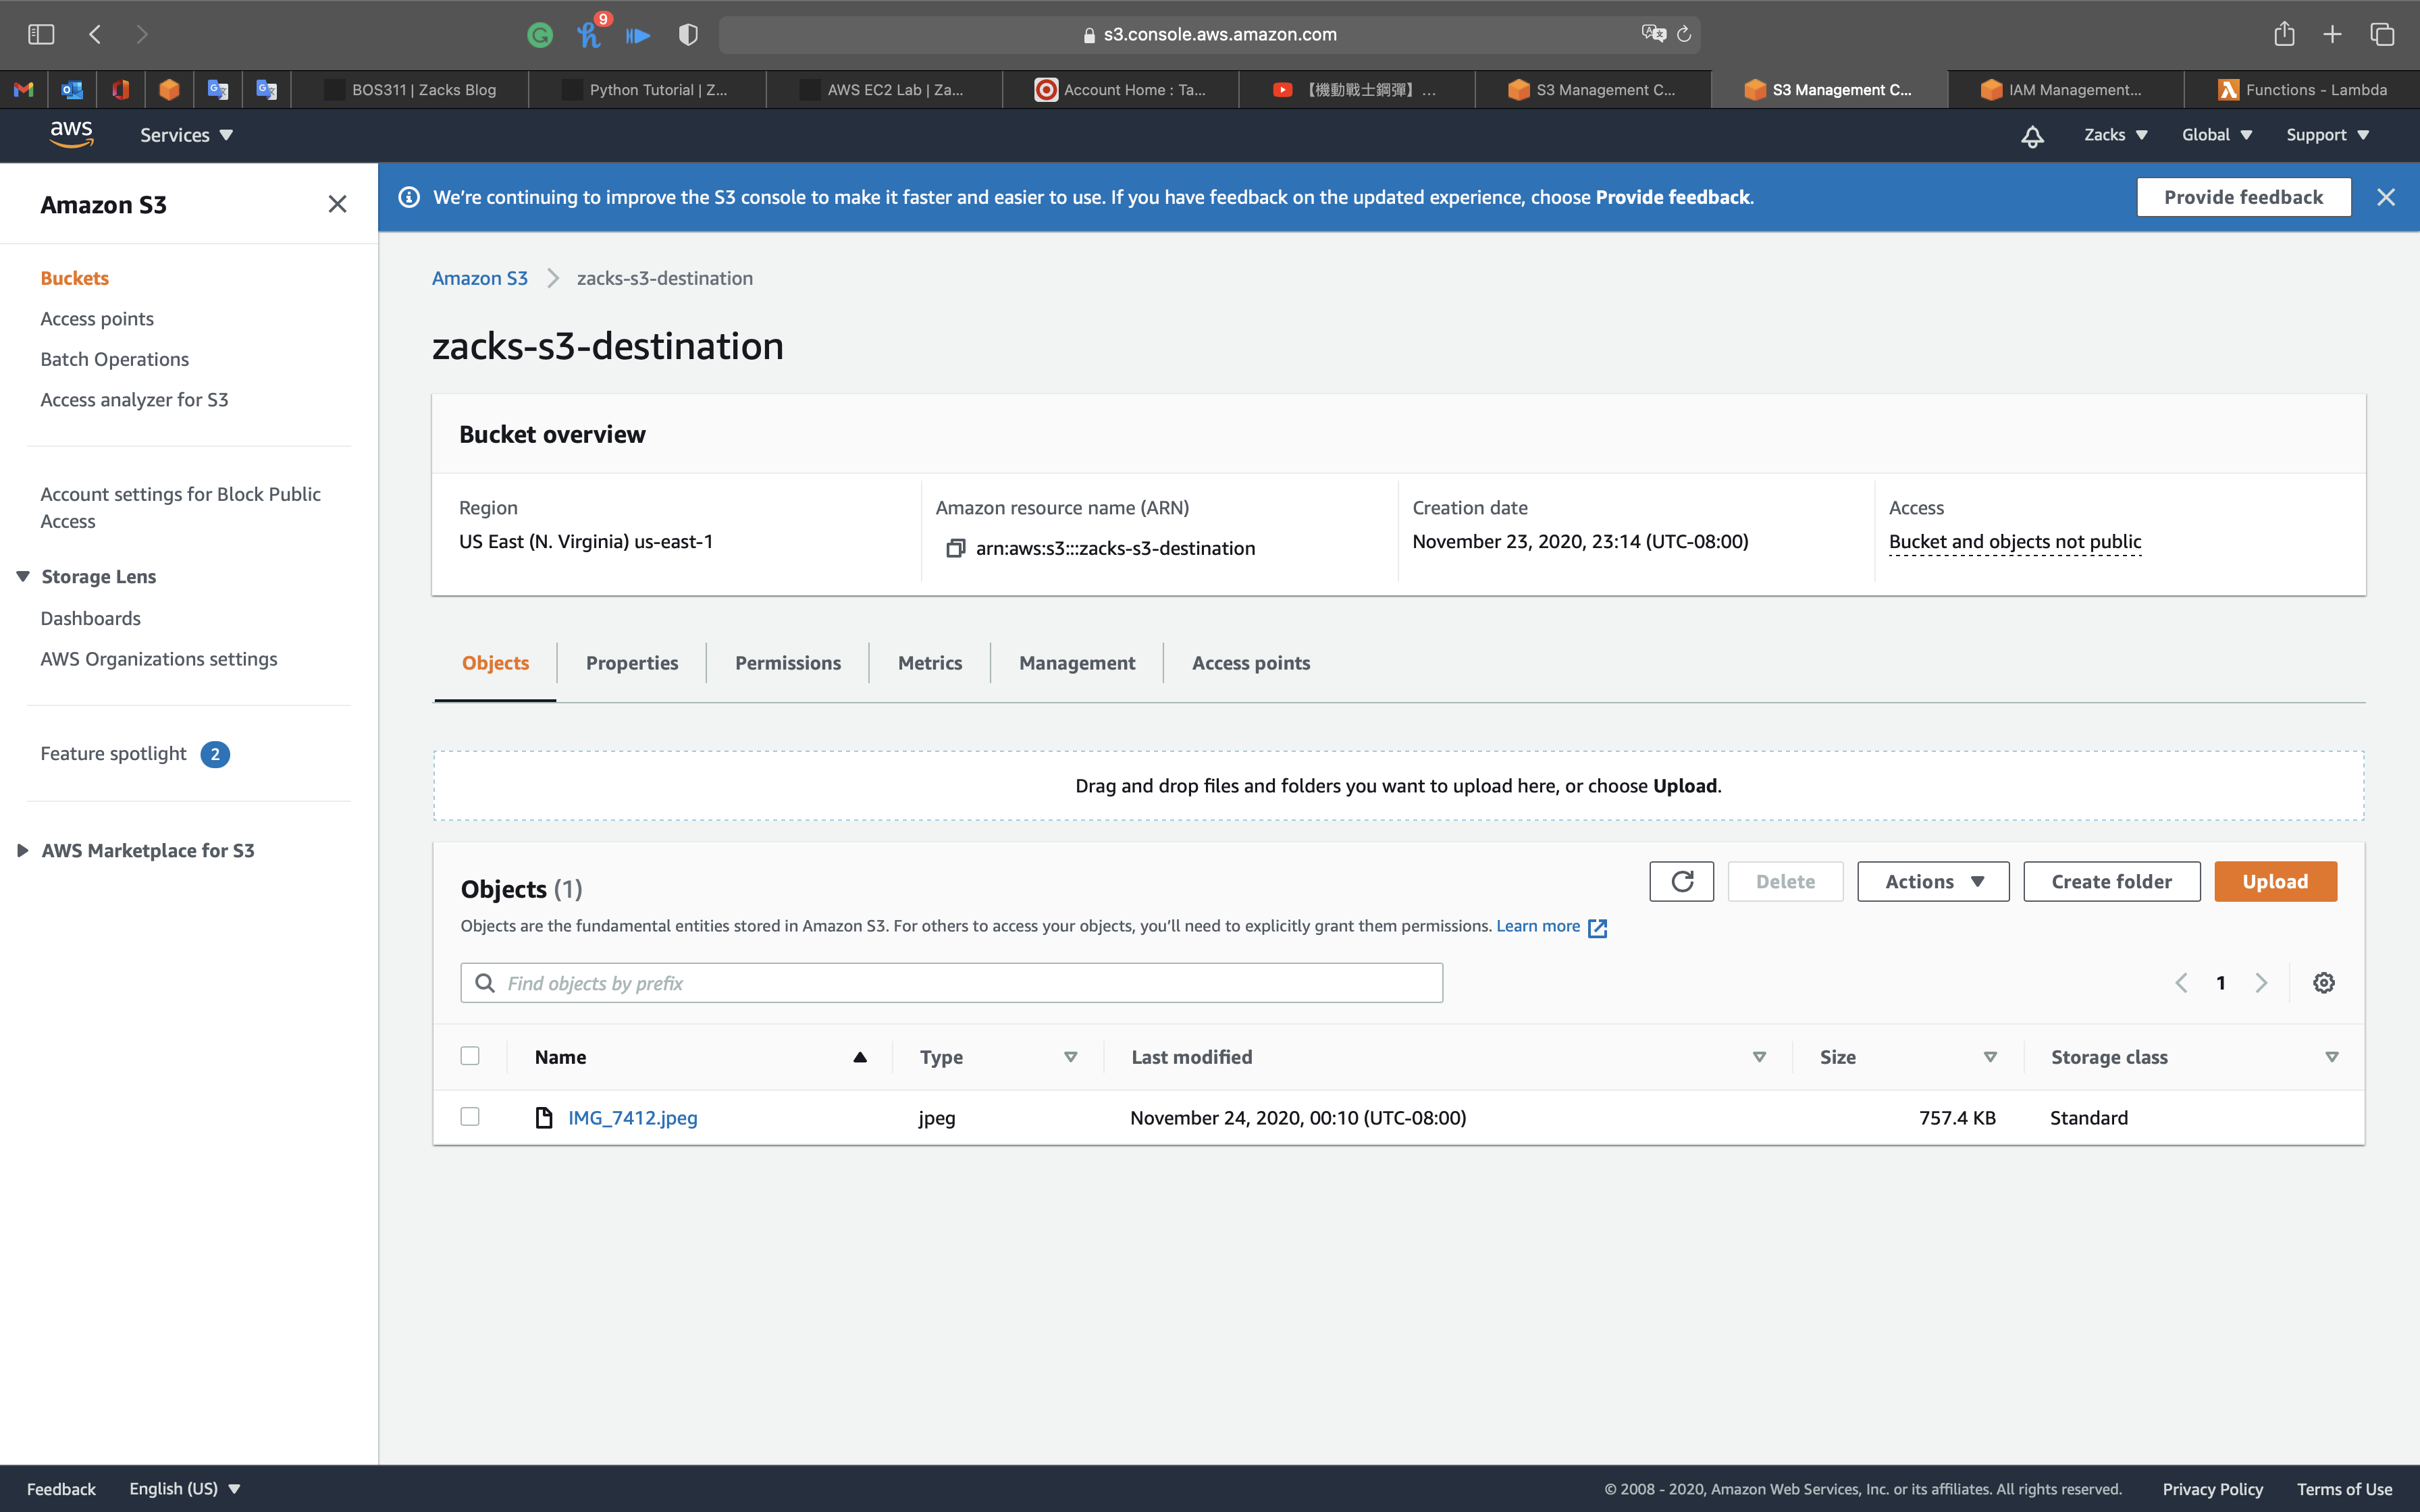
To open the object, scroll down and change ACL - Everyone - Read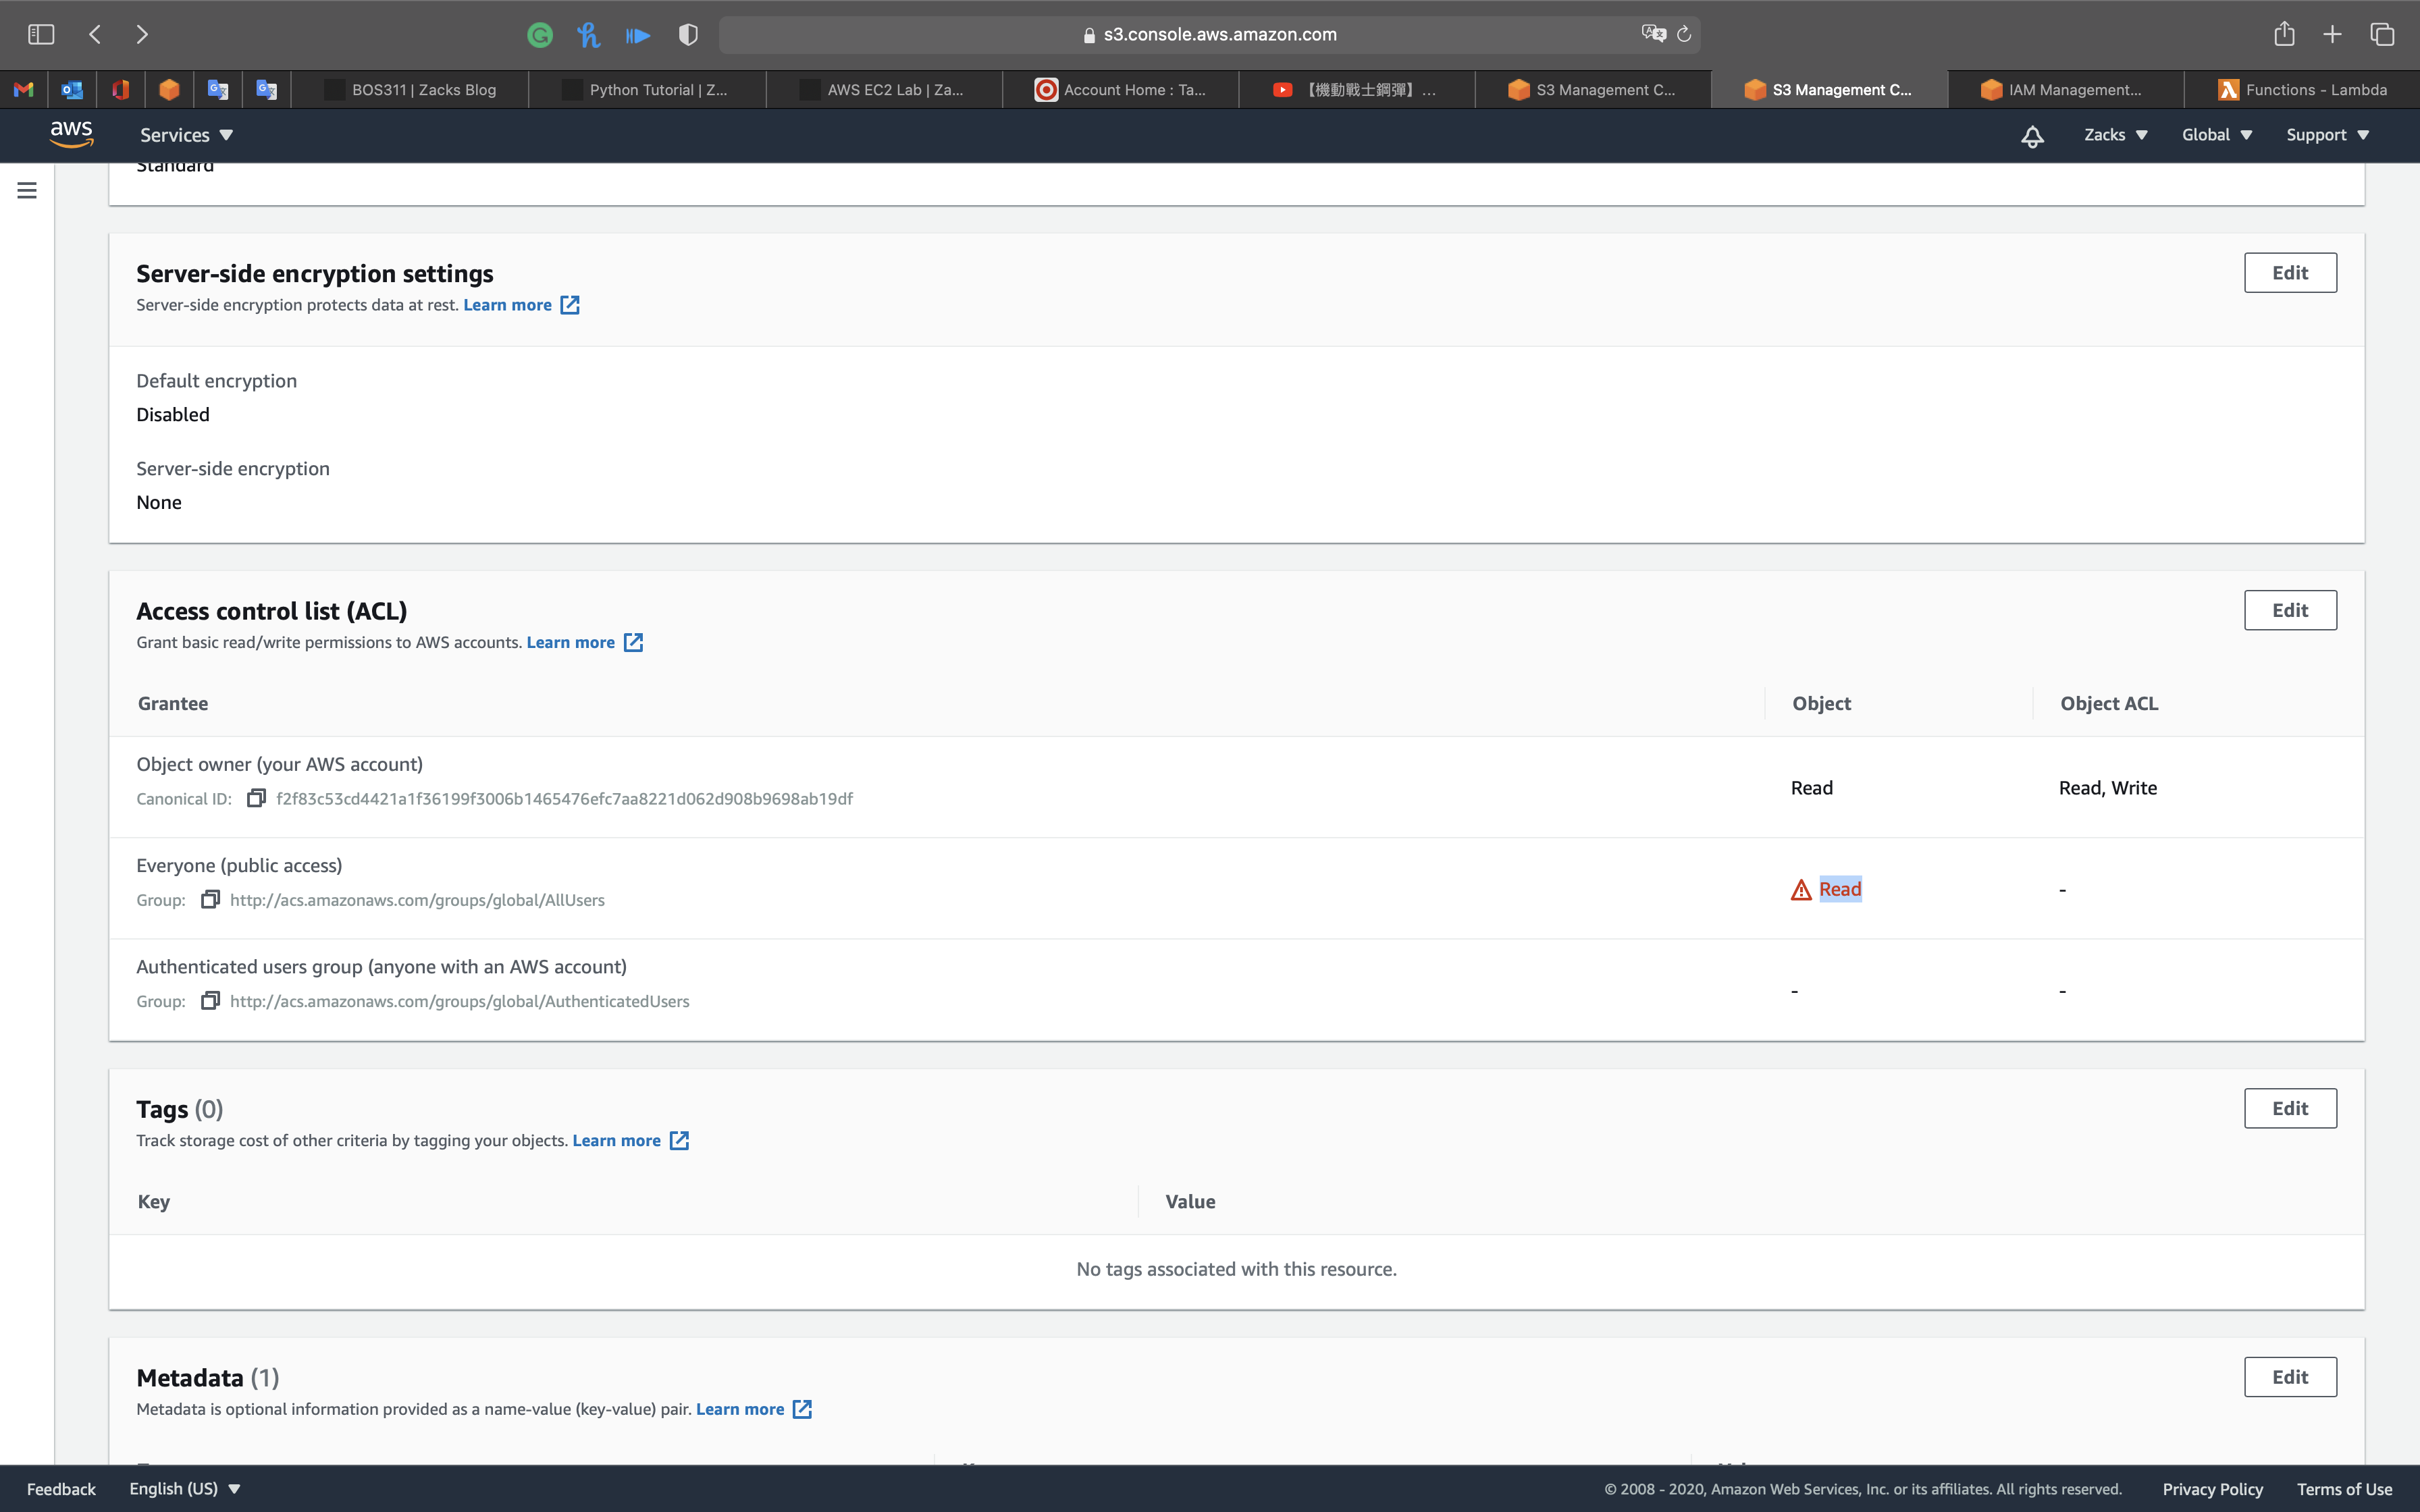
You can see a copy of your uploaded source bucket image in the destination bucket.