AWS SNS Lab
AWS SNS
Creating and Subscribing to SNS Topics, Adding SNS event for S3 bucket
https://play.whizlabs.com/site/task_details?lab_type=1&task_id=32&quest_id=35
Lab Details
This lab walks you through the creation and subscription of an Amazon SNS Topic. Using an AWS S3 bucket you will test the subscription.
Task Details
- Log into the AWS Management Console.
- Create an SNS Topic
- Subscribe to an SNS Topic
- Create an S3 bucket
- Update an SNS Topic Access Policy
- Create an S3 Event
- Testing the SNS Notification
Architecture Diagram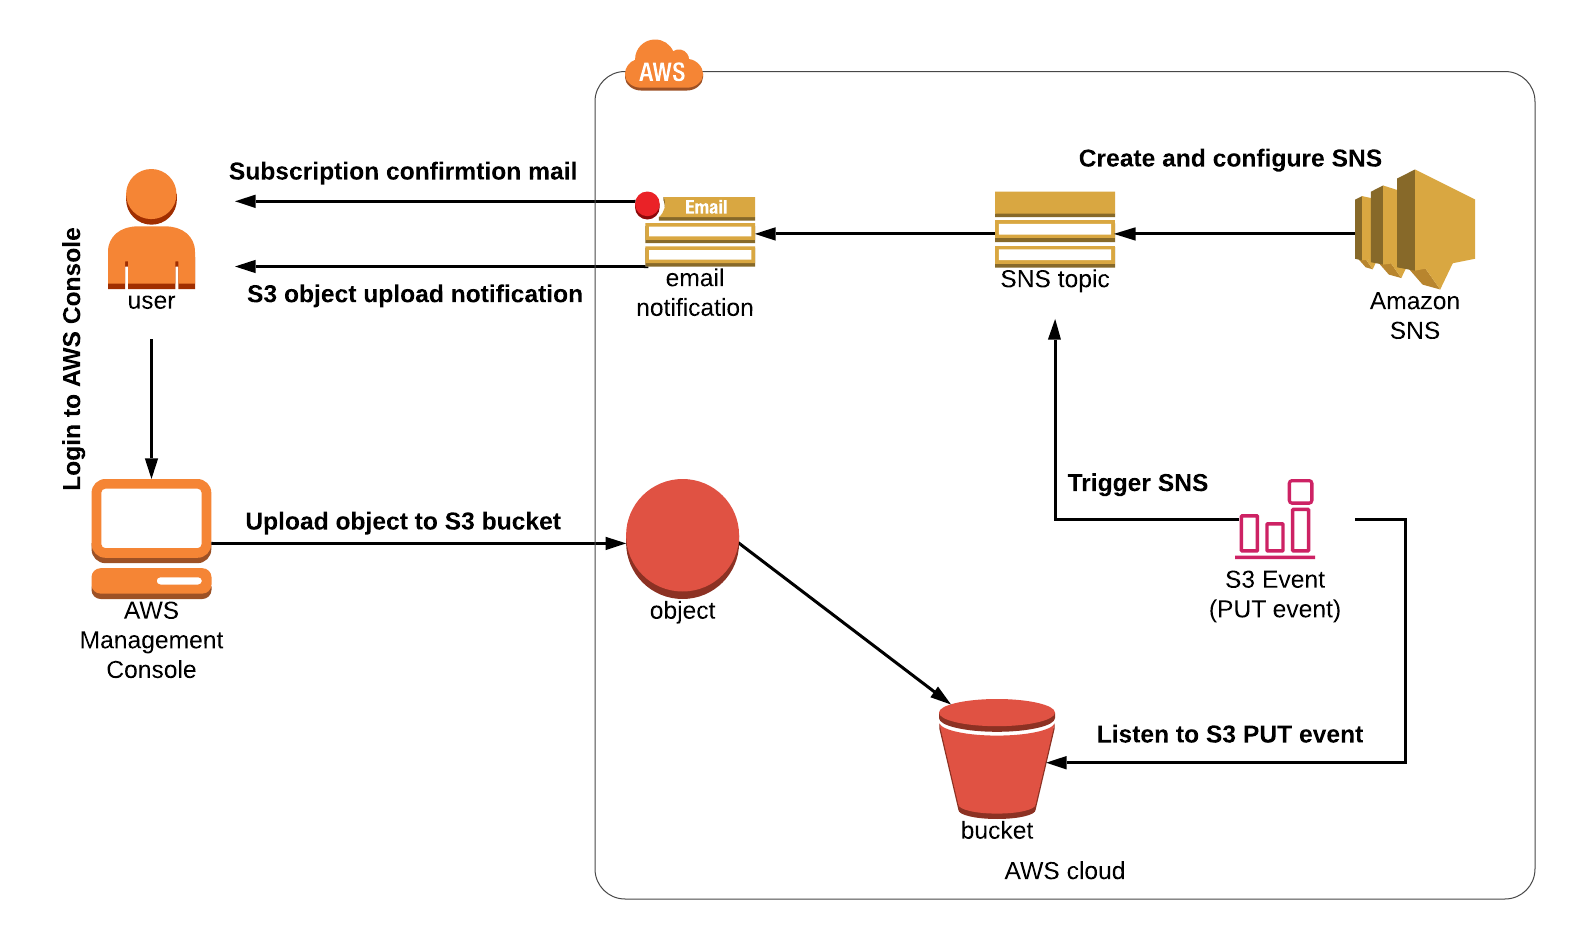
SNS Configuration
Service -> SNS
Region: US East (N. Virginia) us-east-1
Create SNS Topic
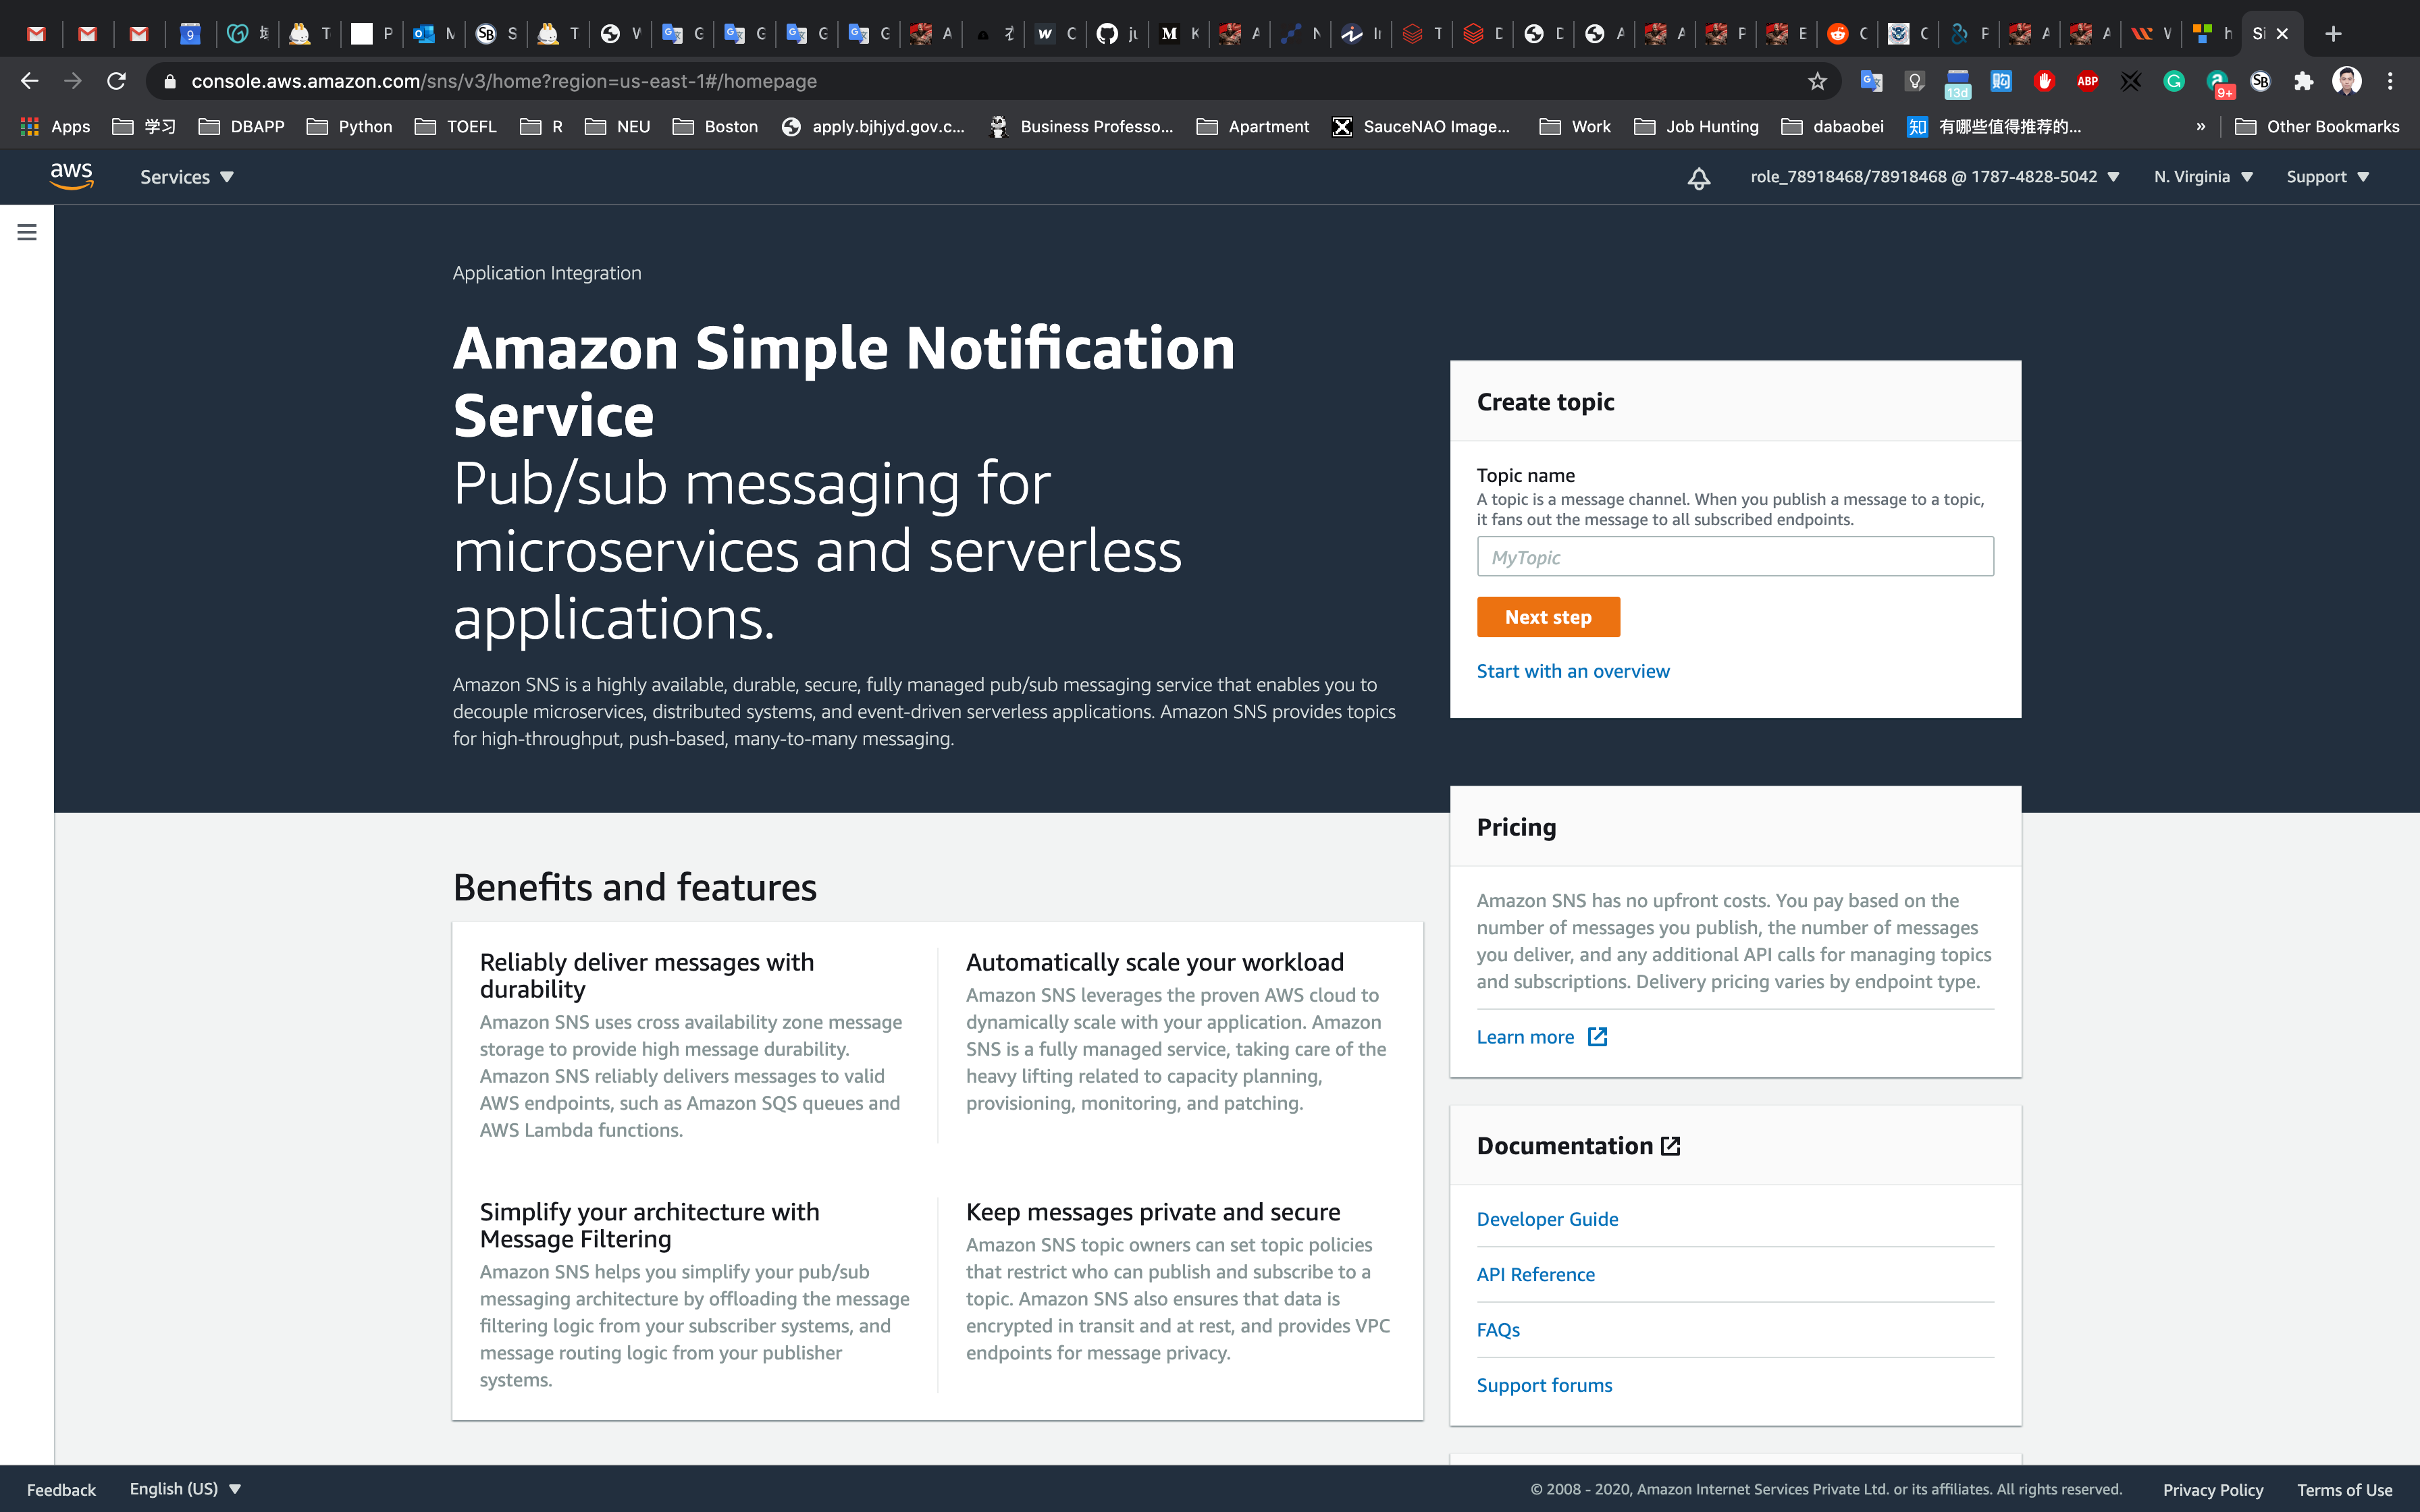
Under Topic name, input yourTopicName and Click on Next Step
Under Displayed name, input your displayed name
Leave other options as default and click on Create topic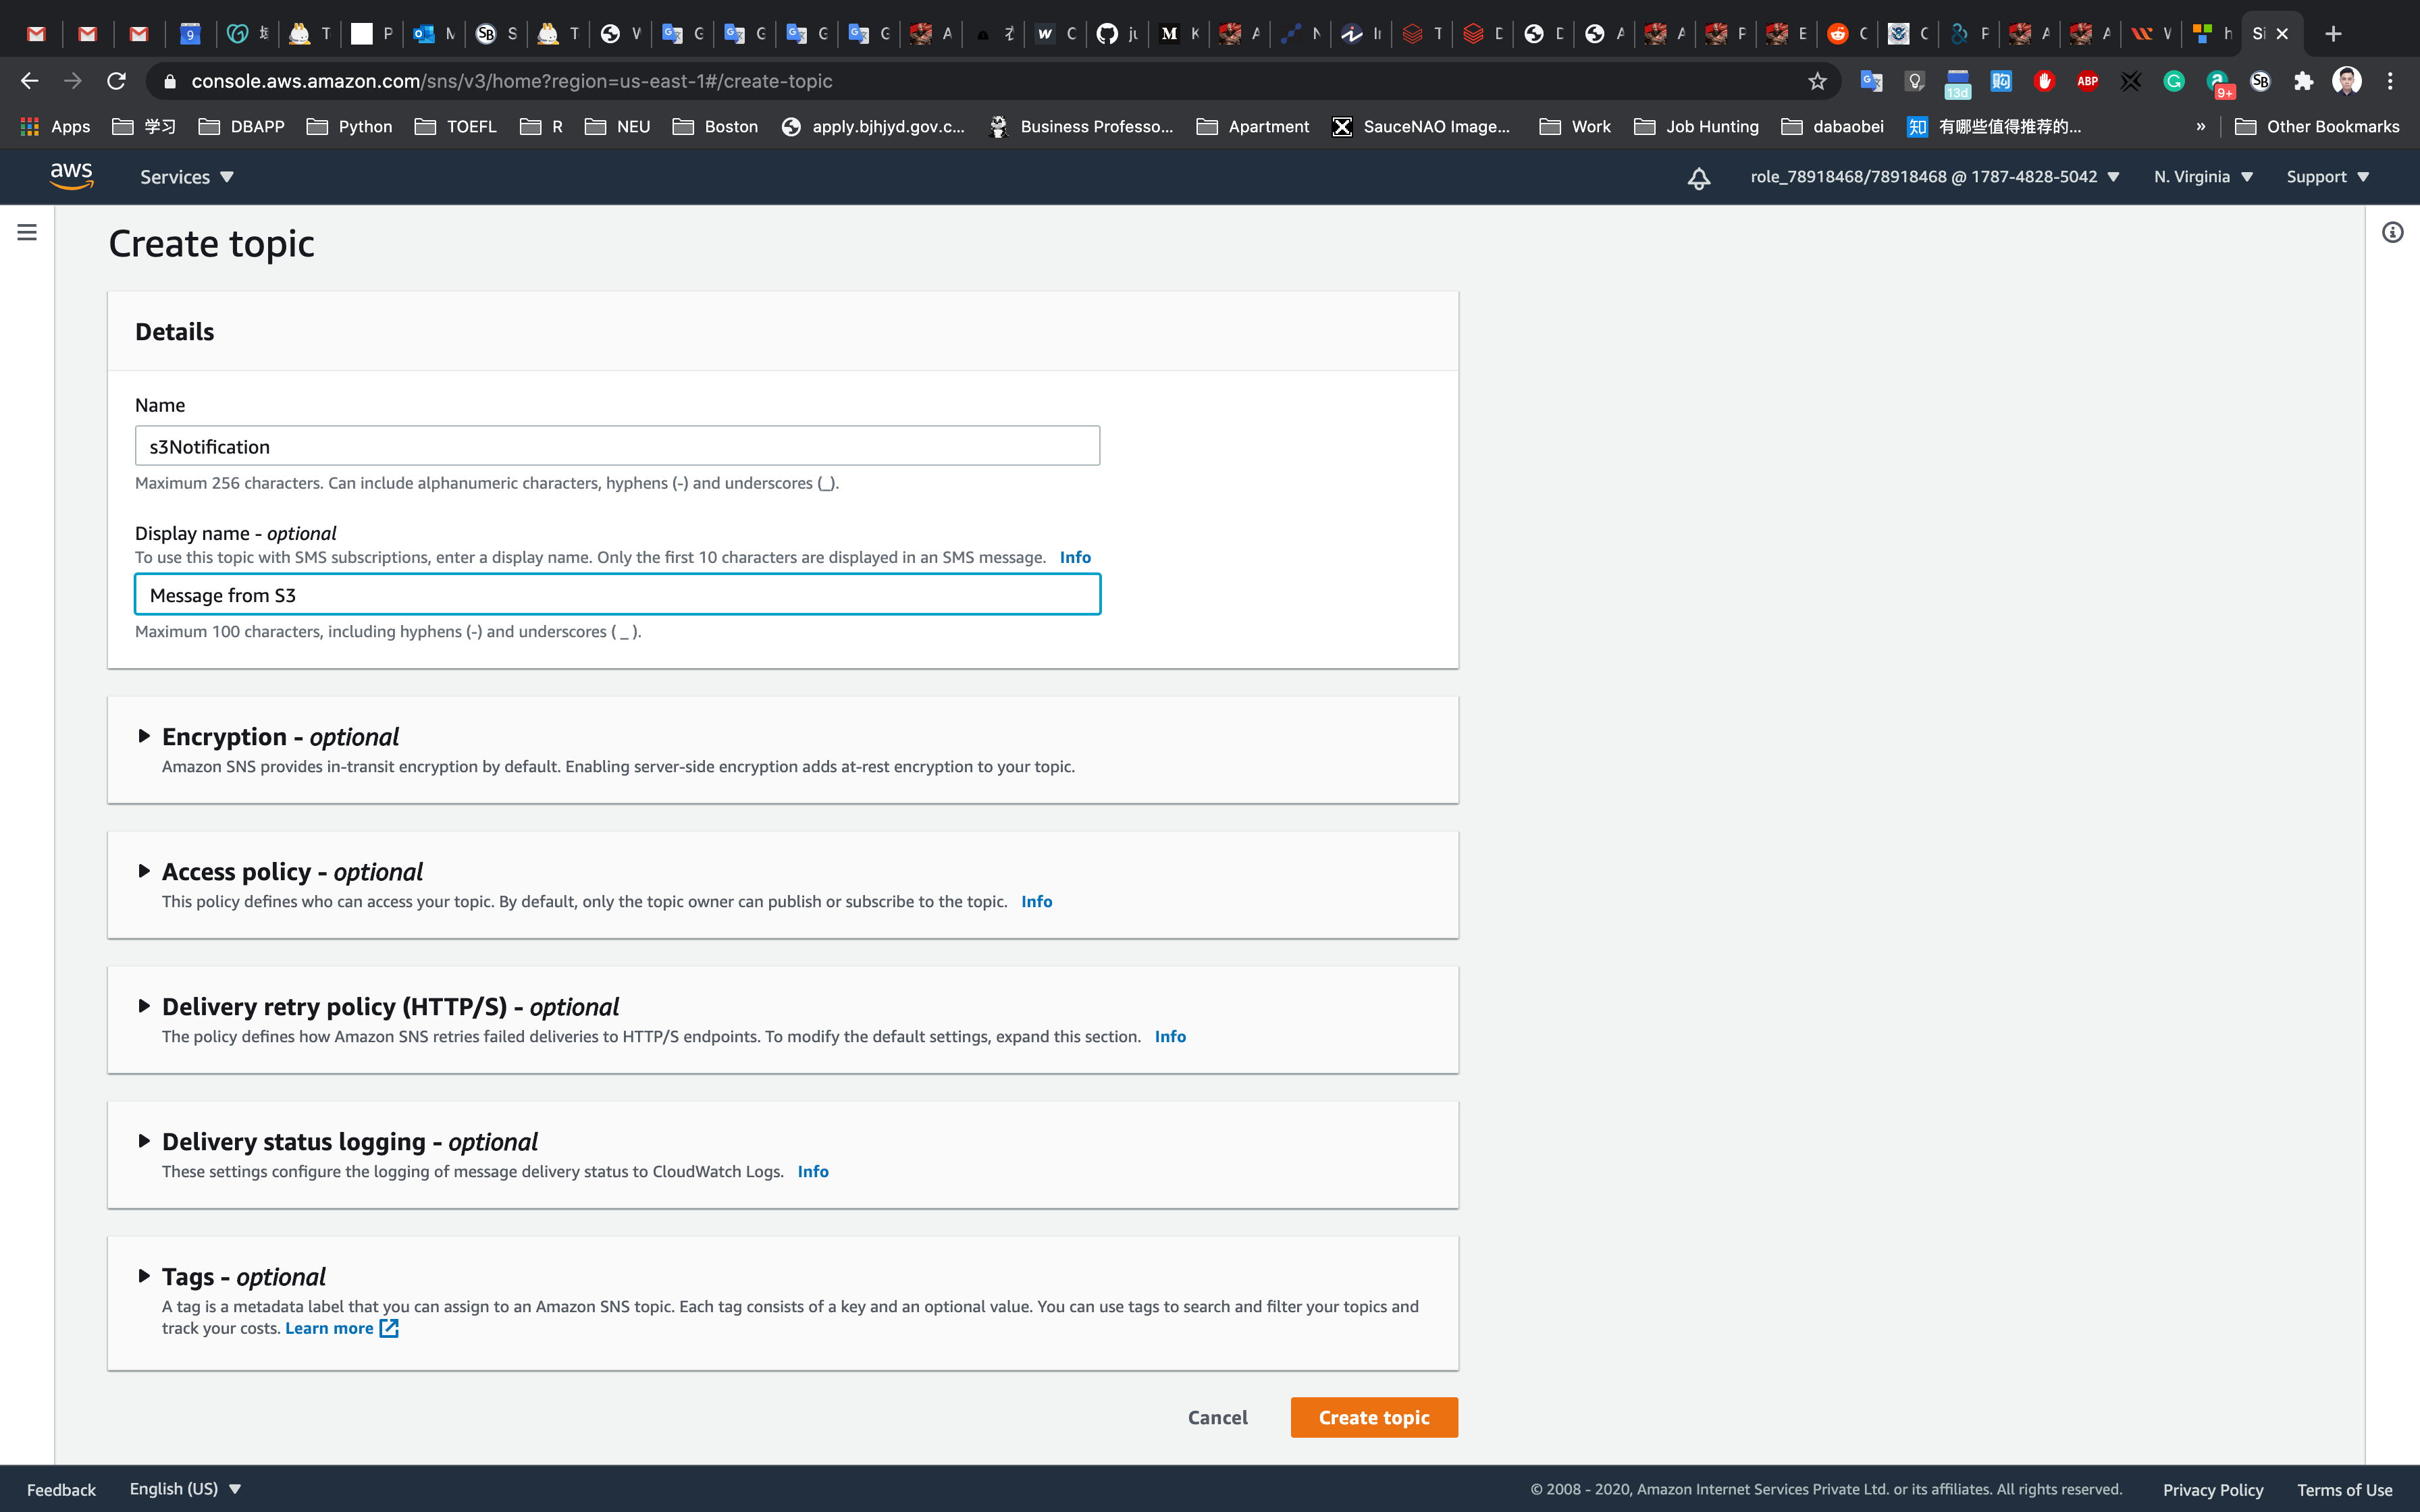
Your new SNS topic has been created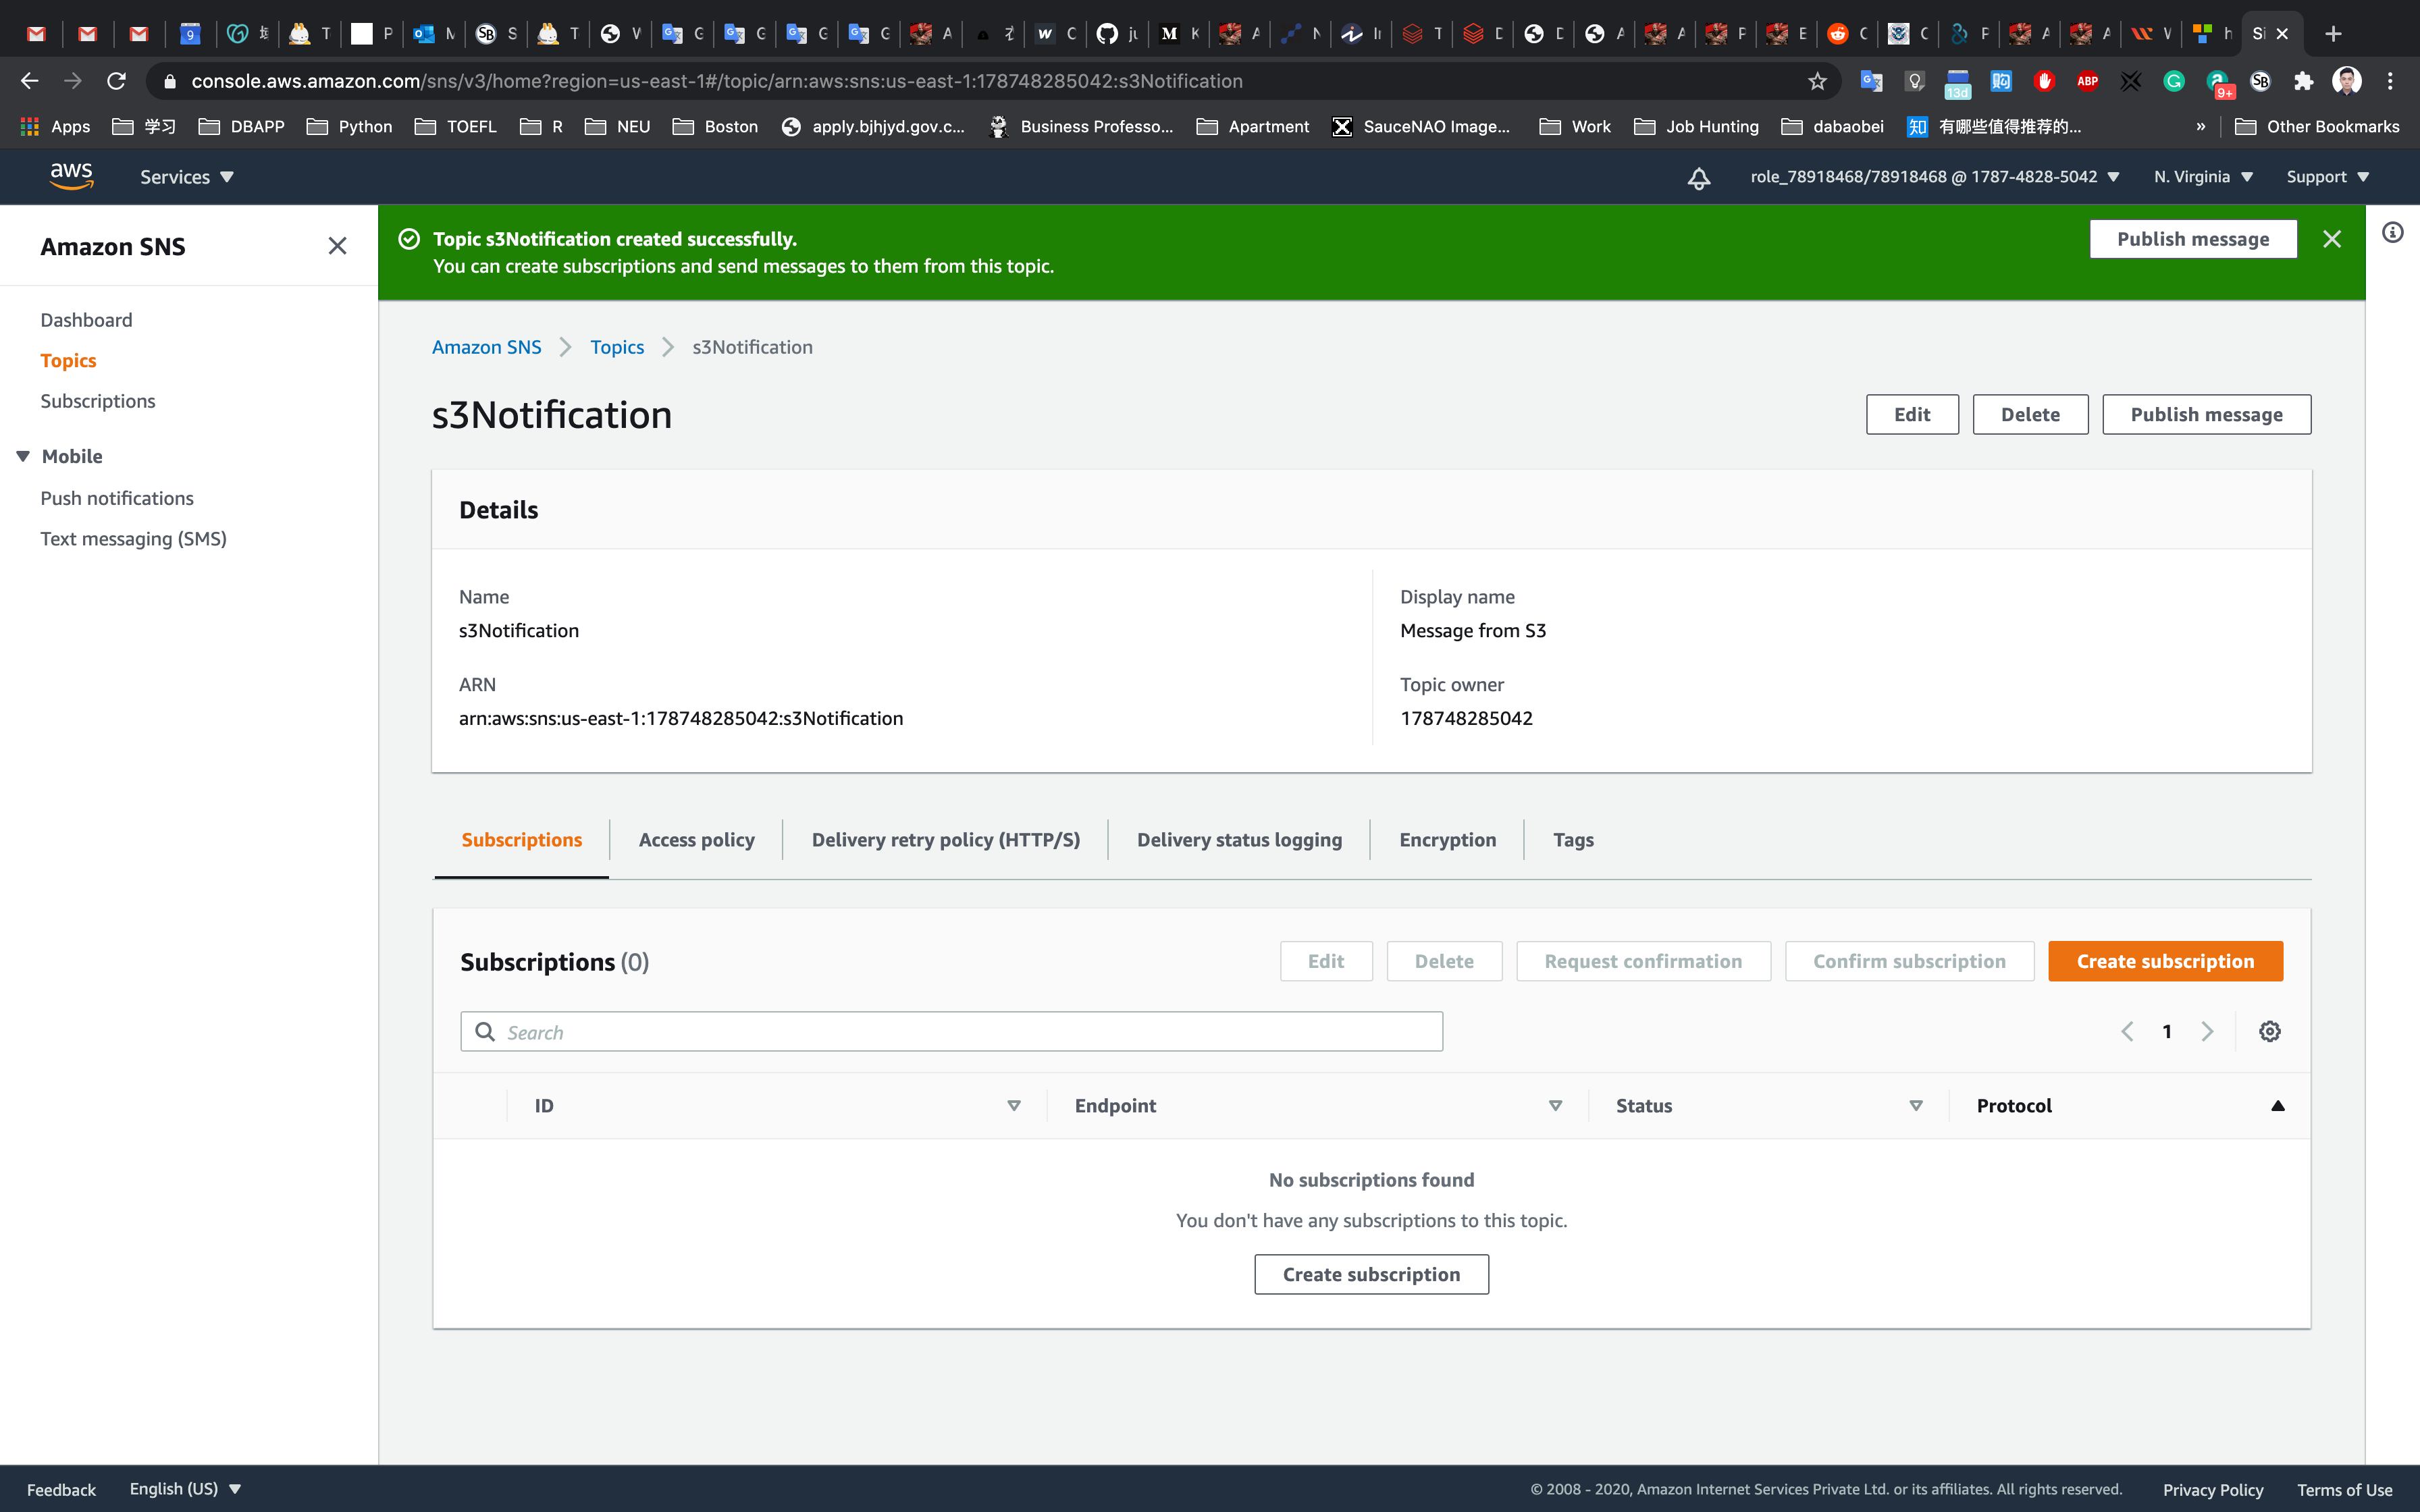
Subscribe to SNS Topic
Once the SNS topic is created, click on the SNS topic yourSNSTopic.
Click on Create subscription.
Under Details:
- Protocol : Select
Email - Endpoint : Enter your <
Mail address> - Note: Make sure you give a valid email address as you will receive a SNS notification to this email address.

Notice the status is Pending confirmation. Now check your email inbox.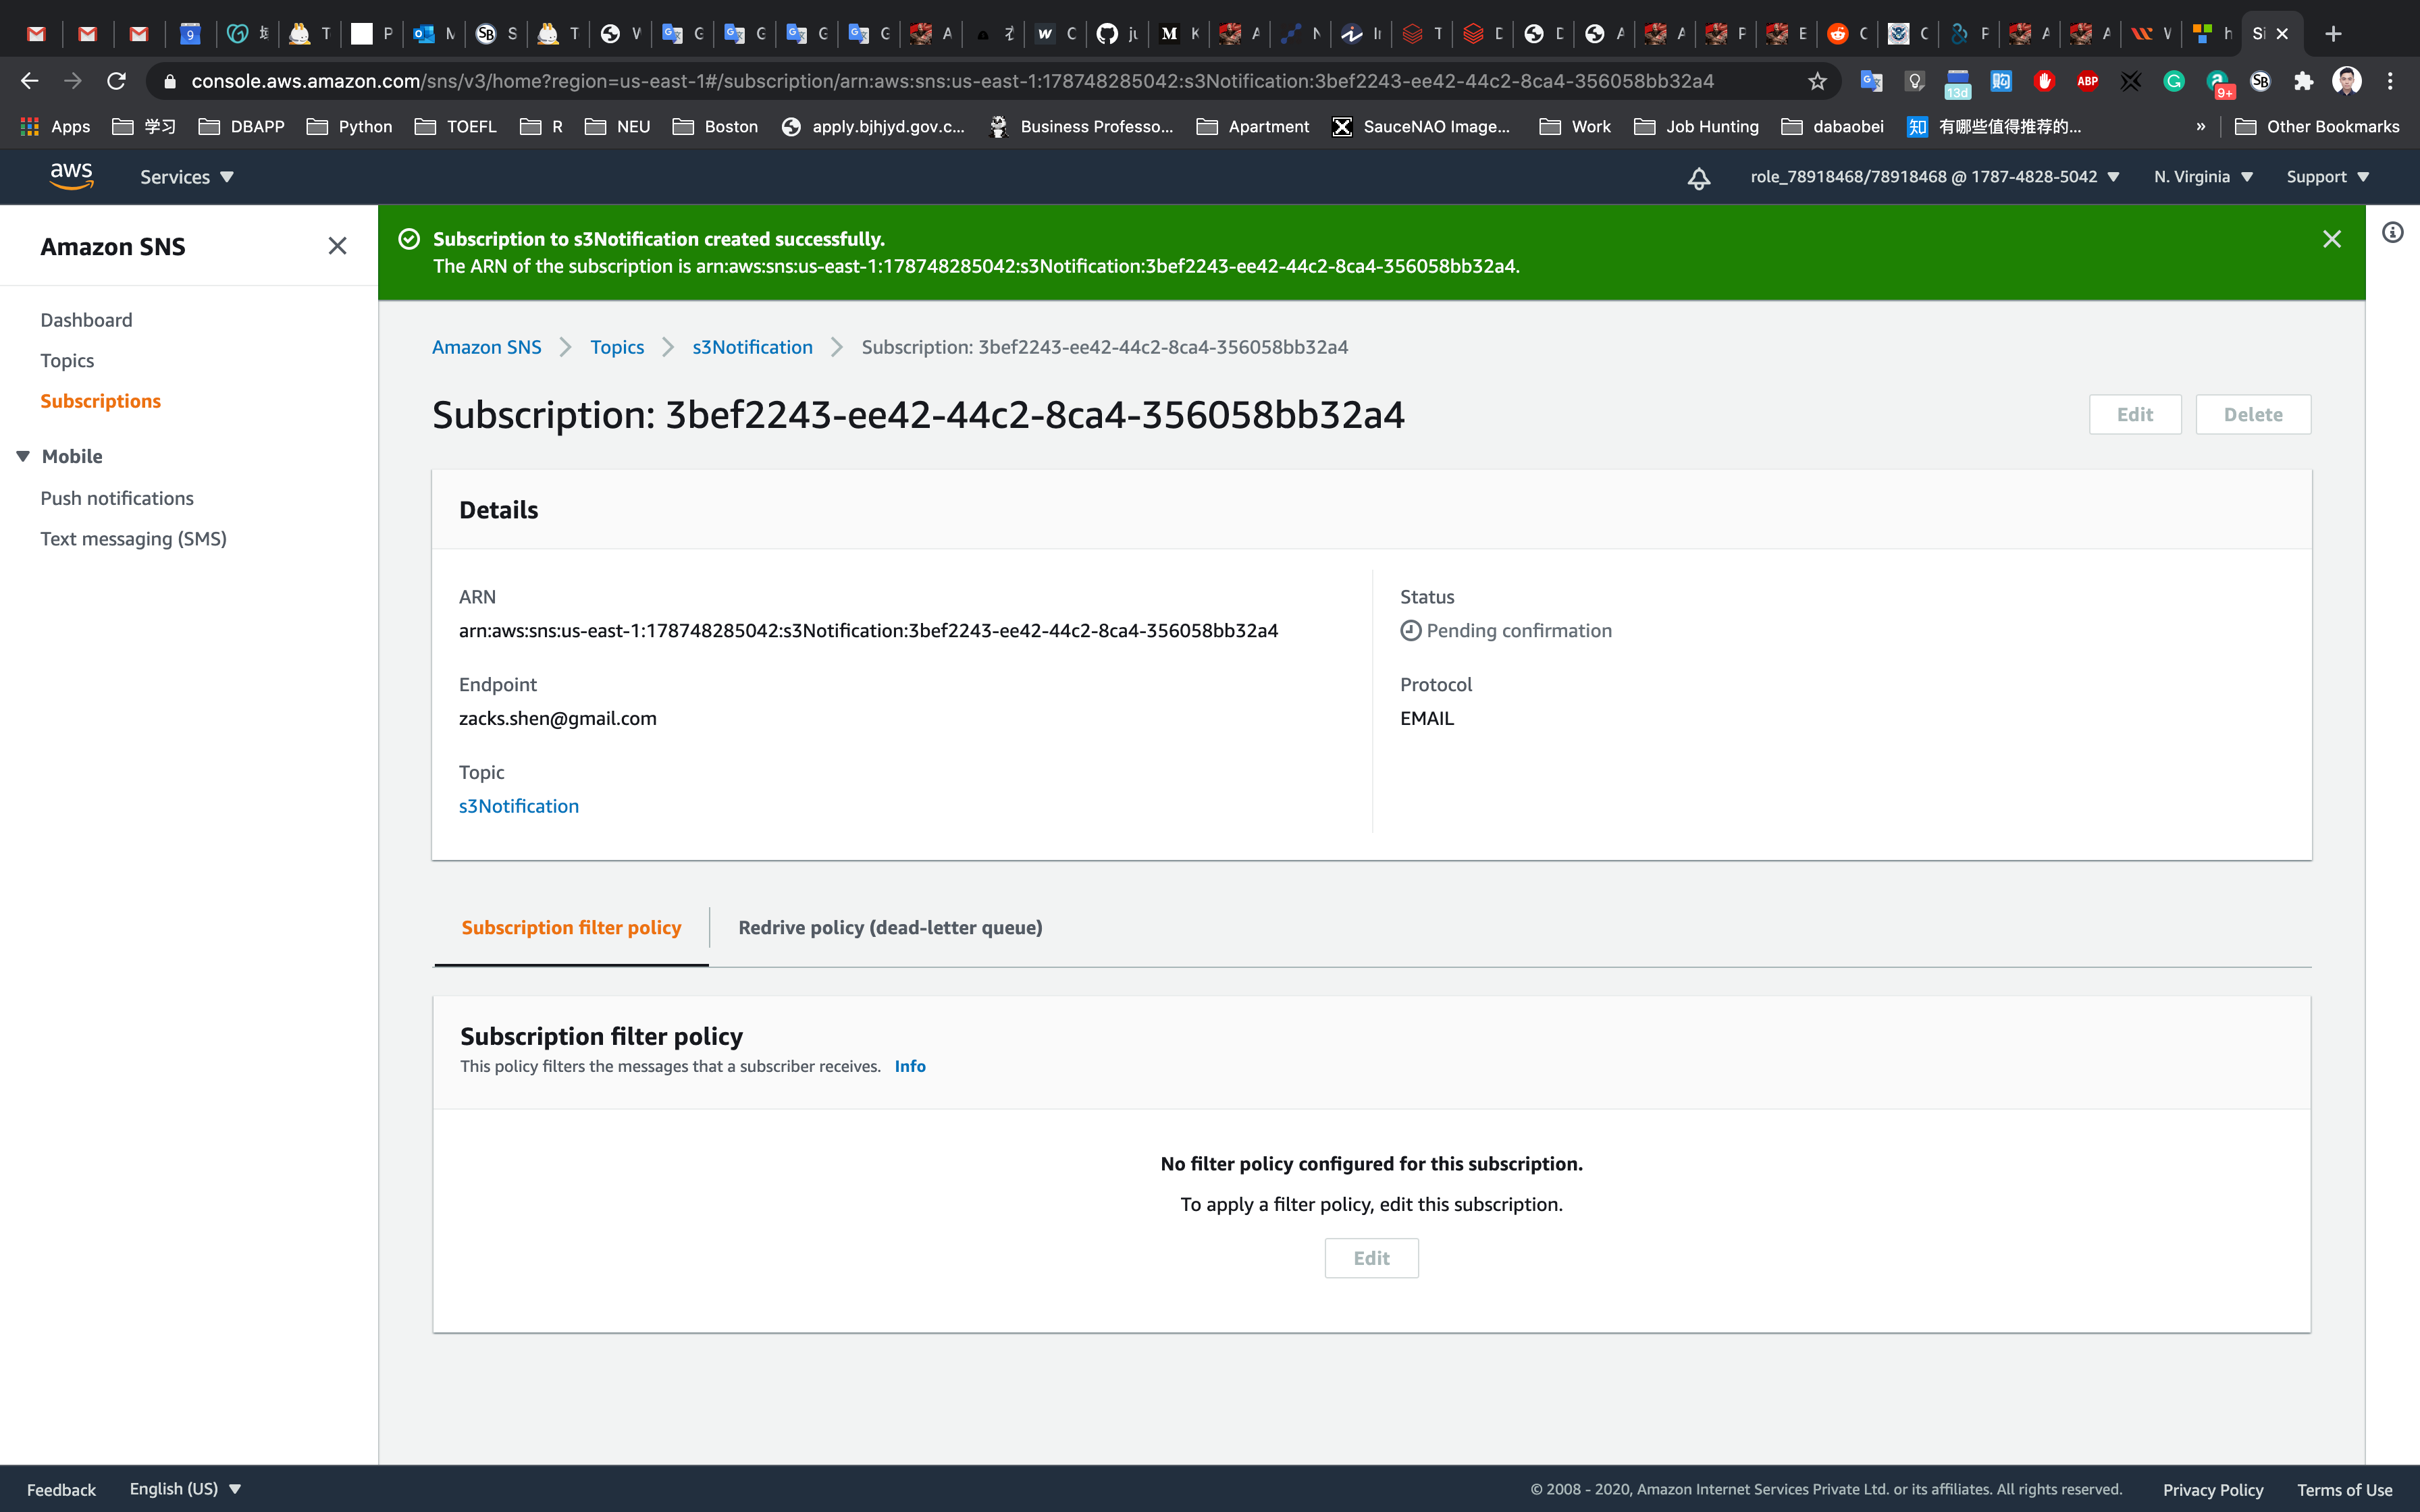
You will receive an email confirming your subscription to your email.
Click on Confirm subscription.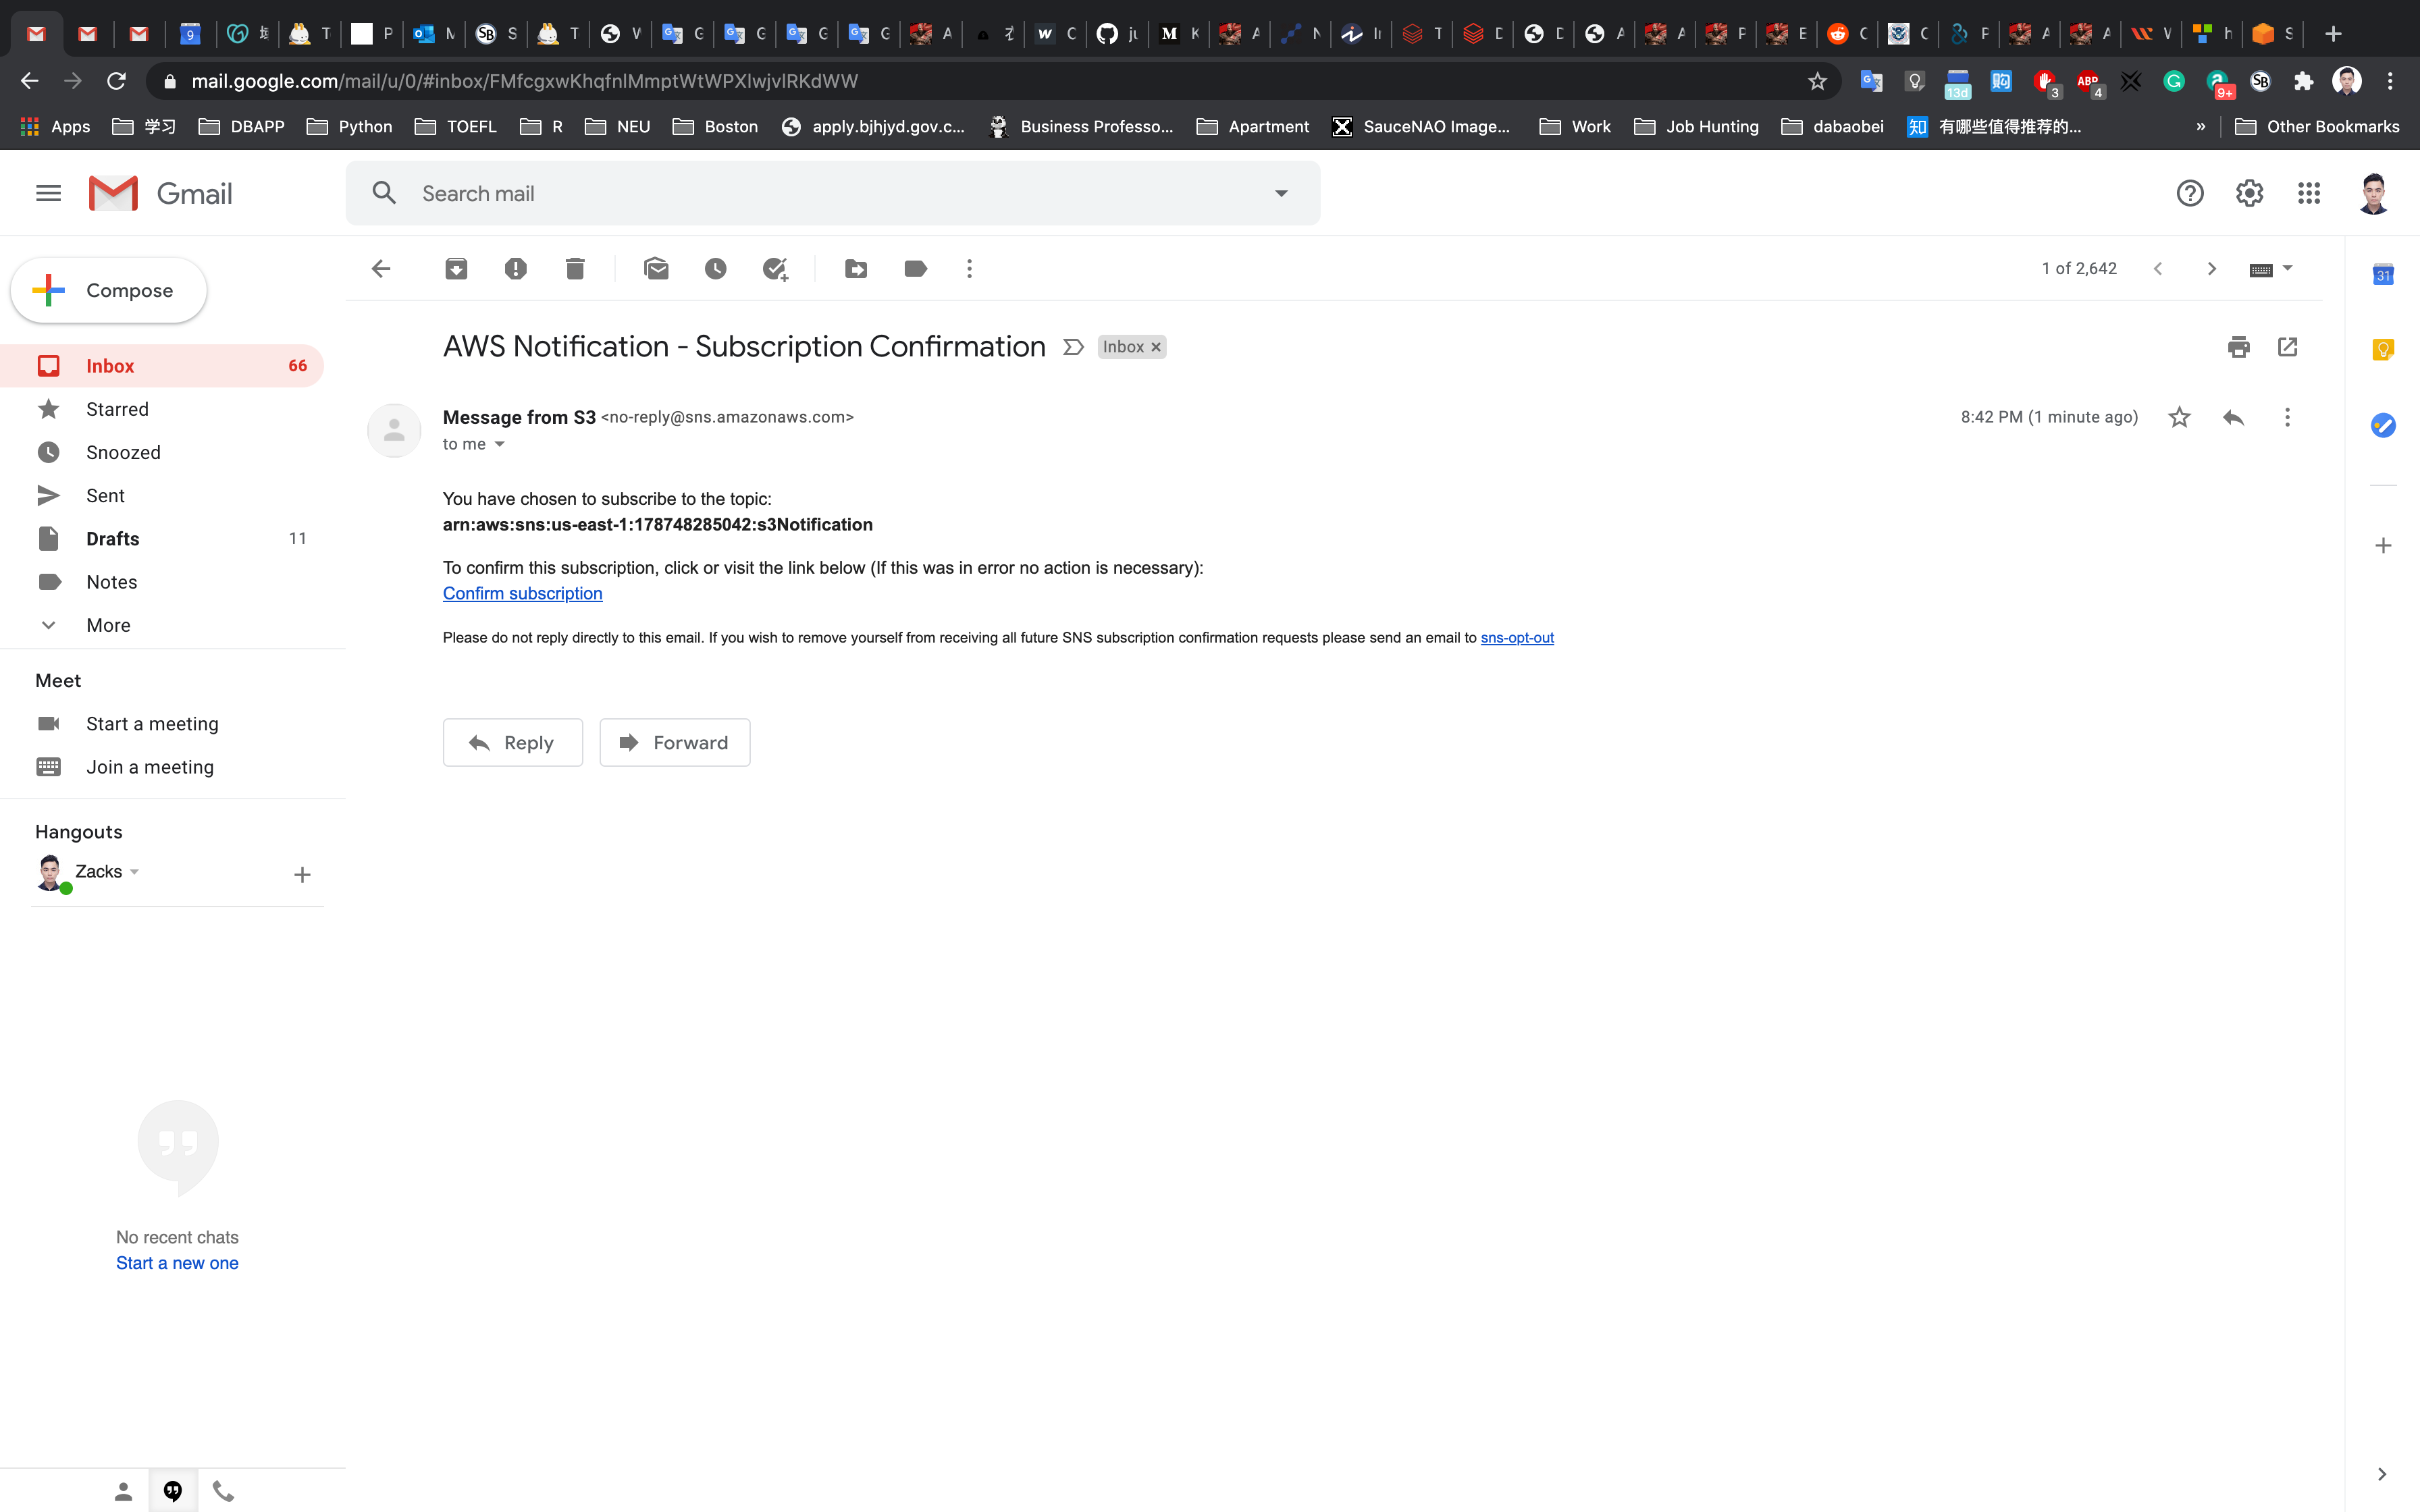
Your email address is now subscribed to the SNS Topic yourSNSTopic.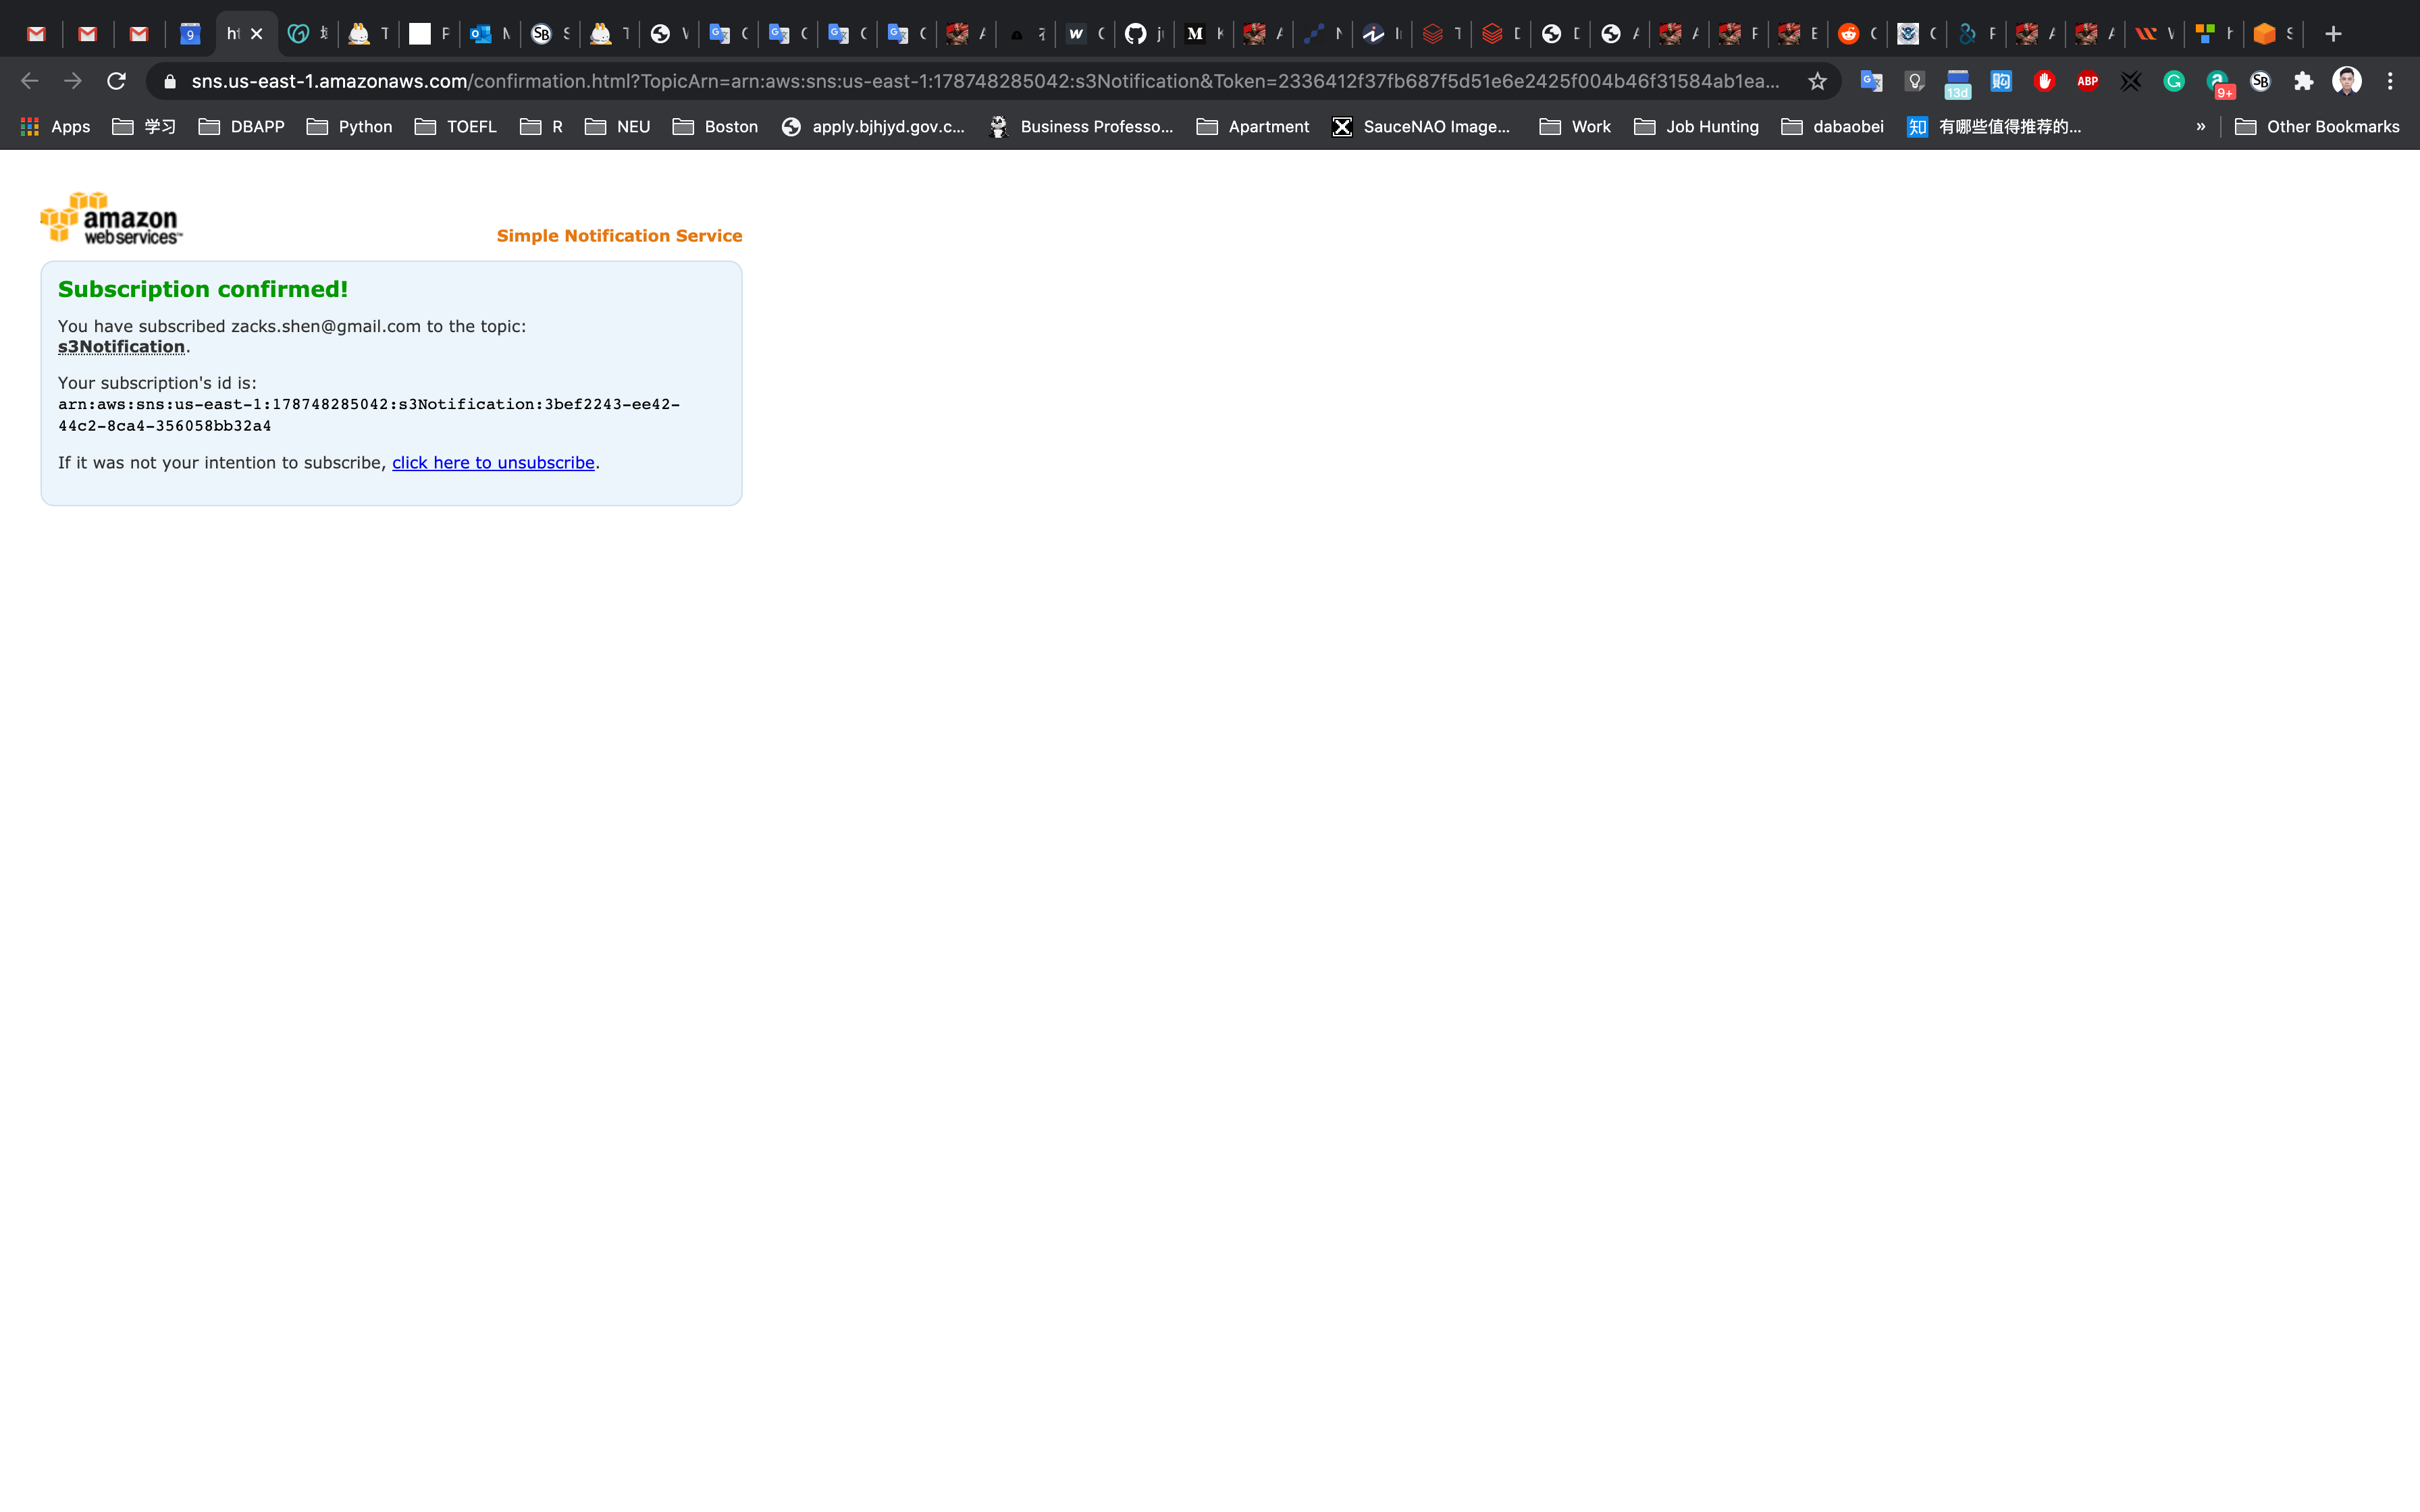
S3 Configuration
Service -> S3
Create an S3 Bucket
On the S3 dashboard, click on Create bucket and fill in the bucket details.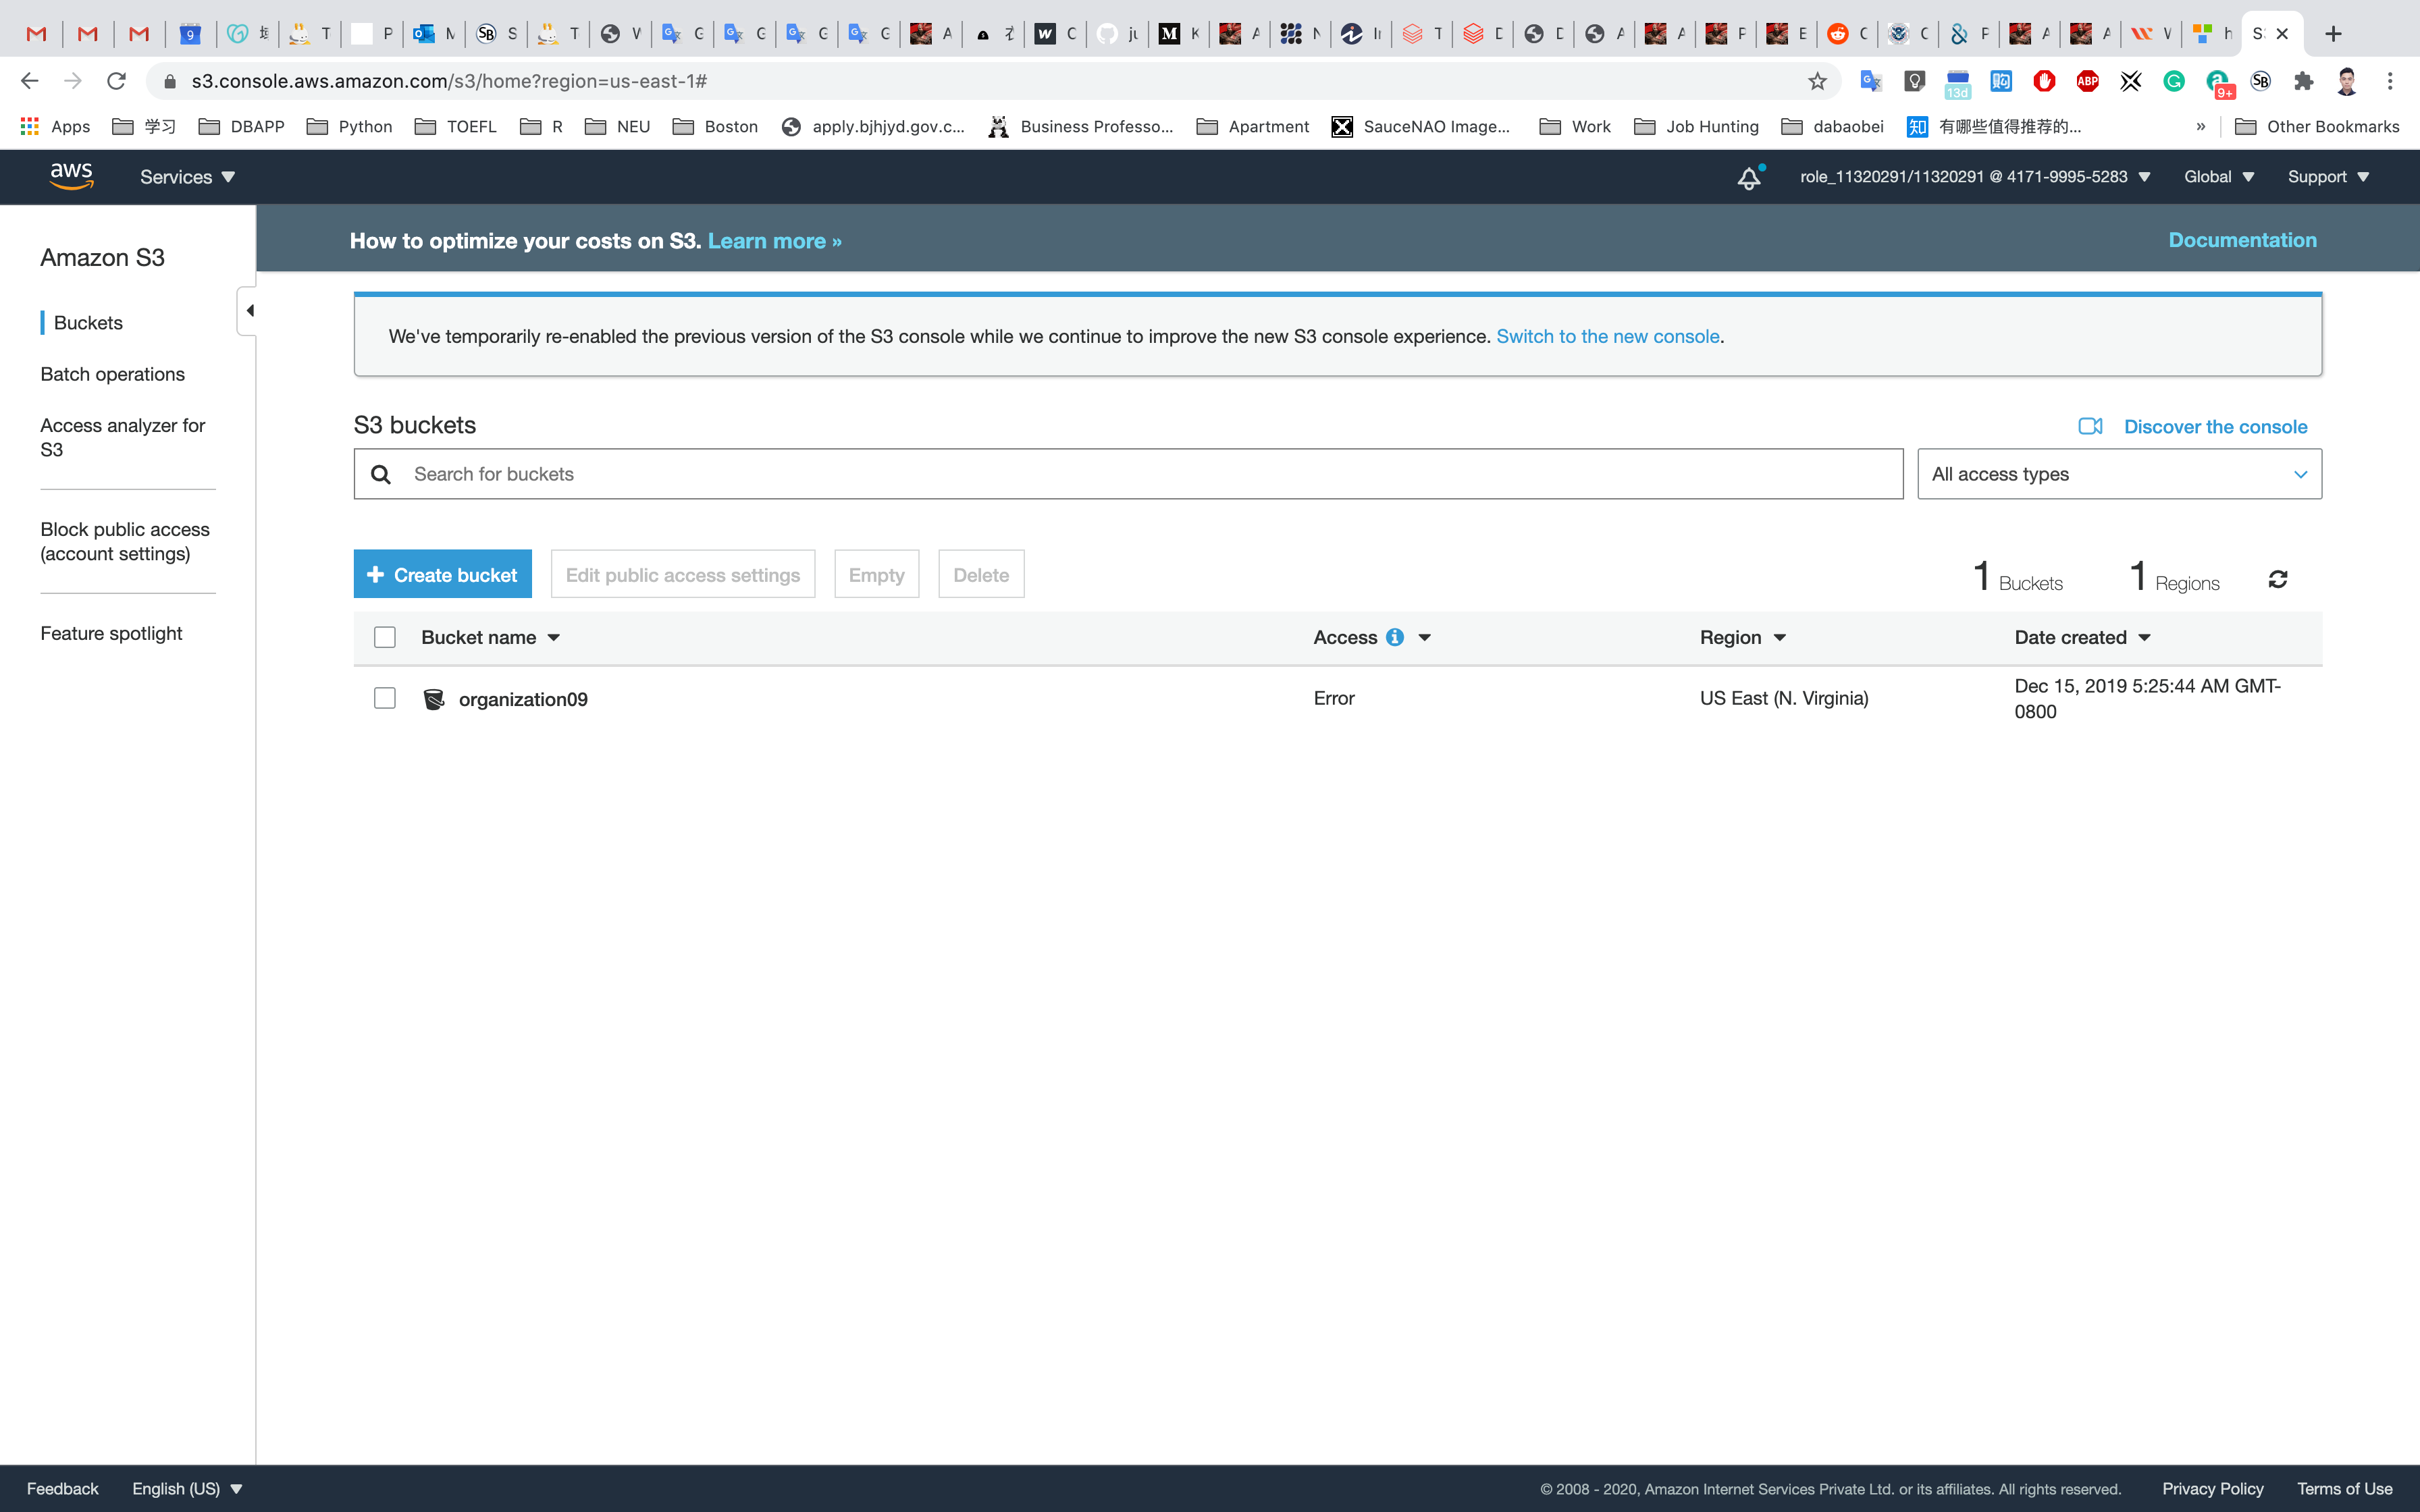
- Bucket name: Enter
inputYourBucketName- Note: S3 bucket names are globally unique, choose a name which is available.
- Region: Select
US East (N. Virginia) - Leave other settings as default.
Click on Create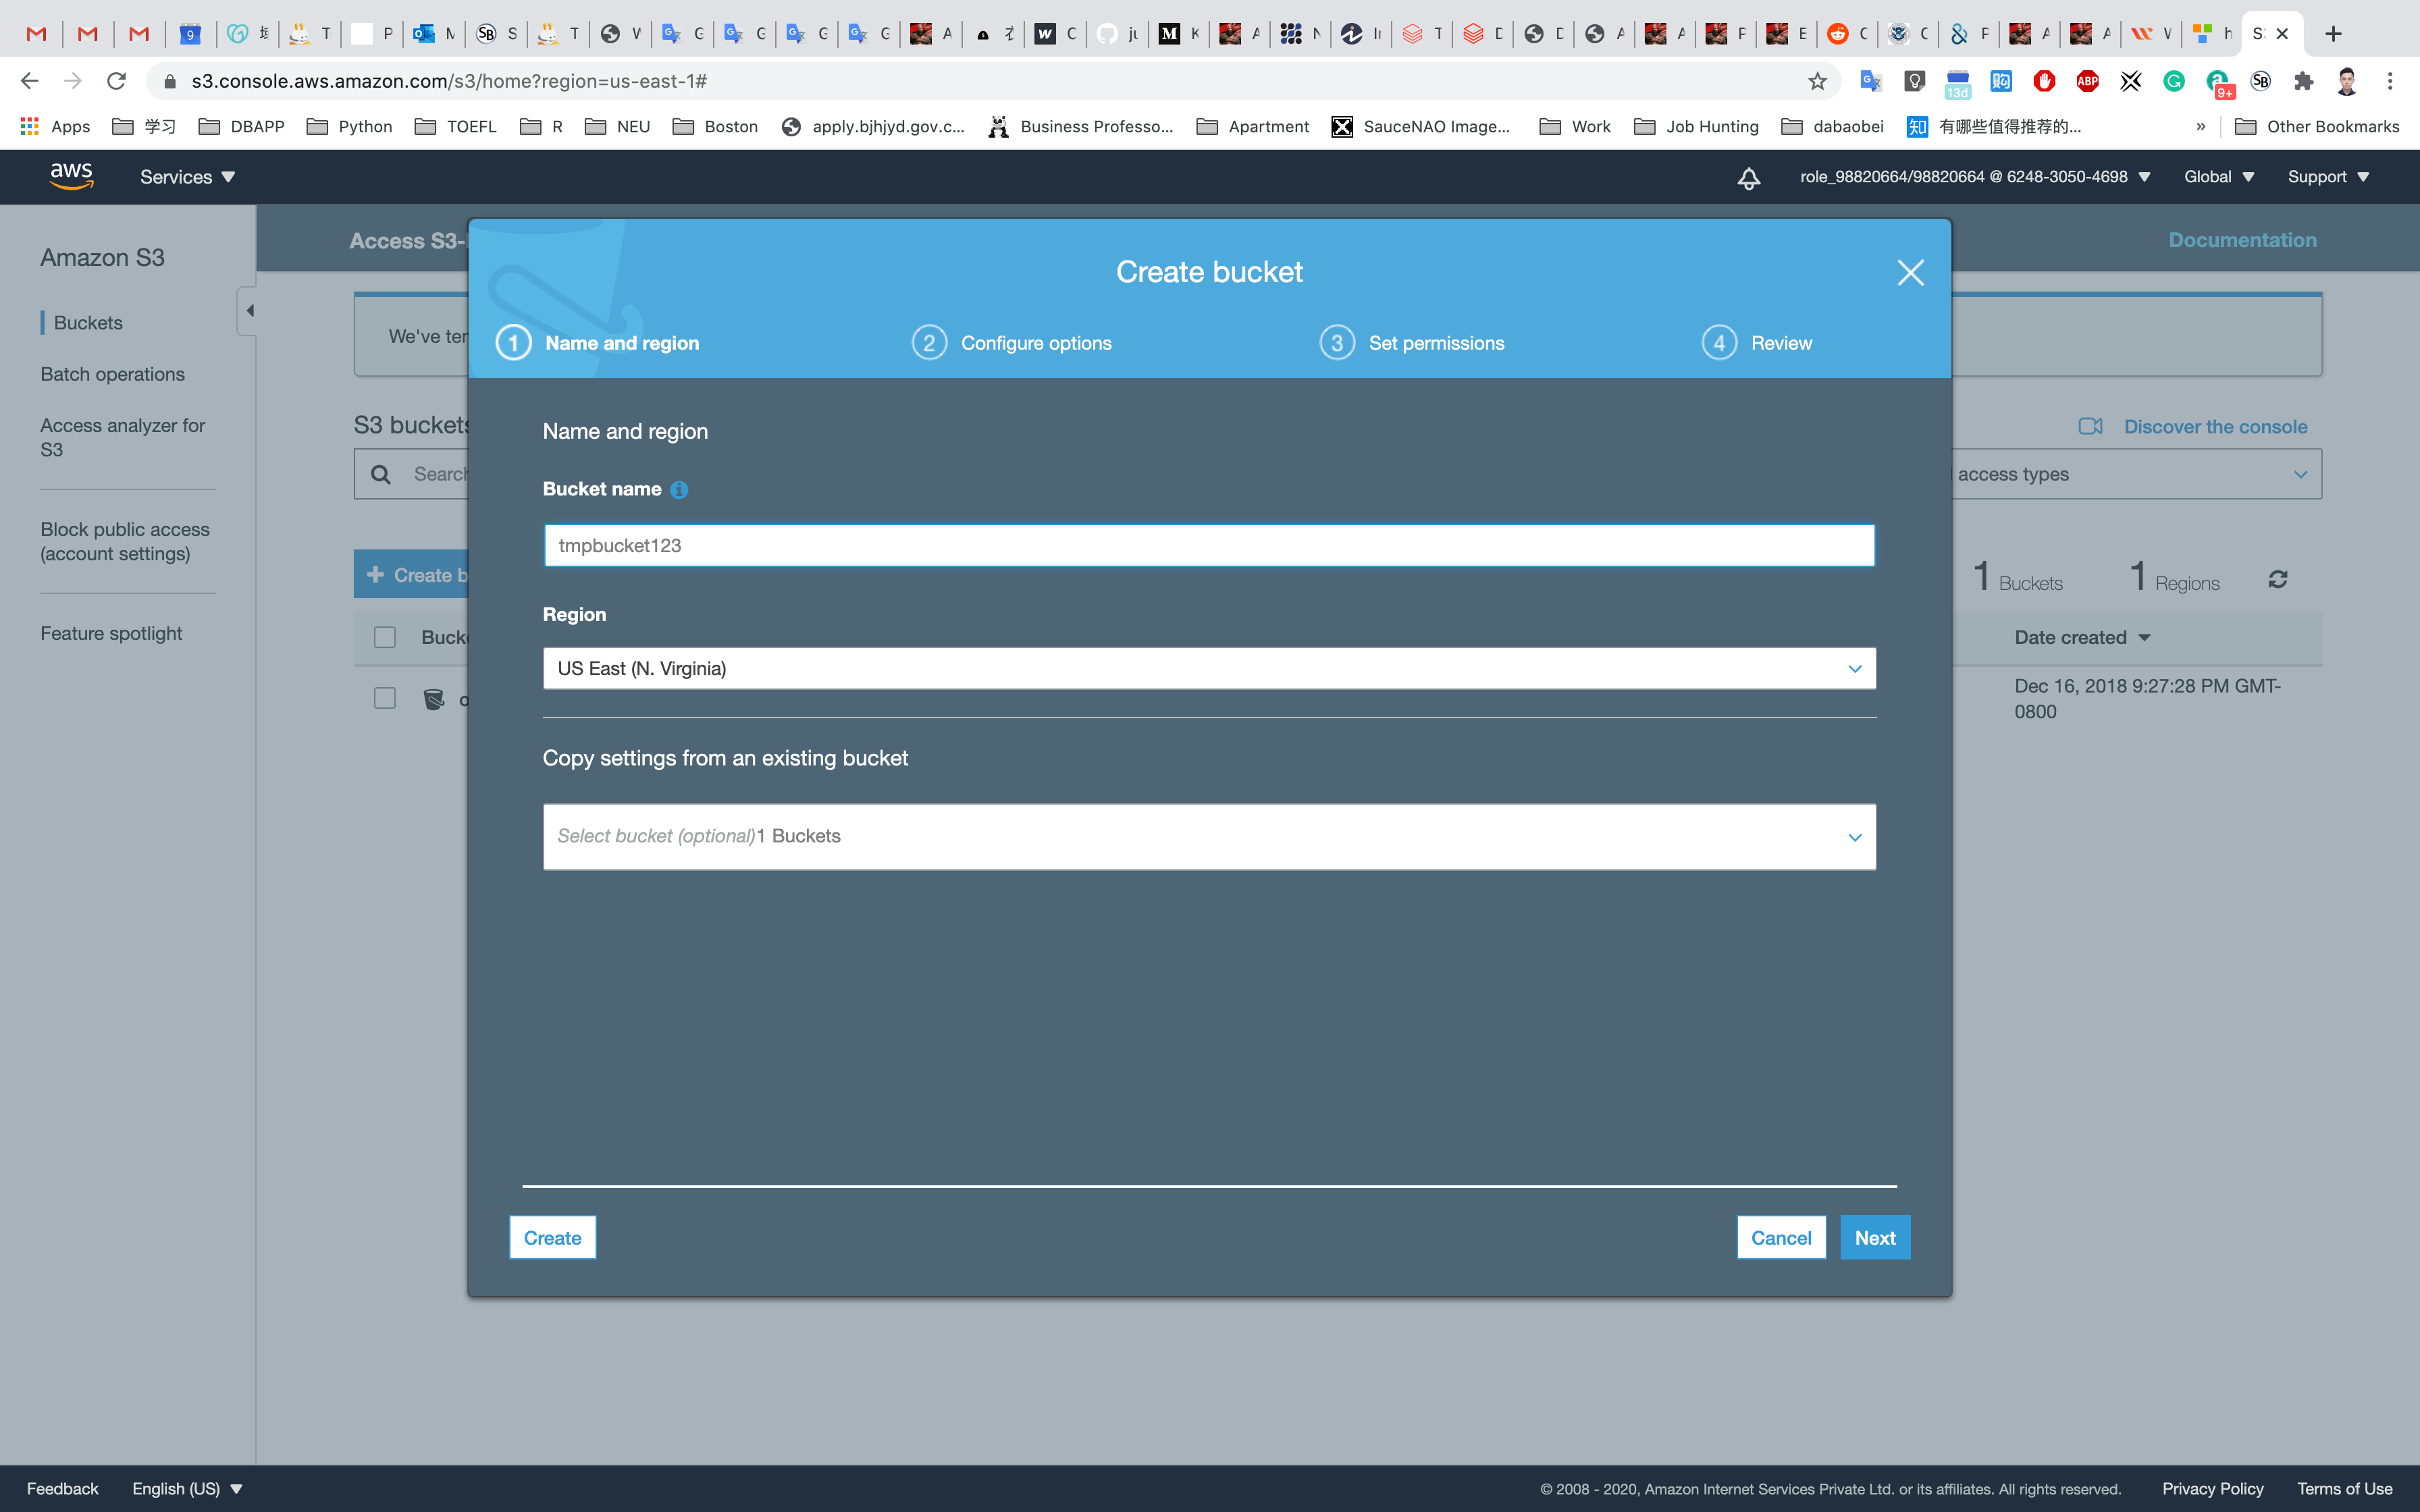
Close the pop up window if it’s still open.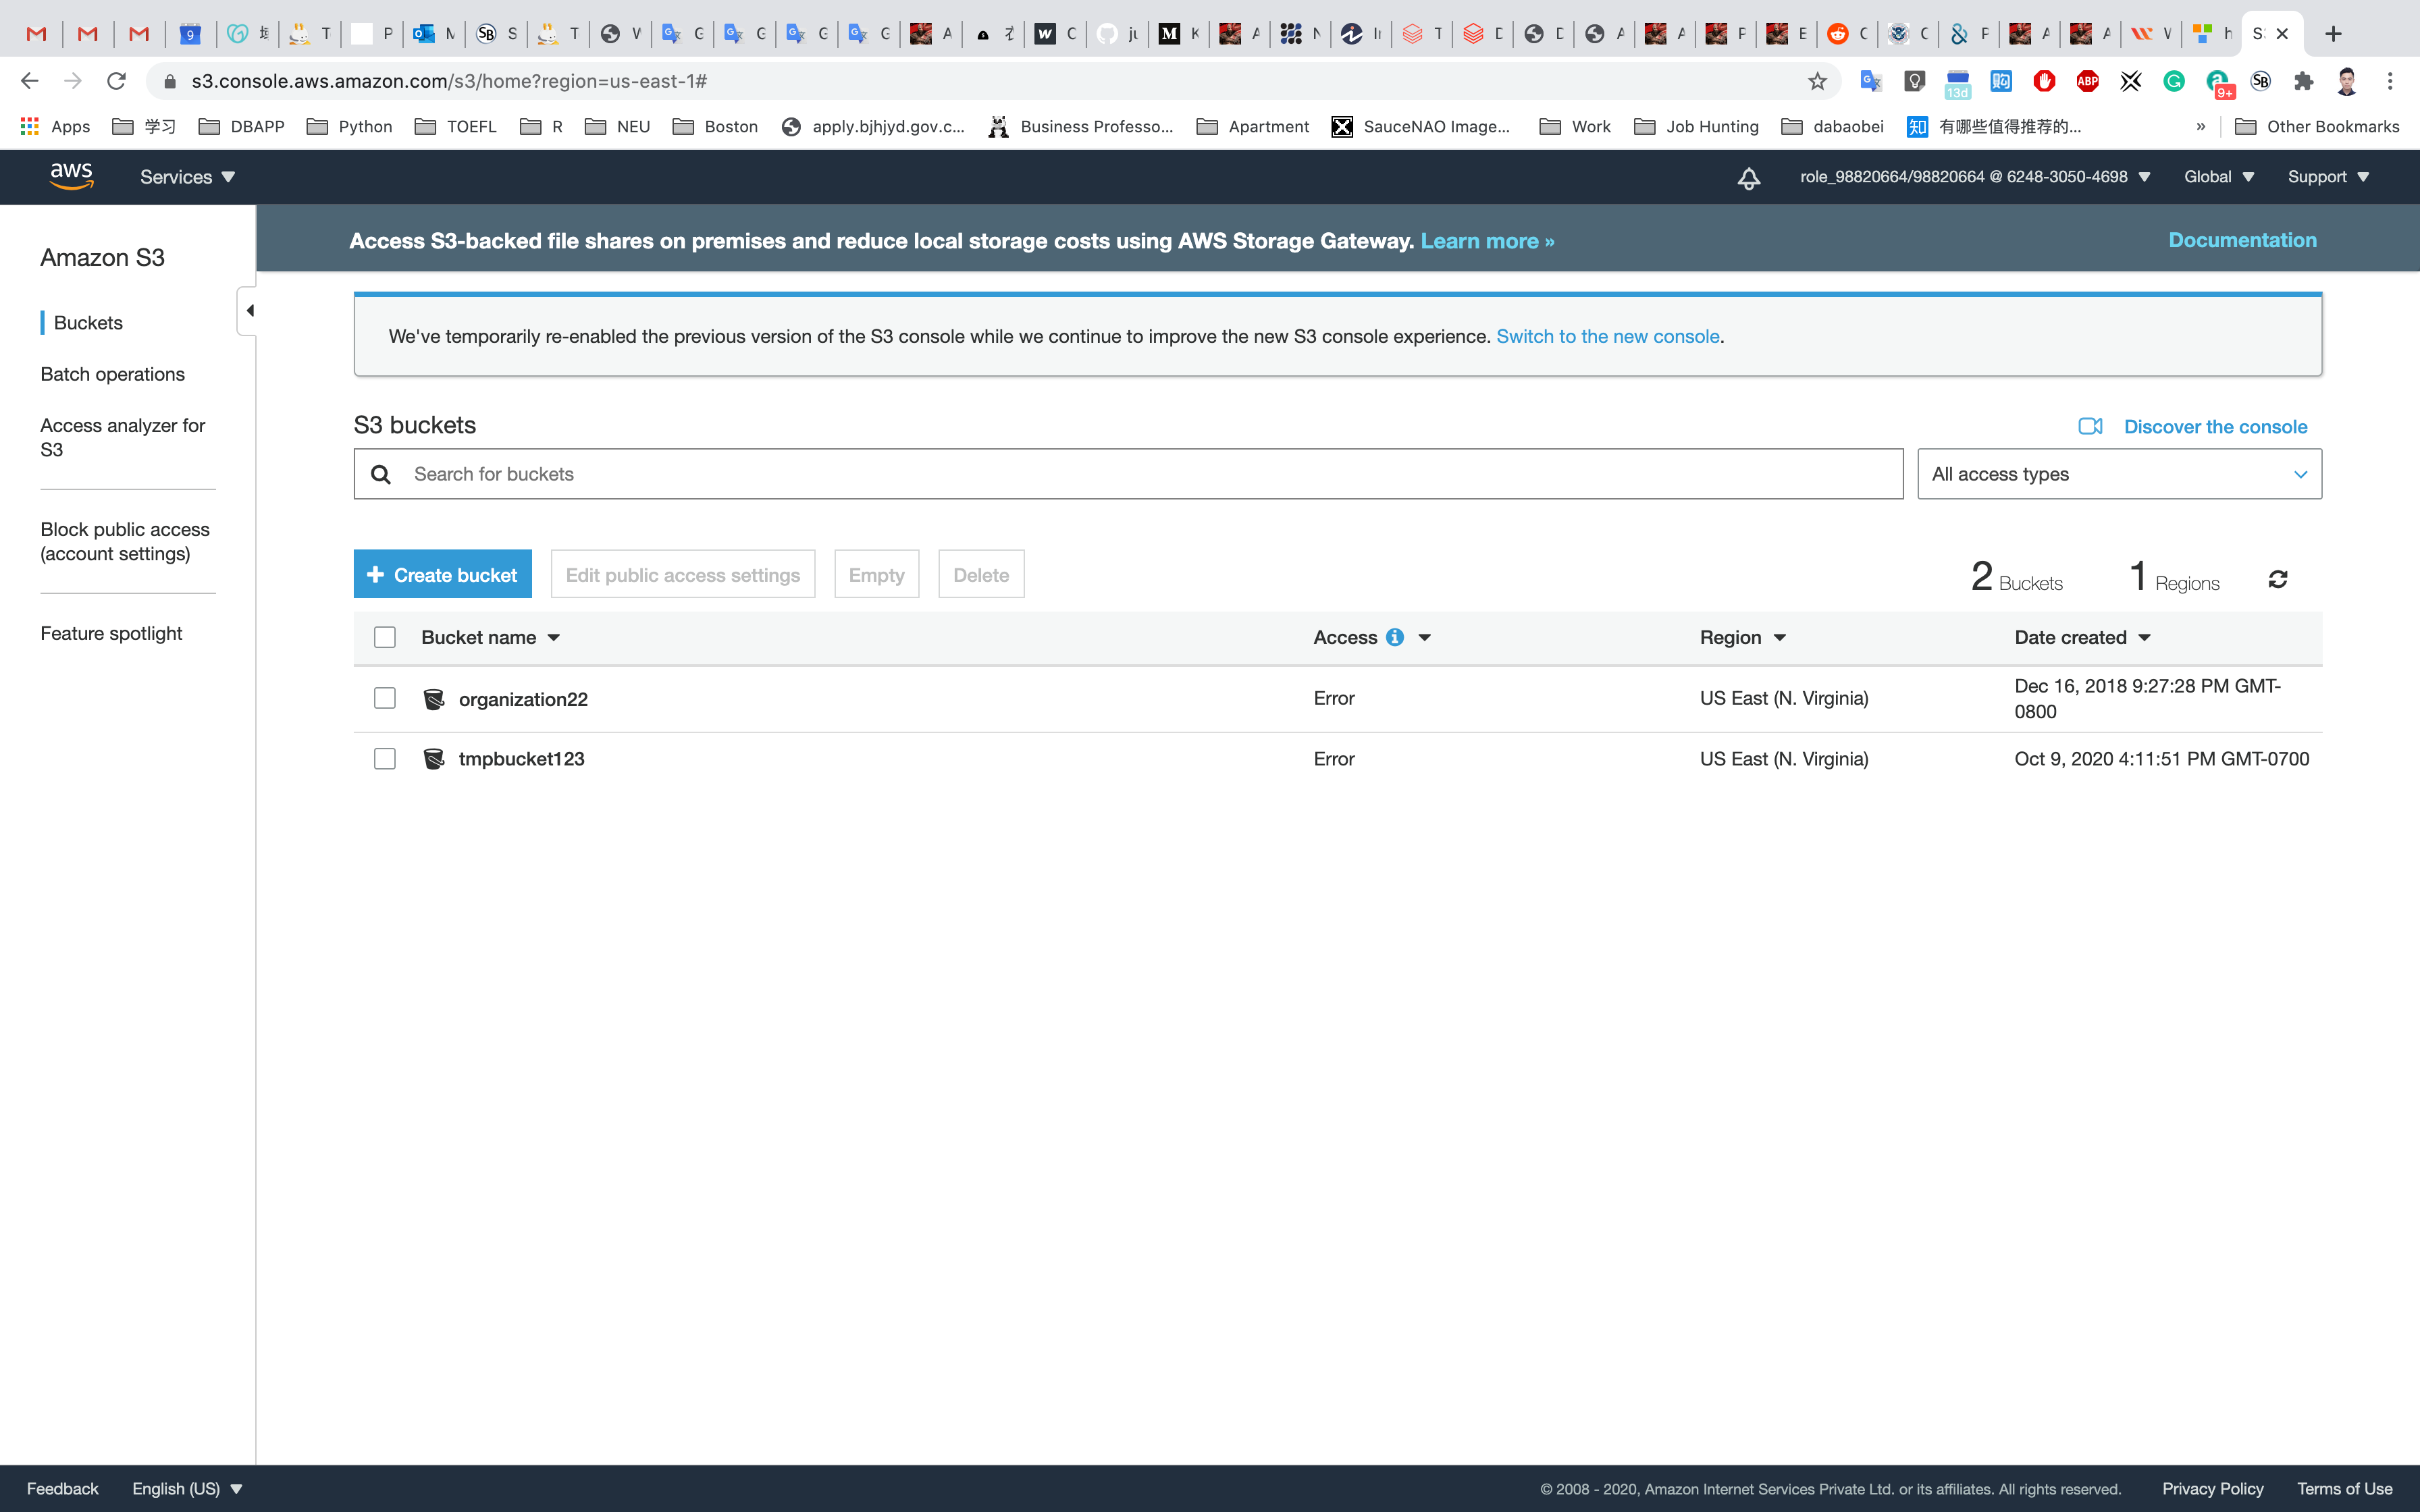
Copy the name of your S3 bucket and save it later.
Update SNS Topic Access Policy
Service -> SNS
Click on Topics.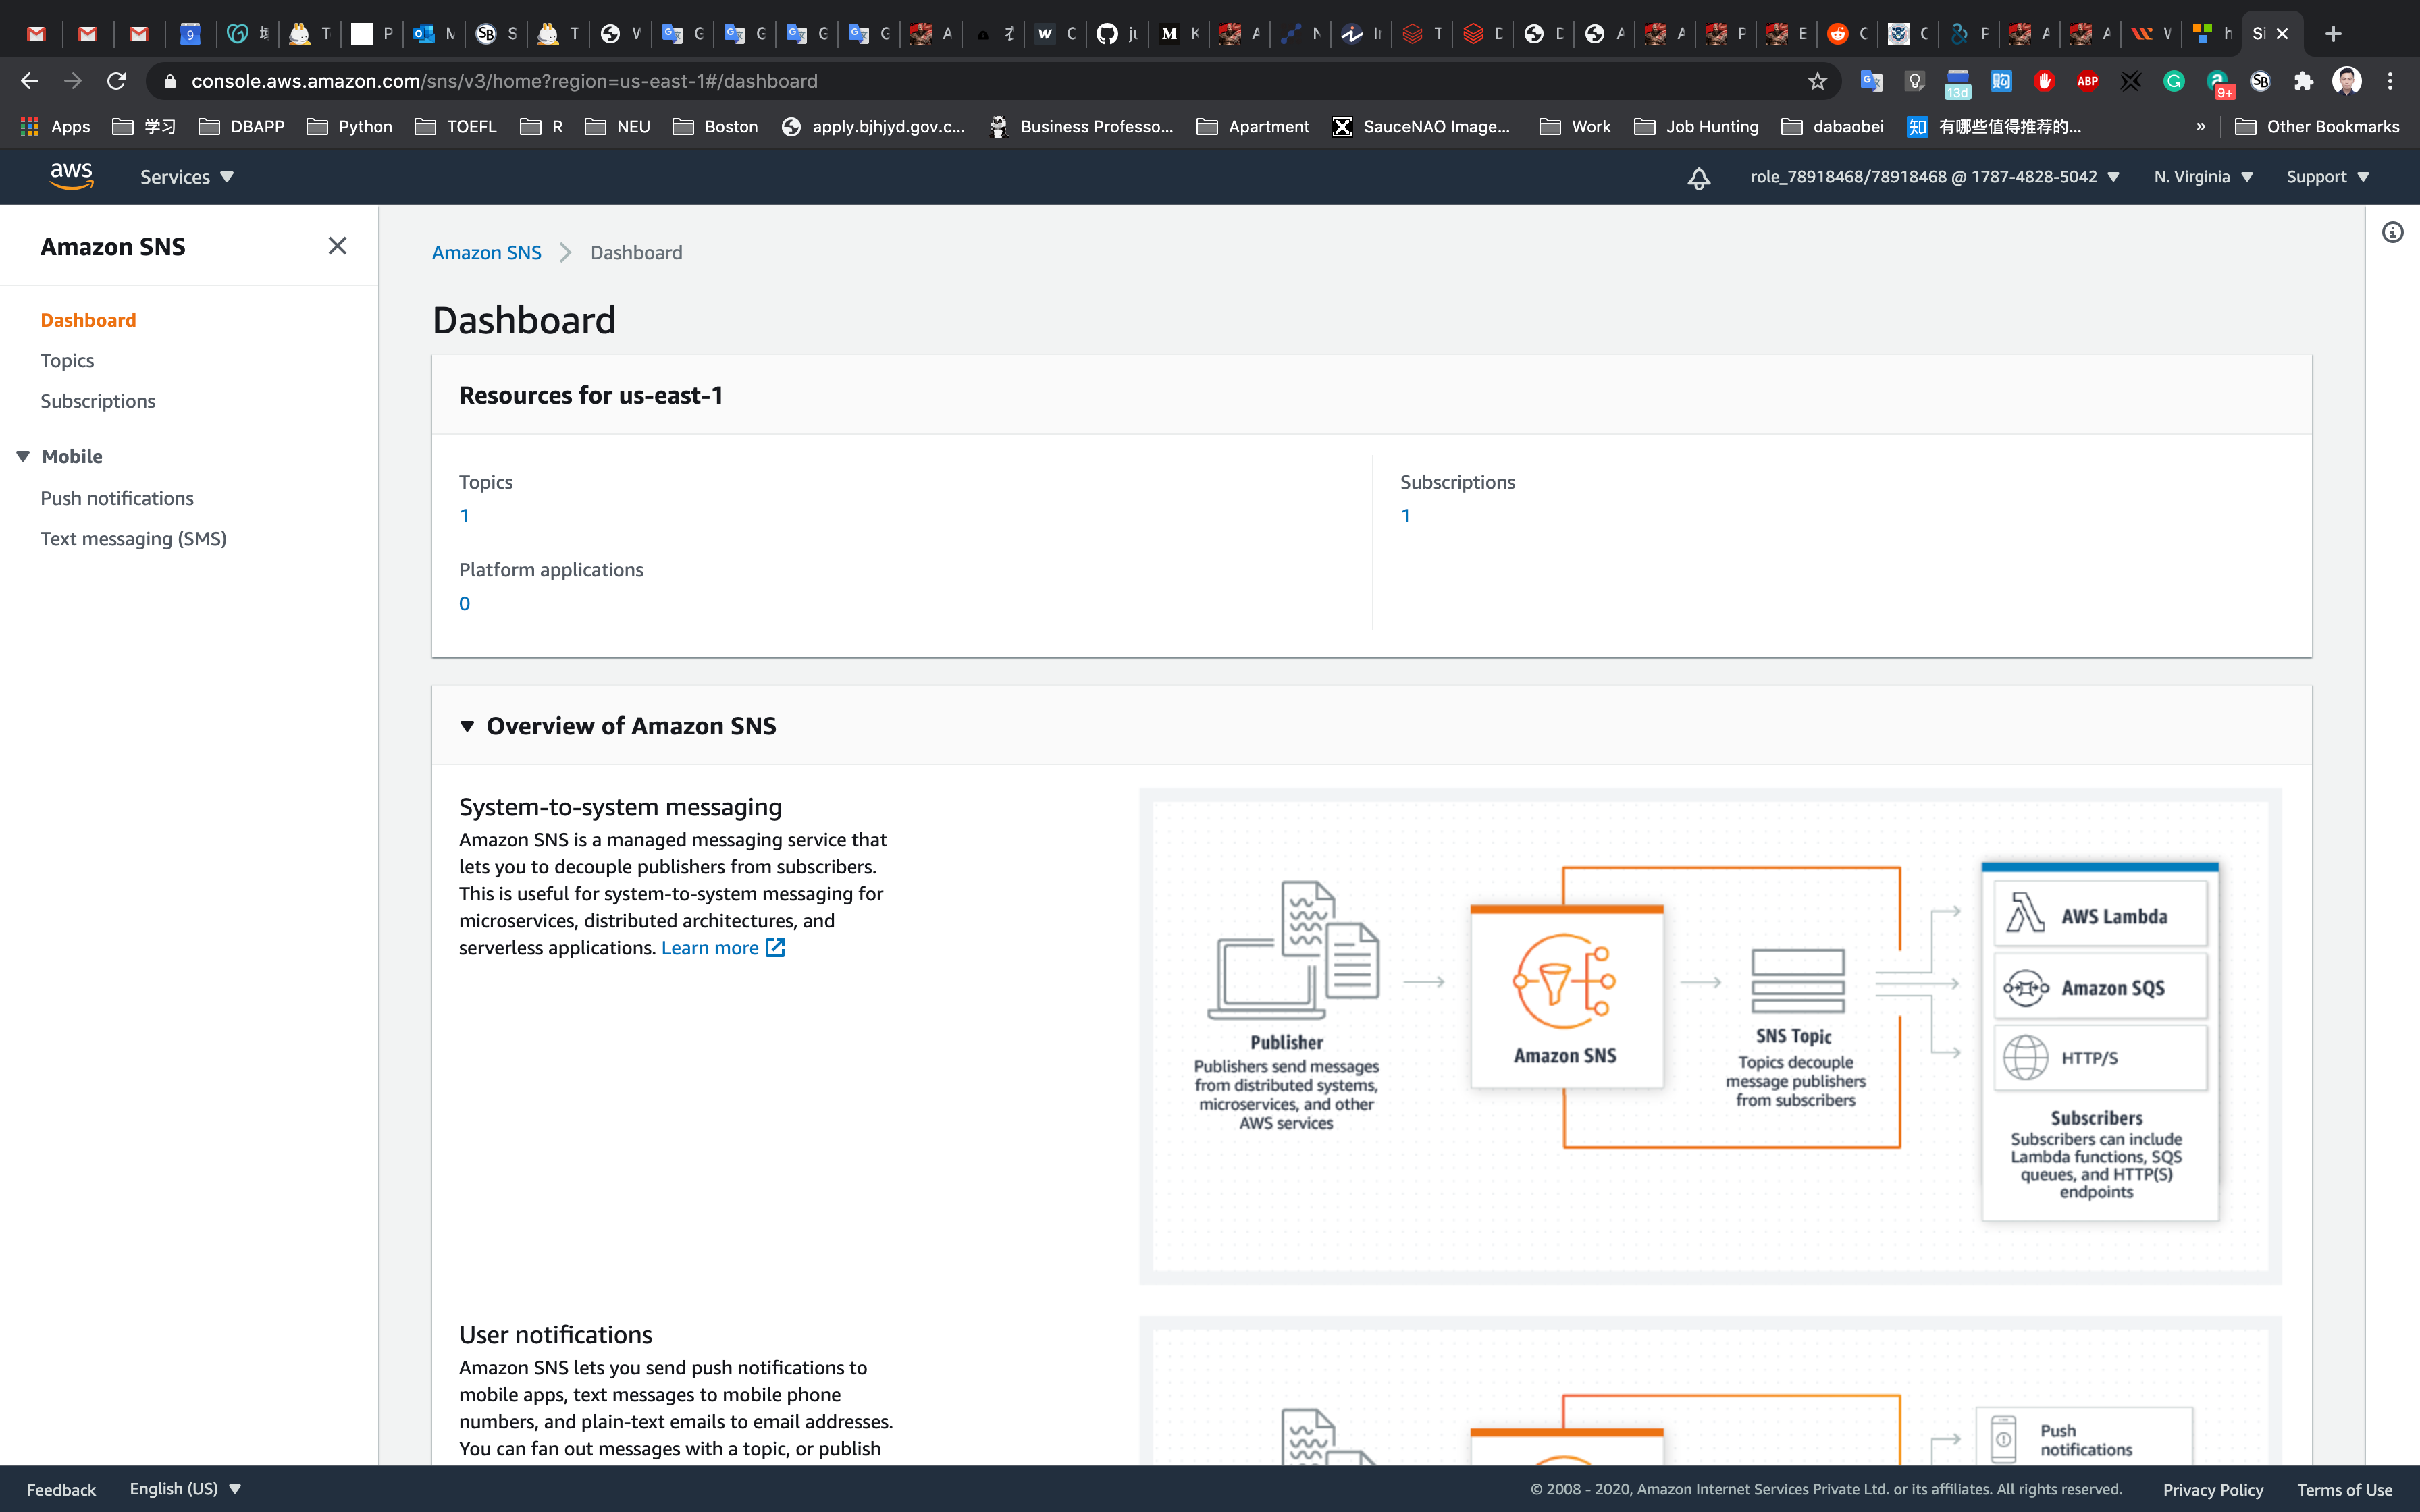
Click on yourTopicName.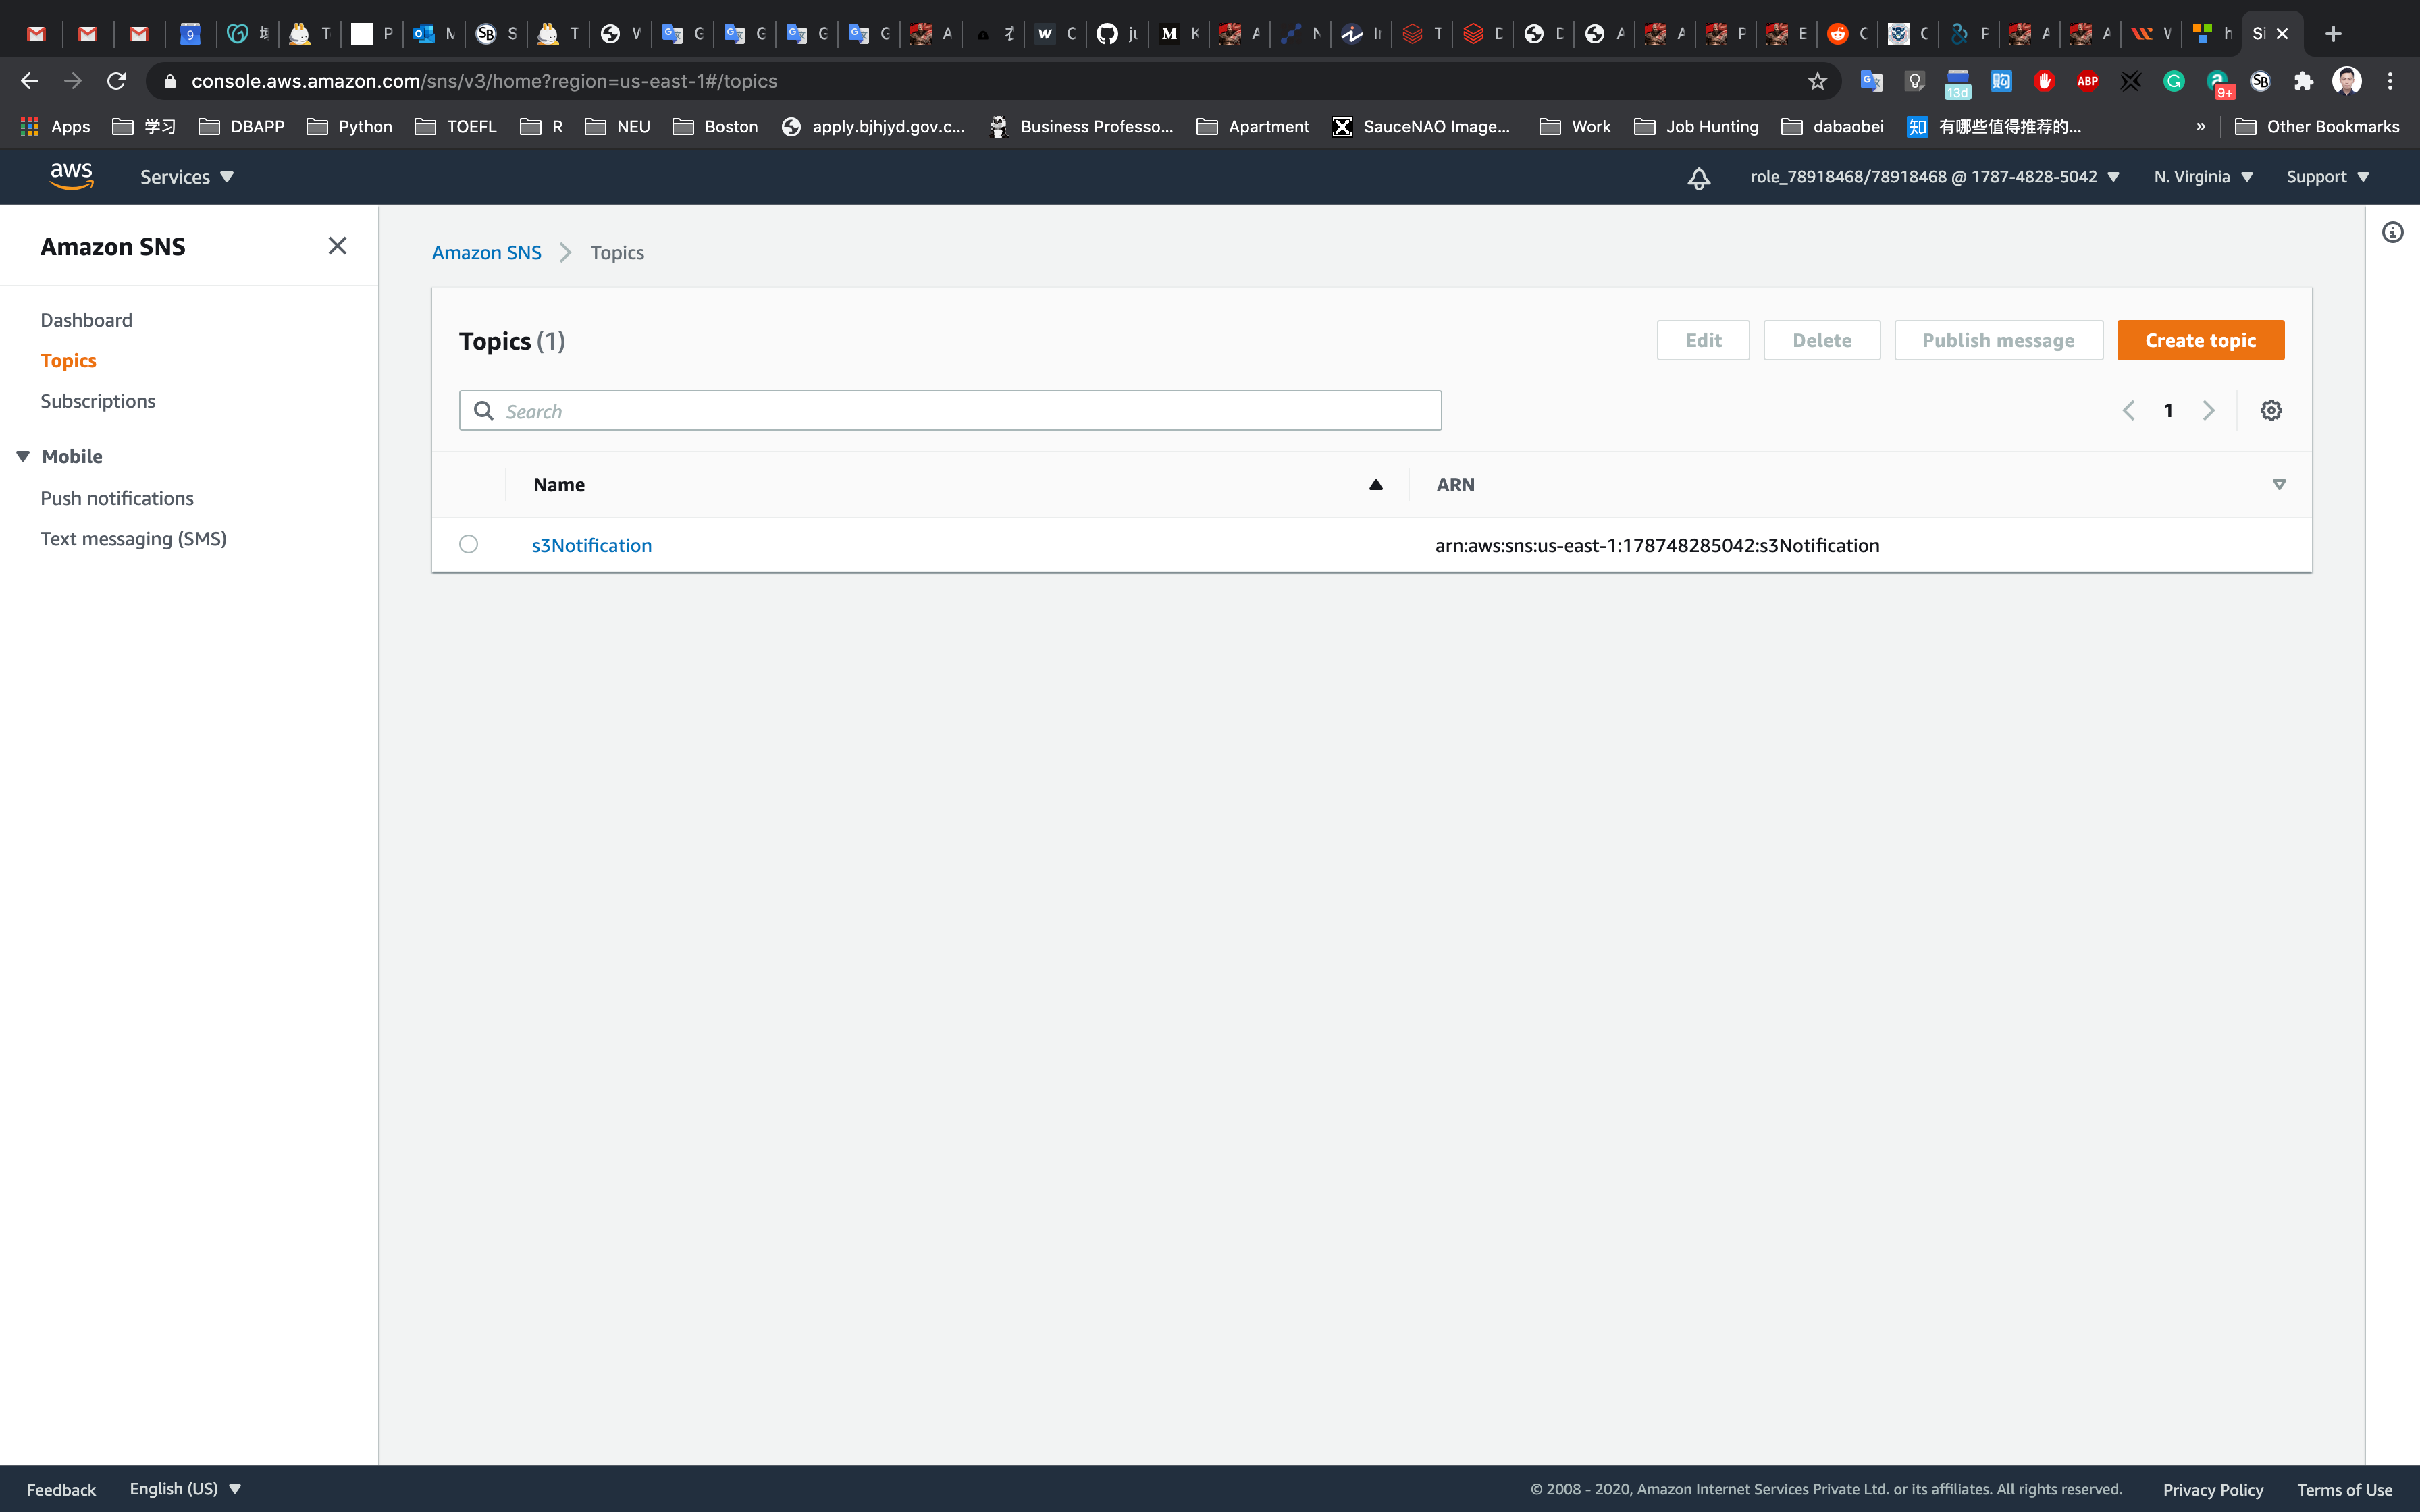
Click on at the Access Policy of the SNS topic.
Click on Edit.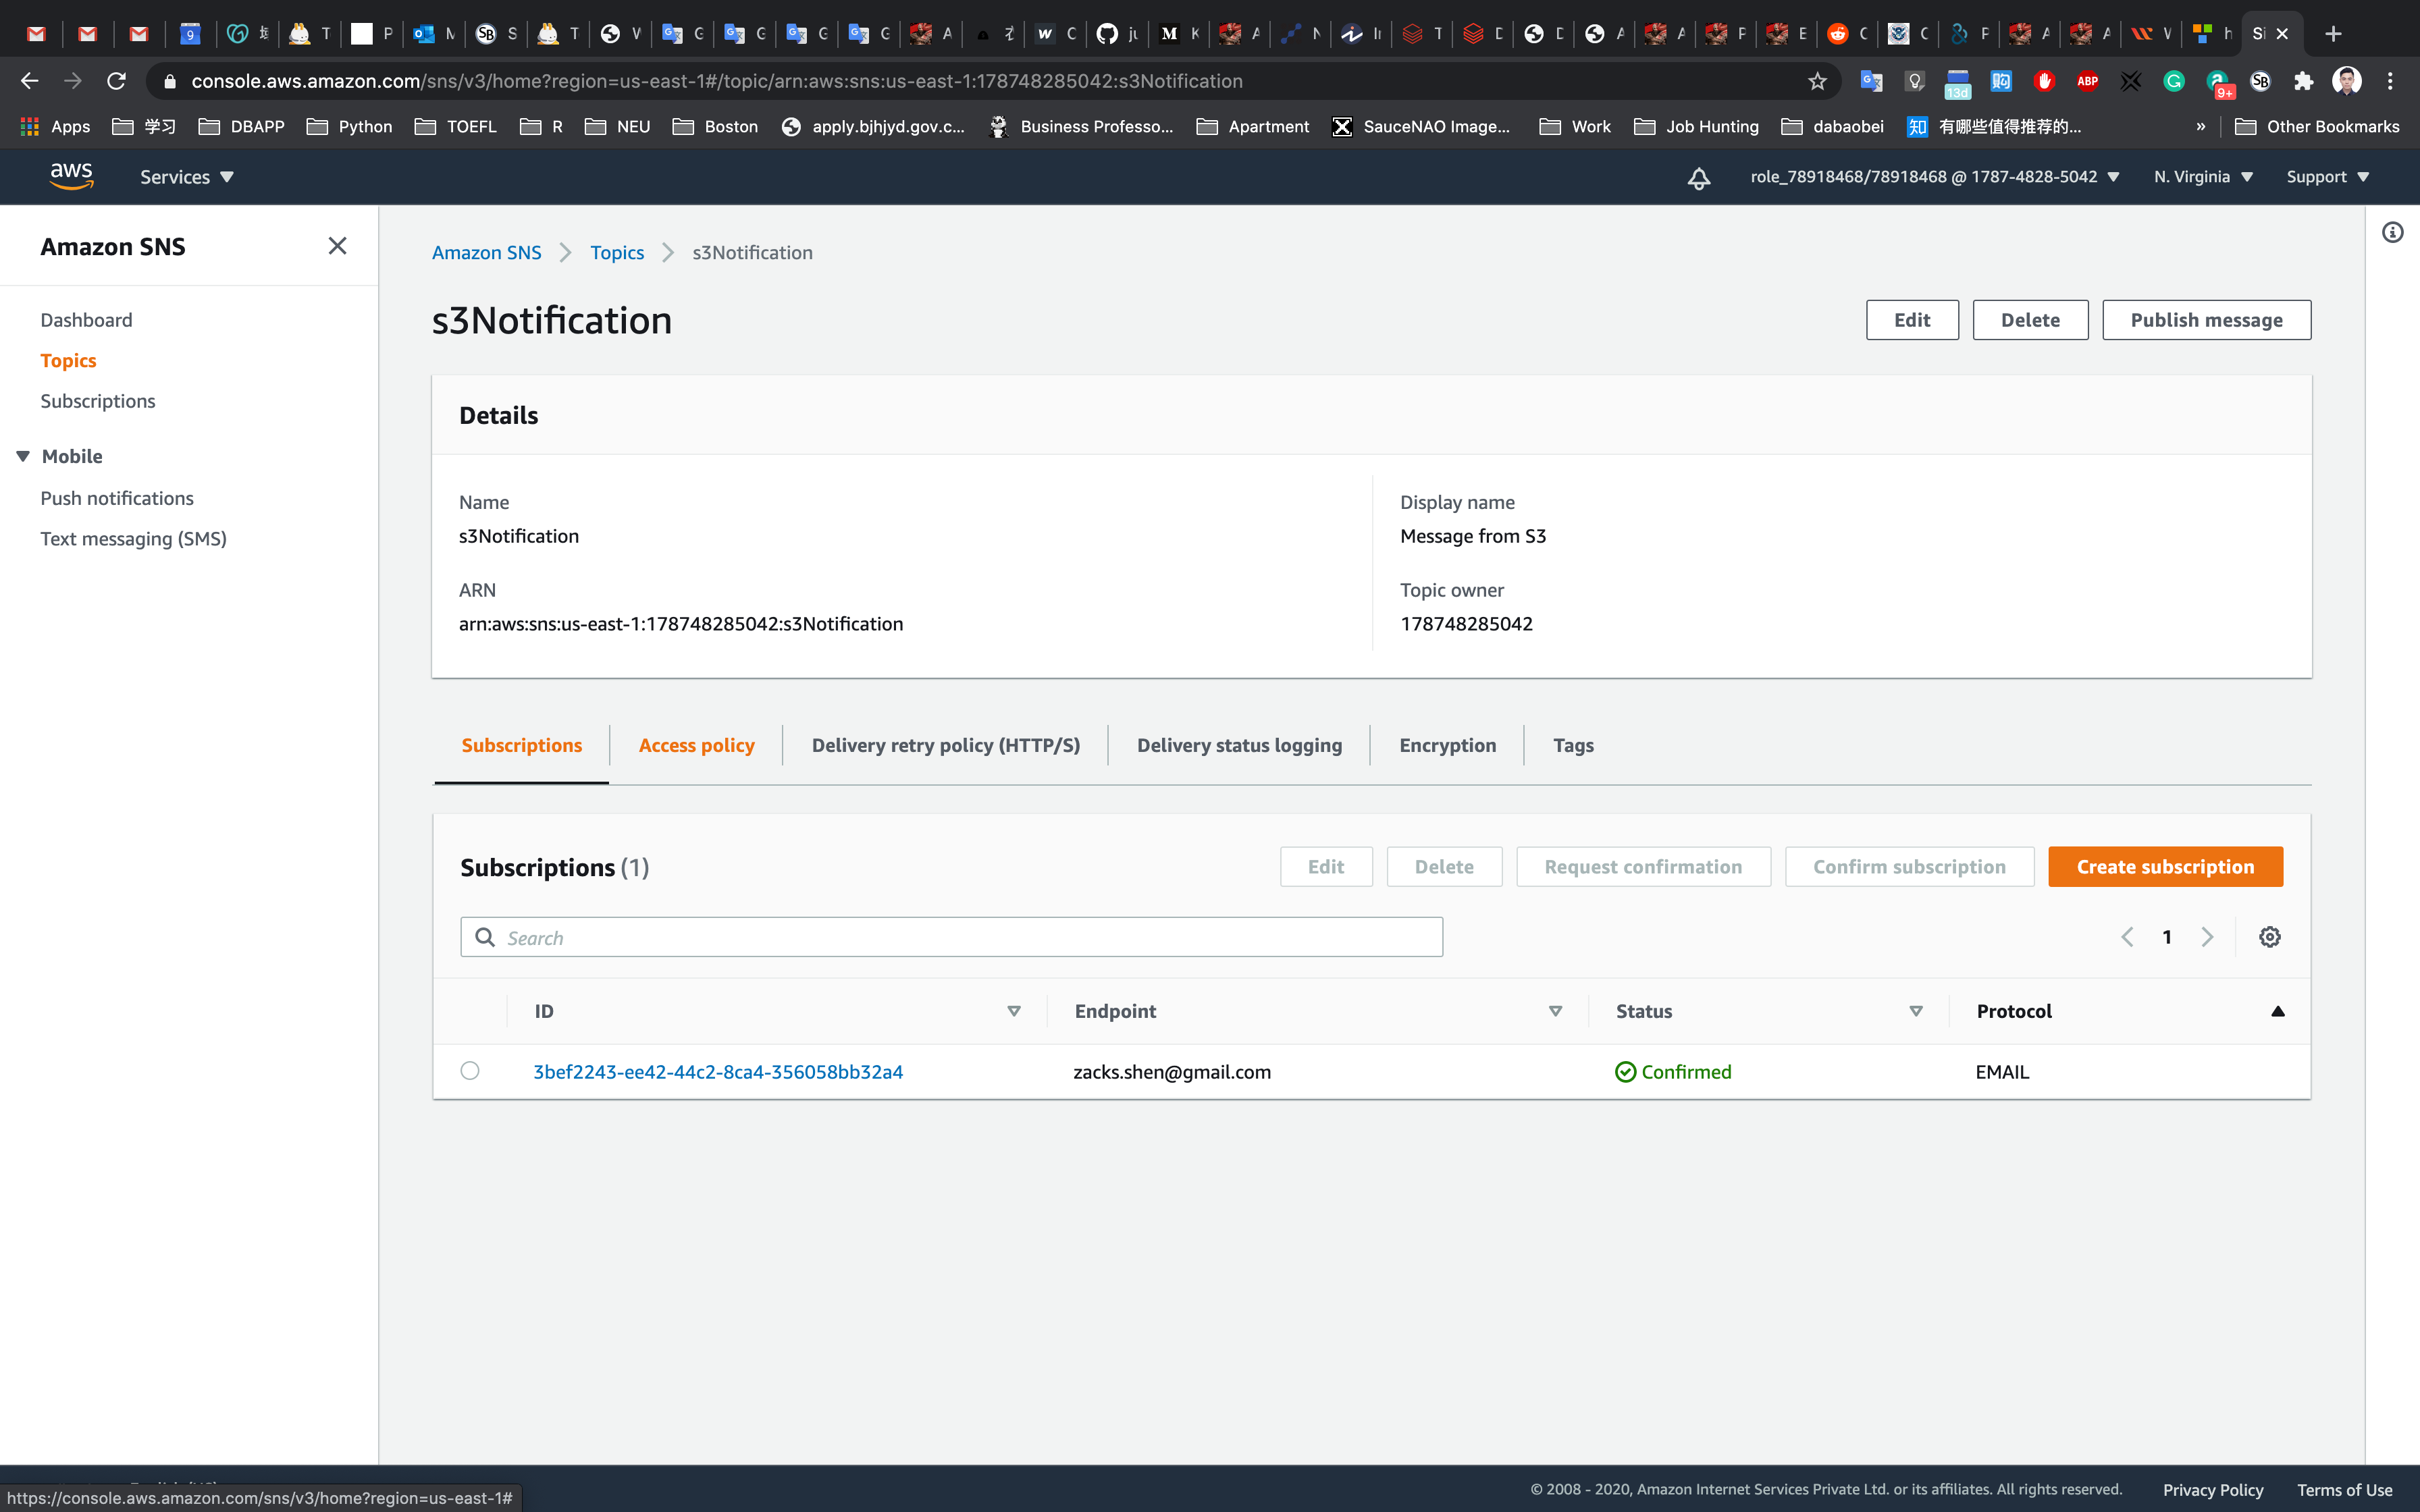
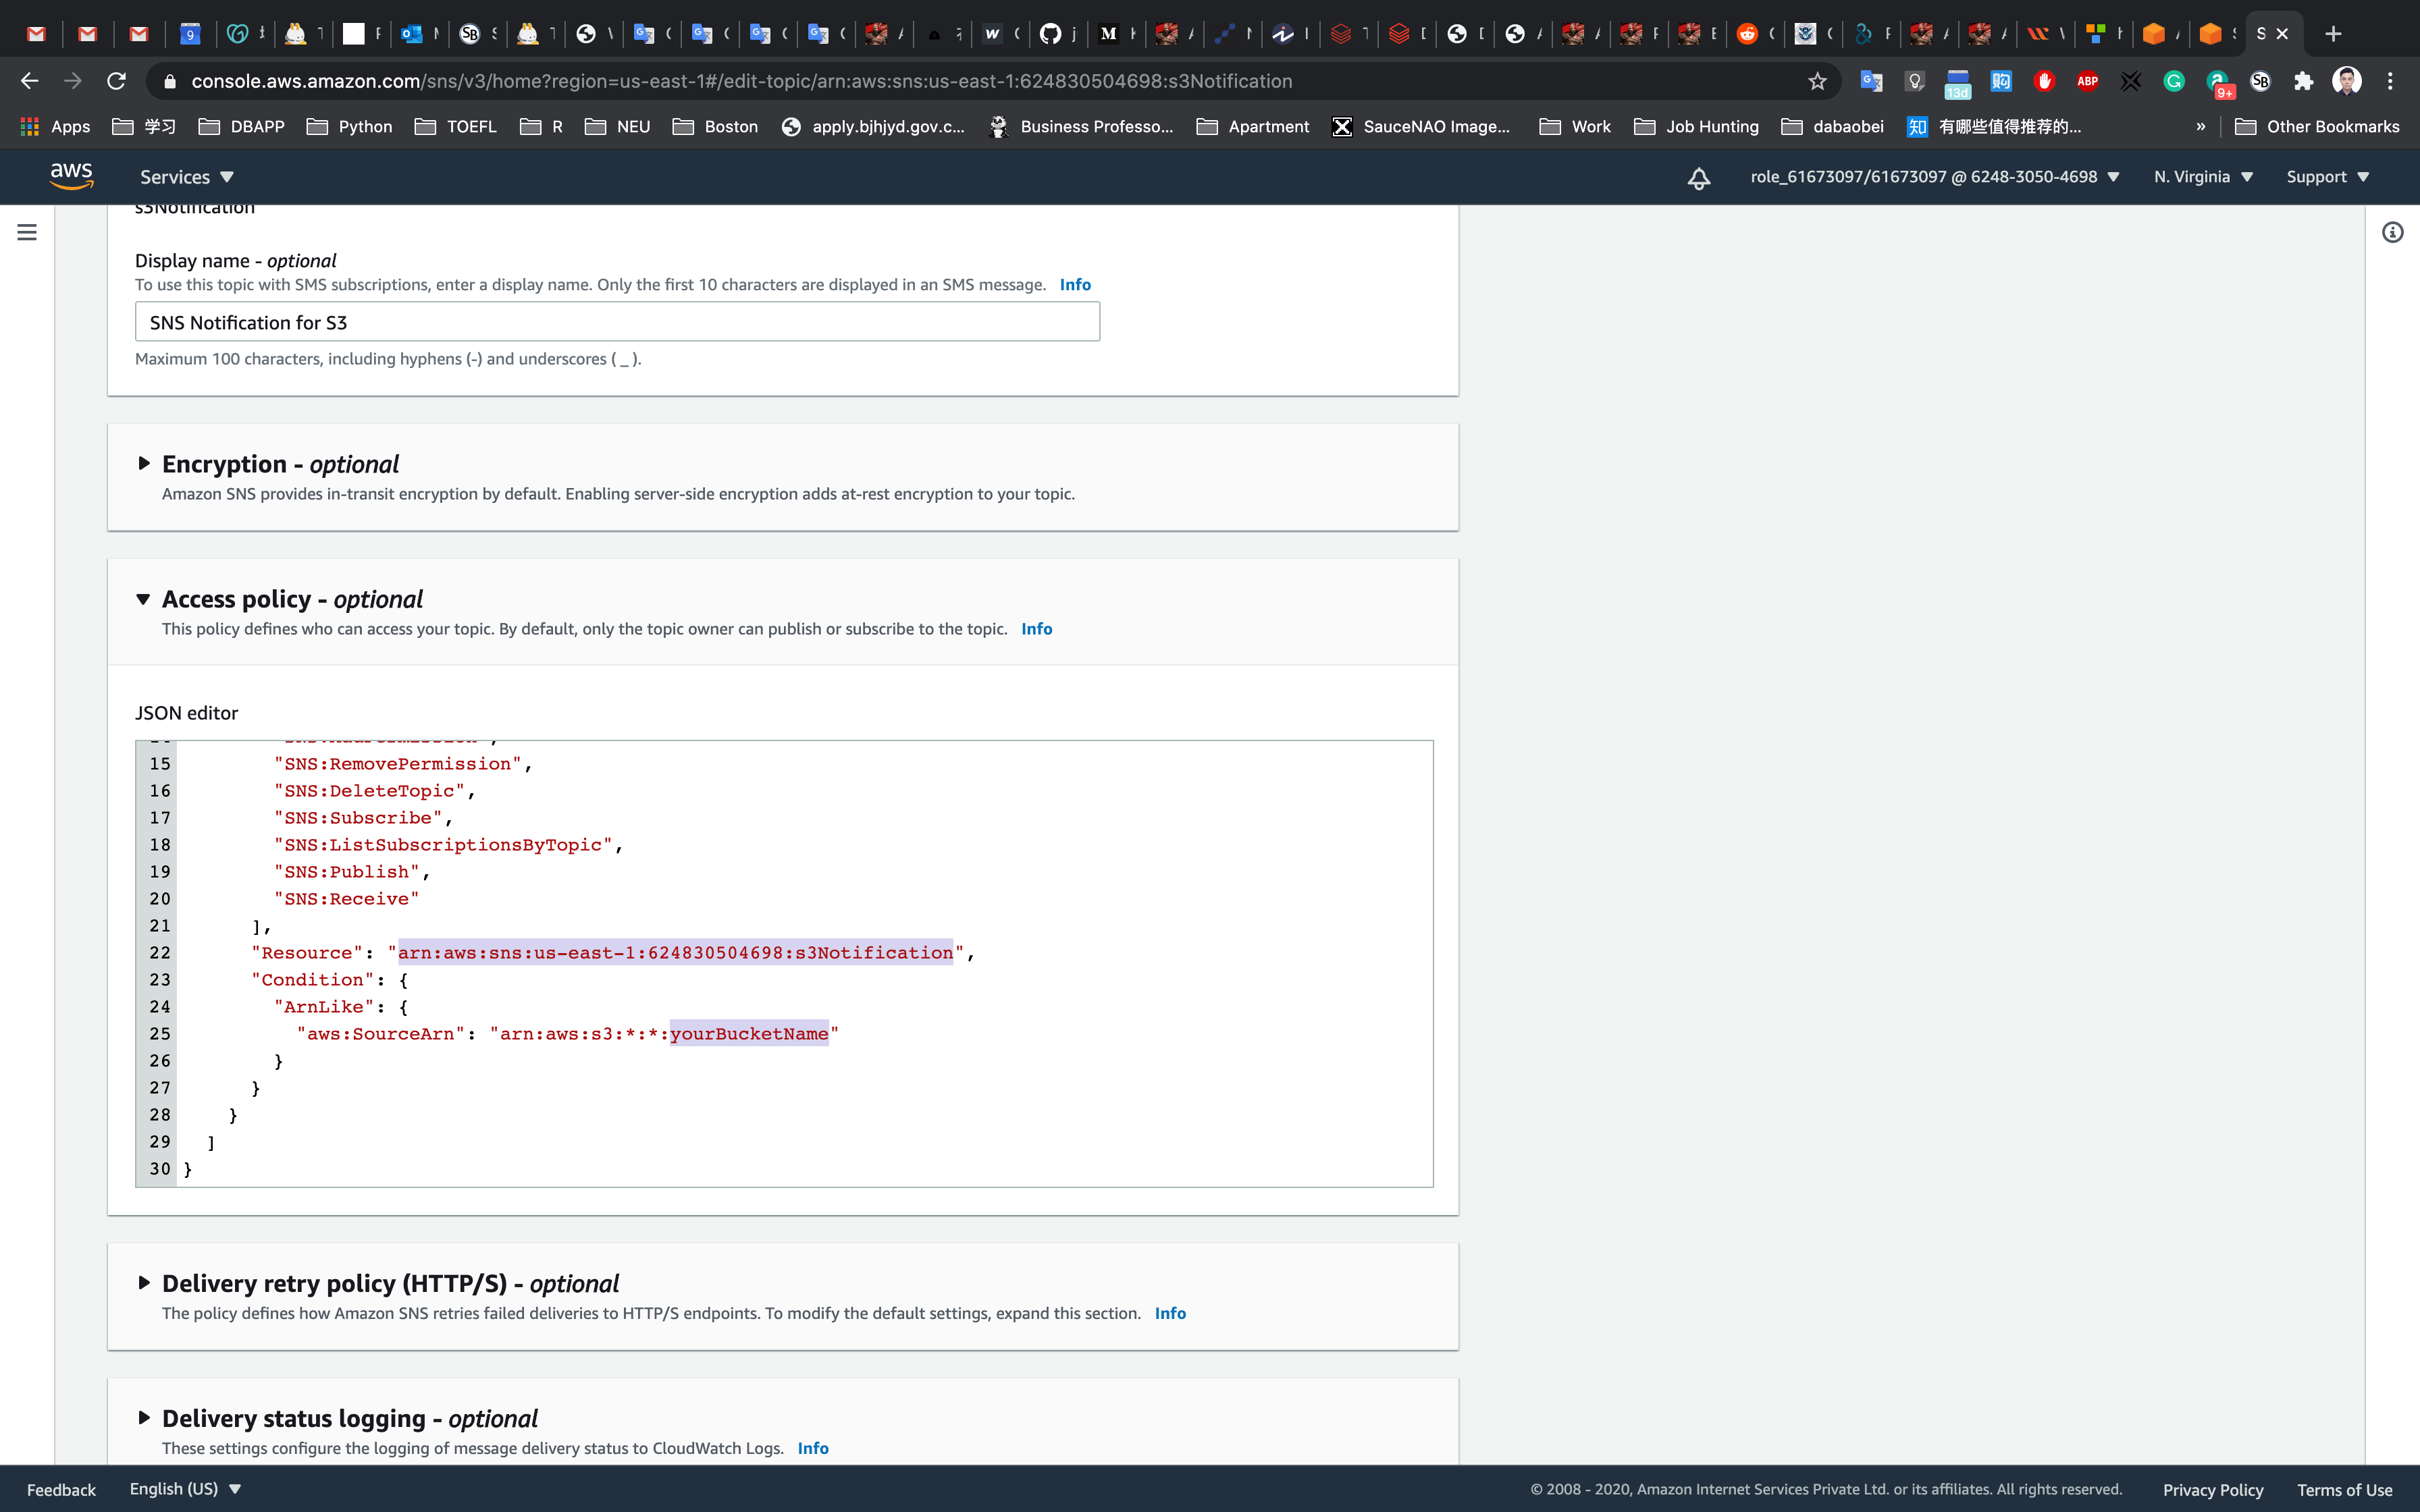
Click on Access policy.
Update the Access policy as shown below, replace the highlight strings to yours.
1 | { |
Click on Save changes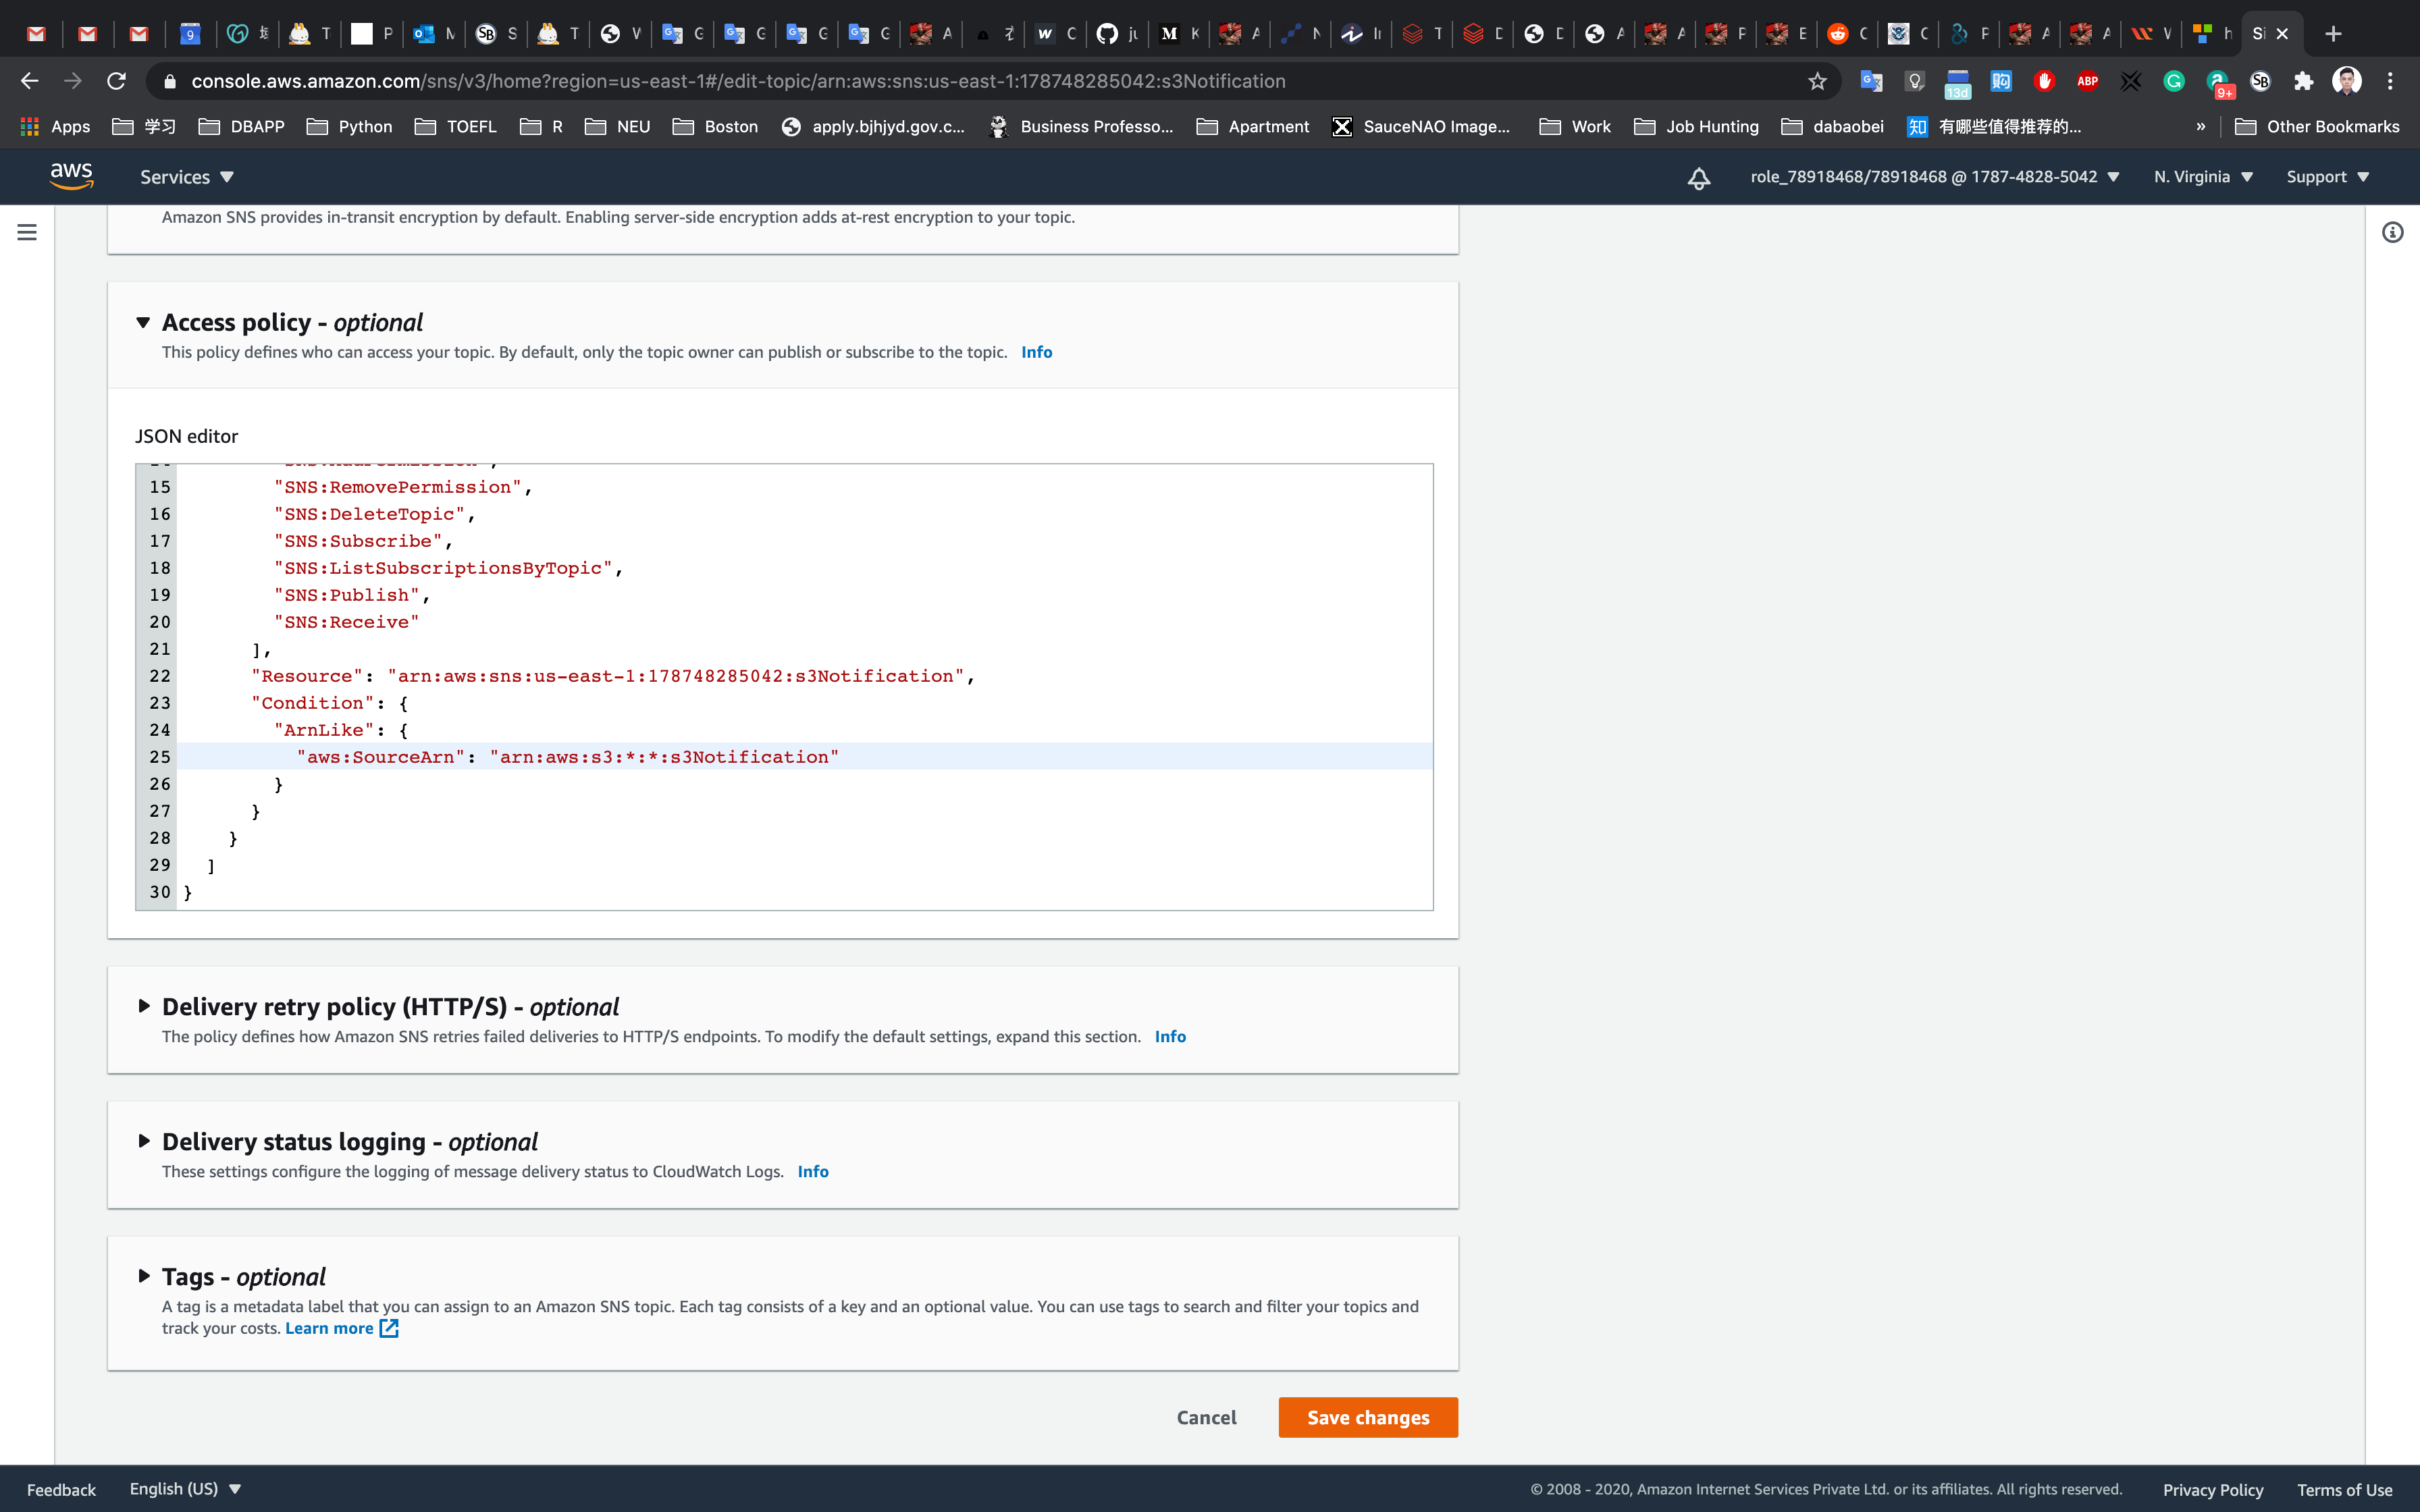
Create S3 Event
Service -> S3
Click on yourBucketName bucket.
Go to Properties tab.
Under Advanced settings, click on Events.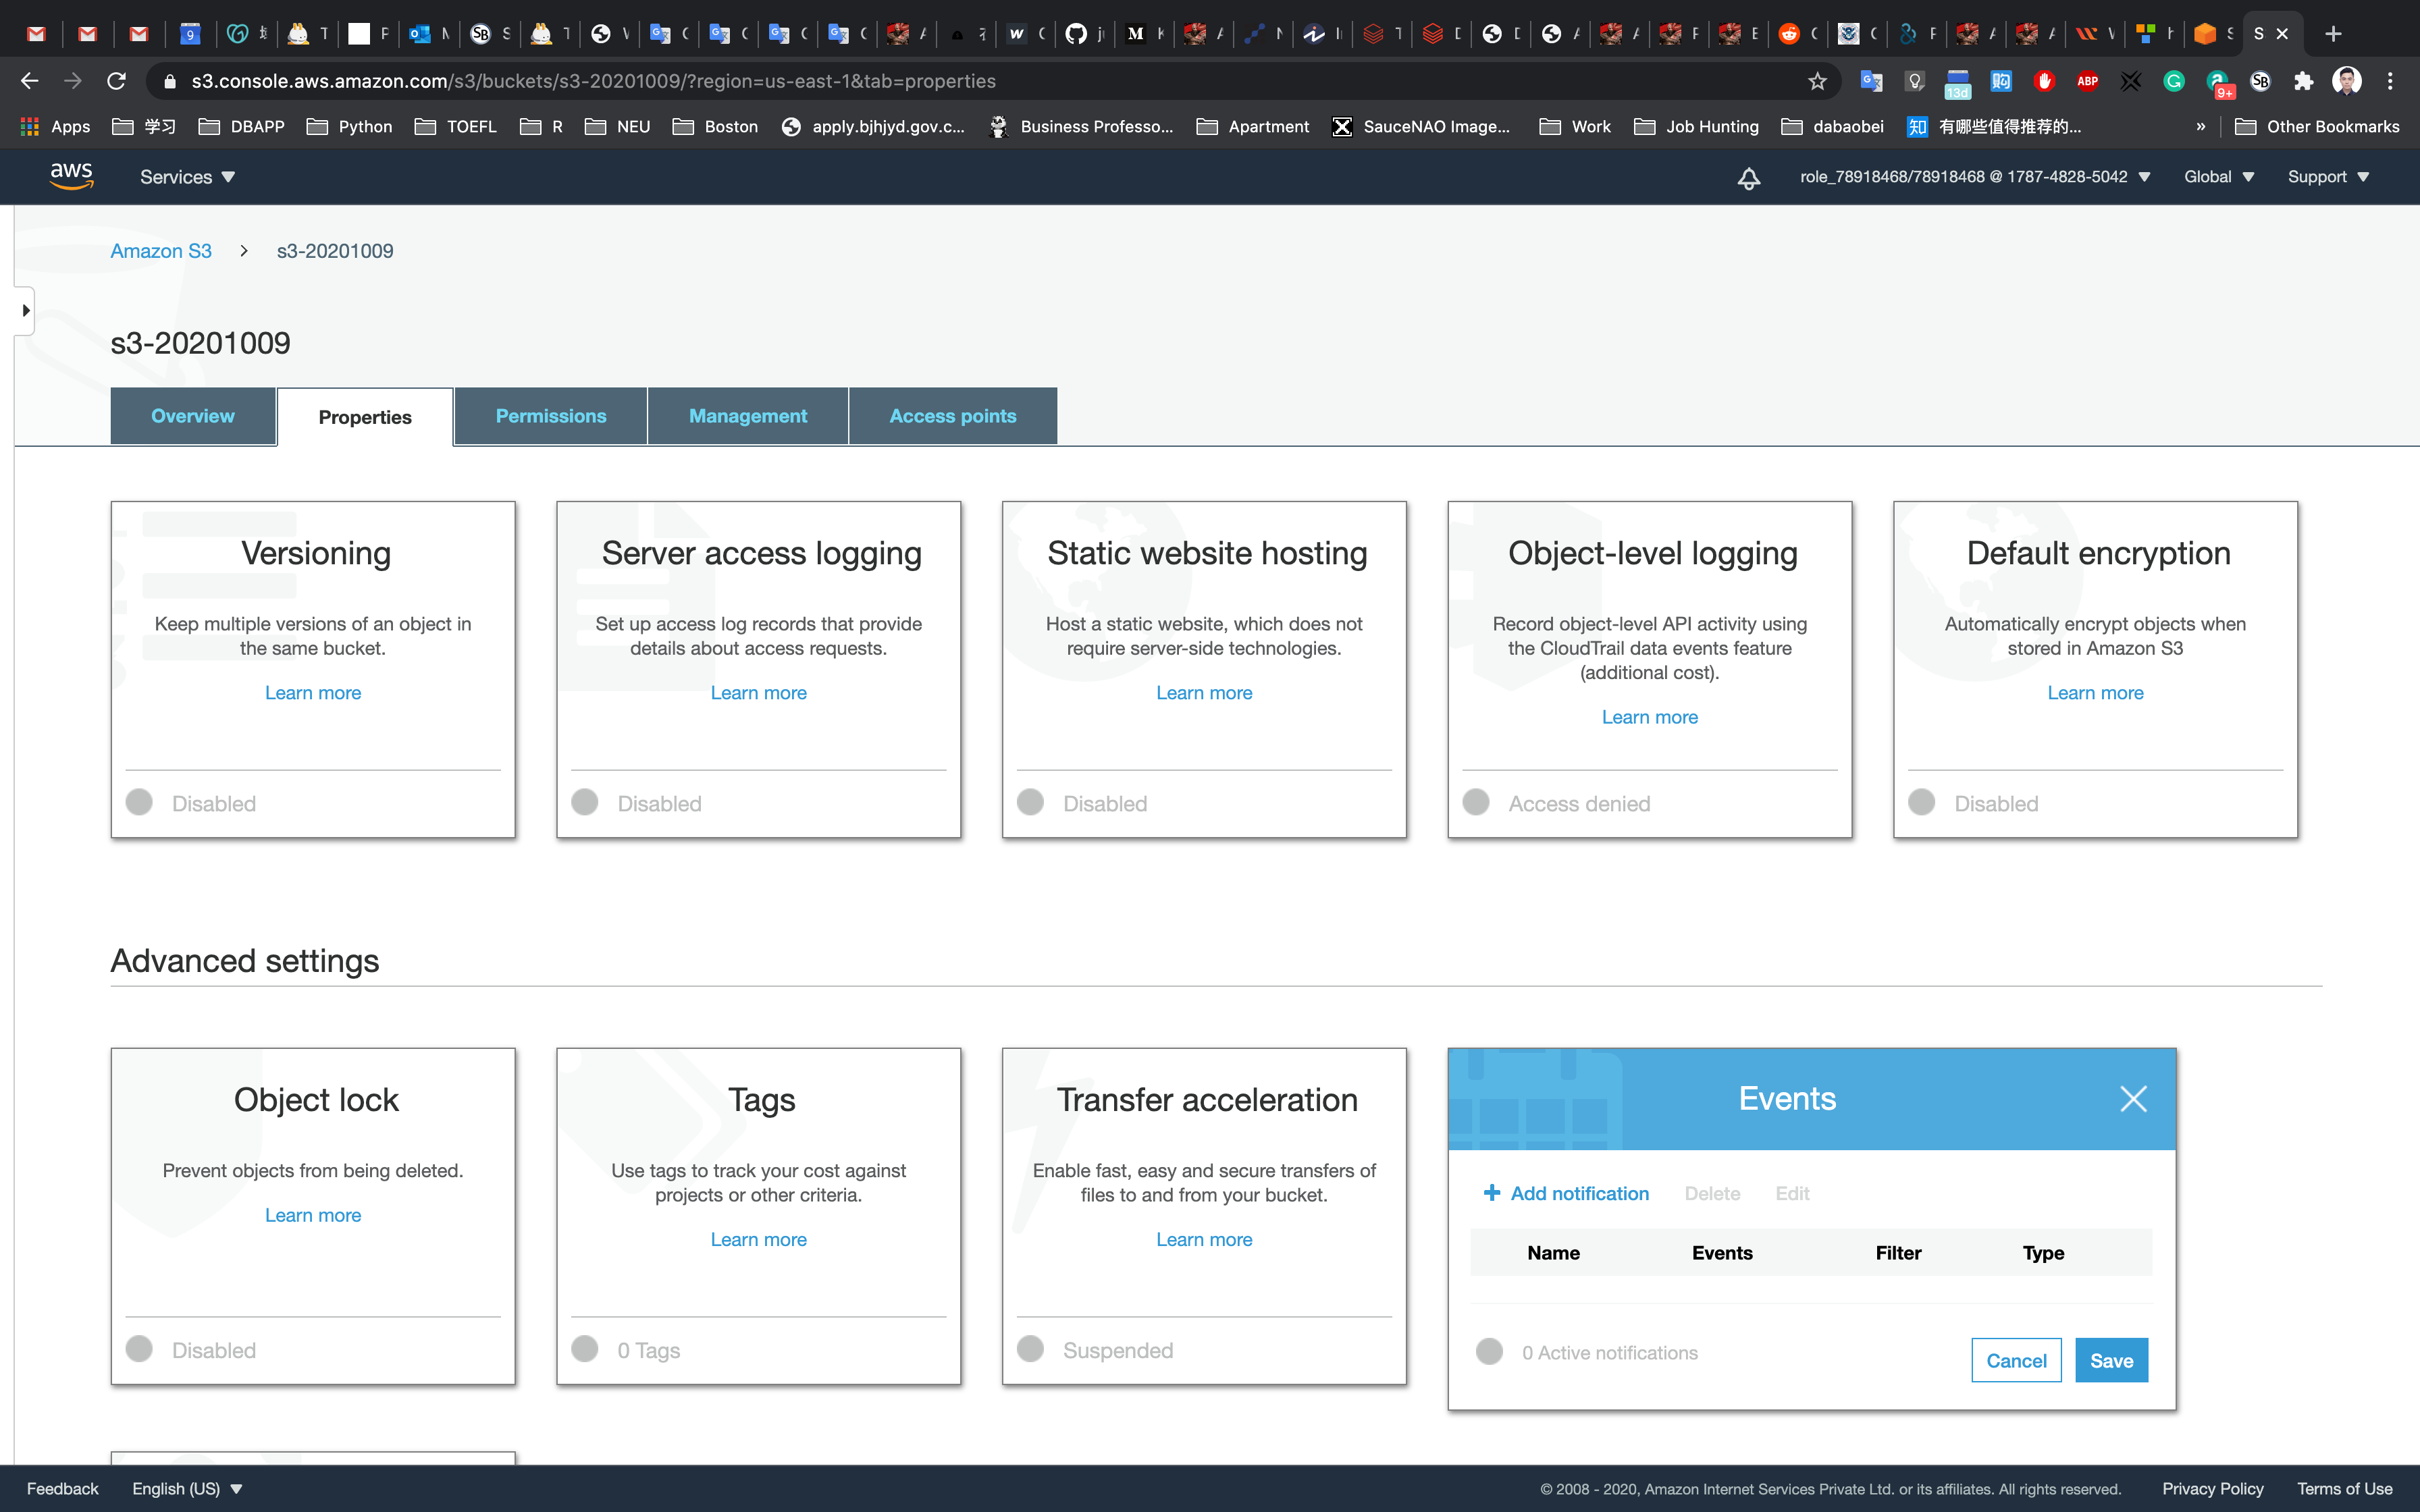
Click on Add notification.
- Name: Enter name for notification
yourS3Event. - Events : Select and Check PUT.
- Send to : SNS Topic
- SNS :
yourTopicName
Click on Save.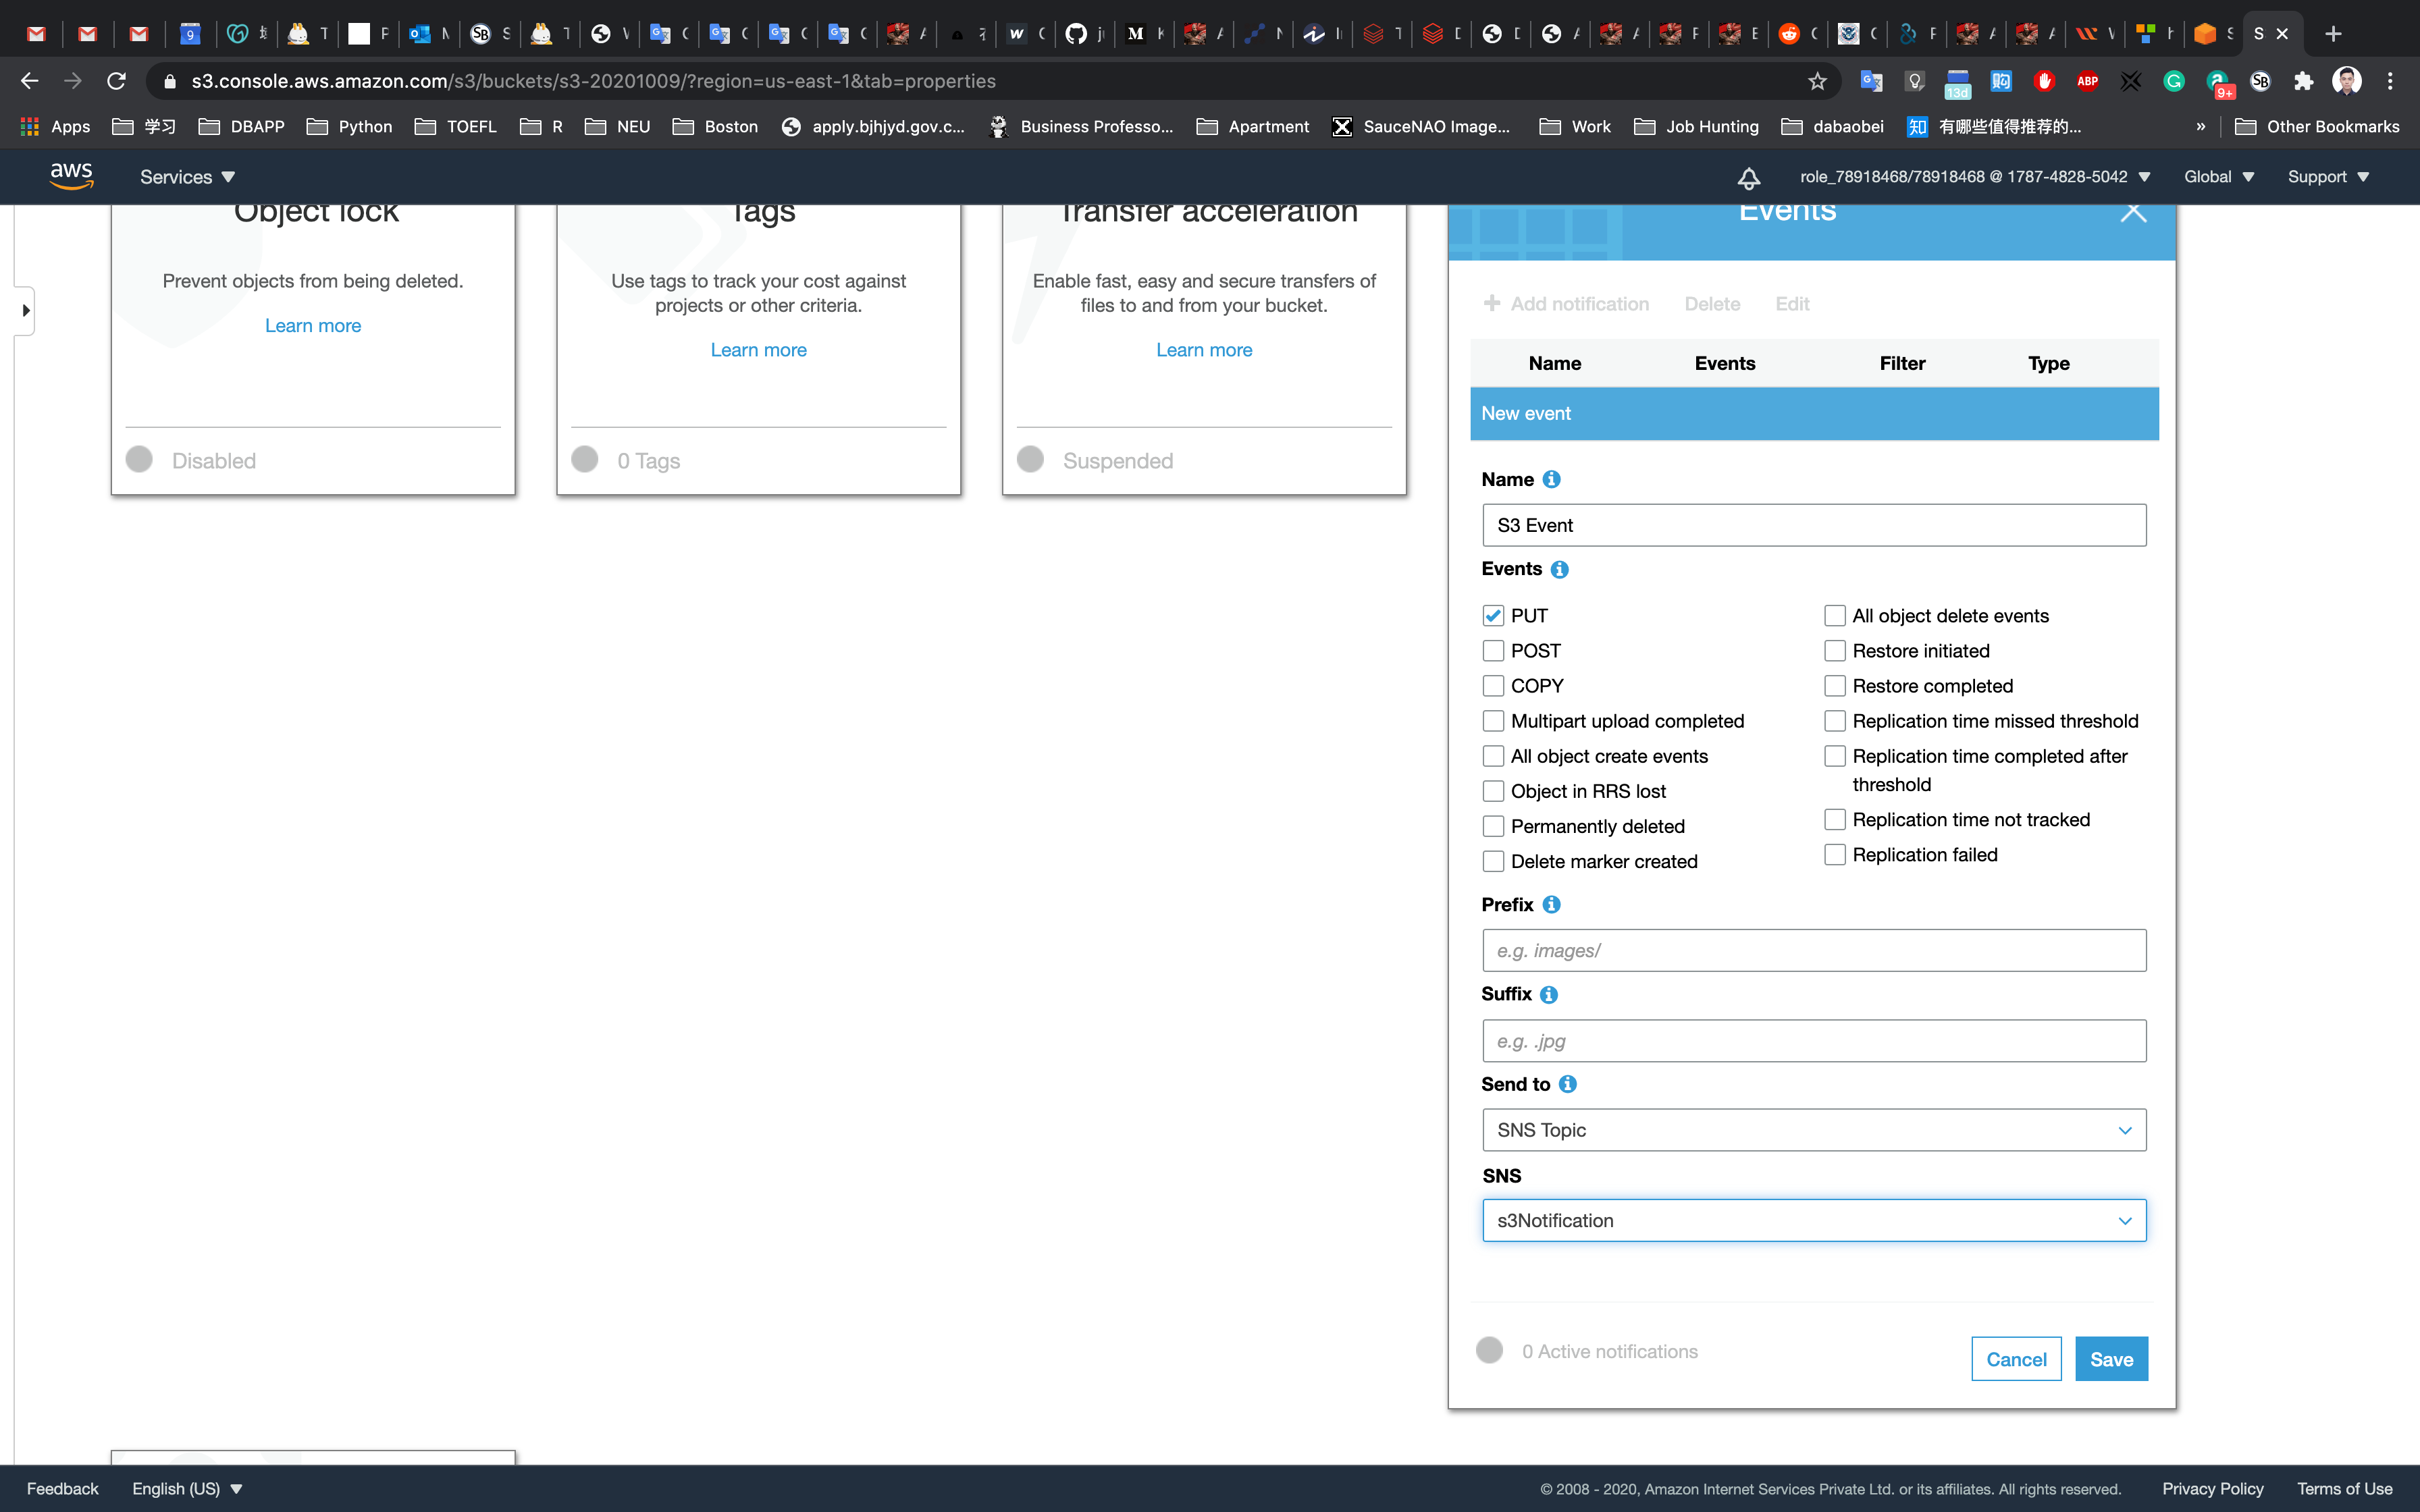
Now the S3 bucket has been enabled event notifications for putting new objects through our SNS topic.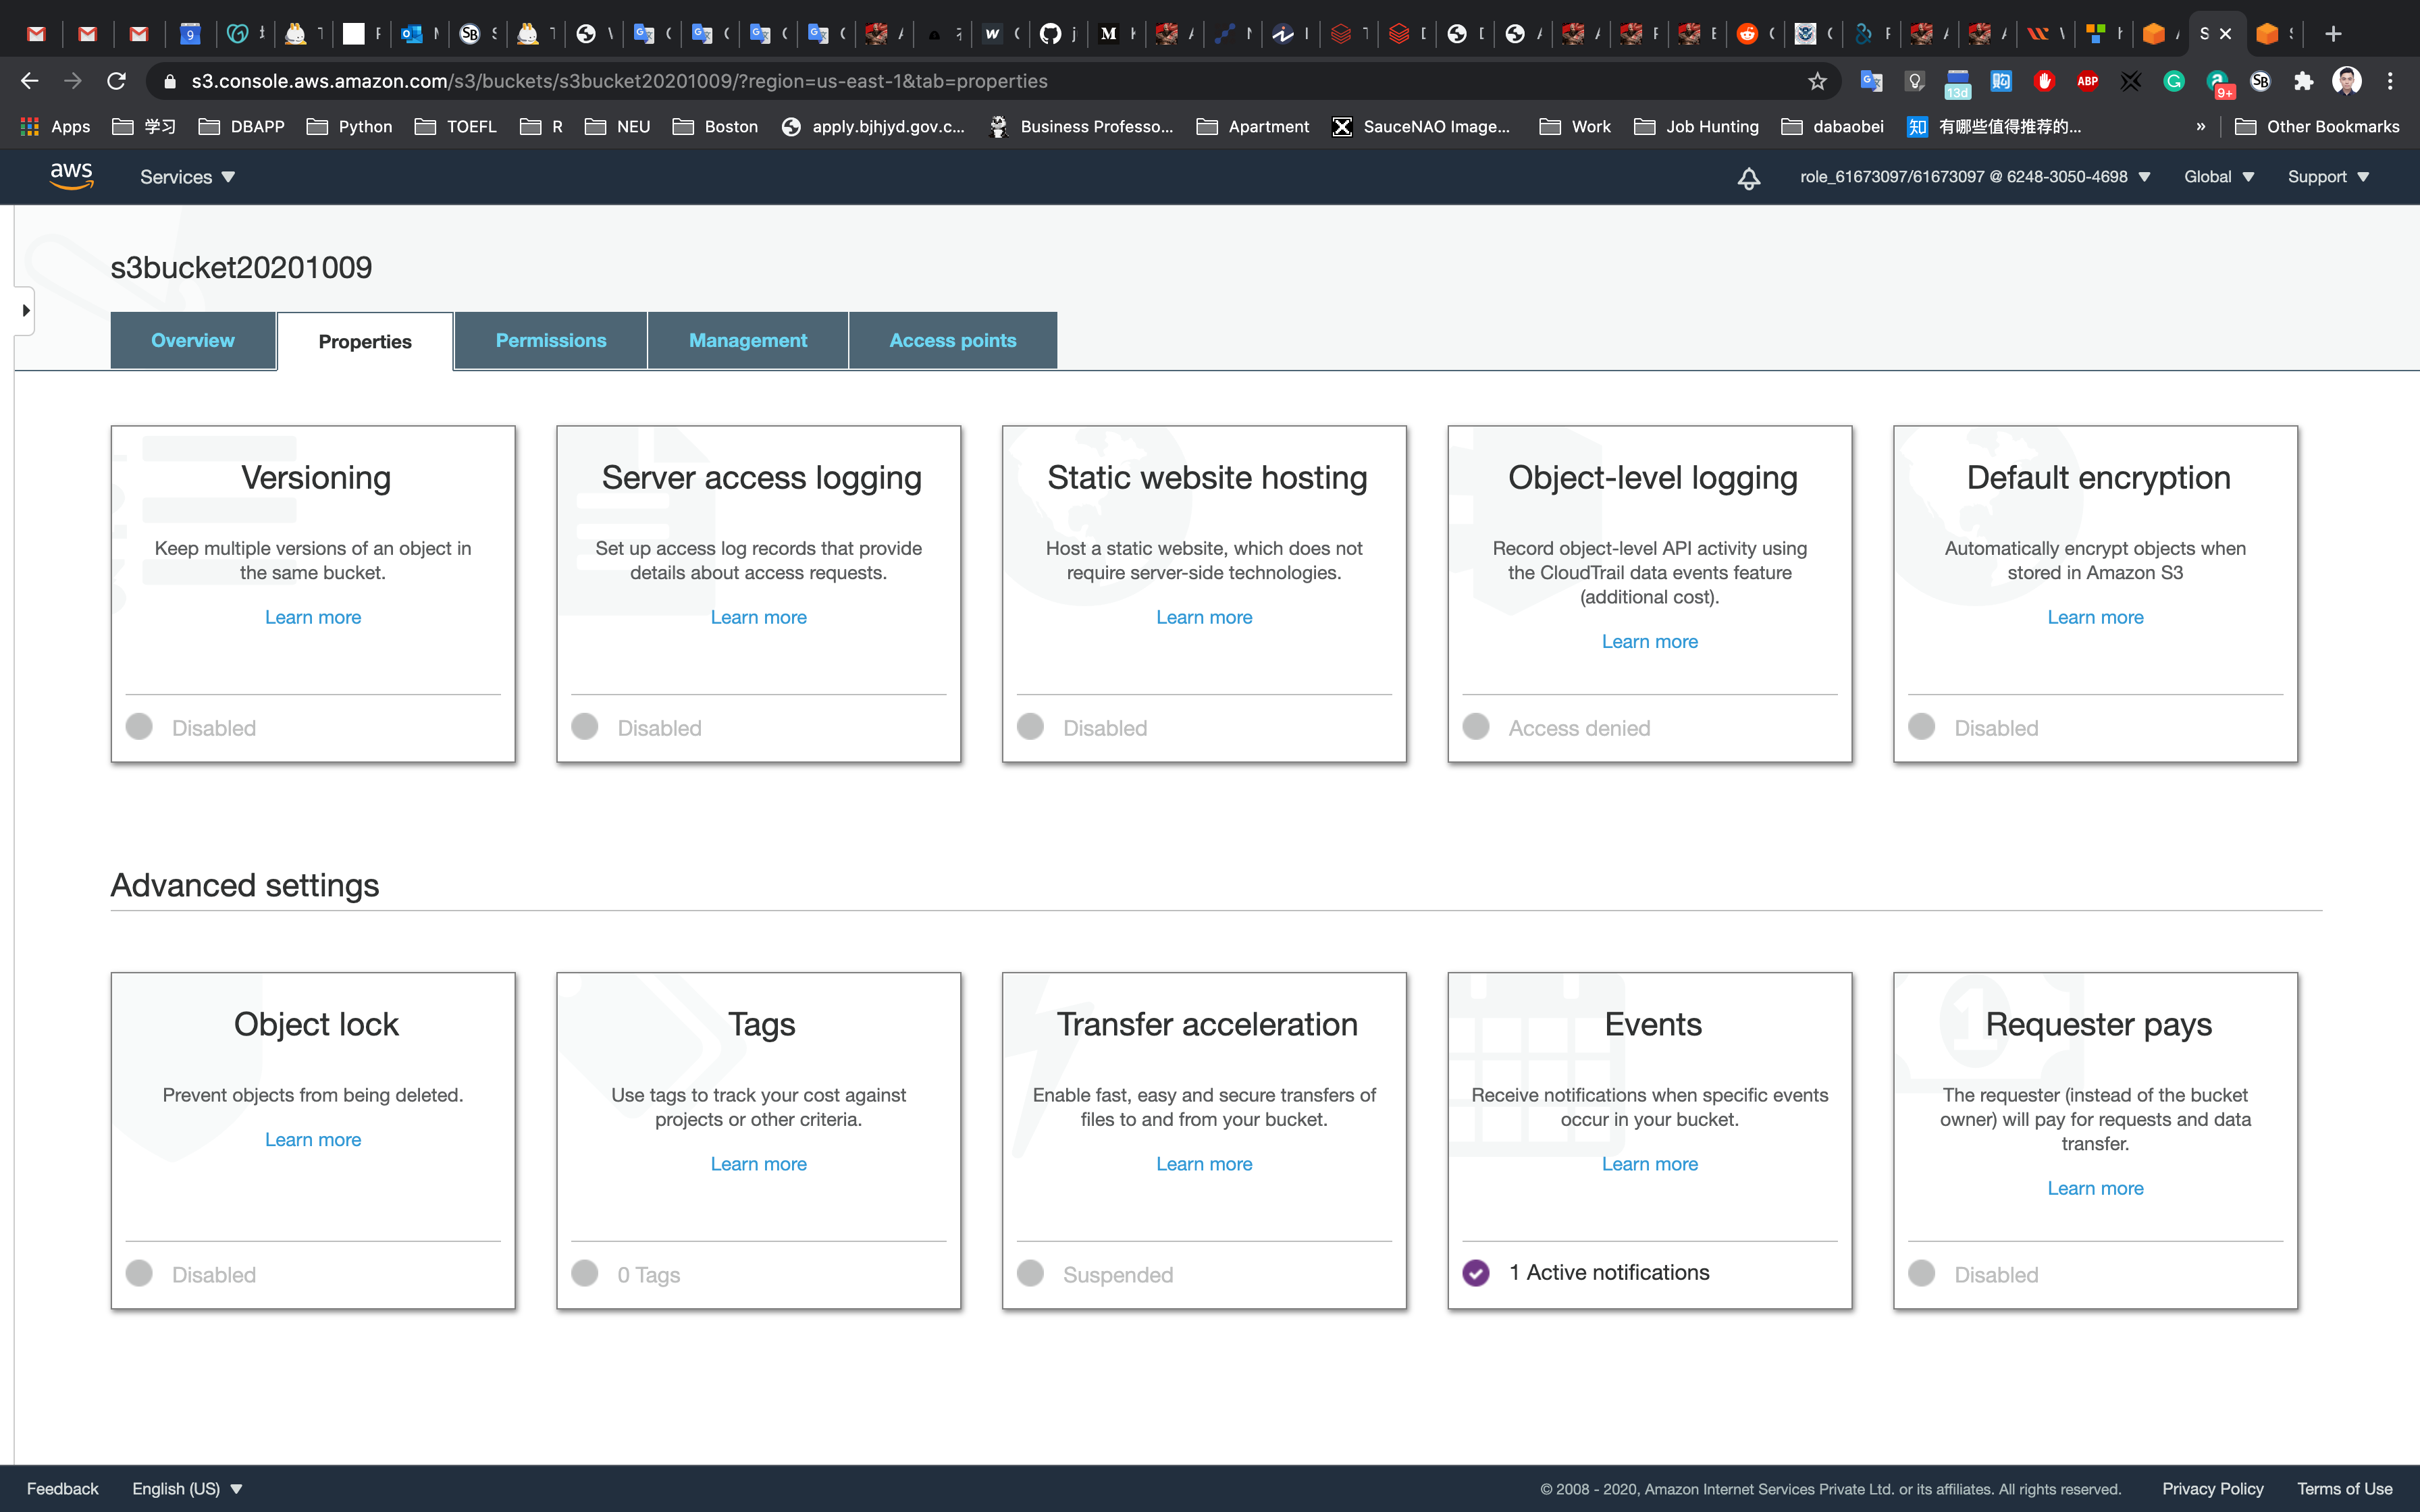
Testing the SNS Notification
Open your S3 bucket yourBucketName.
Click on upload.
Click on and upload an image from your local system.
Once the file is successfully uploaded to the S3 bucket, it will be visible inside your S3 bucket.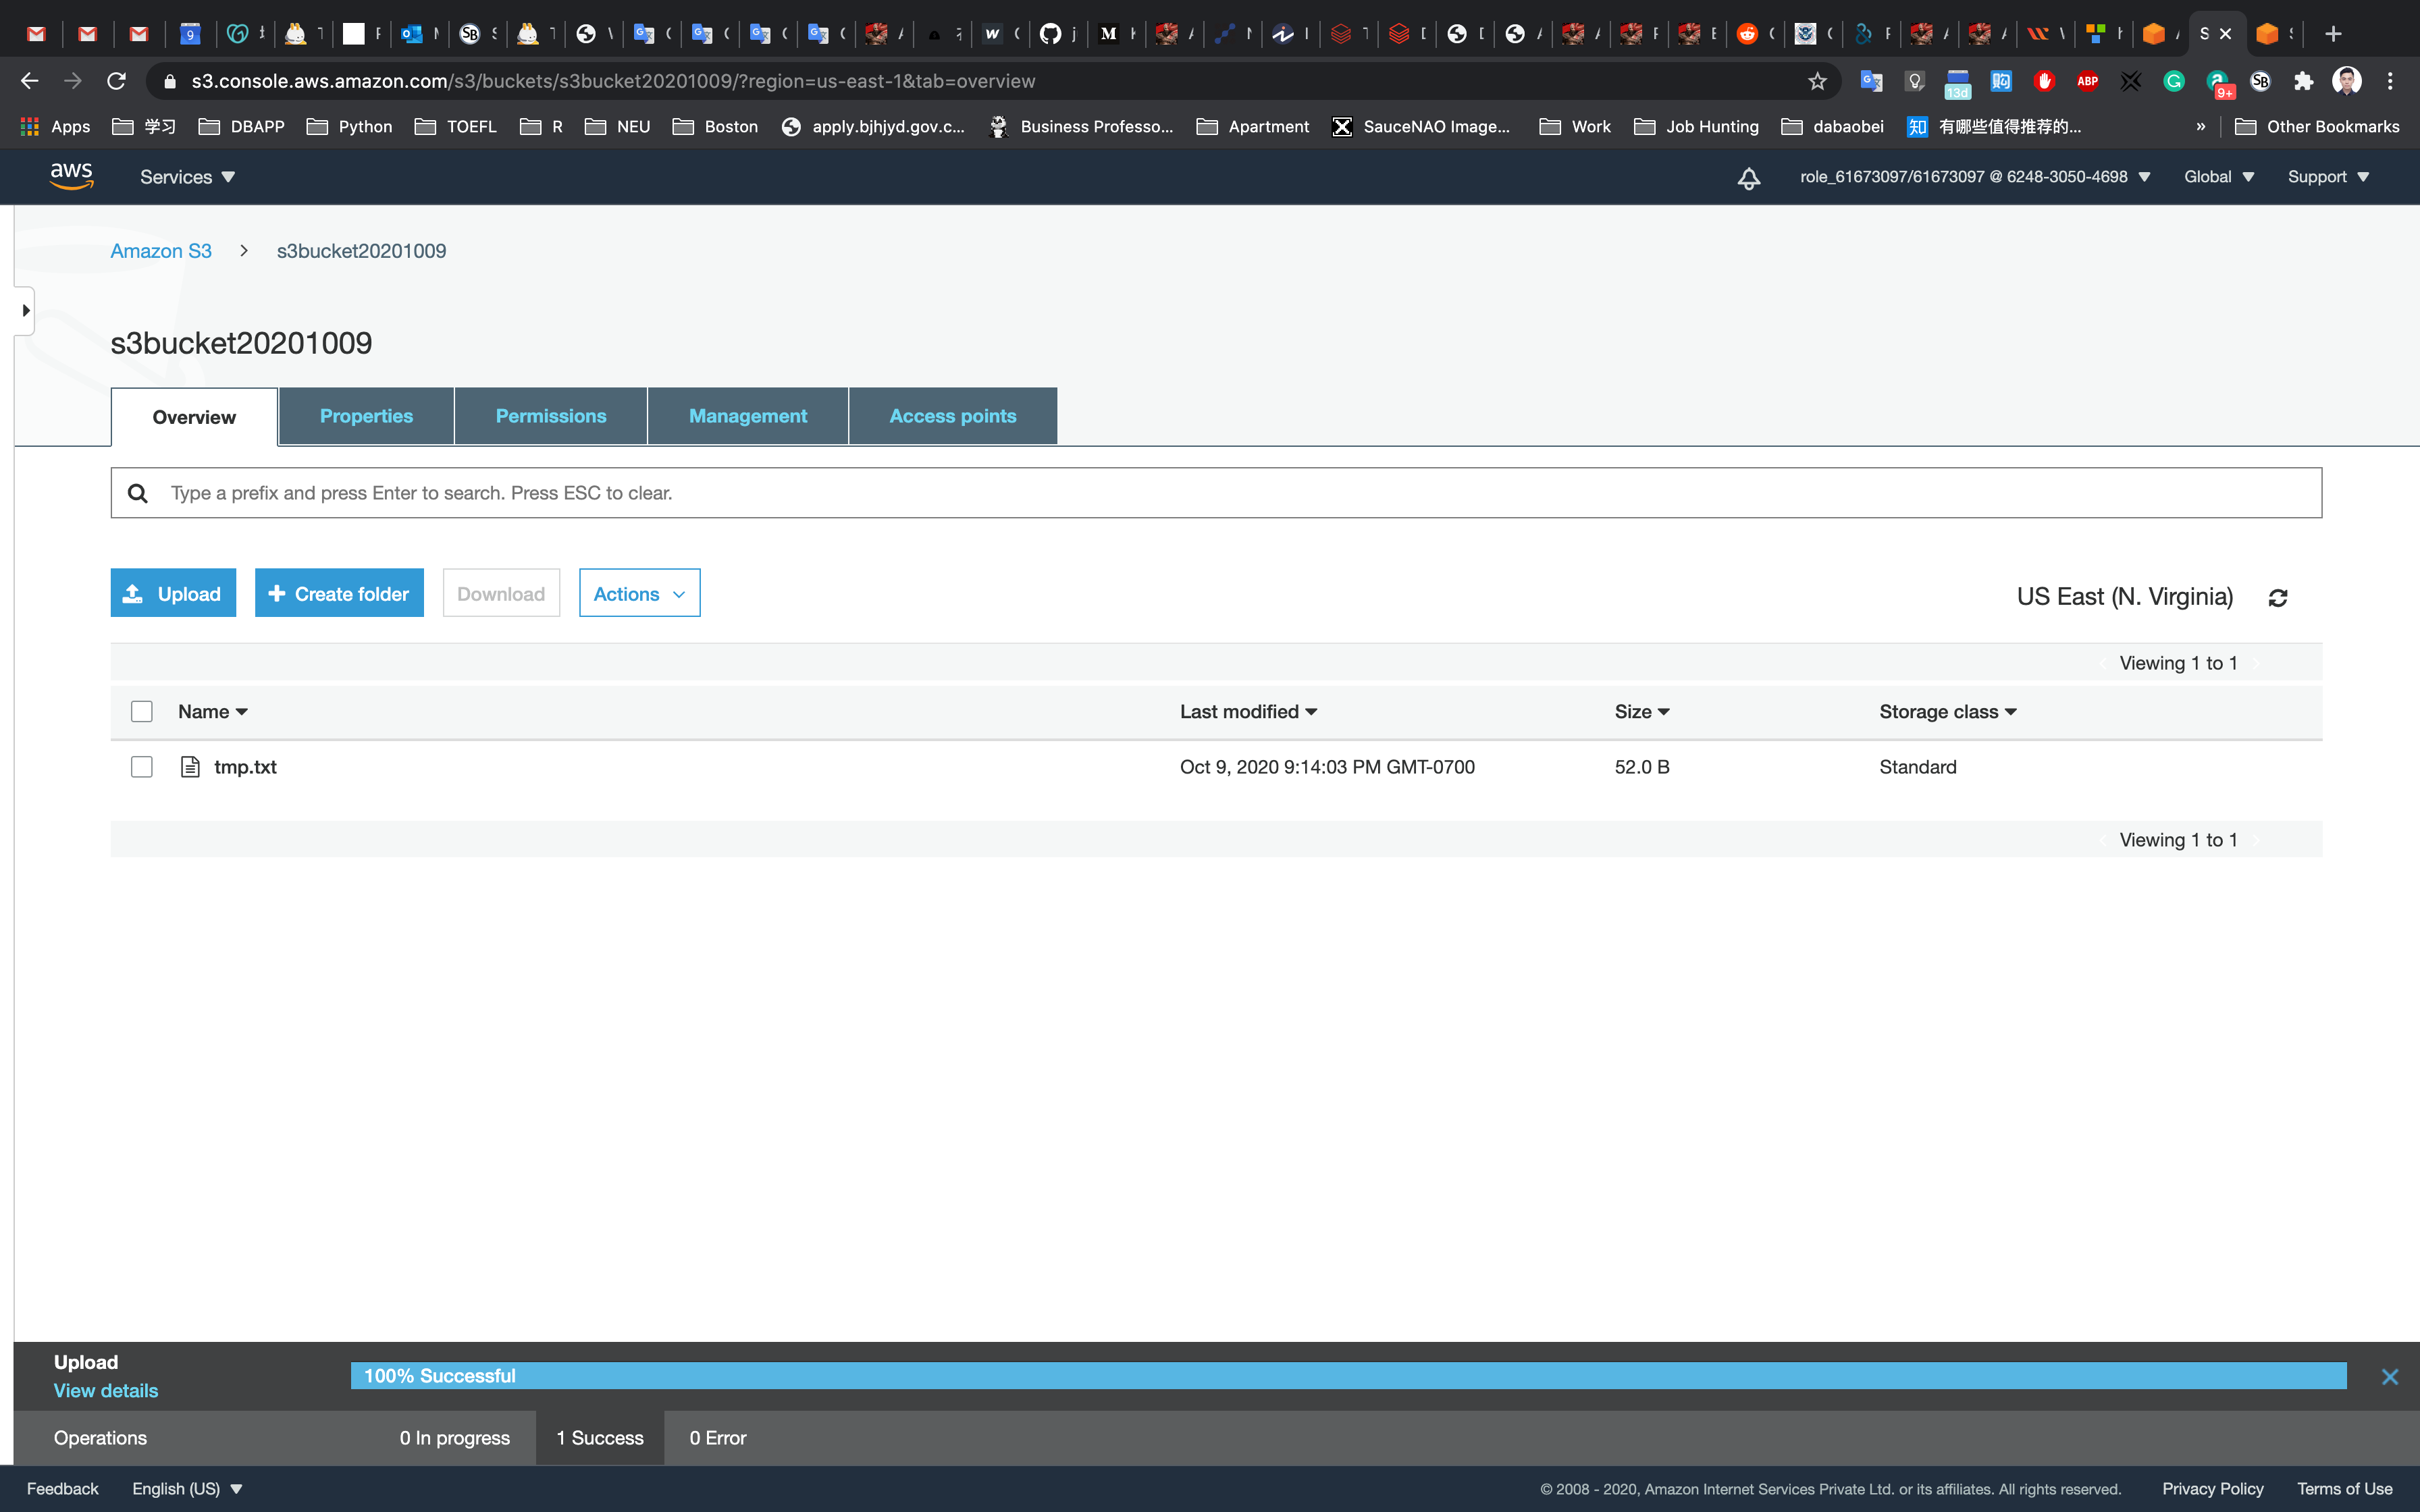
Go to your mailbox. You should have received an email from SNS. It may take several minutes.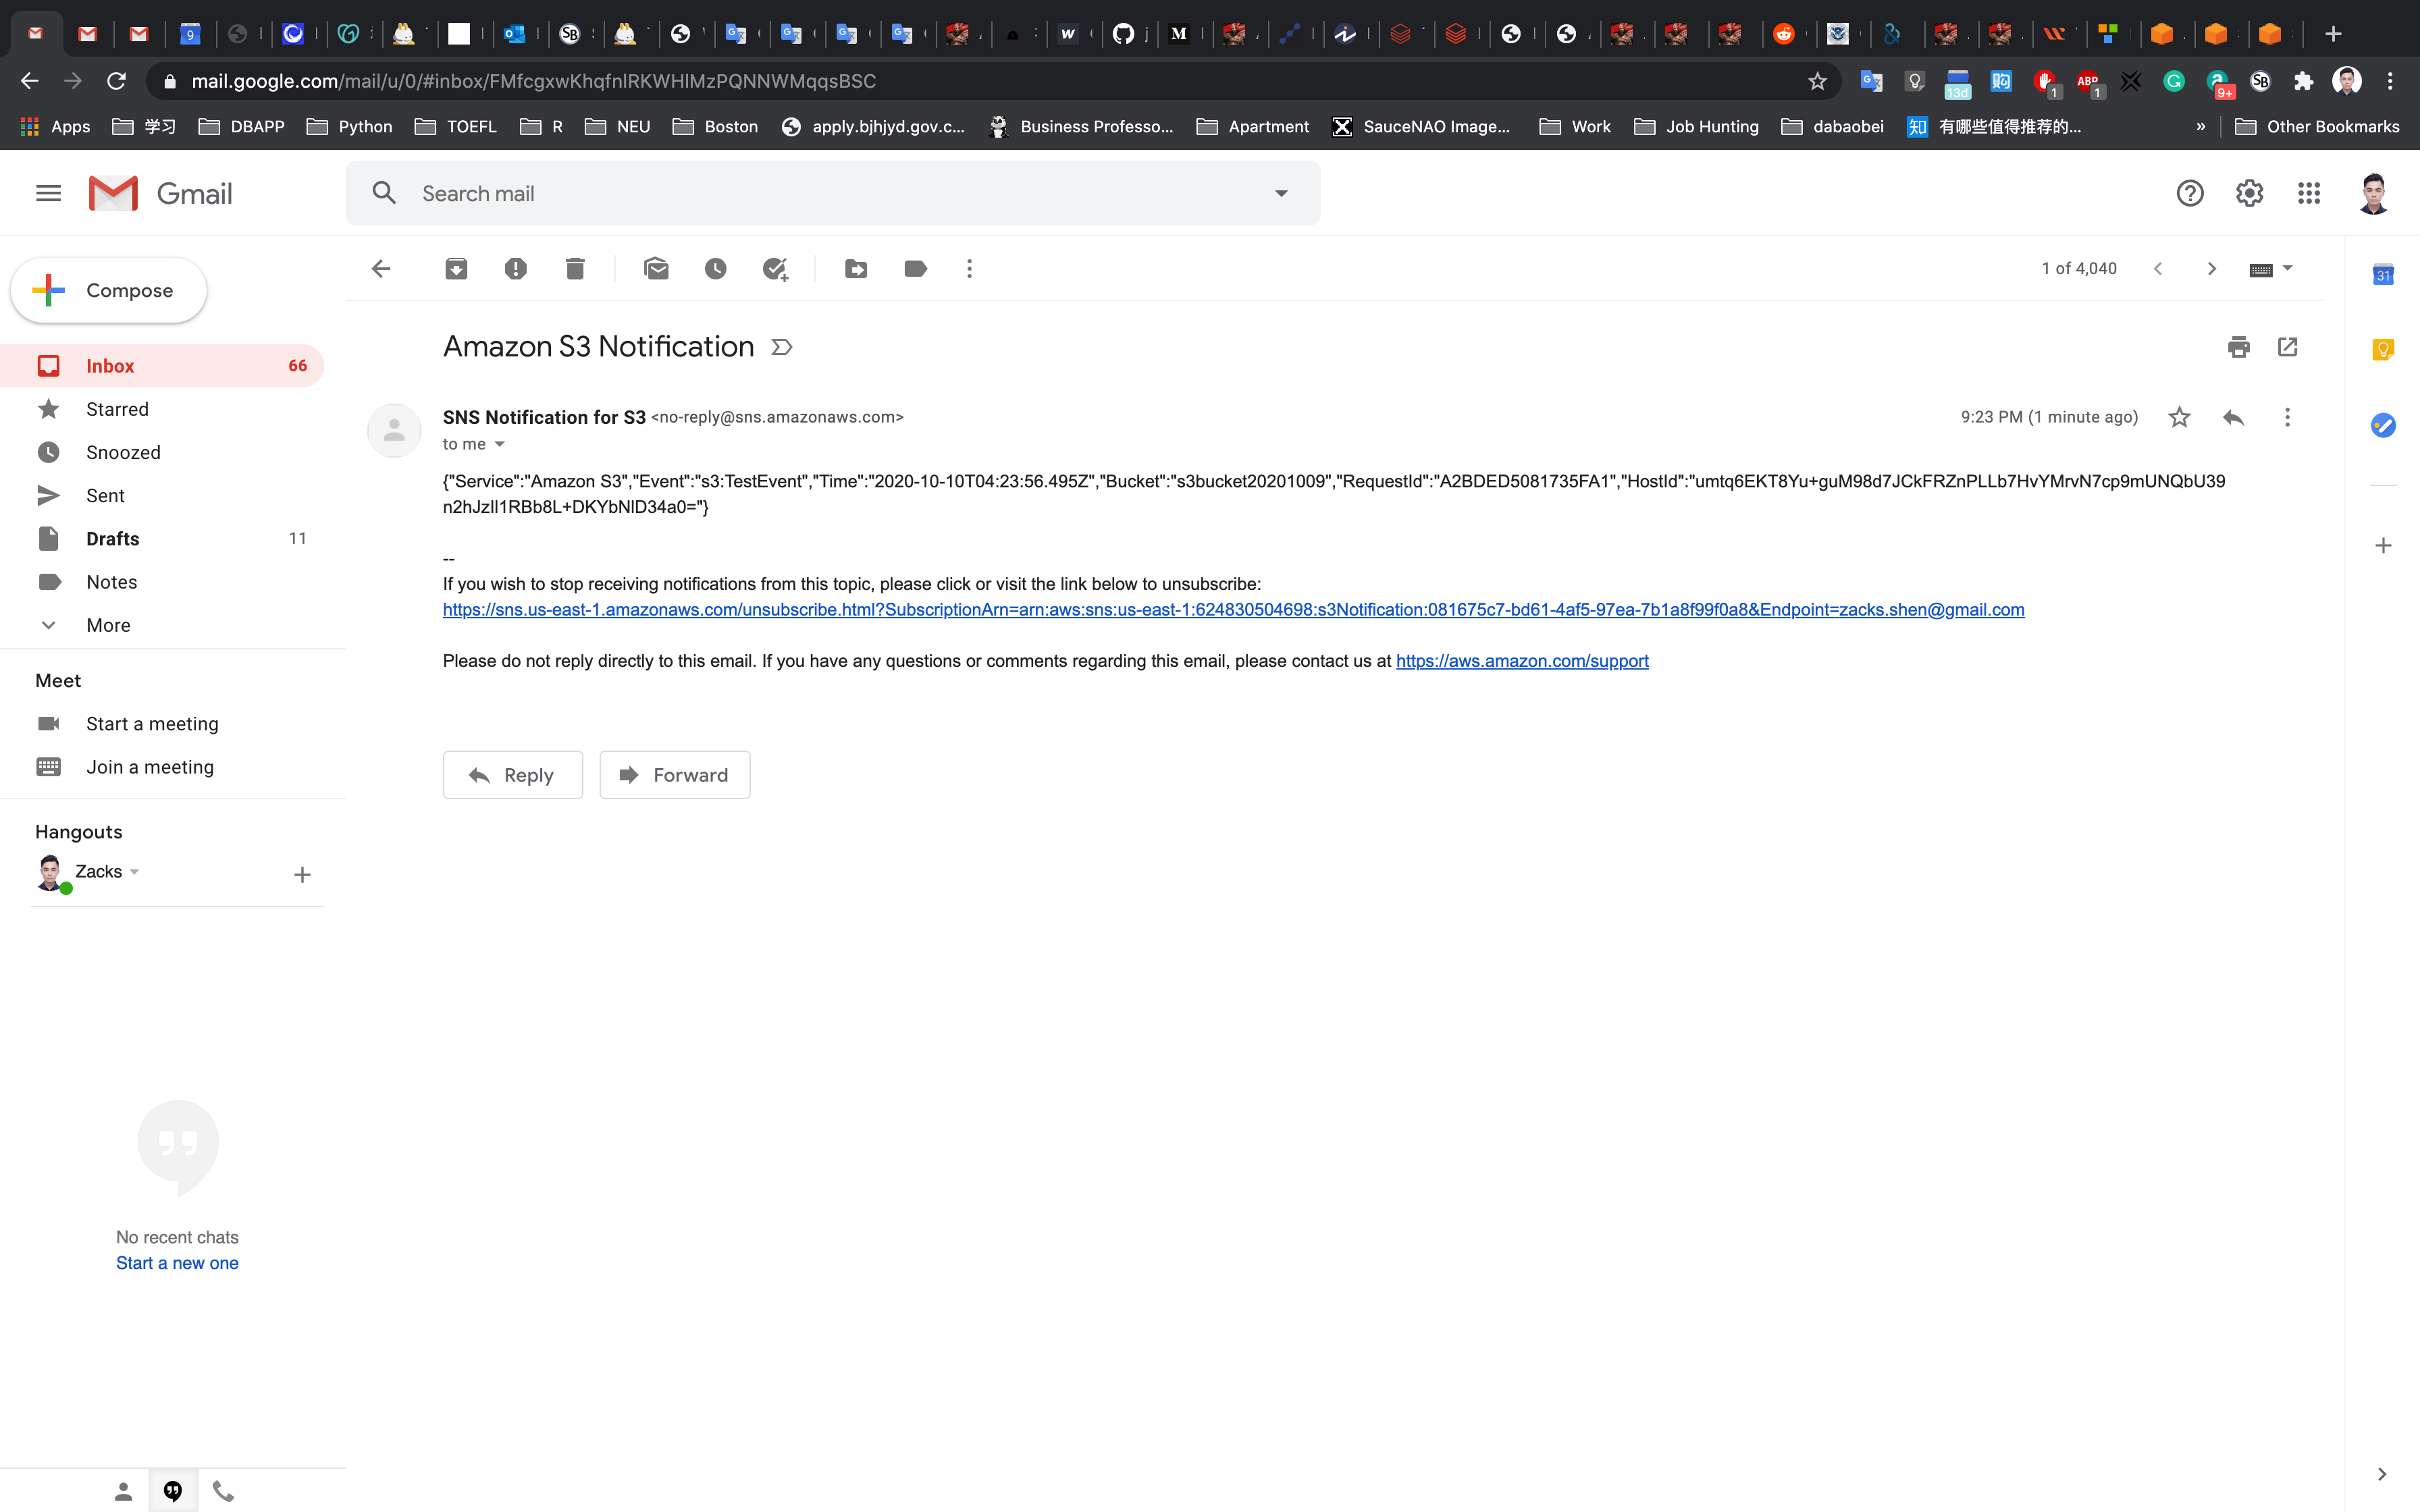
You have successfully received a SNS notification based on the PUT object event in S3 bucket.
Completion and Conclusion
- You have successfully used the AWS management console to create an Amazon SNS Topic.
- You have successfully subscribed to an SNS topic using your email address.
- You have successfully created an S3 bucket event to get SNS notifications sent to your email address.