AWS S3 Lab
S3
Introduction to Amazon Simple Storage Service (S3)
https://play.whizlabs.com/site/task_details?lab_type=1&task_id=20&quest_id=35
Lab Details
- This lab walks you through Amazon Simple Storage Service. Amazon S3 has a simple web interface that you can use to store and retrieve any amount of data(at any time) from anywhere on the web. In this lab we will demonstrate AWS S3 by creating a sample S3 bucket, uploading an object to the S3 bucket and setting up the bucket permission and policy.
Tasks
- Log into the AWS Management Console.
- Create an S3 bucket.
- Upload an object to S3 Bucket.
- Access the object on the browser.
- Change S3 object permissions.
- Setup the bucket policy and permission and test the object accessibility.
S3 Configuration
Region: N.Virginia
Service -> S3
Click on Create Bucket
Set up the bucket name. S3 bucket name are globally unique, choose a name which is available.
Click on Next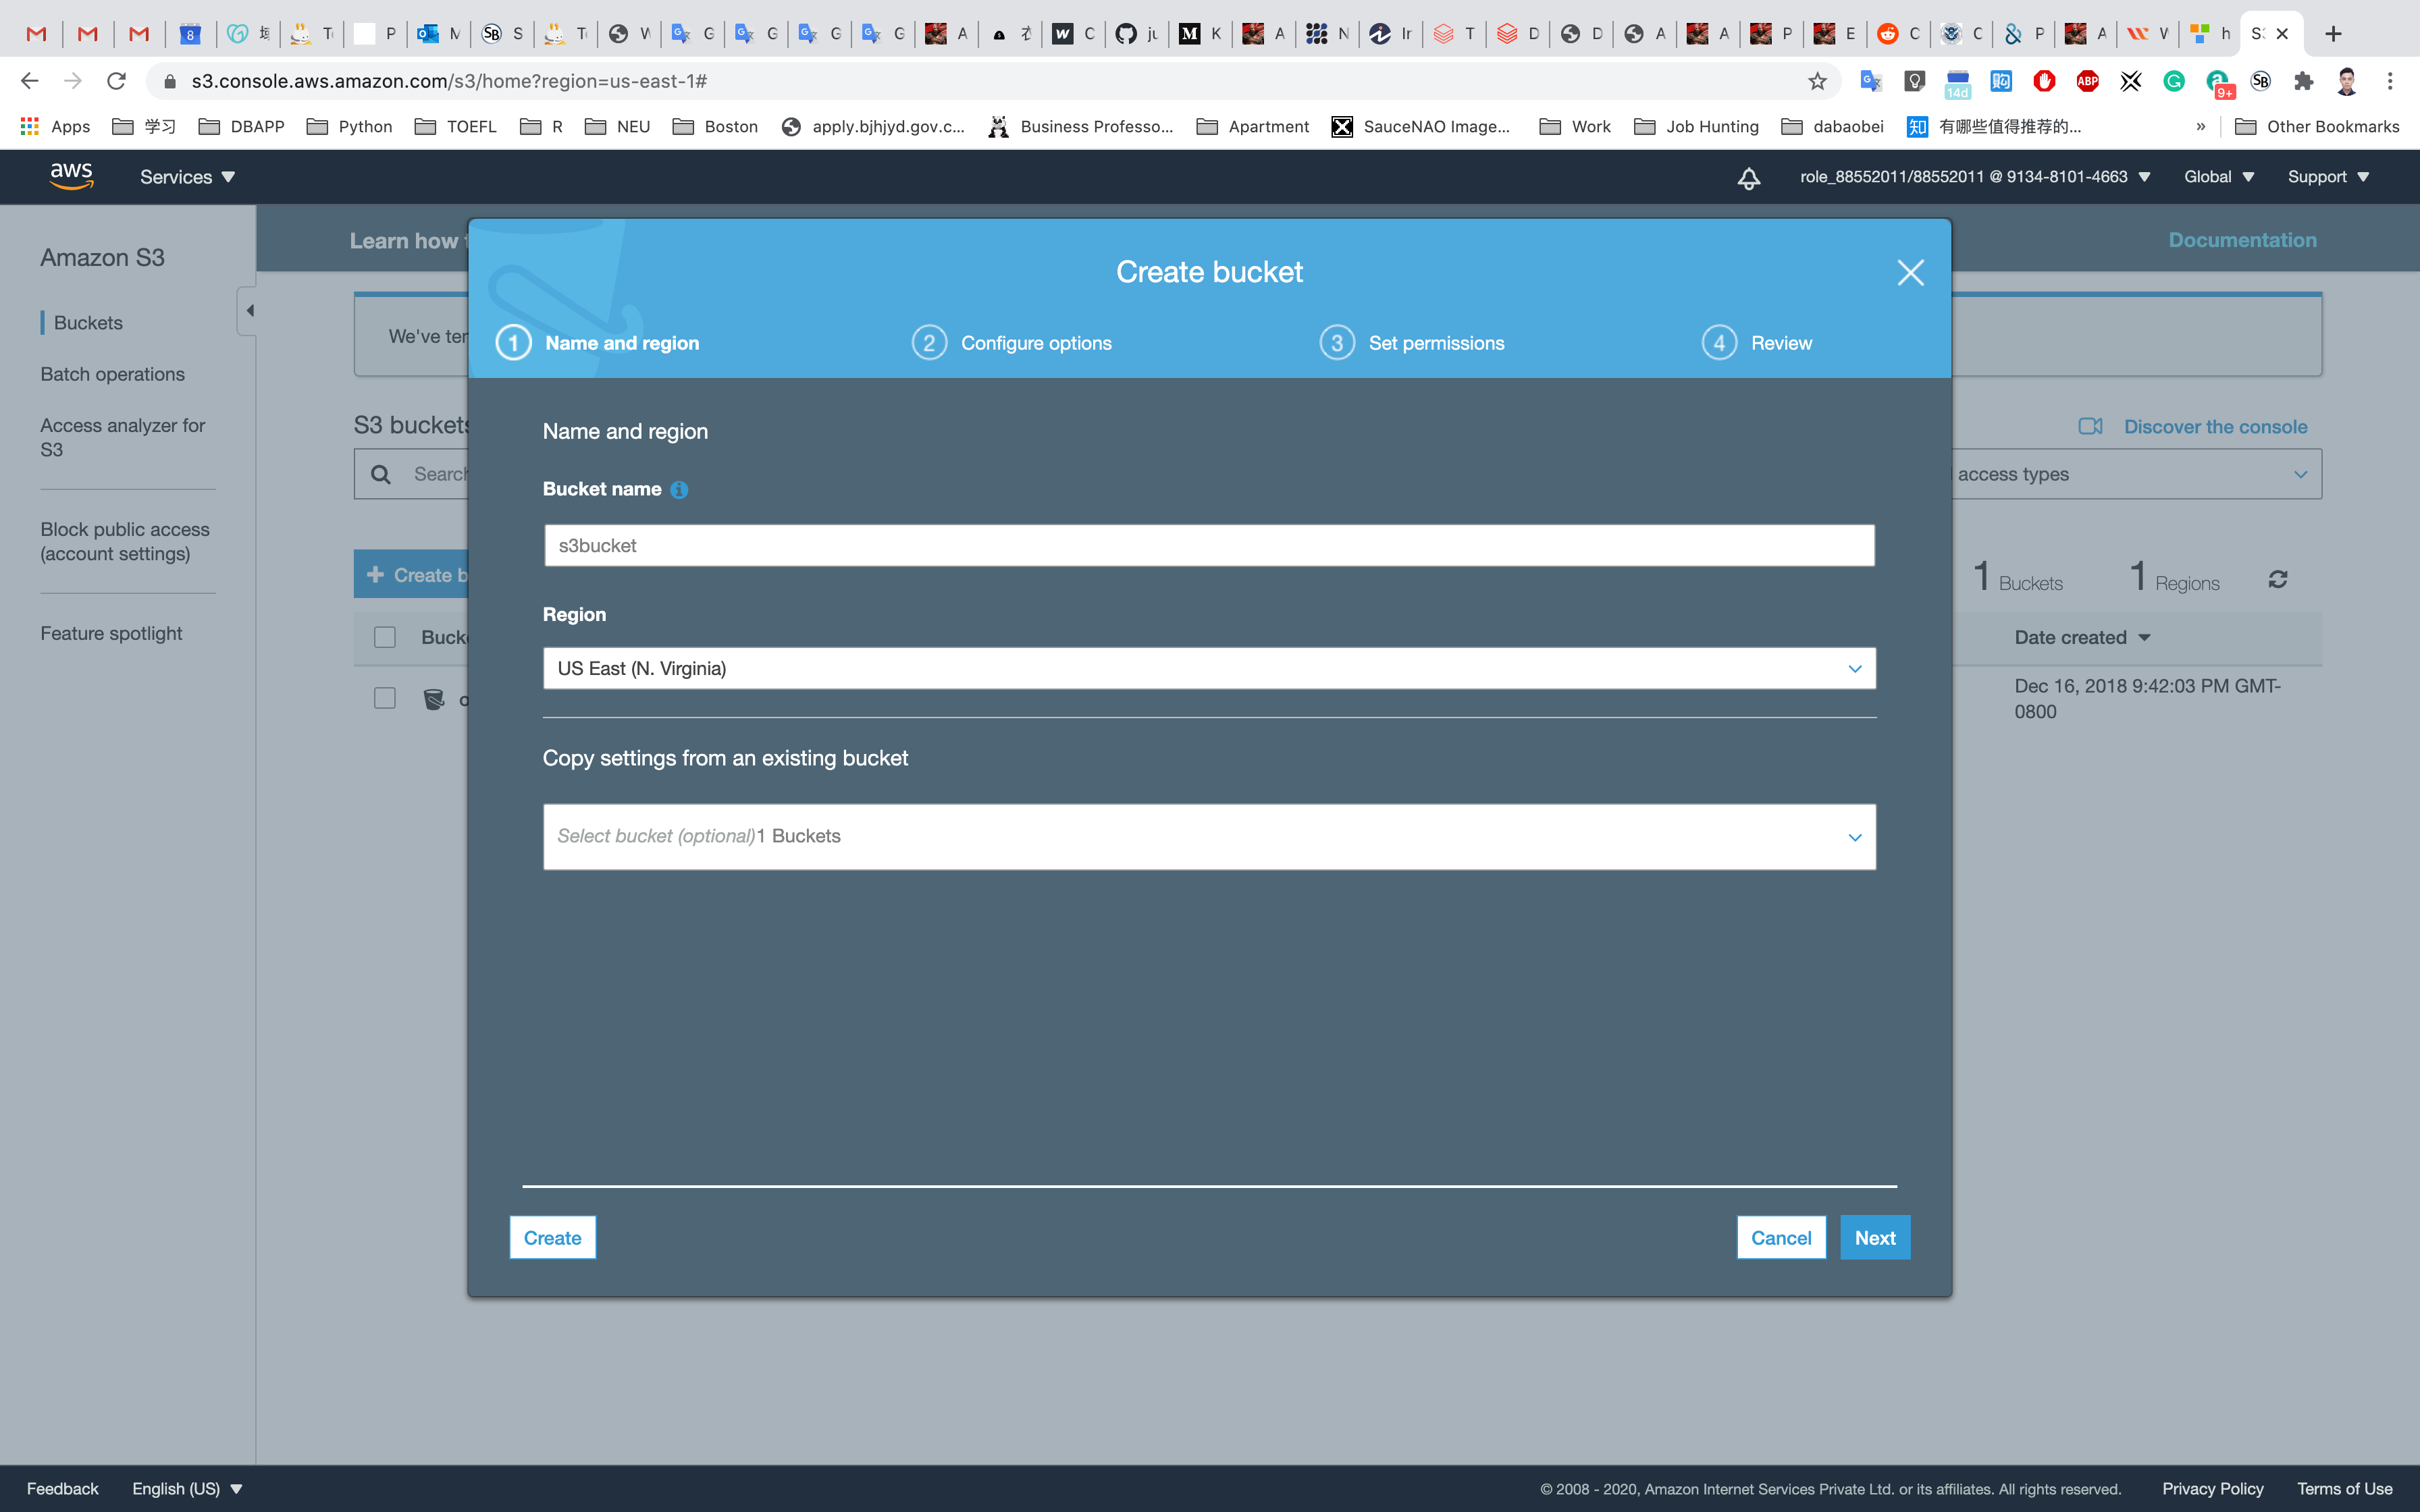
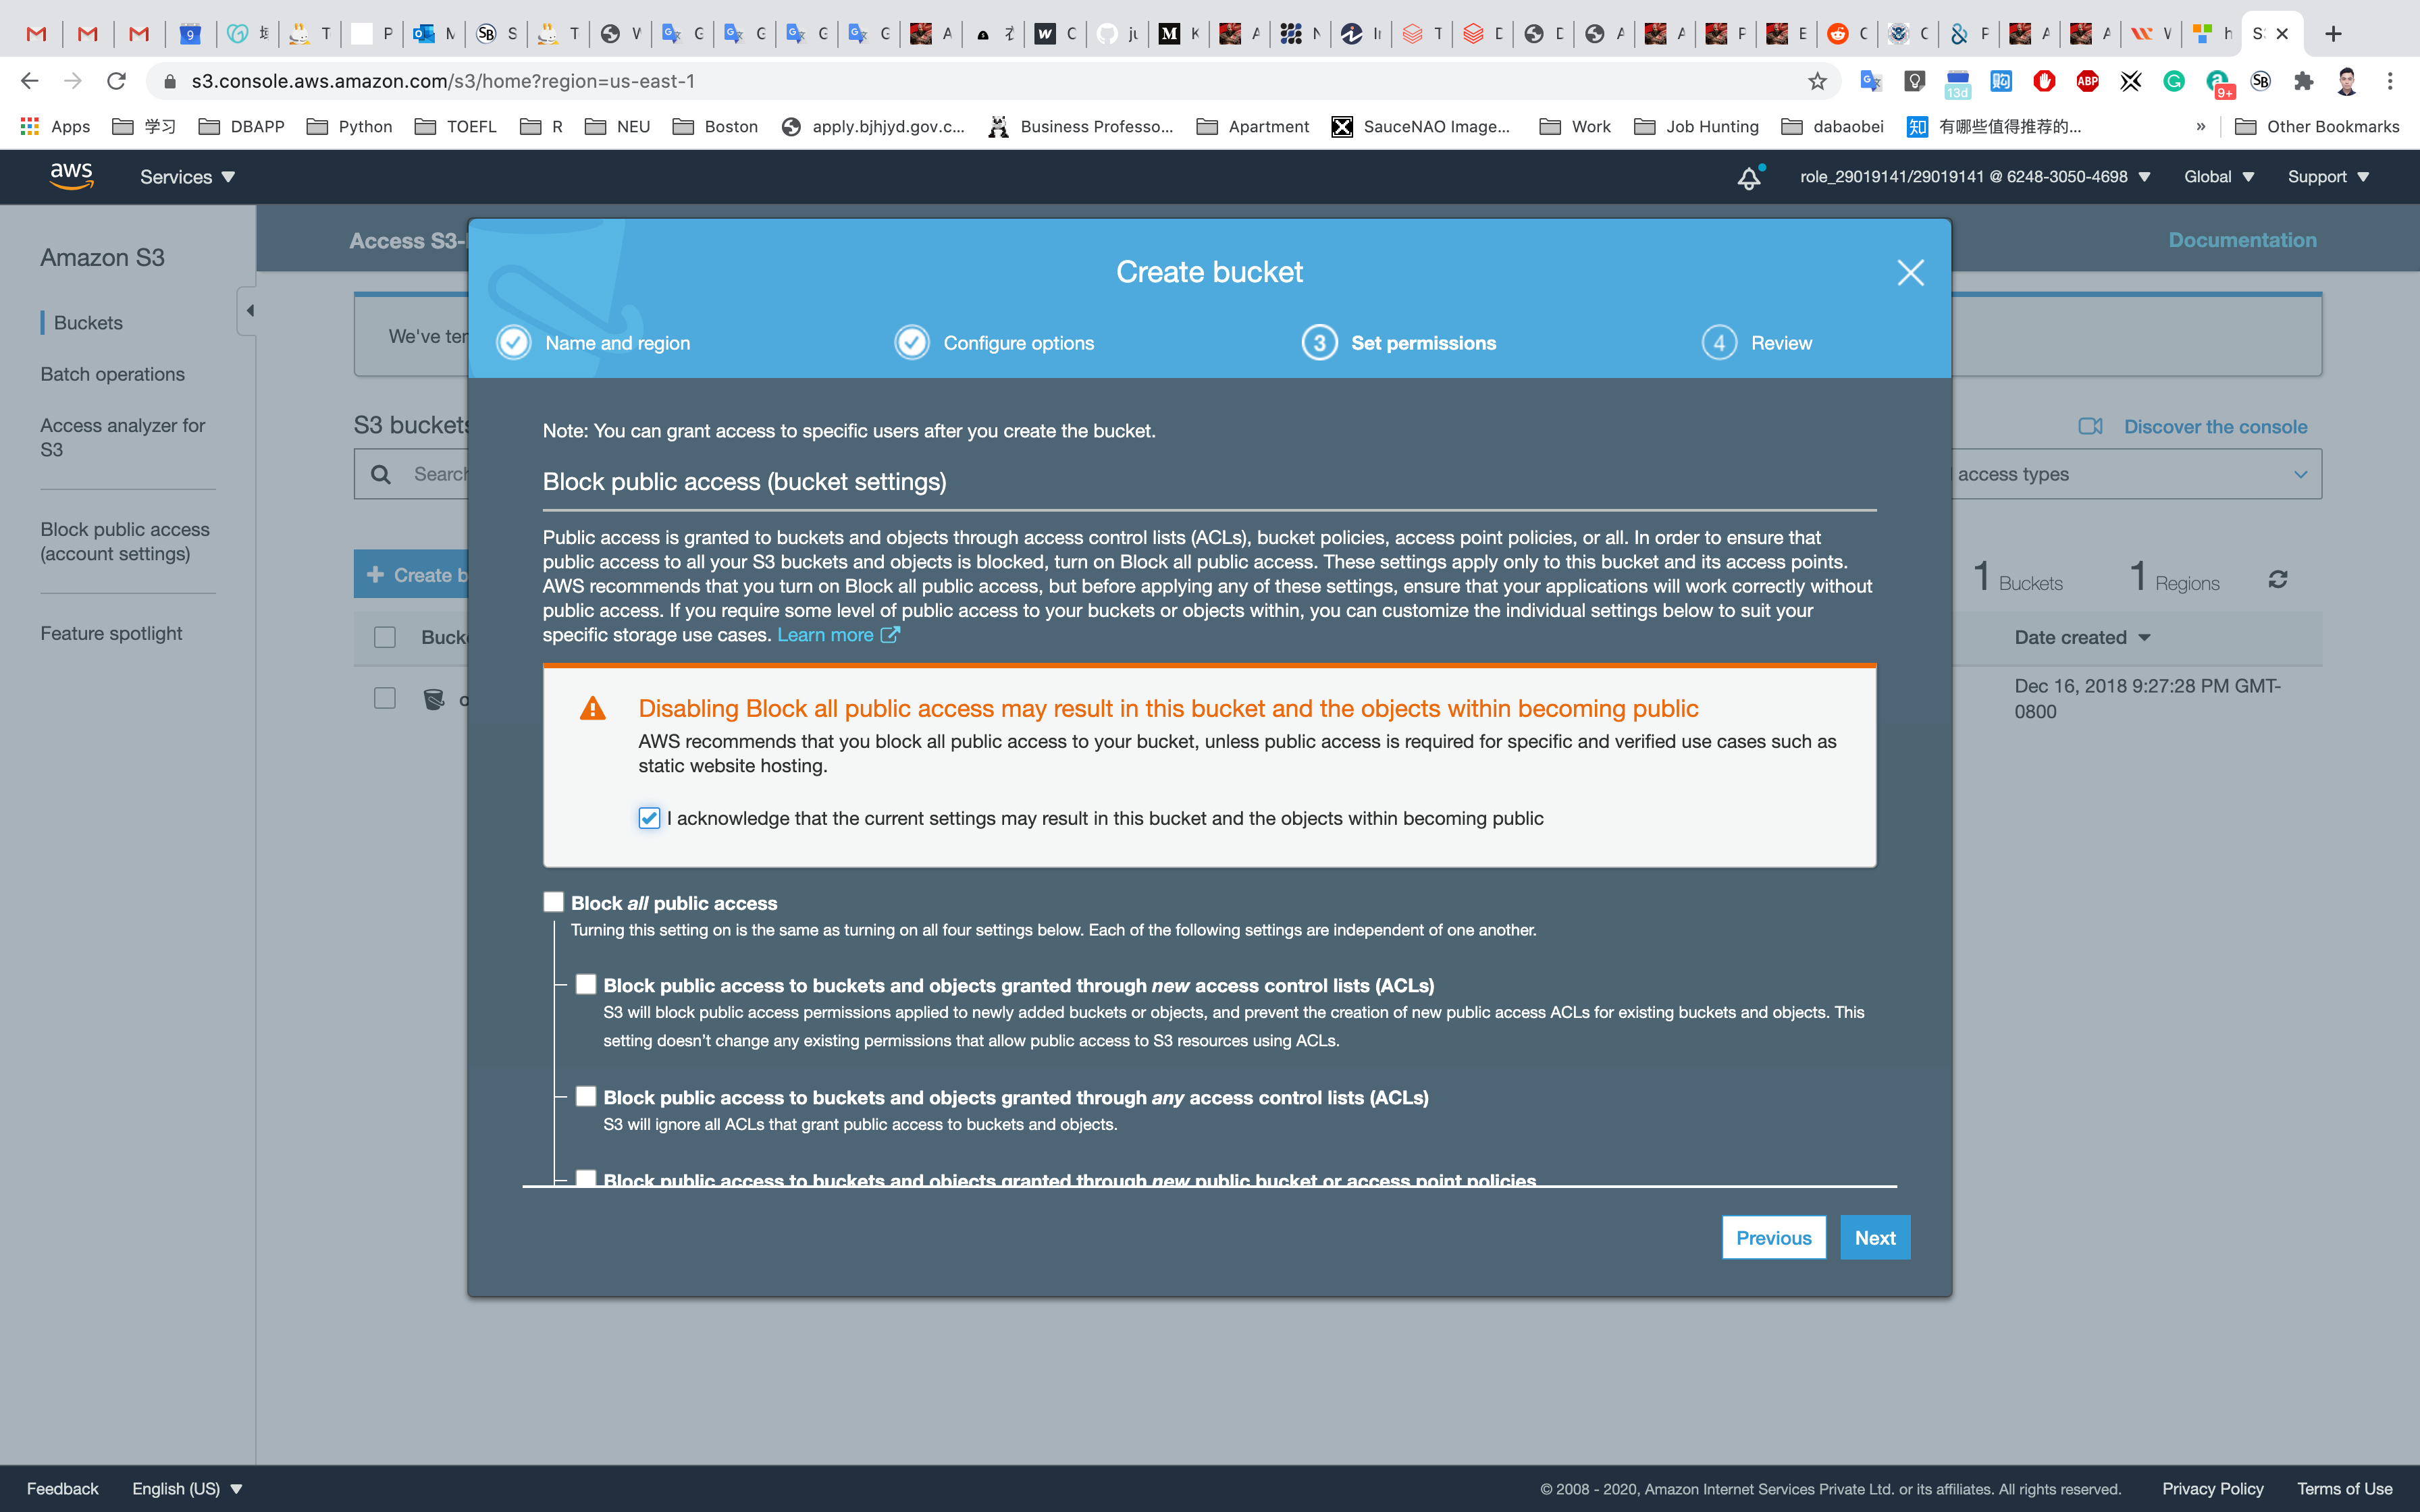
Leave other settings as default and click on Next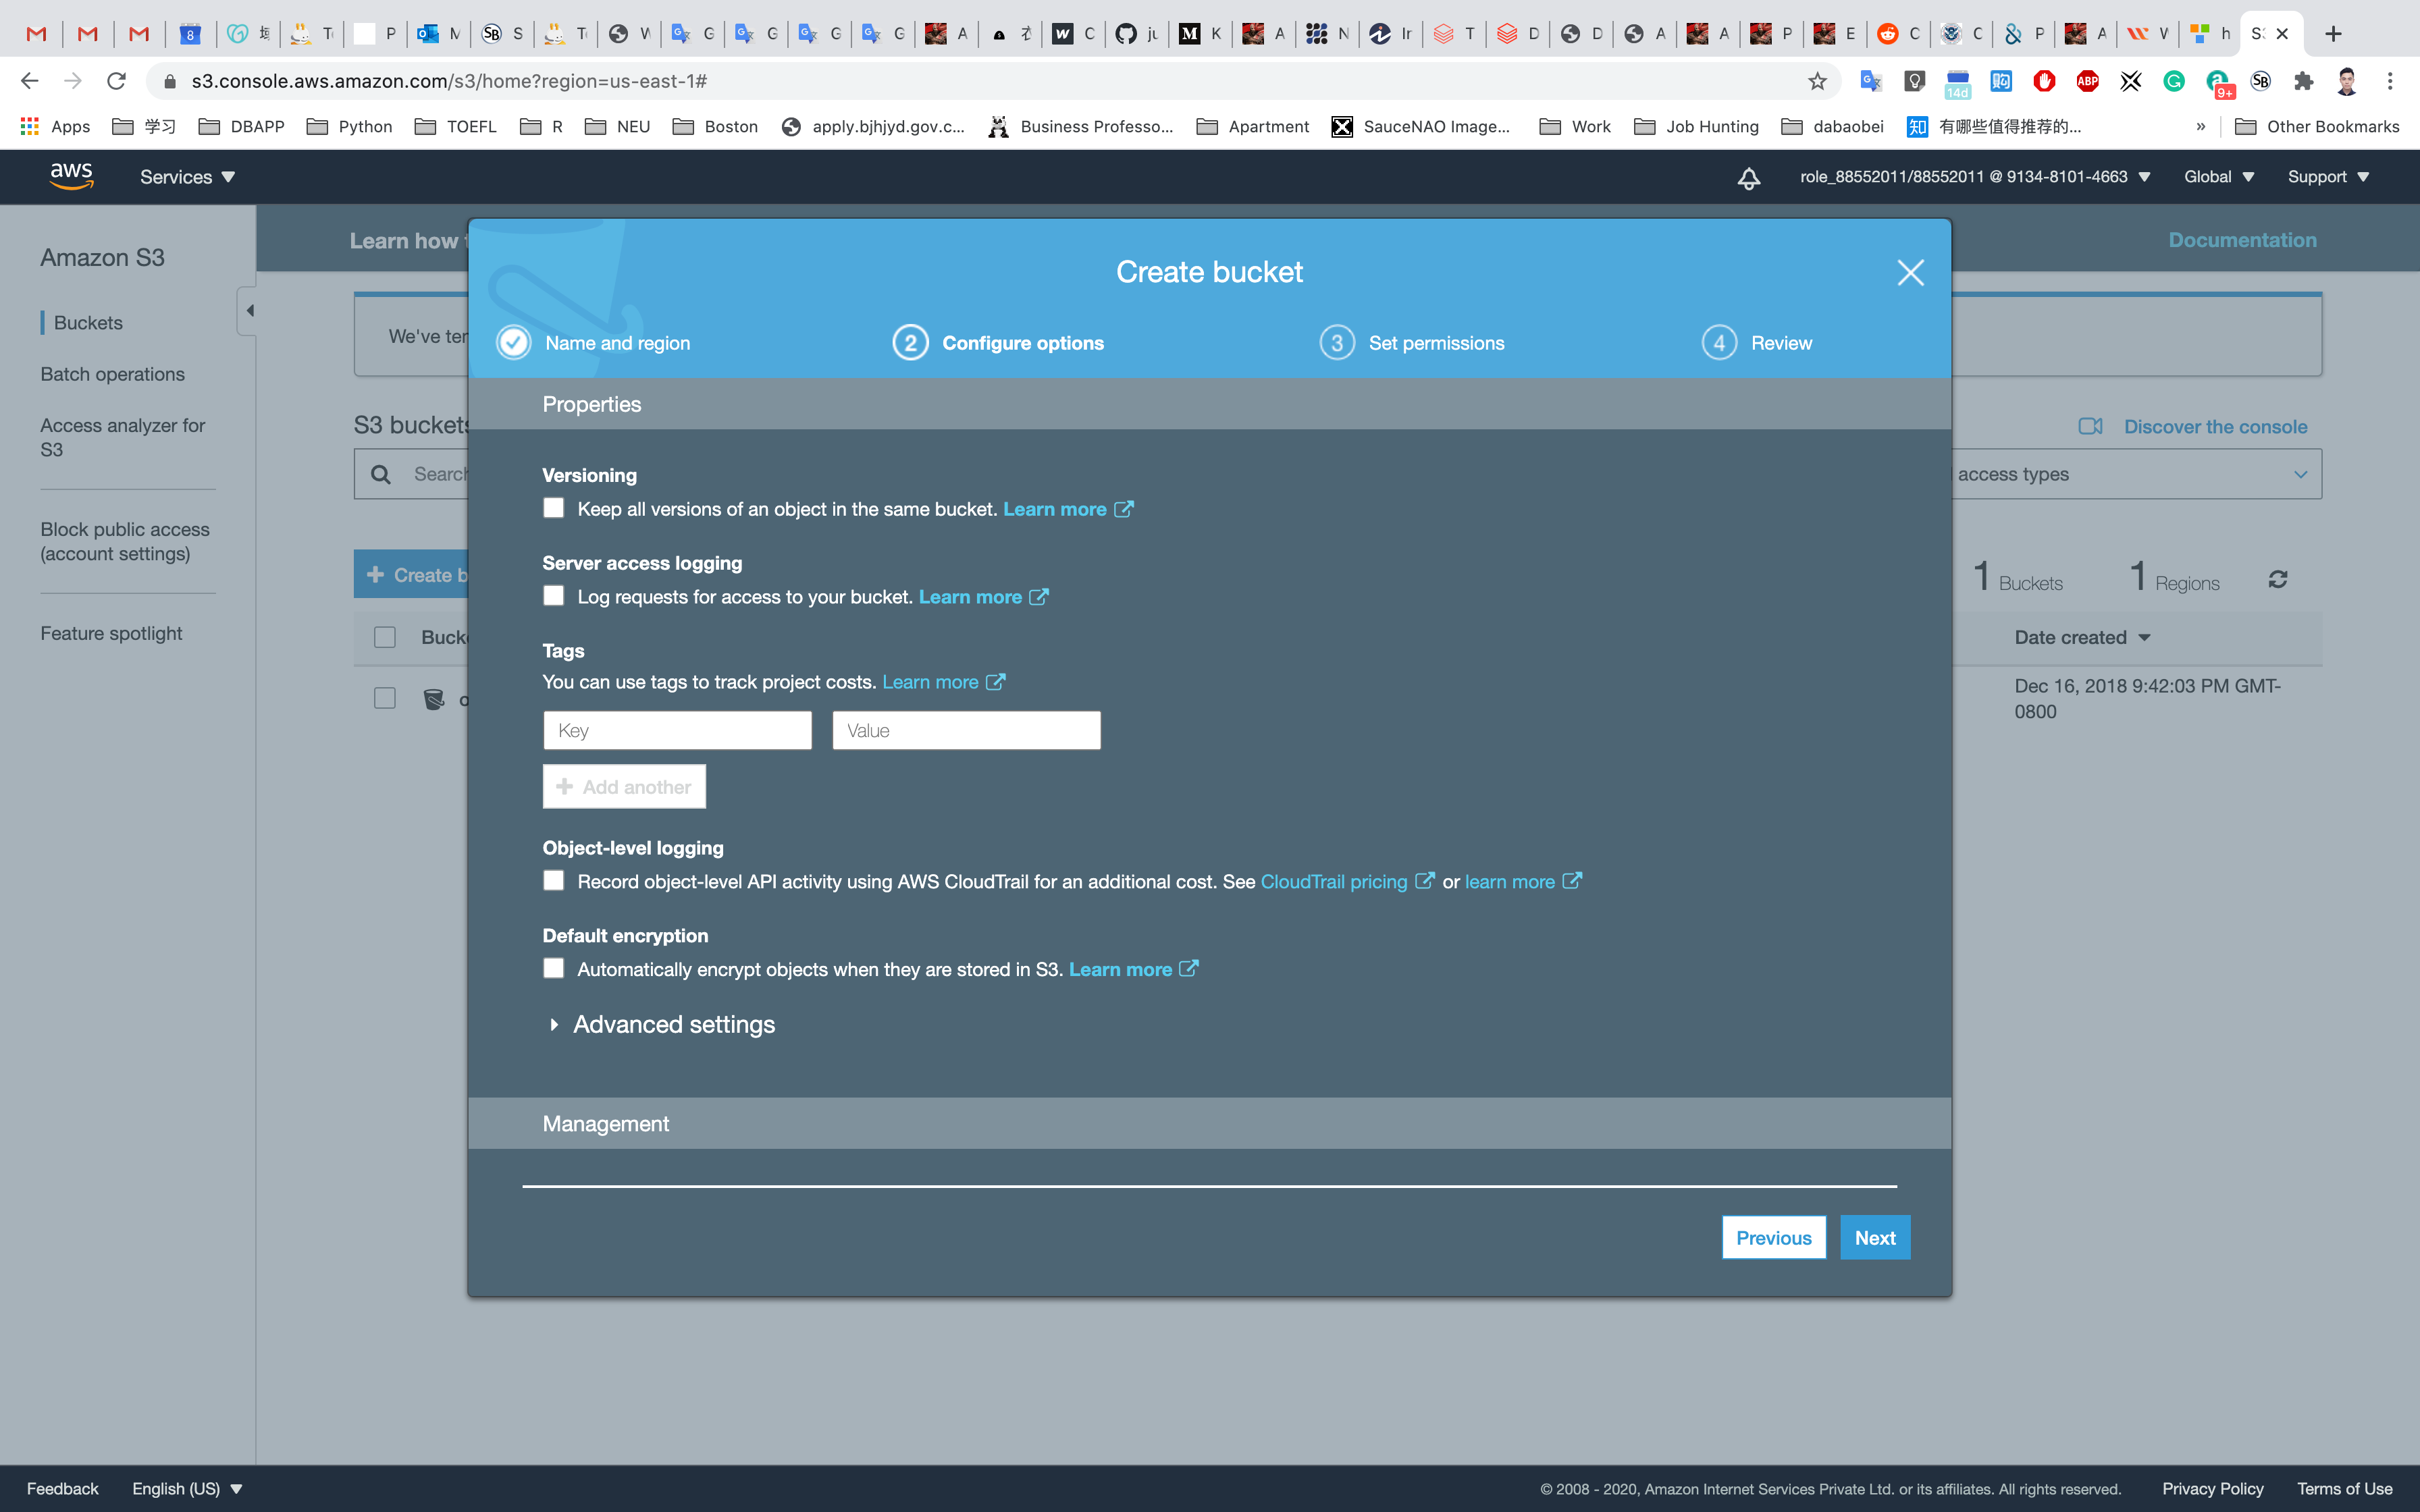
Leave other settings as default and click on Next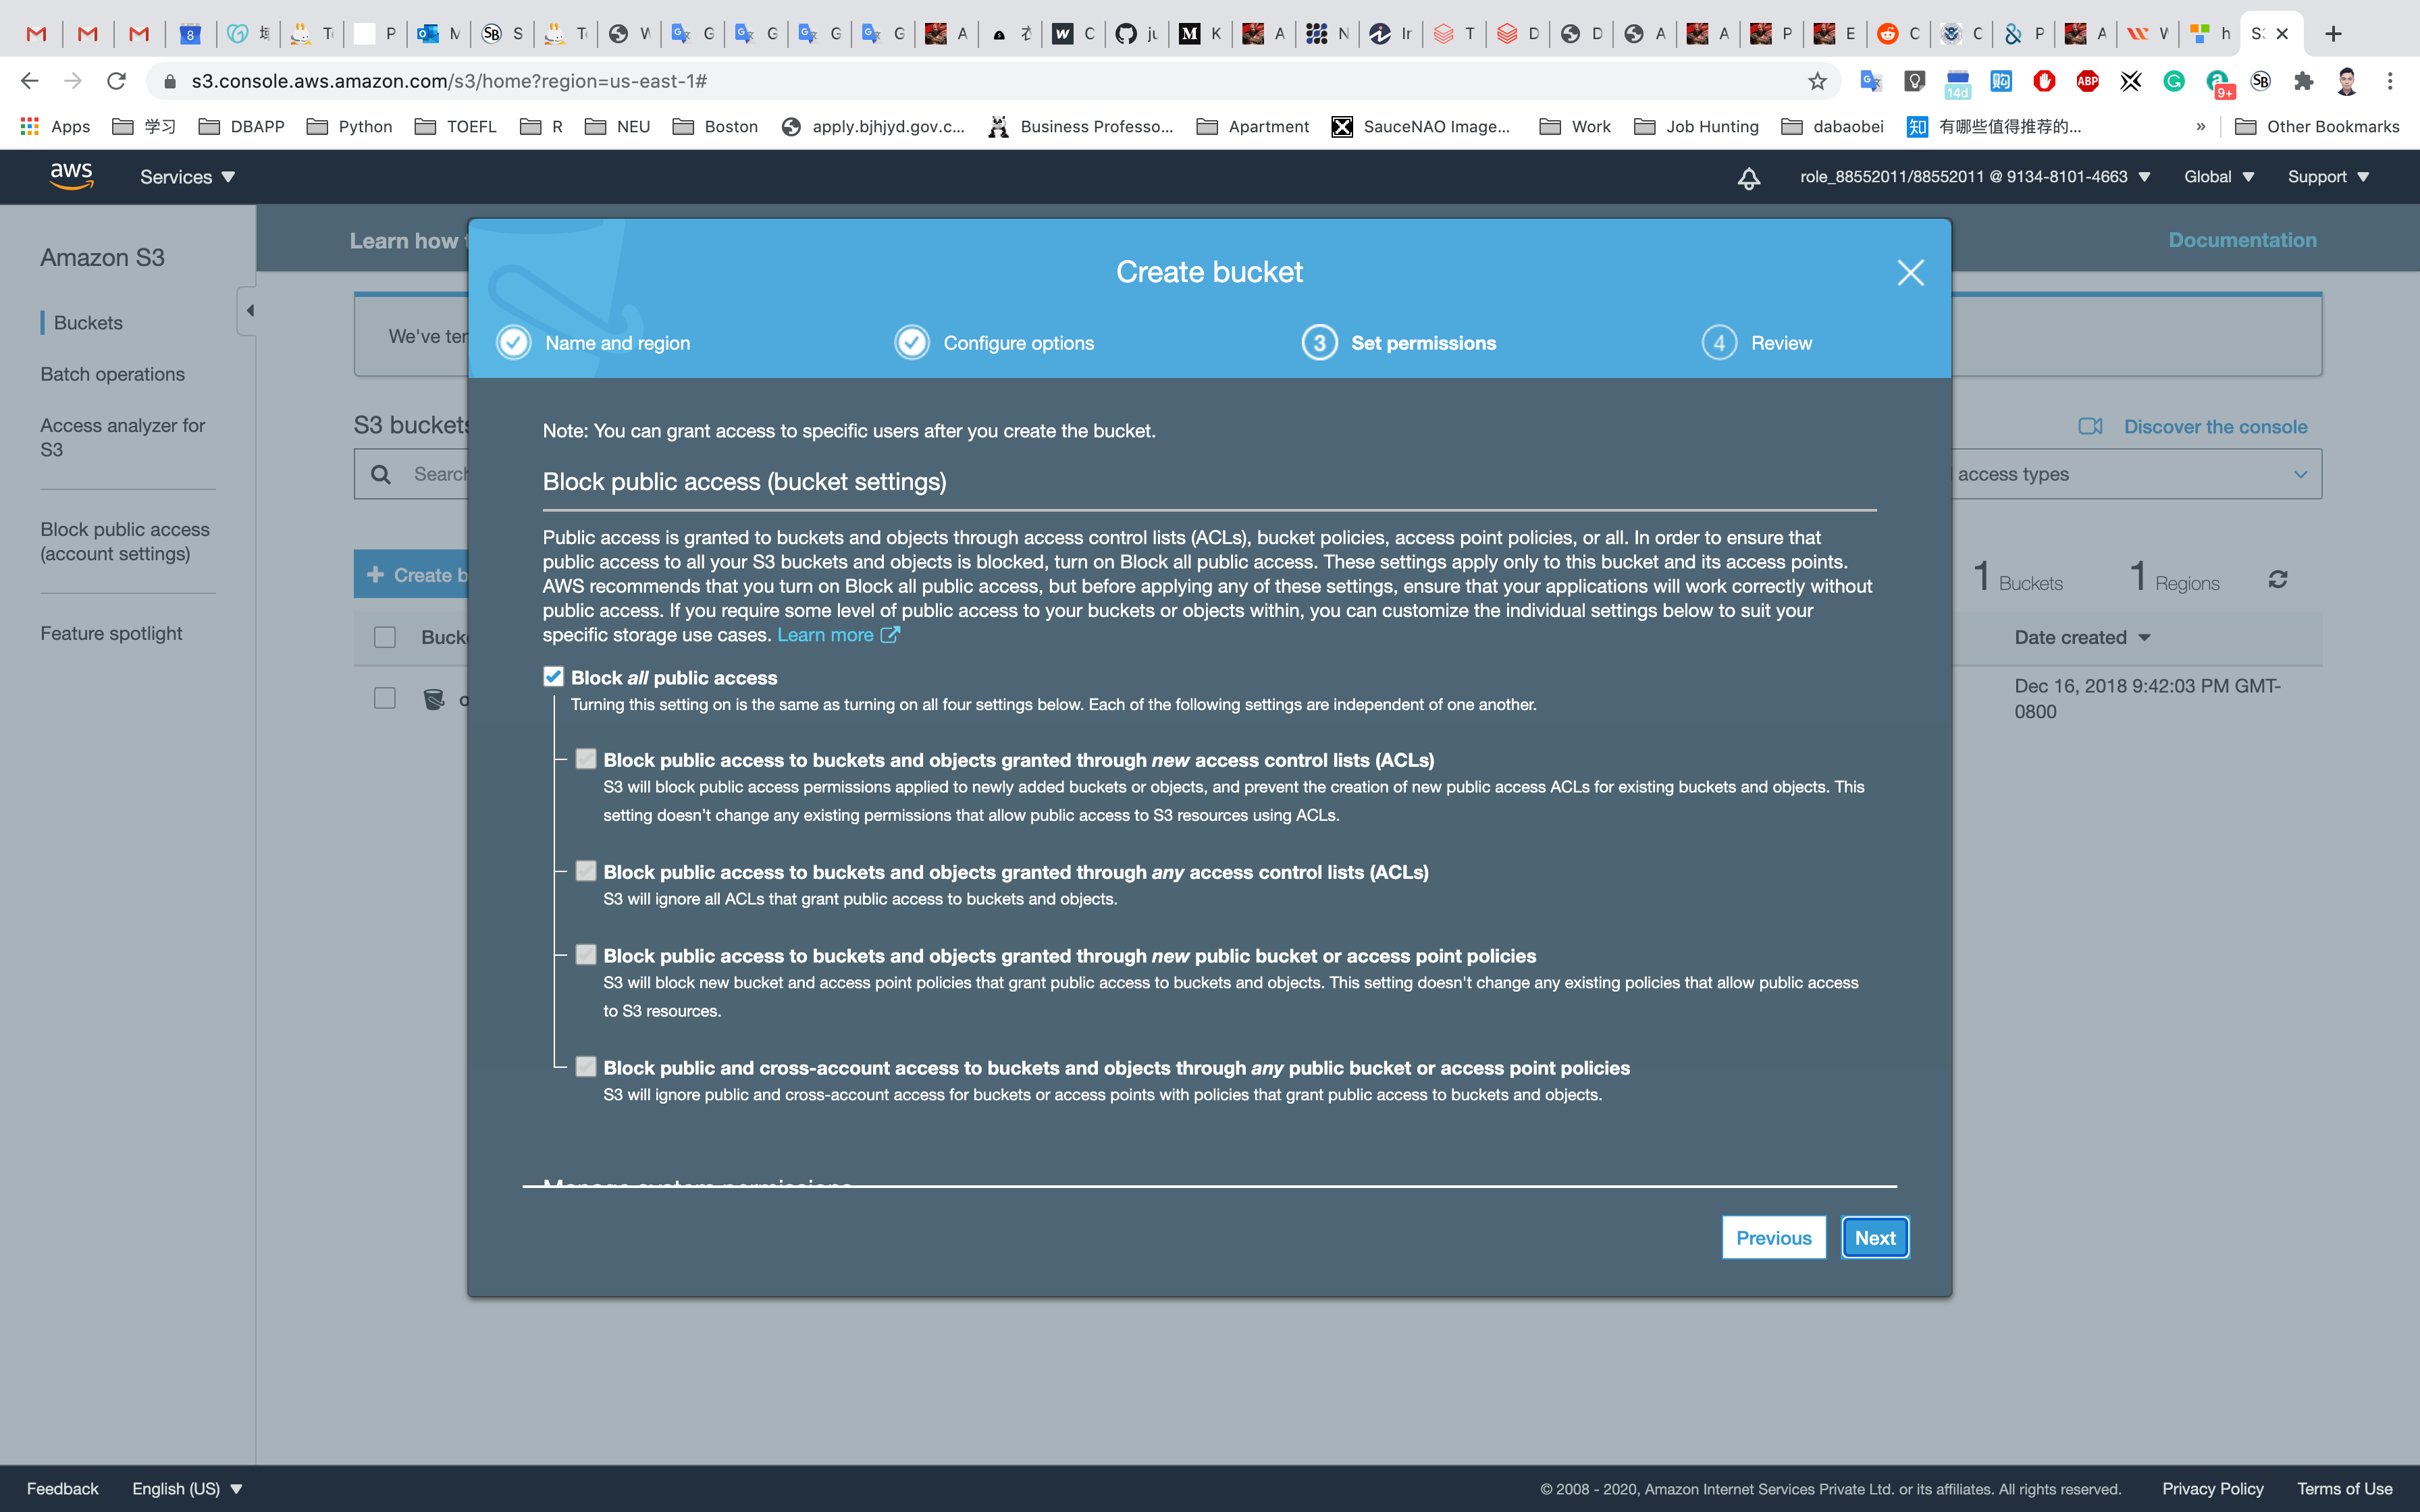
Leave other settings as default and click on Create bucket
Click on your bucket name.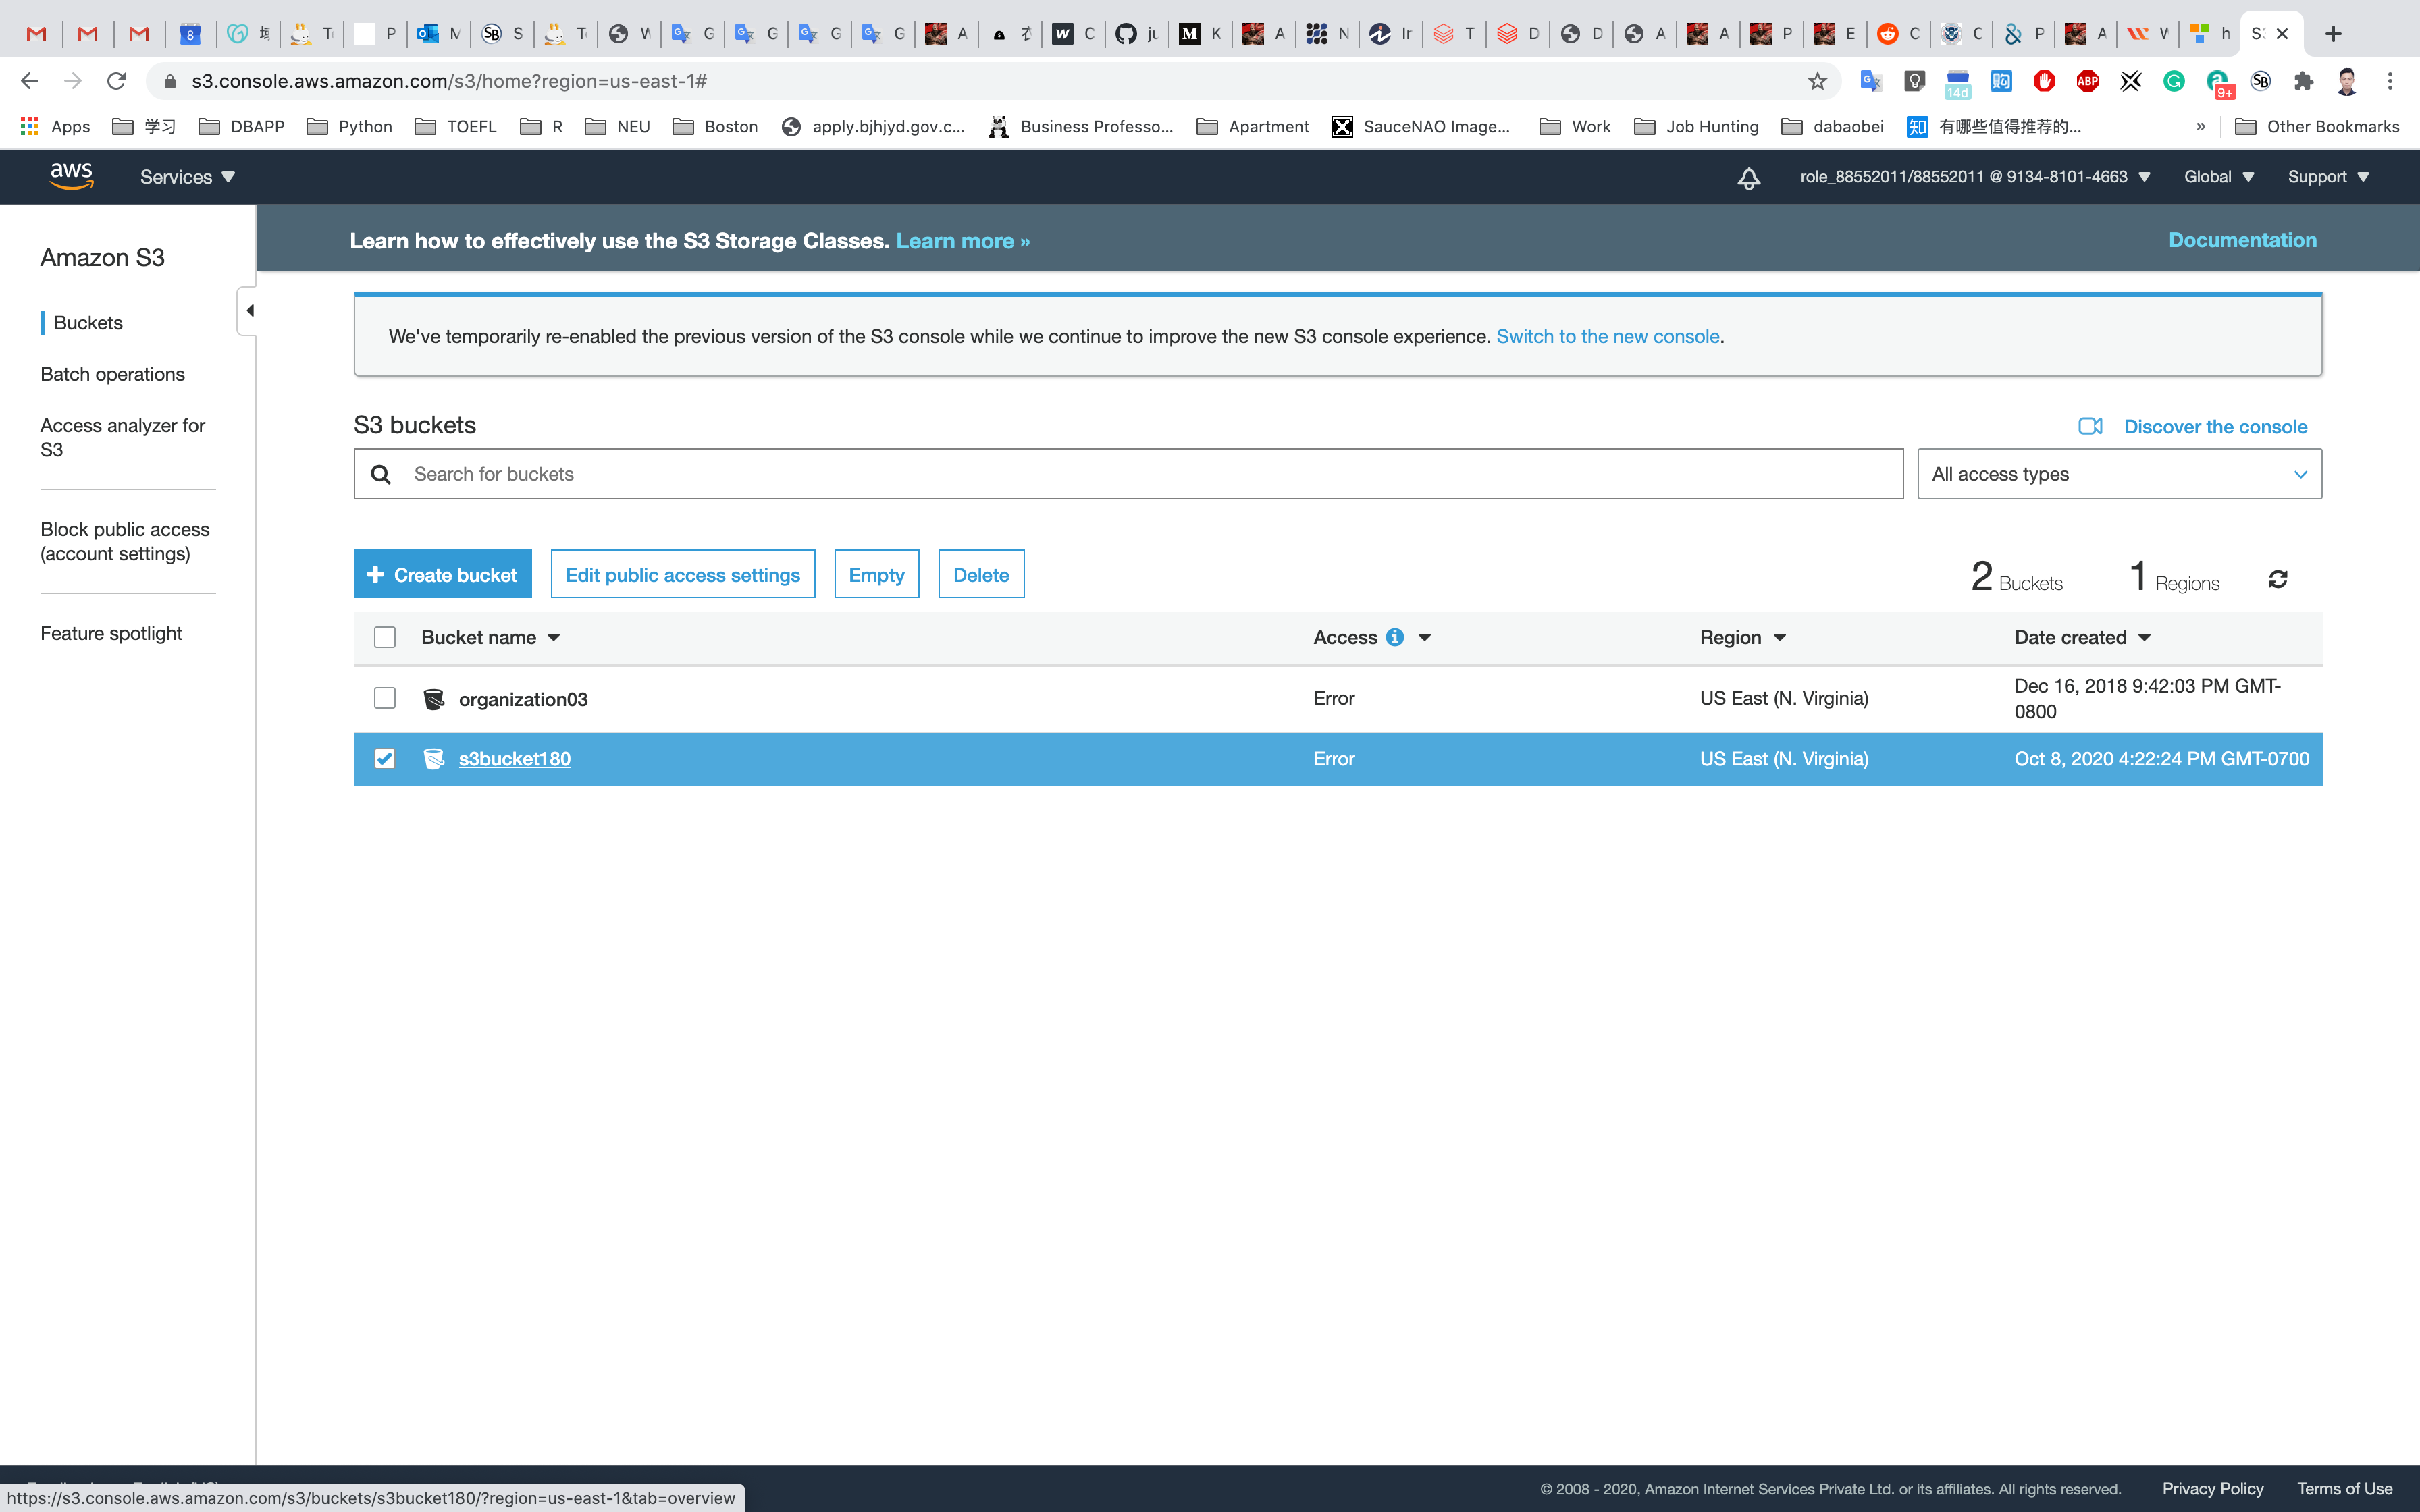
Click on Upload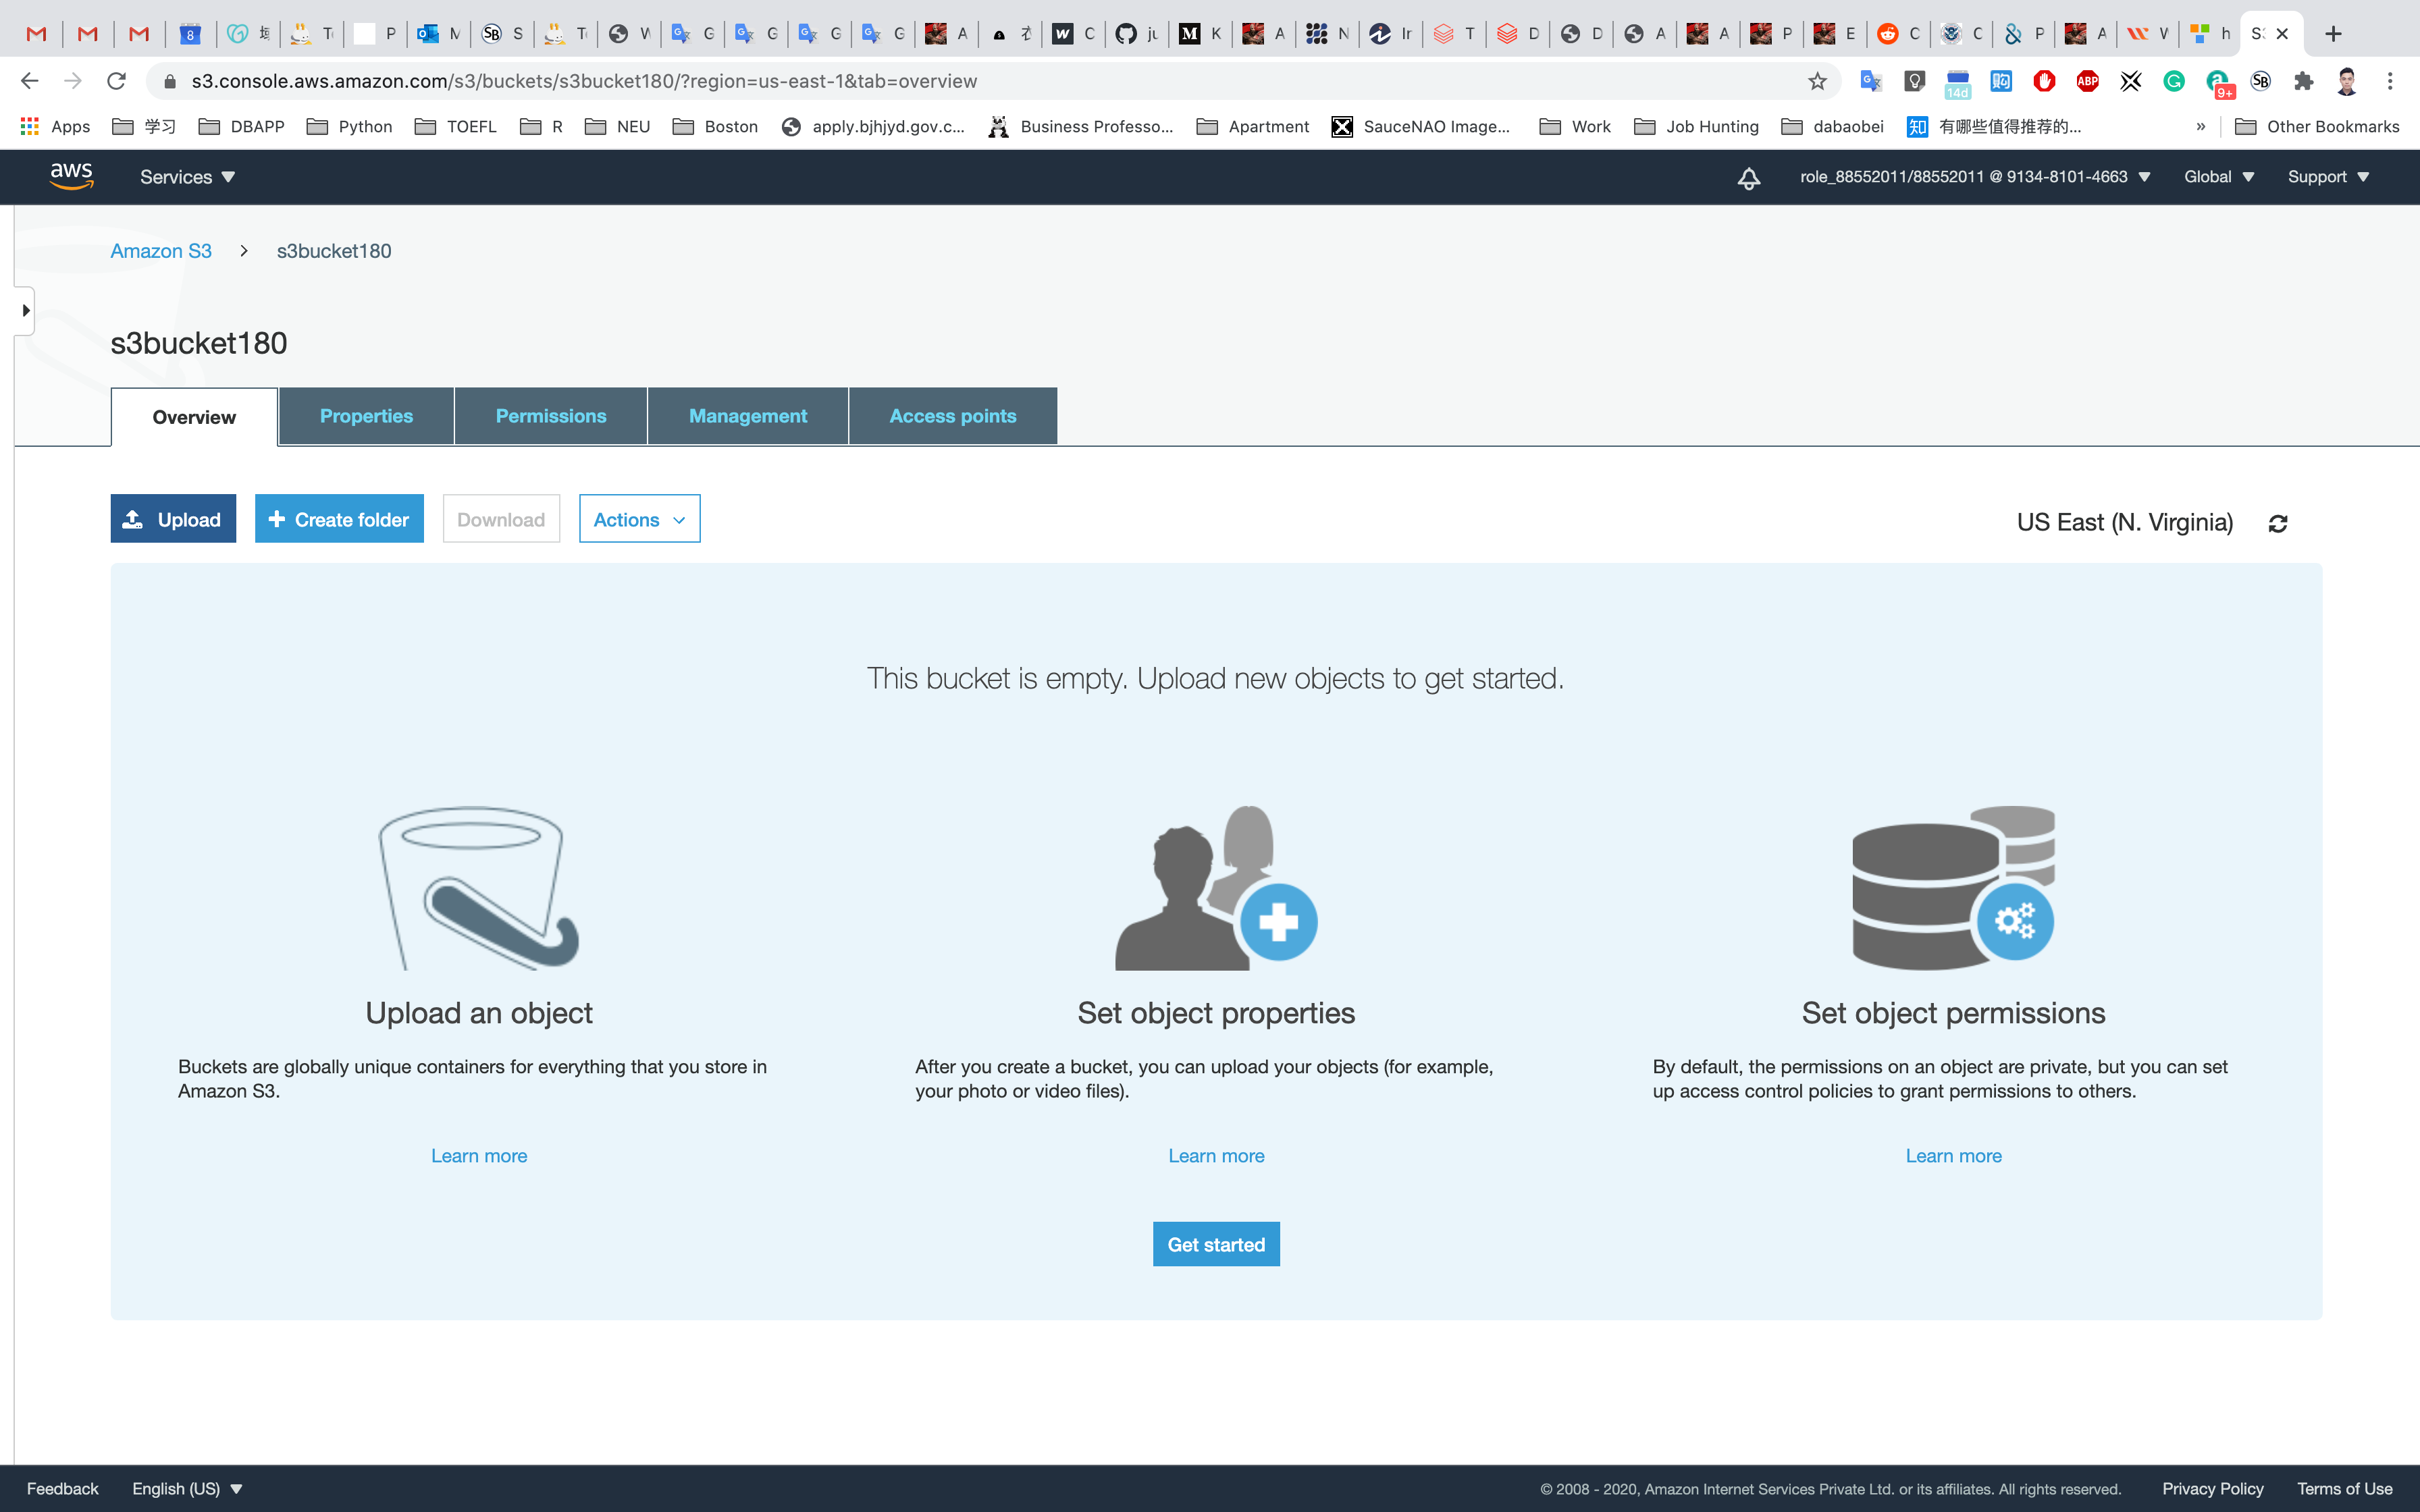
Click on Add files, and choose a file from your computer.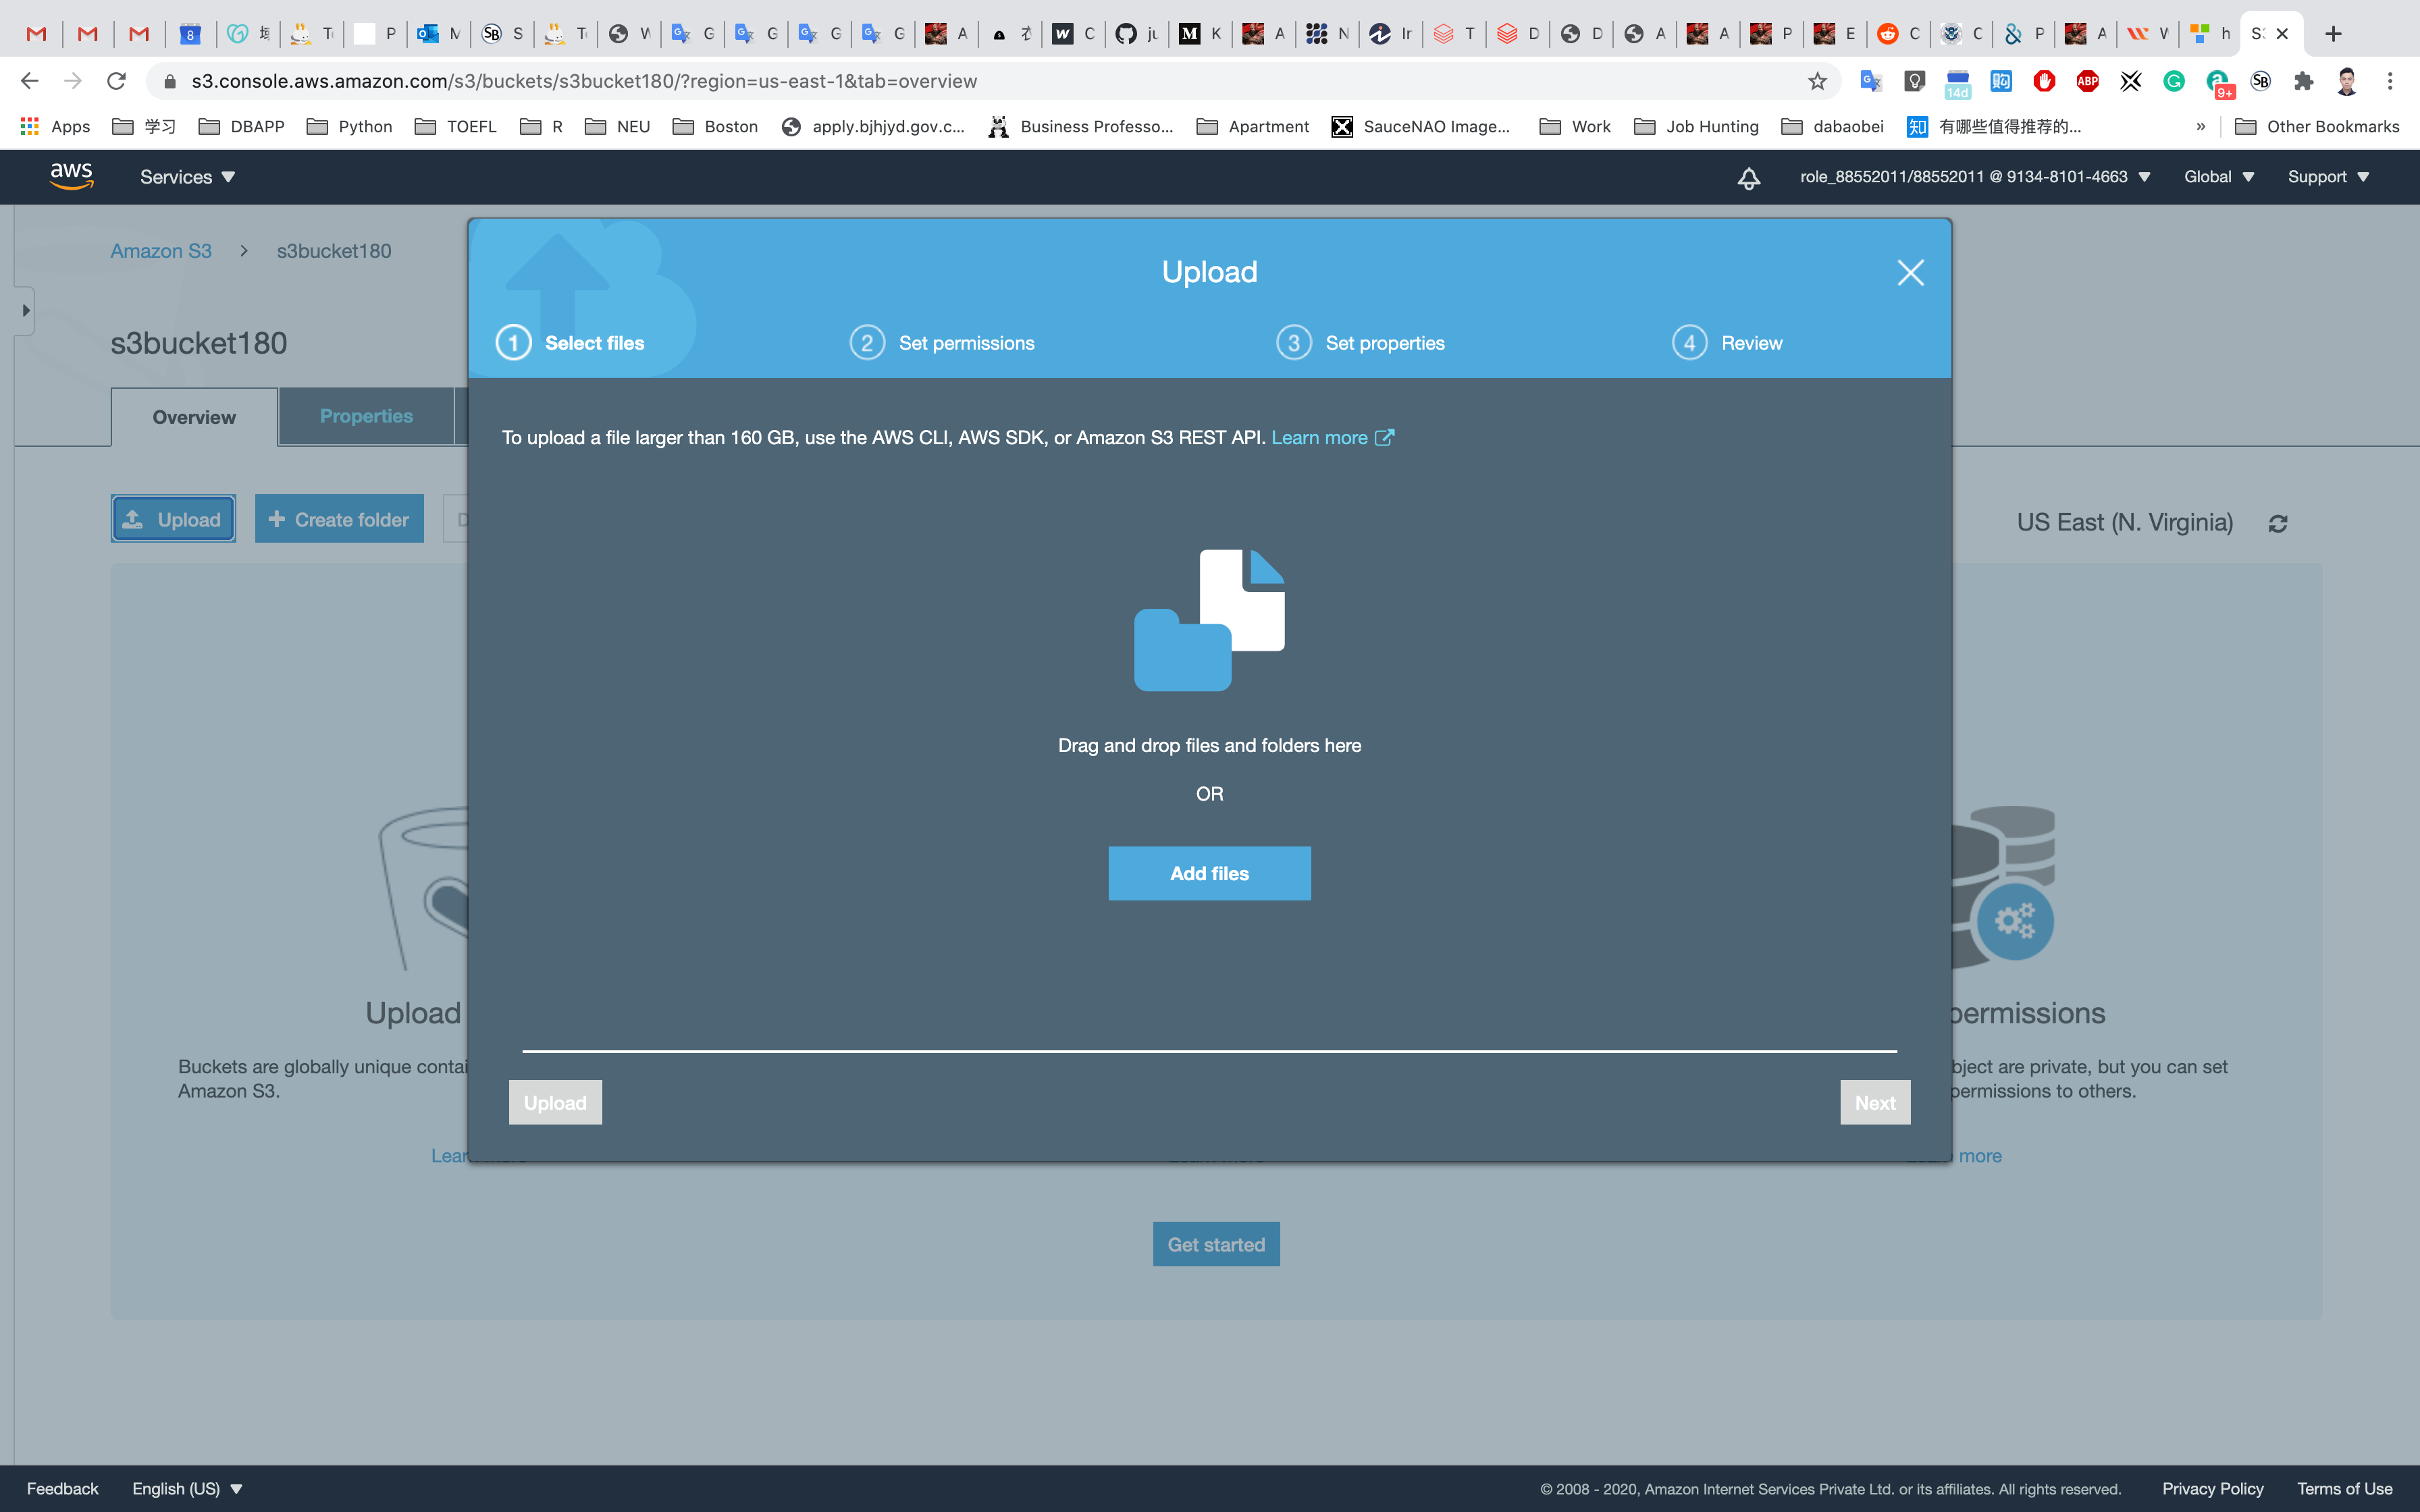
After choosing your file, click on Next
Click on Next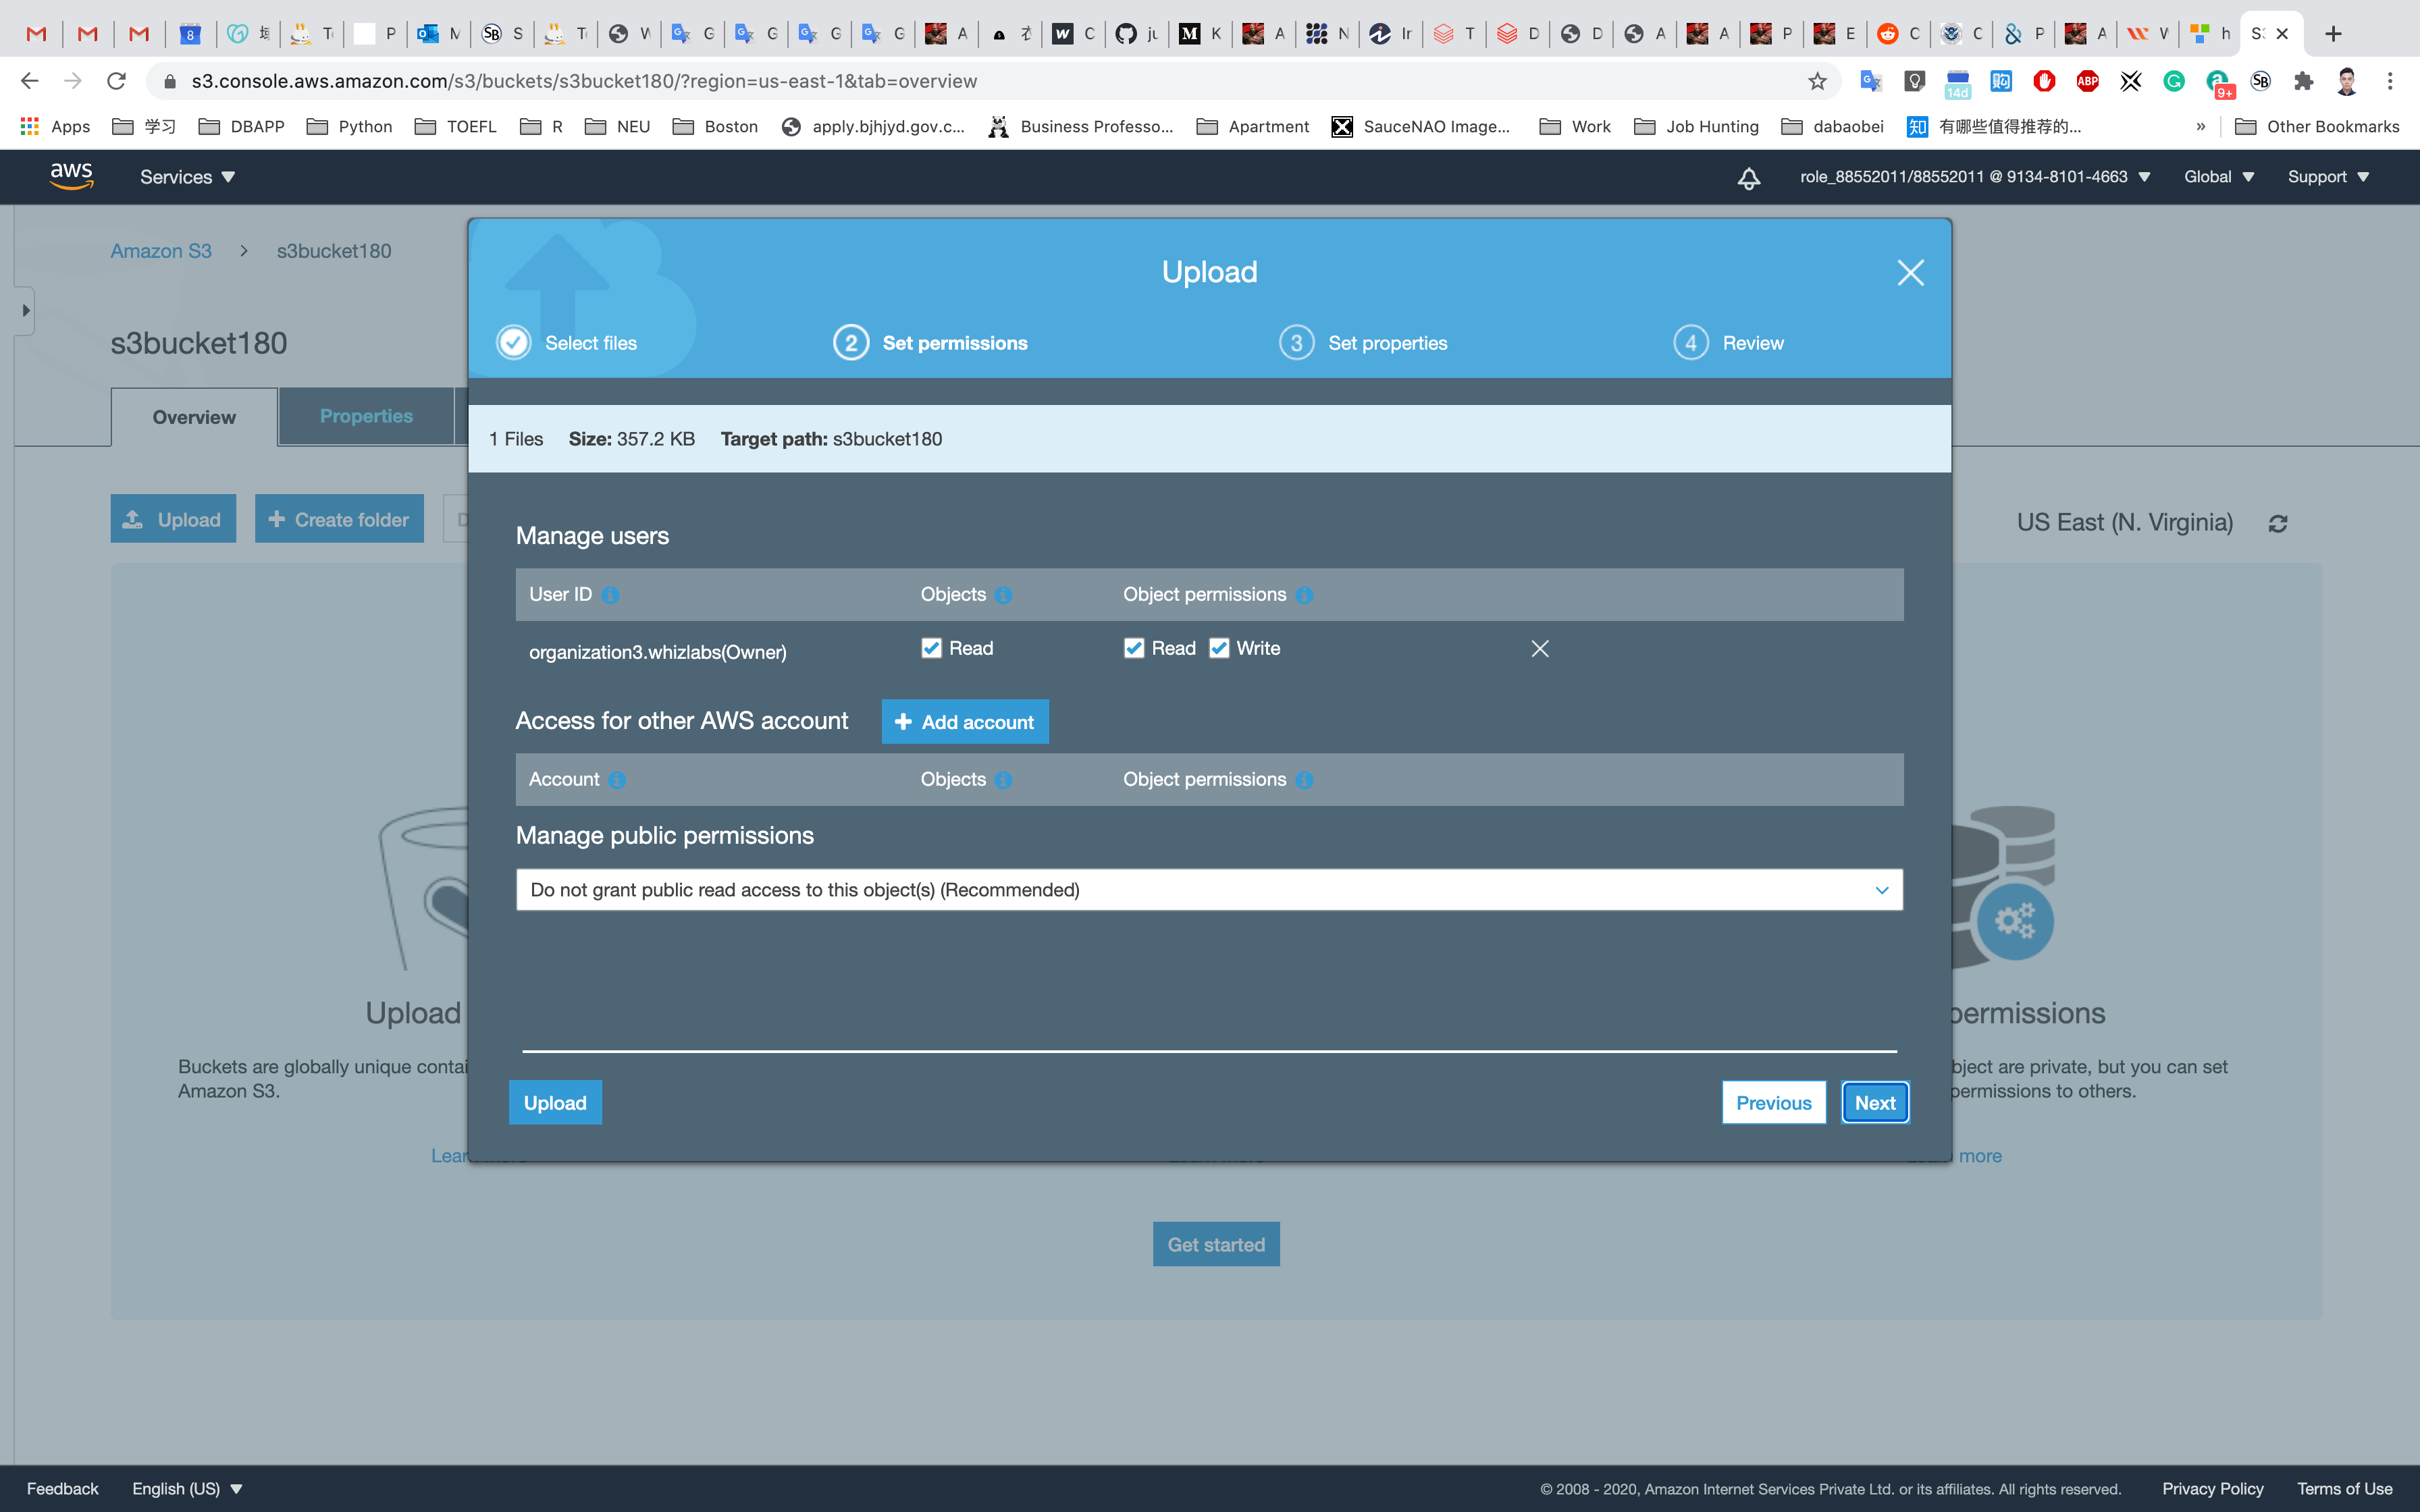
Click on Next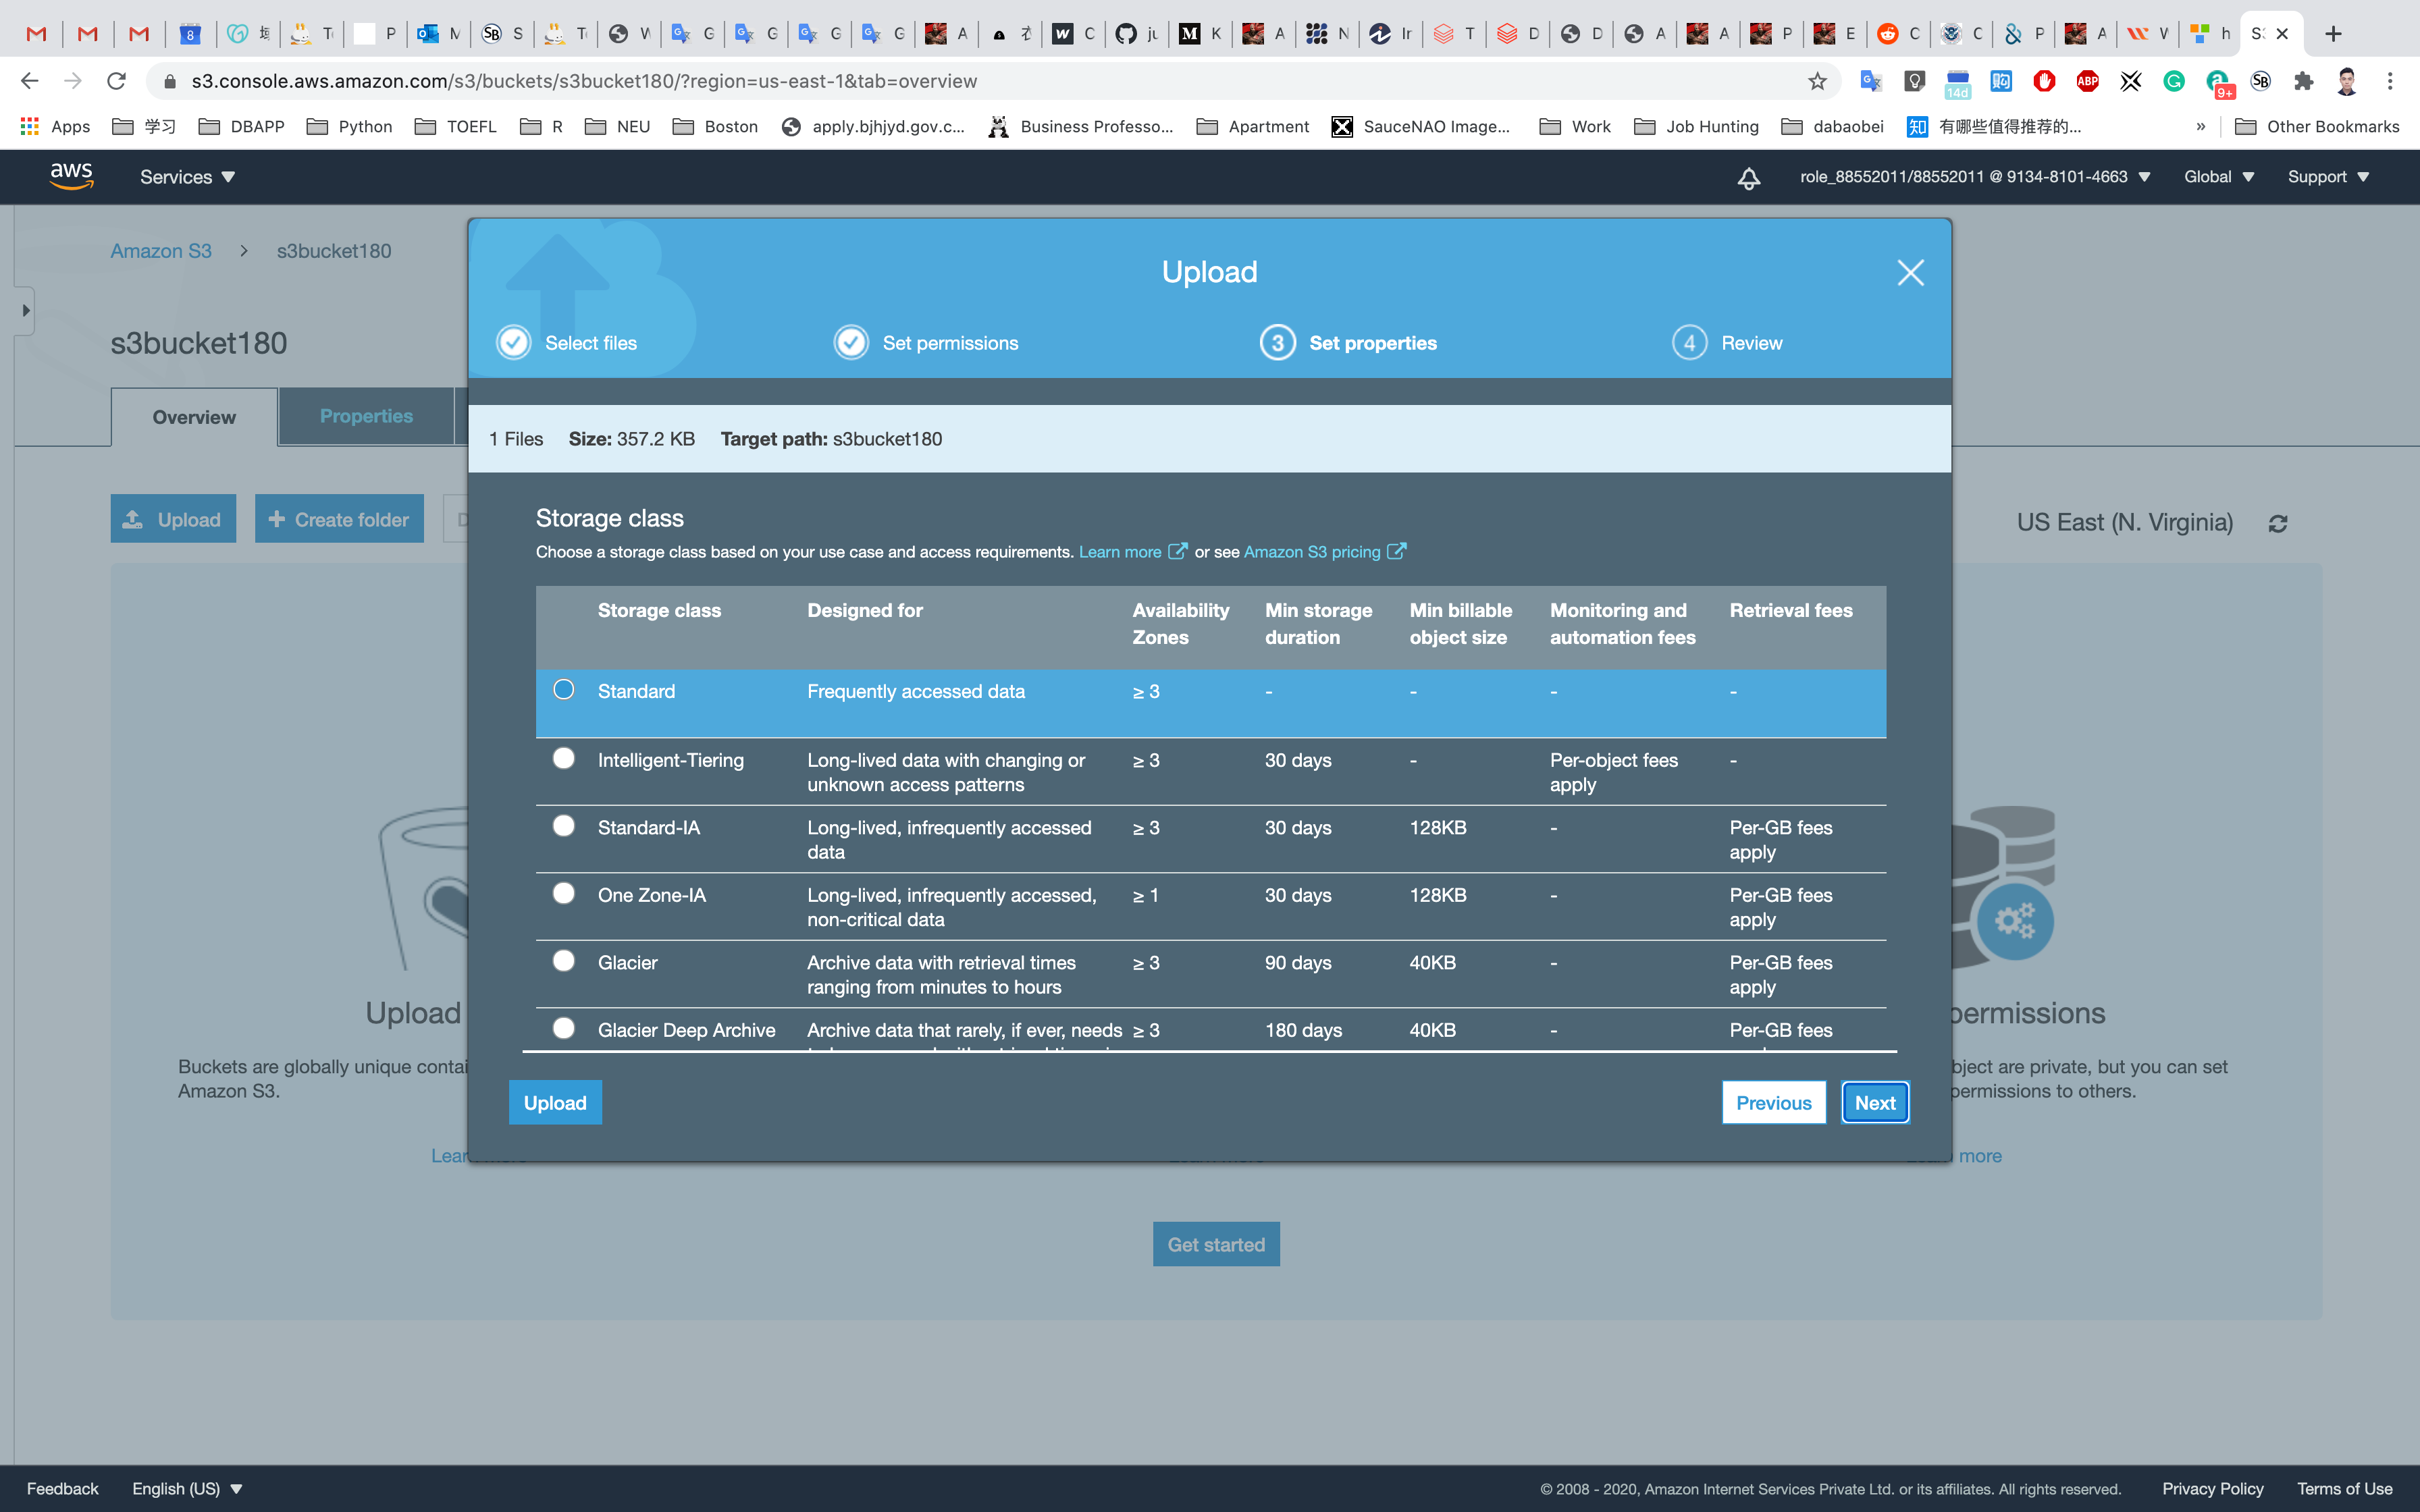
Click on Upload.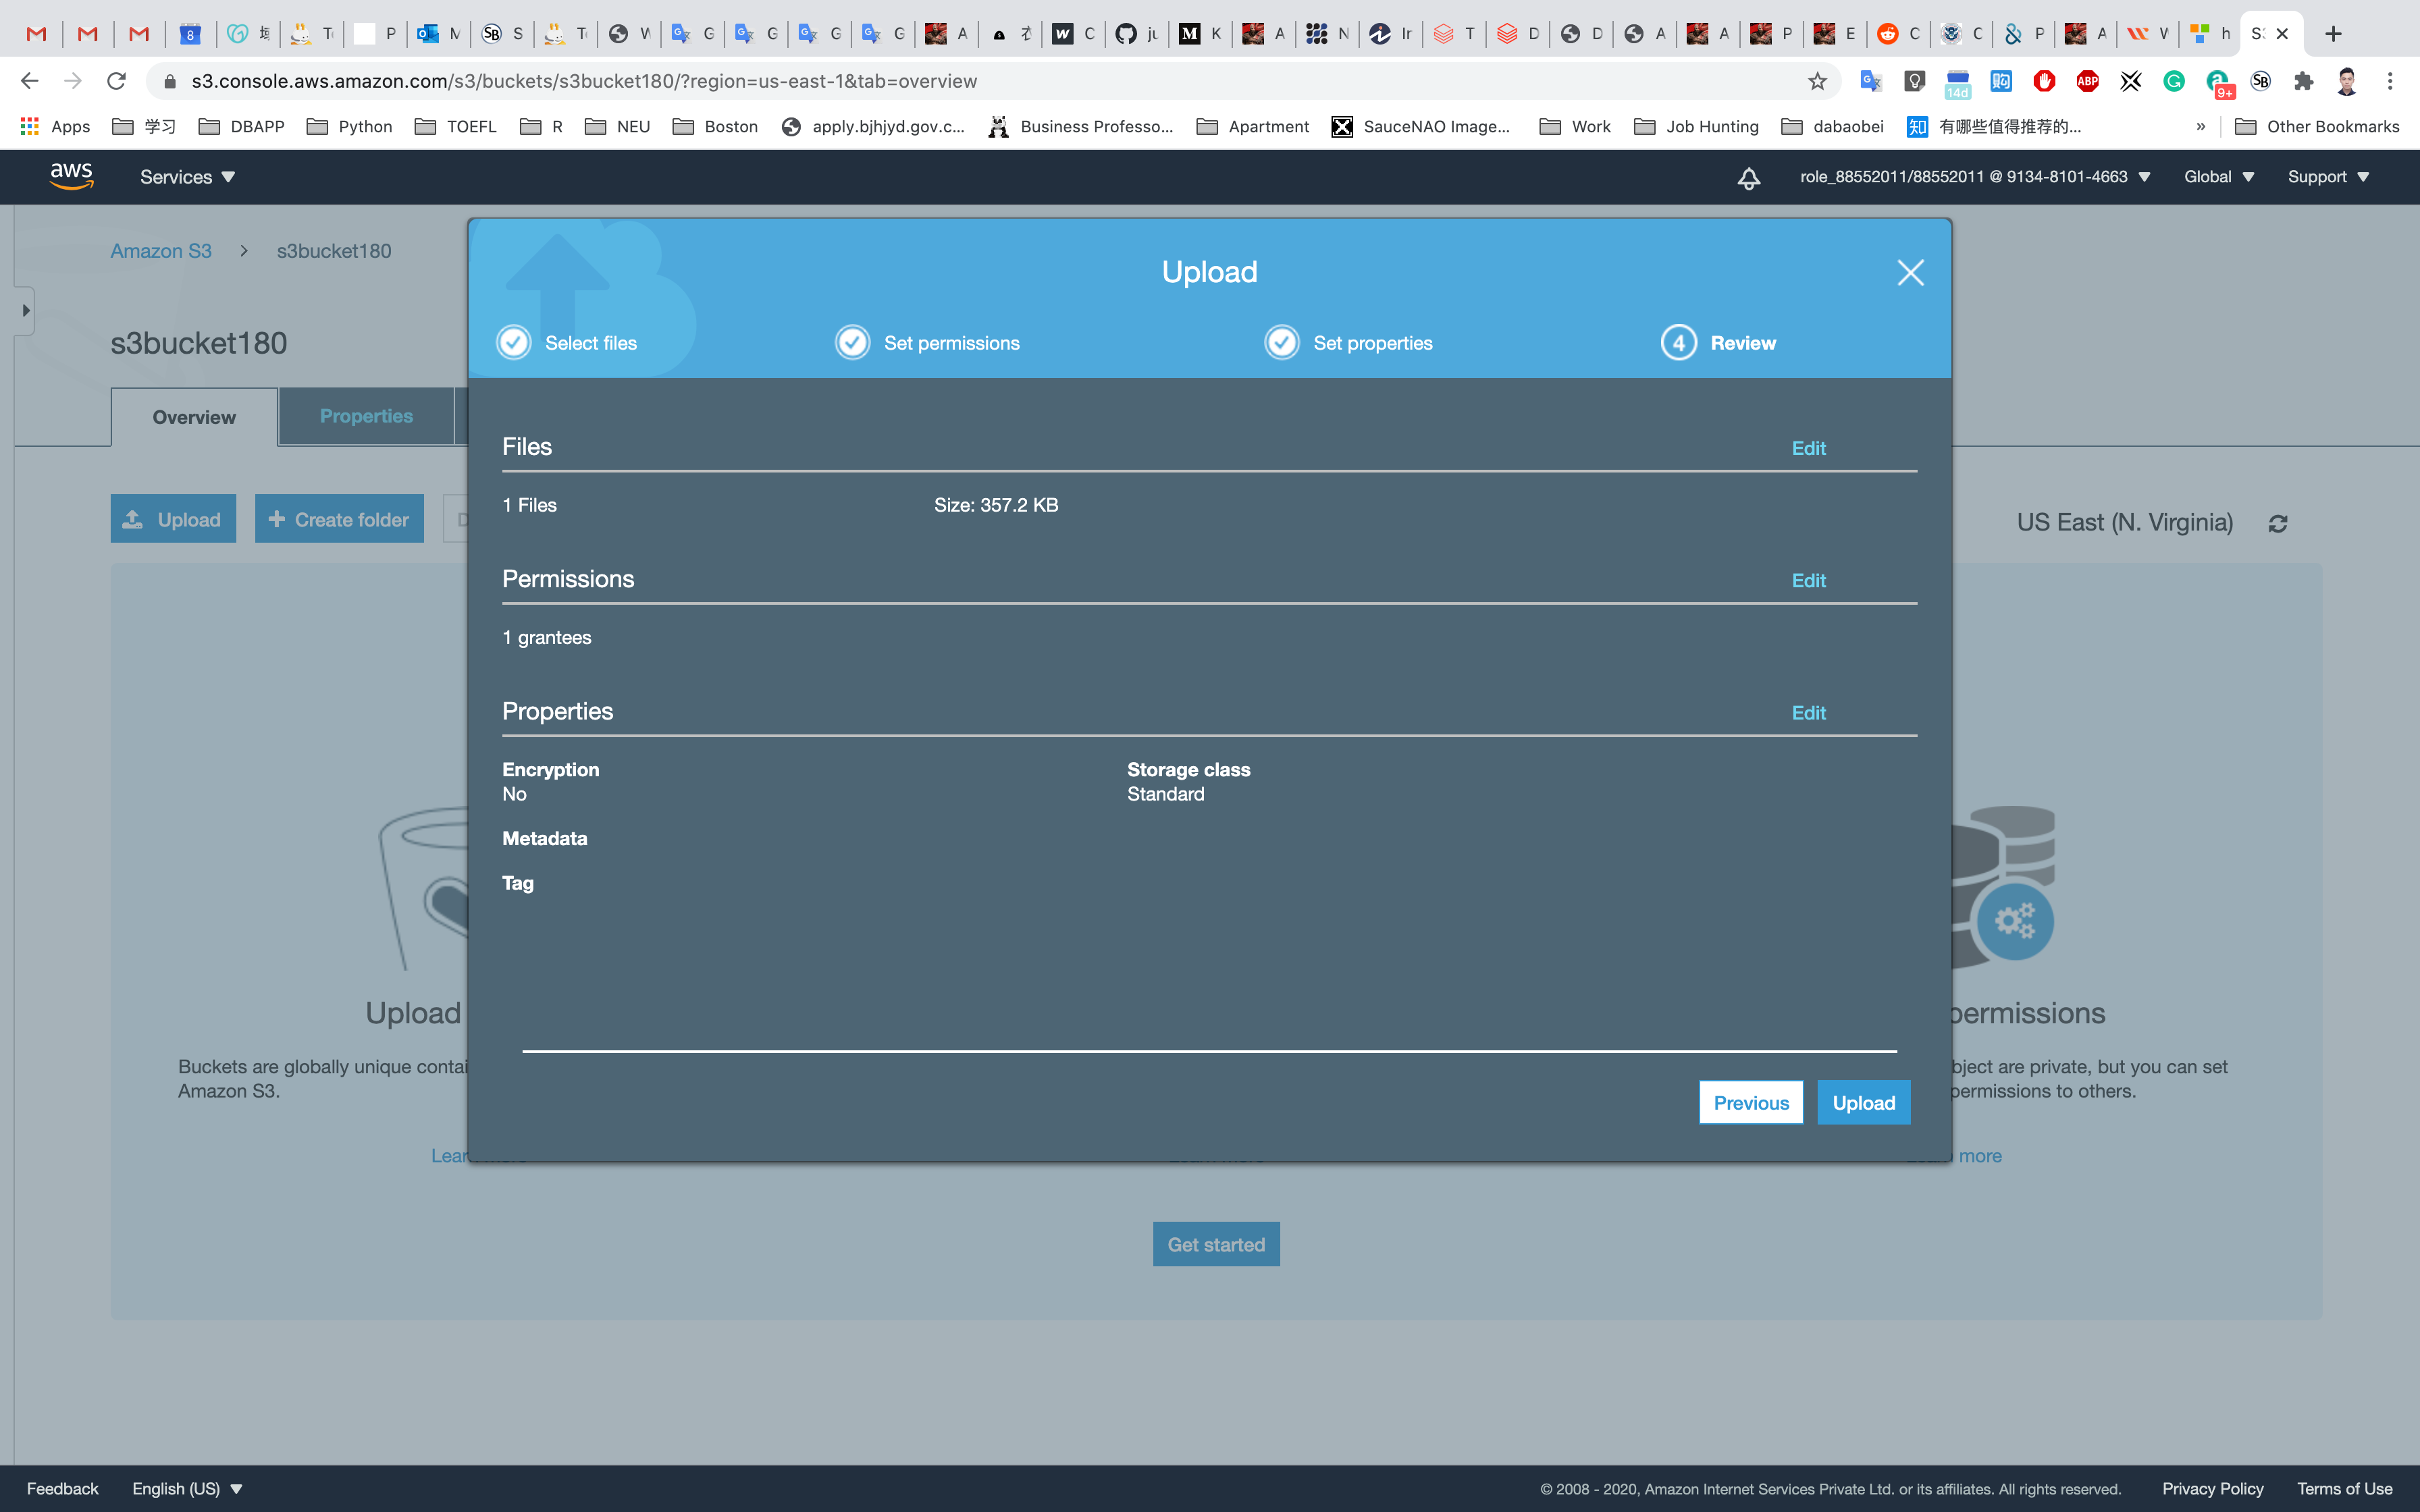
You could see the uploading procession below.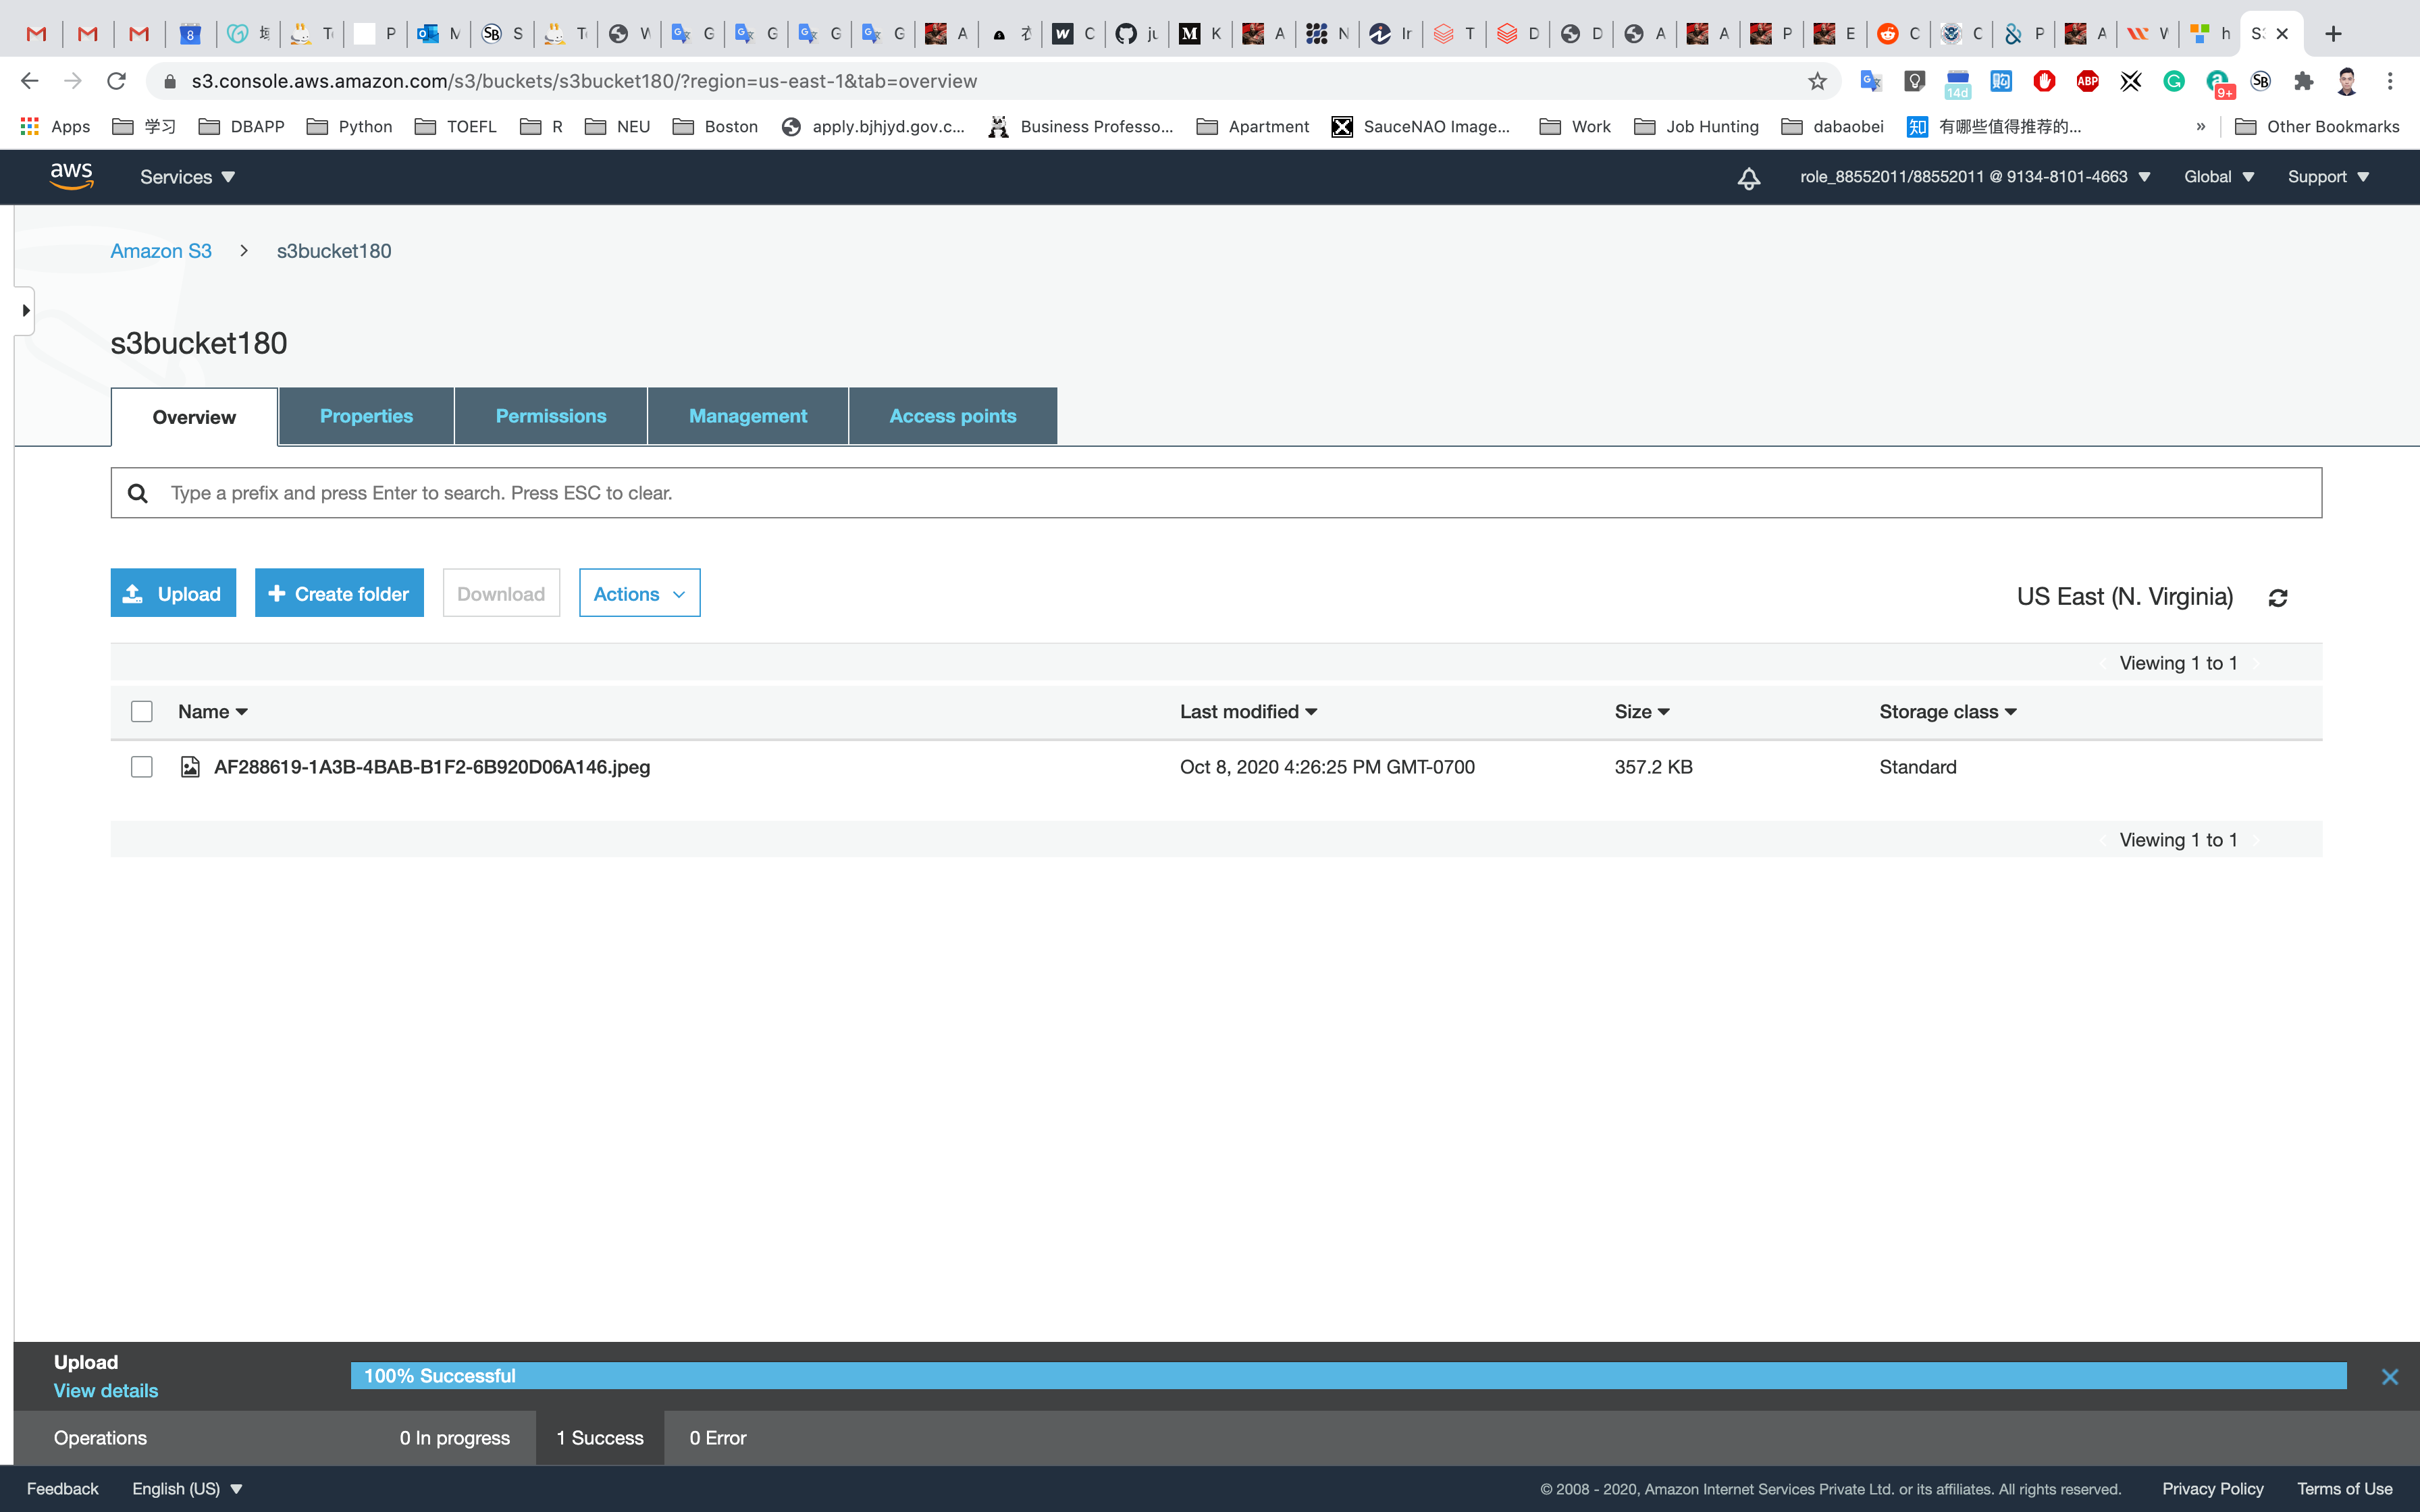
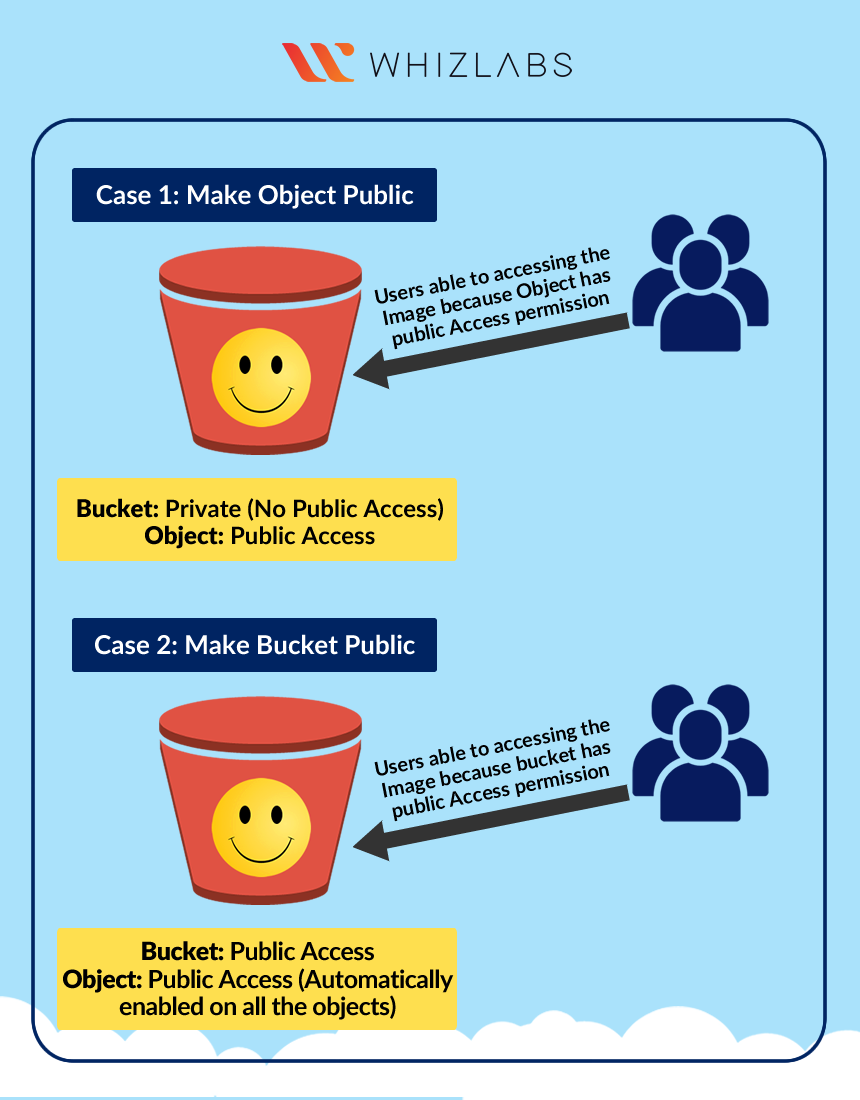
Now you have a private S3 bucket with a private object uploaded, which means you cannot visit it through Internet.
Change Bucket Permission
Change the permission of the bucket to make the image available publicly.
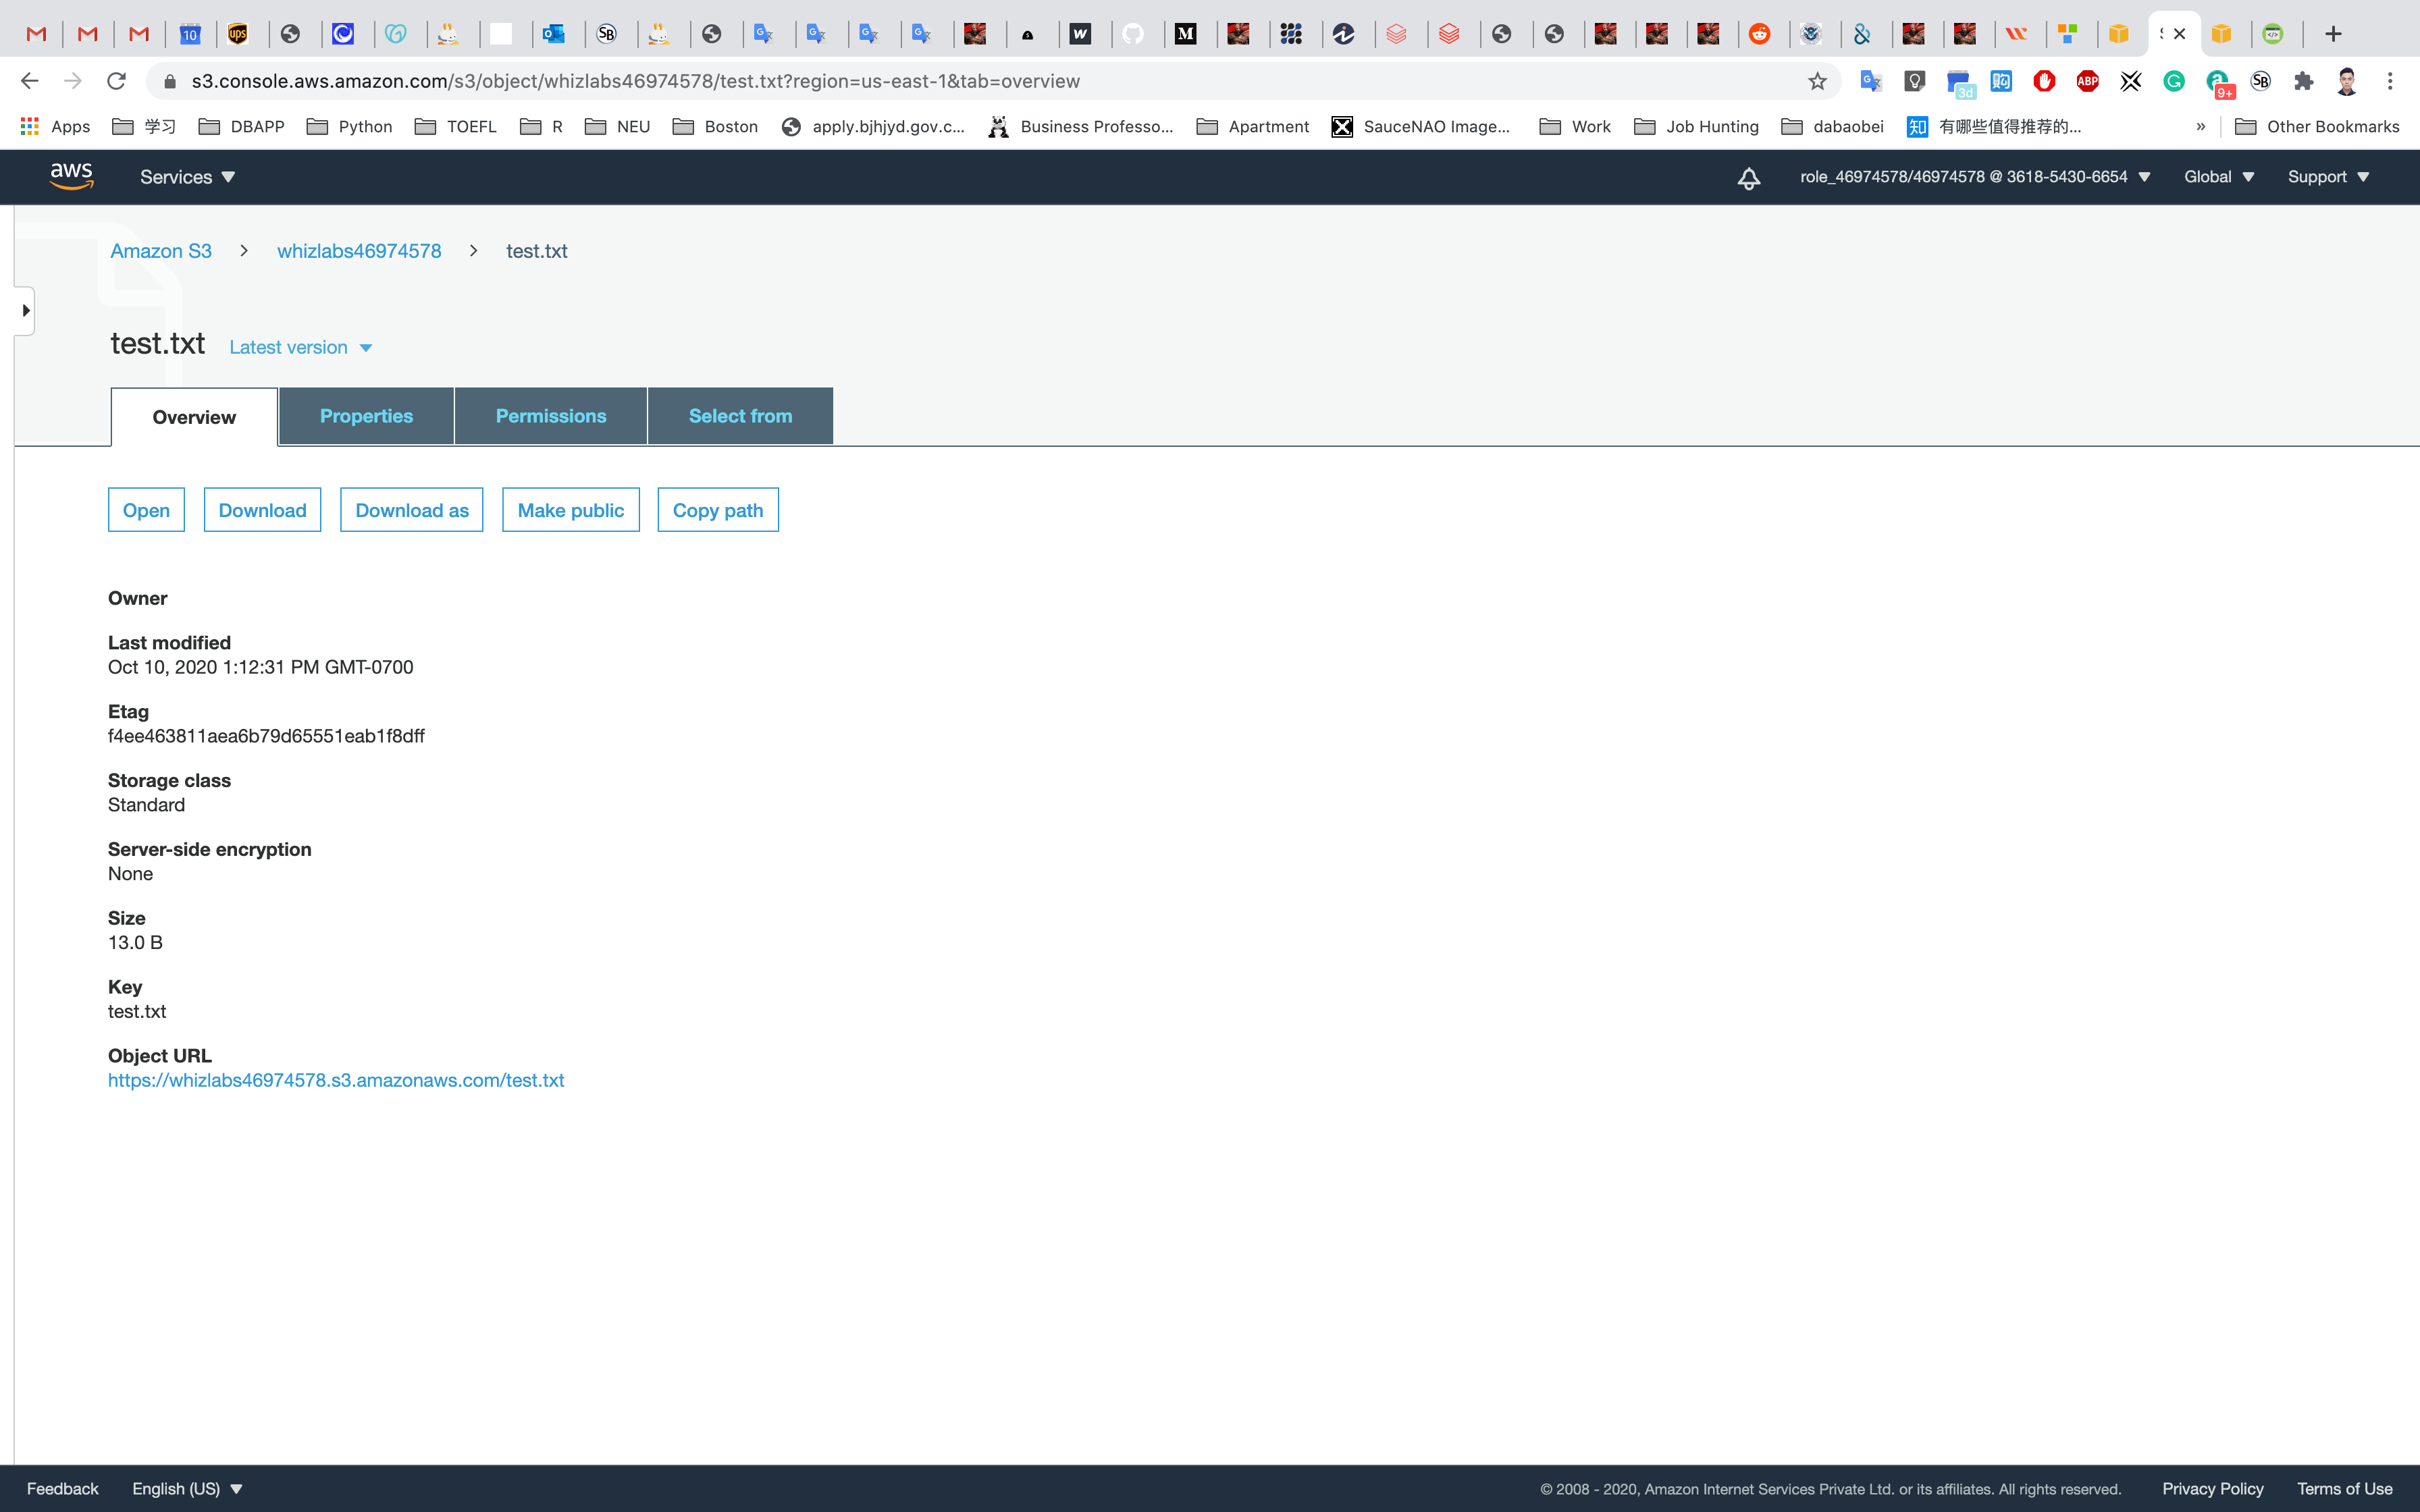
Click on your object in the bucket, You will see the object details like owner, size, link, etc.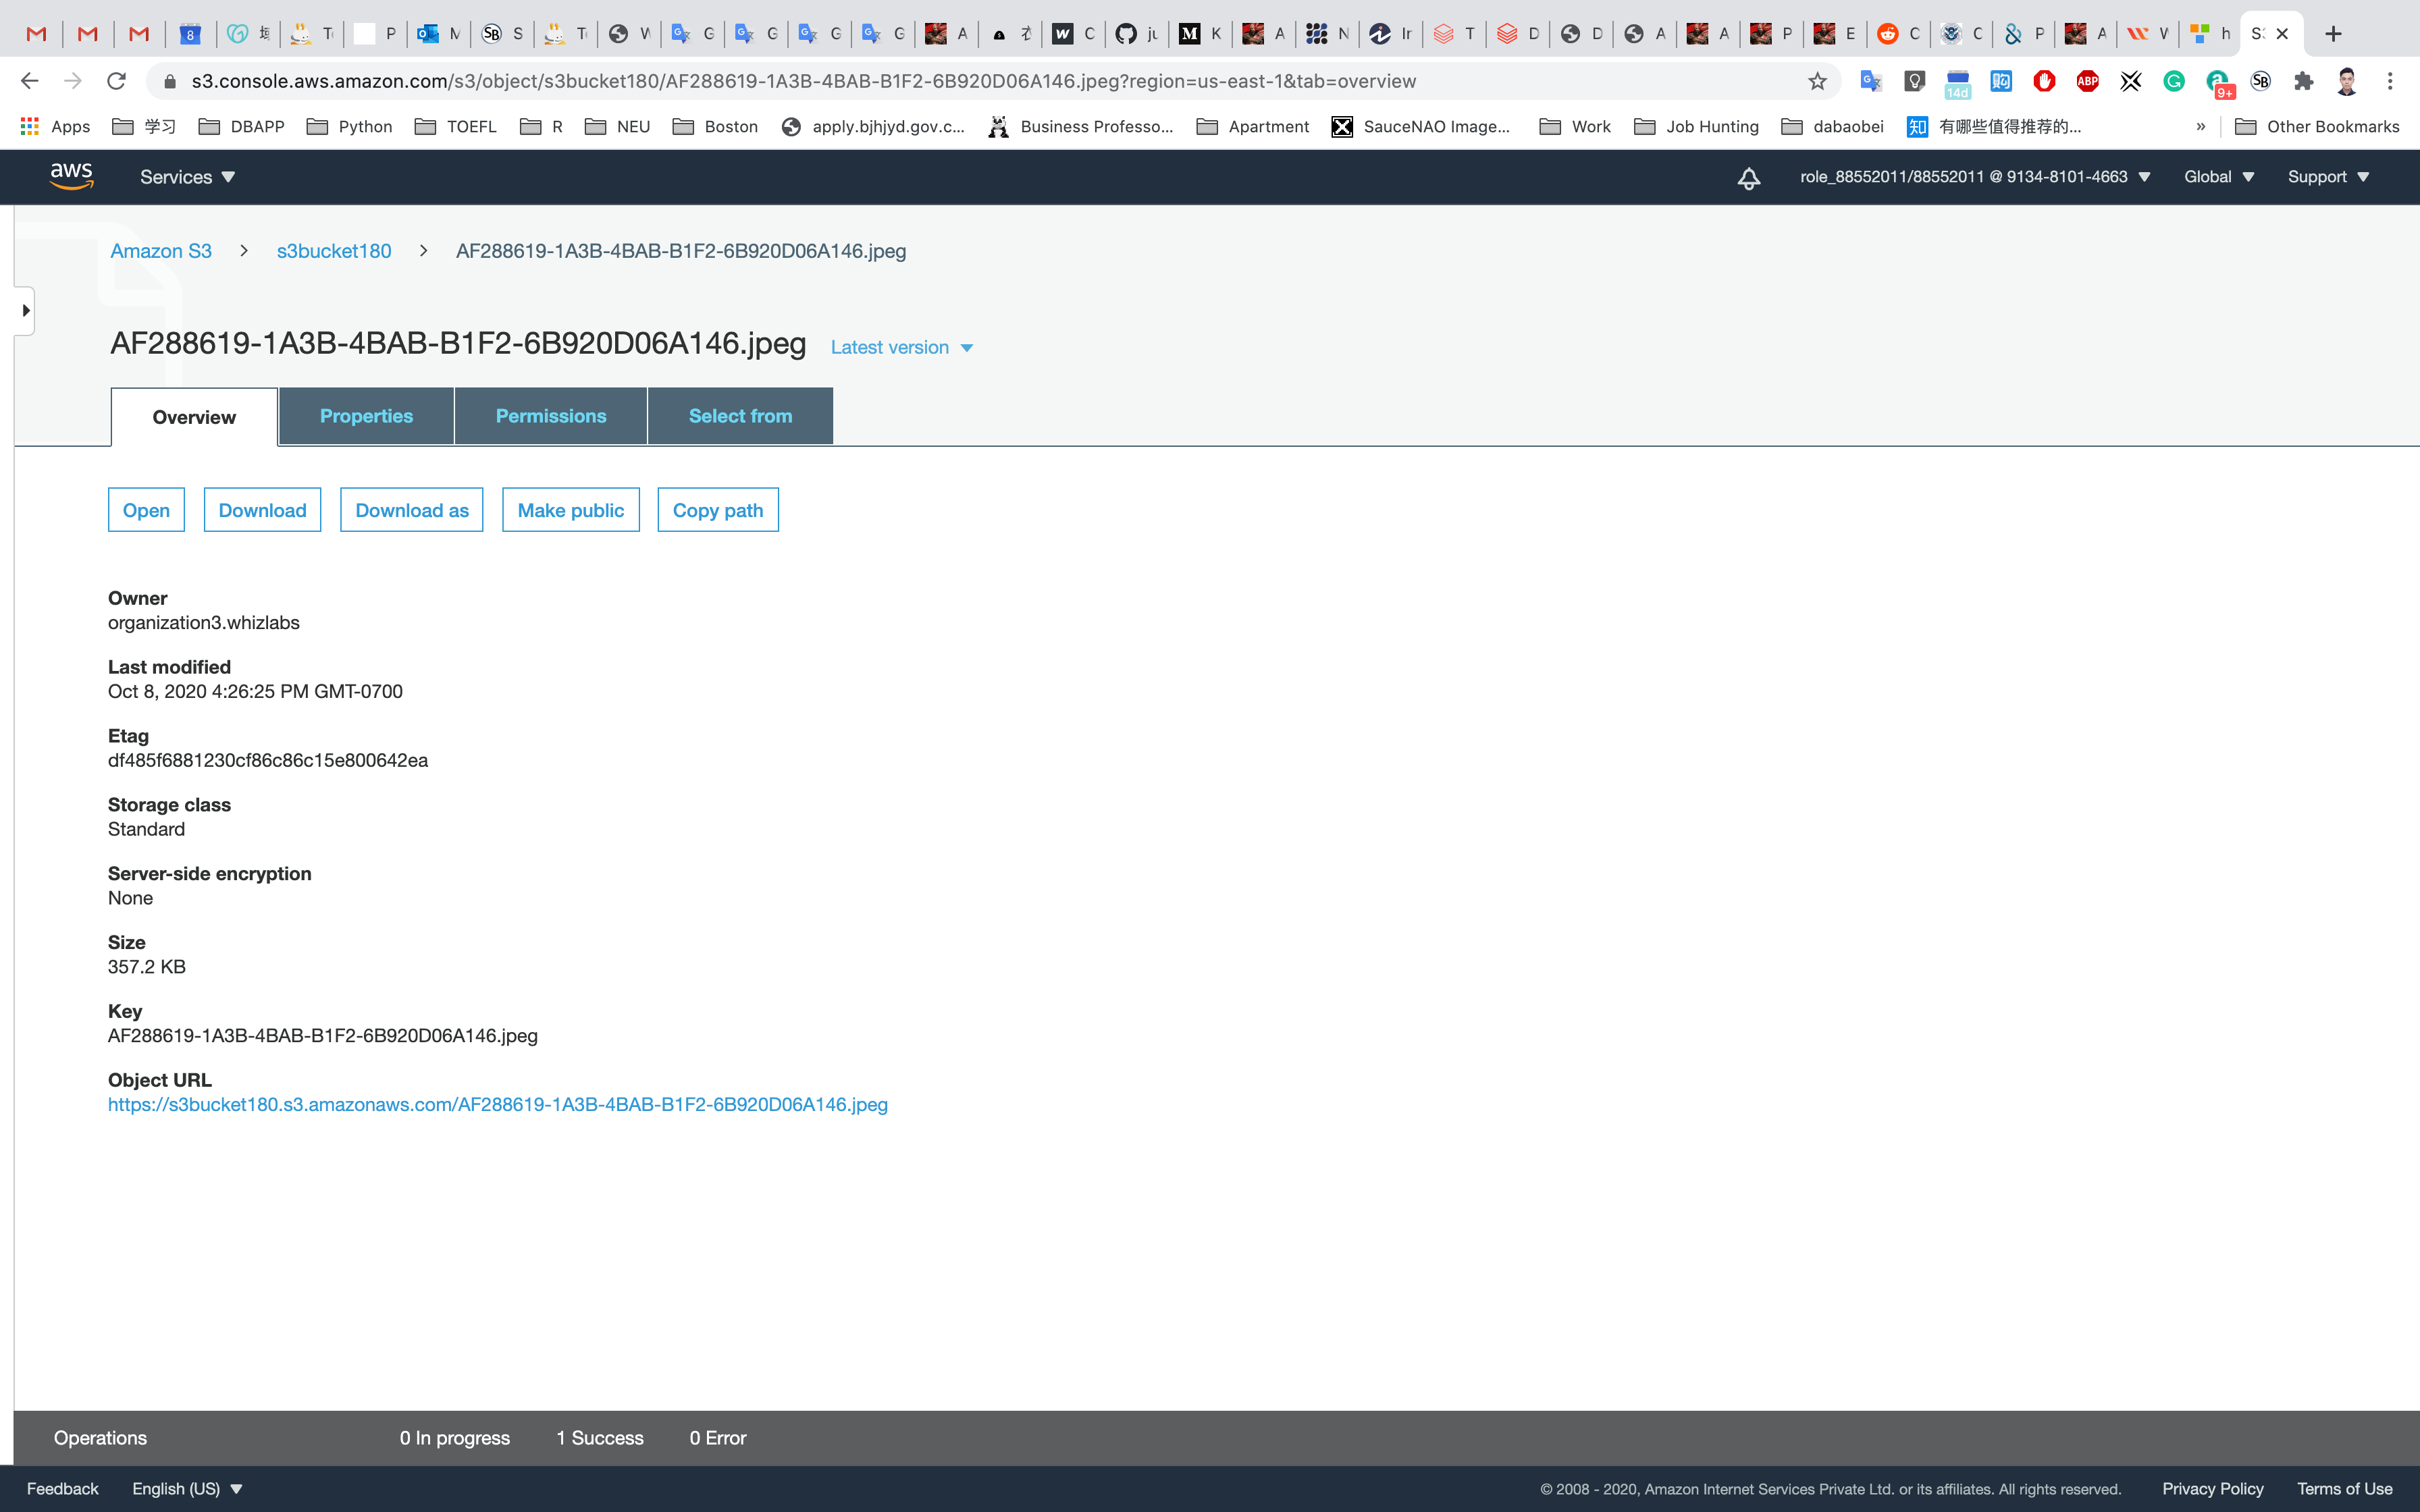
A URL will be listed under Object URL
https://mys3bucketwhizlabs.s3.amazonaws.com/smiley.jpg
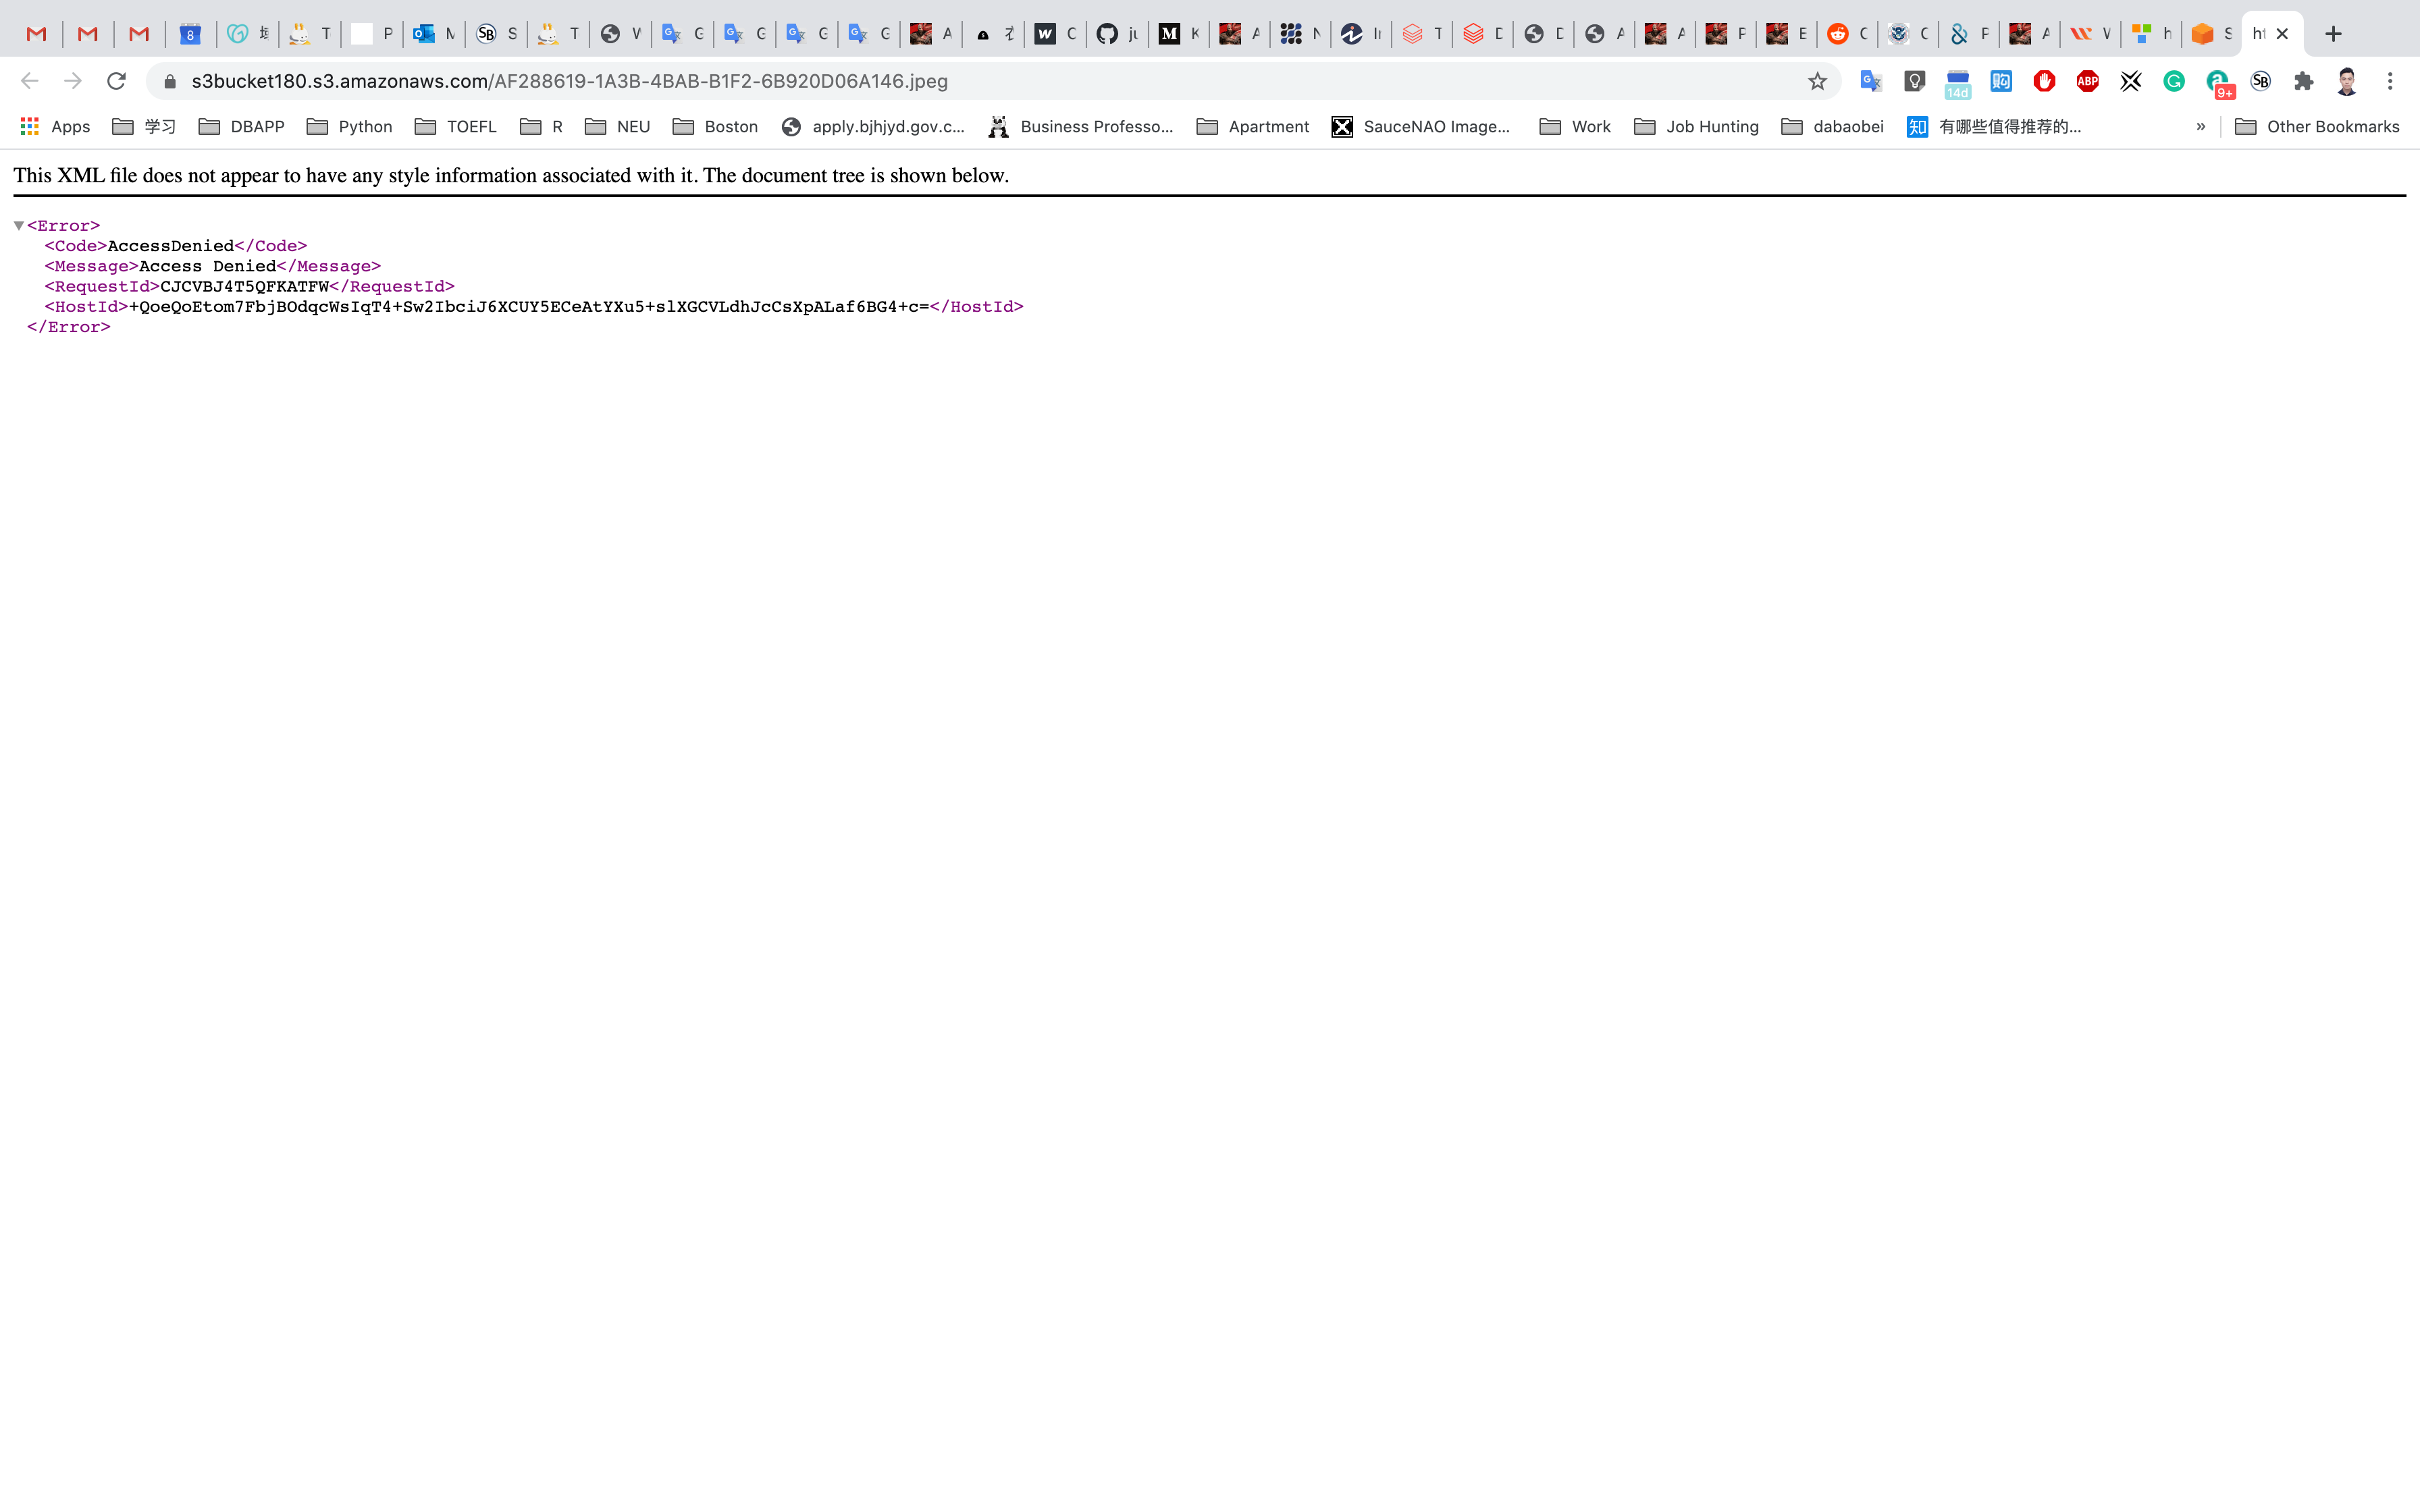
Open image Link in a new tab.
You will see an AccessDenied message, which means the object is not publicly accessible.
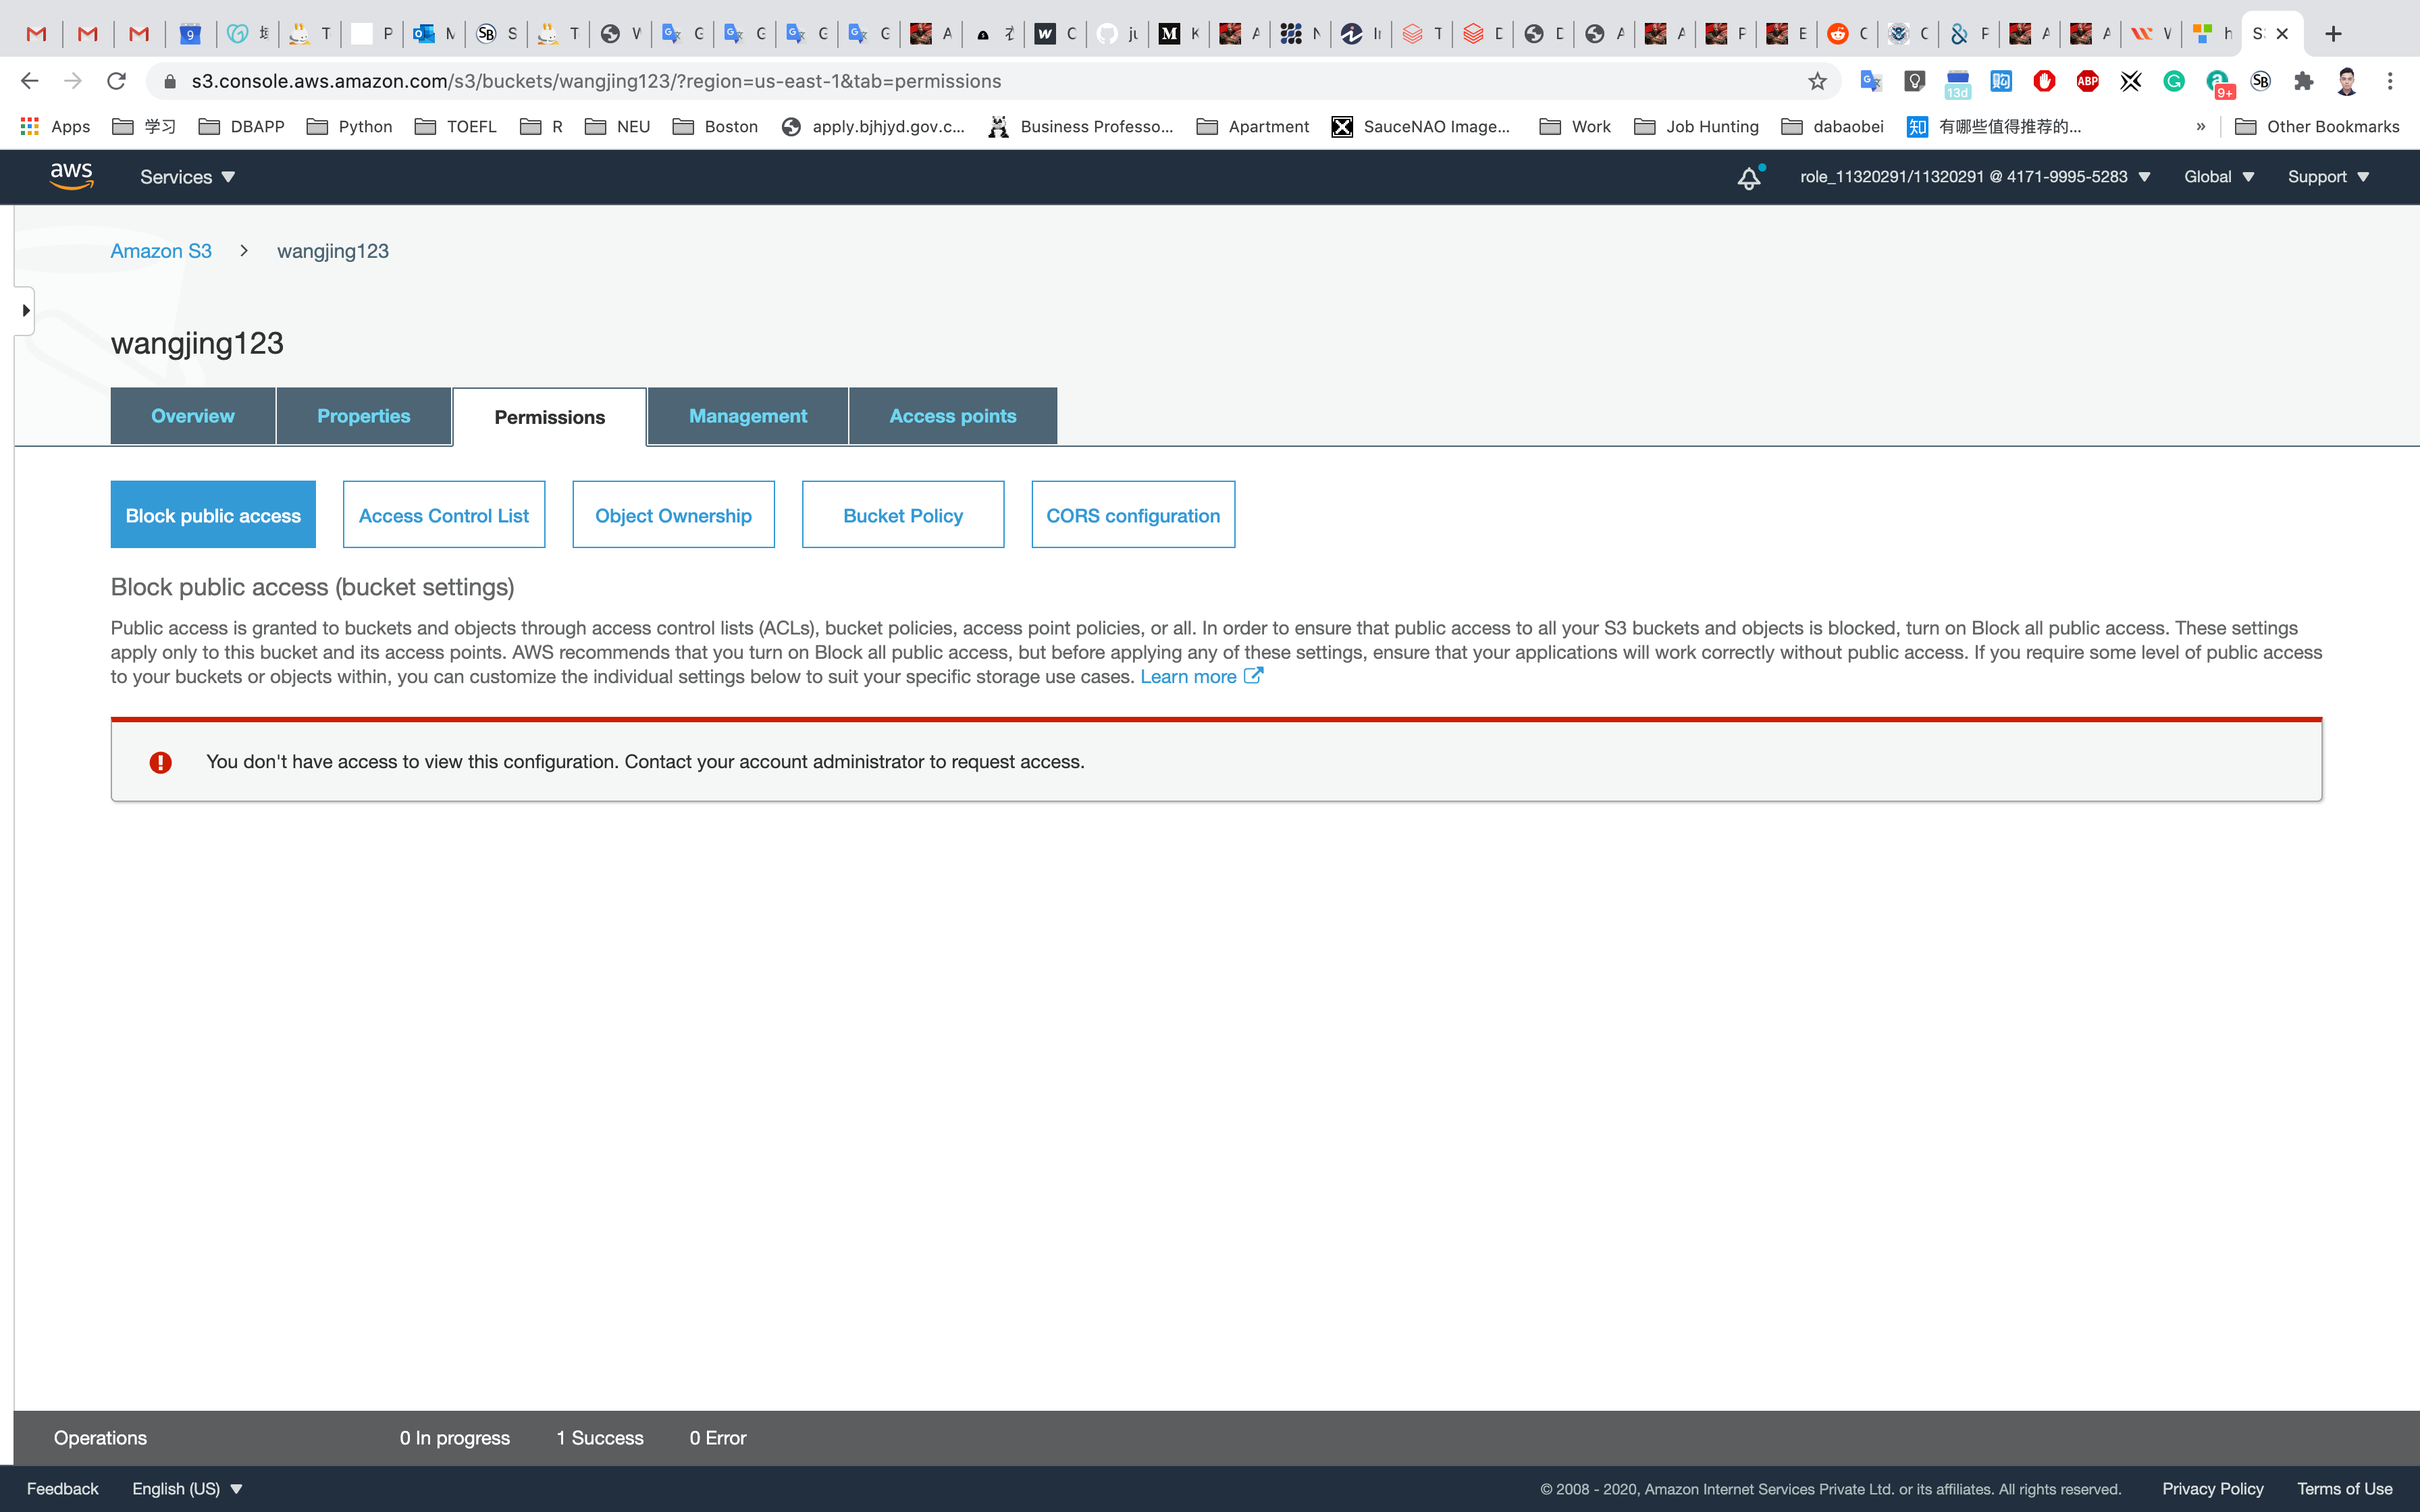
Go back to your bucket and click on Permissions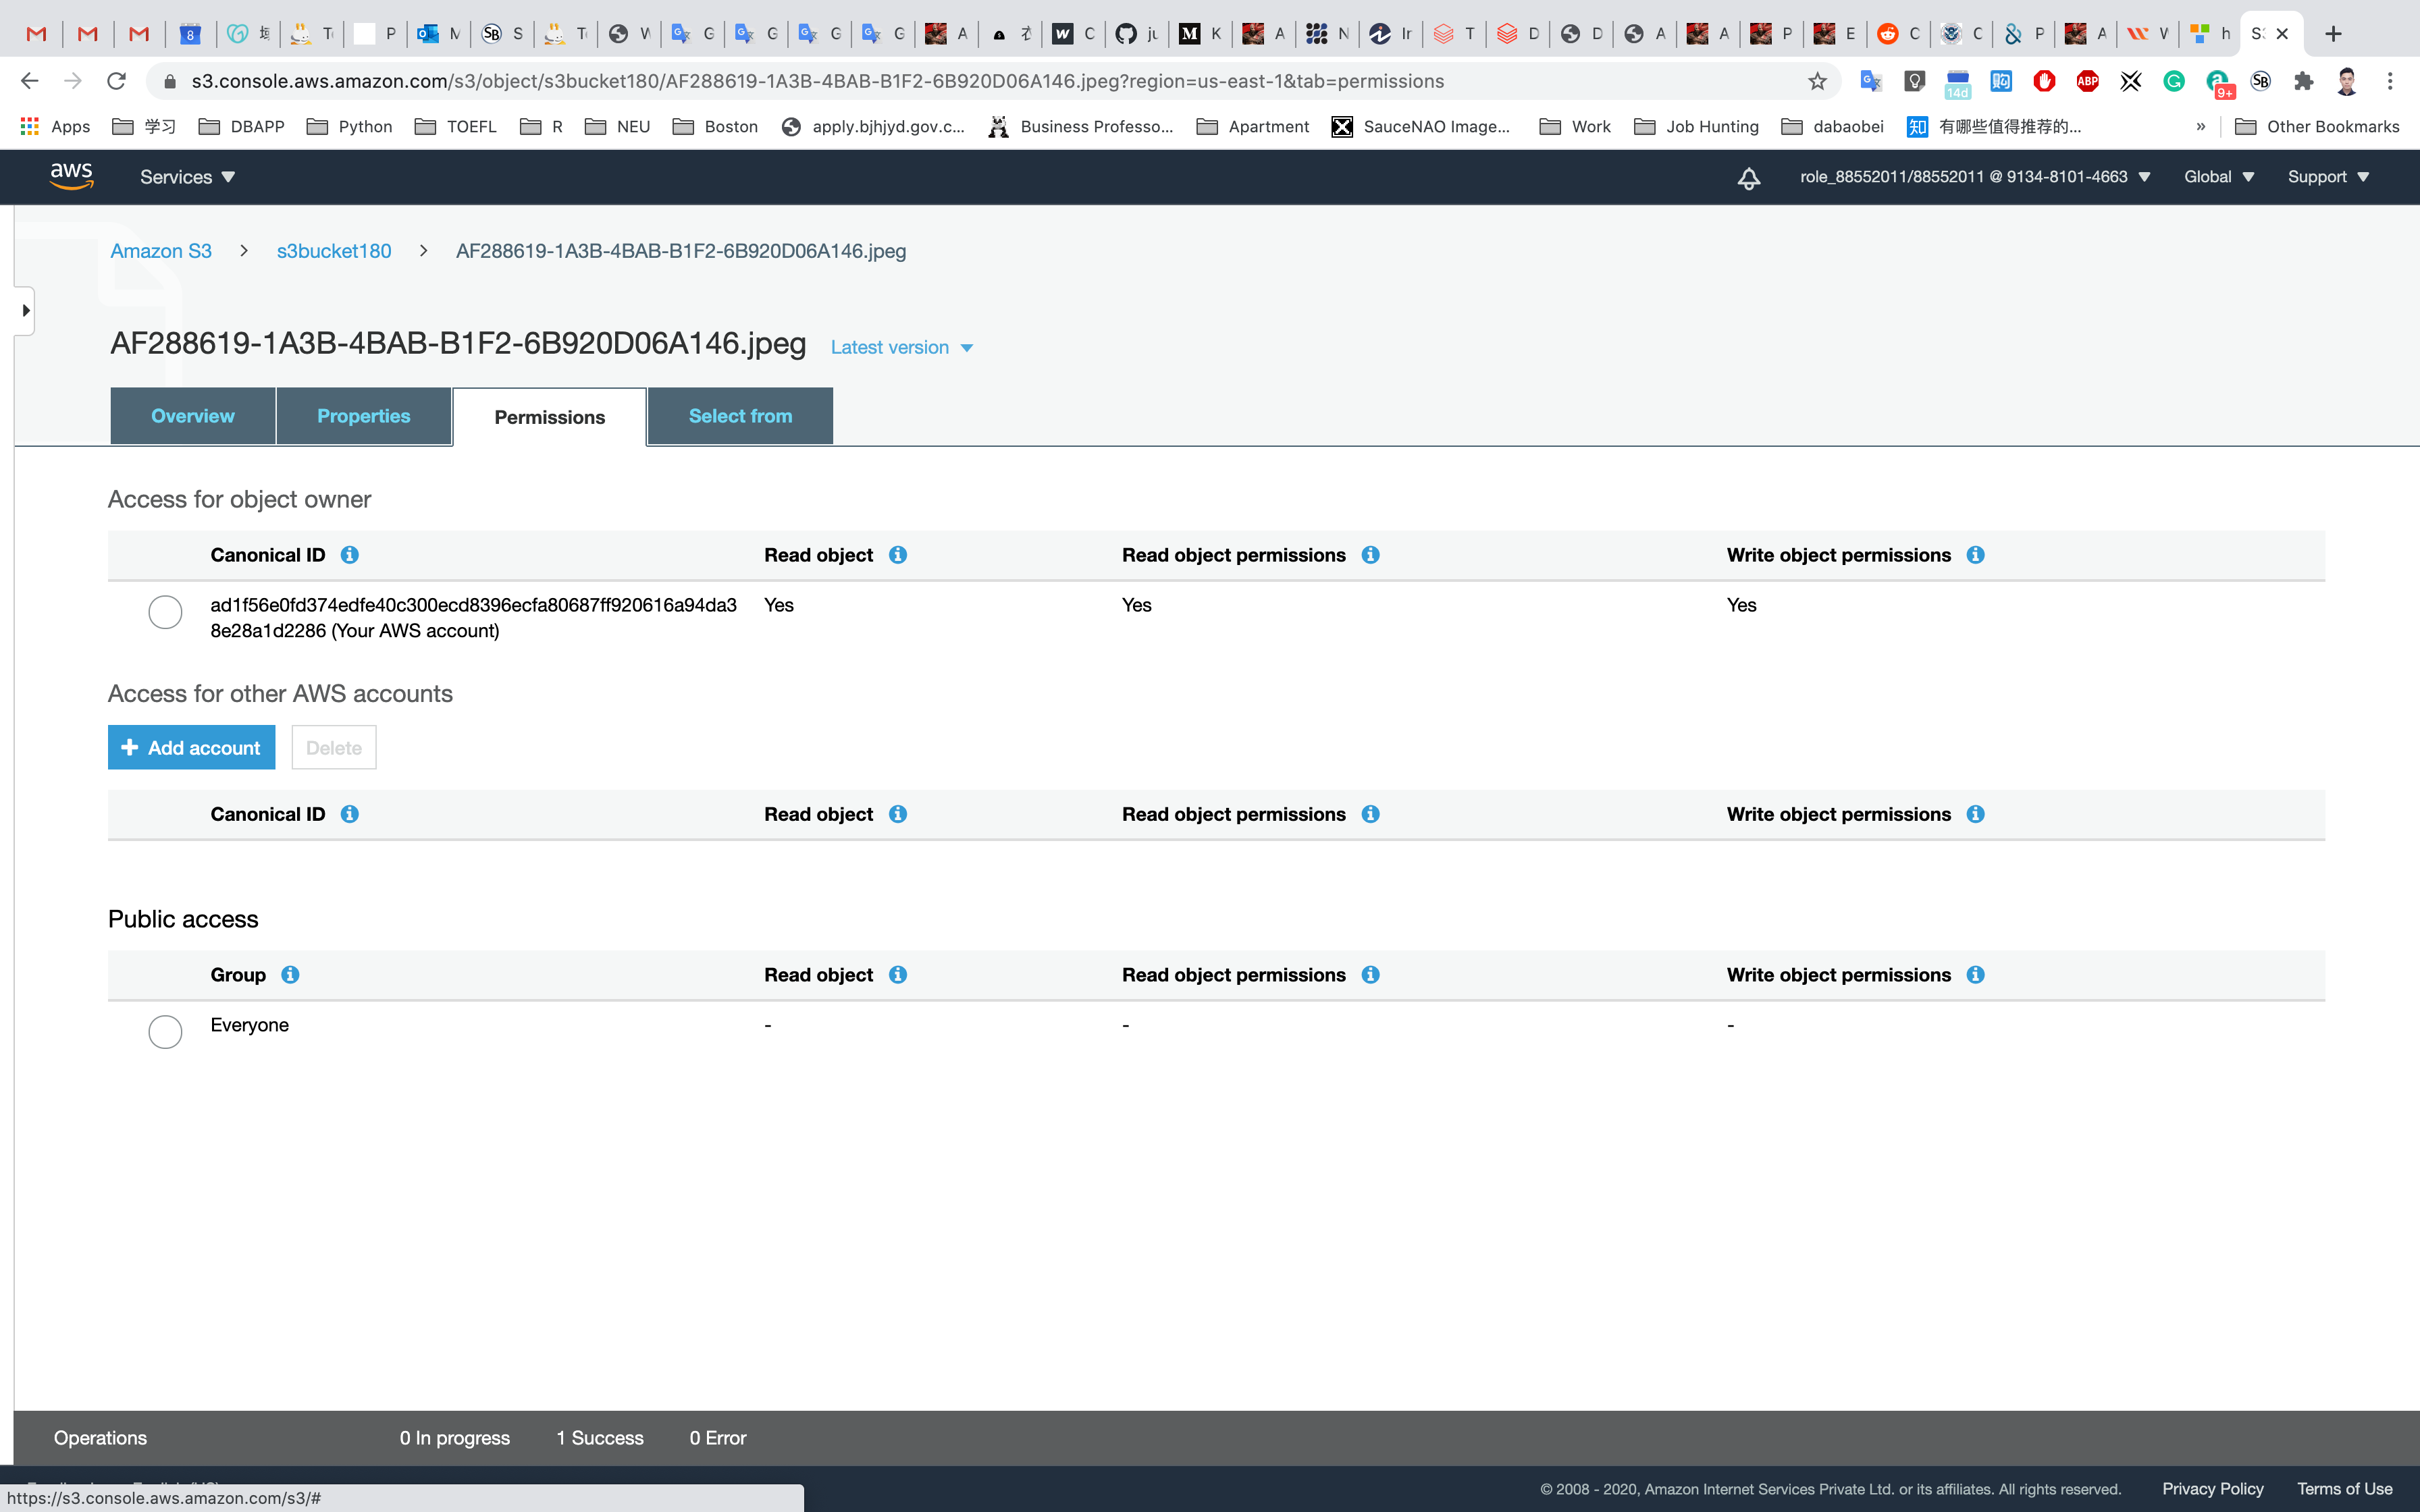
Click on Everyone under the Public access, and click on Read object on the right of pop-up window. Then click on Save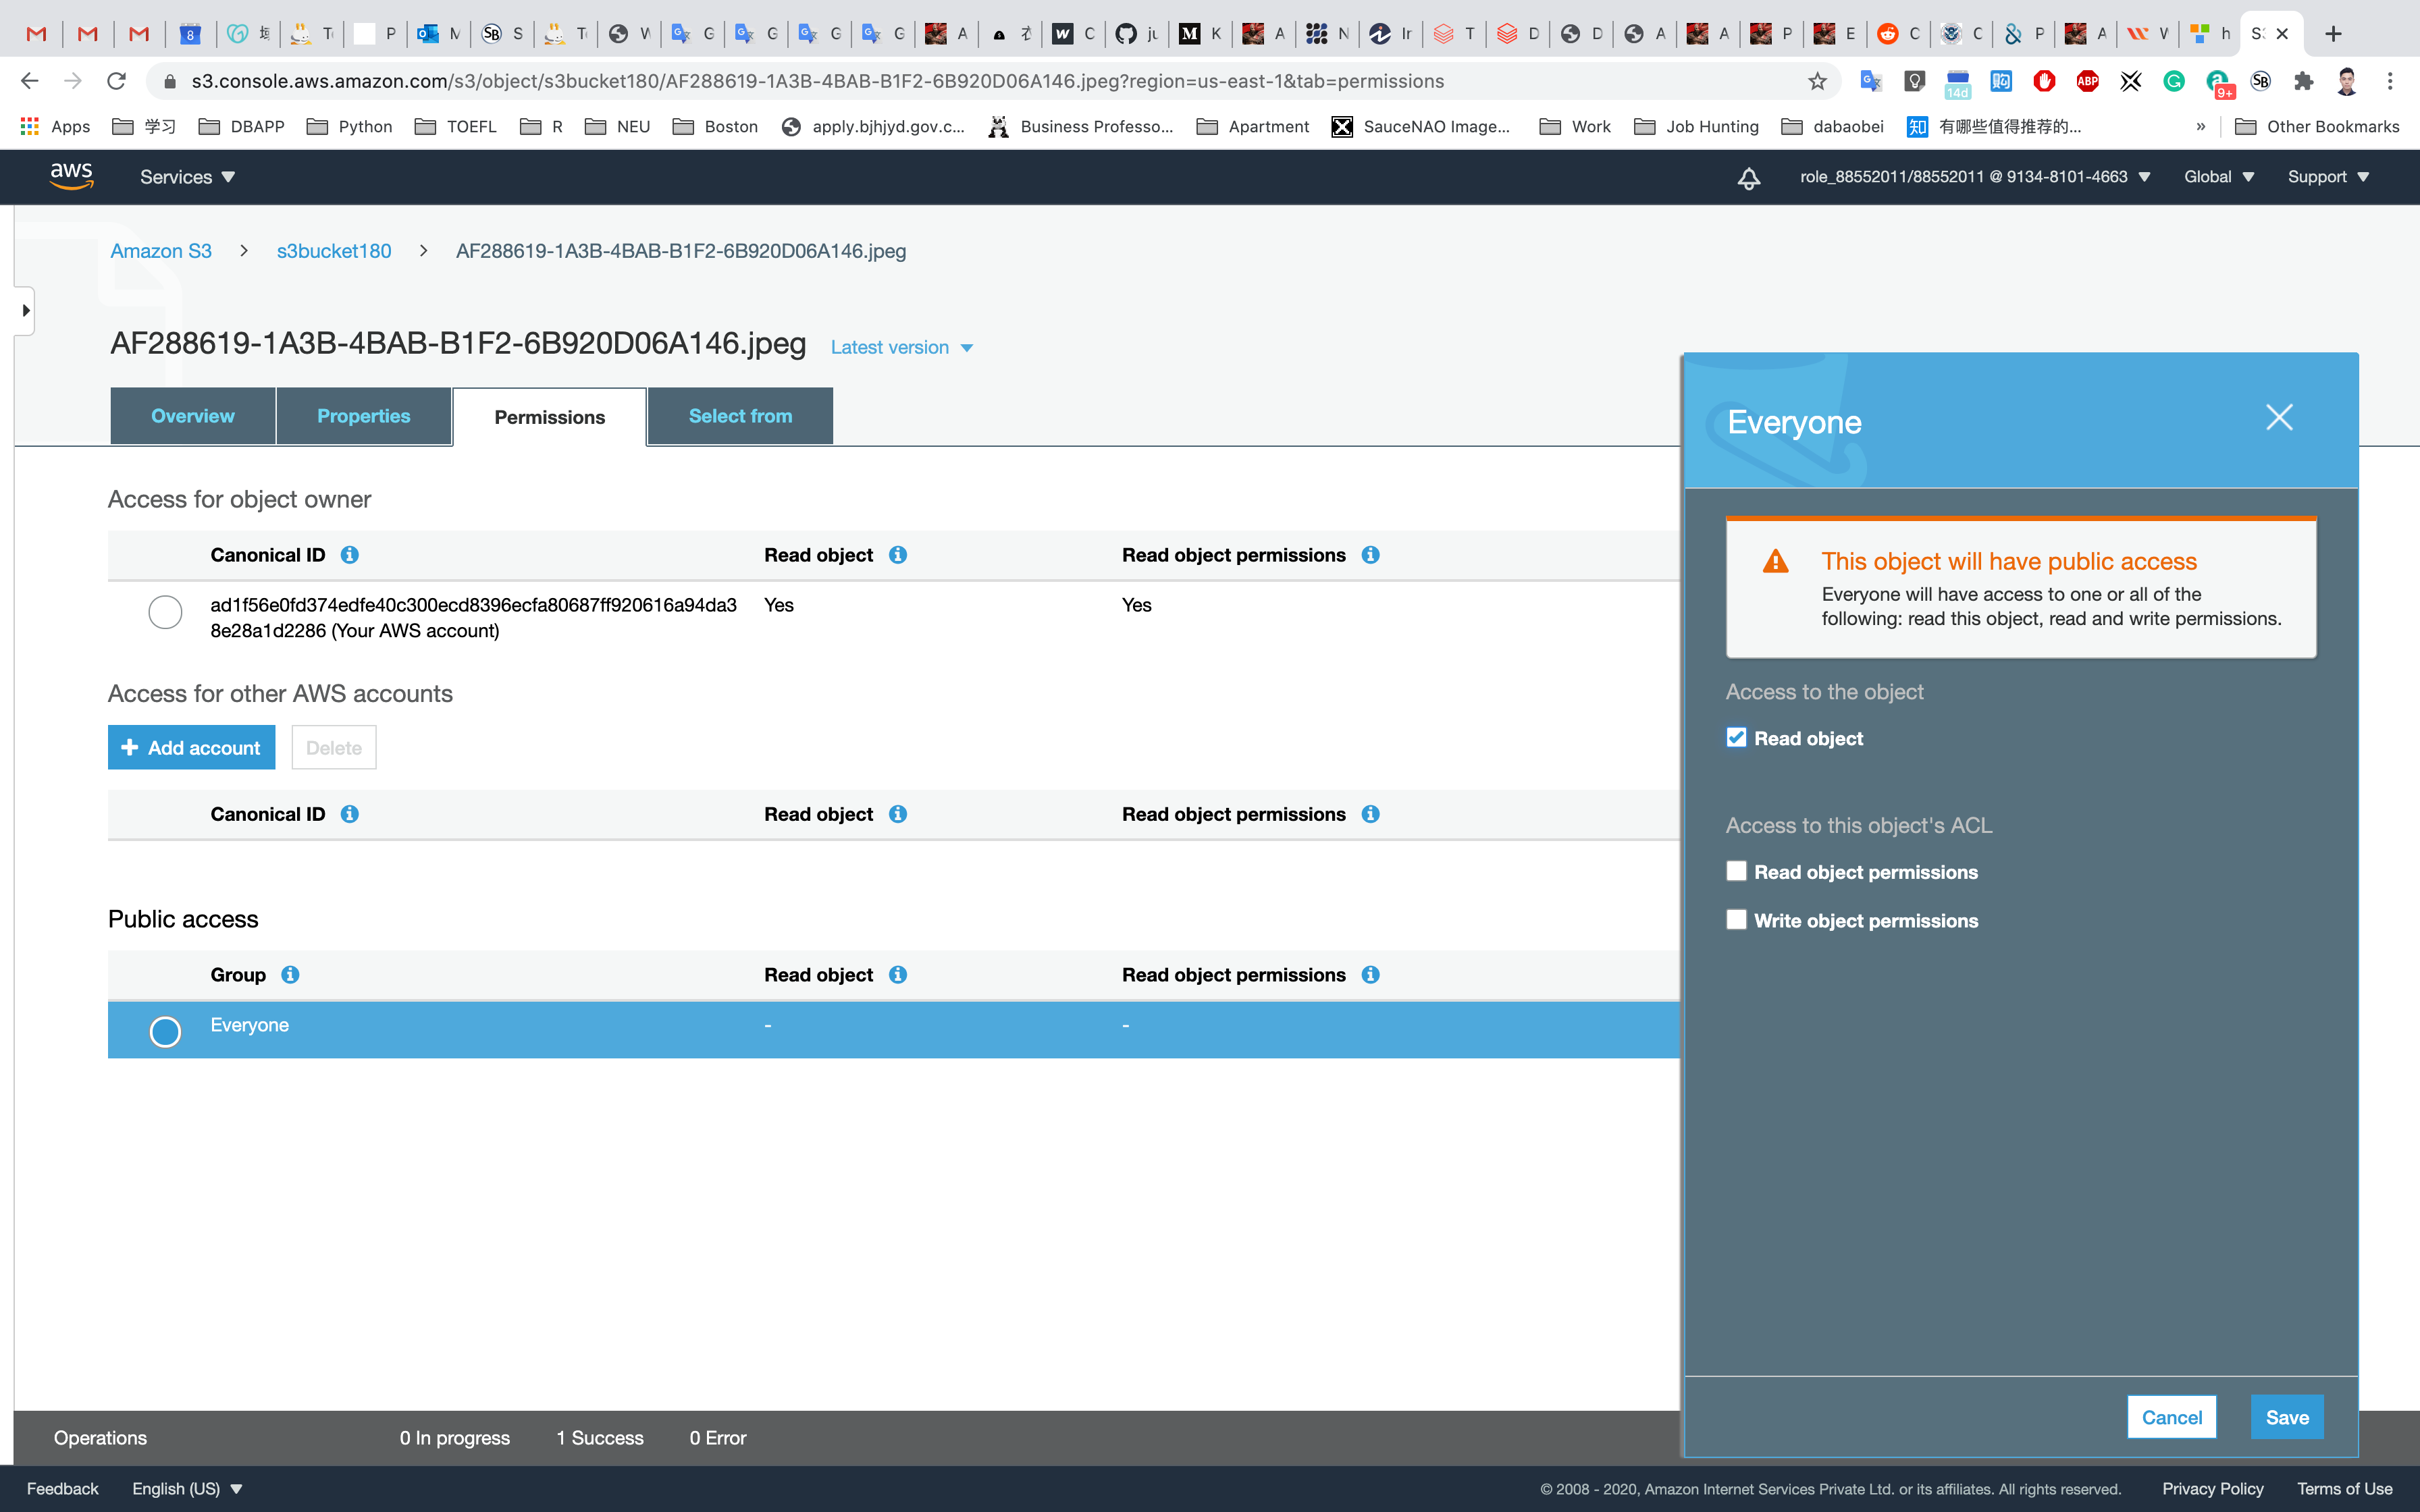
Now its state switches to Read Object - Yes
Click on Overview, and click on your Object URL again
Notice the URL on your browser
Create a Bucket Policy
In the previous step, you granted read access only to a specific object. If you wish to make all objects inside a bucket available publicly, you can achieve this by creating a bucket policy.
Go to the bucket list and click on your bucket name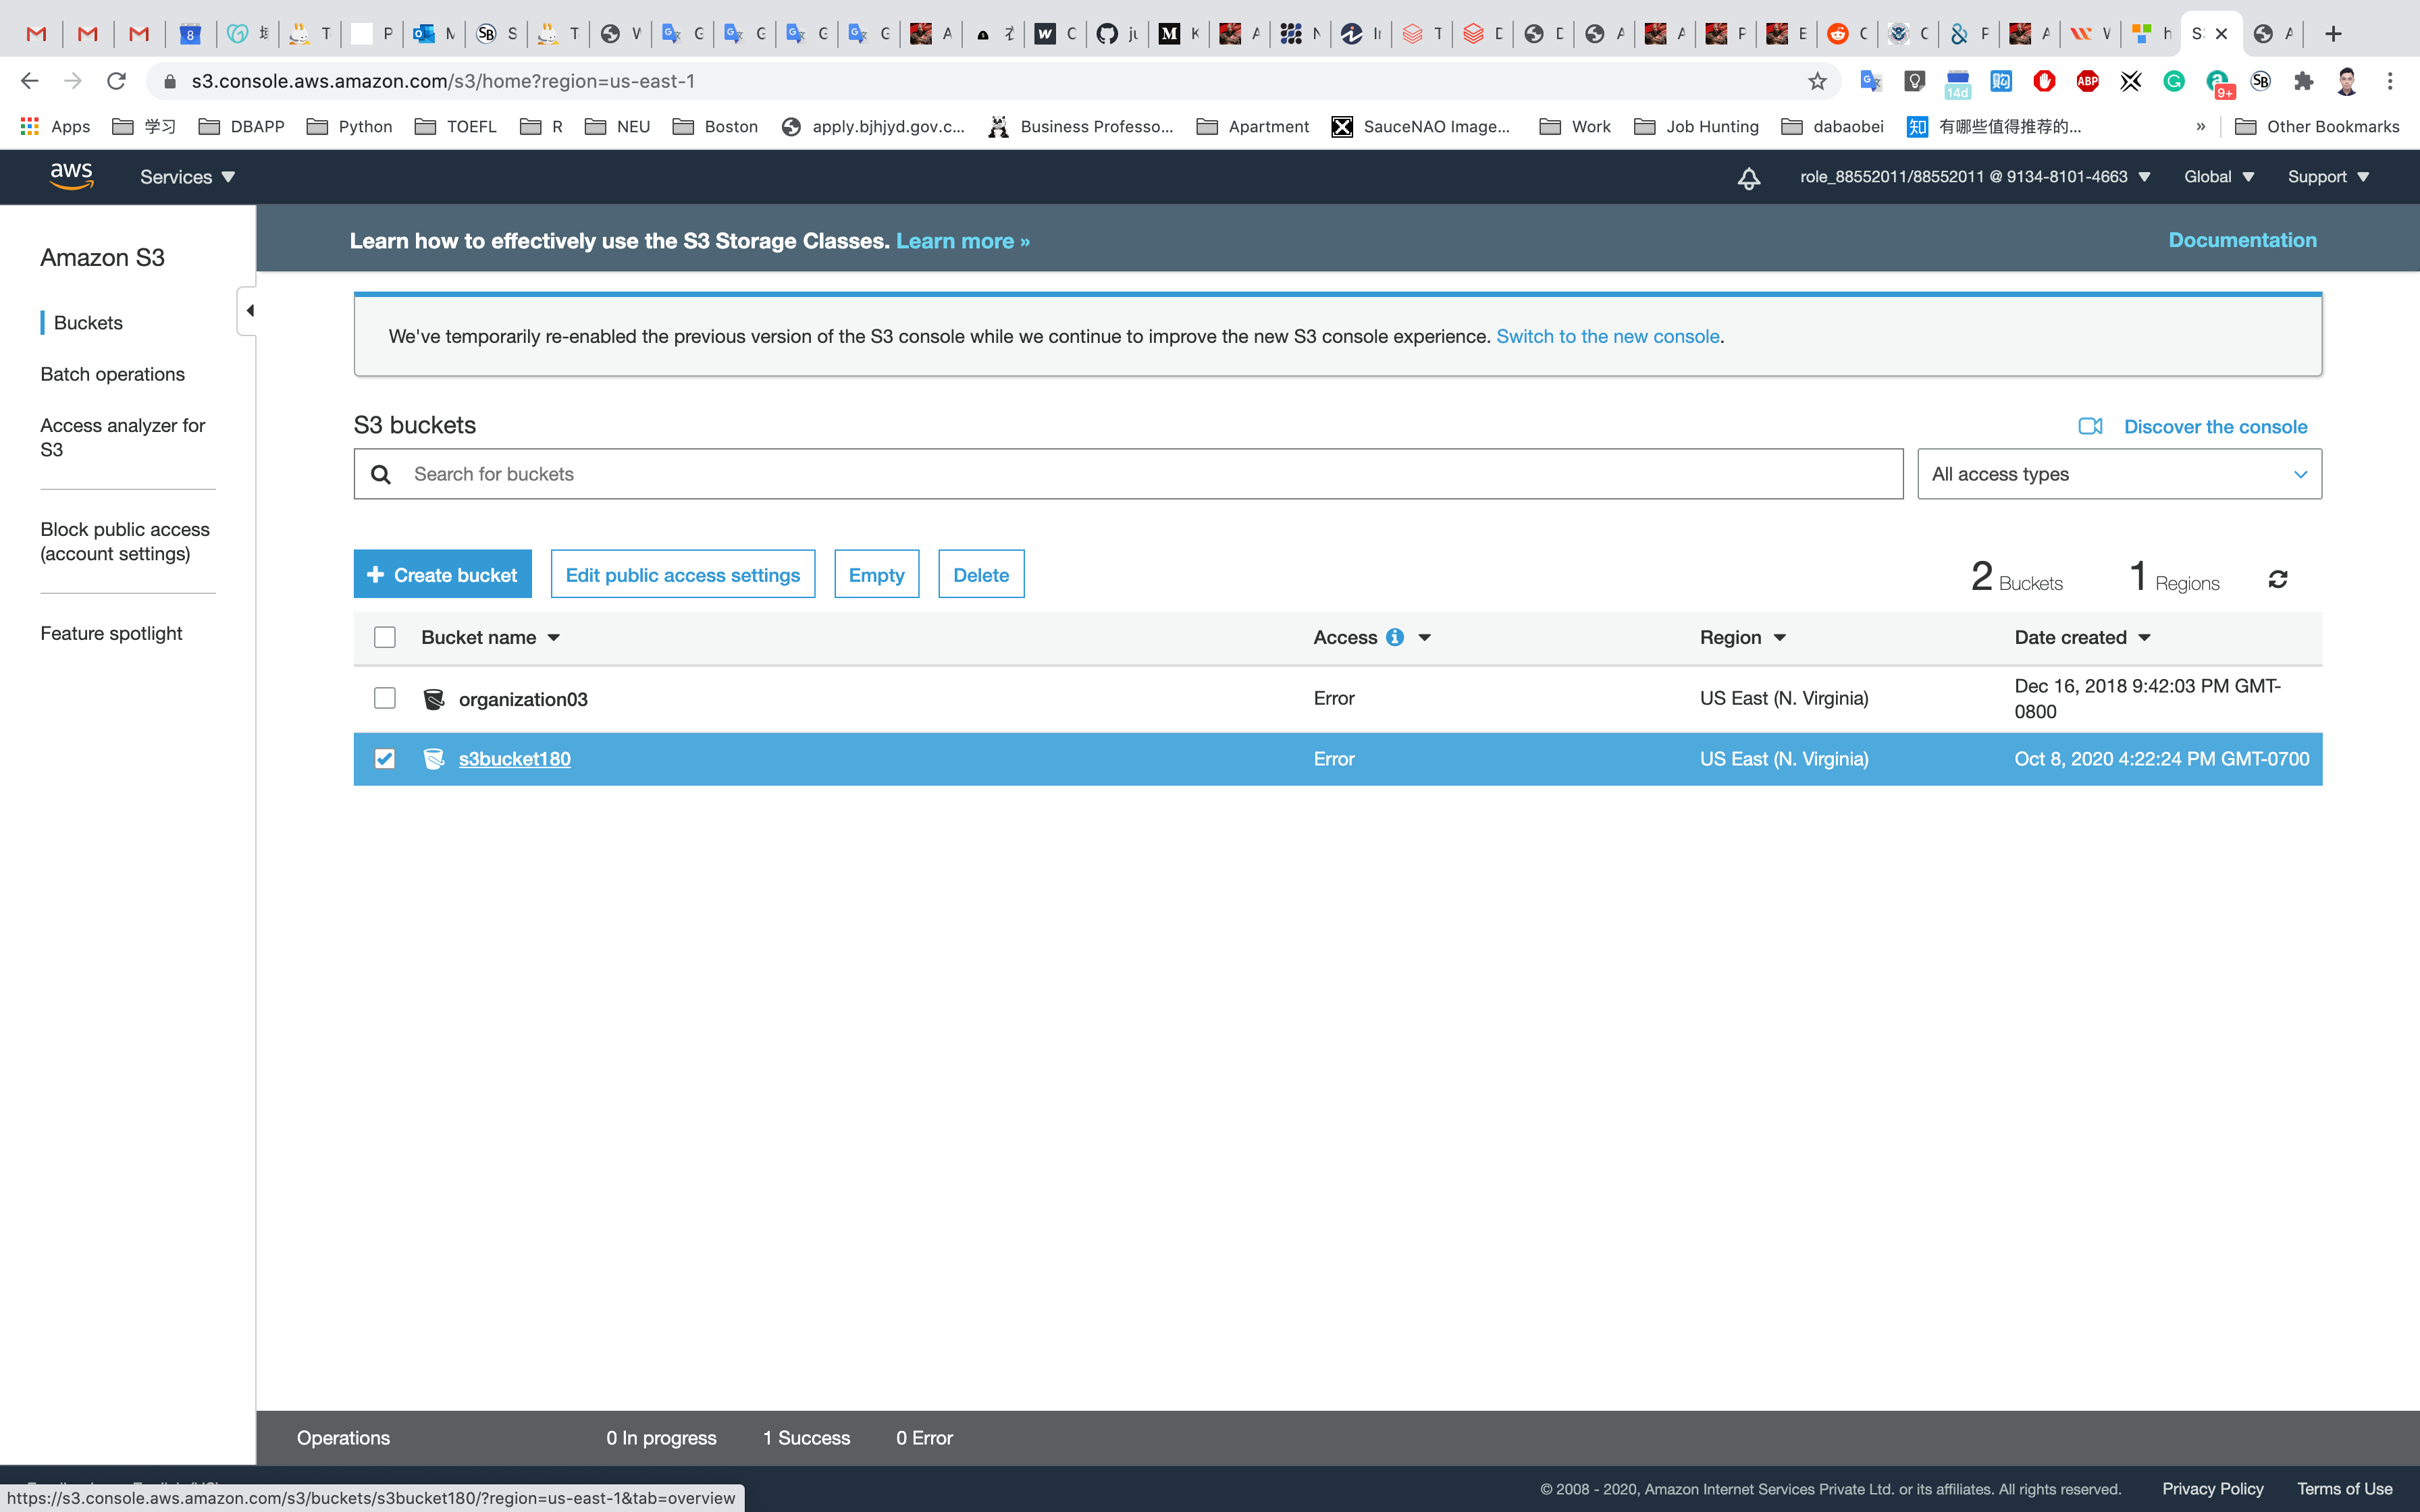
Click the Permissions tab, then configure the following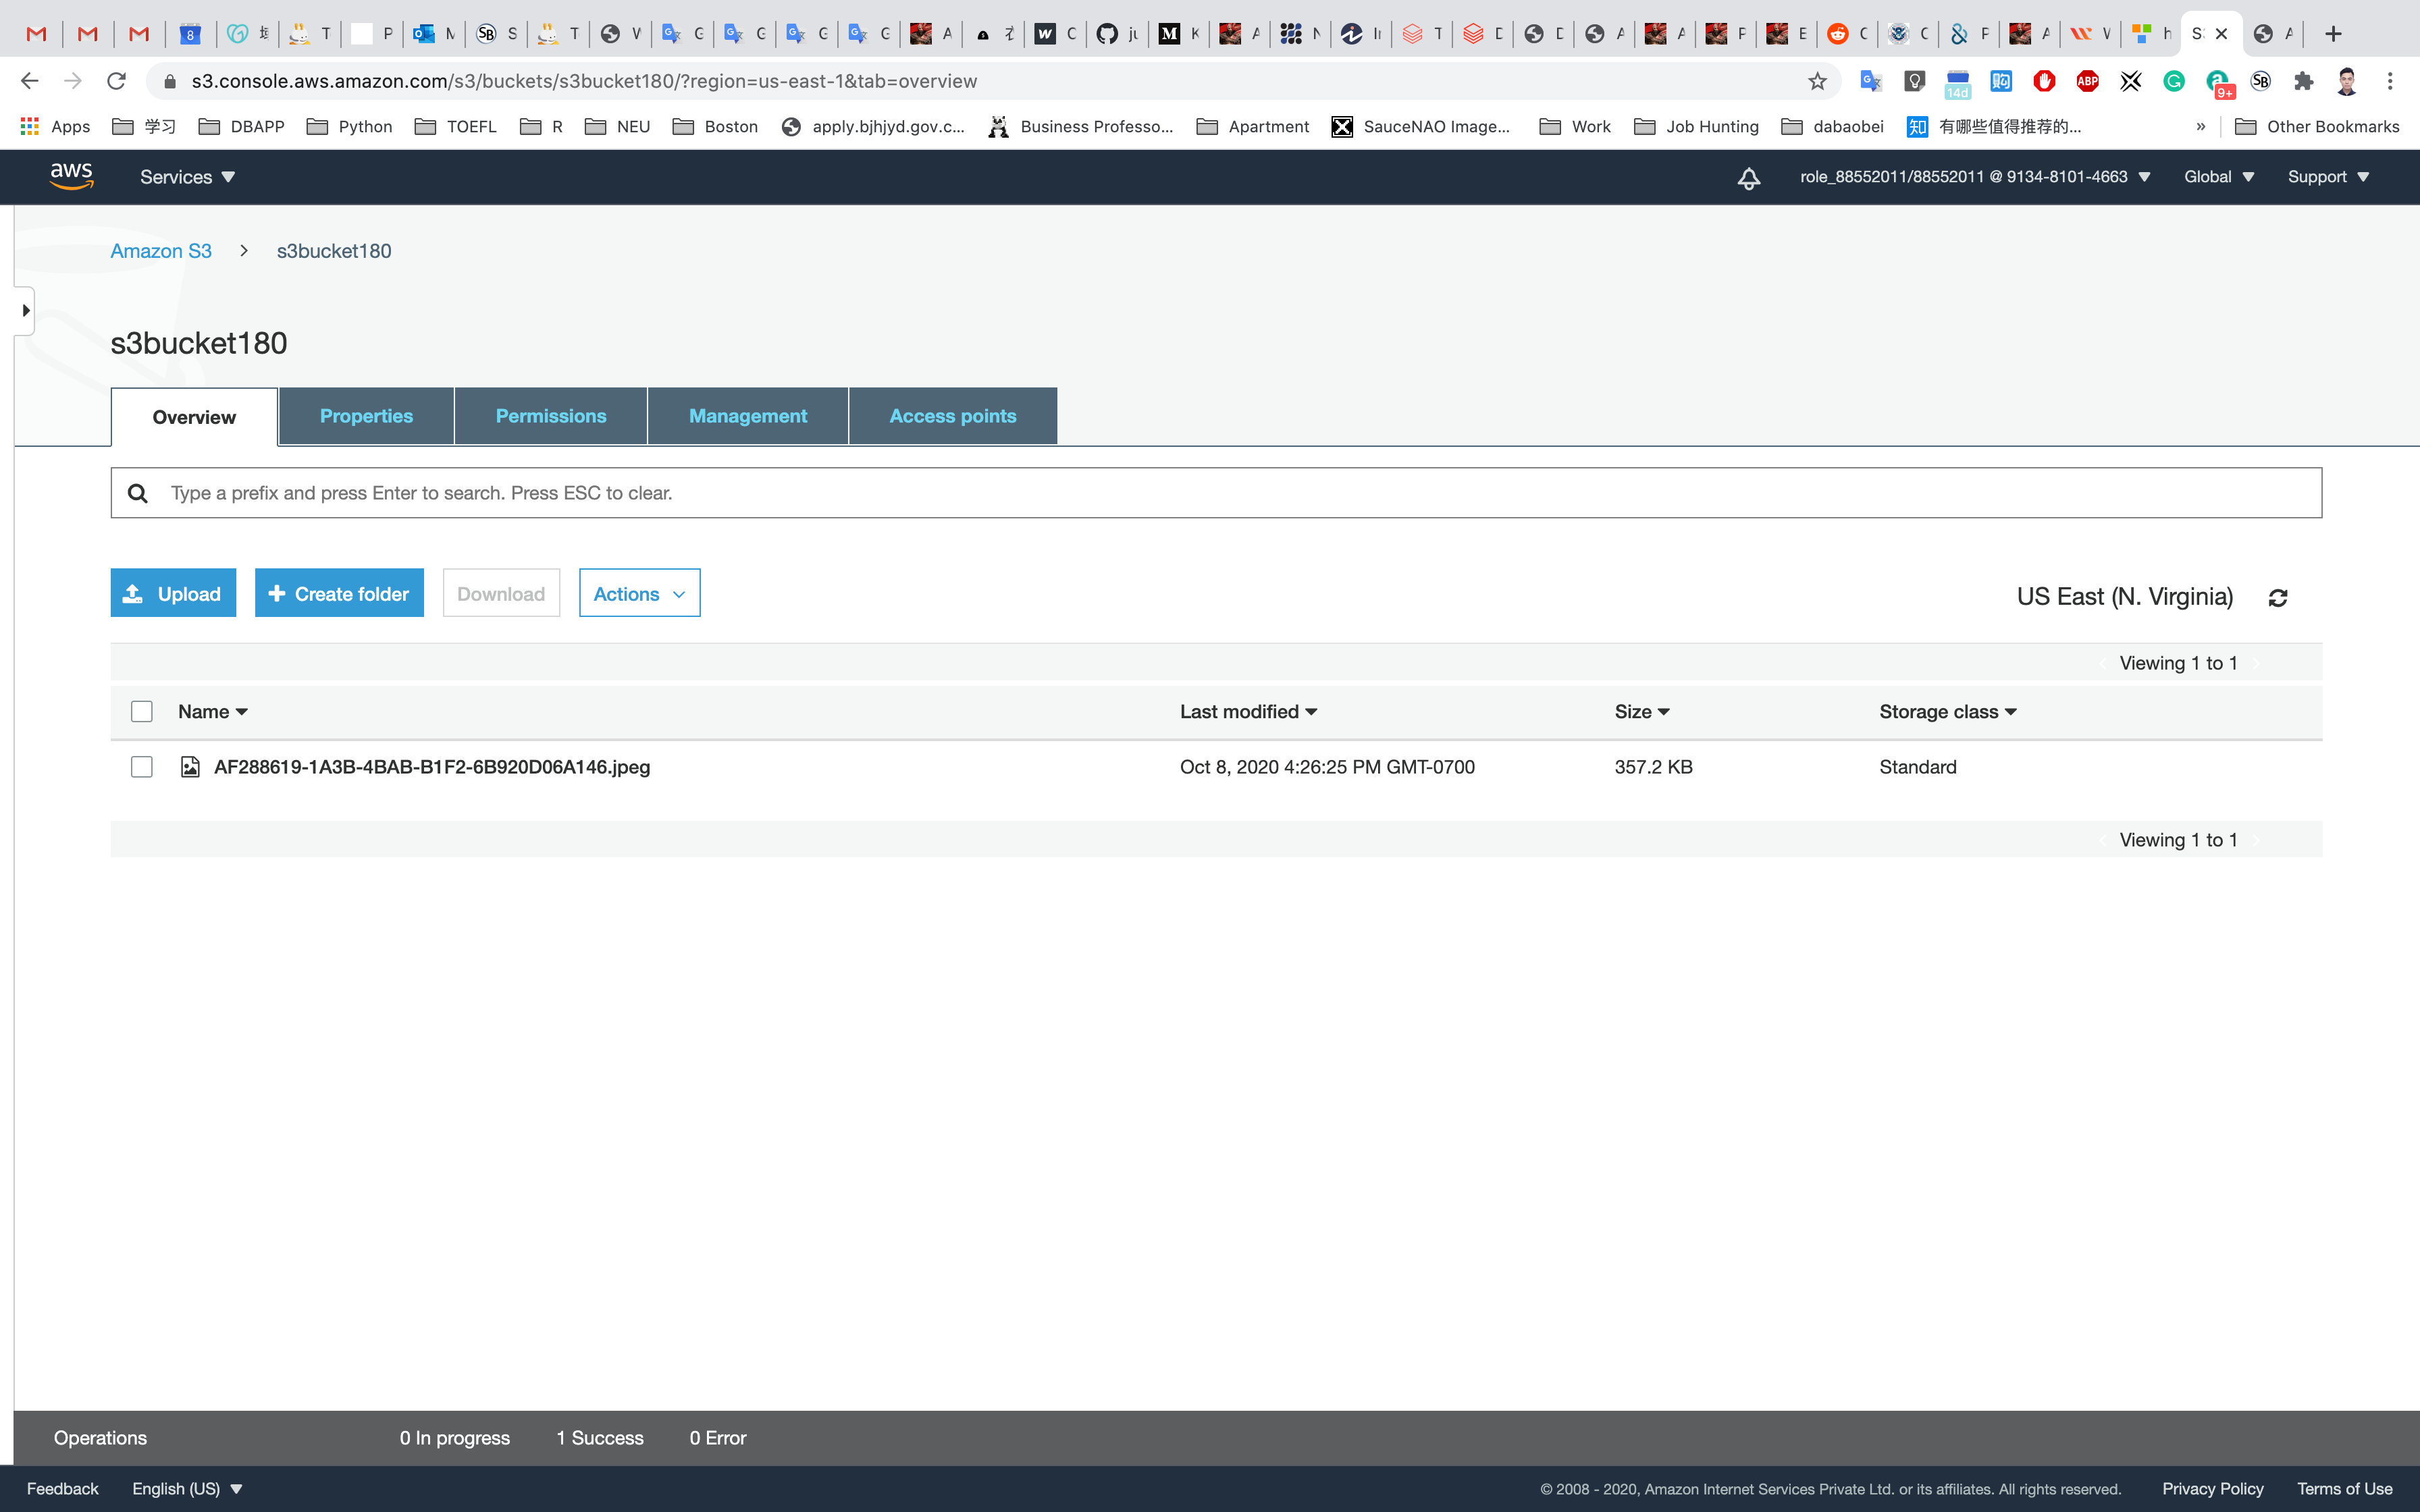
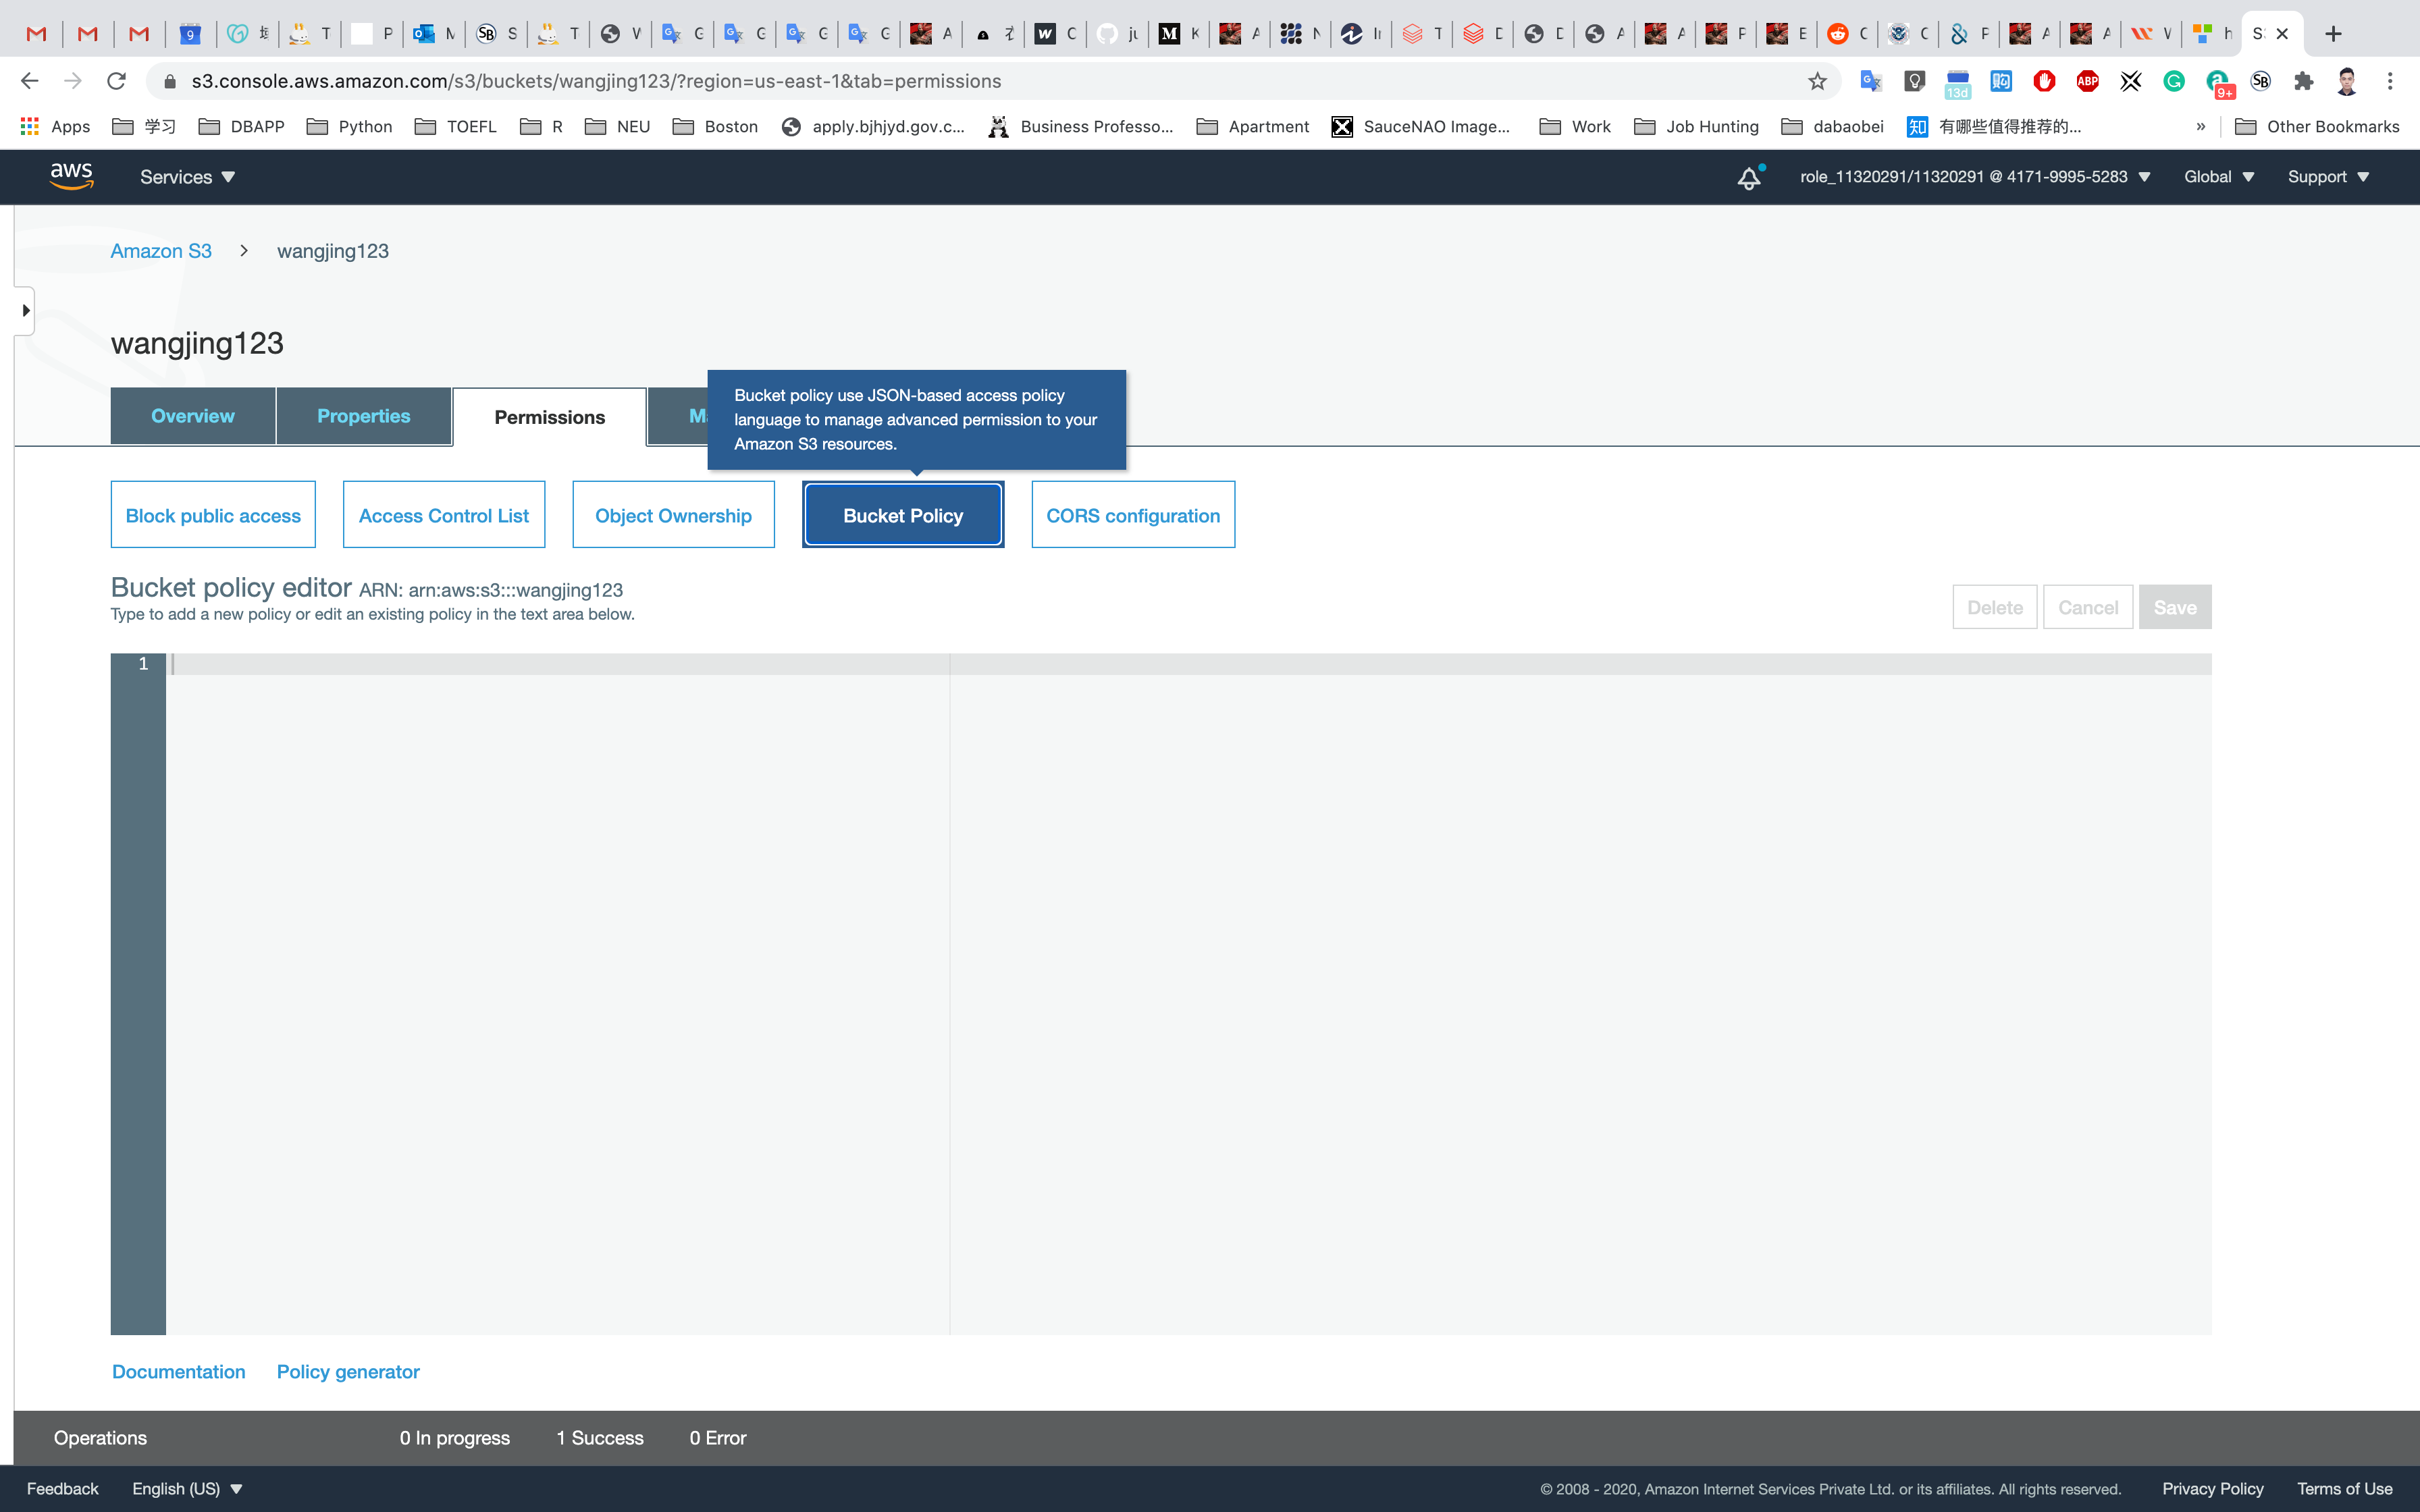
Click on Bucket Policy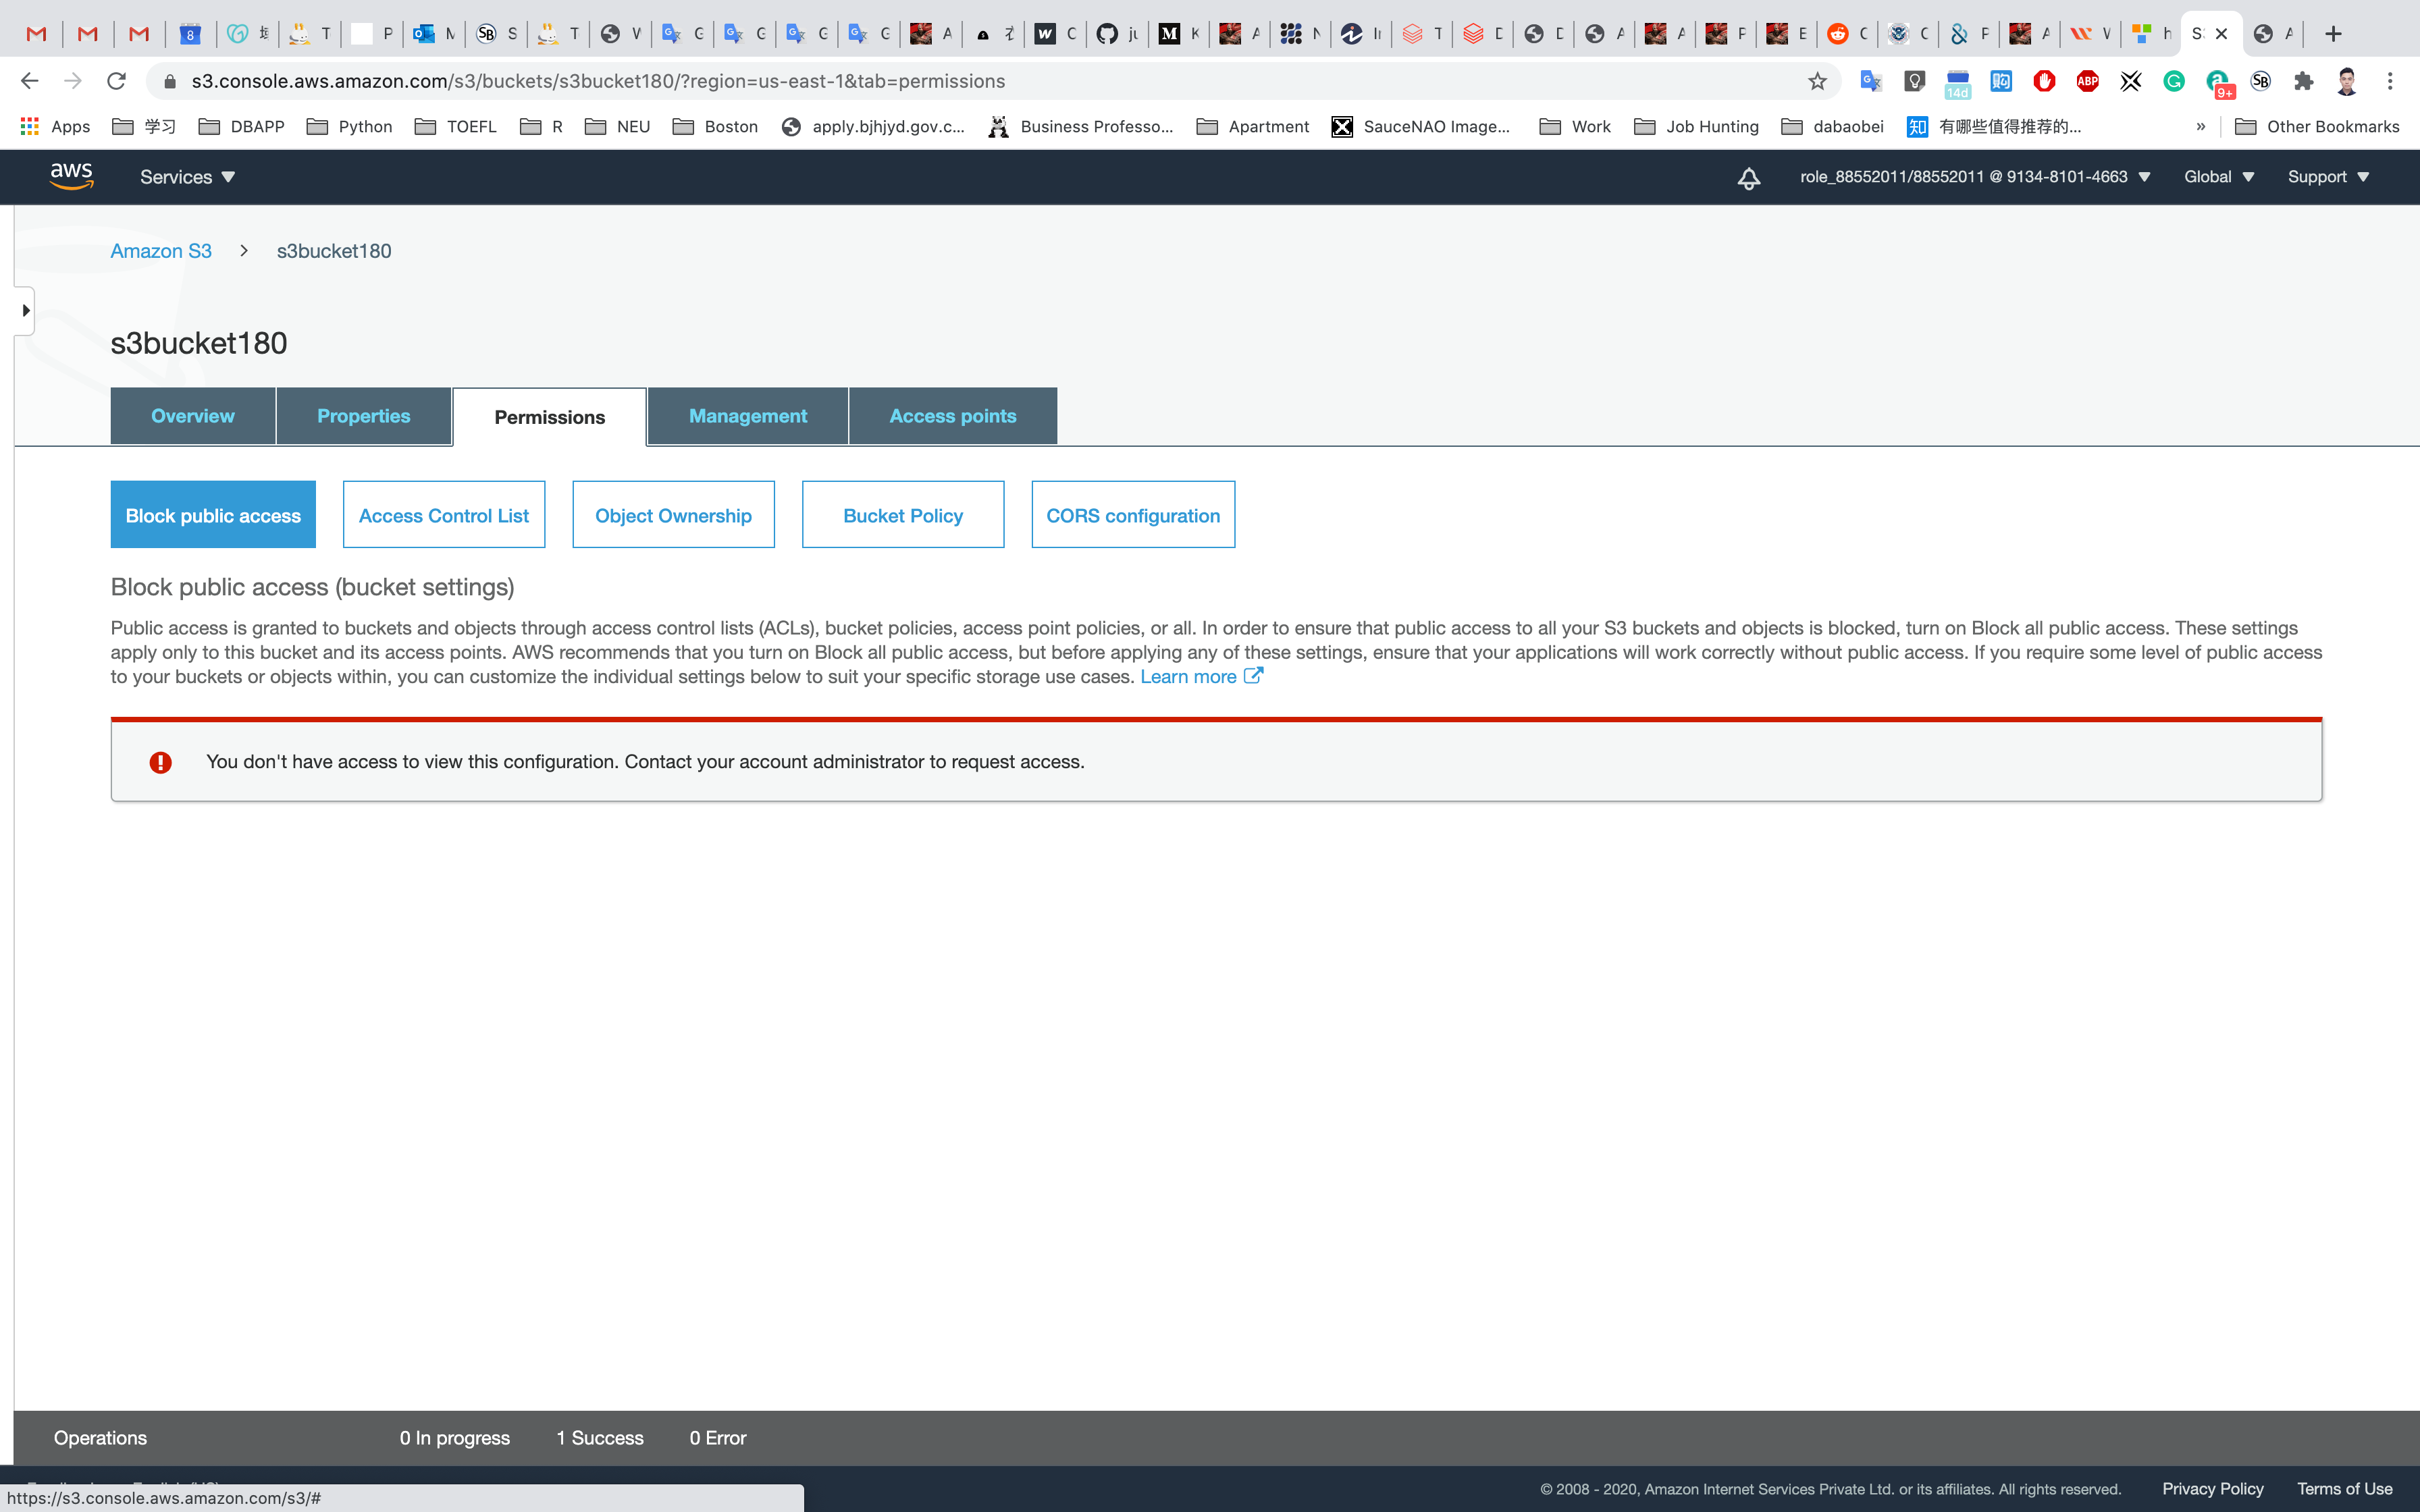
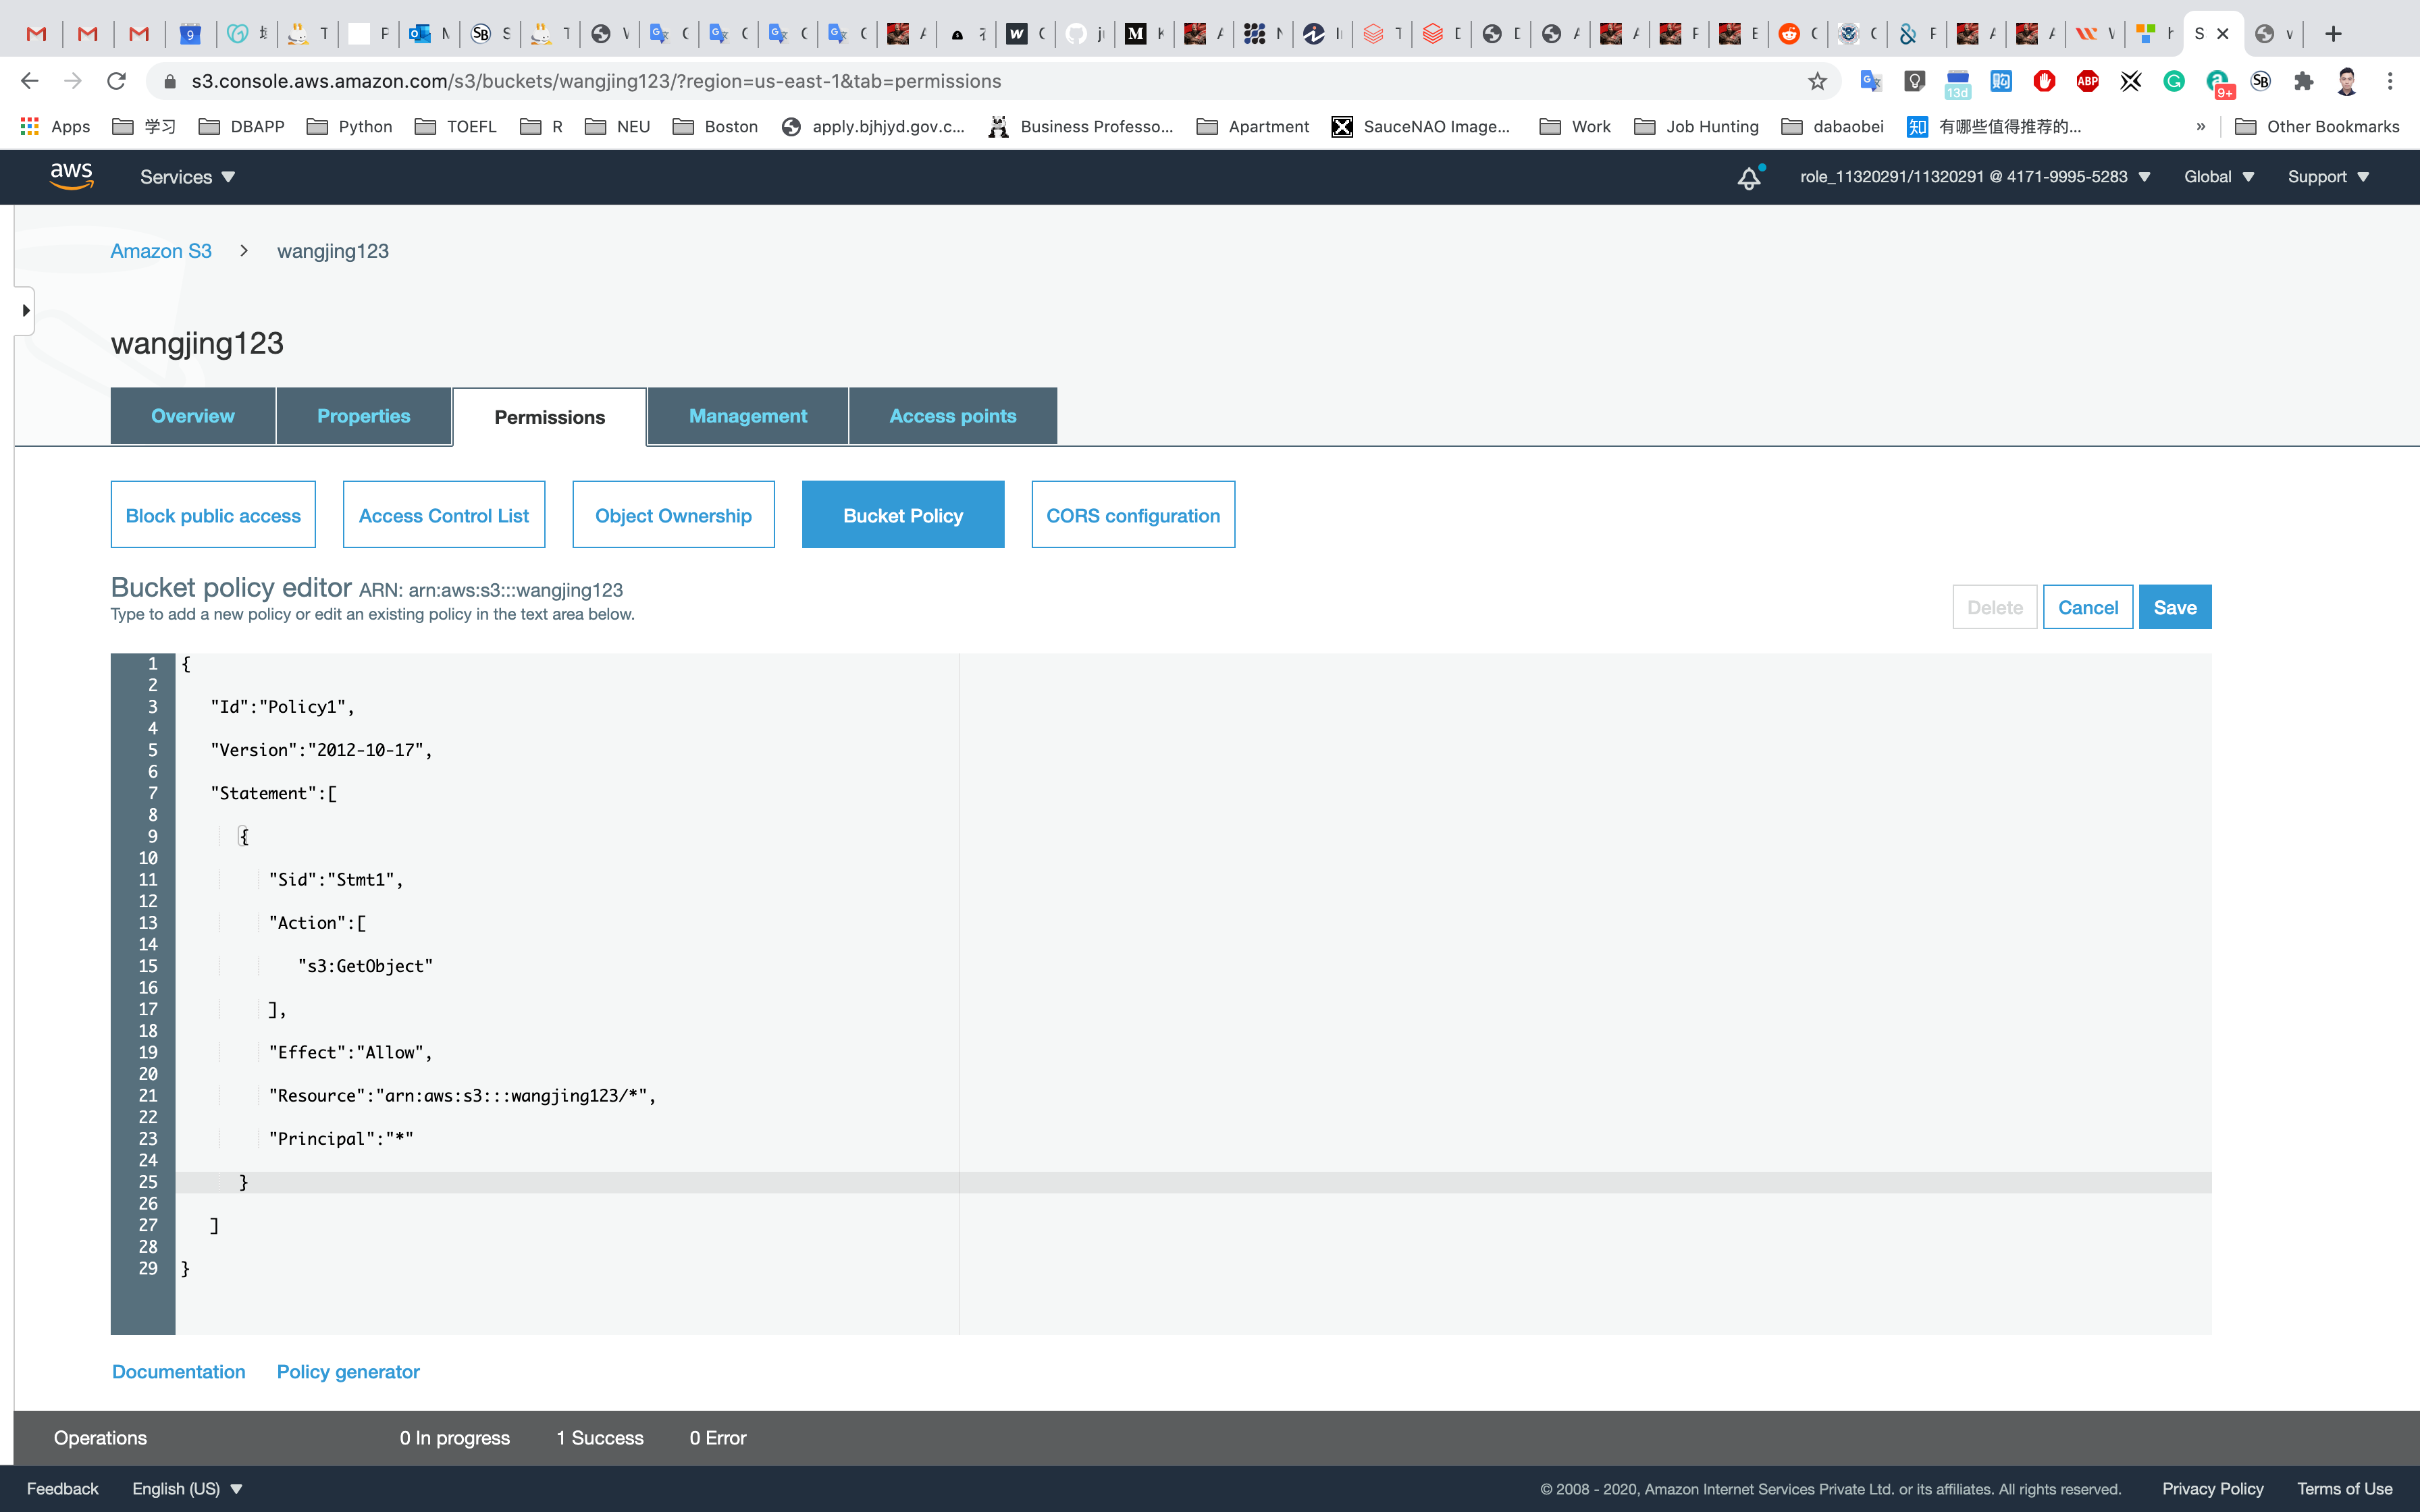
A blank Bucket policy editor is displayed.
Copy the ARN of your bucket to the clipboard.
- e.g, arn:aws:s3:::s3bucket180
Replace your bucket ARN with the ARN listed in the JSON below, then copy the entire policy.
1 | { |
Click on Save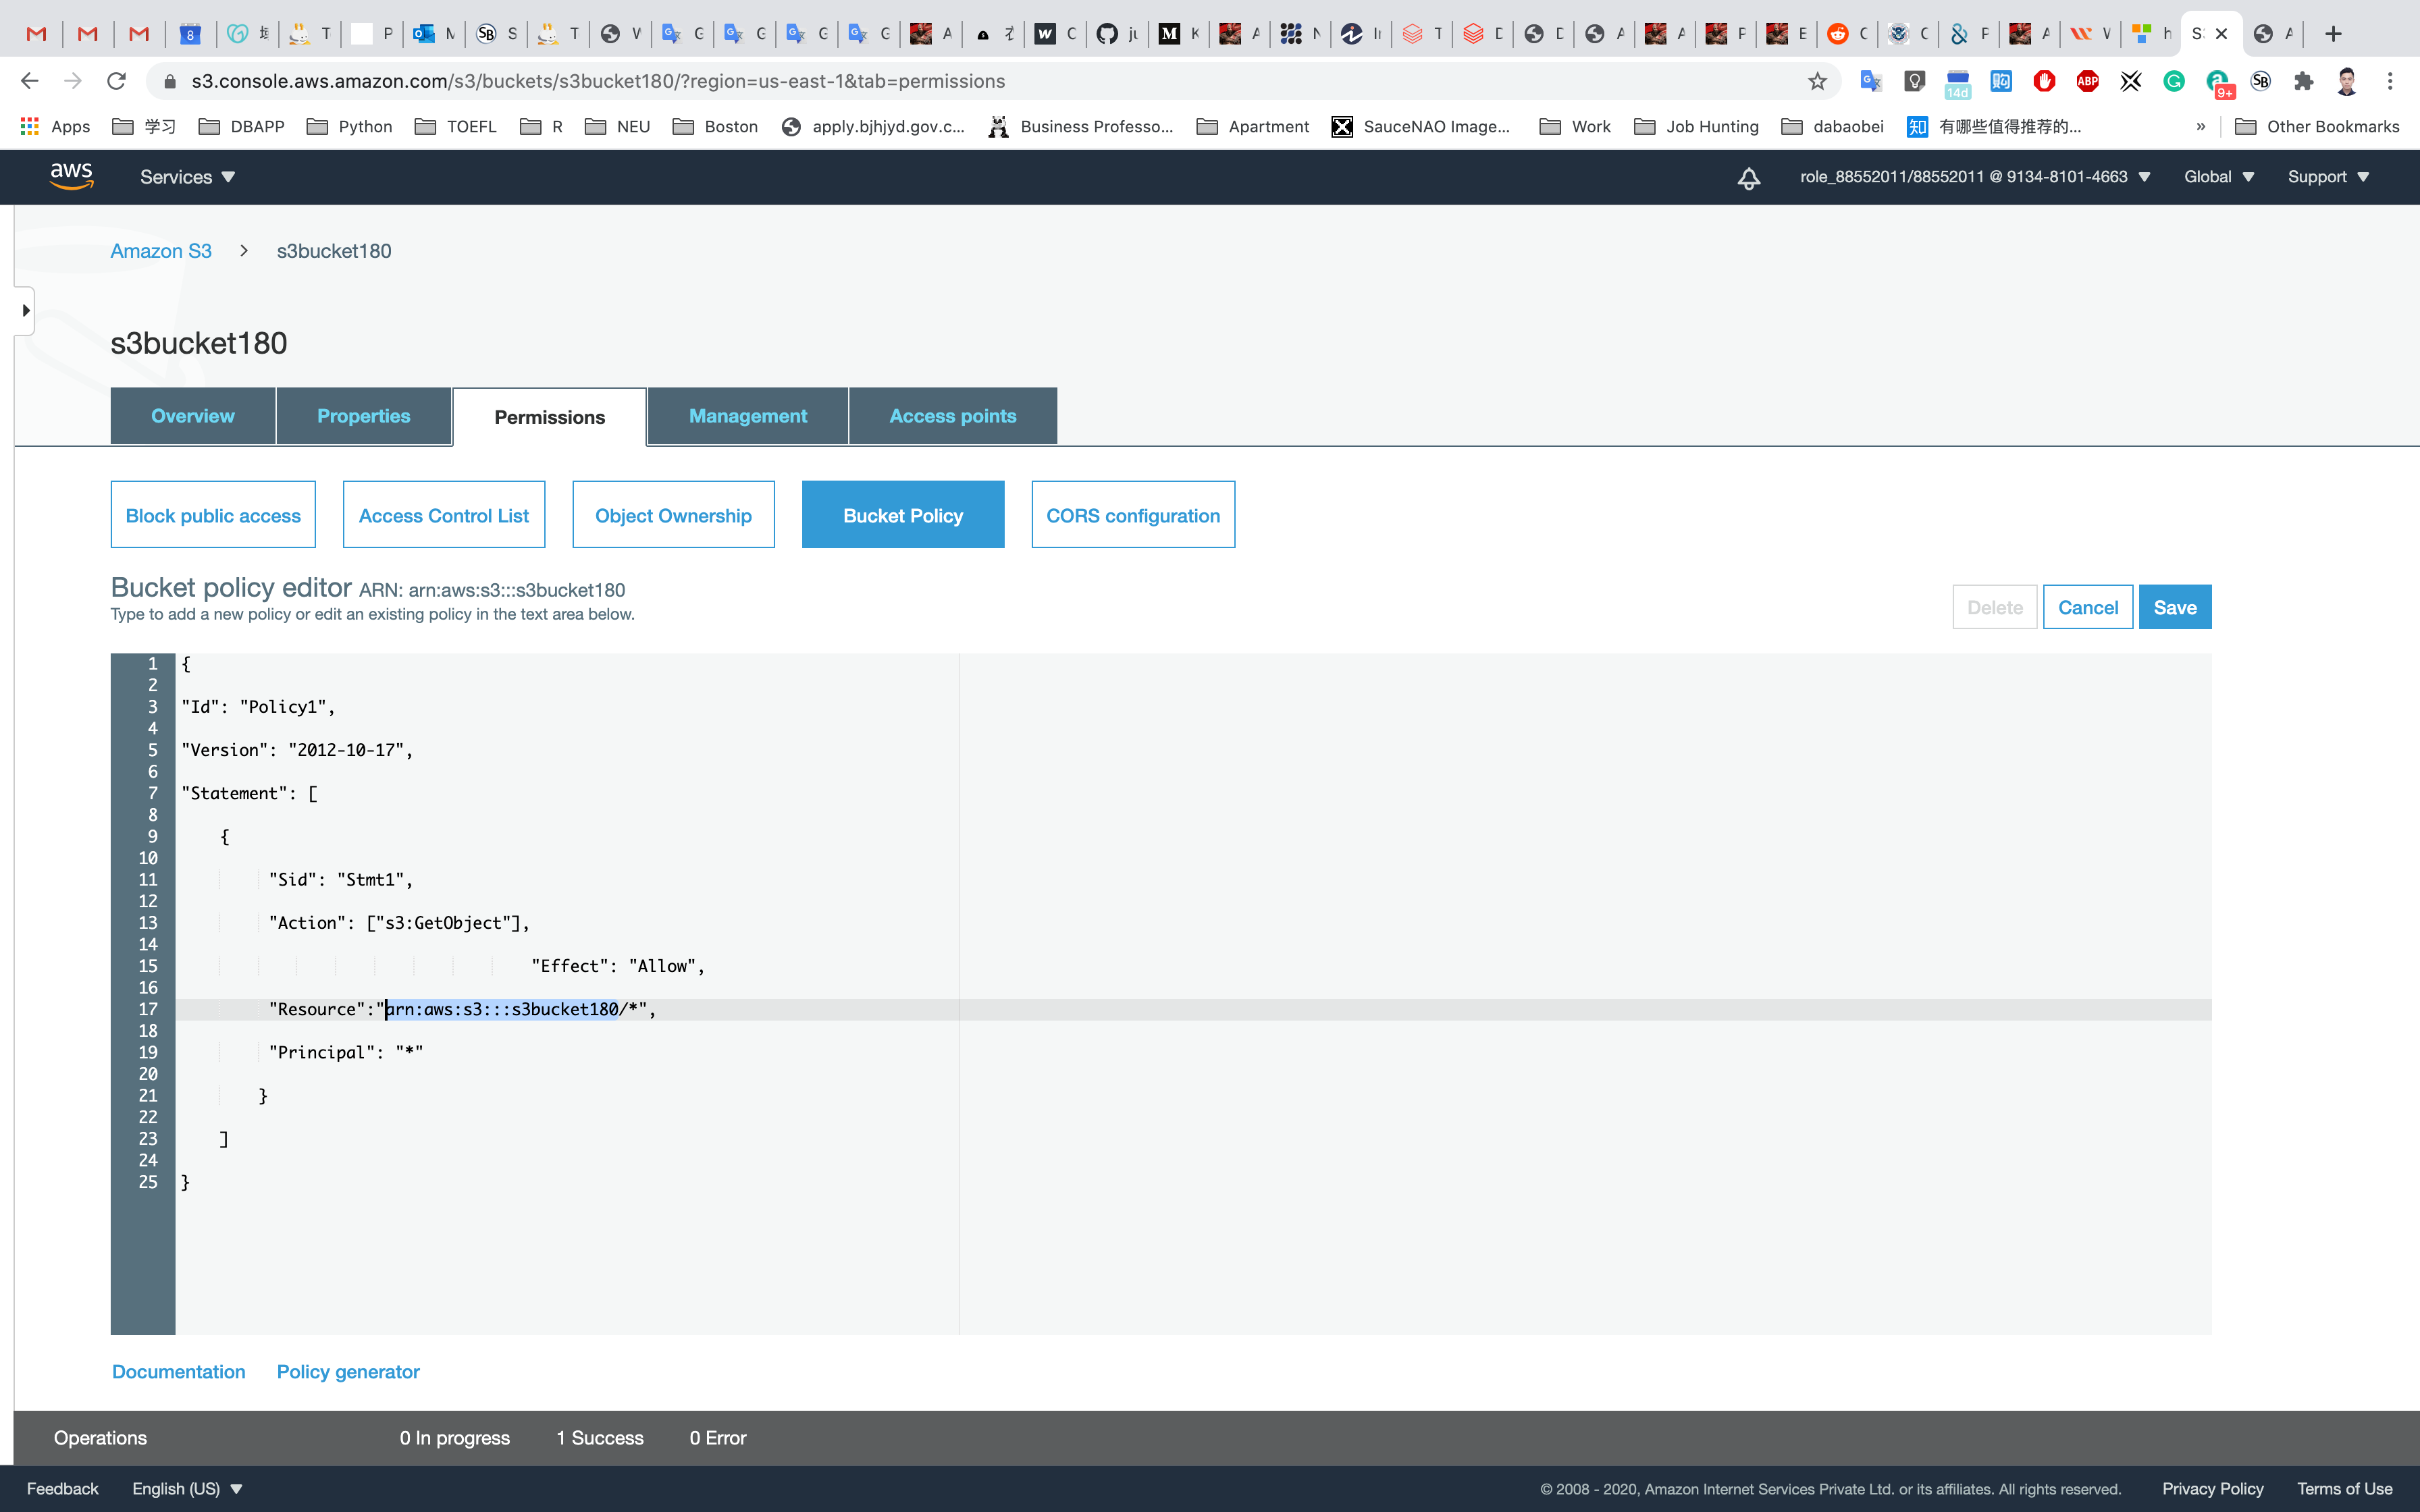
Test Public Access
Go back to your bucket list, then click on your bucket.
Upload another file.
Leave all of the settings as default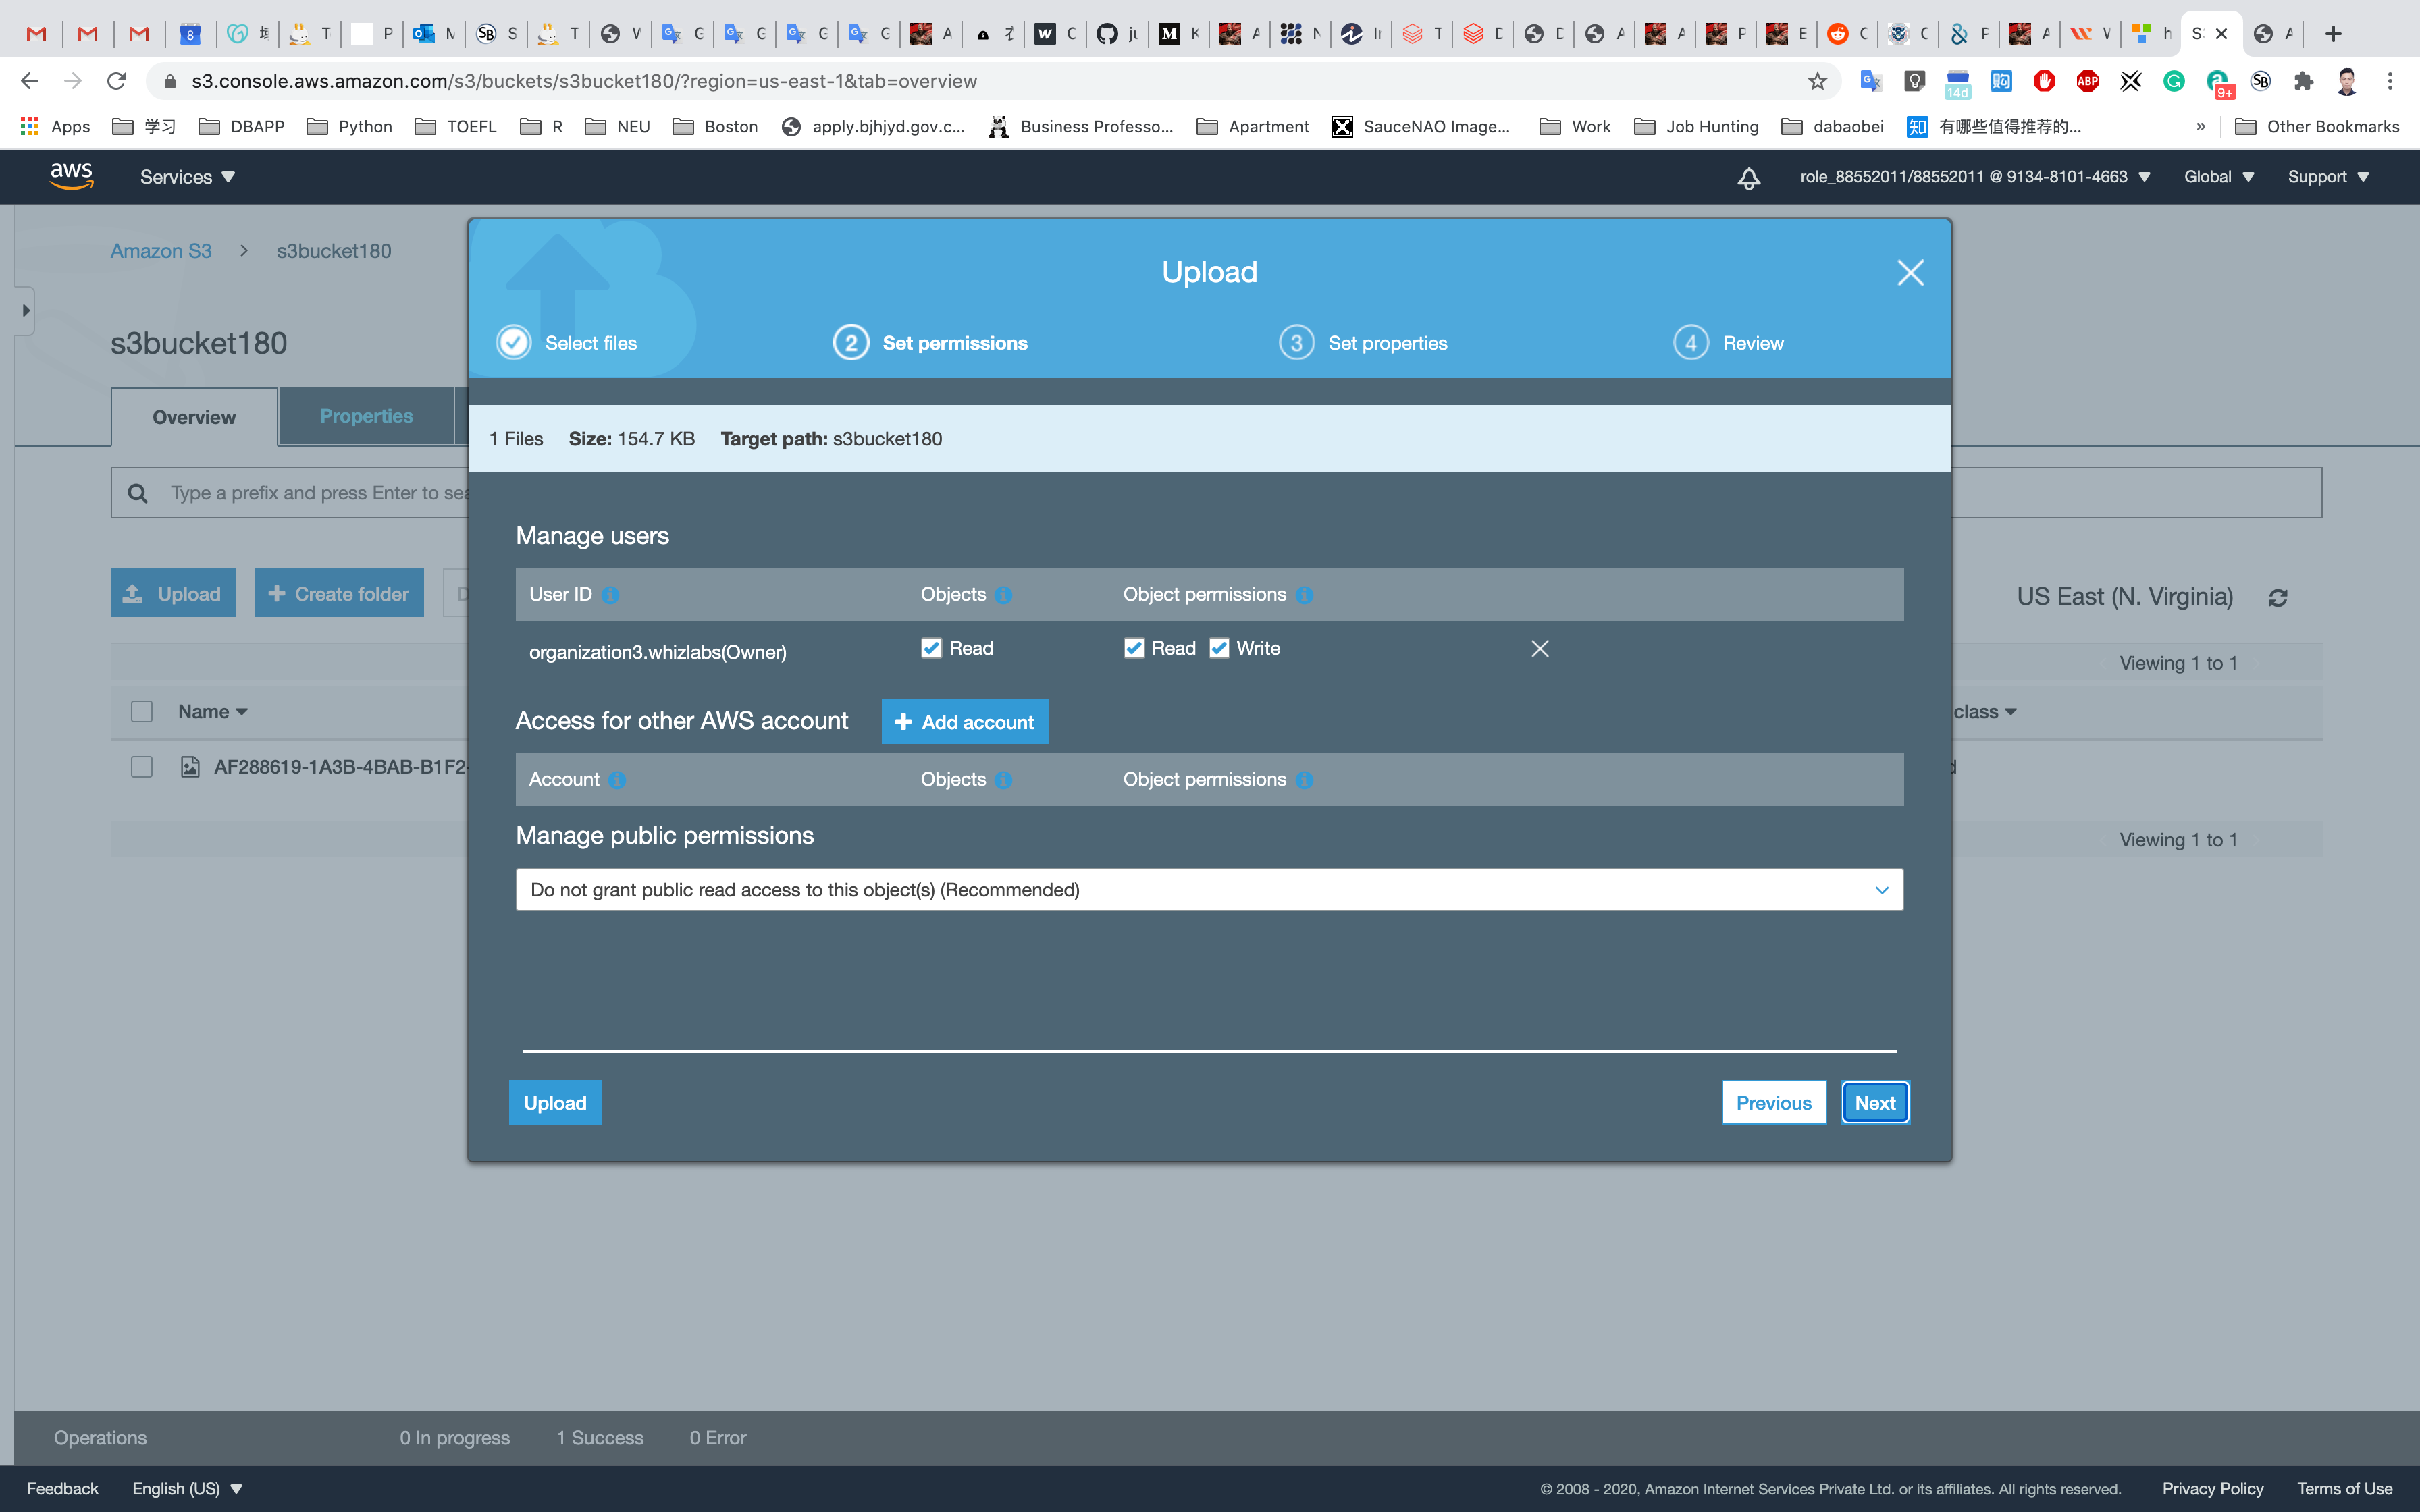
Click on your new object, and click on the Object URL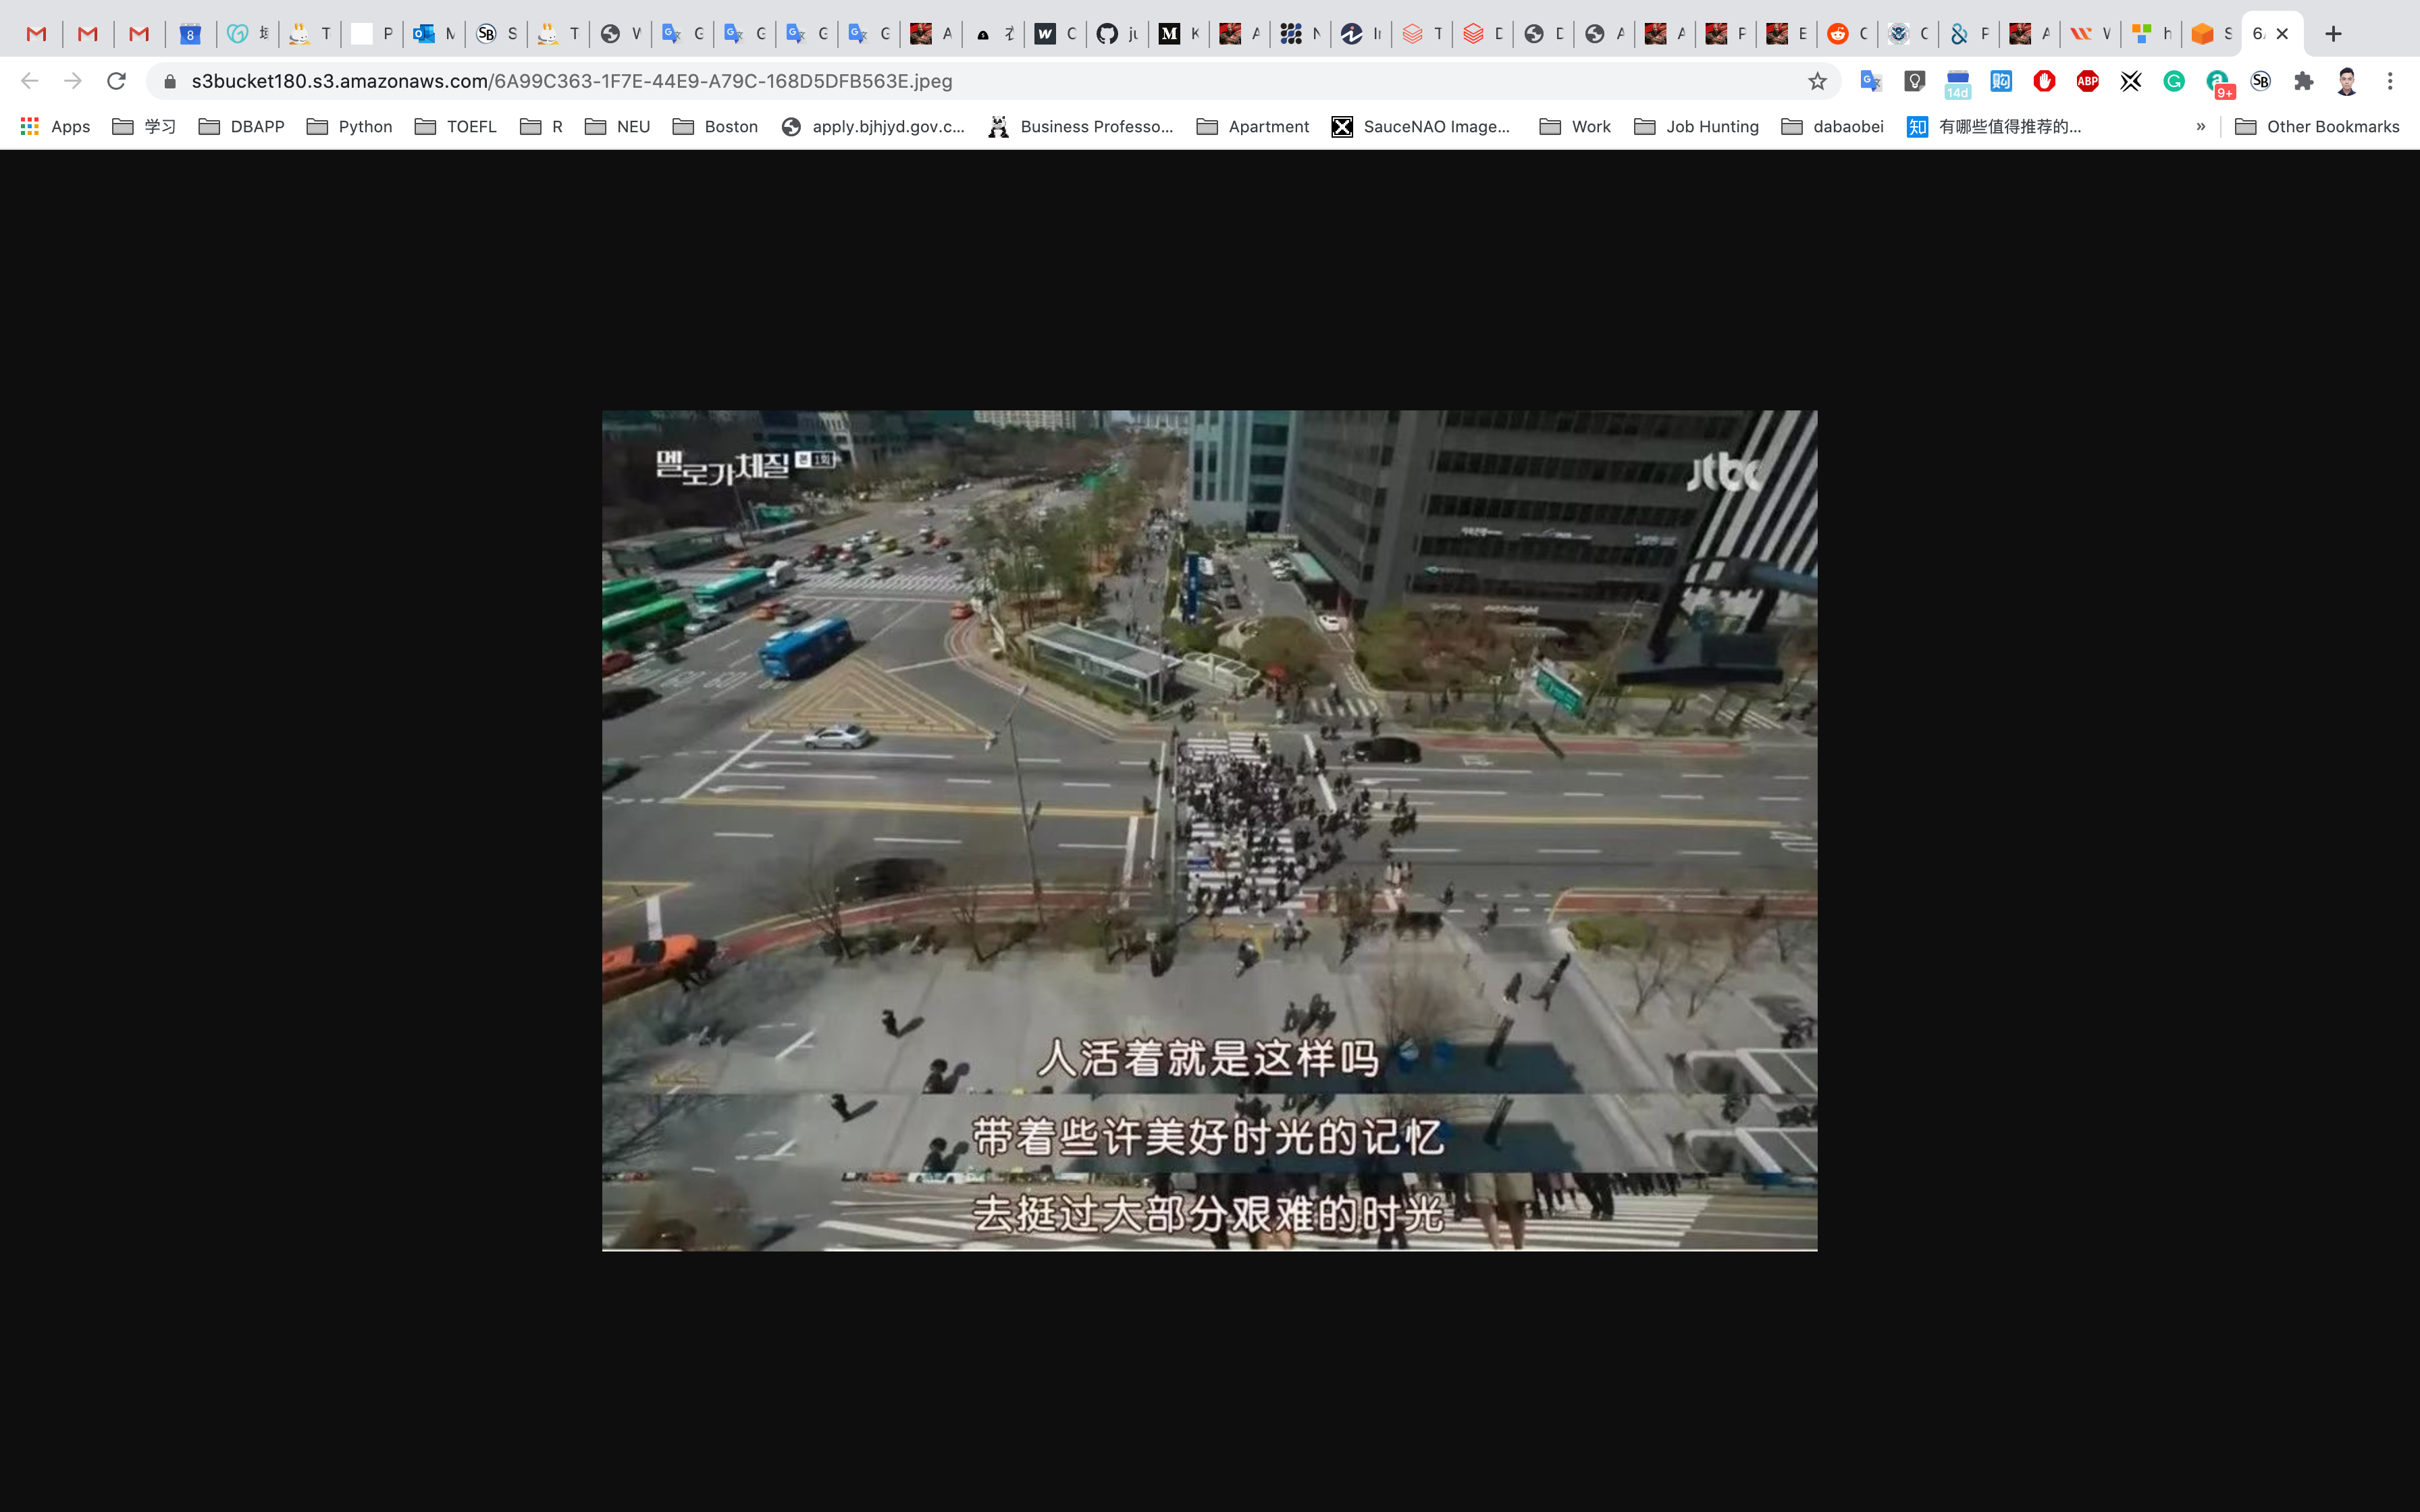
Success
Completion and Conclusion
- You have successfully created a new AWS S3 Bucket.
- You have successfully uploaded an image to the S3 bucket.
- You have learned to change S3 object permissions.
- You have learned how to create an S3 bucket policy.
How to enable versioning Amazon S3
https://play.whizlabs.com/site/task_details?lab_type=1&task_id=21&quest_id=35
Lab Details
- This lab walks you through the steps on how to enables versioning on an AWS S3 Bucket. Versioning allows you to keep multiple versions of an object in one bucket.
Task Details
- Log into the AWS Management Console.
- Create an S3 bucket.
- Enable object versioning on the bucket.
- Upload a text file to the S3 Bucket.
- Test object versioning by changing the text file and re-uploading it.
Architecture Diagram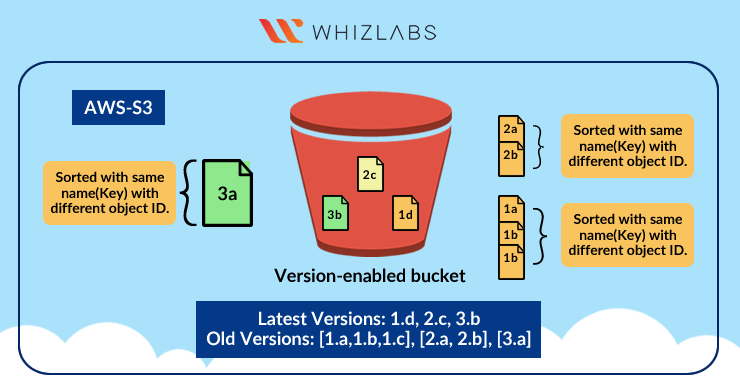
S3 Configuration
Service -> S3
Create an S3 Bucket
On the S3 dashboard, click on Create bucket and fill in the bucket details.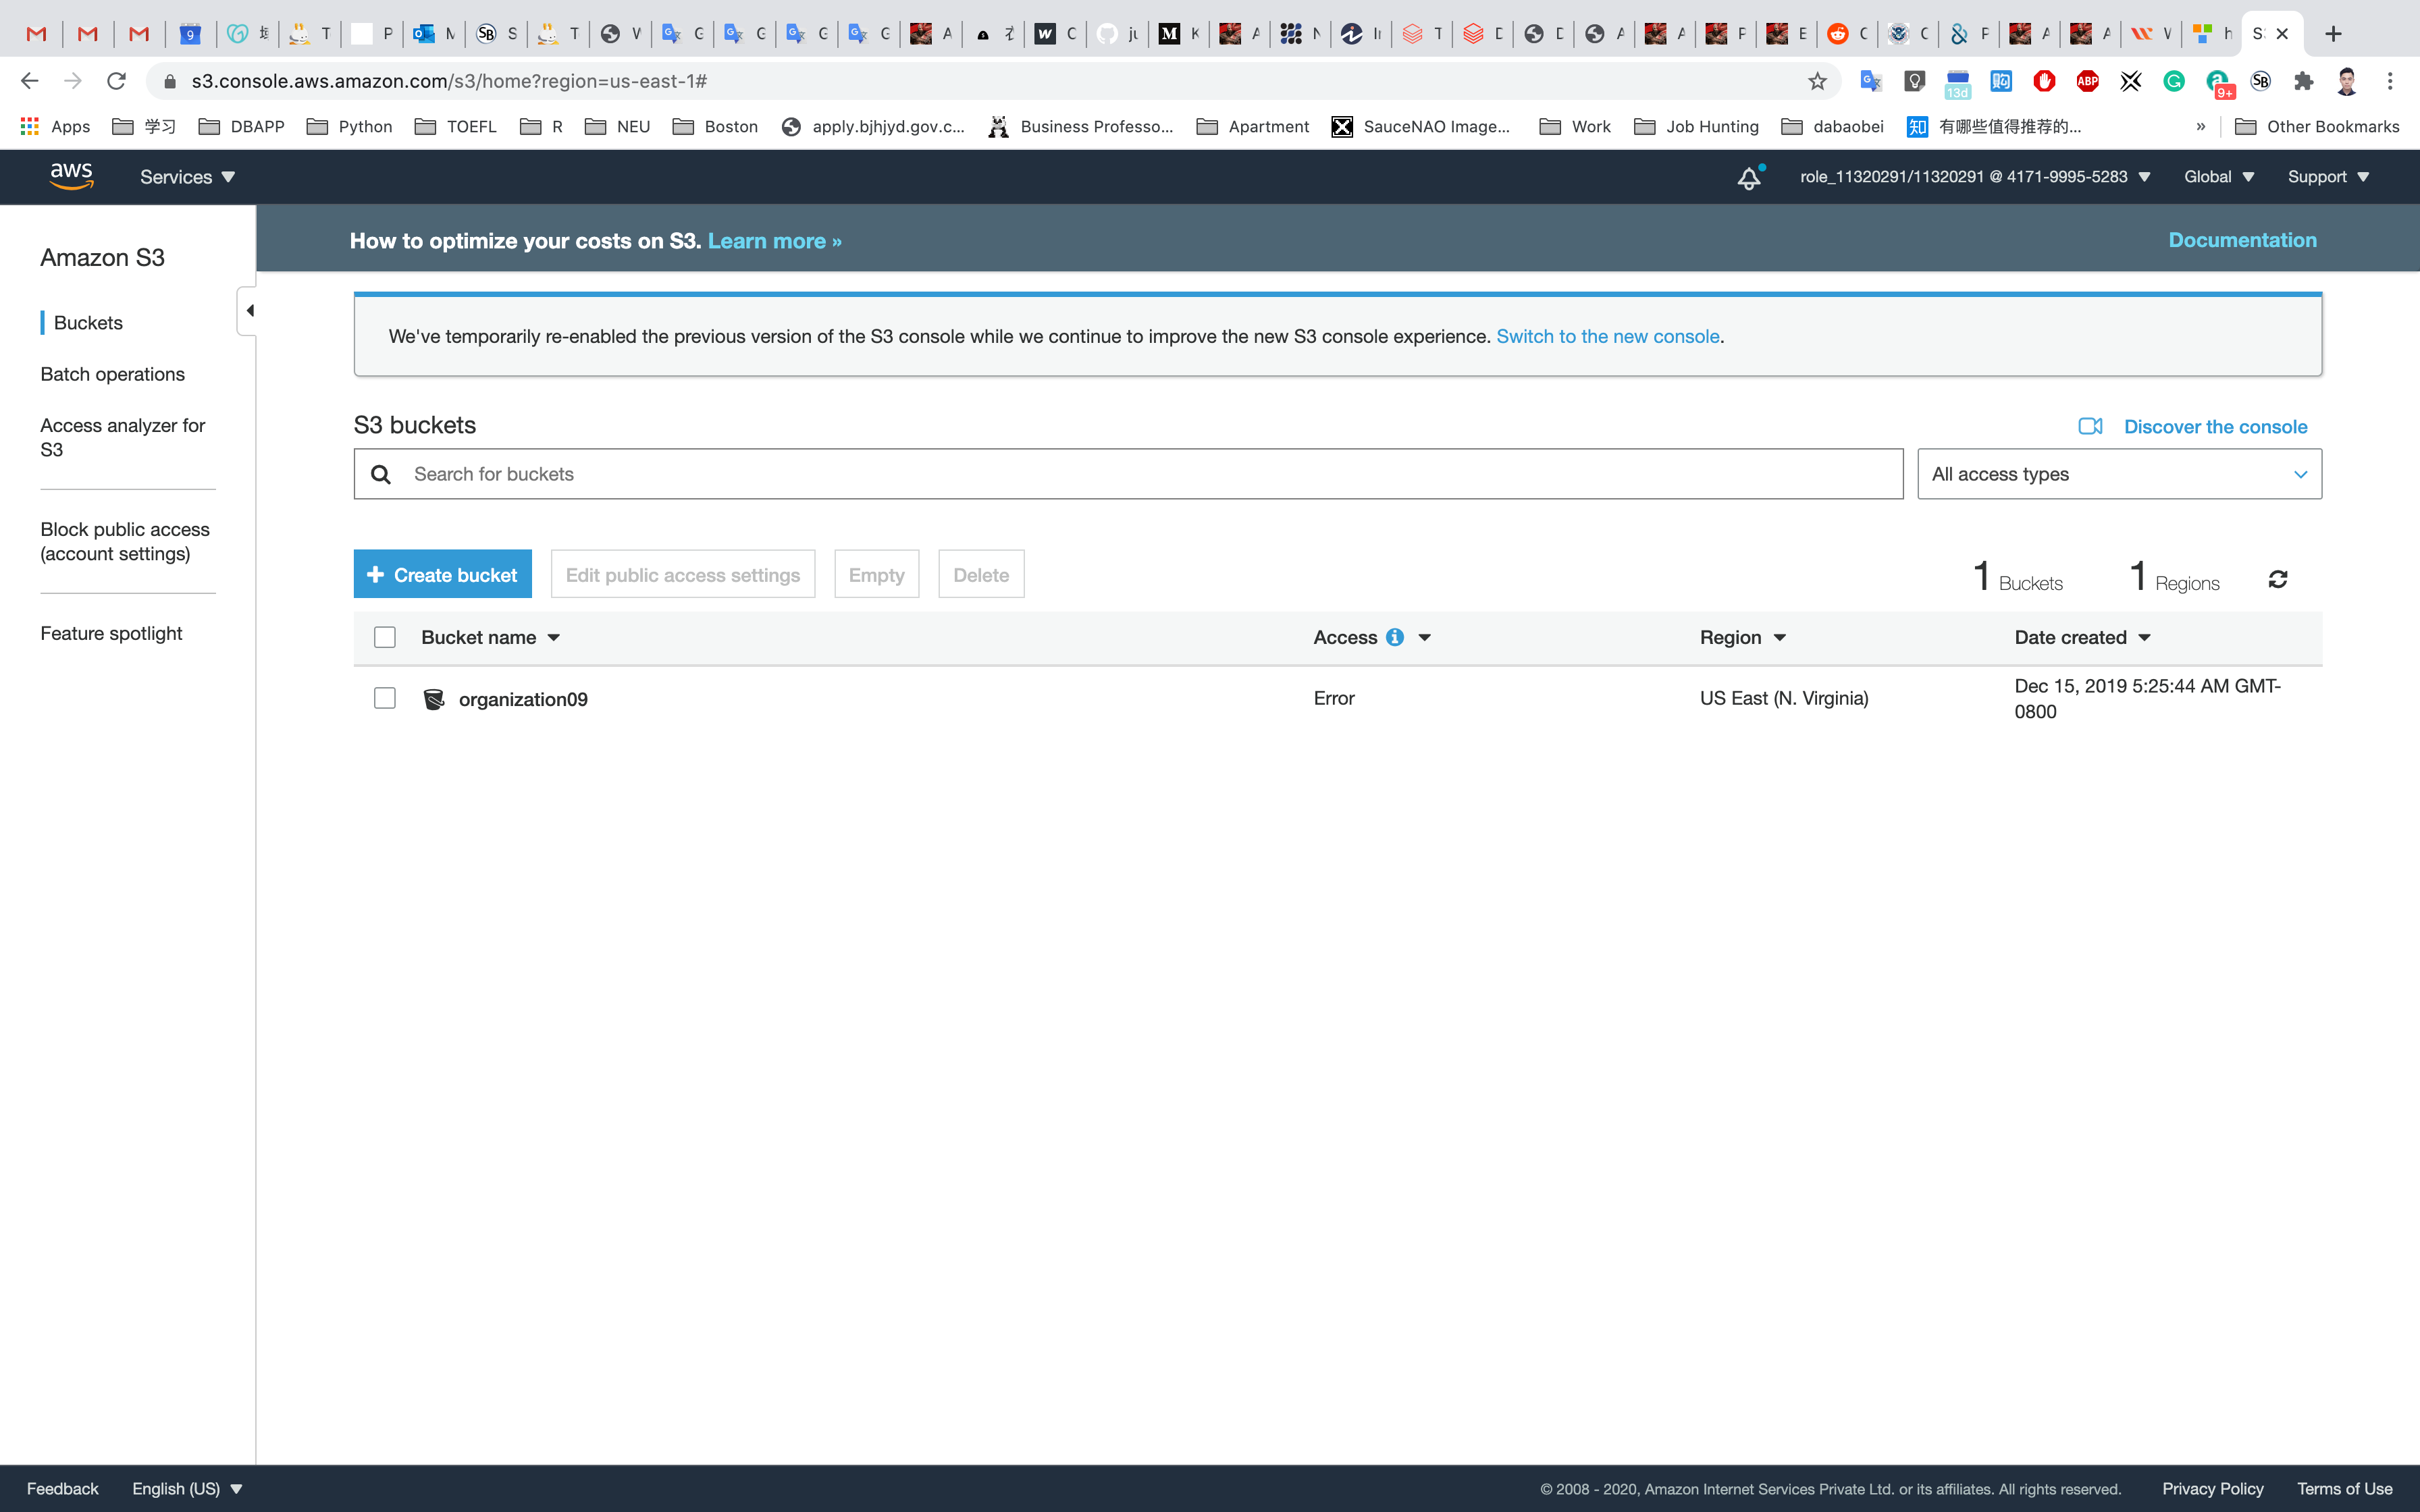
- Bucket name: Enter
yourBucketName- Note: S3 bucket names are globally unique, choose a name which is available.
- Region: Select
US East (N. Virginia) - Leave other settings as default.
Click on Create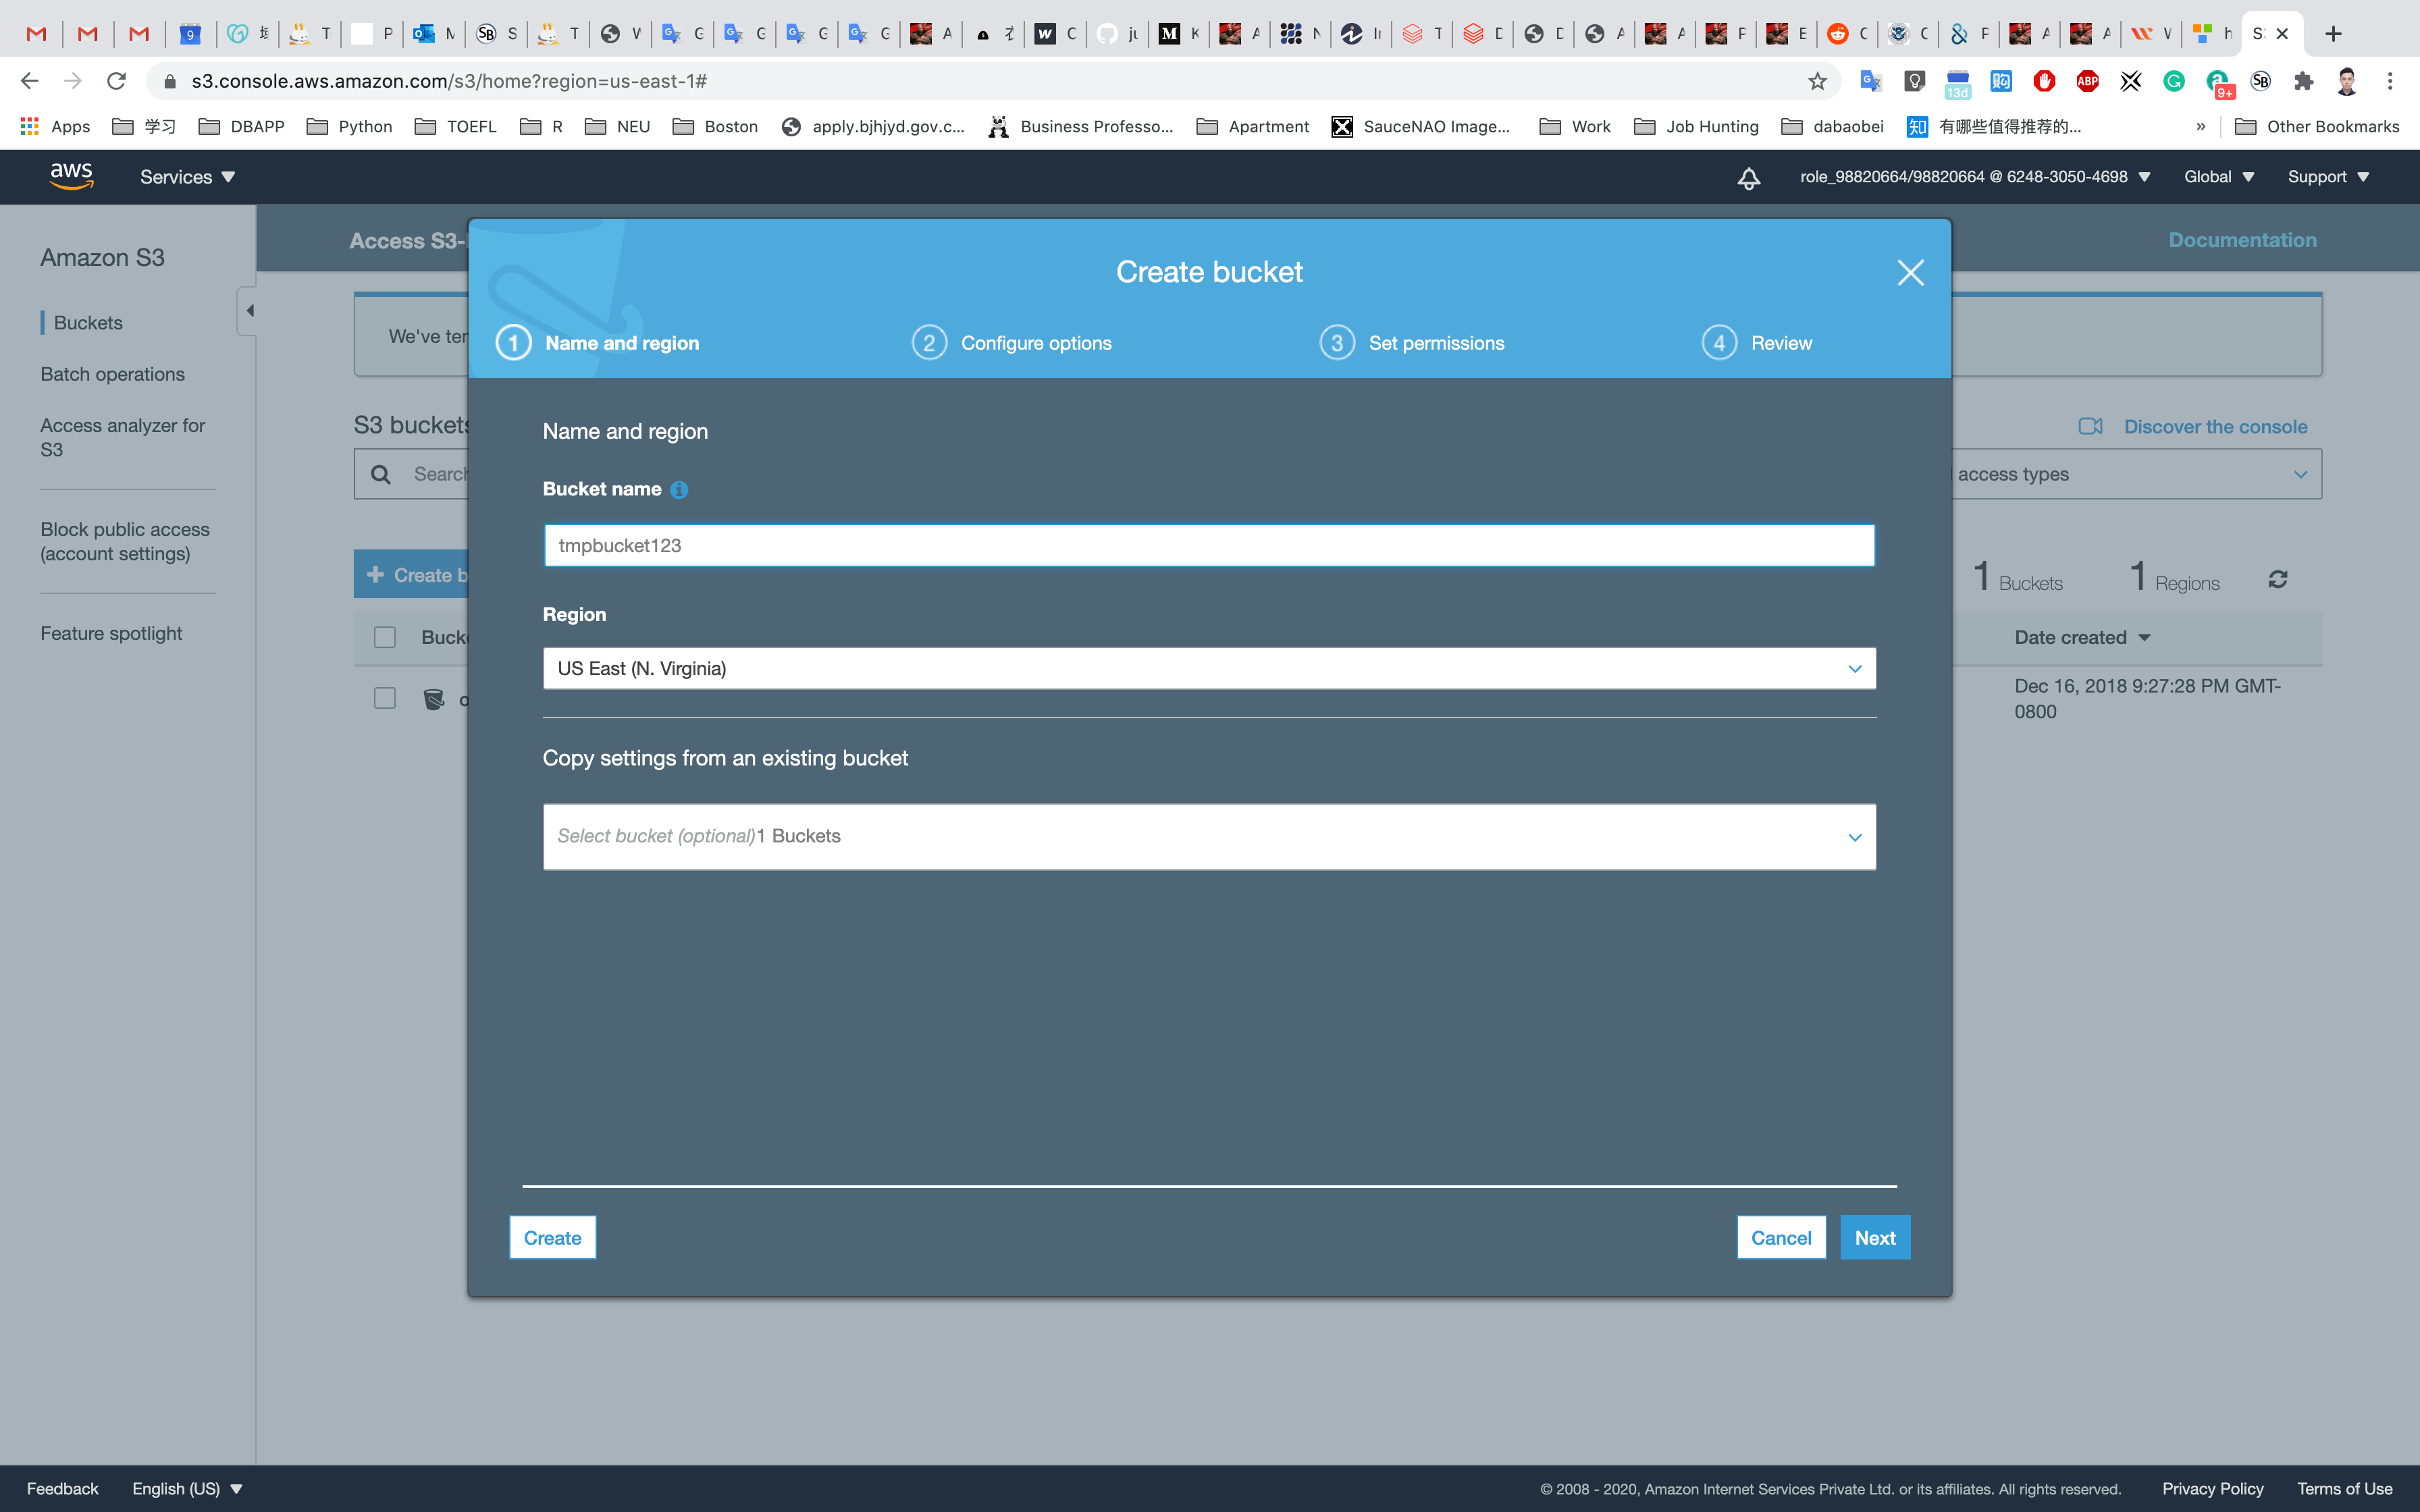
Close the pop up window if it’s still open.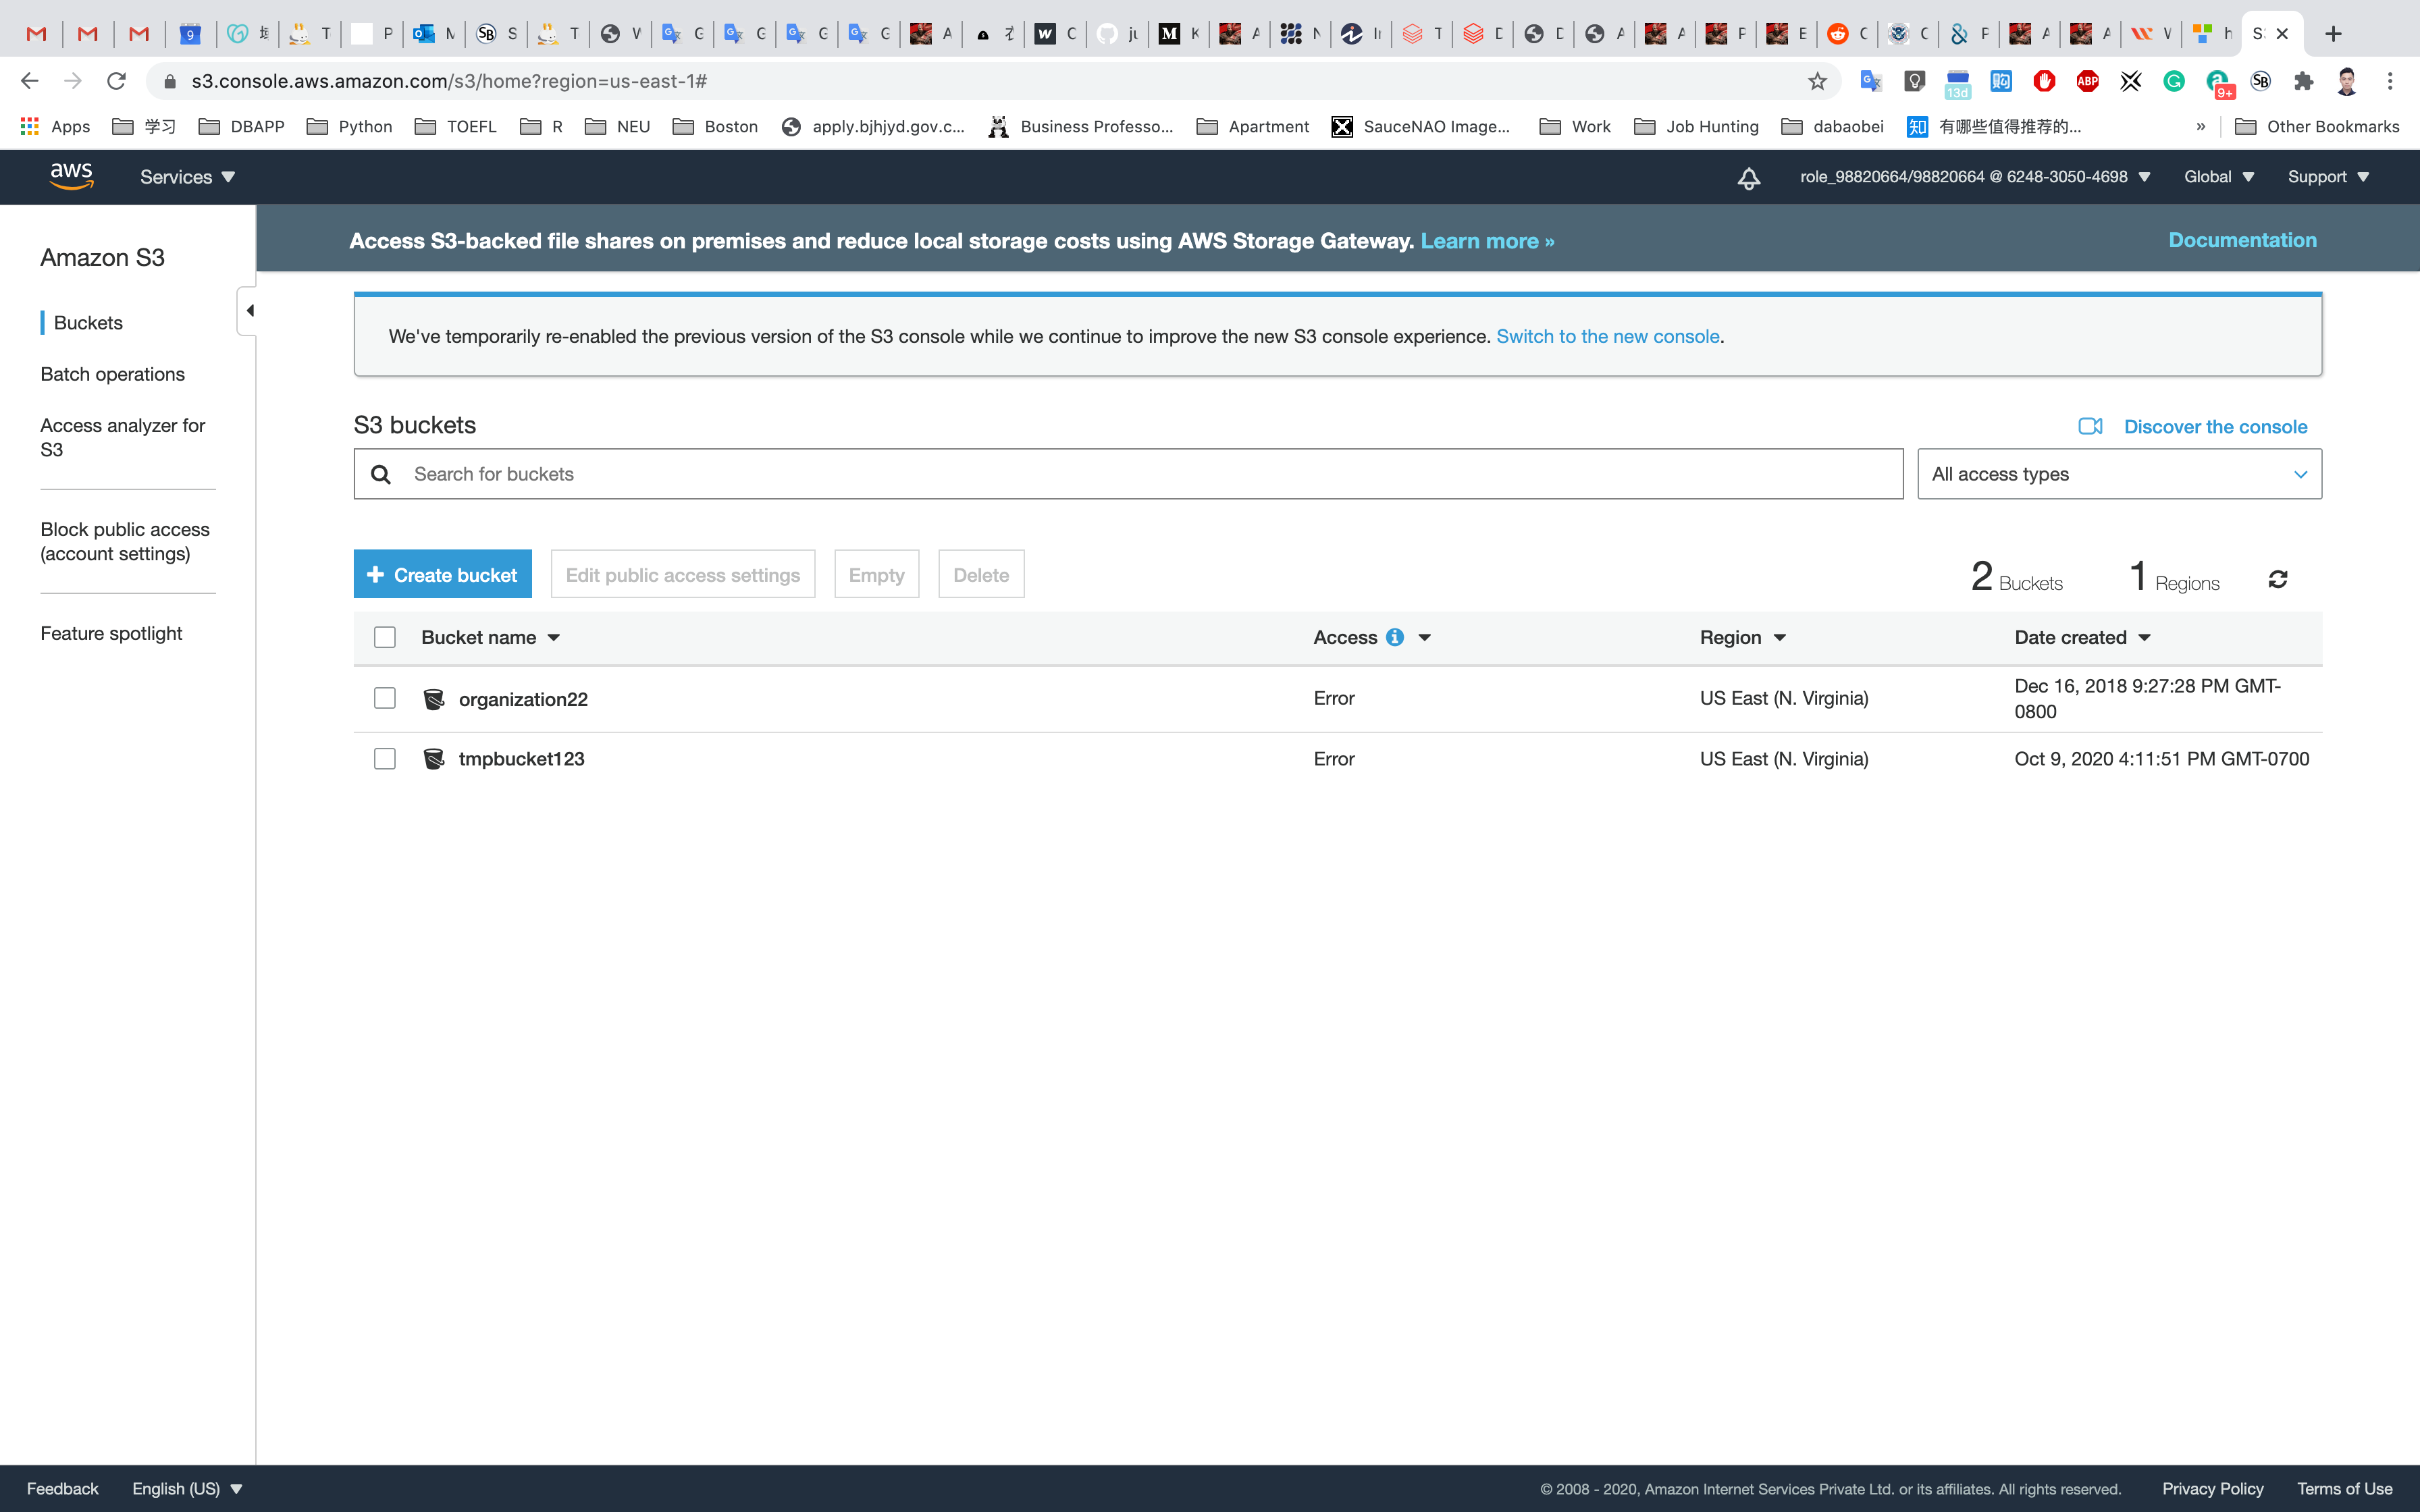
Enable Versioning on the S3 bucket
Go to the bucket list and click on your bucket name whizlabs234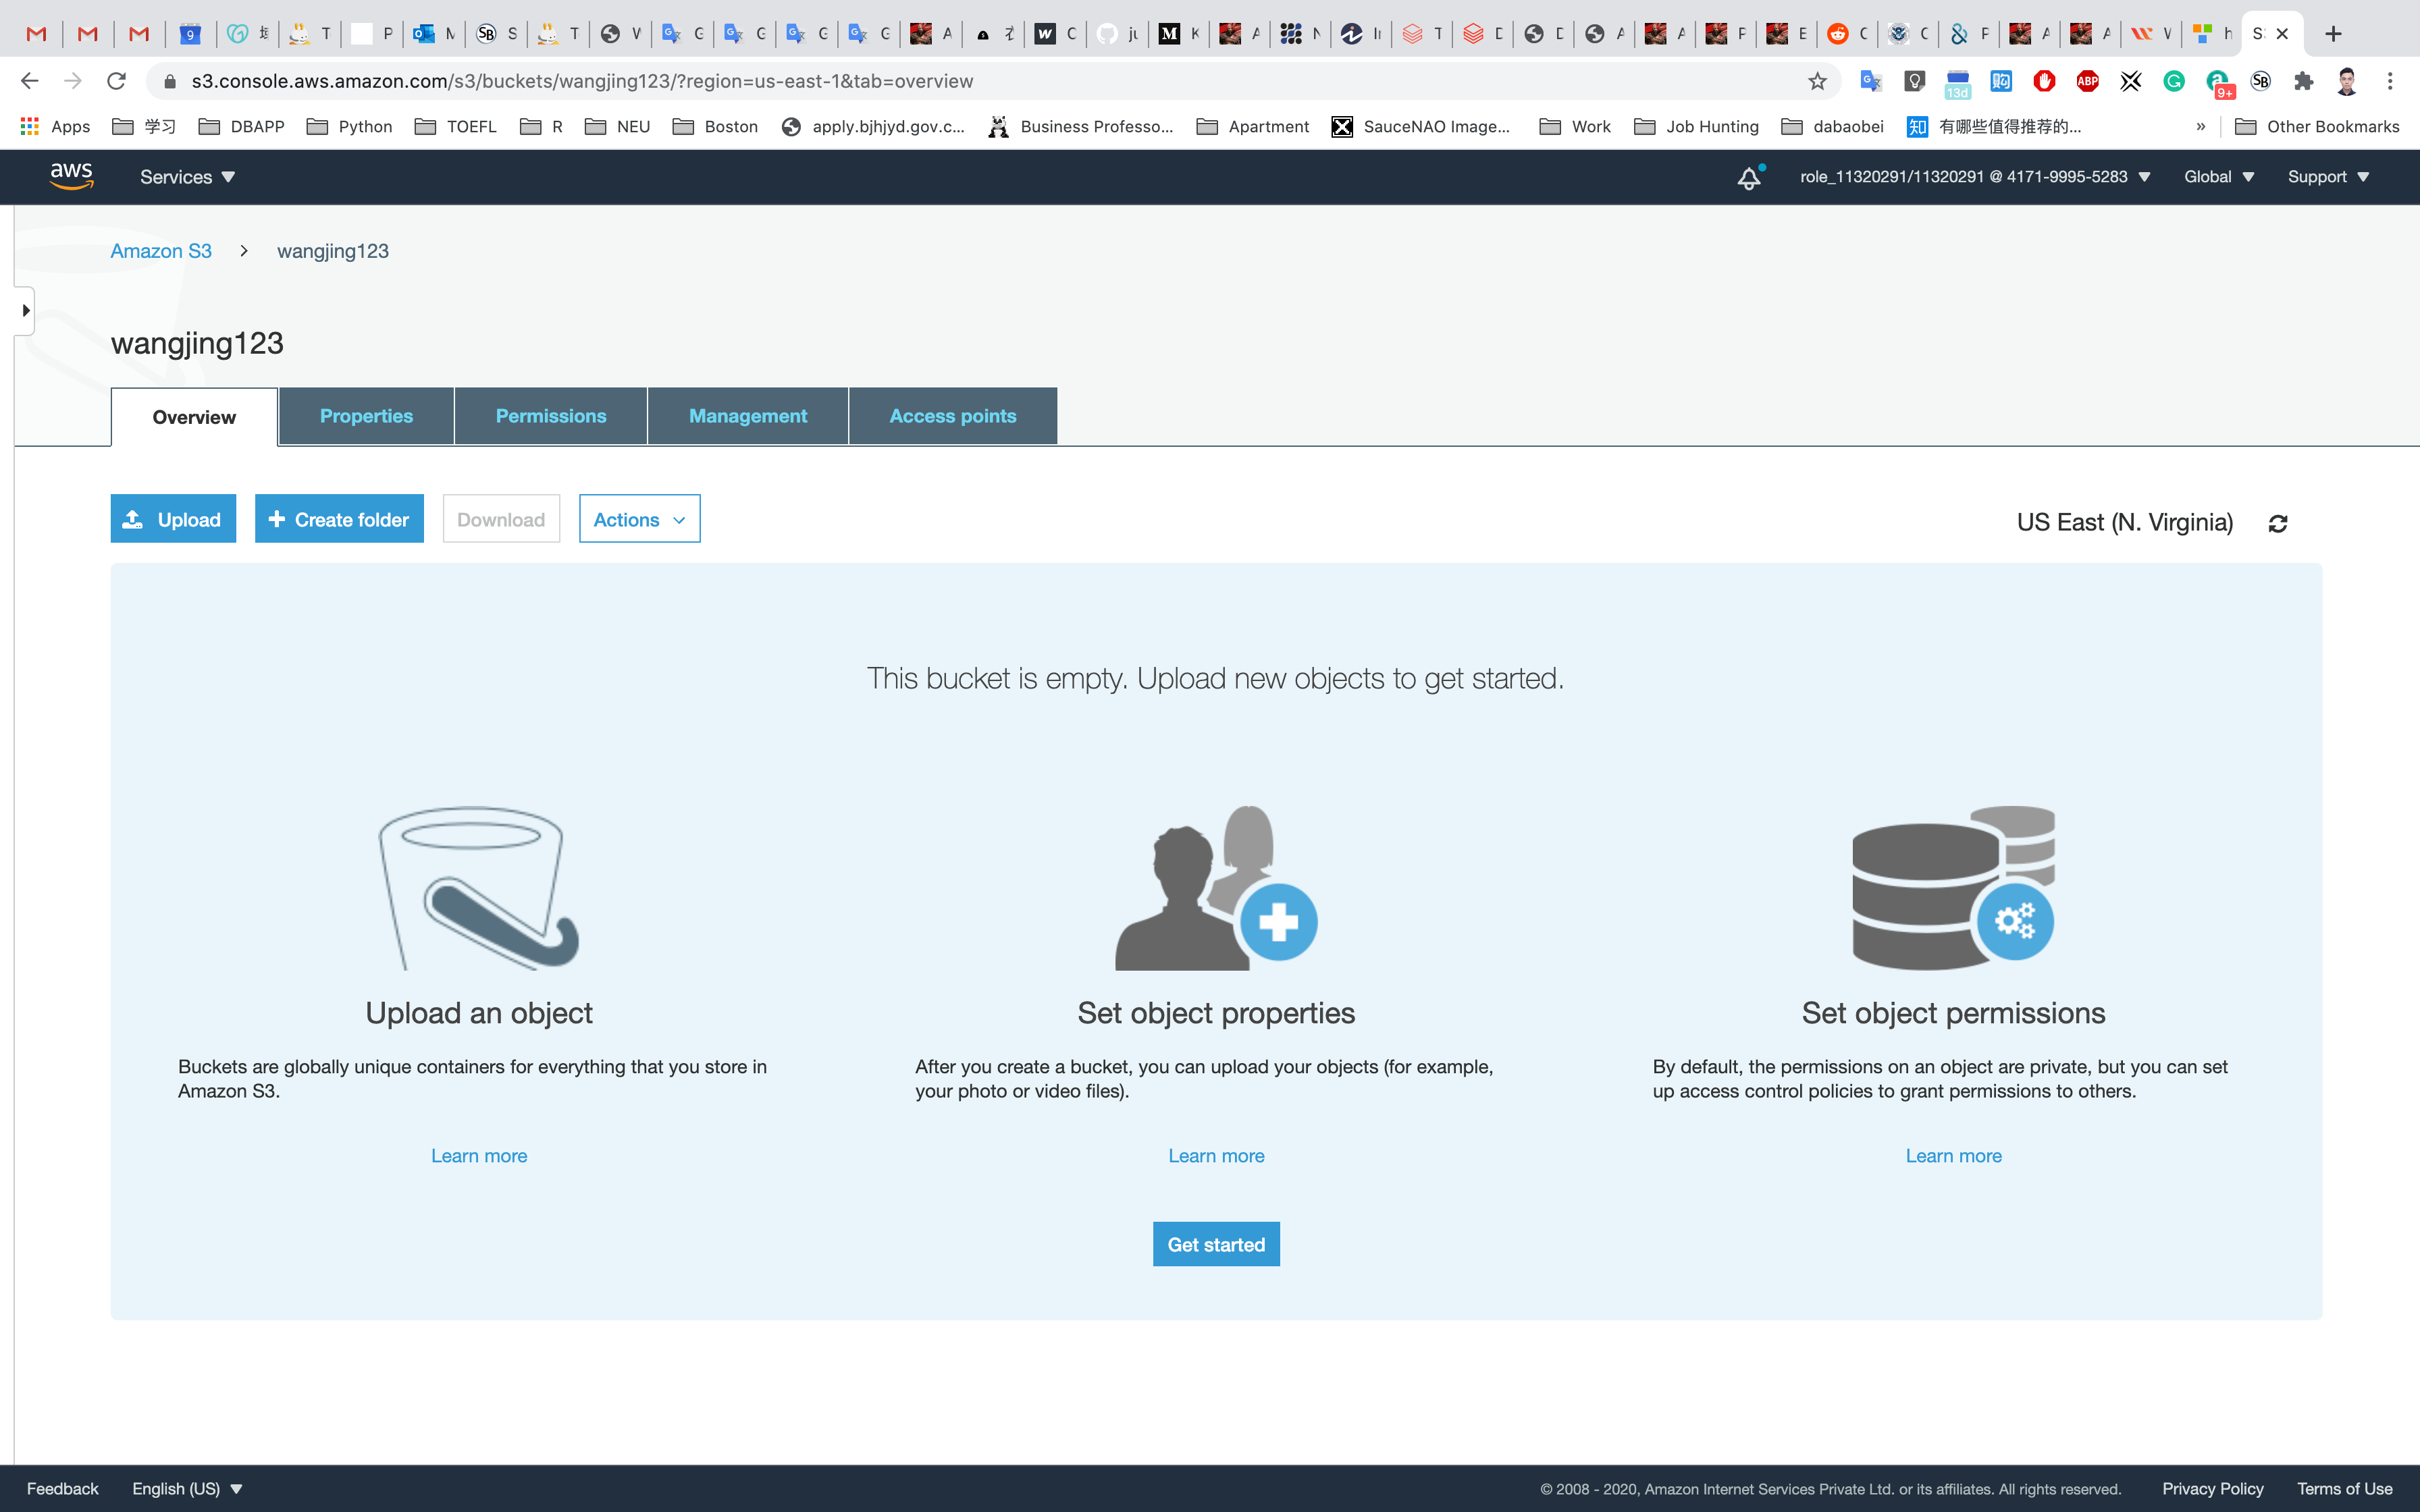
Click on Properties.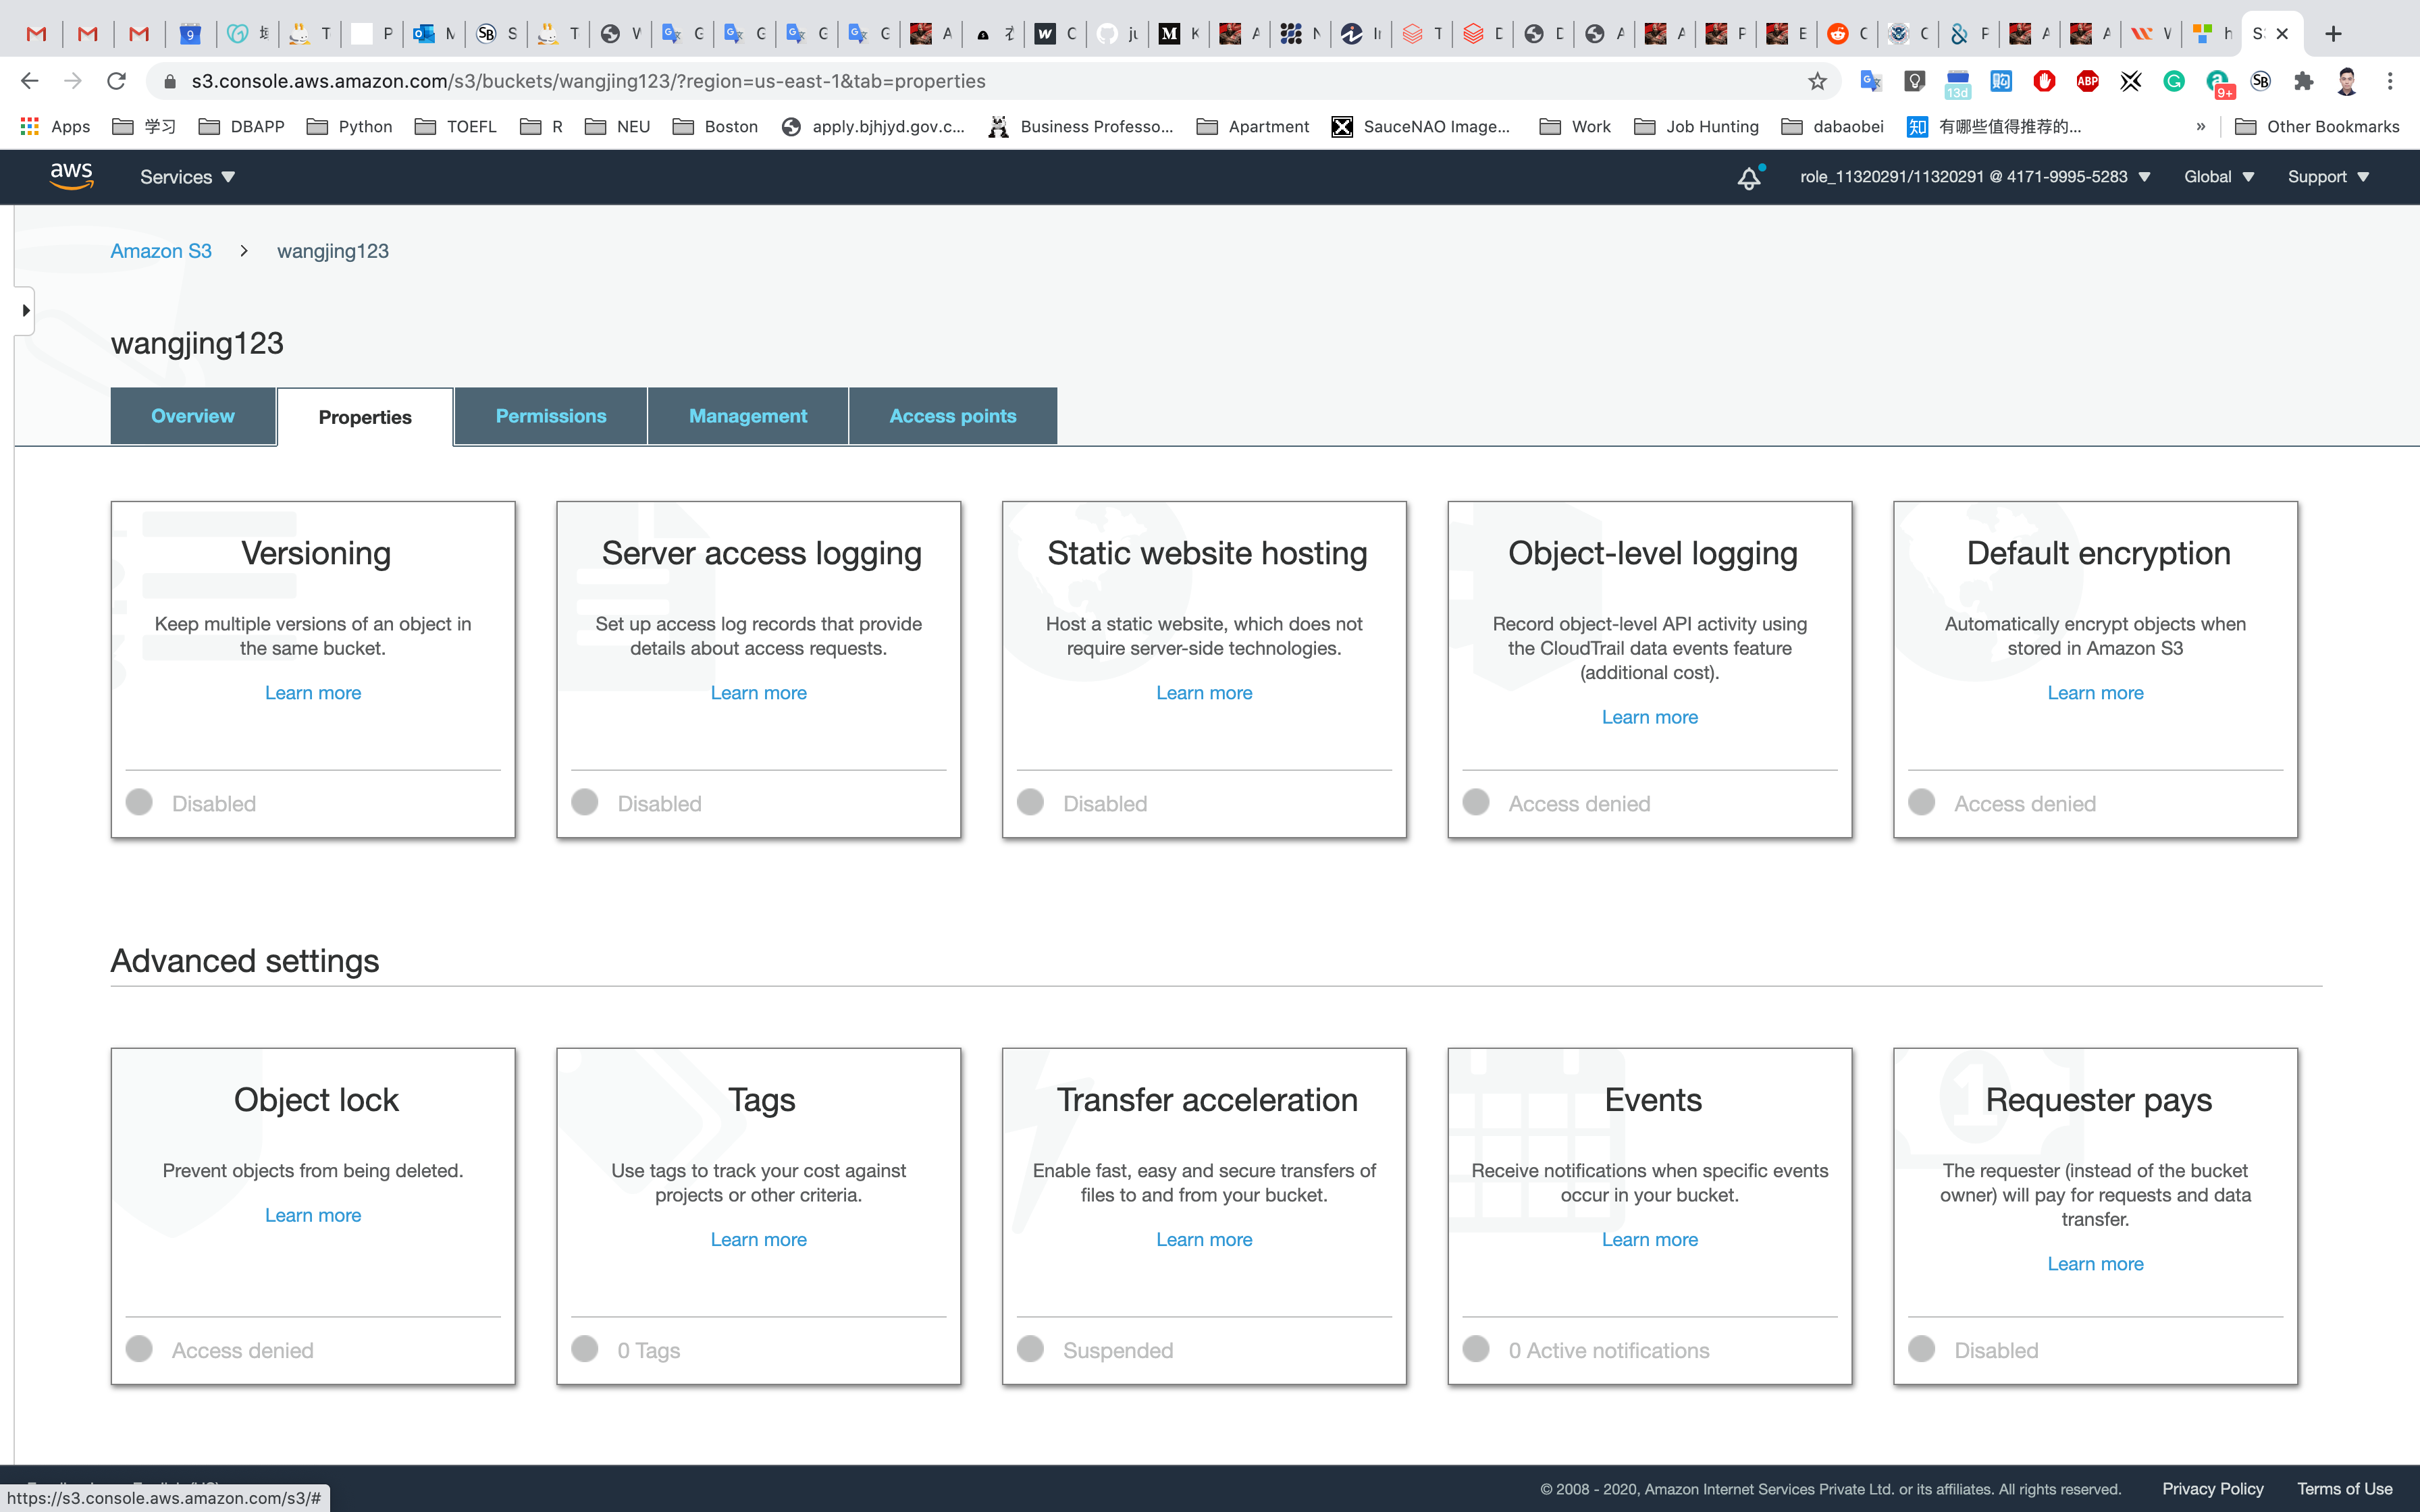
Choose Versioning.
Choose Enable versioning and click on Save.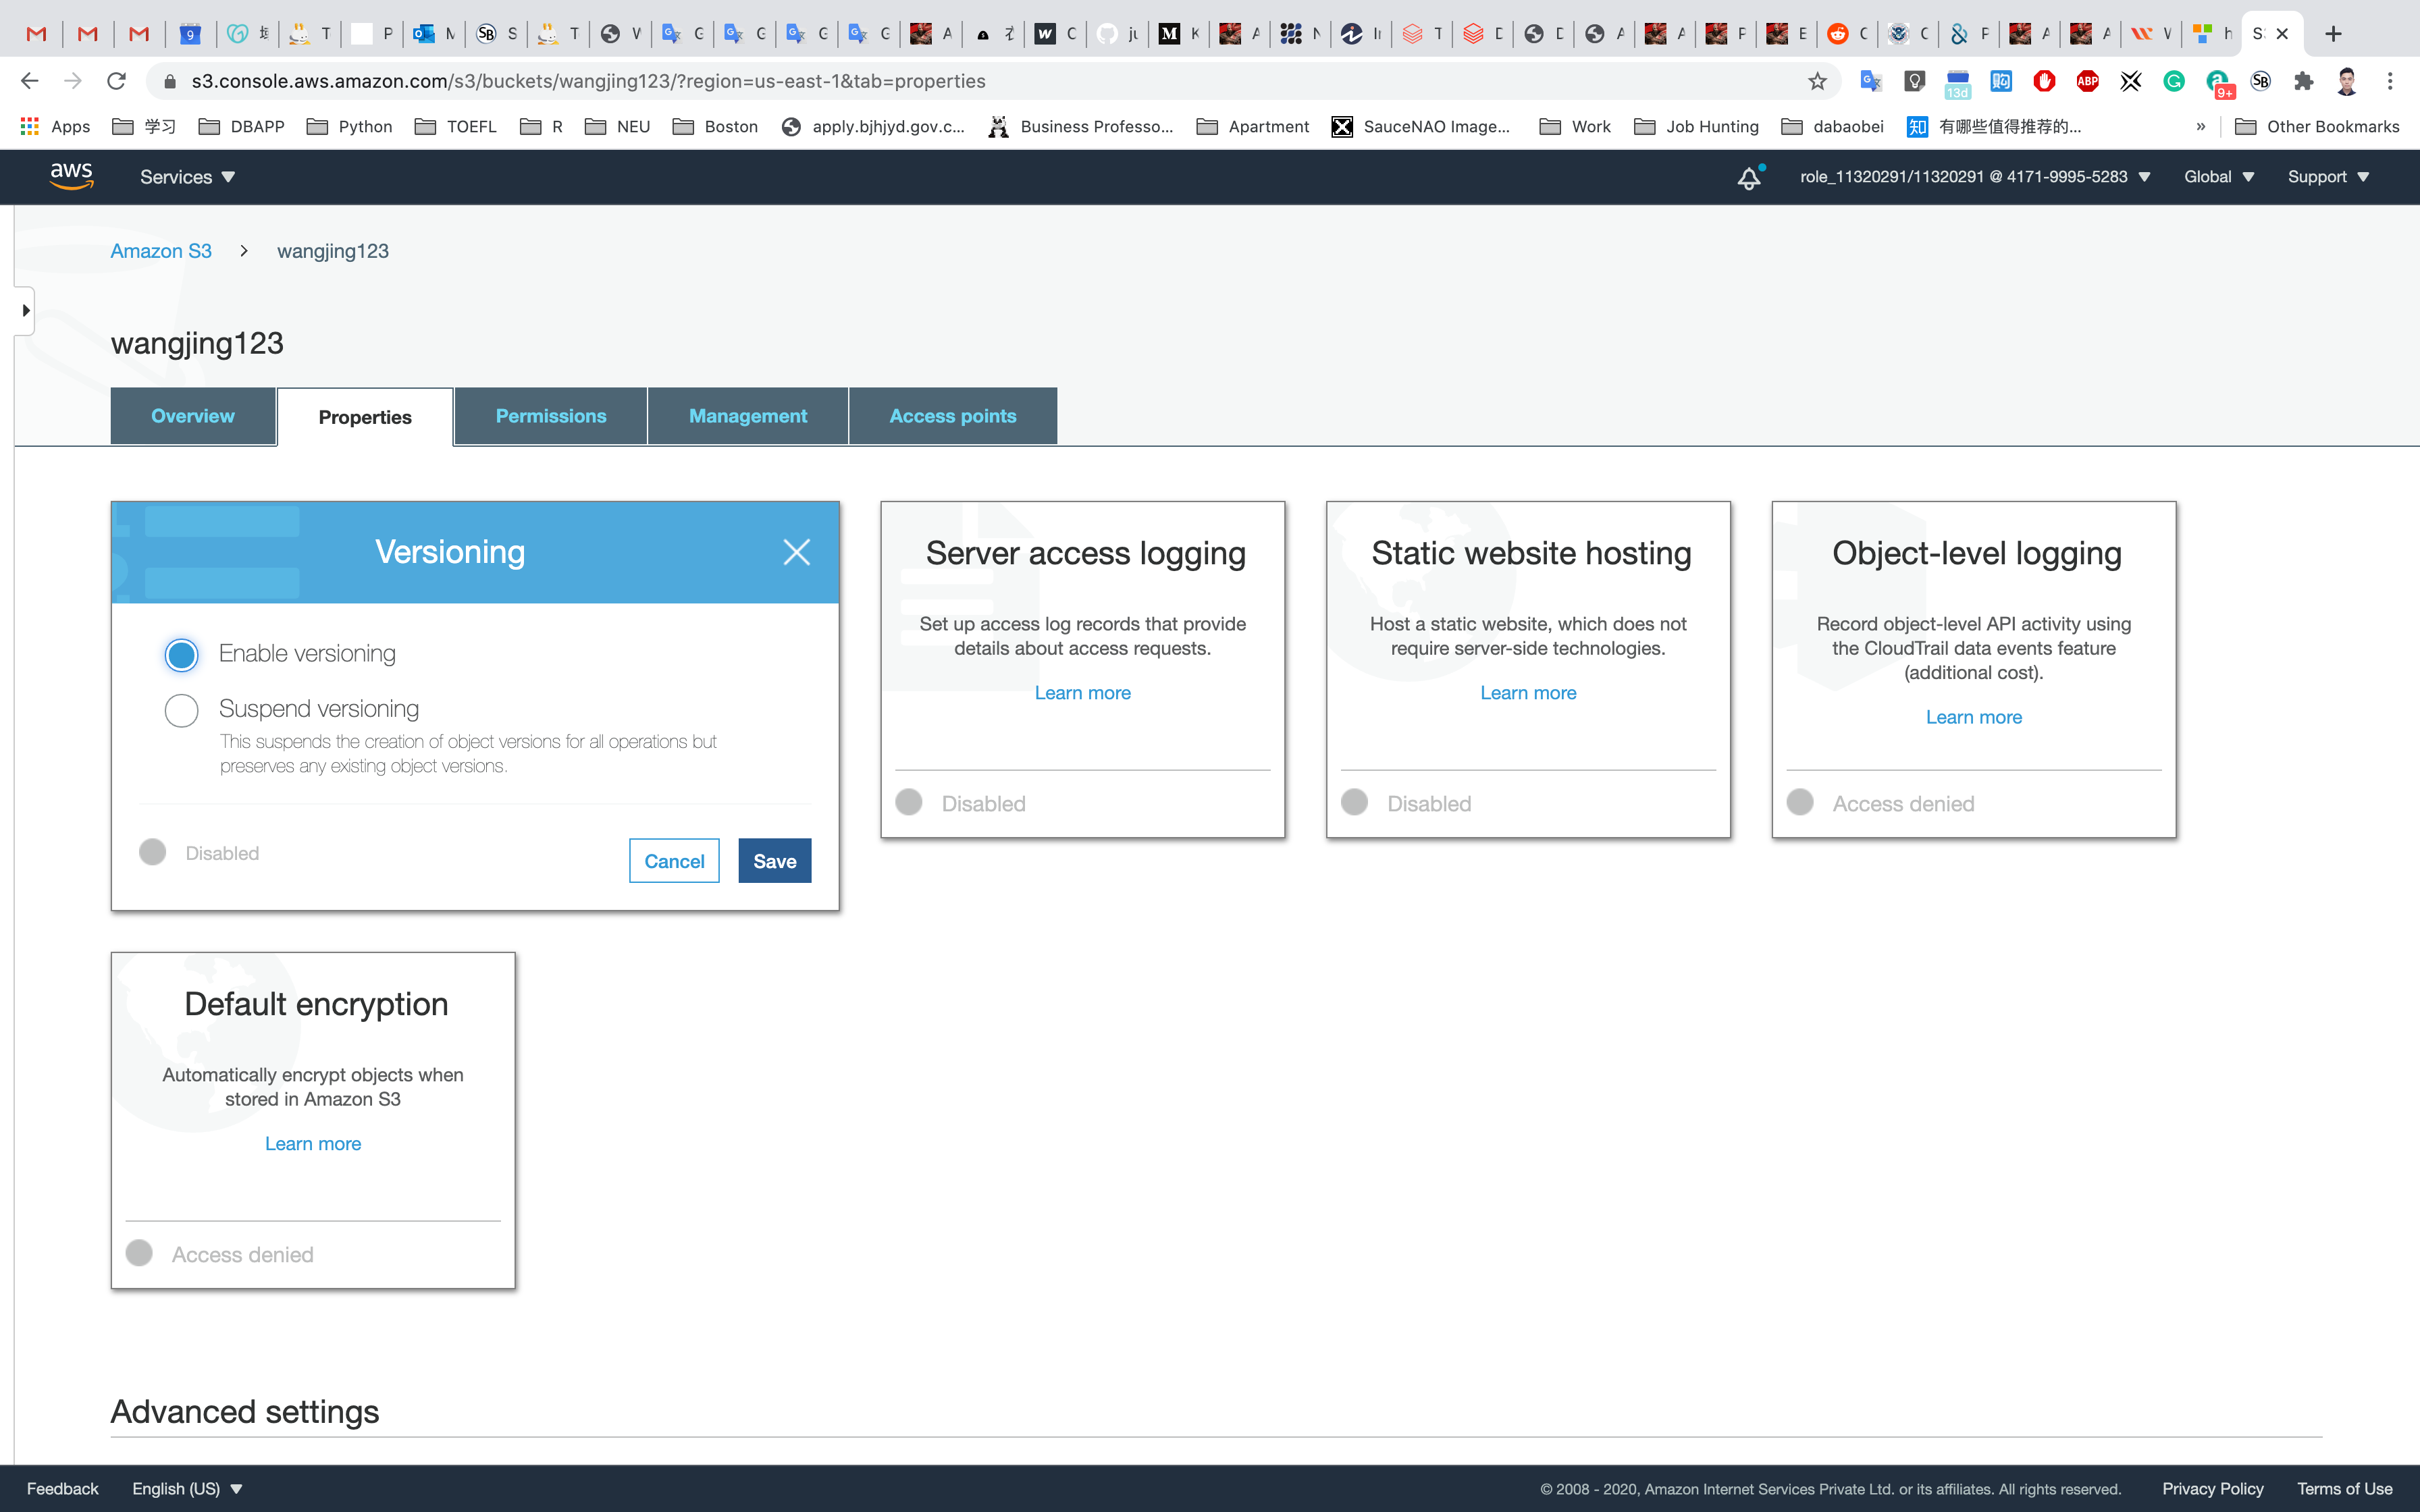
Now versioning on the S3 bucket is enabled.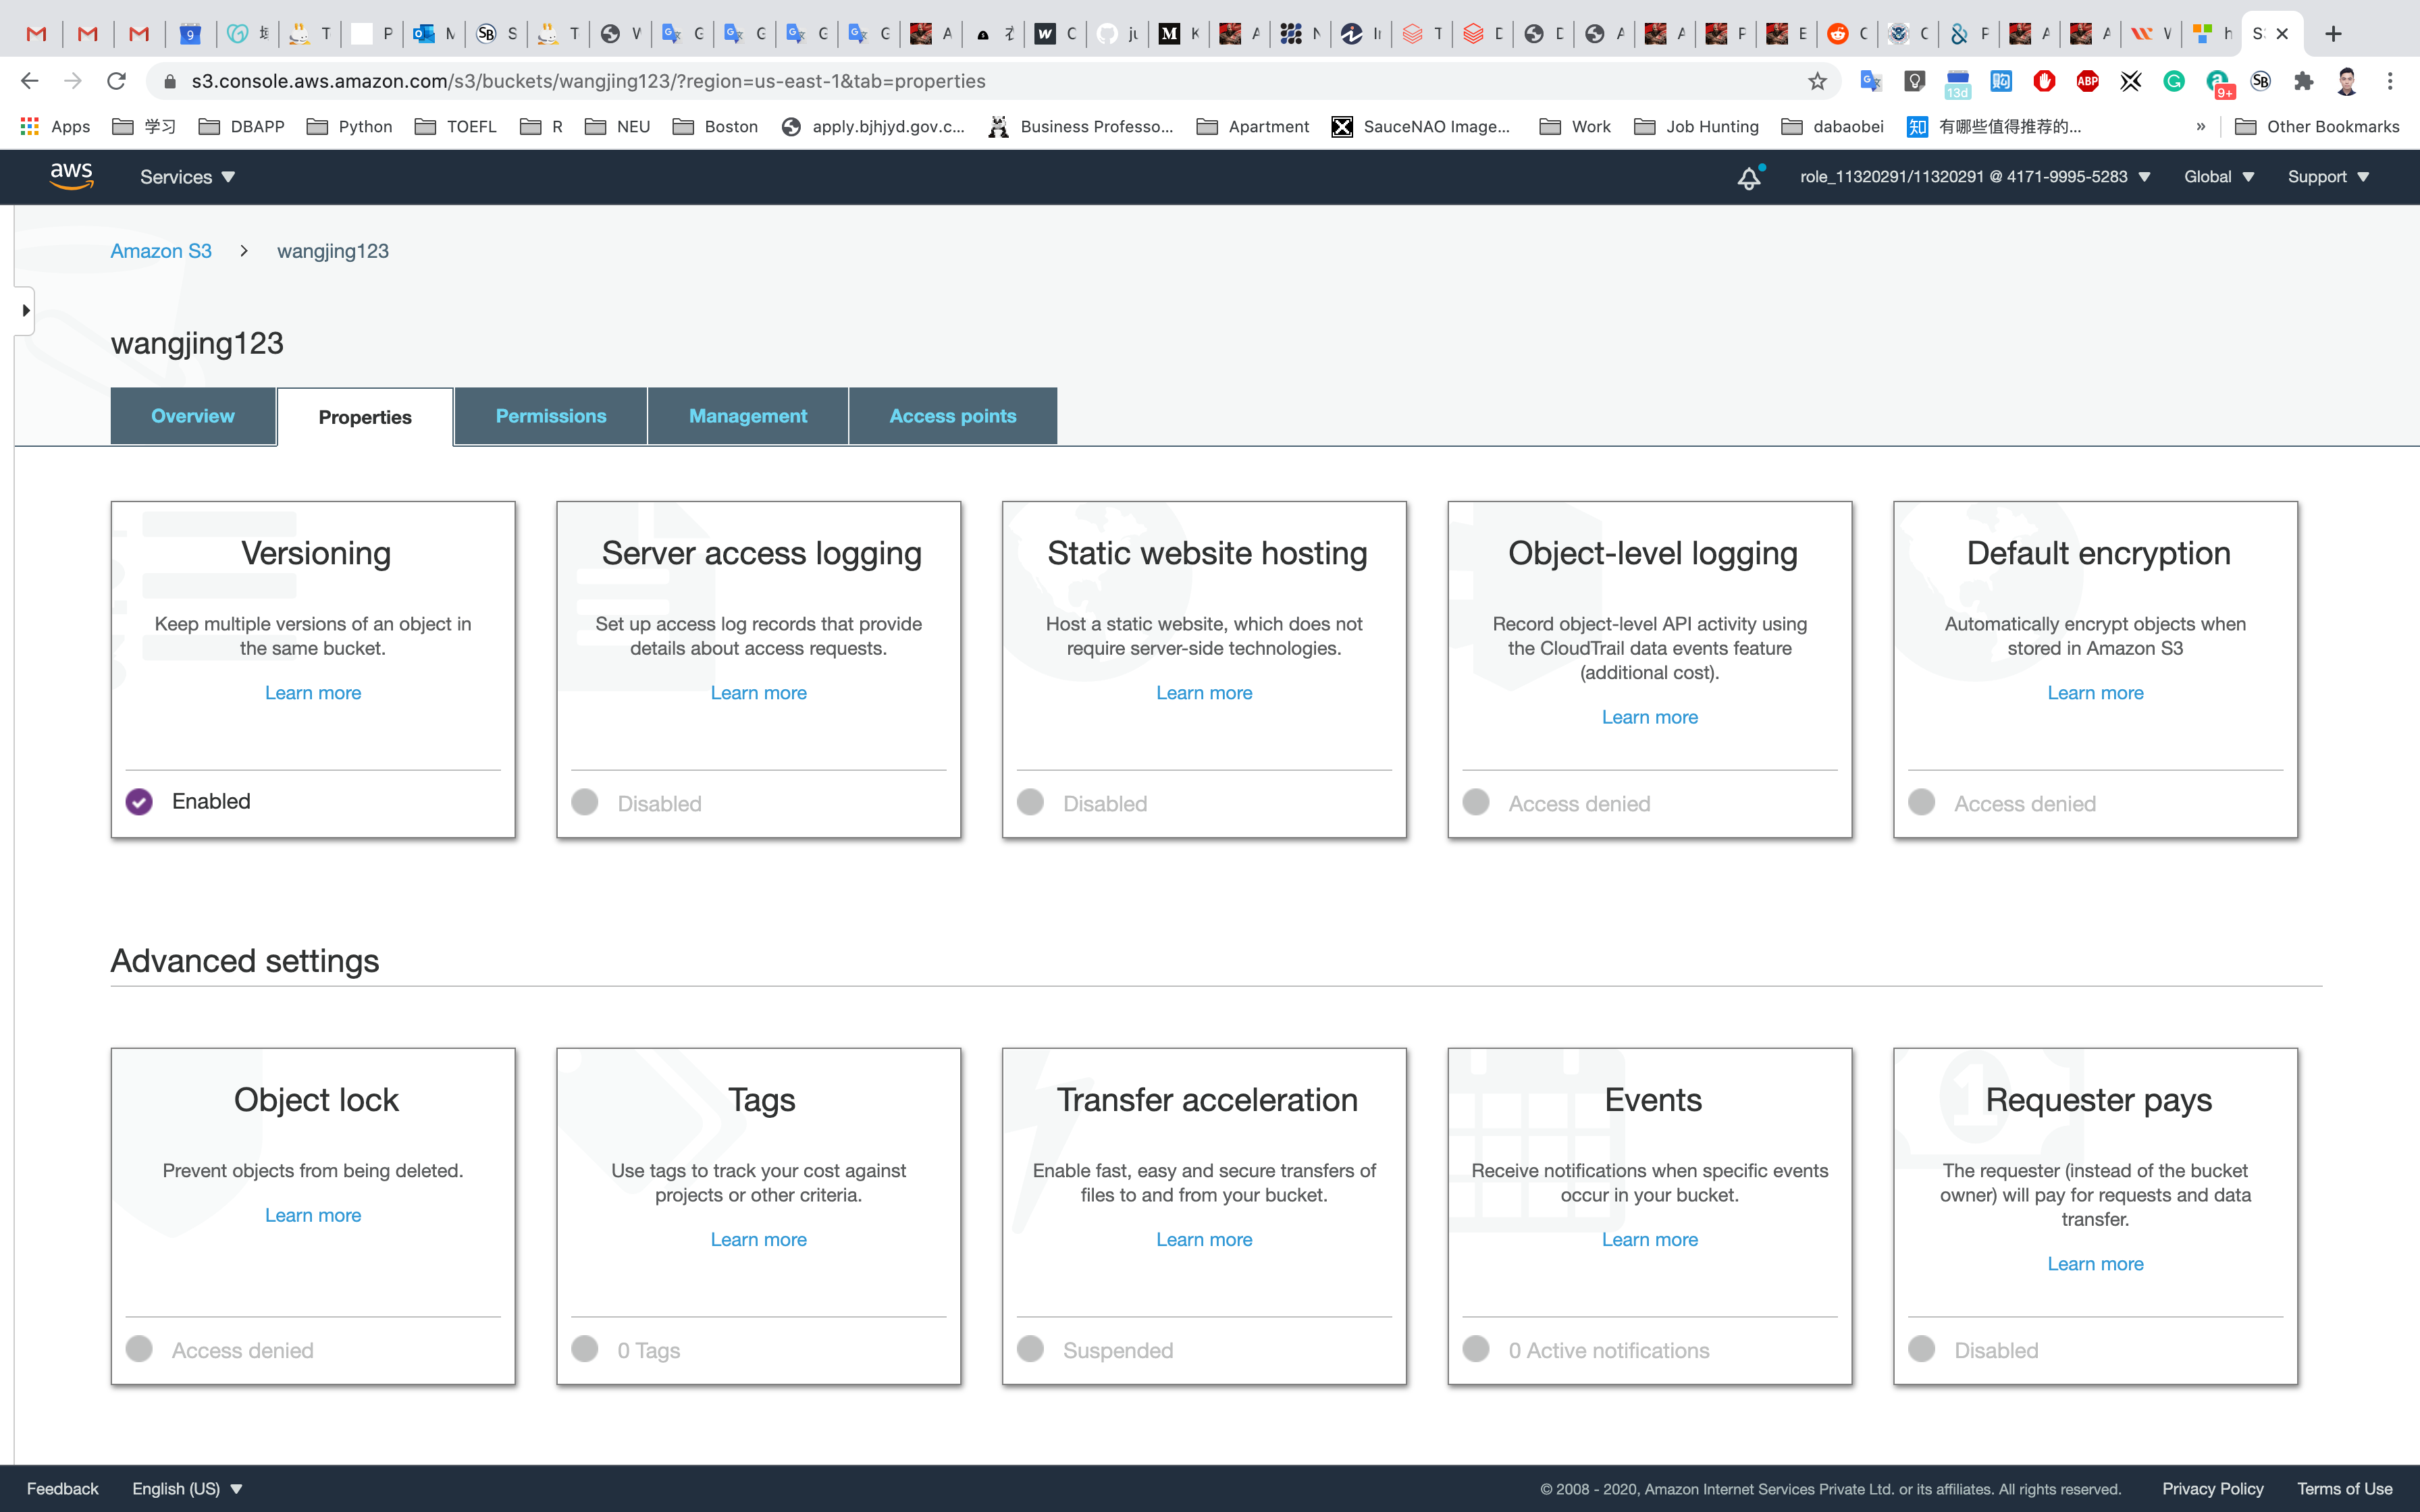
Upload an object
Upload any file from your local machine.
On the S3 Buck list page, Click on youBucketName
Click on Overview tab.
Click on the Upload button.
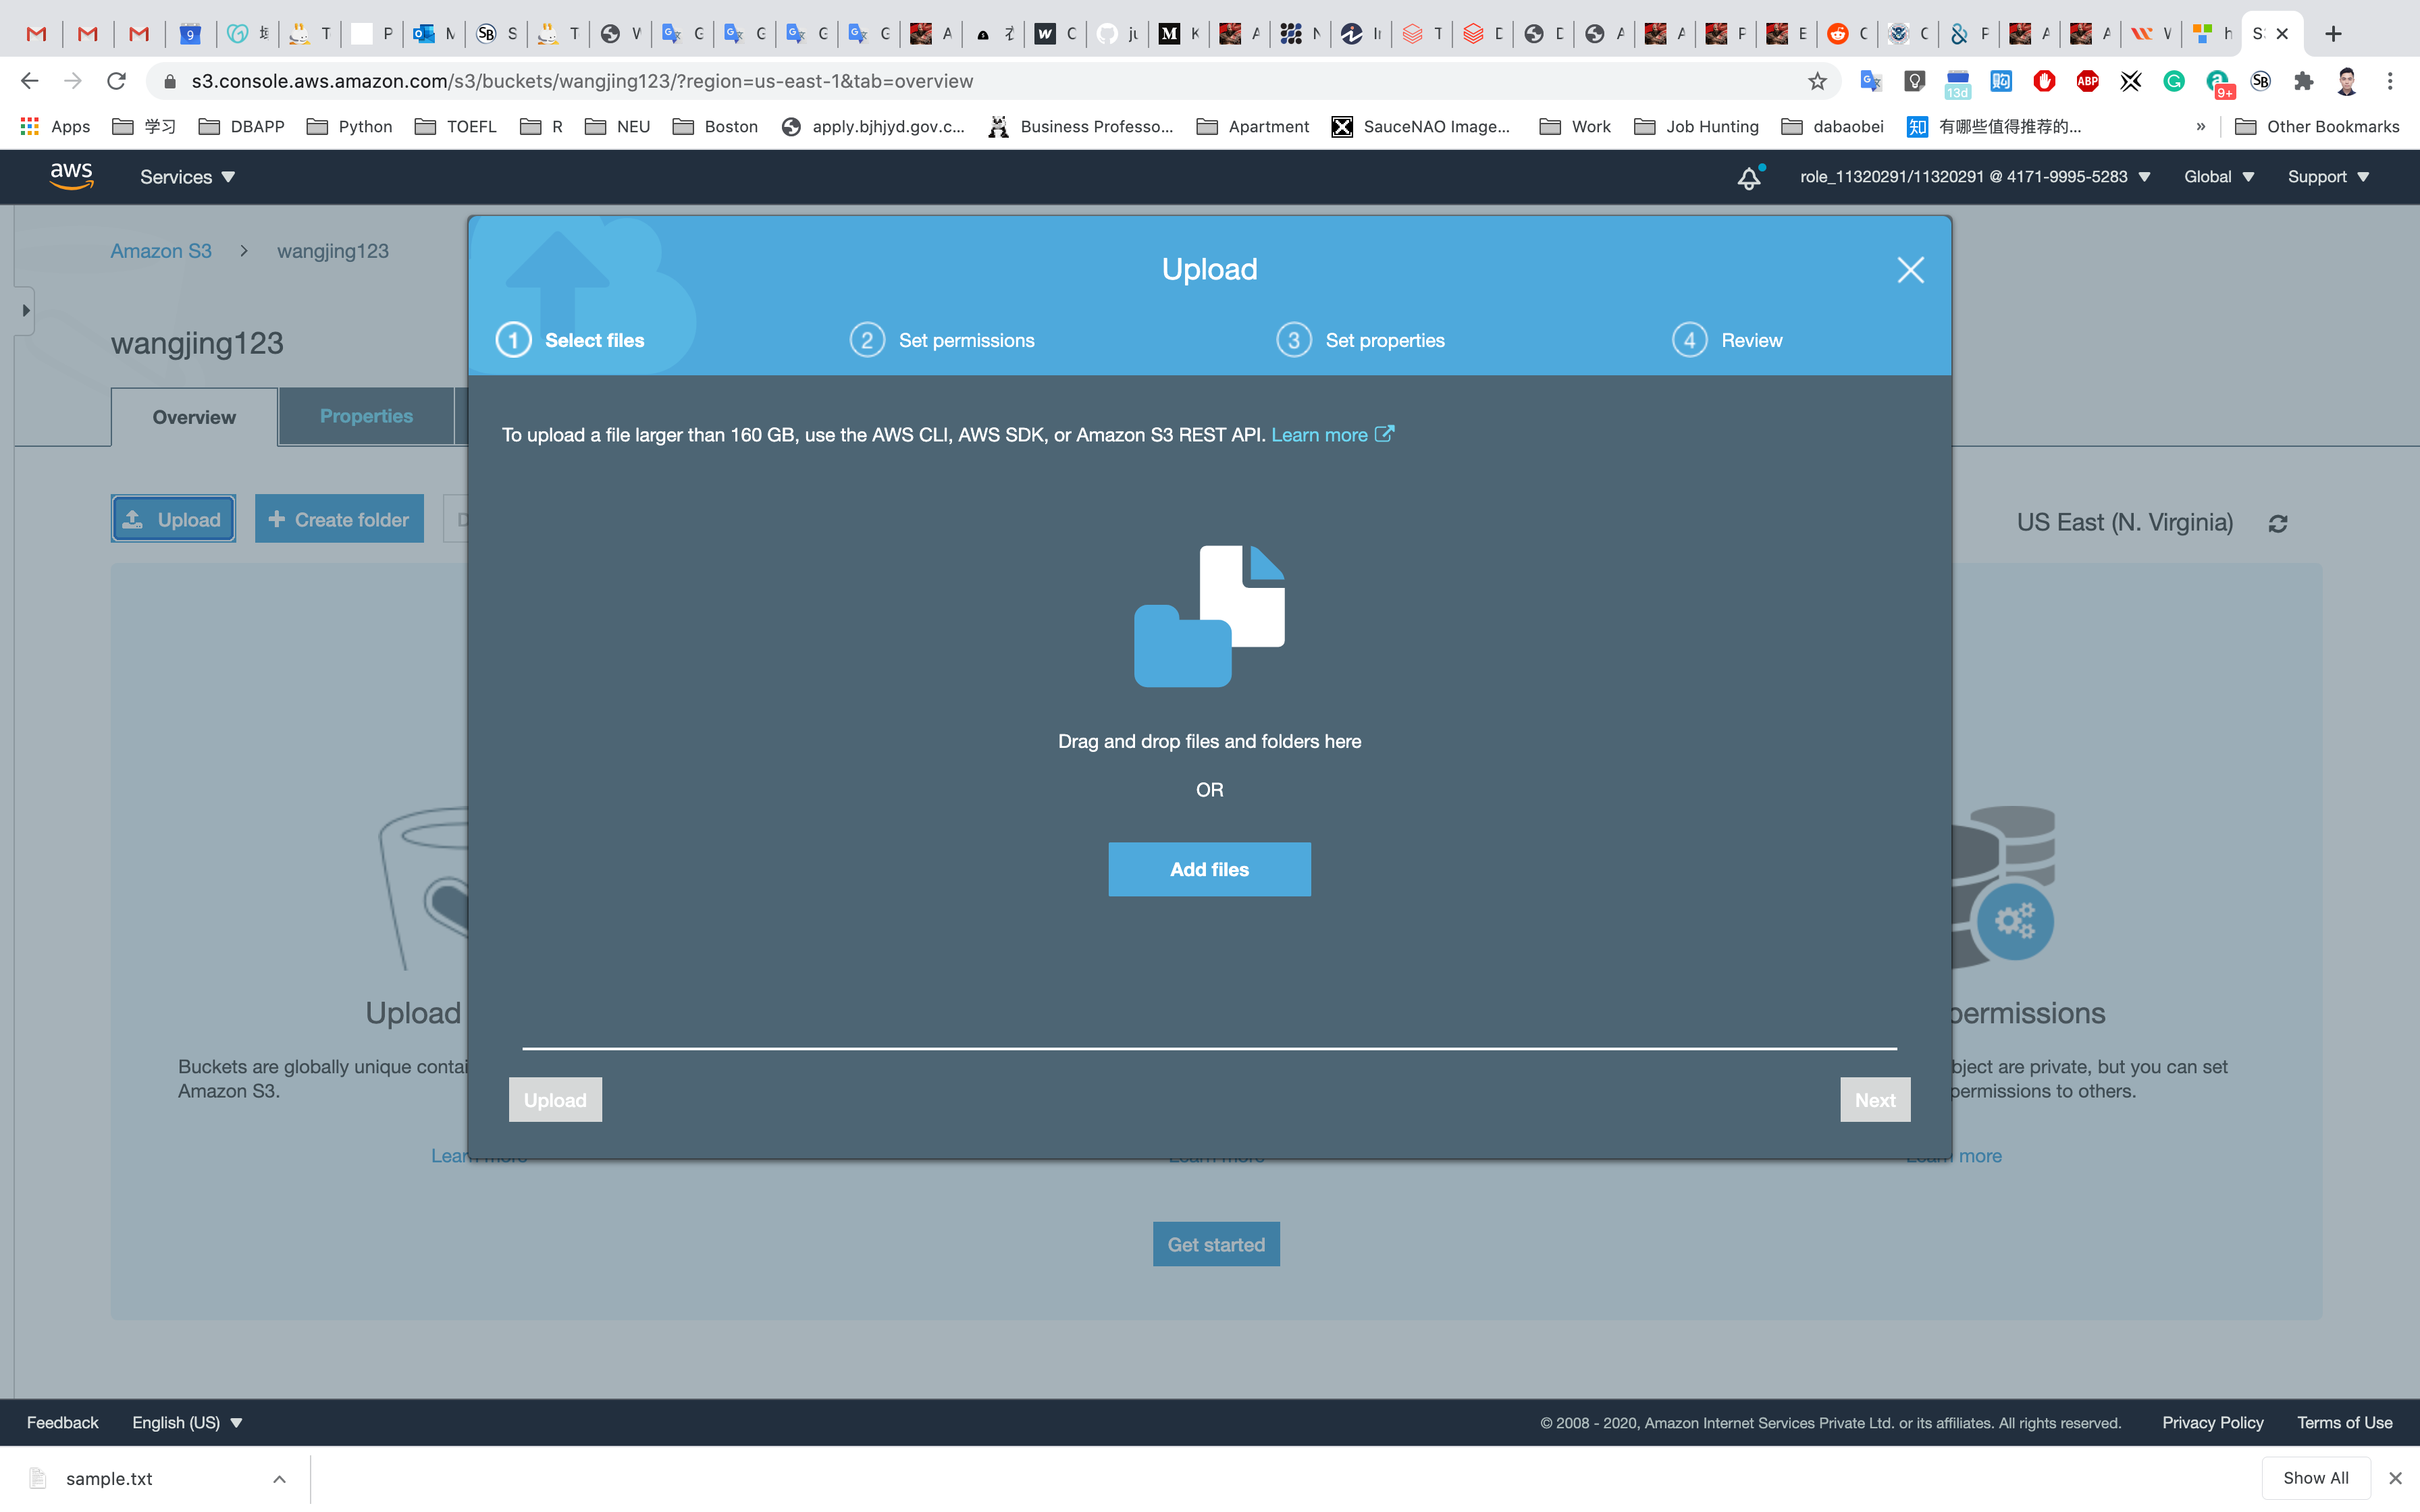
Click on the Add files button.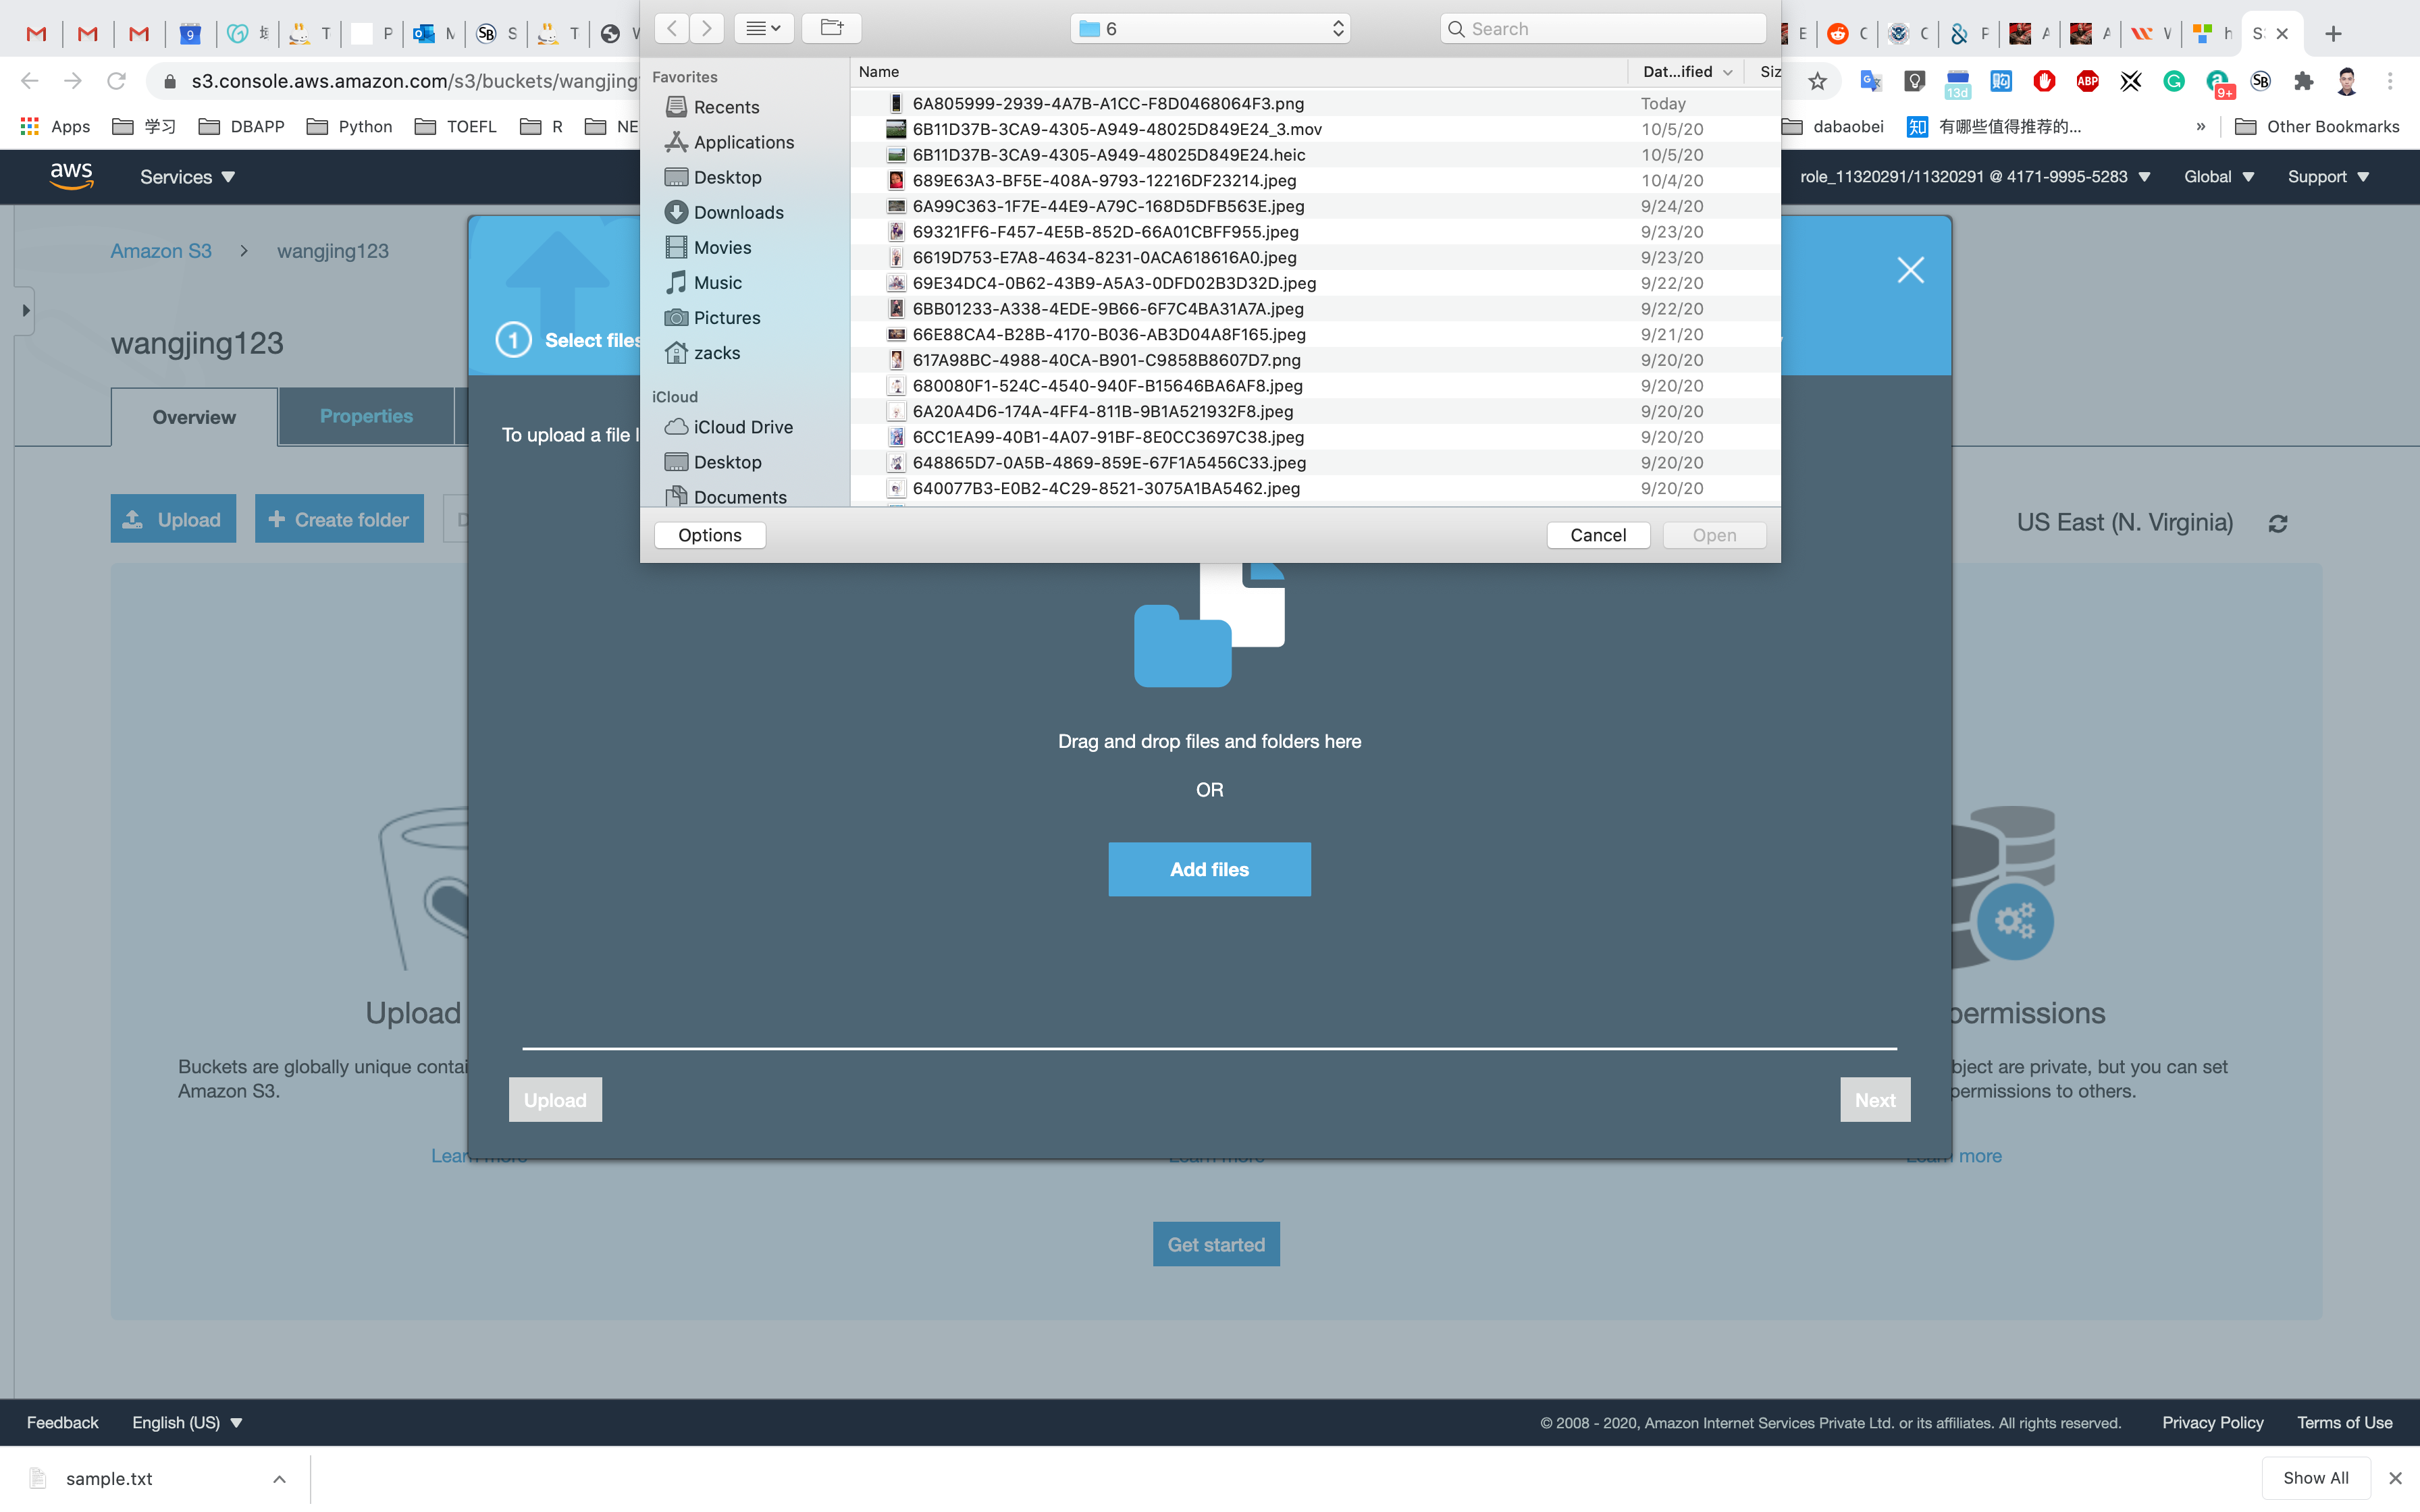
Browse for the file you want to upload.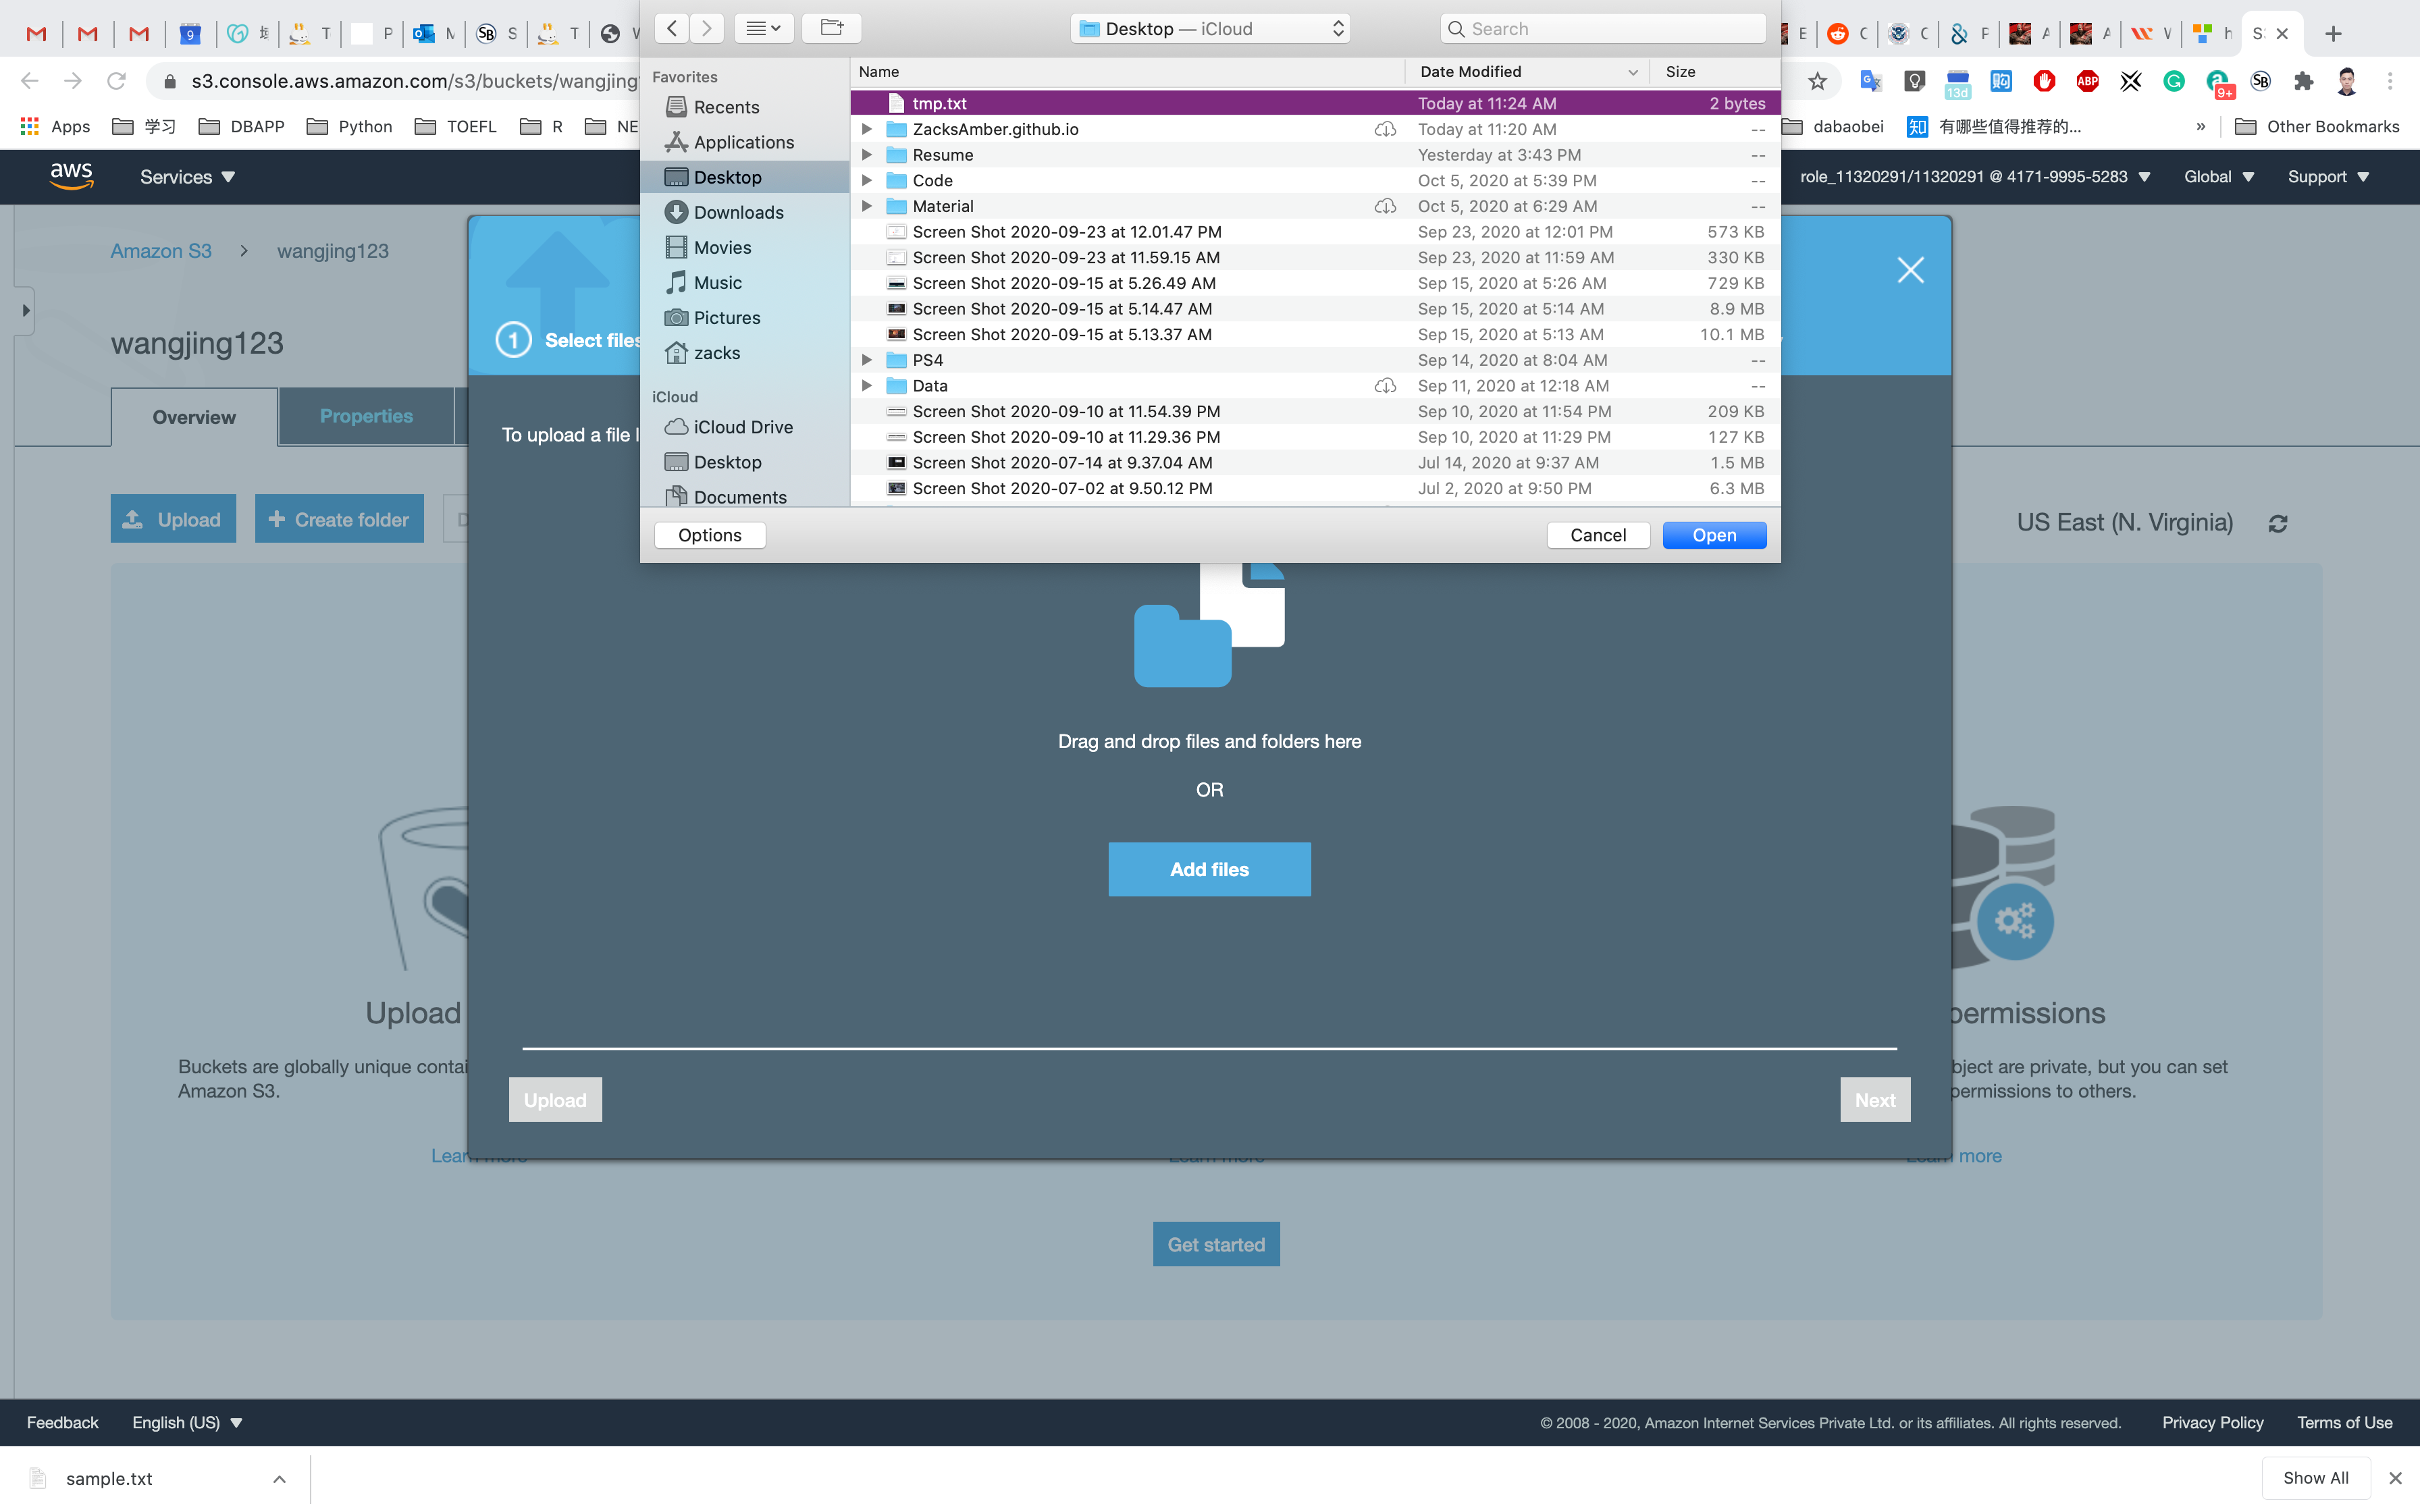
Click on Next and Grant public read access to this project(s)
Click on the Upload button.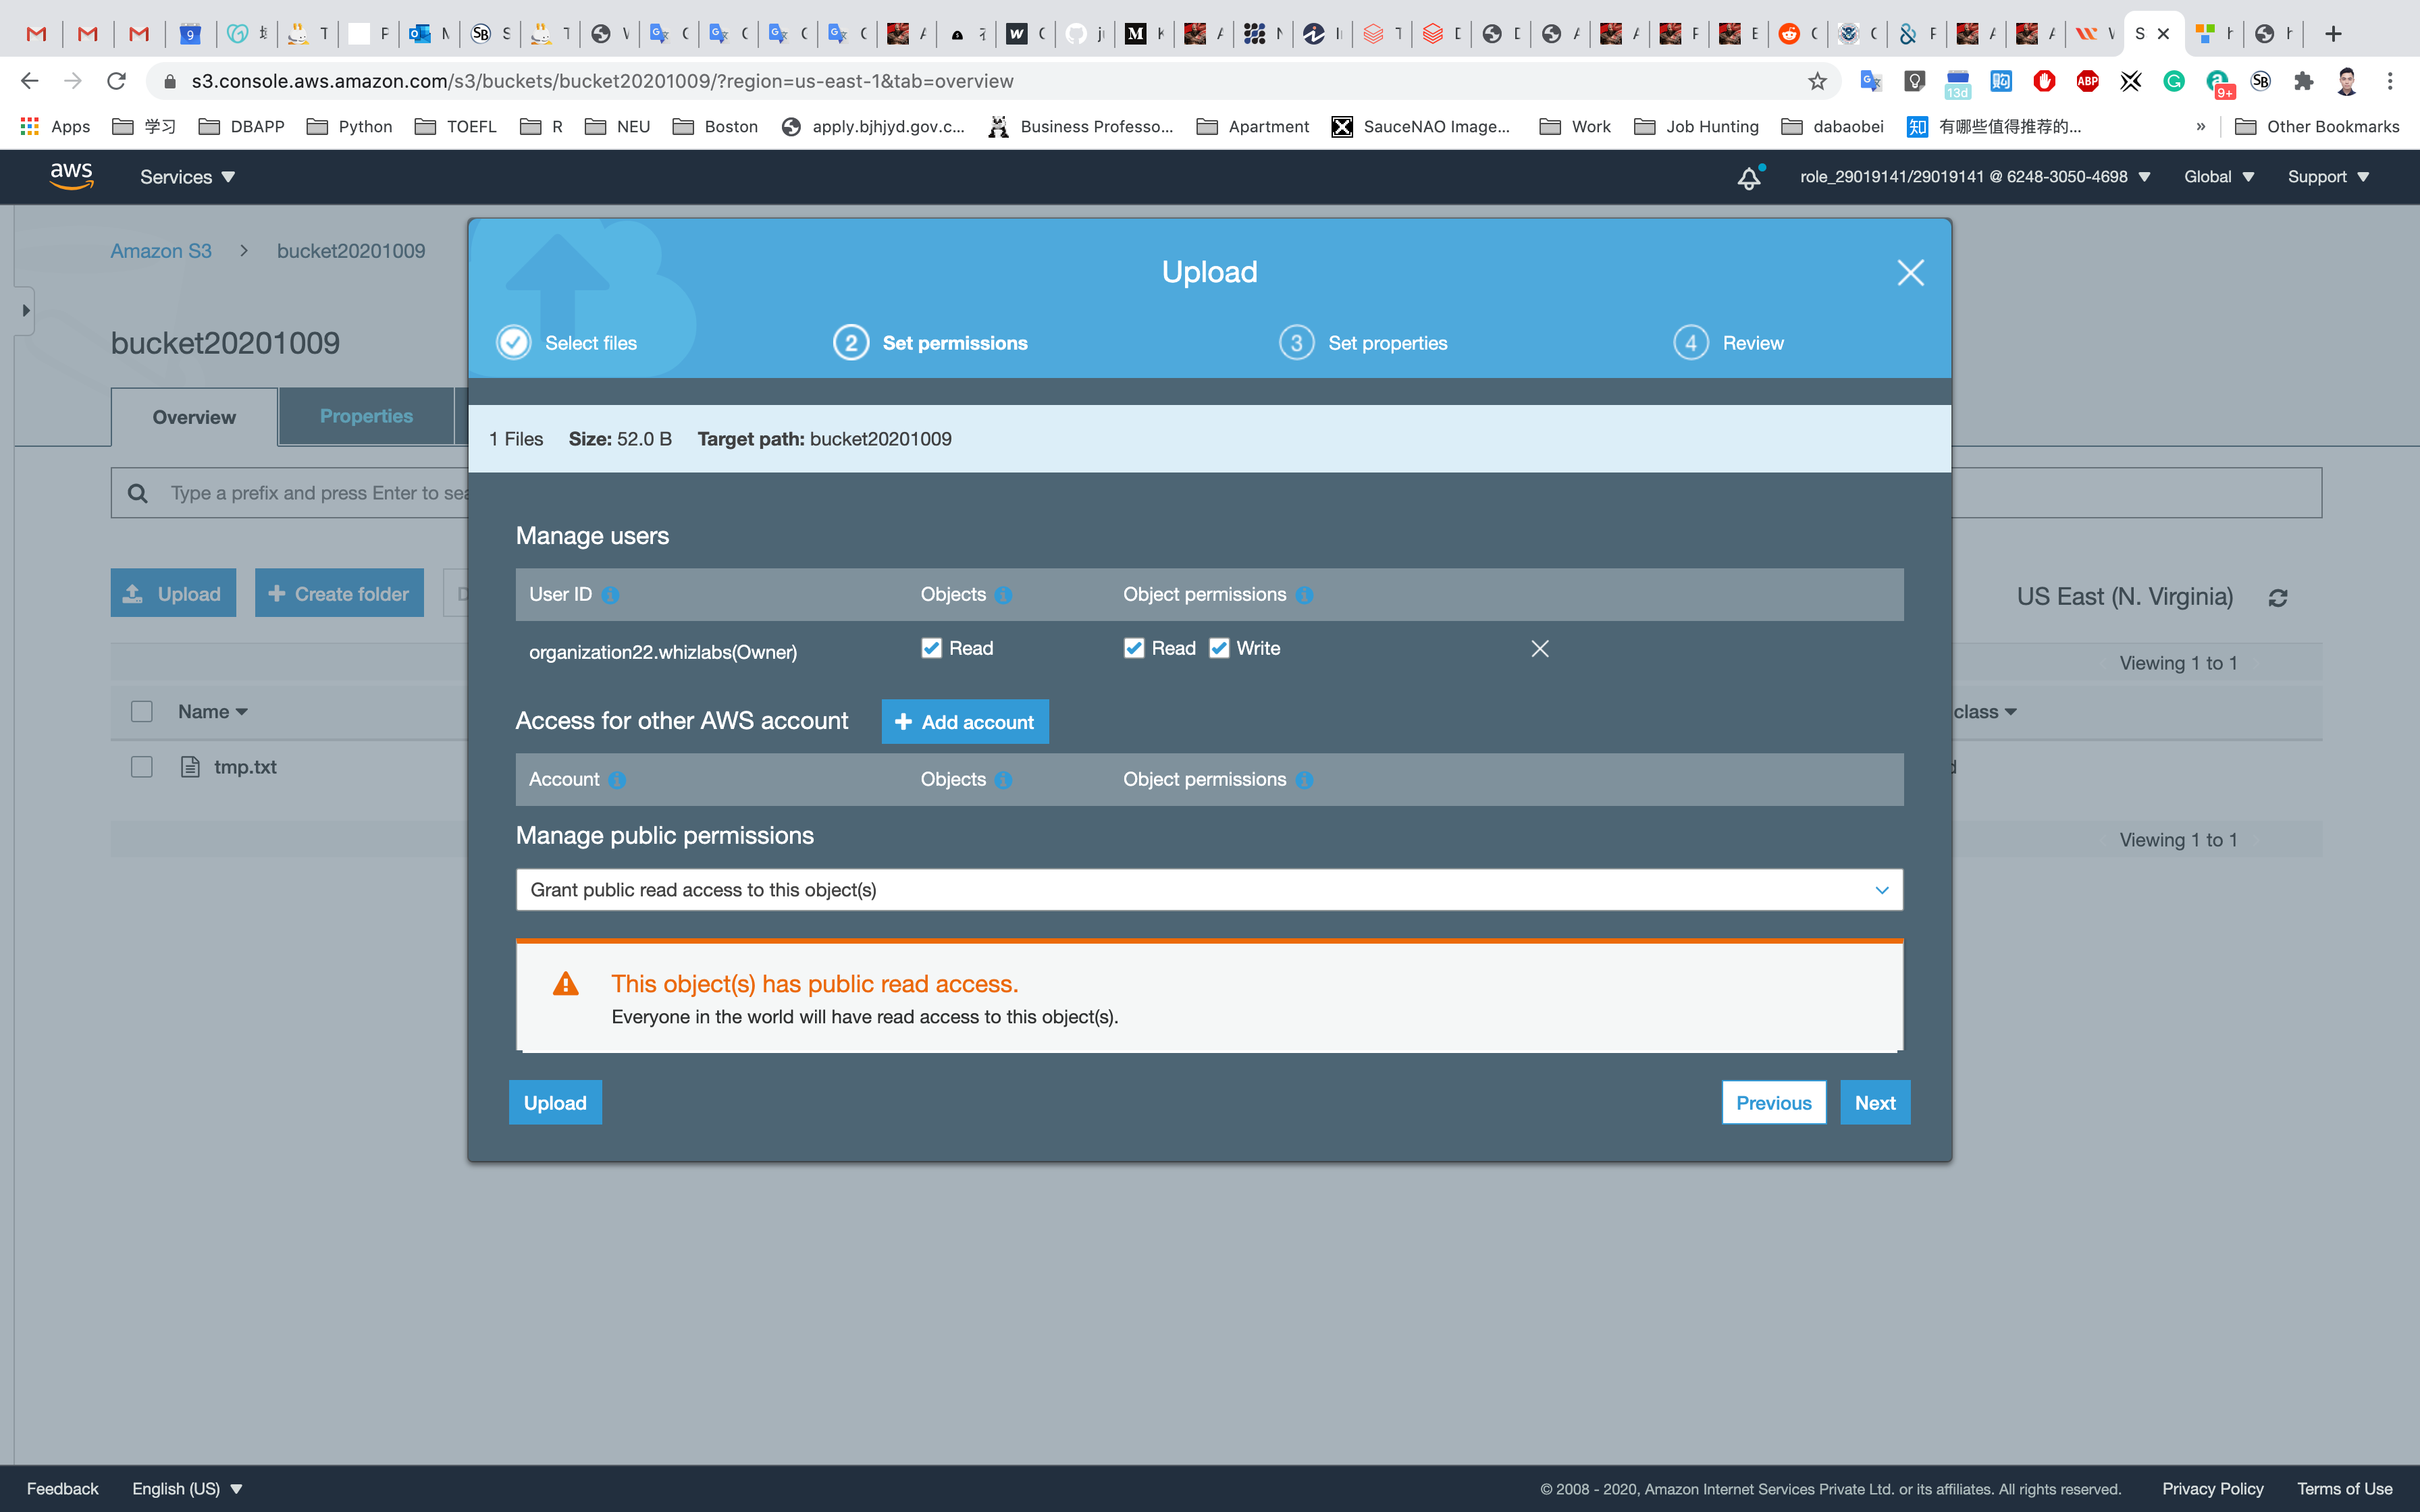
You can watch the progress of the upload from within the transfer panel at the bottom of the screen. If it’s a small file, you might not see the transfer. Once your file has been uploaded, it will be displayed in the bucket.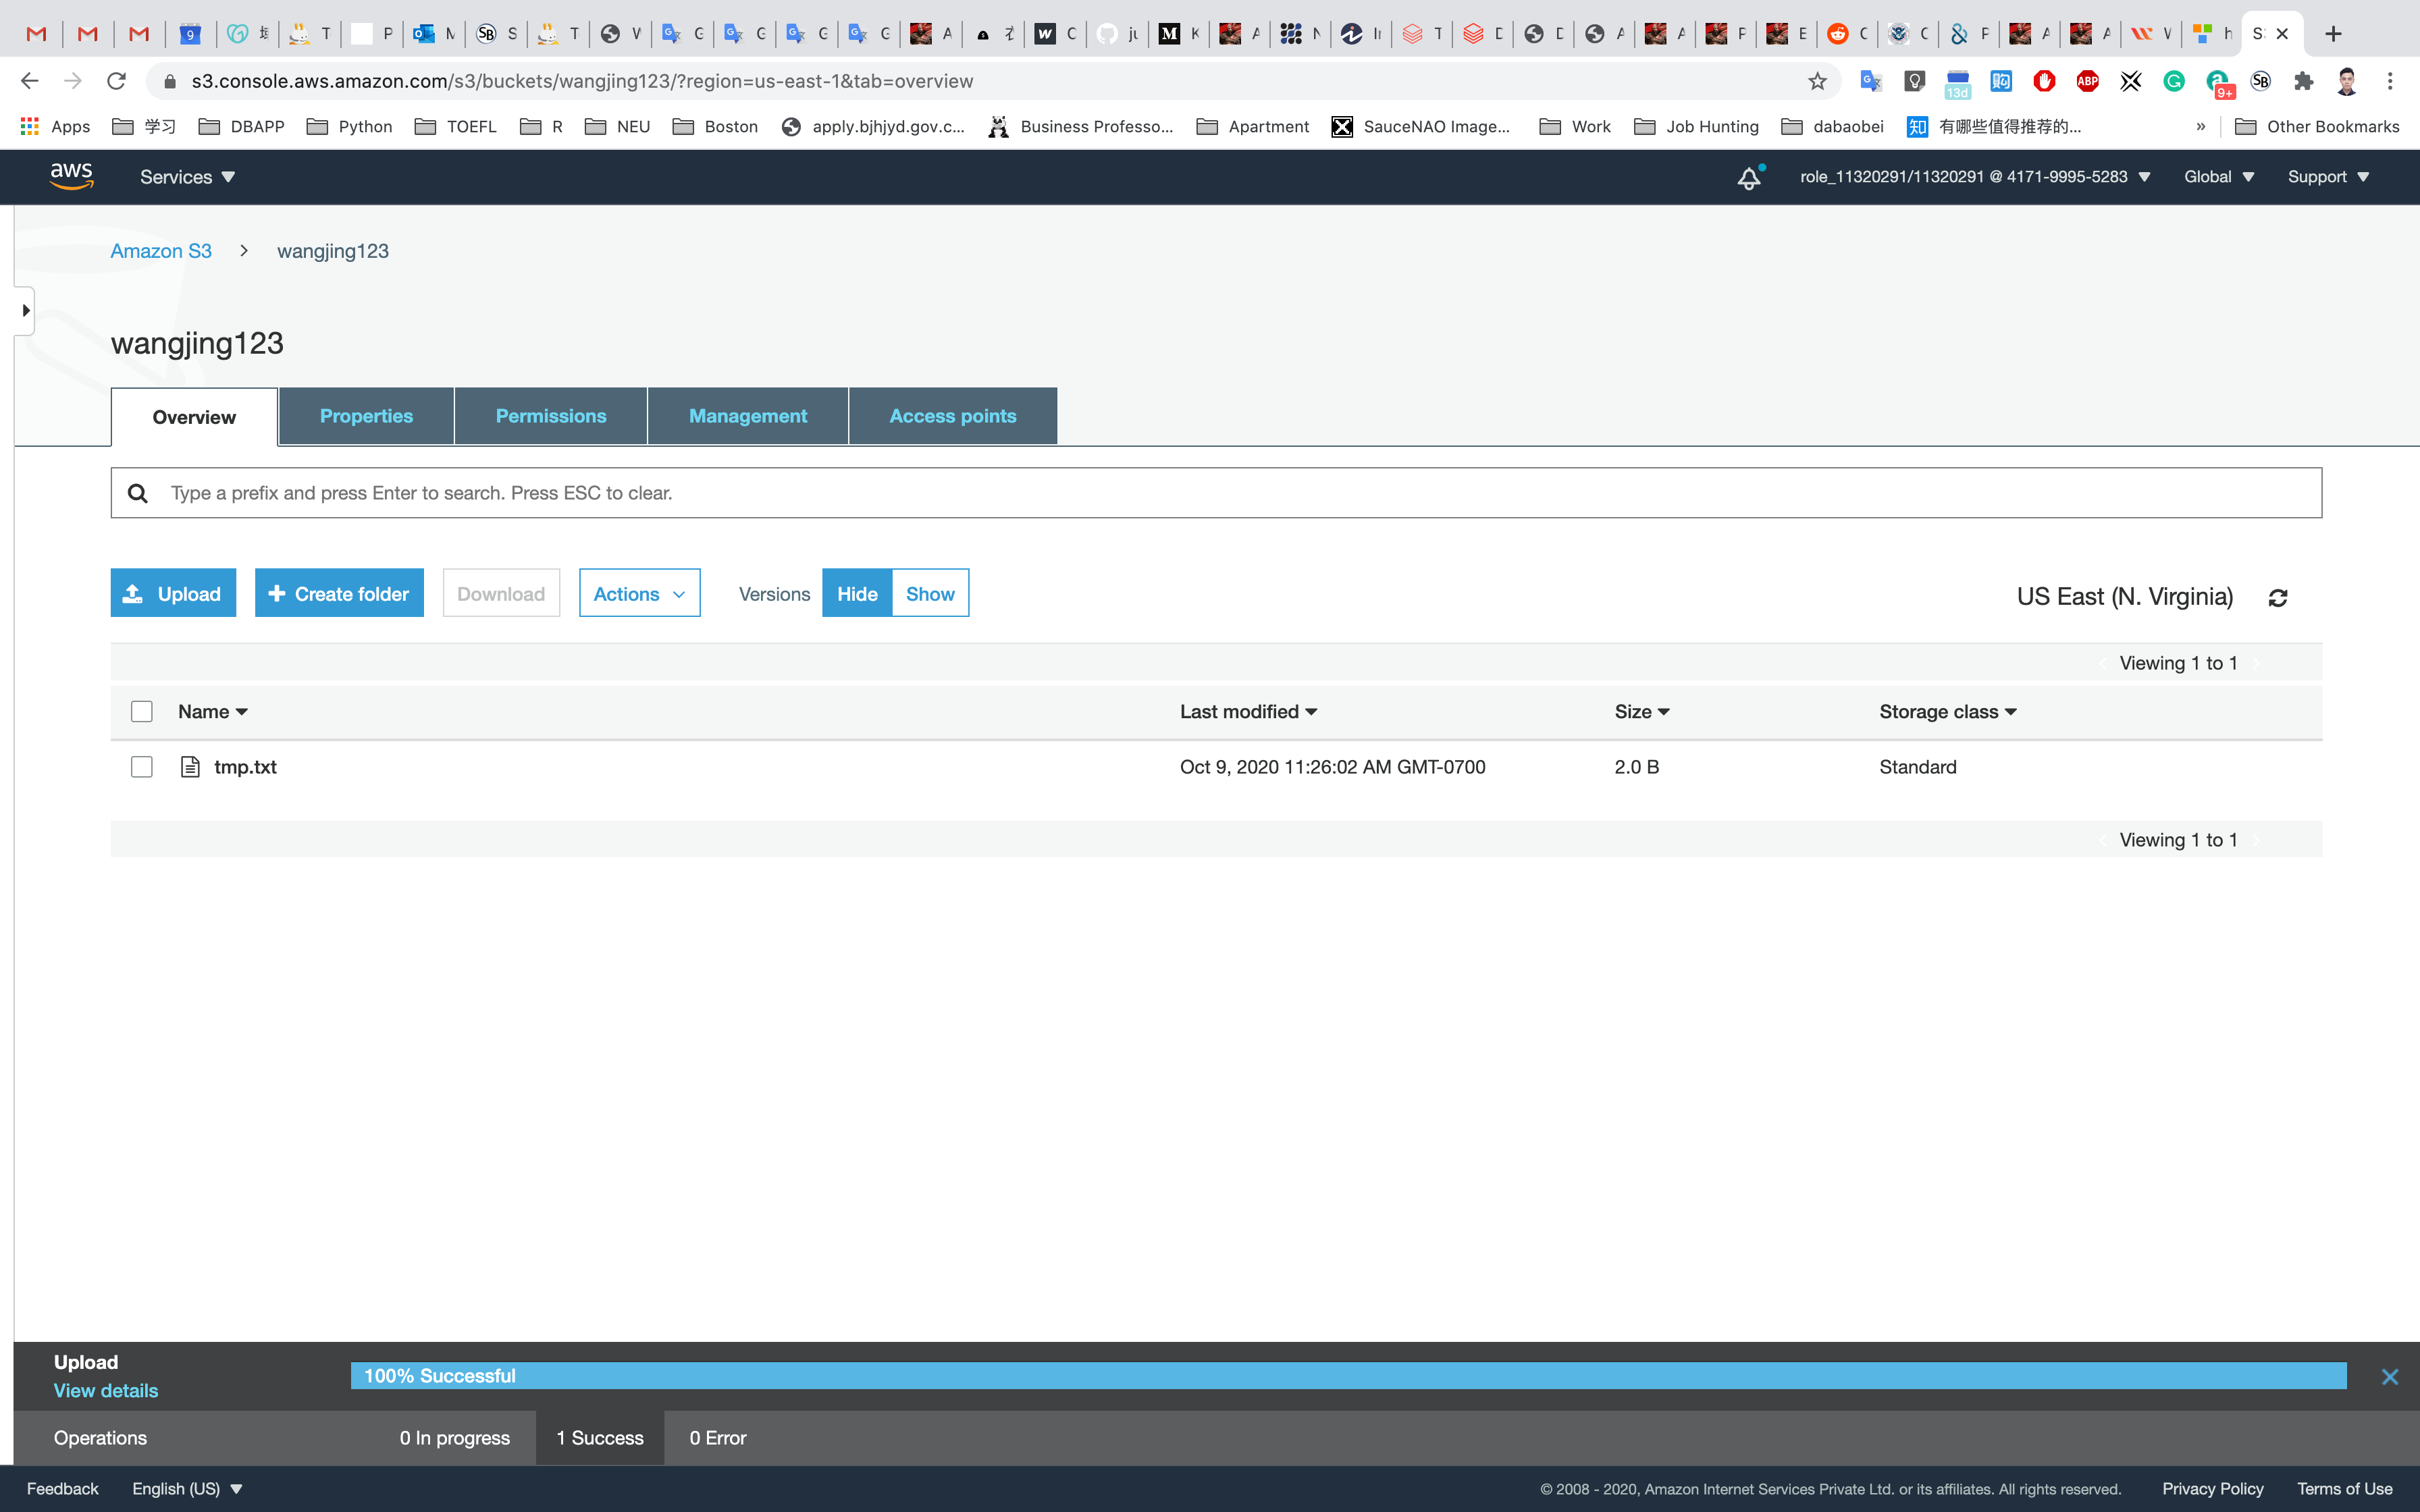
Make the bucket public with a Bucket Policy
Go to the bucket list and click on your bucket name.
Click the Permissions tab to configure your bucket:
- In the
Permissionstab, click onBucket Polity - A blank Bucket policy editor is displayed.
- Before creating the policy, you will need to copy the ARN (Amazon Resource Name) of your bucket.
- Copy the ARN of your bucket to the clipboard. It is displayed at the top of the policy editor. its look like ARN: arn:aws:s3:::your-bucket-name
In the policy below, update your bucket ARN in the Resource key value and copy the policy code.
- Paste the bucket policy into the Bucket policy editor.
1 | { |
Click on Save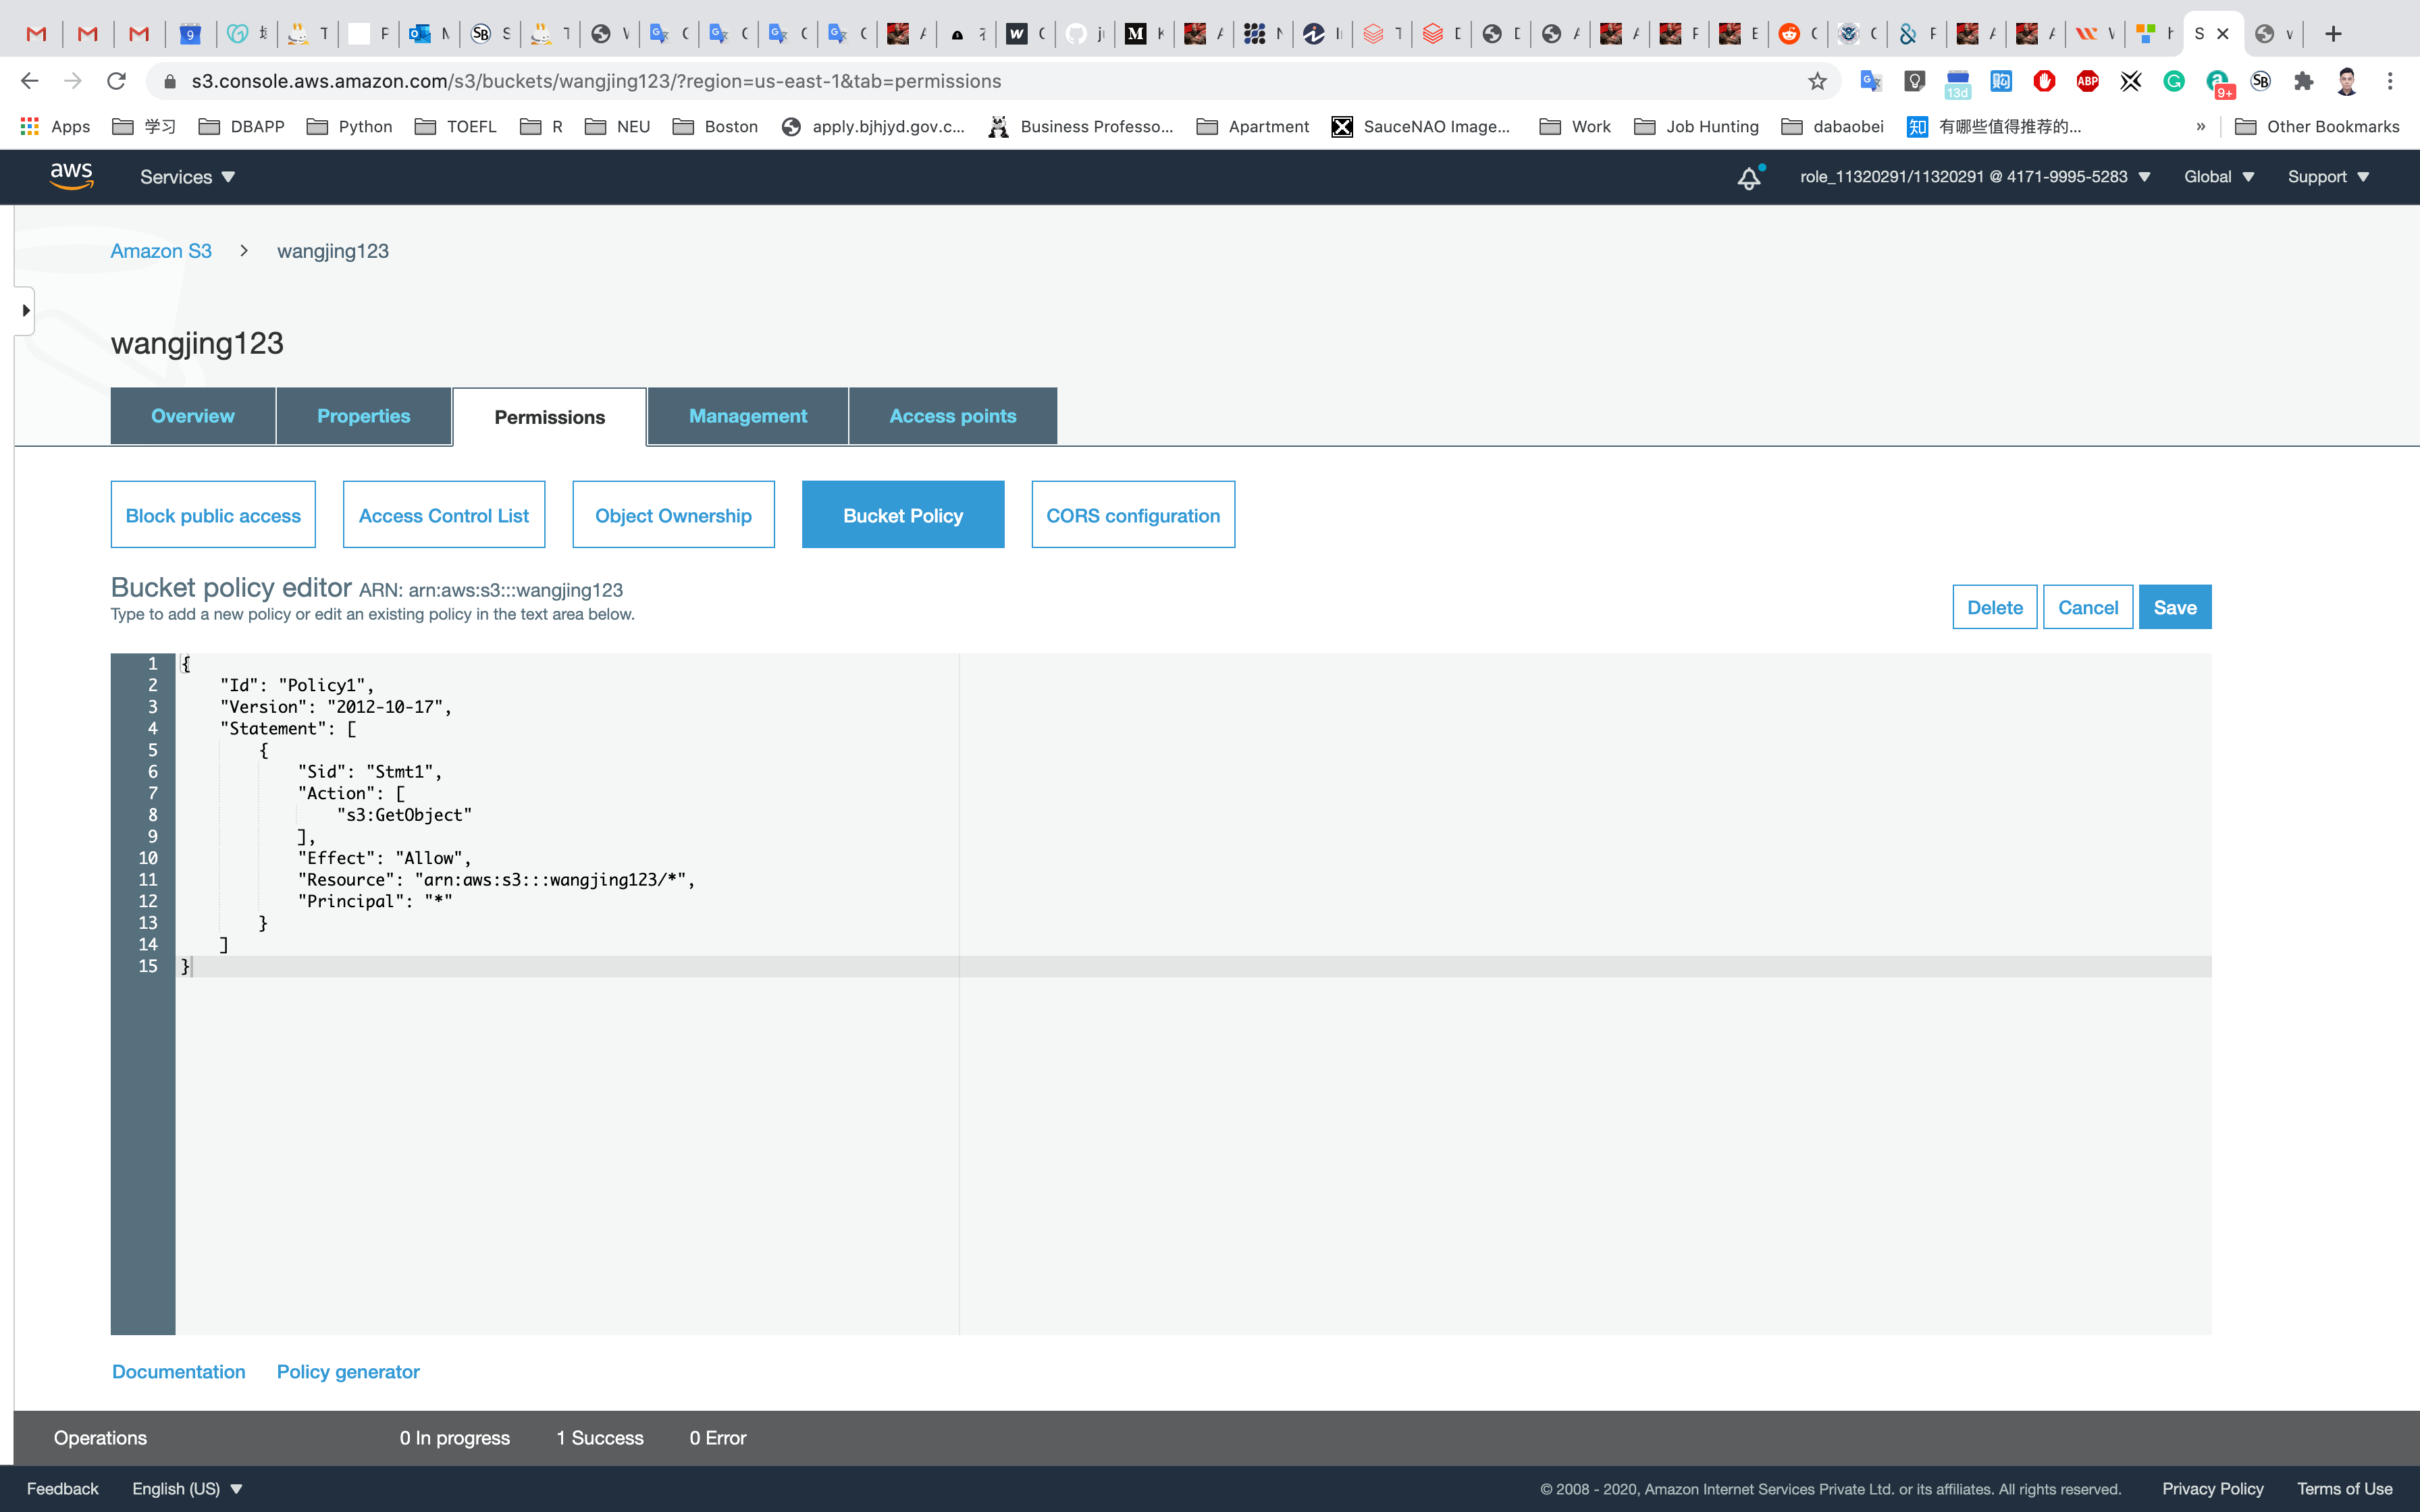
Click on Overview
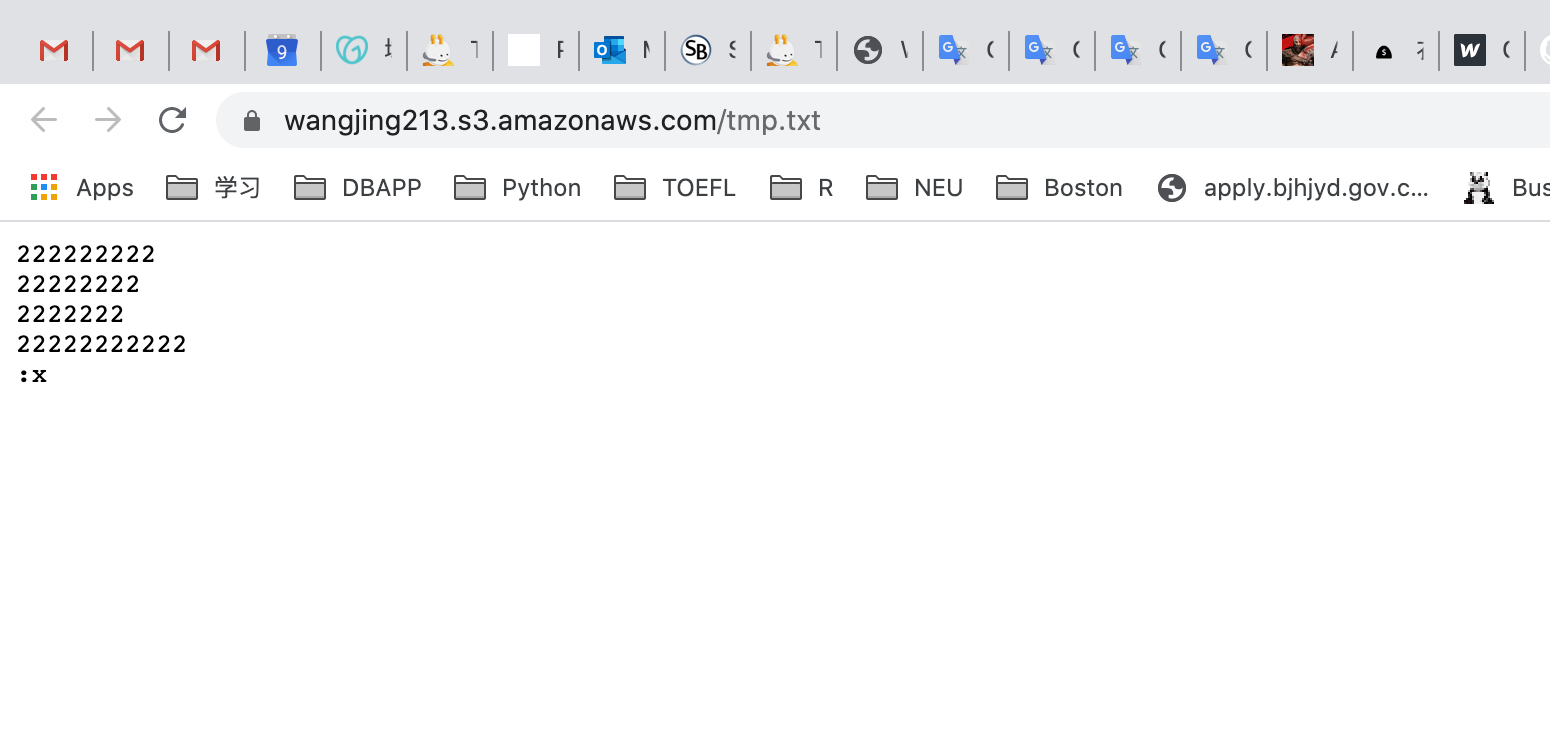
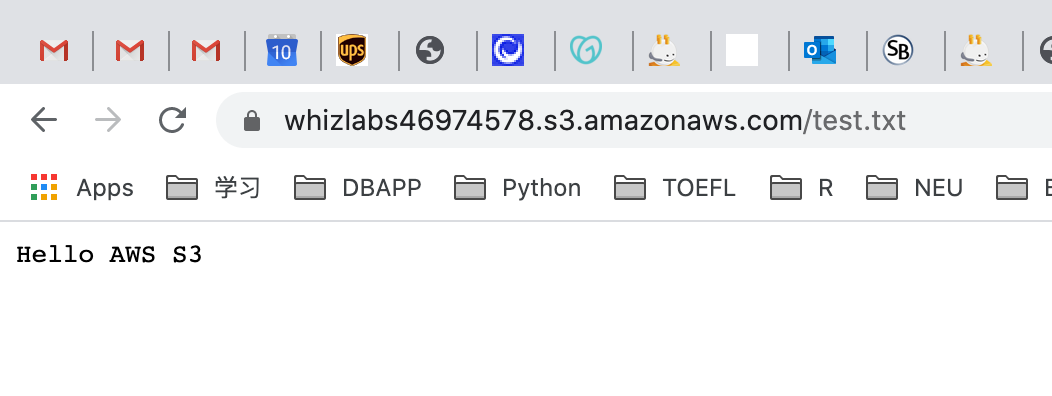
Now open the text file link in your browser and you should see the text in file.

Upload the same object with different content
Upload the same file with different content from your local machine.
On the S3 Buck list page, Click on youBucketName
Click on Overview tab.
Click on the Upload button.
Click on the Add files button.
Browse for the file you want to upload.
Click on Next and Grant public read access to this project(s)
Click on the Upload button.
You should see the latest version of the file you uploaded.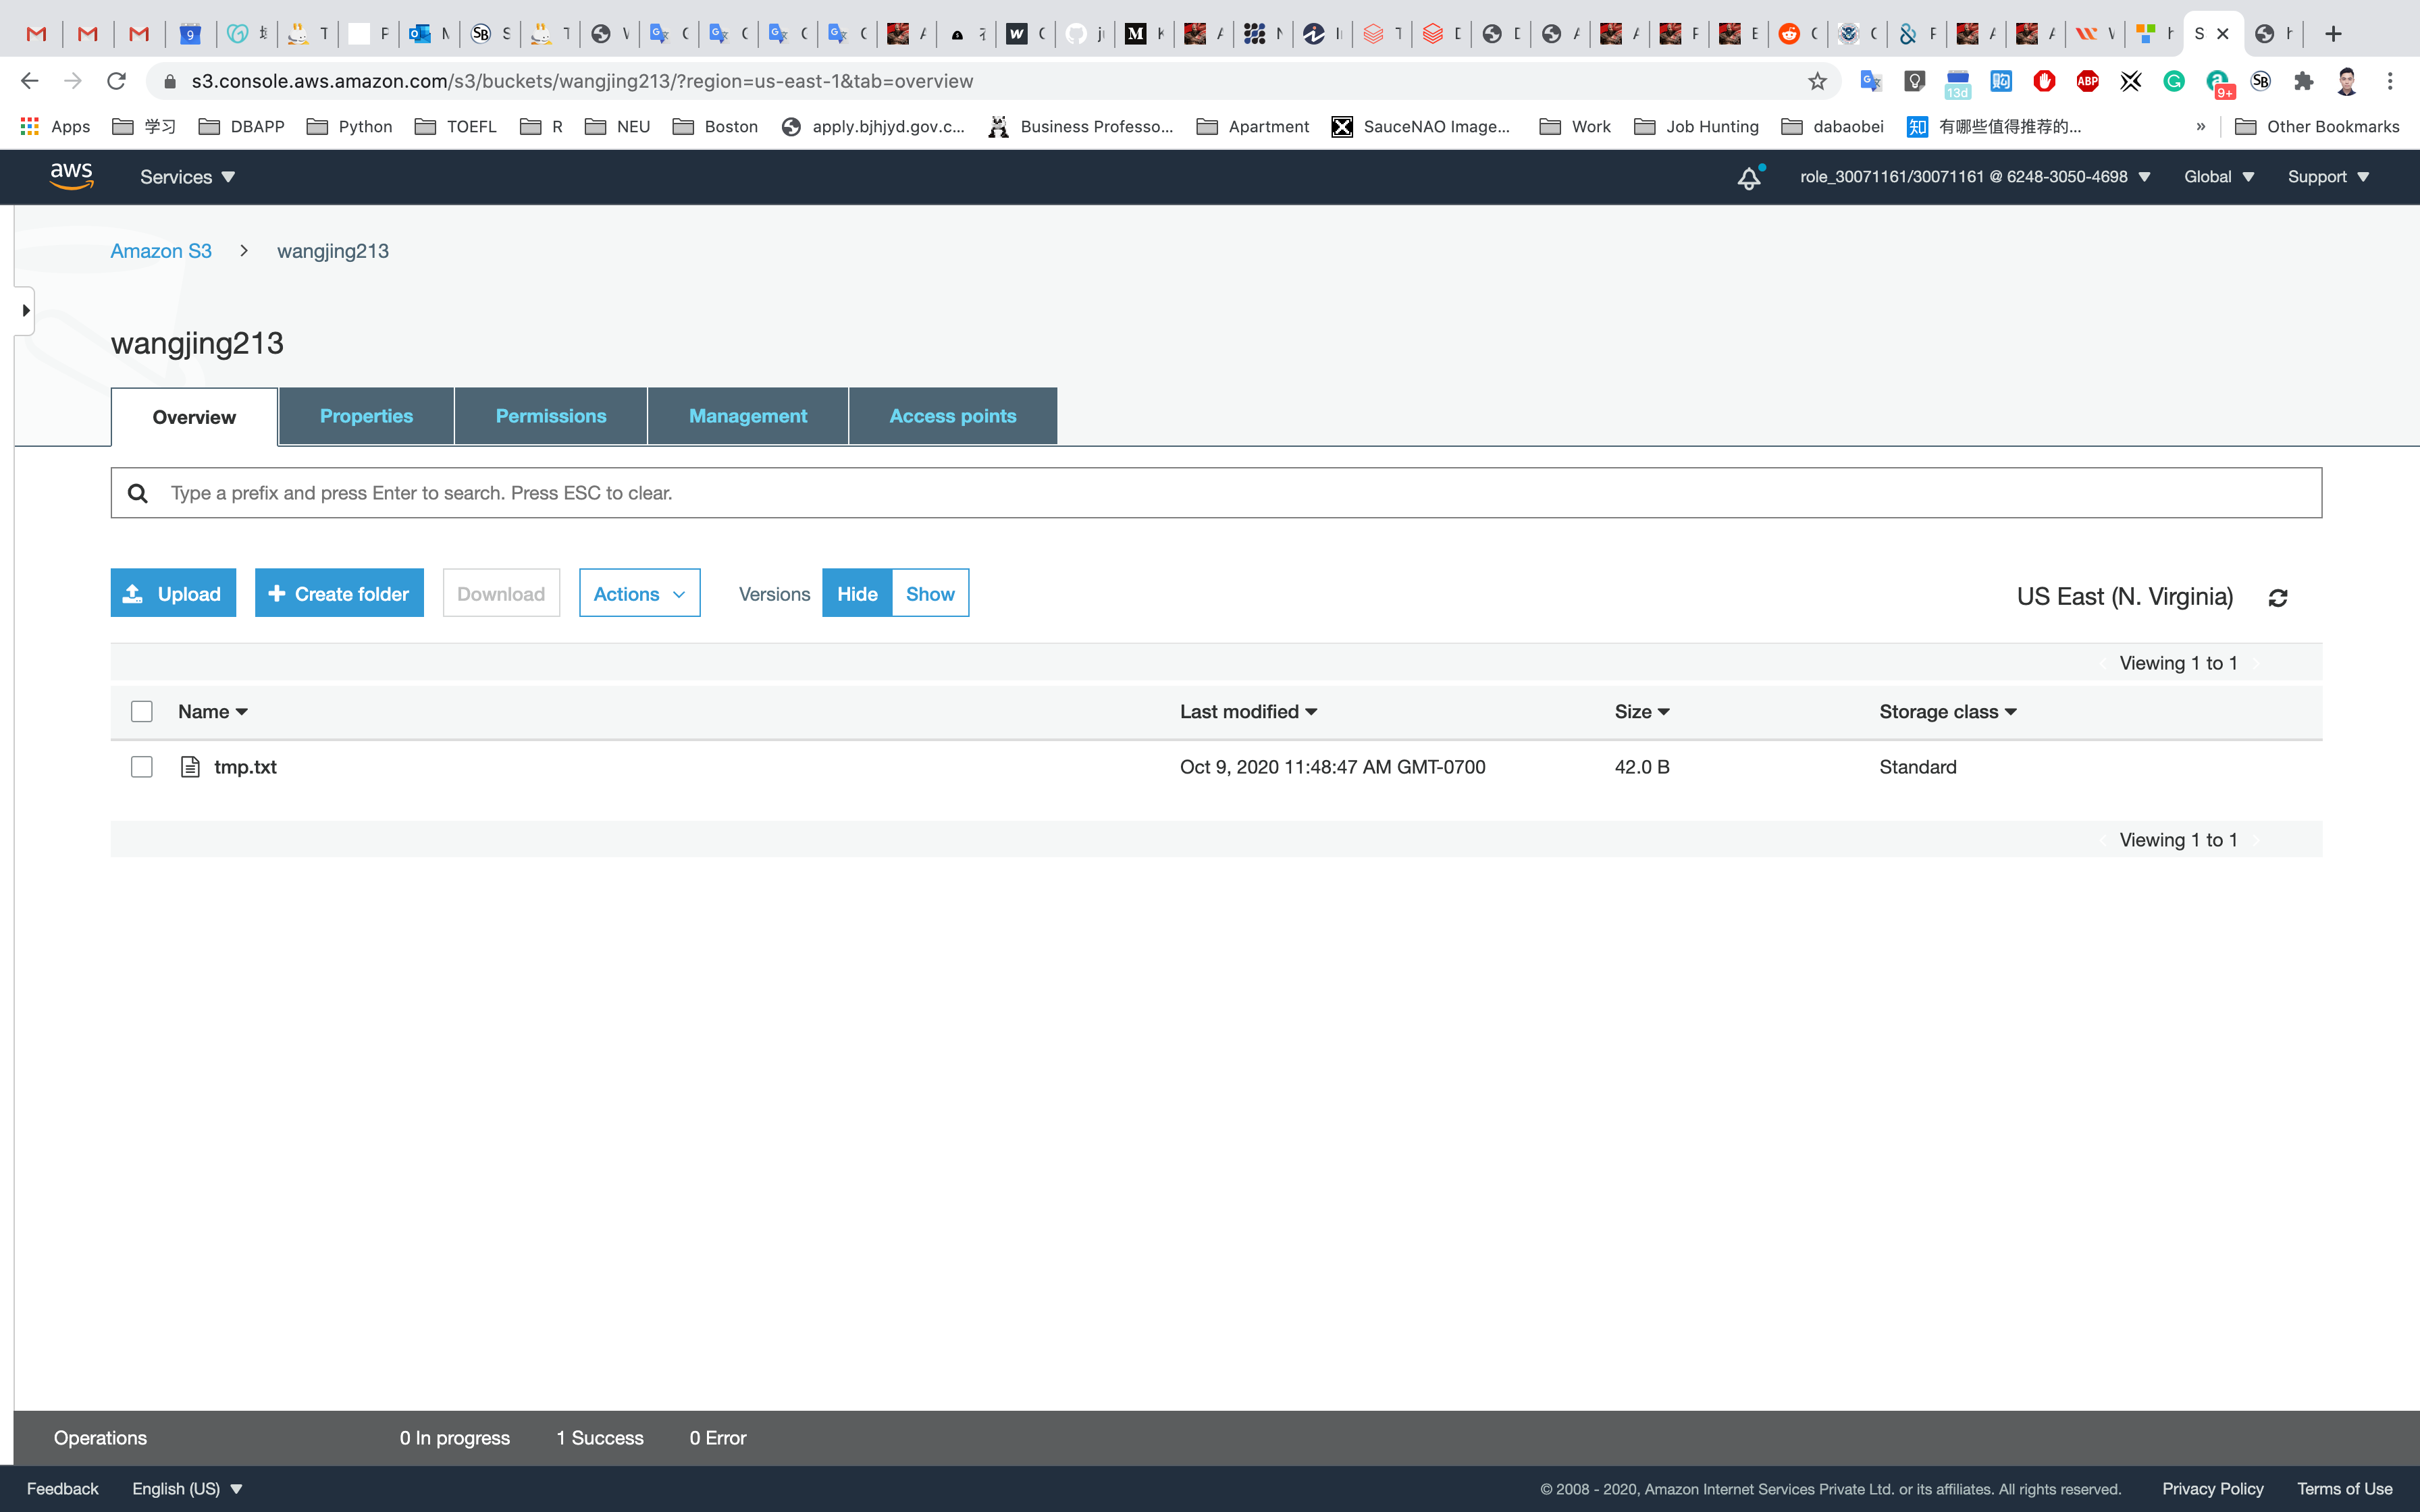
Testing a previous version of the file
To enable the old version of the file, we need to delete the latest version of the file.
Click on object URL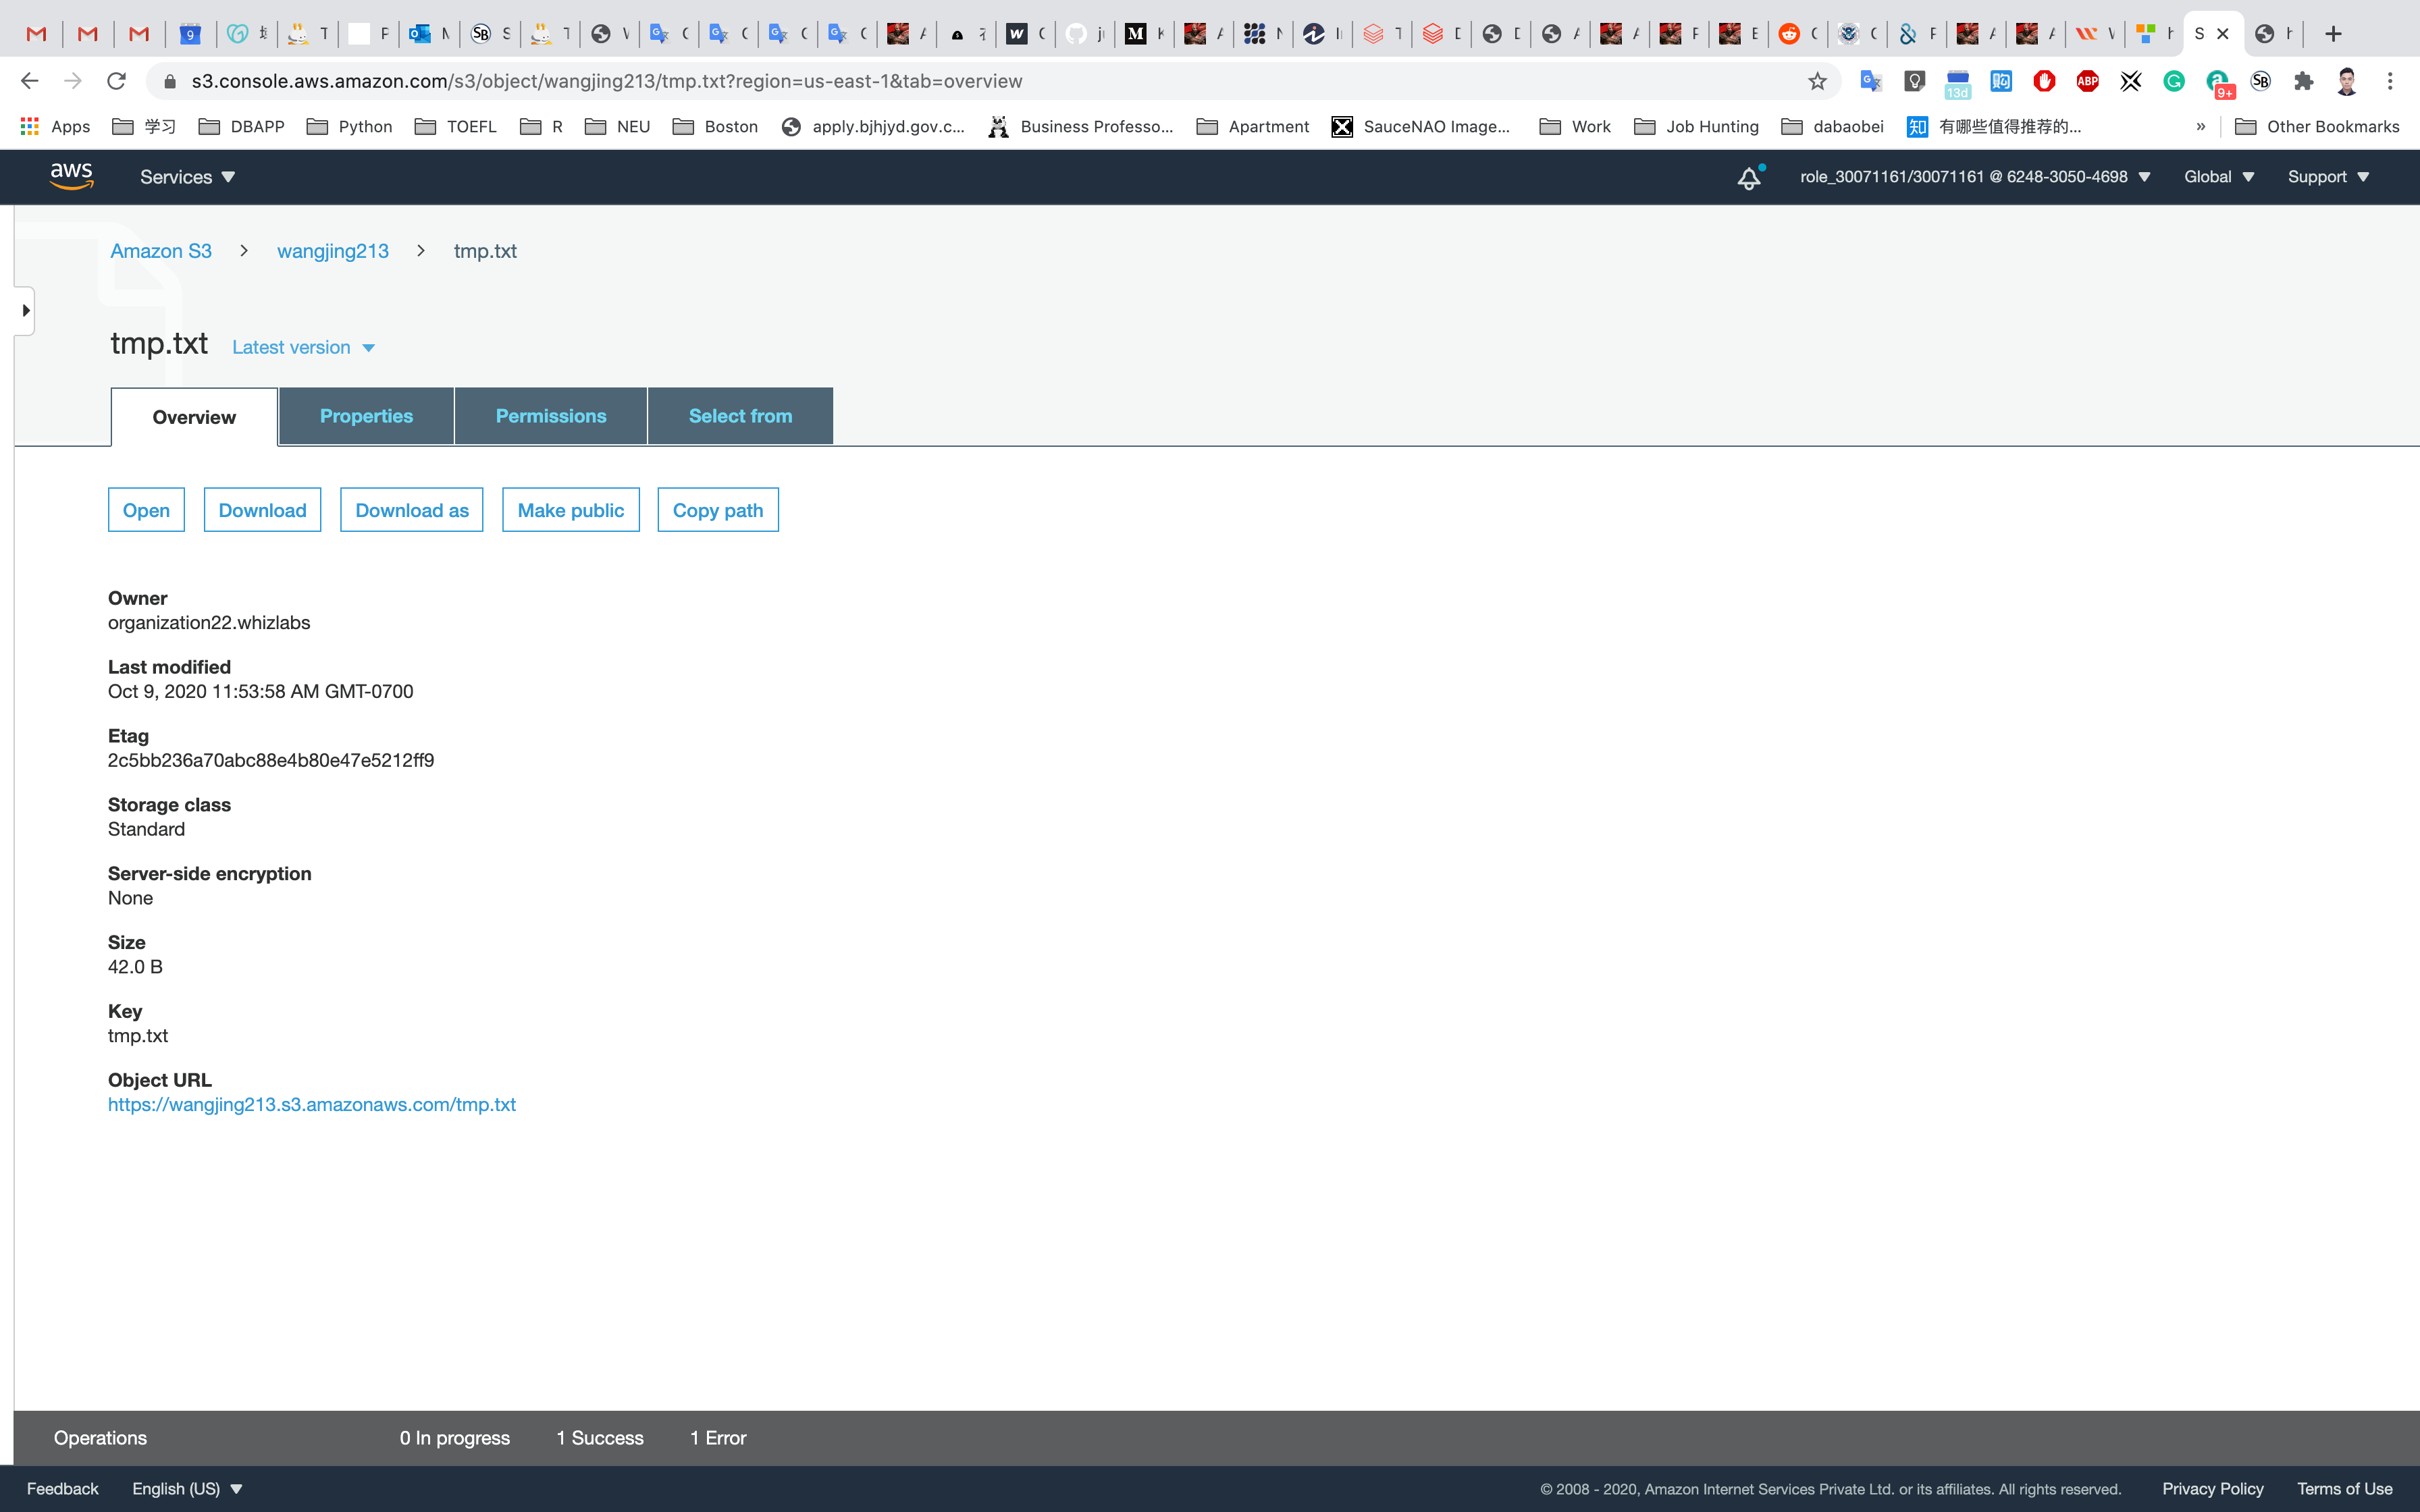
Click on the file name.
On the top section (next to the object name) you can find a drop down of all file versions called Latest version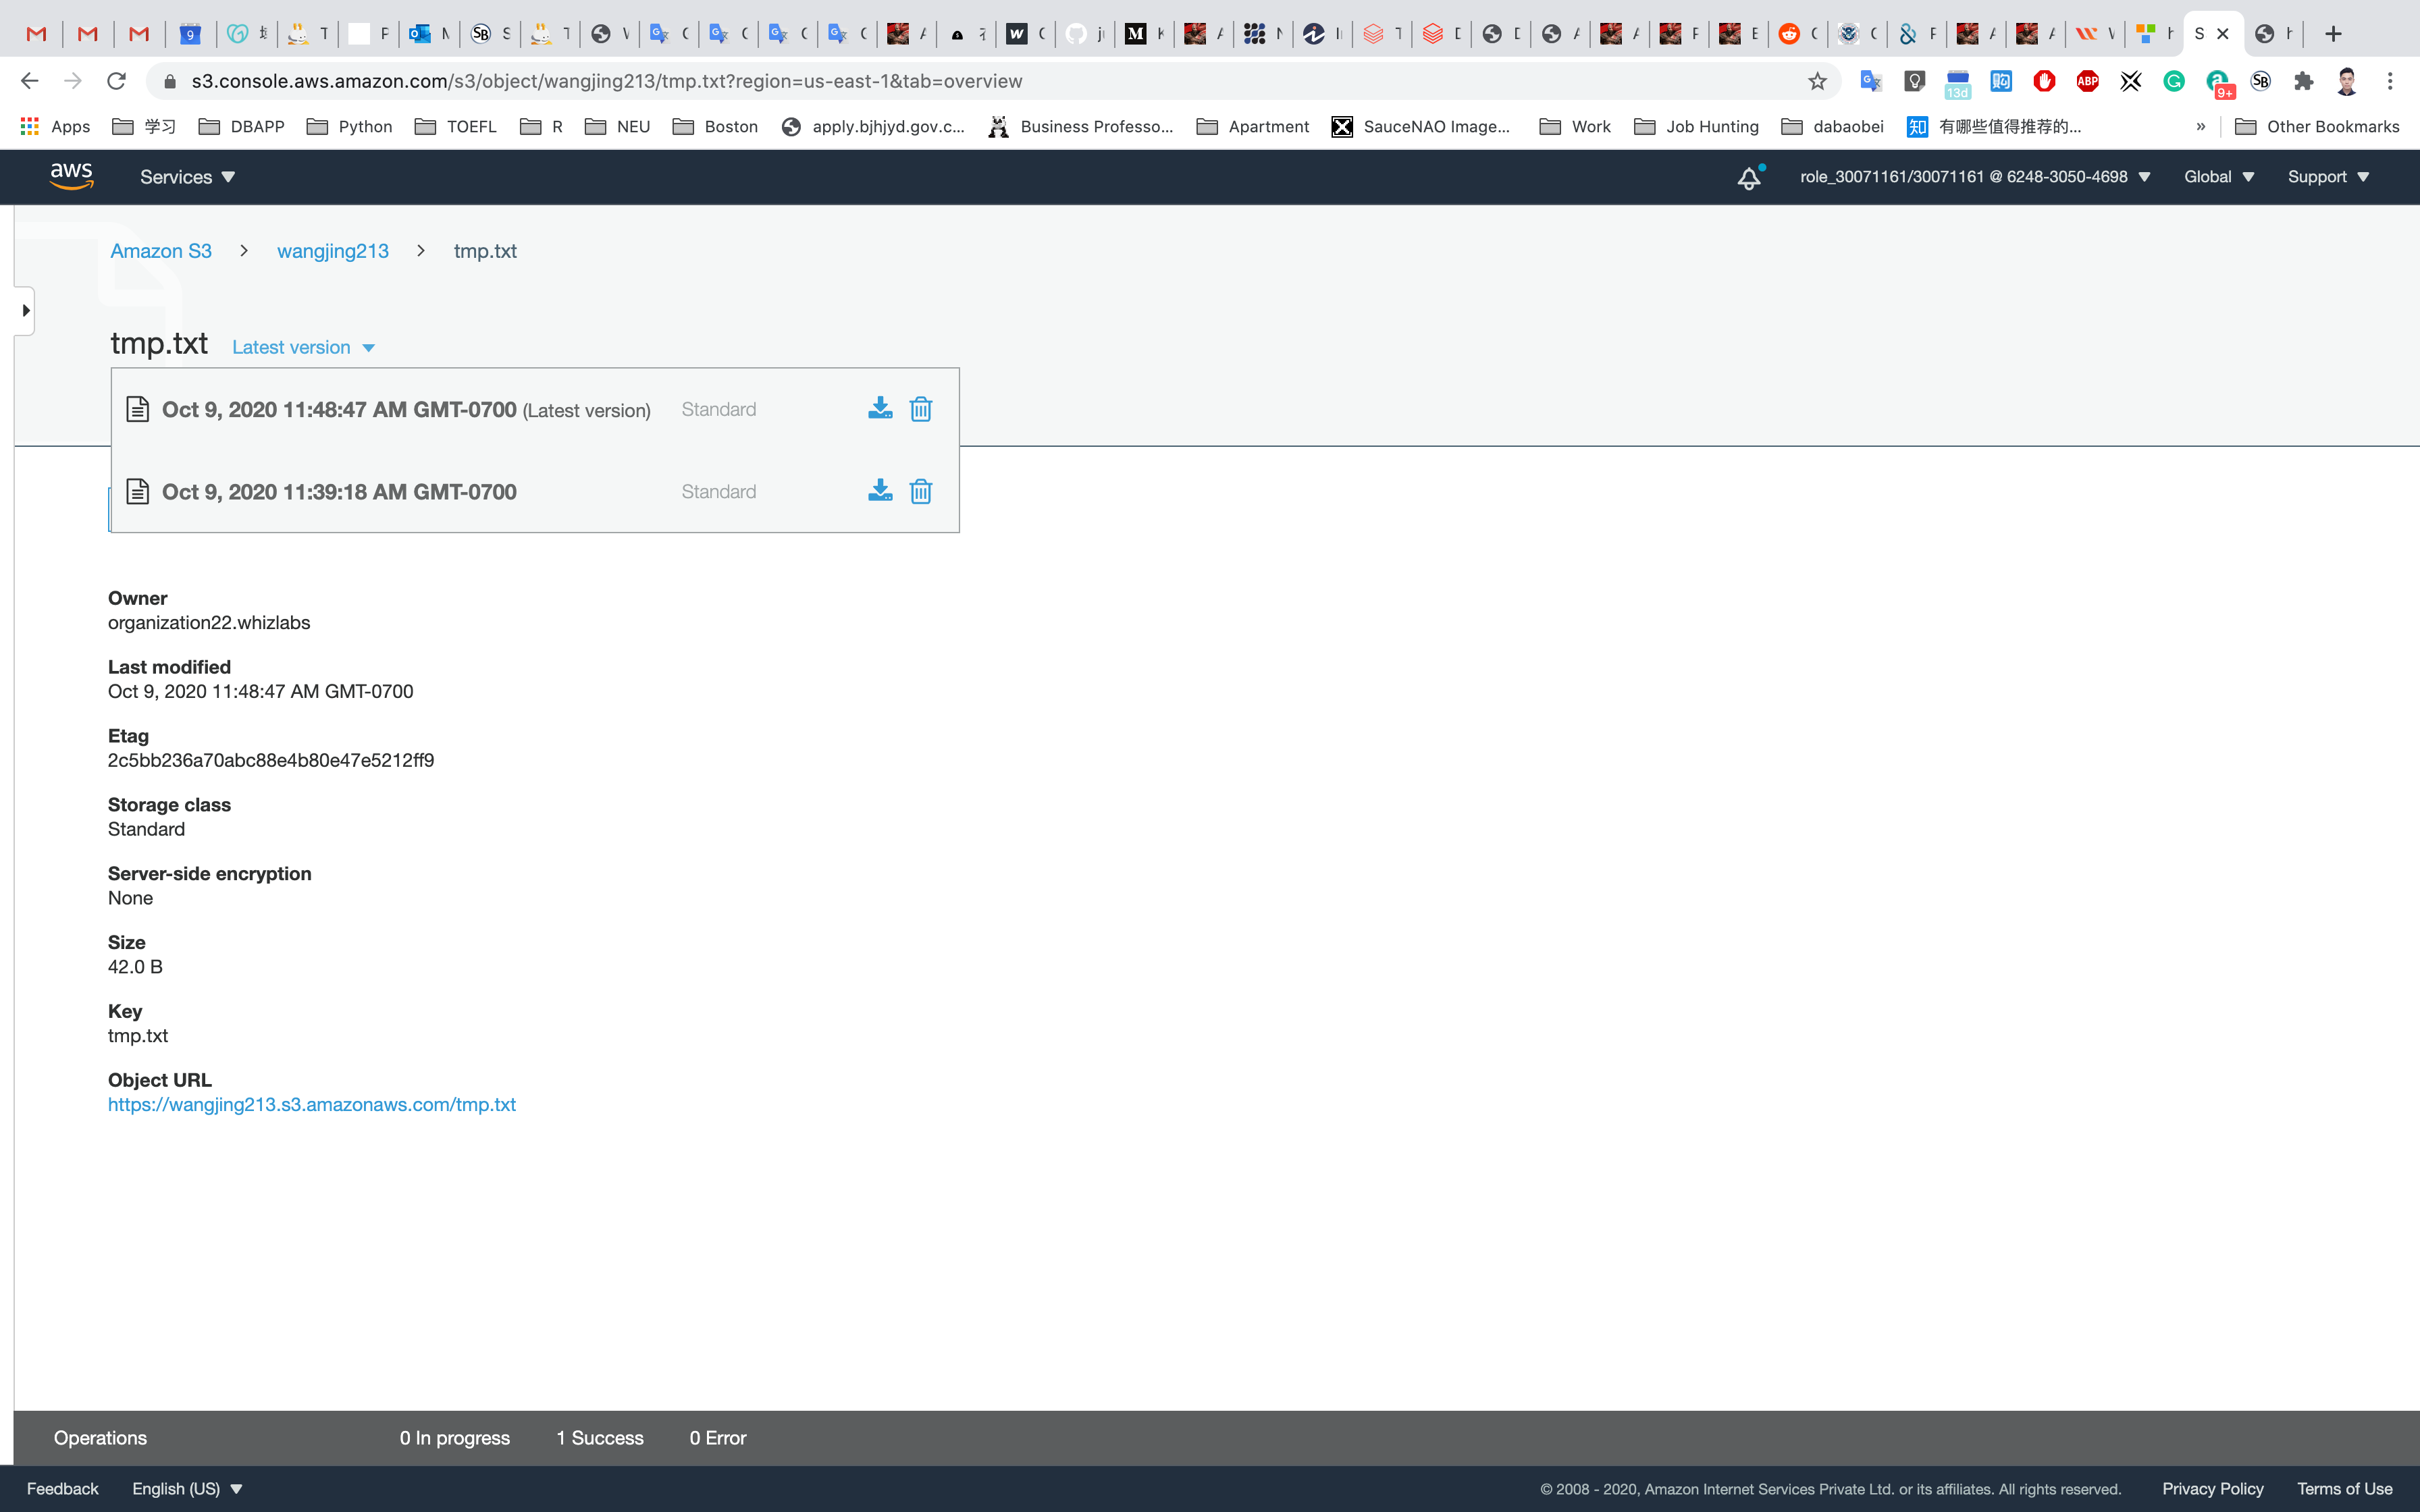
Click on the drop down and delete the latest version of your file.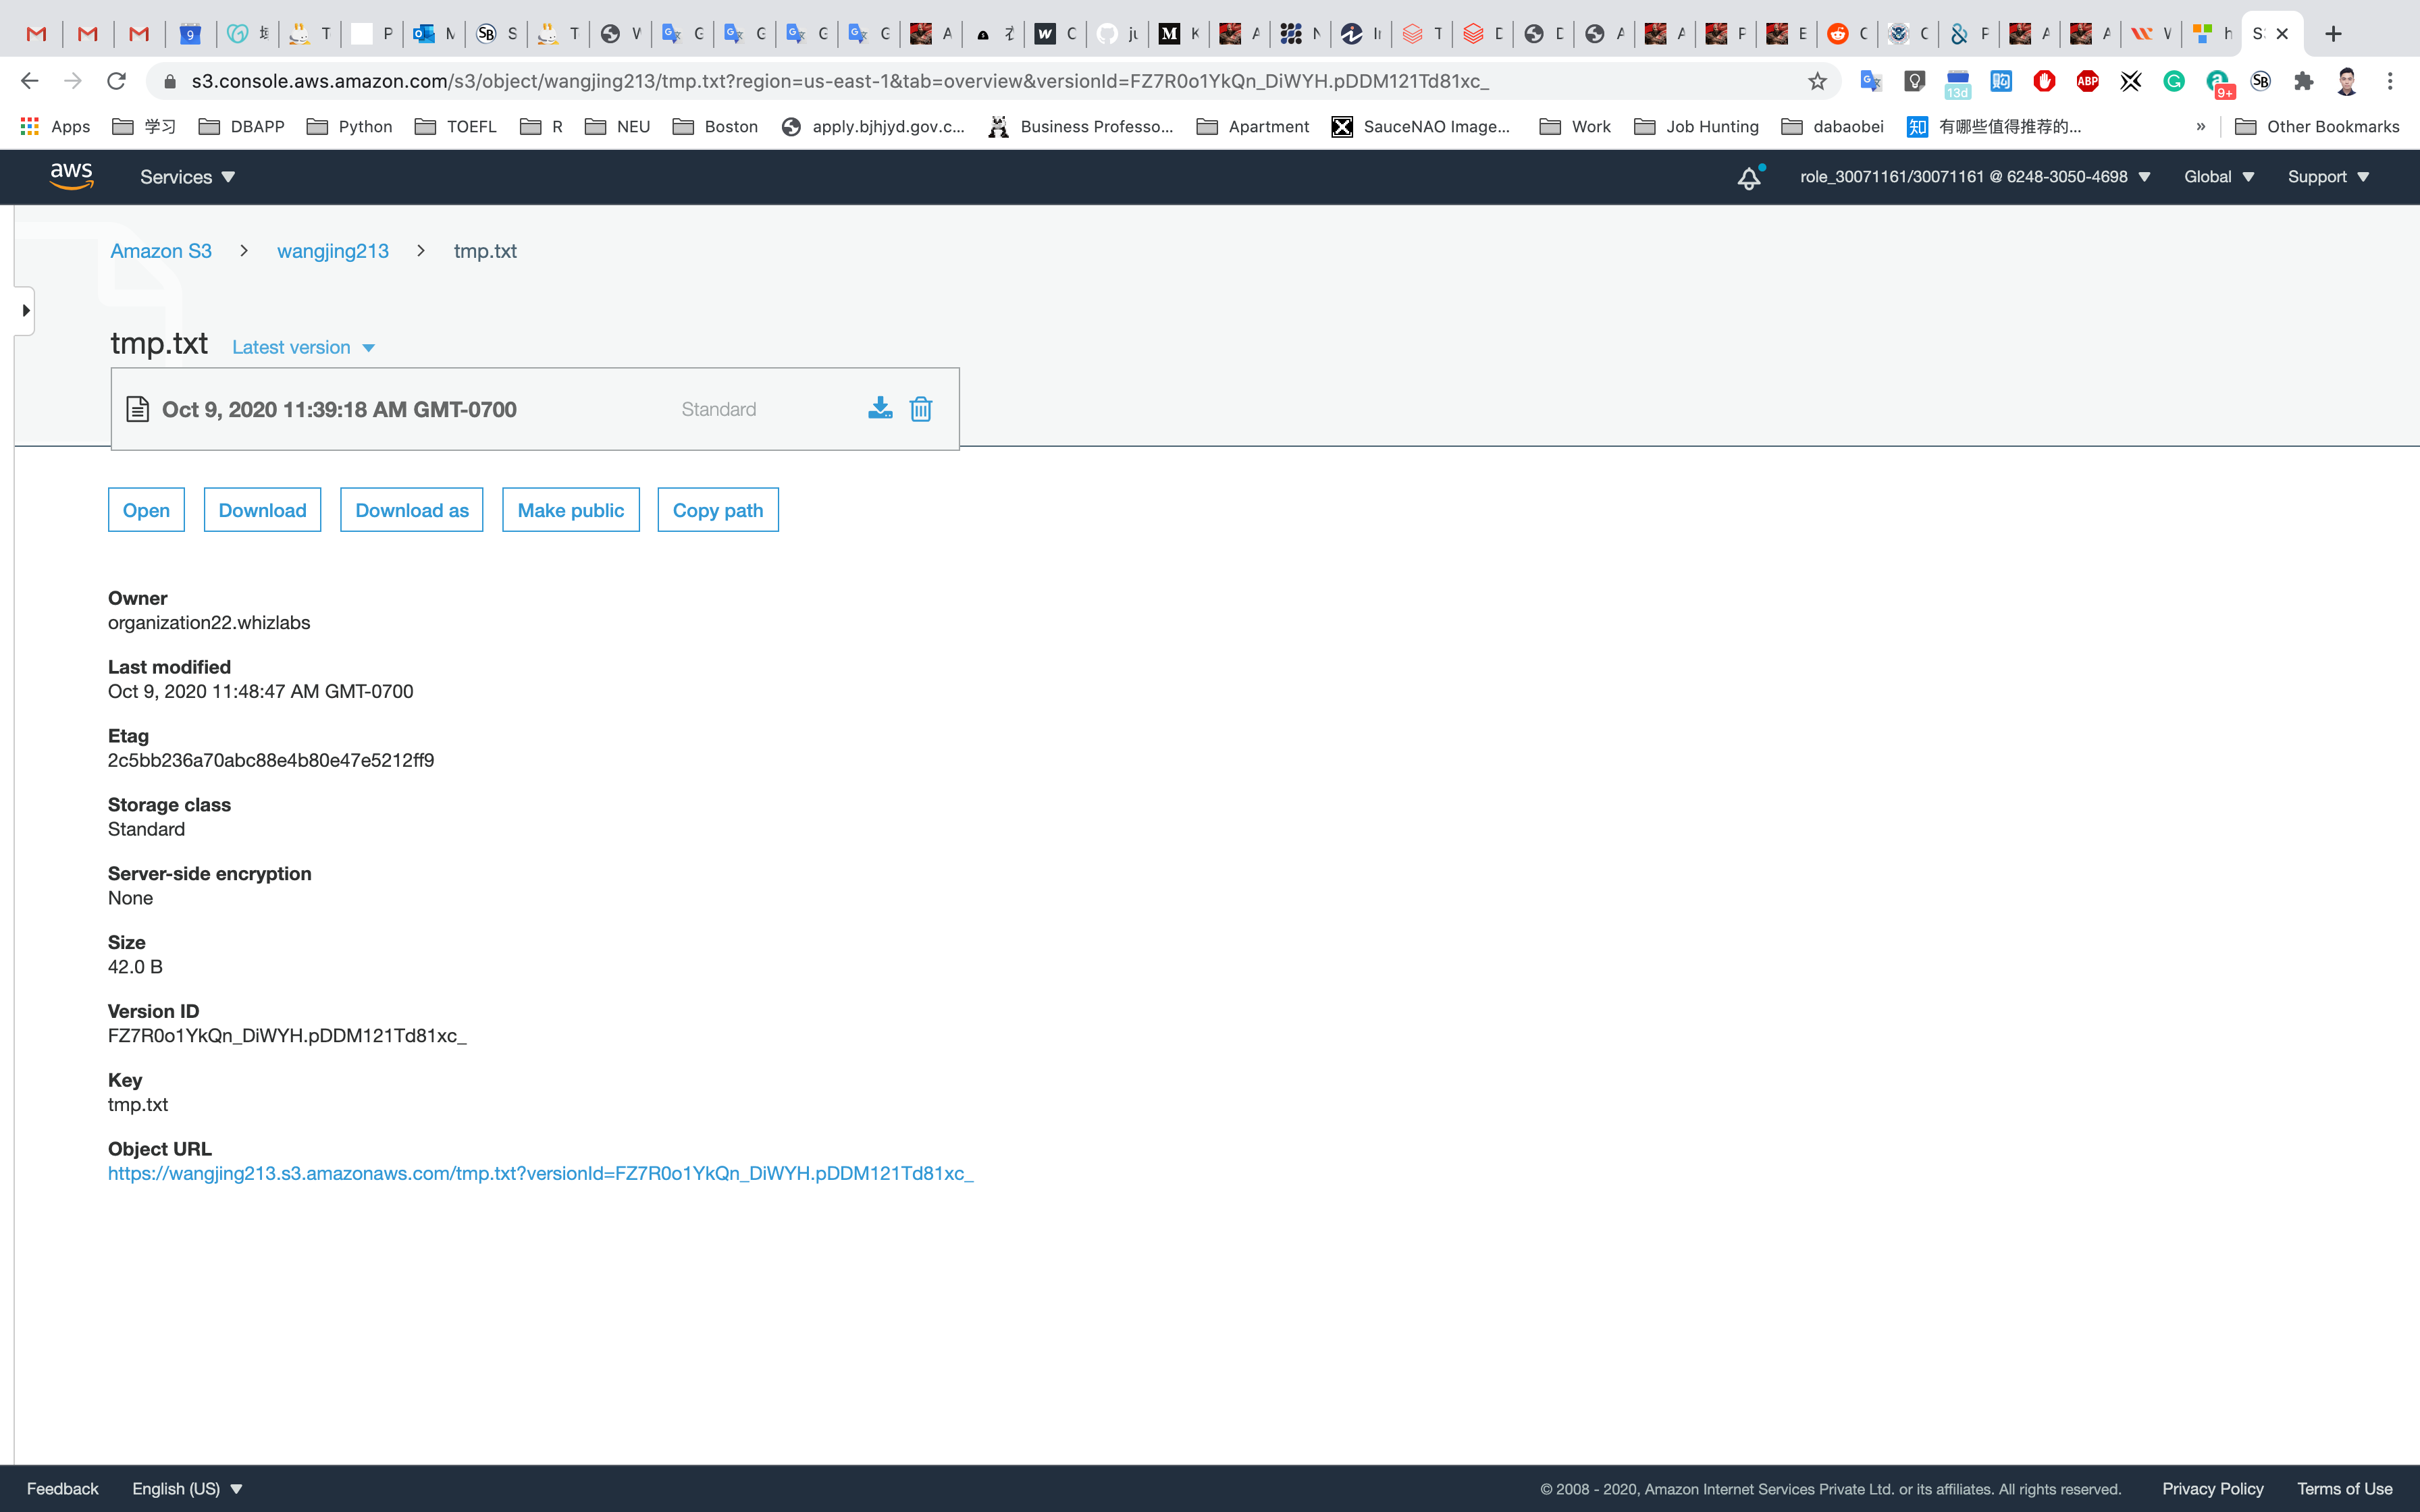
Now refresh your S3 object URL. You should see the previous version of the file you uploaded.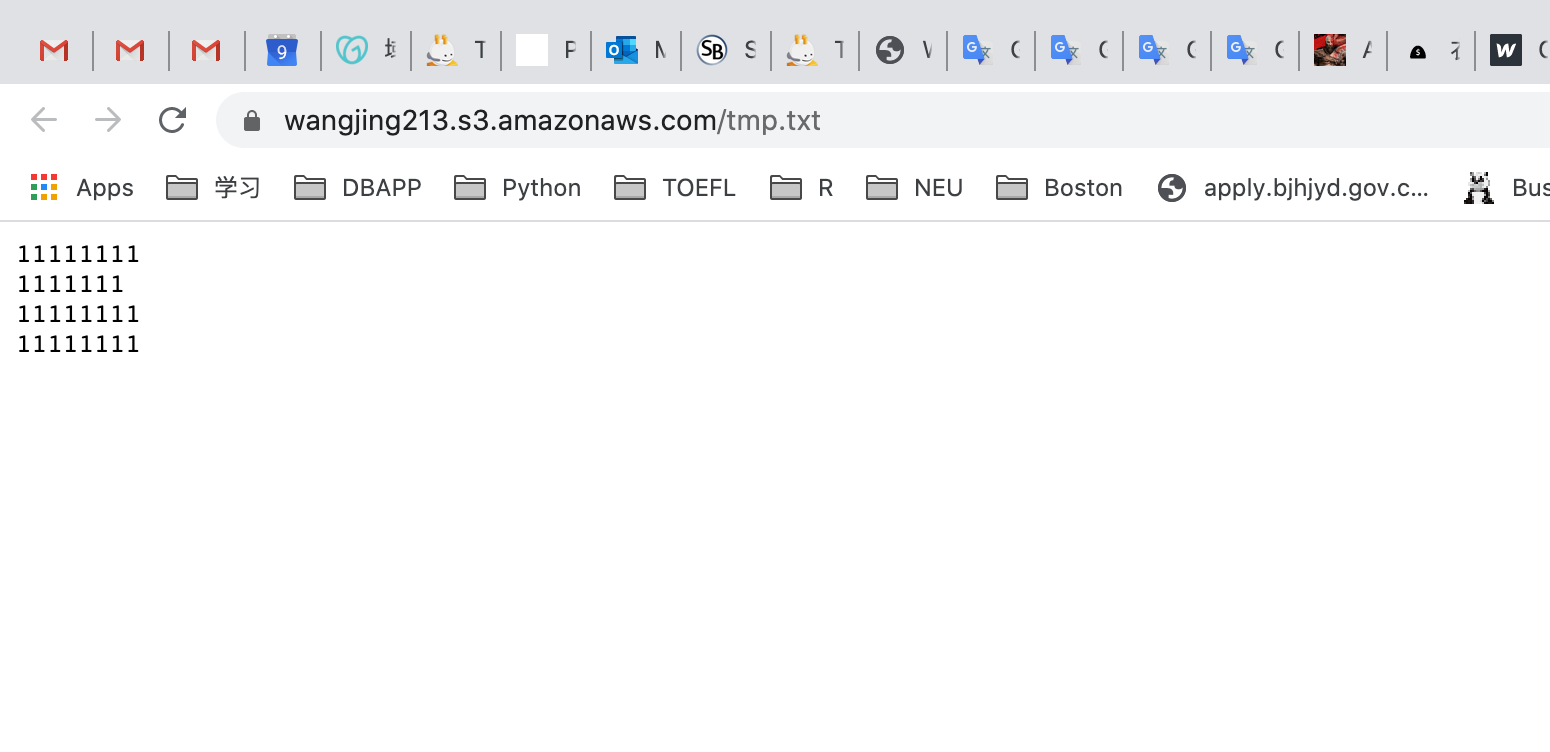
Completion and Conclusion
- You have successfully created an S3 Bucket.
- You have successfully enabled Object Versioning on the Bucket.
- You have successfully uploaded a test file into the Bucket and tested its versioning.
Creating an S3 Lifecycle Policy
https://play.whizlabs.com/site/task_details?lab_type=1&task_id=45&quest_id=35
Lab Details
- This Lab walks you through the steps on how to create a Lifecycle Rule for an object in an S3 Bucket.
Lab Tasks
- Log into the AWS Management Console.
- Create S3 Bucket and upload and object into the bucket.
- Create a Lifecycle Rule on the object.
- Create Transition types.
- Create Transition Expiration.
- Test the Lifecycle Rule on the uploaded object.
Architecture Diagram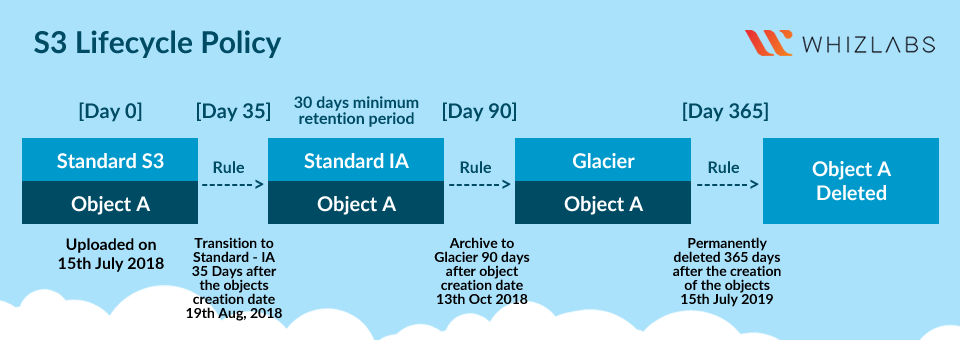
S3 Configuration
Service -> S3
Create an S3 Bucket
On the S3 dashboard, click on Create bucket and fill in the bucket details.
- Bucket name: Enter
inputYourBucketName- Note: S3 bucket names are globally unique, choose a name which is available.
- Region: Select
US East (N. Virginia) - Leave other settings as default.
Click on Create
Close the pop up window if it’s still open.
Upload an object
Upload any file from your local machine.
On the S3 Buck list page, Click on youBucketName
Click on Overview tab.
Click on the Upload button.
Click on the Add files button.
Browse for the file you want to upload.
Click on Next and Grant public read access to this project(s)
Click on the Upload button.
You can watch the progress of the upload from within the transfer panel at the bottom of the screen. If it’s a small file, you might not see the transfer. Once your file has been uploaded, it will be displayed in the bucket.
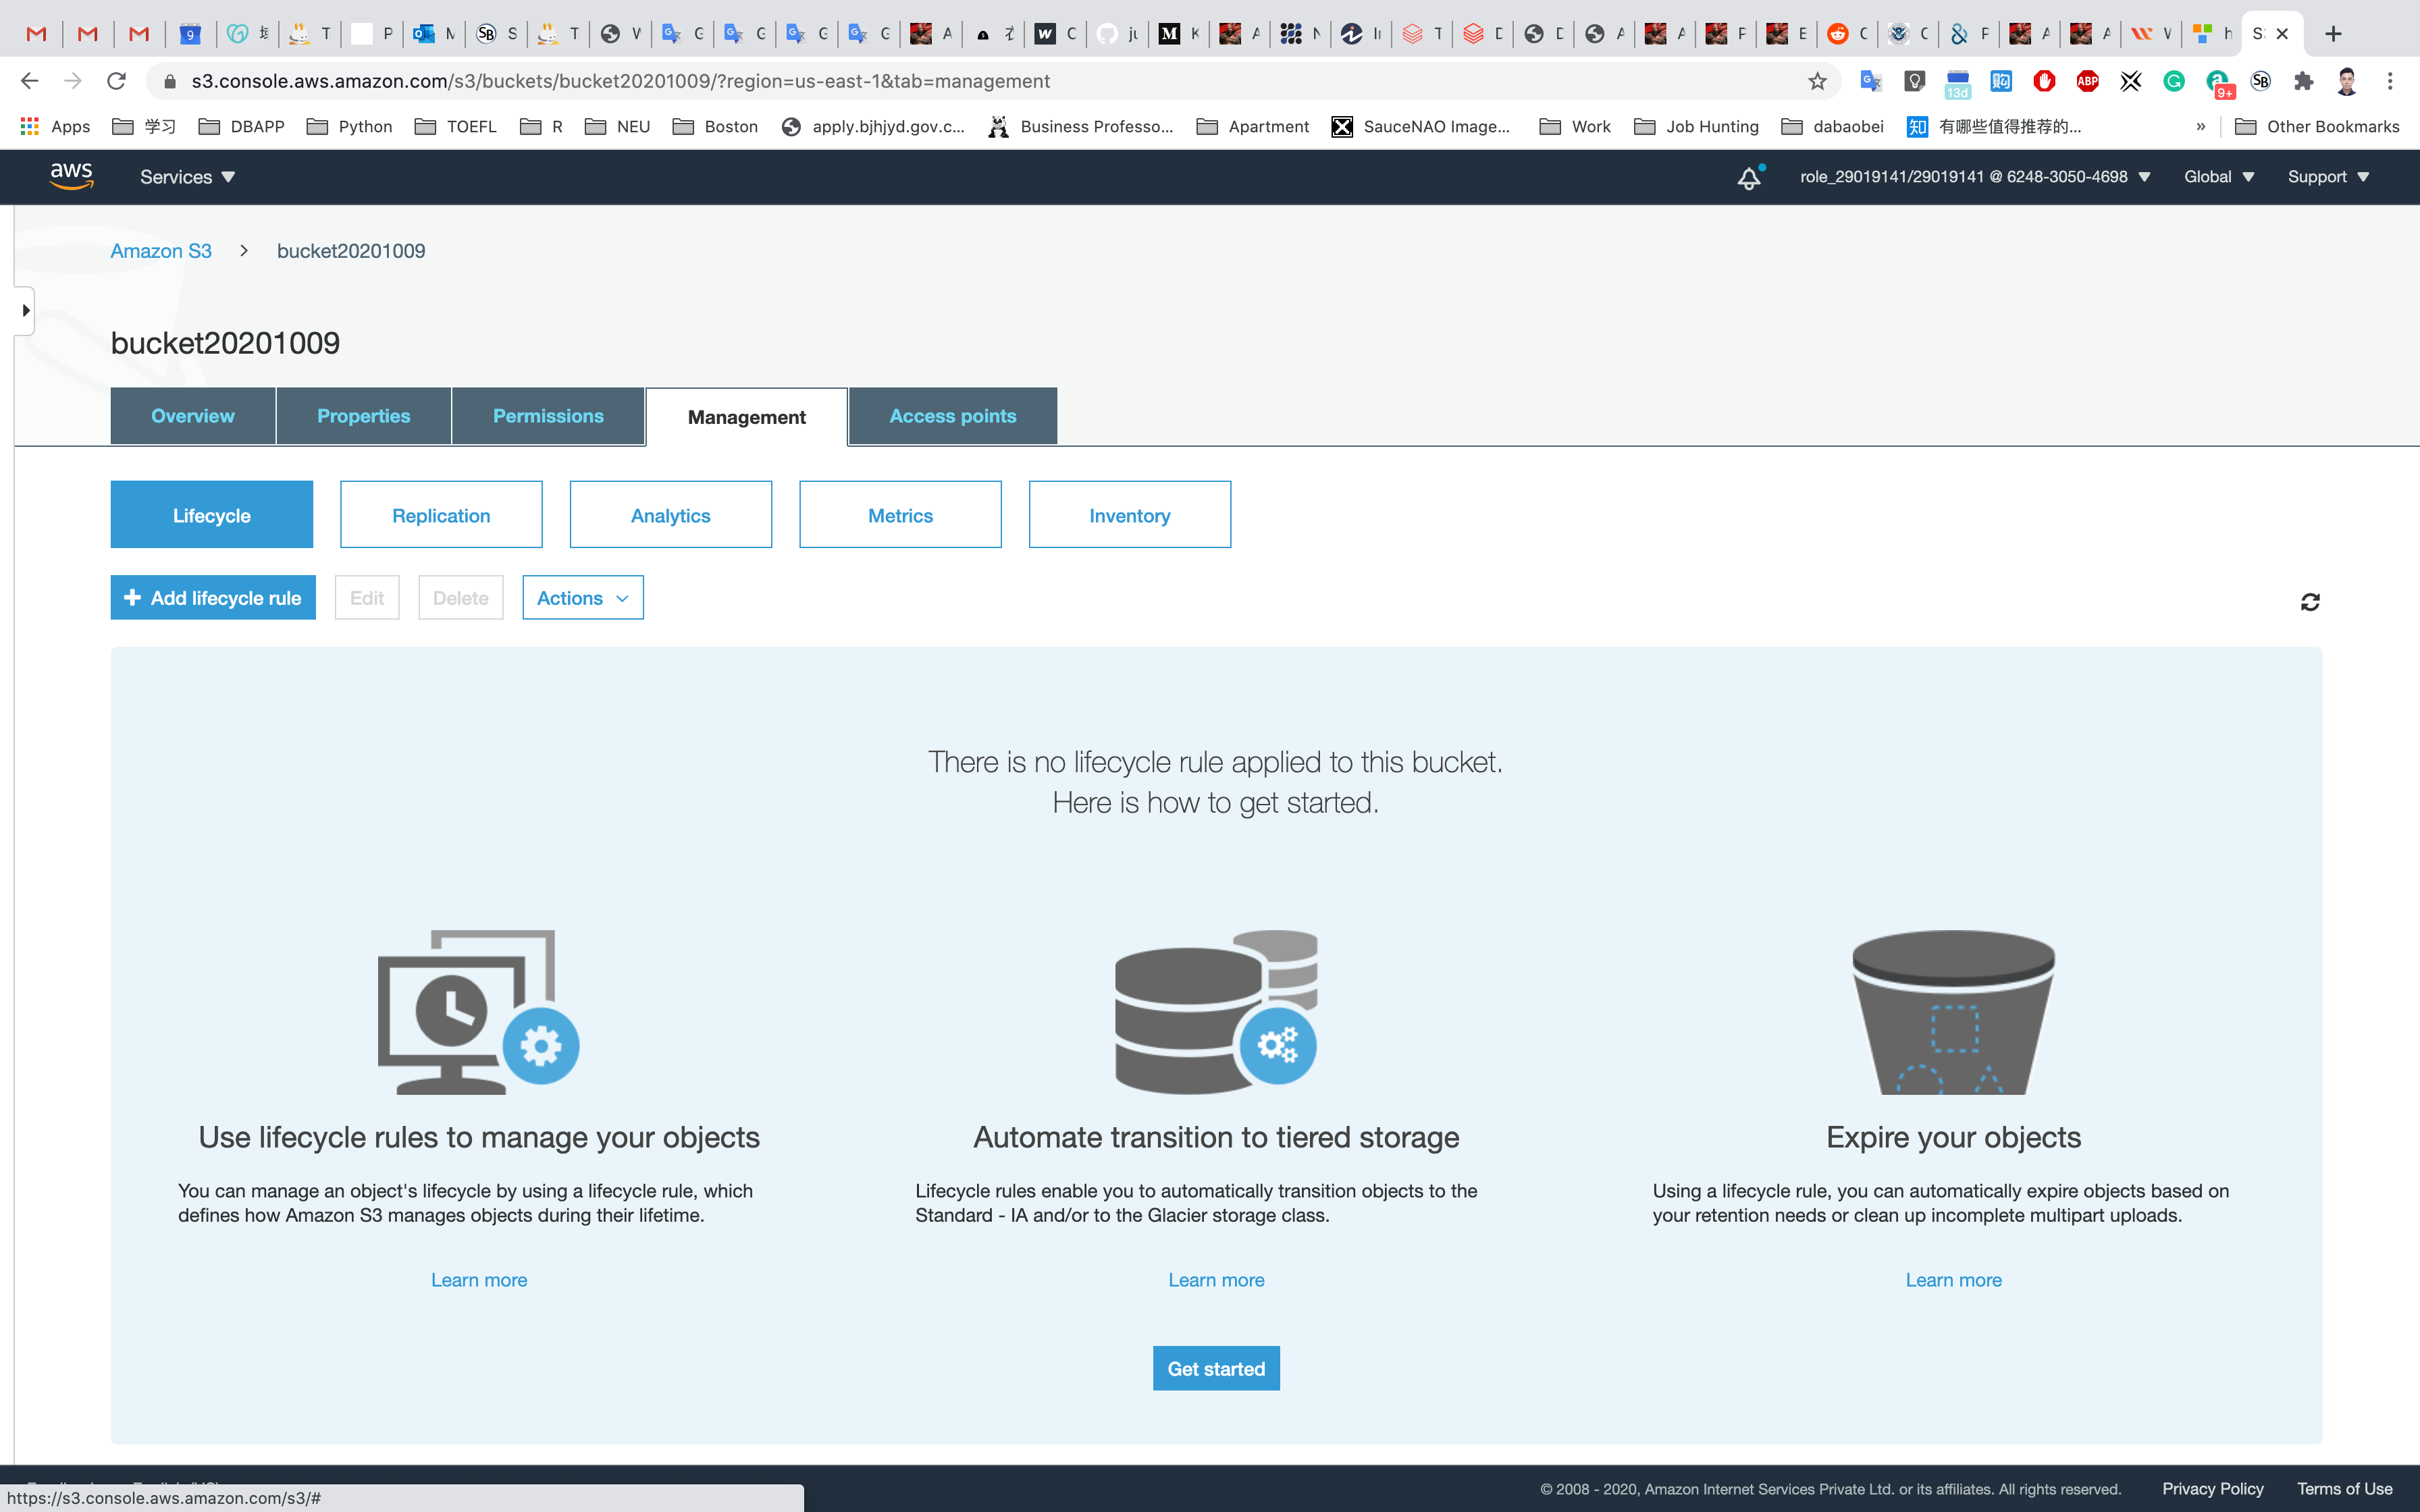
Creating a Lifecycle Rule
Click on the Management tab.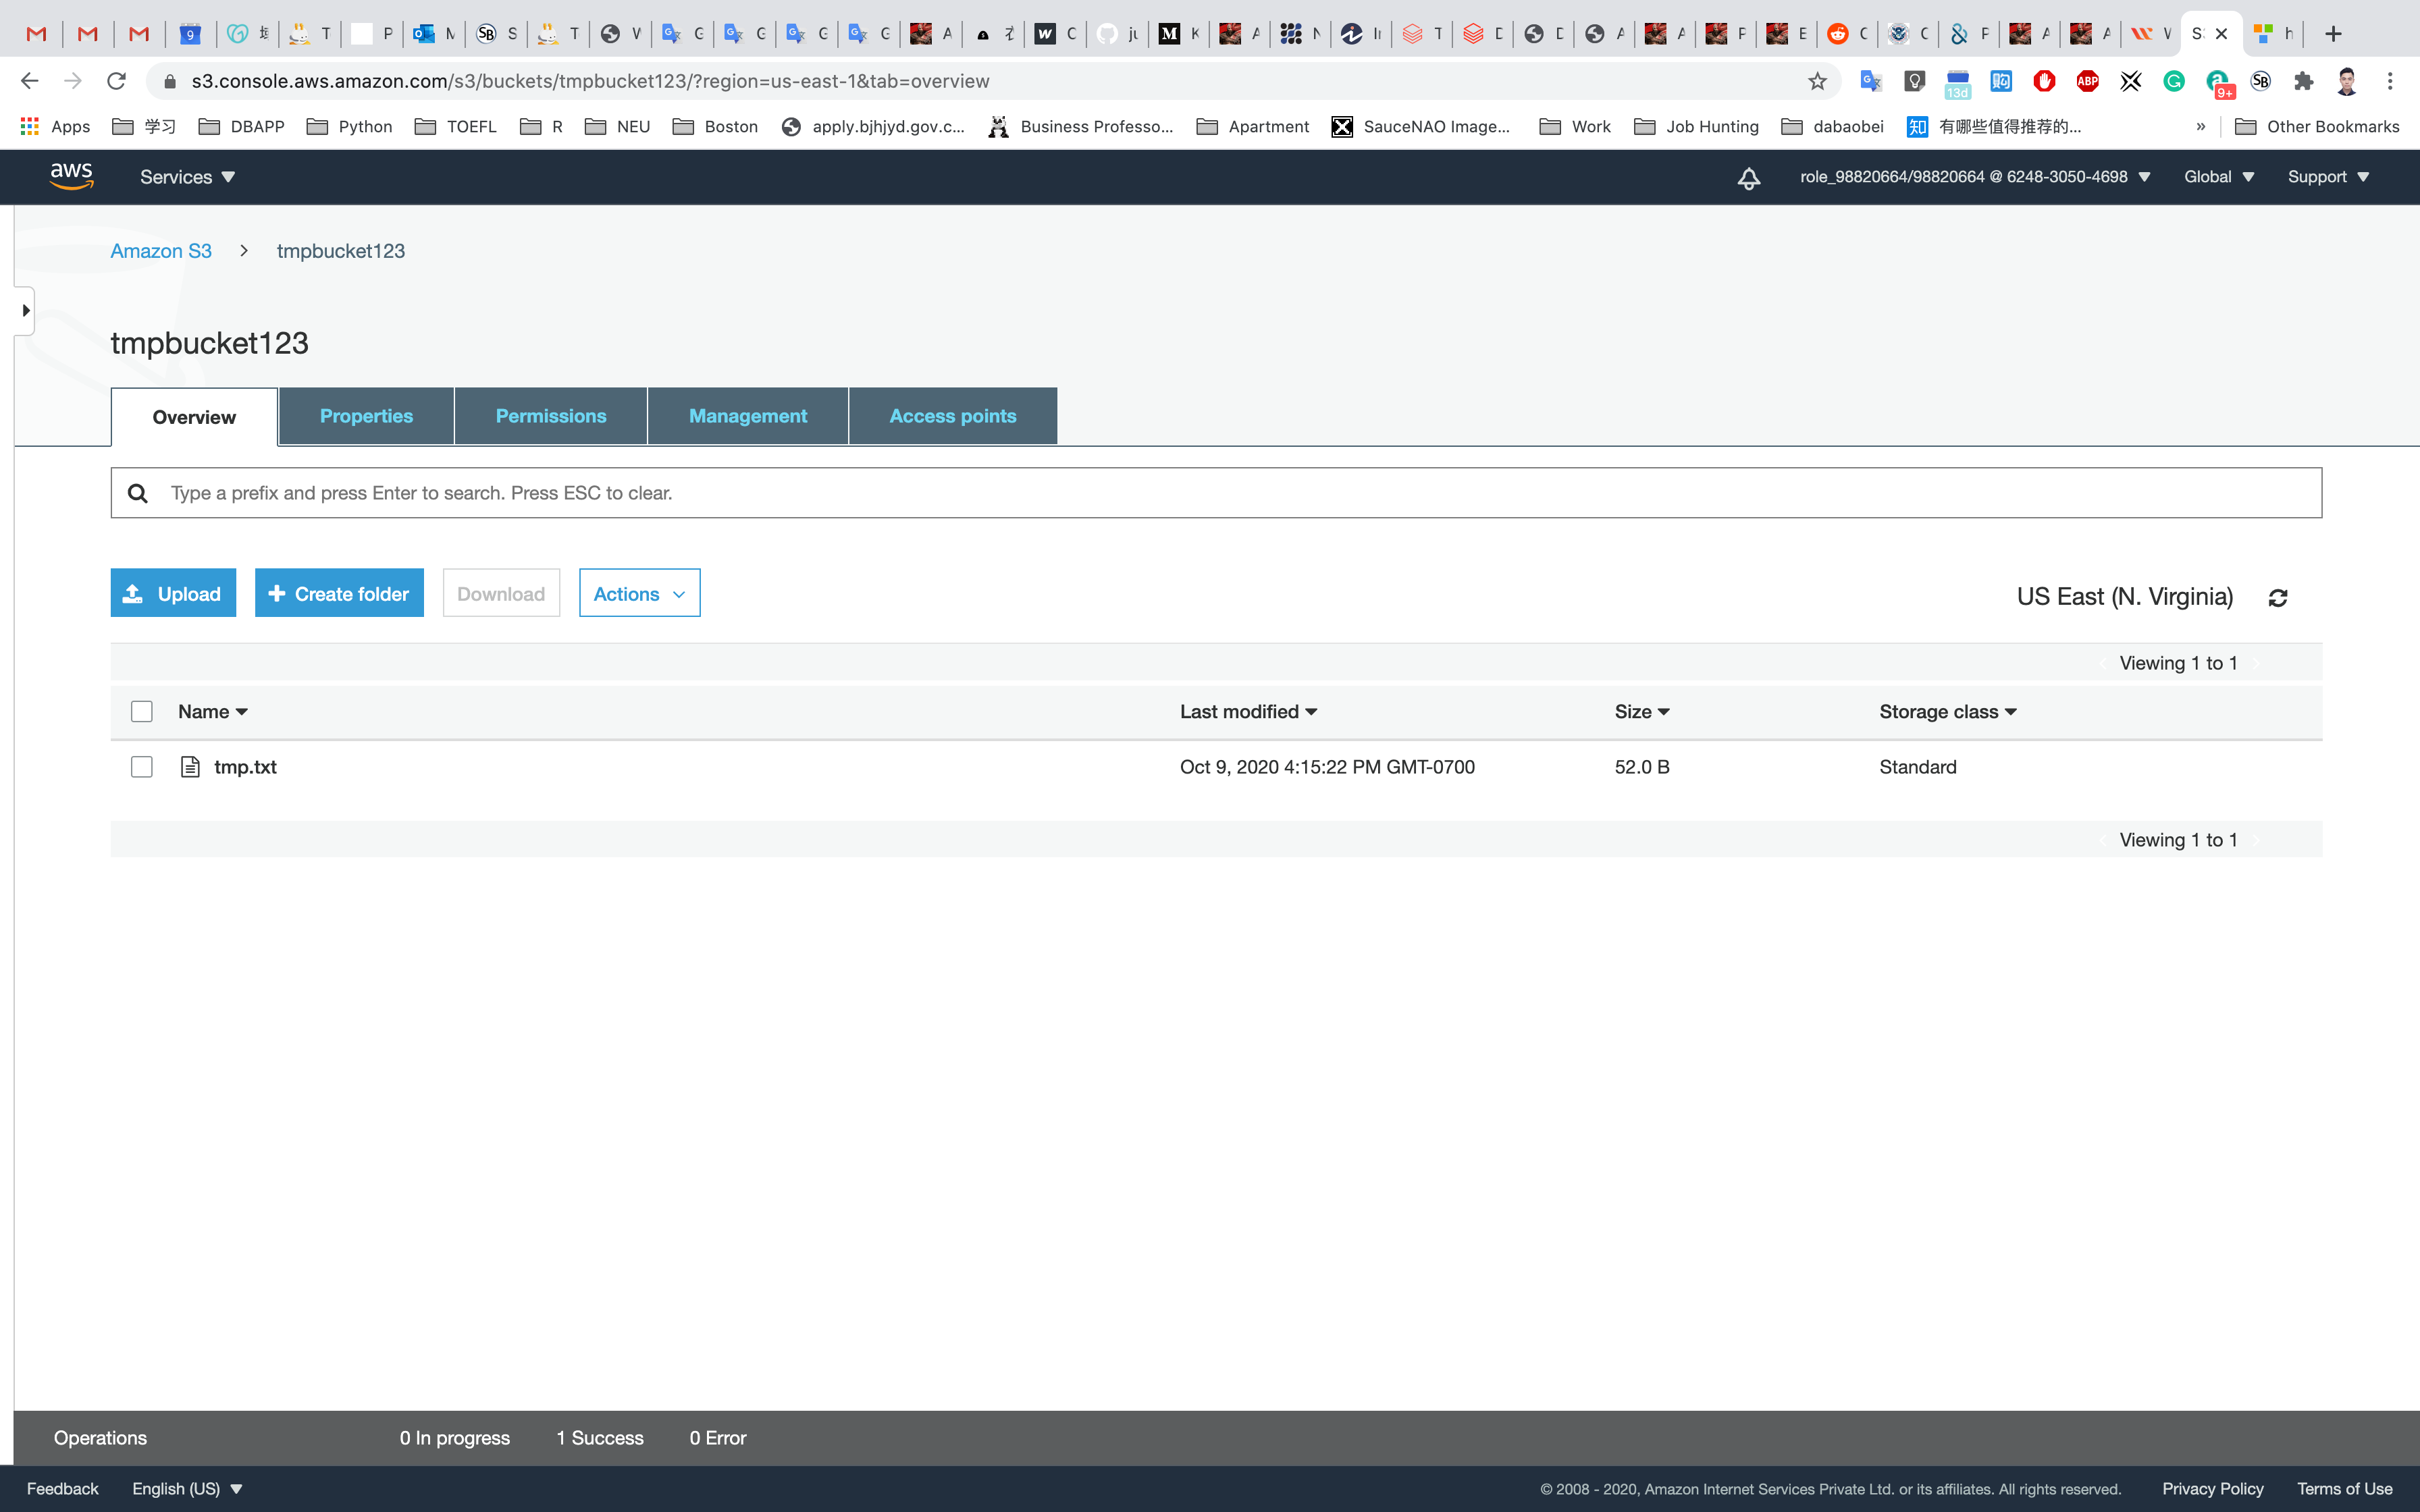
Click on Add lifecycle rule to create a lifecycle rule for the uploaded object.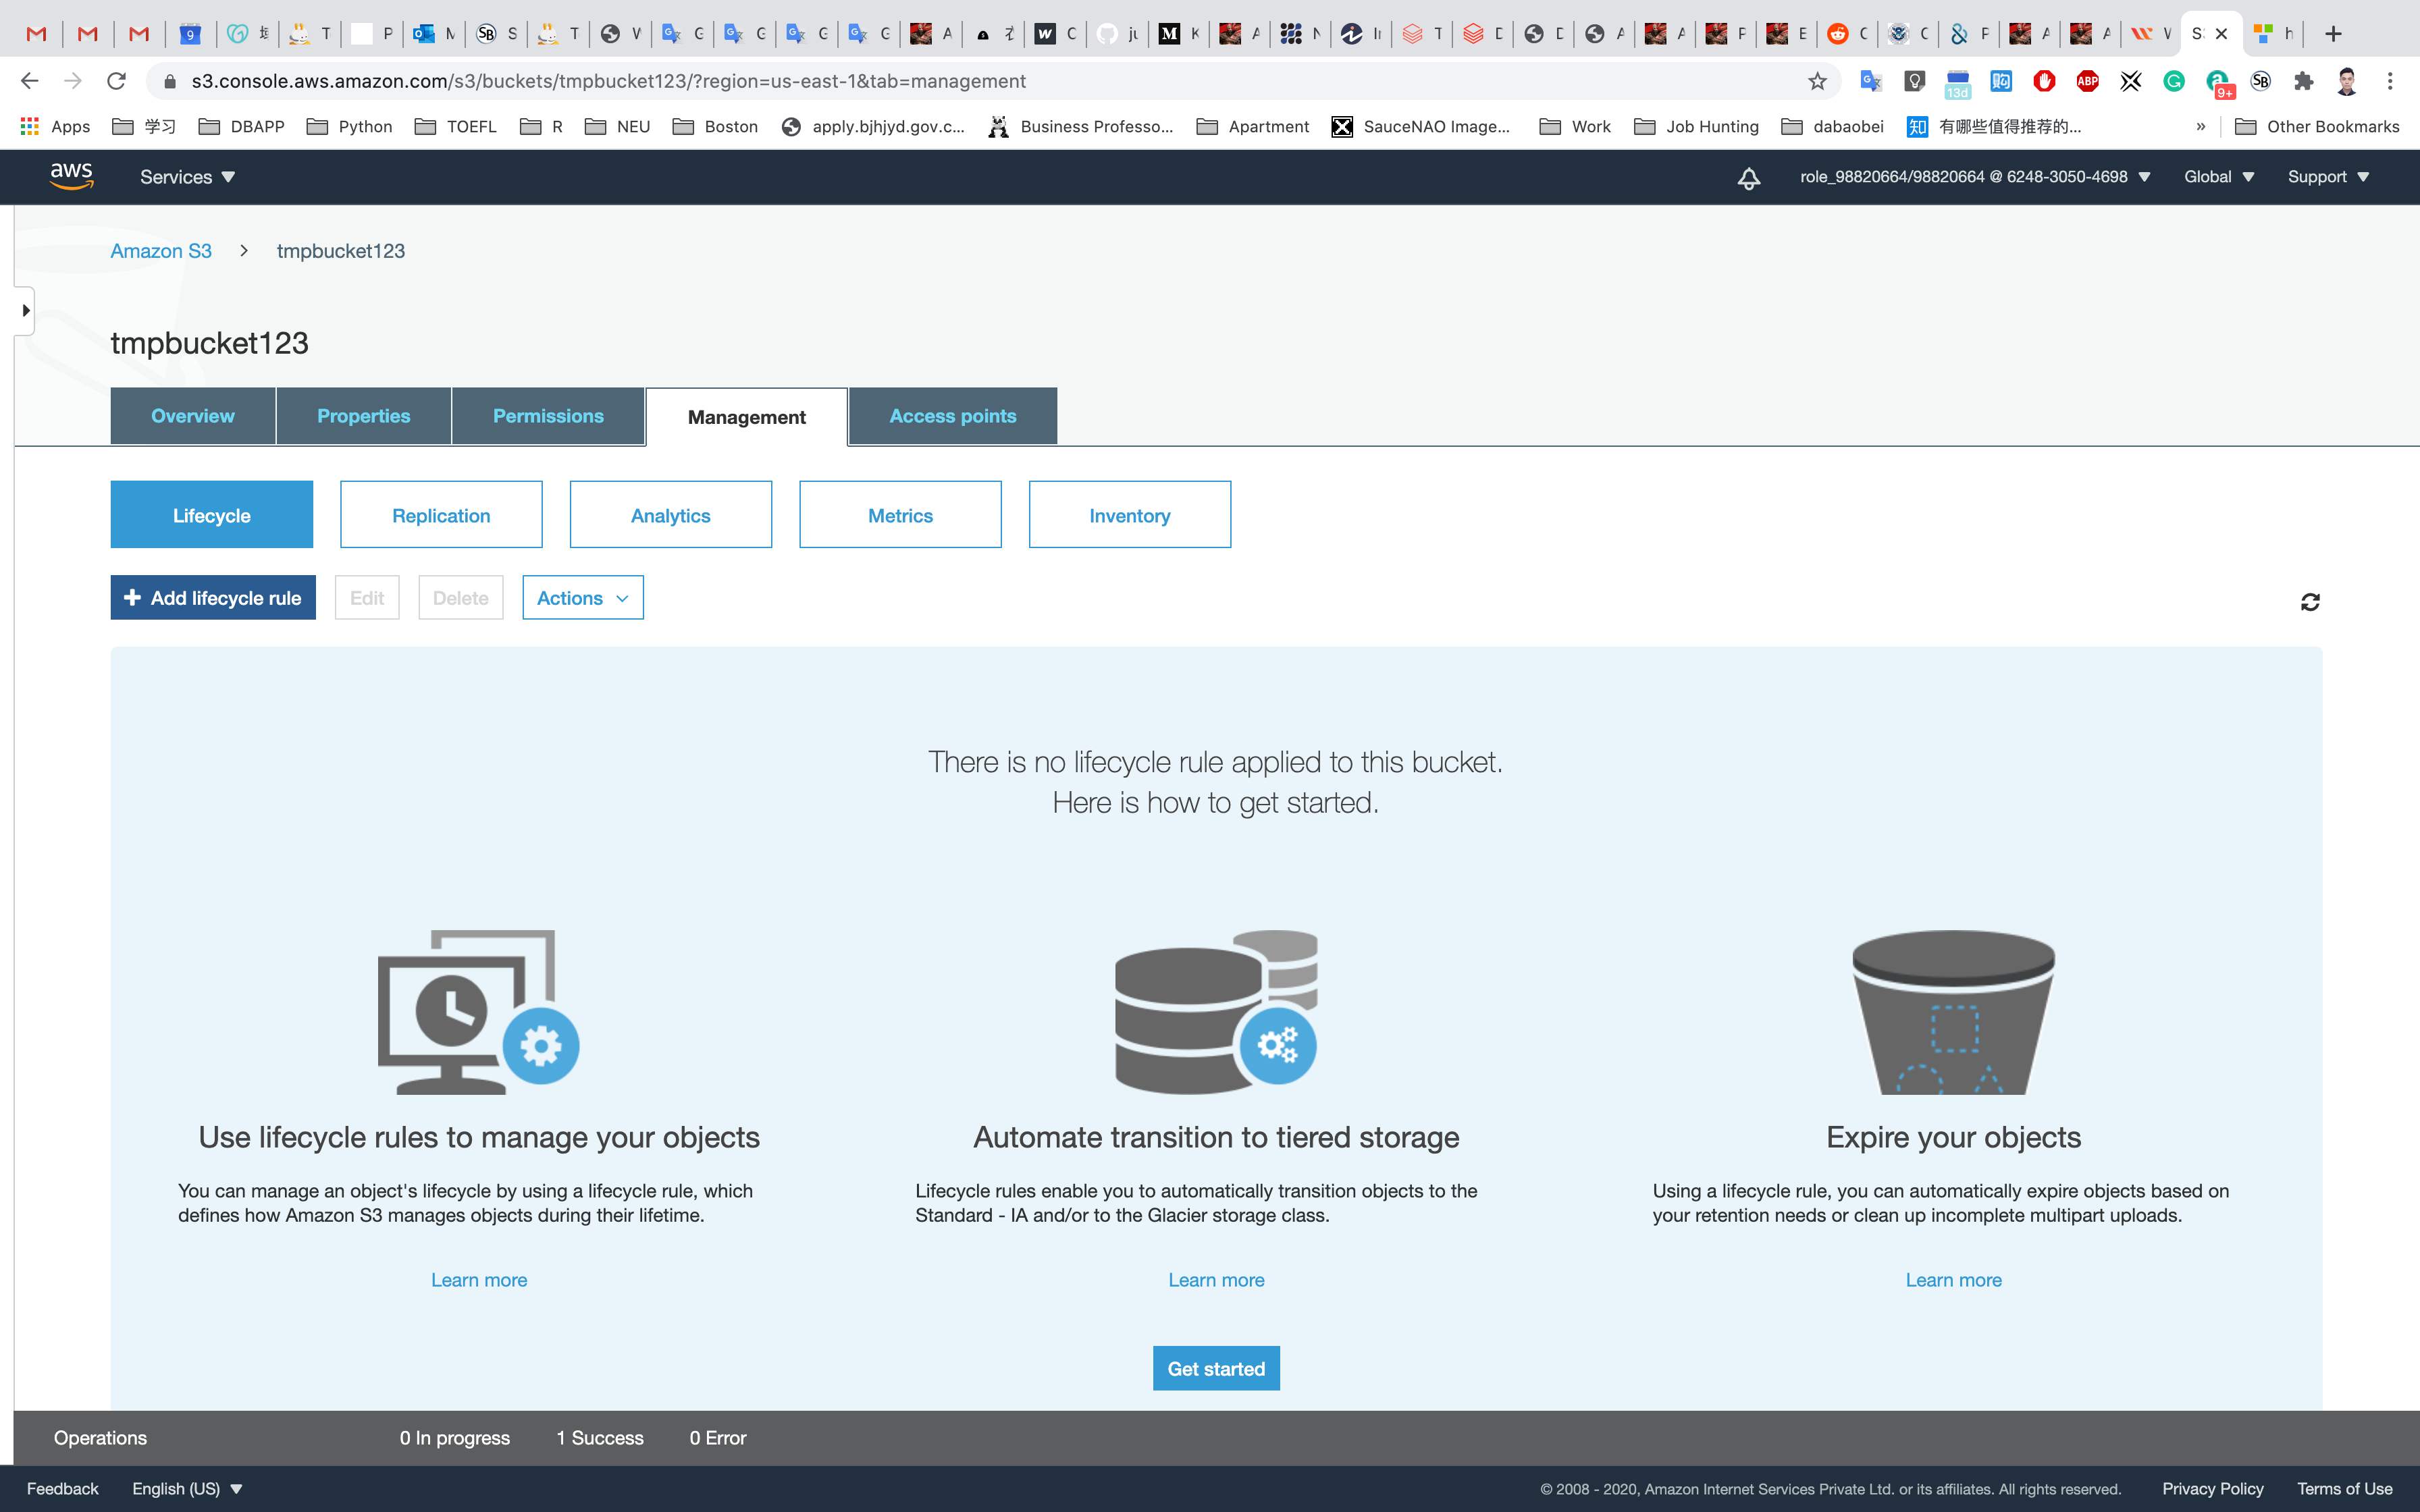
Enter the rule name: tmpLifecycle
Add a filter to limit the scope to prefix/tags: tmp
Choose prefix tmp from the drop-down and click Next.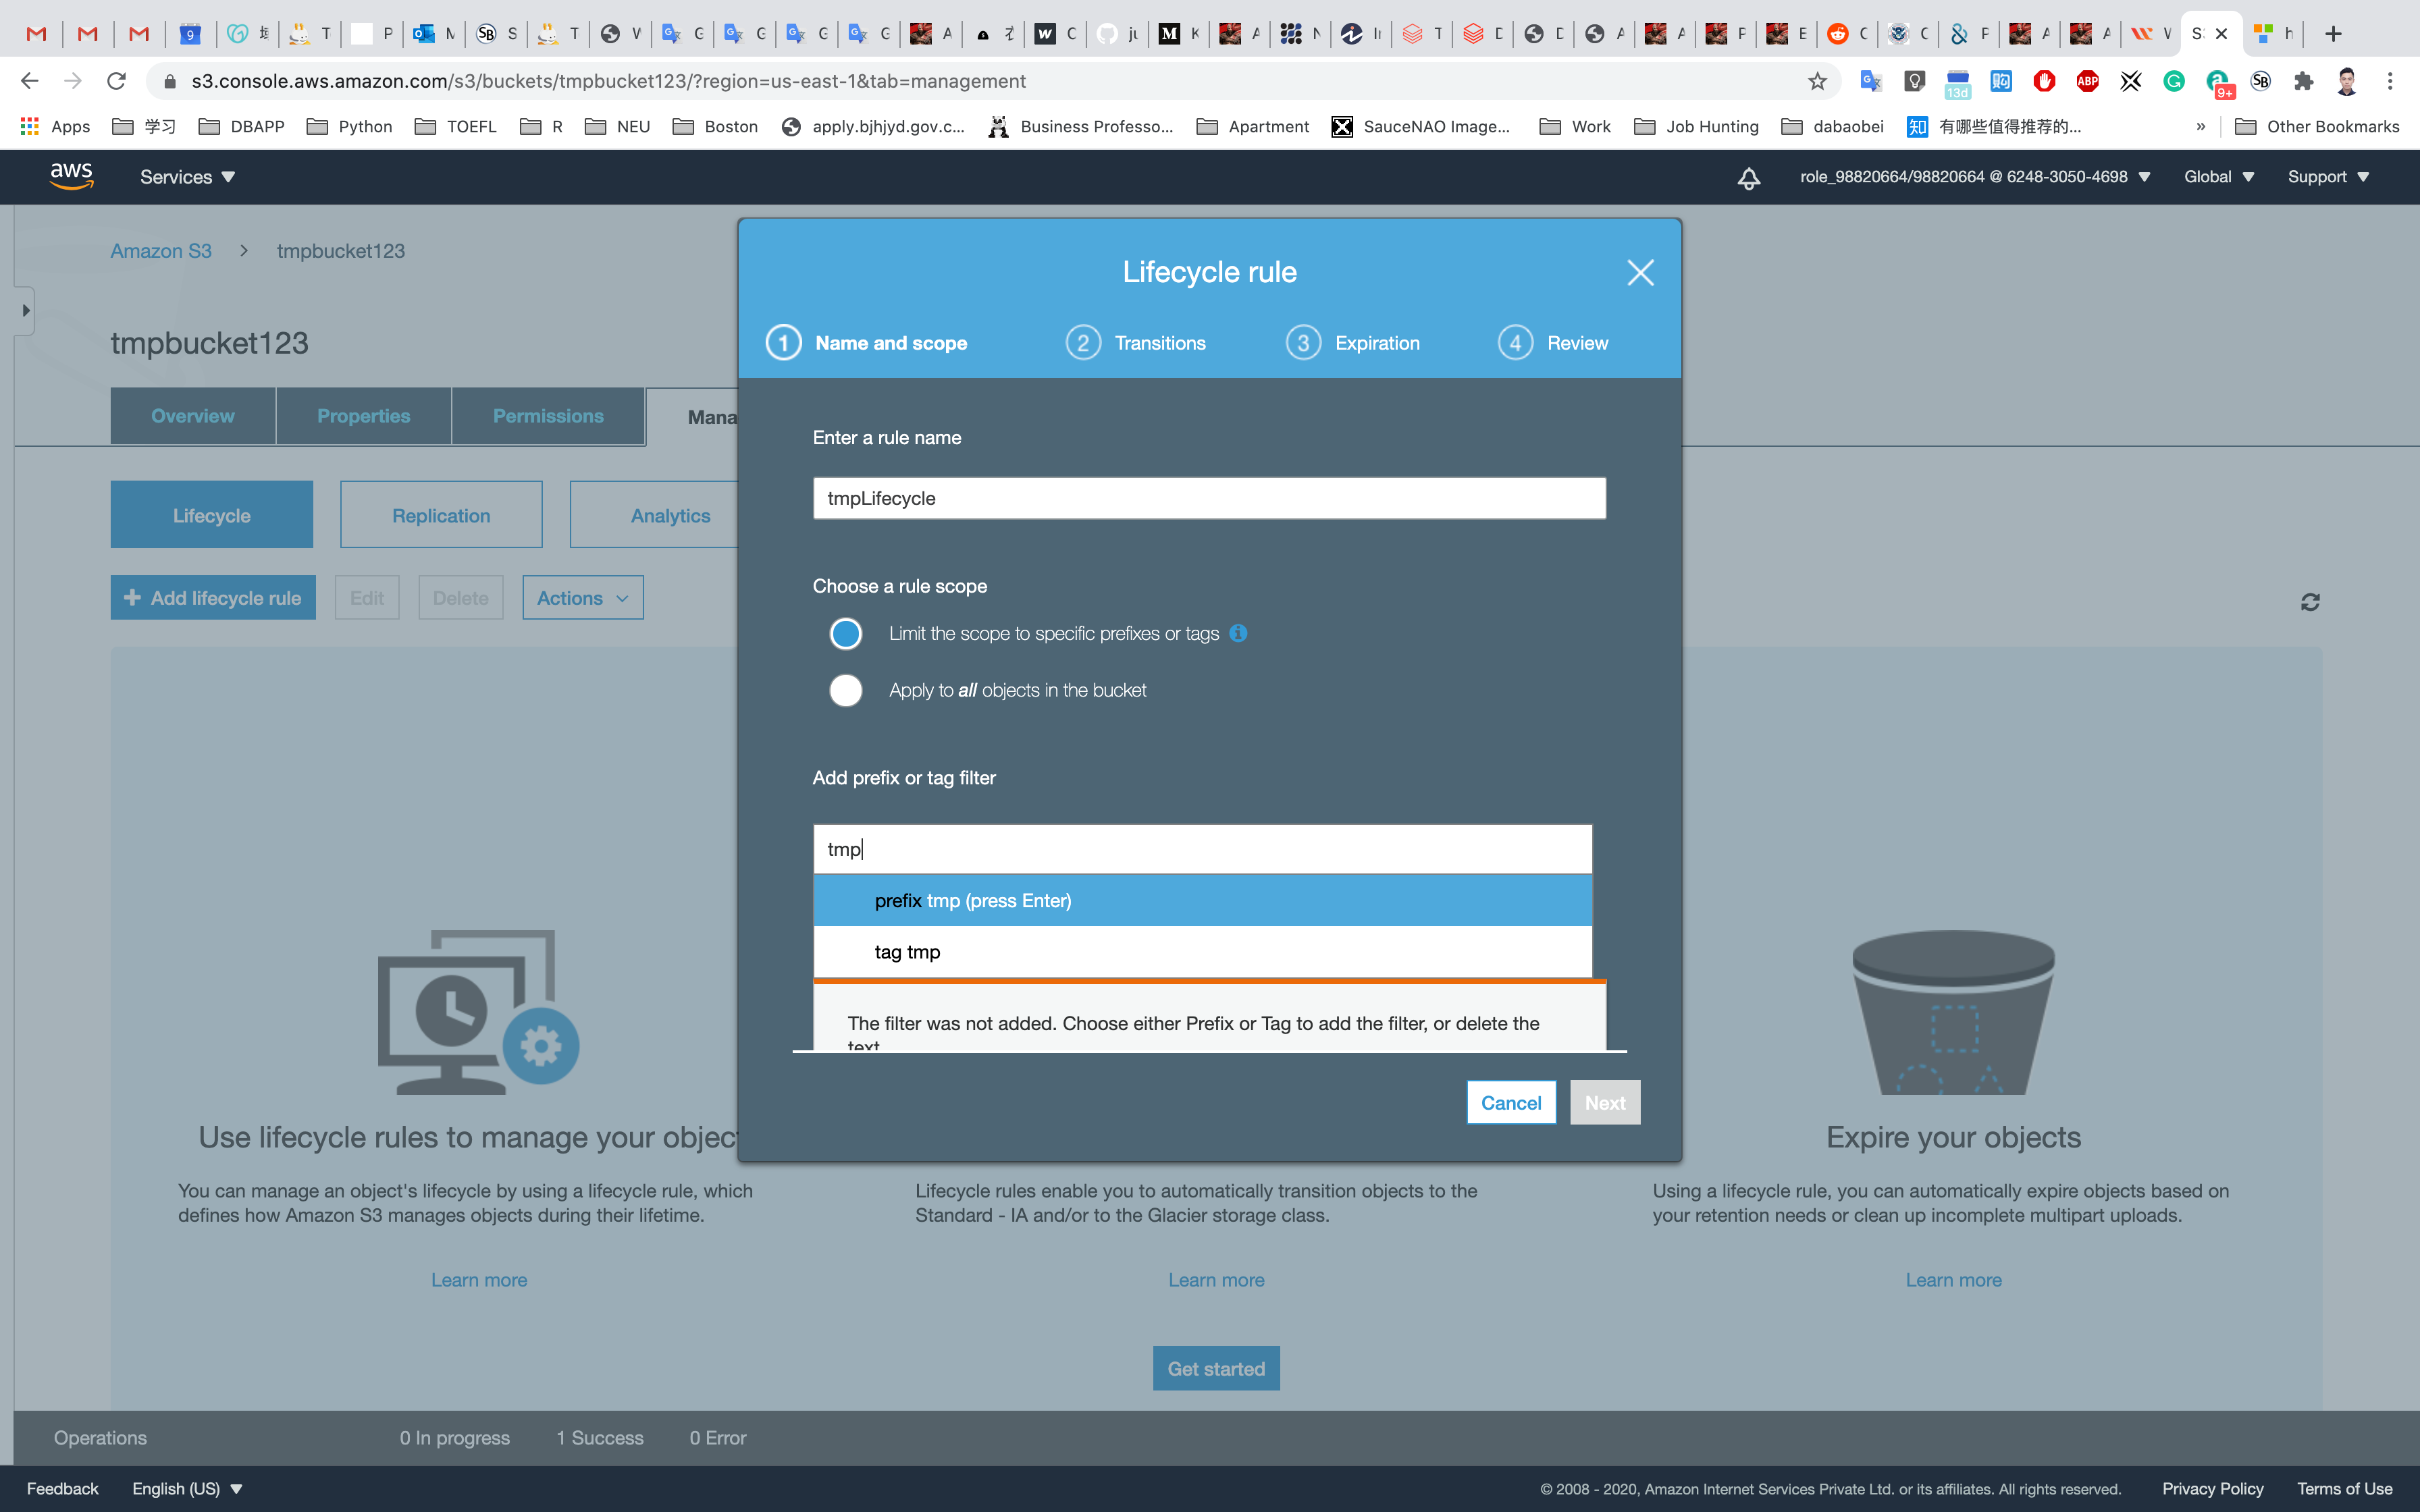
Storage class transition: Select Current version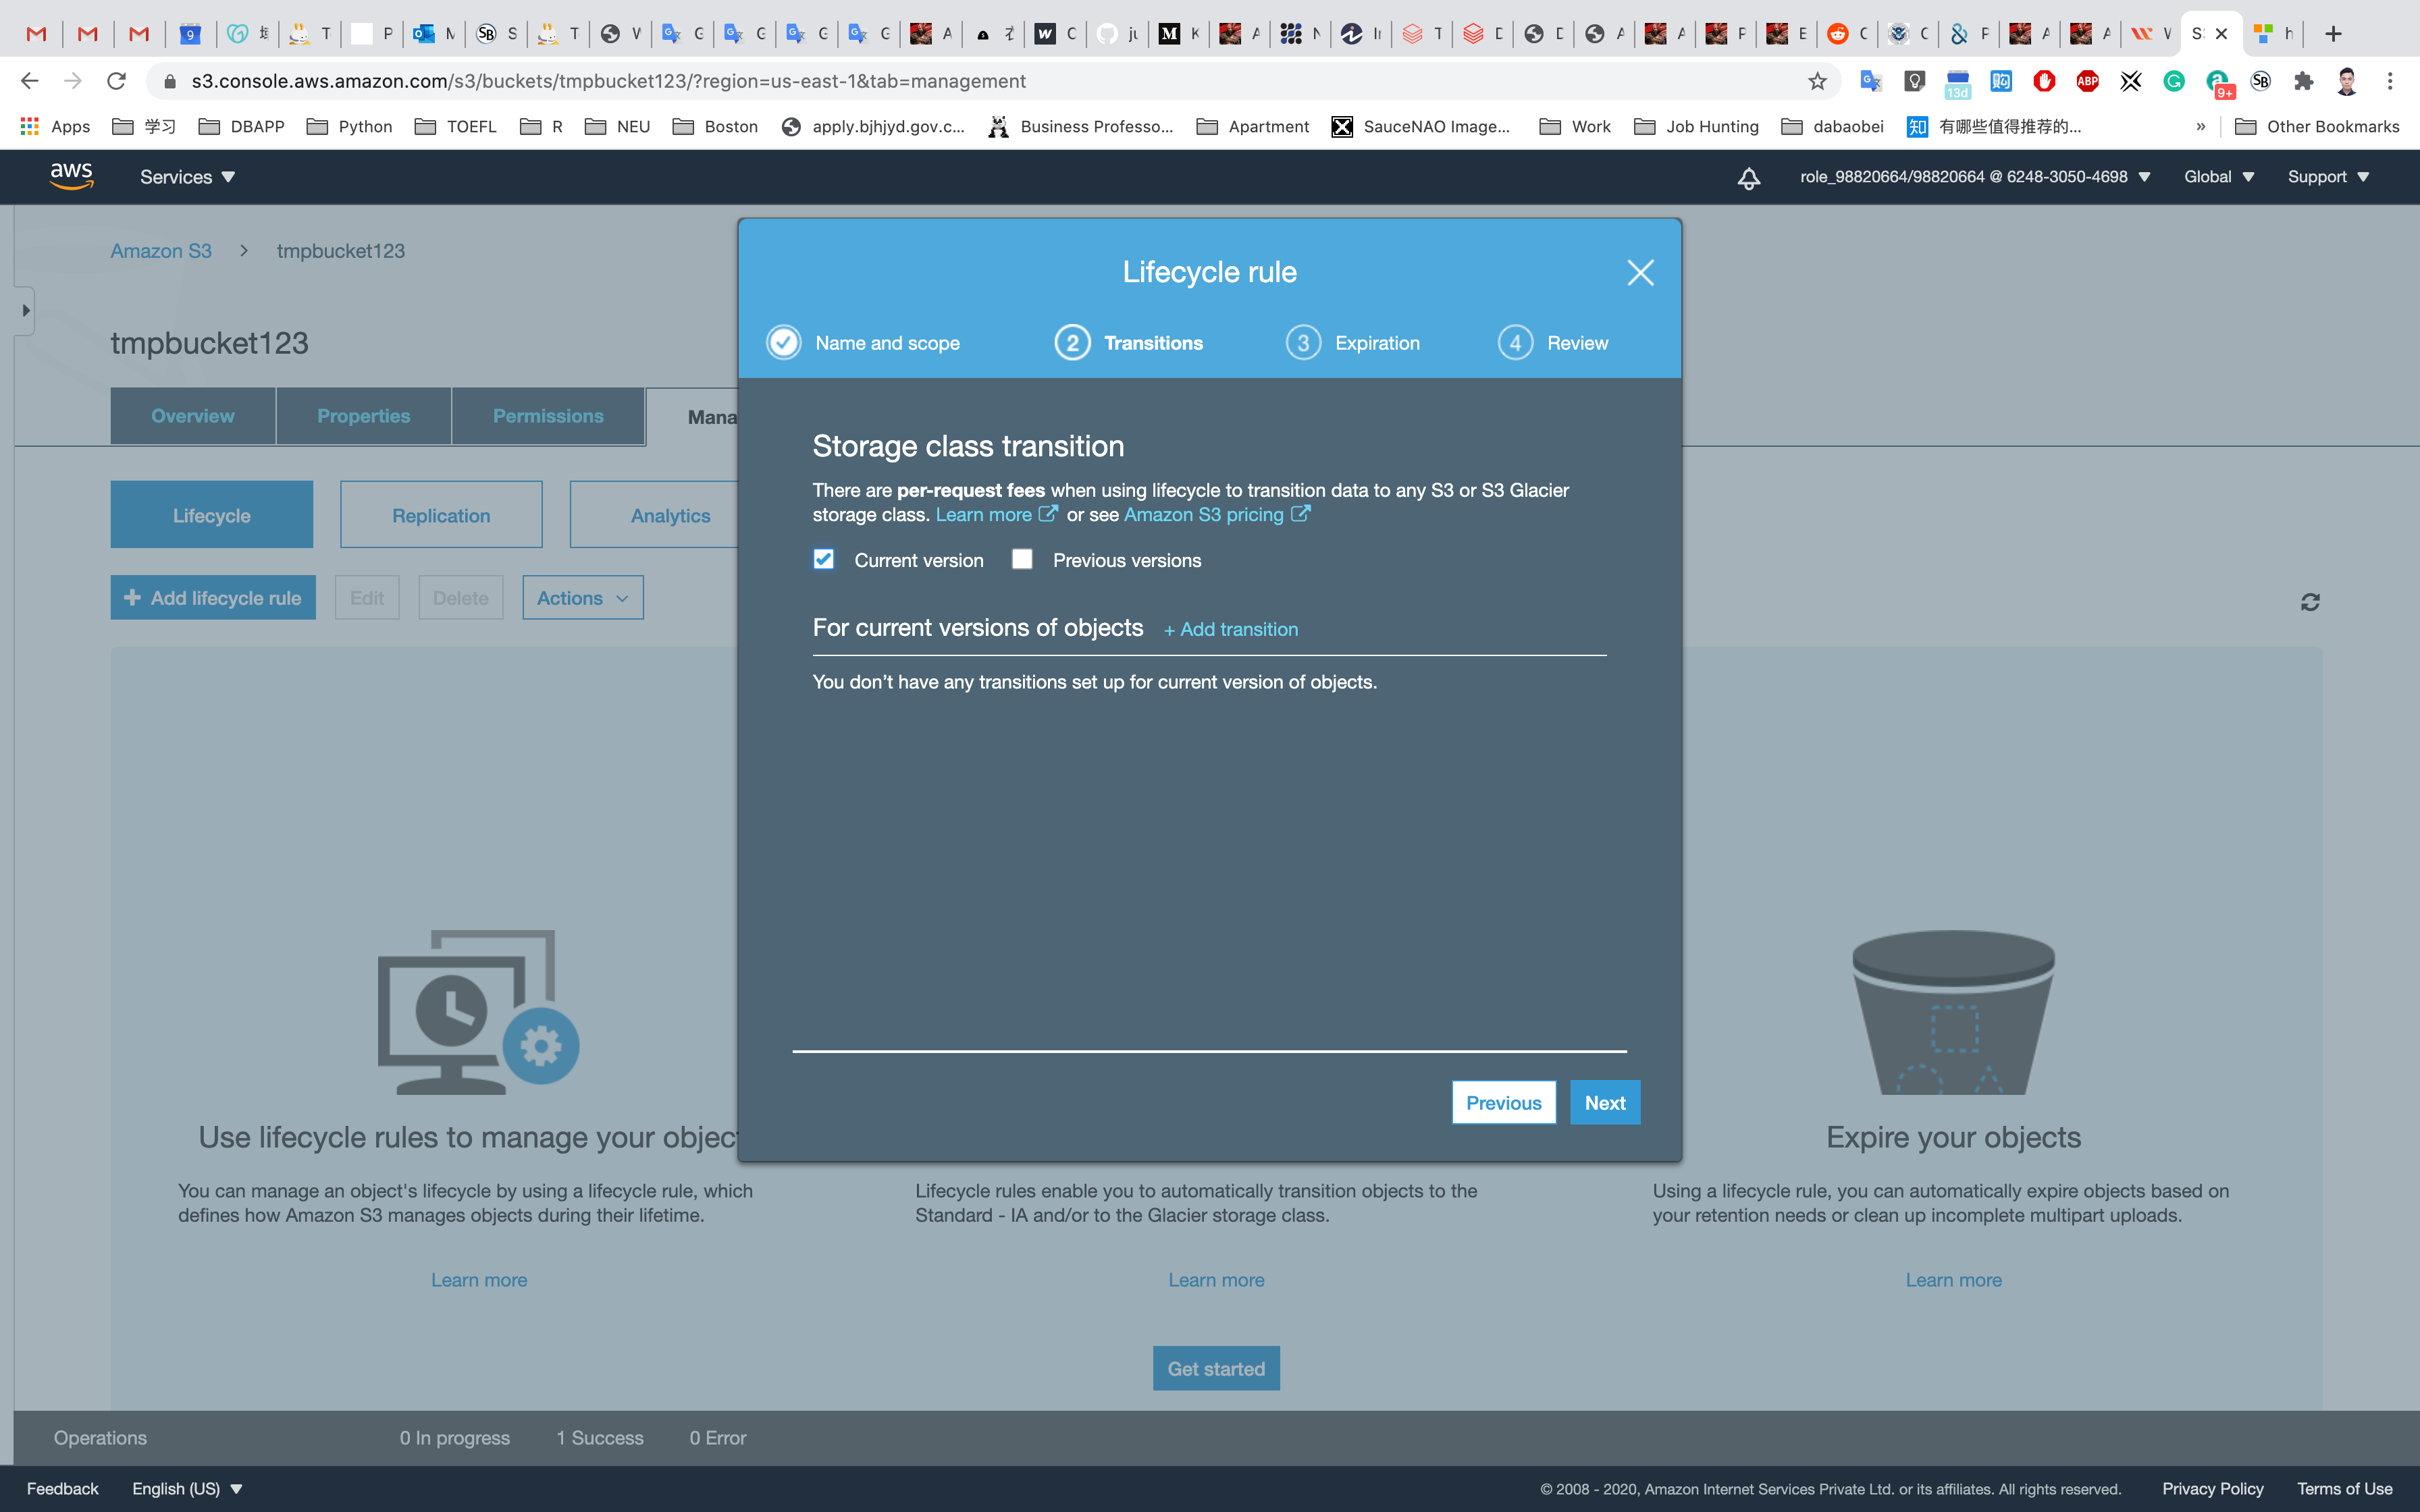
For current versions of objects: Click Add transition
- Note: currently versioning is disabled so we can’t access previous versions of the object.
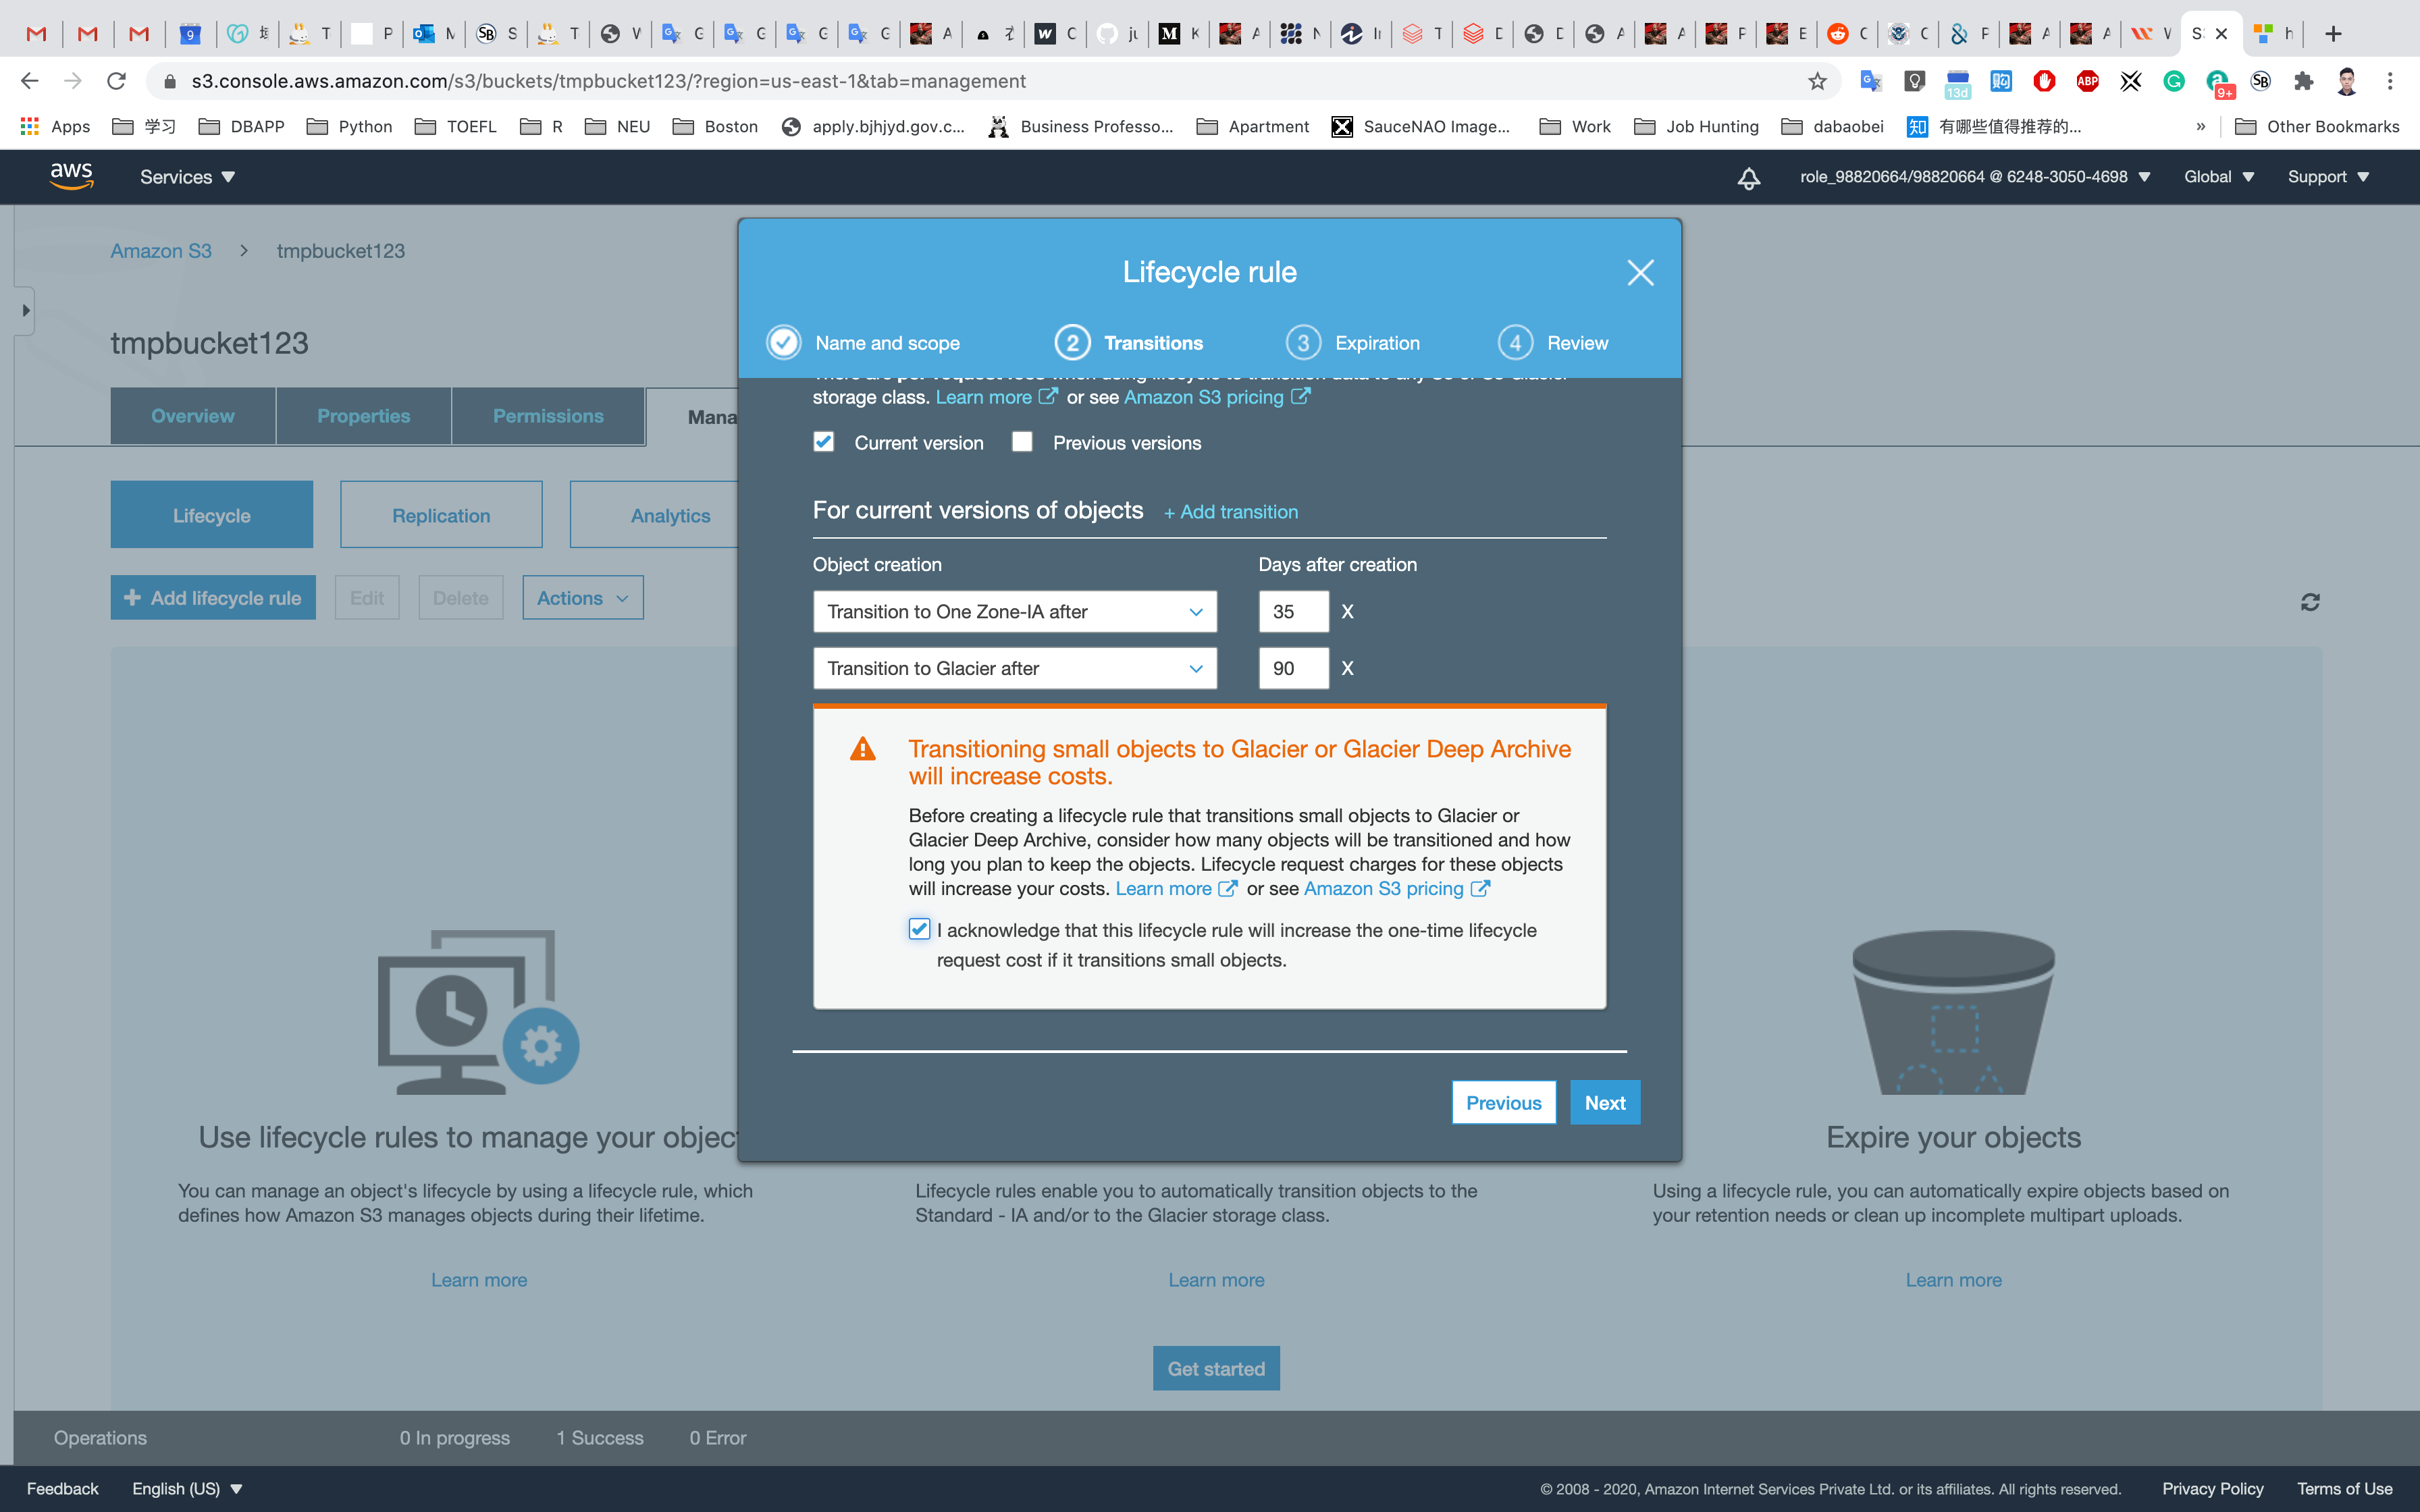
Object Creation: Select Transition to One Zone-IA after from the drop-down list.
- Days after creation: Enter
35.
Click on Add transition.
Select Transition to Glacier after from the drop-down list. When asked for a number of days before moving to Glacier, enter 90.
Click on the checkbox saying I acknowledge that this lifecycle rule will increase the one-time lifecycle request cost if it transitions to small objects.
Click on Next.
Note:
- Initially, when the object is uploaded, it will be in the standard storage class.
- When we create a LifeCycle Policy, the object uploaded using the Lifecycle rule will be migrated to One Zone-IA after 35 days. This means the object will be available only in a Single Availability Zone after 35 days.
- After 90 days, our object will be migrated to Glacier. This means our object will be in an archived state. You would have to retrieve the object from Glacier before accessing it.
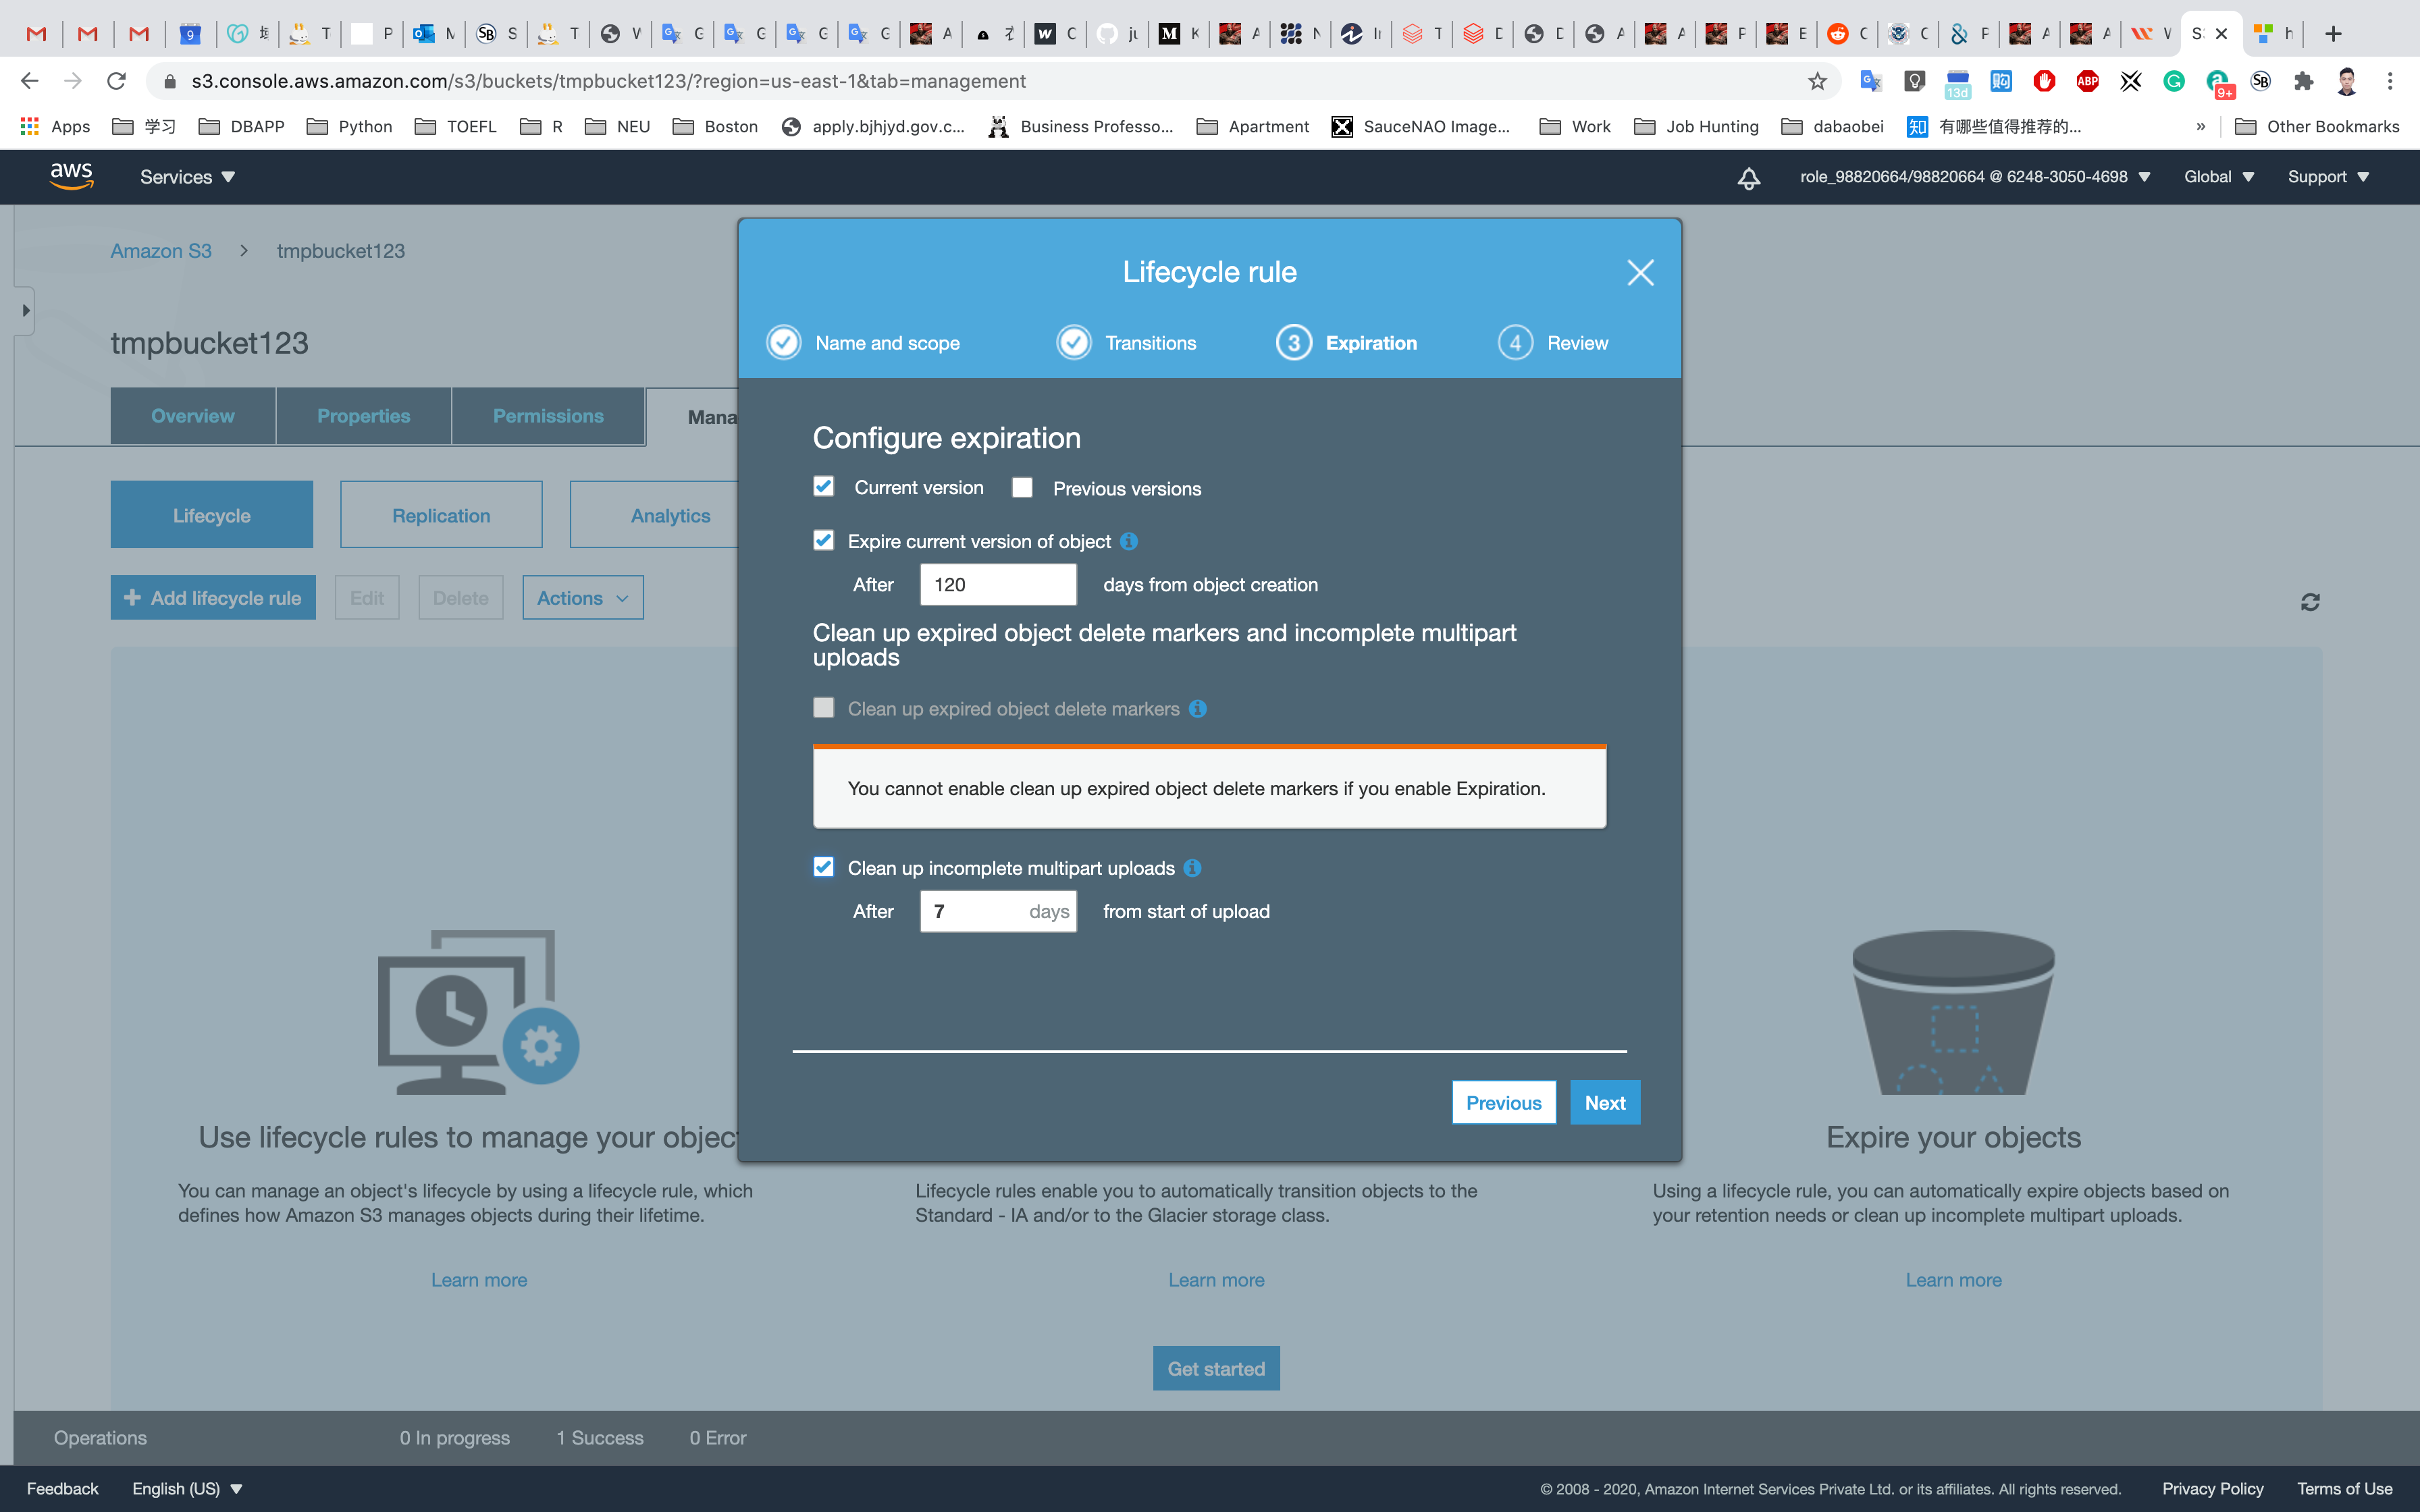
Create Expiration: Select Current version
Expire the current version of an object: Enter 120.
Select the Clean up incomplete multipart uploads check-box.
Note: Leave the number of days at 7 (Default value). This means that objects which are not properly uploaded will be deleted after 7 days.
Before saving, verify the configurations (you can go back and edit later if you need to change anything). Click Edit.
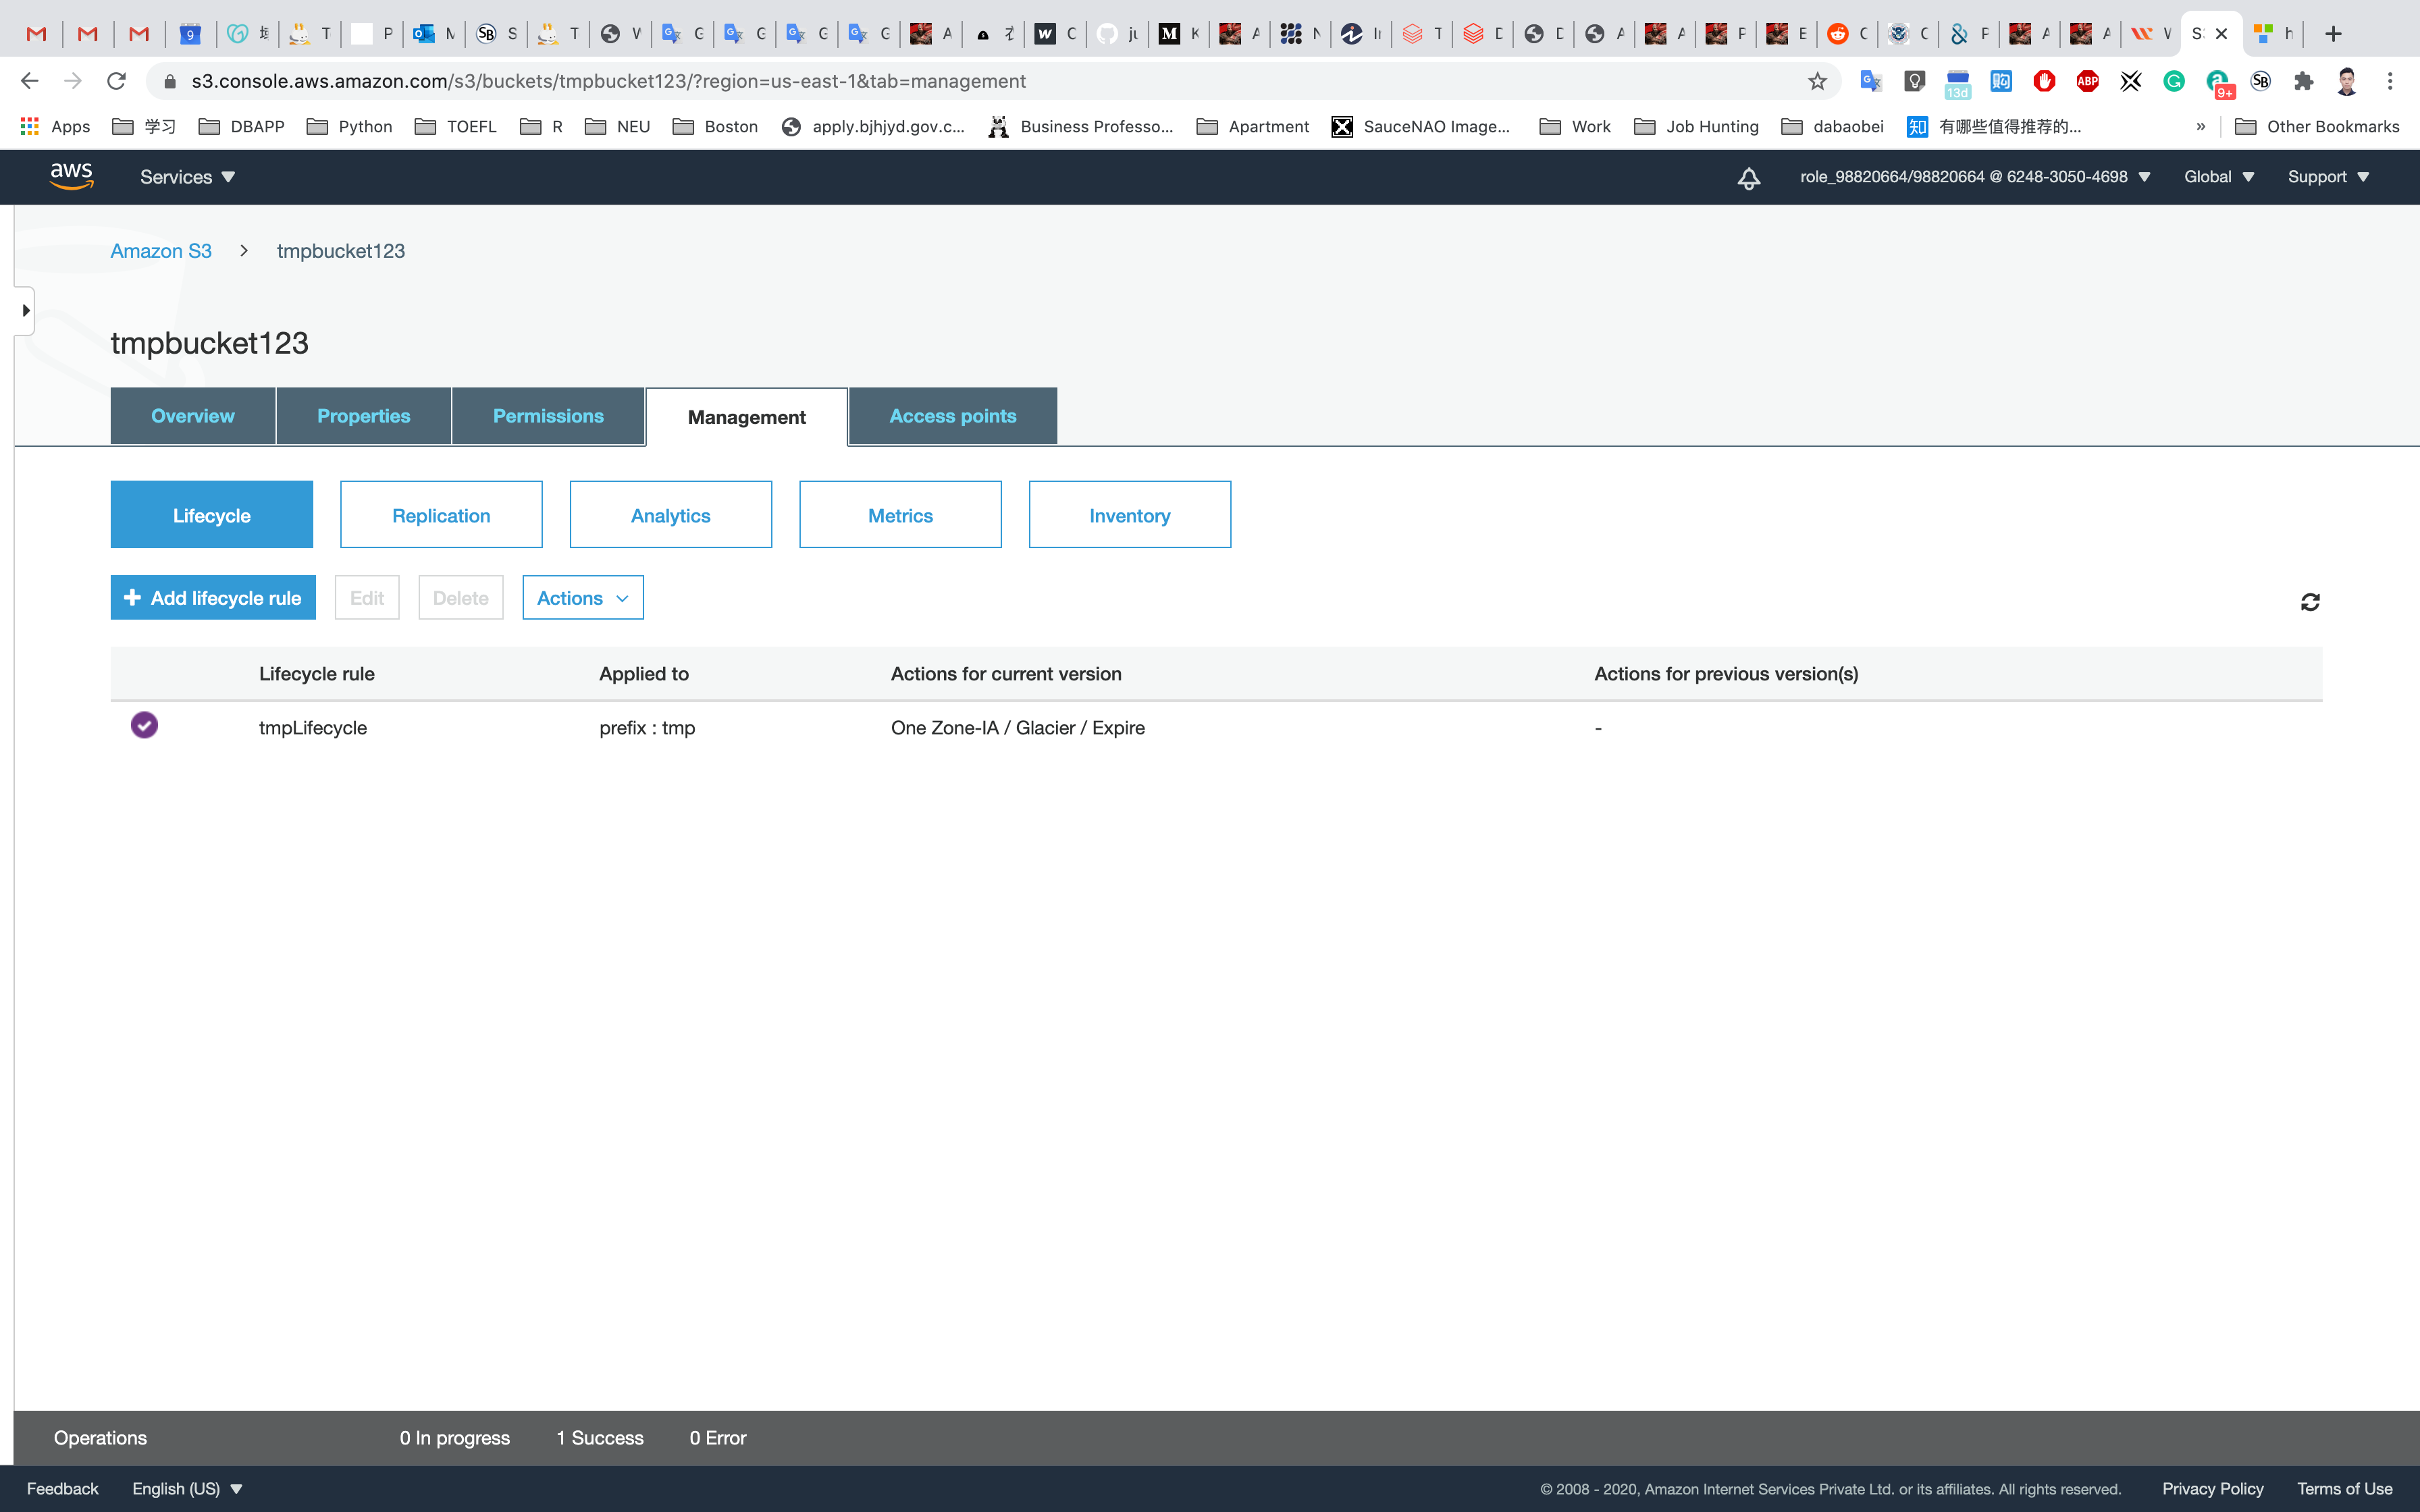
Click on Save.
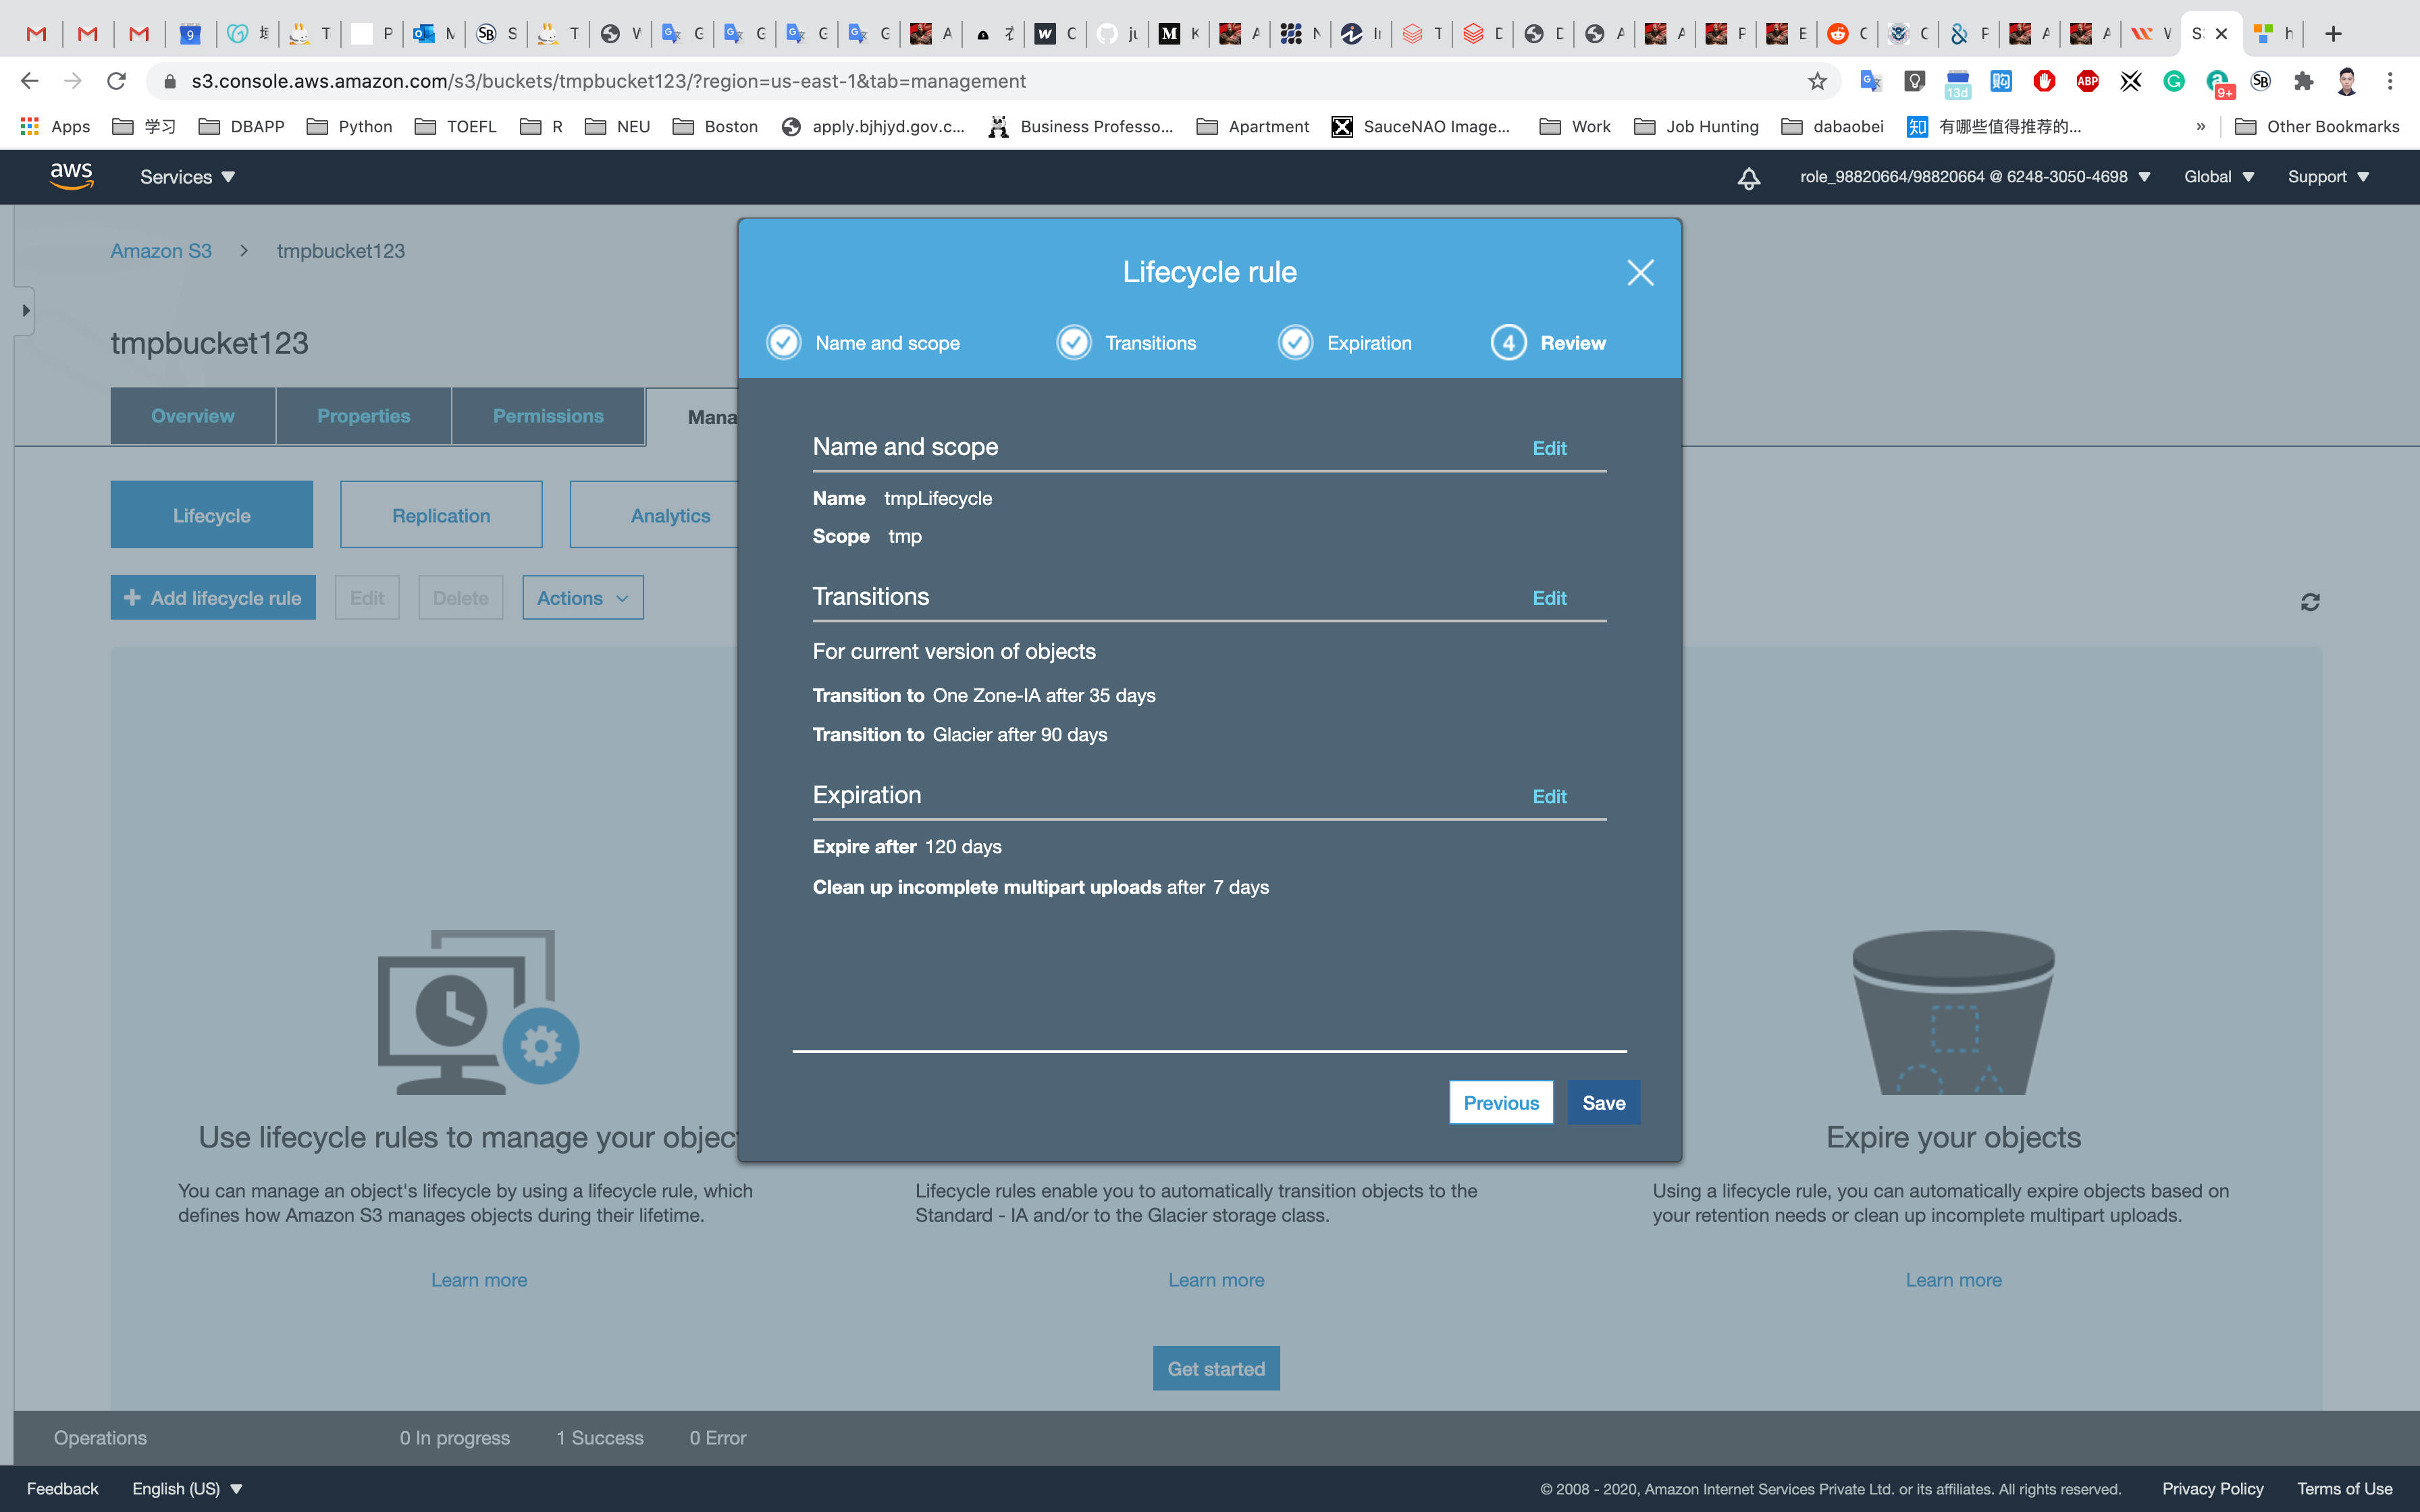
The Lifecycle Rule for our object will now be created and enabled.
Completion and Conclusion
- You have successfully used the AWS management console to create a Lifecycle Rule for the object in the S3 bucket.
- You have configured the details of a Lifecycle Rule.
Enable CORS in Amazon S3
https://play.whizlabs.com/site/task_details?lab_type=1&task_id=70&quest_id=35
Lab Details
- This lab walks you through the steps to Enable Cross-Origin Resource Sharing (CORS) in Amazon S3.
- You will practice using the S3 Bucket.
Lab Tasks
- Login to AWS Management Console.
- Create a S3 Source Bucket.
- Enable Versioning for source bucket.
- Enable CORS Configuration and Management Replication for source bucket.
- Create a S3 Target Bucket.
- Enable Versioning for target bucket.
Architecture Diagram
S3 Configuration
Service -> S3
Create an S3 Bucket
On the S3 dashboard, click on Create bucket and fill in the bucket details.
- Bucket name: Enter
inputYourBucketName- Note: S3 bucket names are globally unique, choose a name which is available.
- Region: Select
US East (N. Virginia) - Leave other settings as default.
Click Next then Next and go to the permissions and Uncheck the Block all Public Access and acknowledge the change.
Click on Next and Create bucket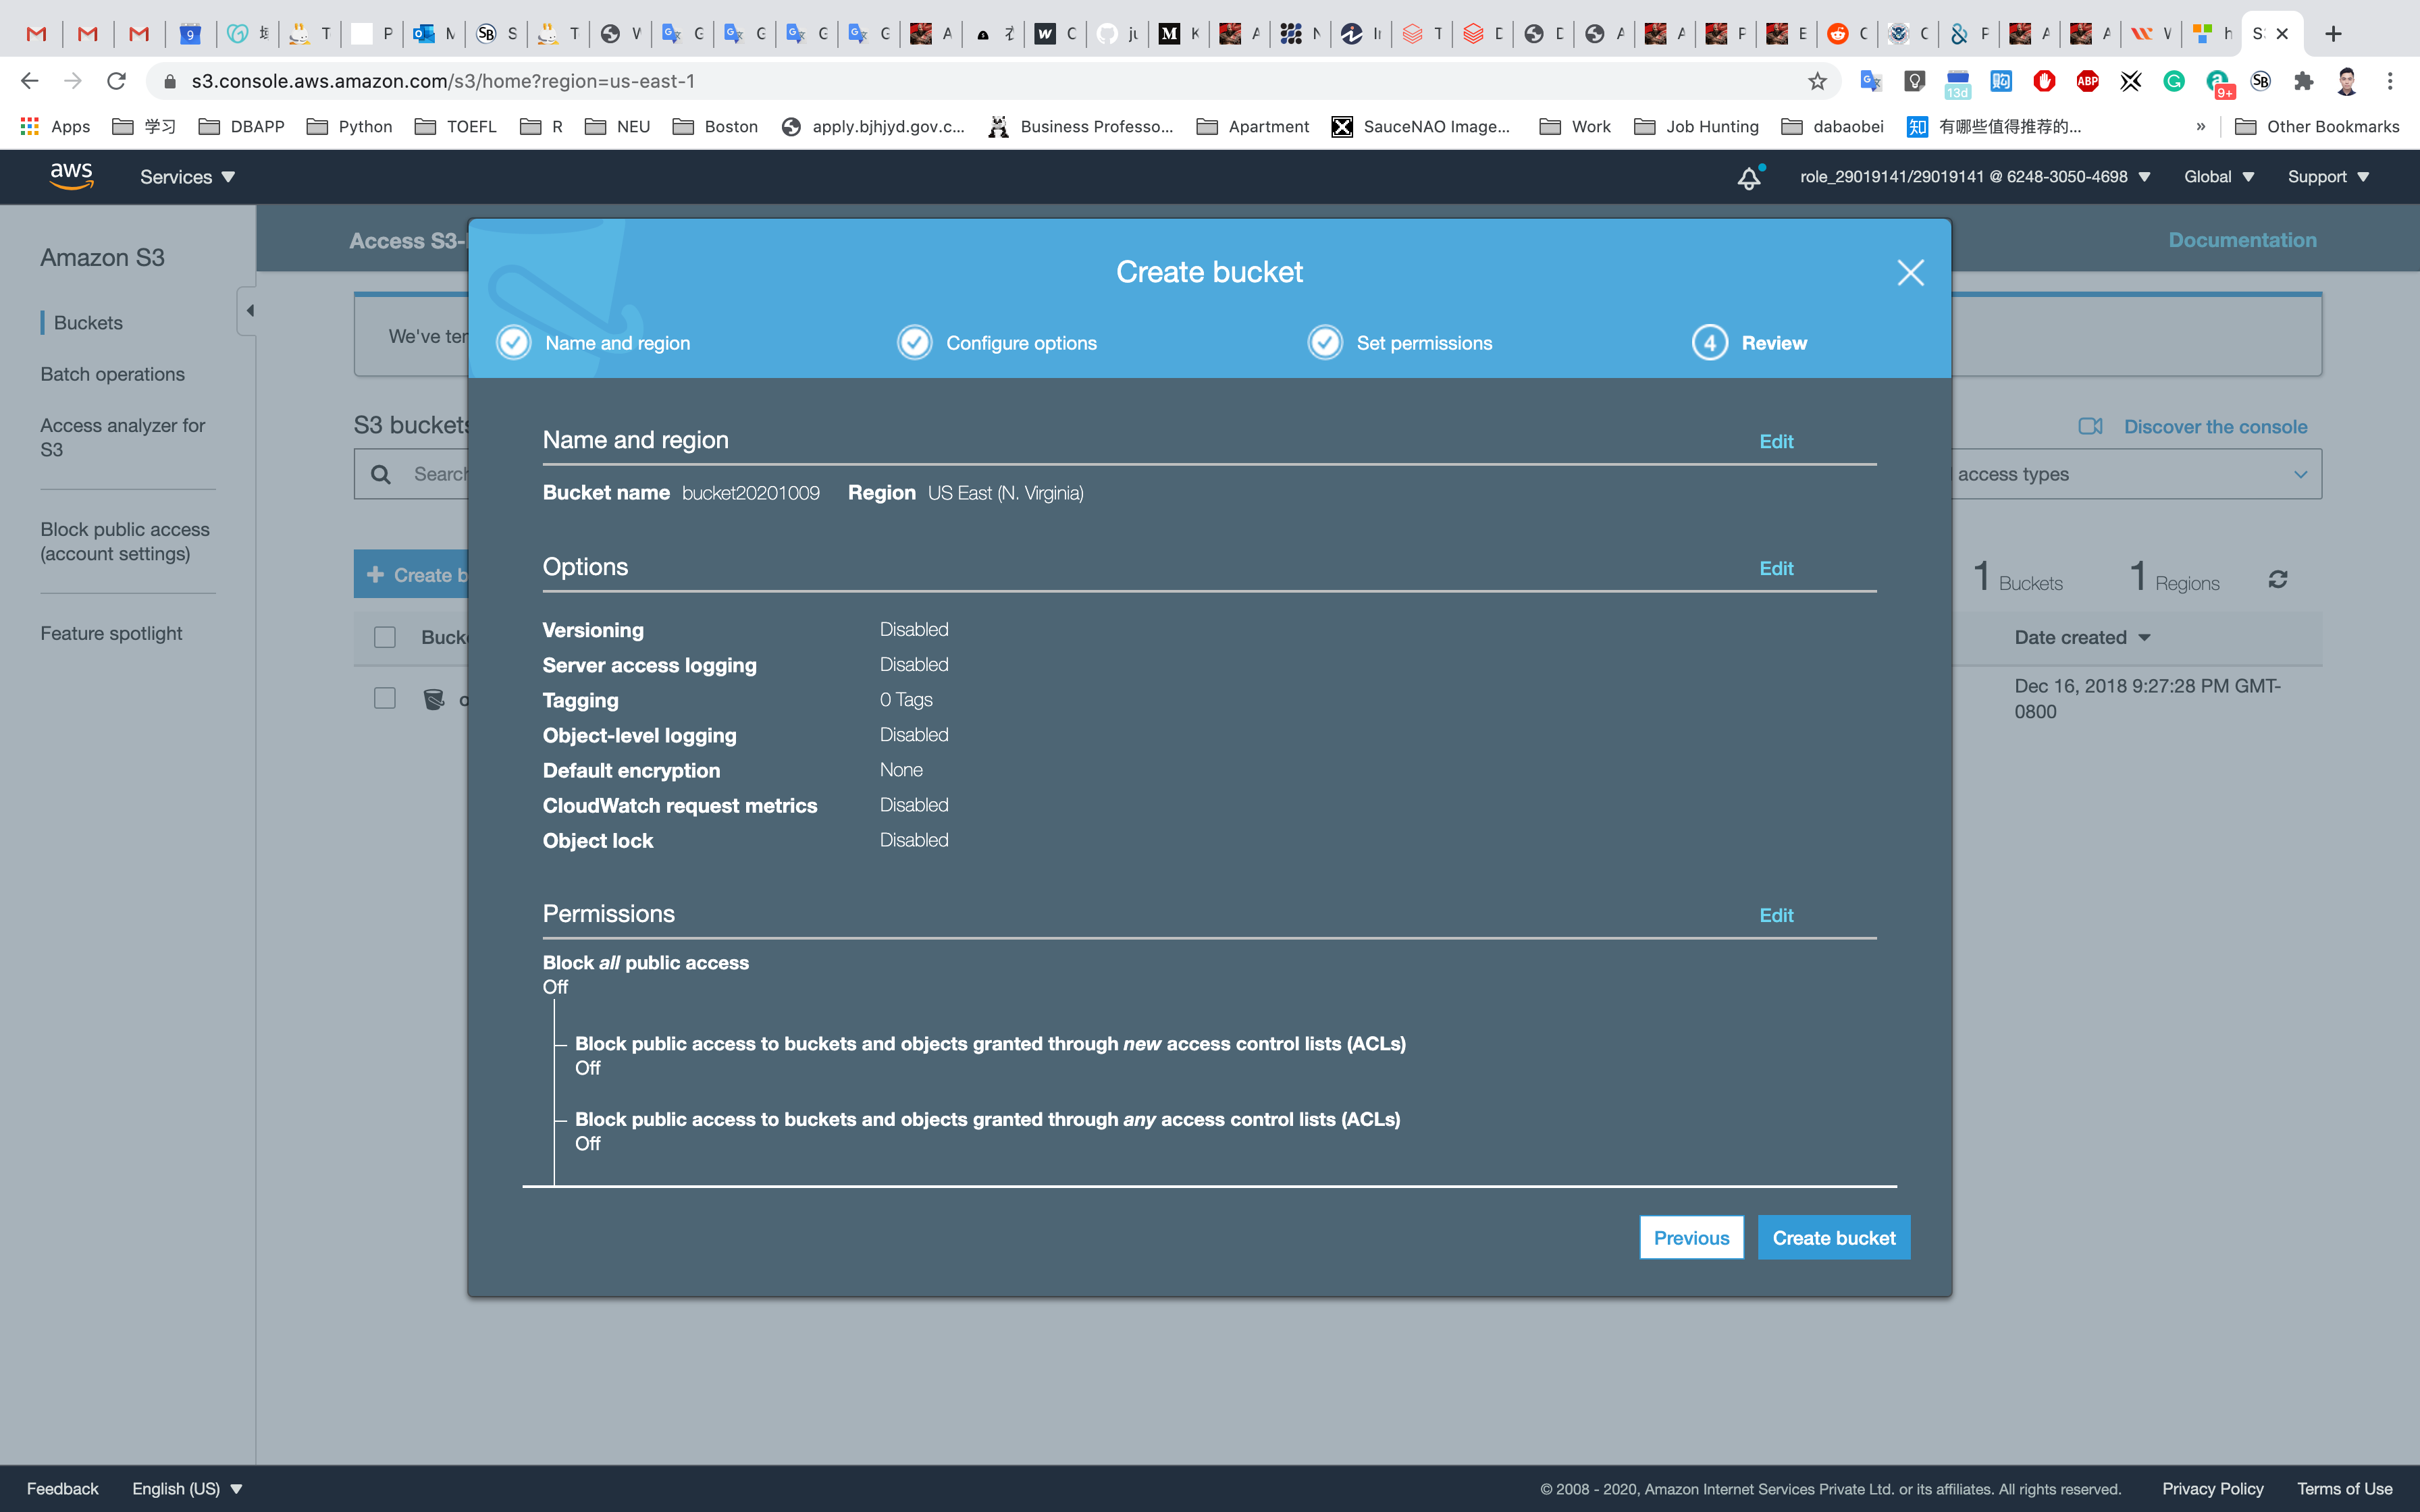
Amazon S3 Bucket is created successfully. Click on the bucket name and select Properties then Enable Versioning.
Creating a Target Bucket
On the S3 dashboard, click on Create bucket and fill in the bucket details.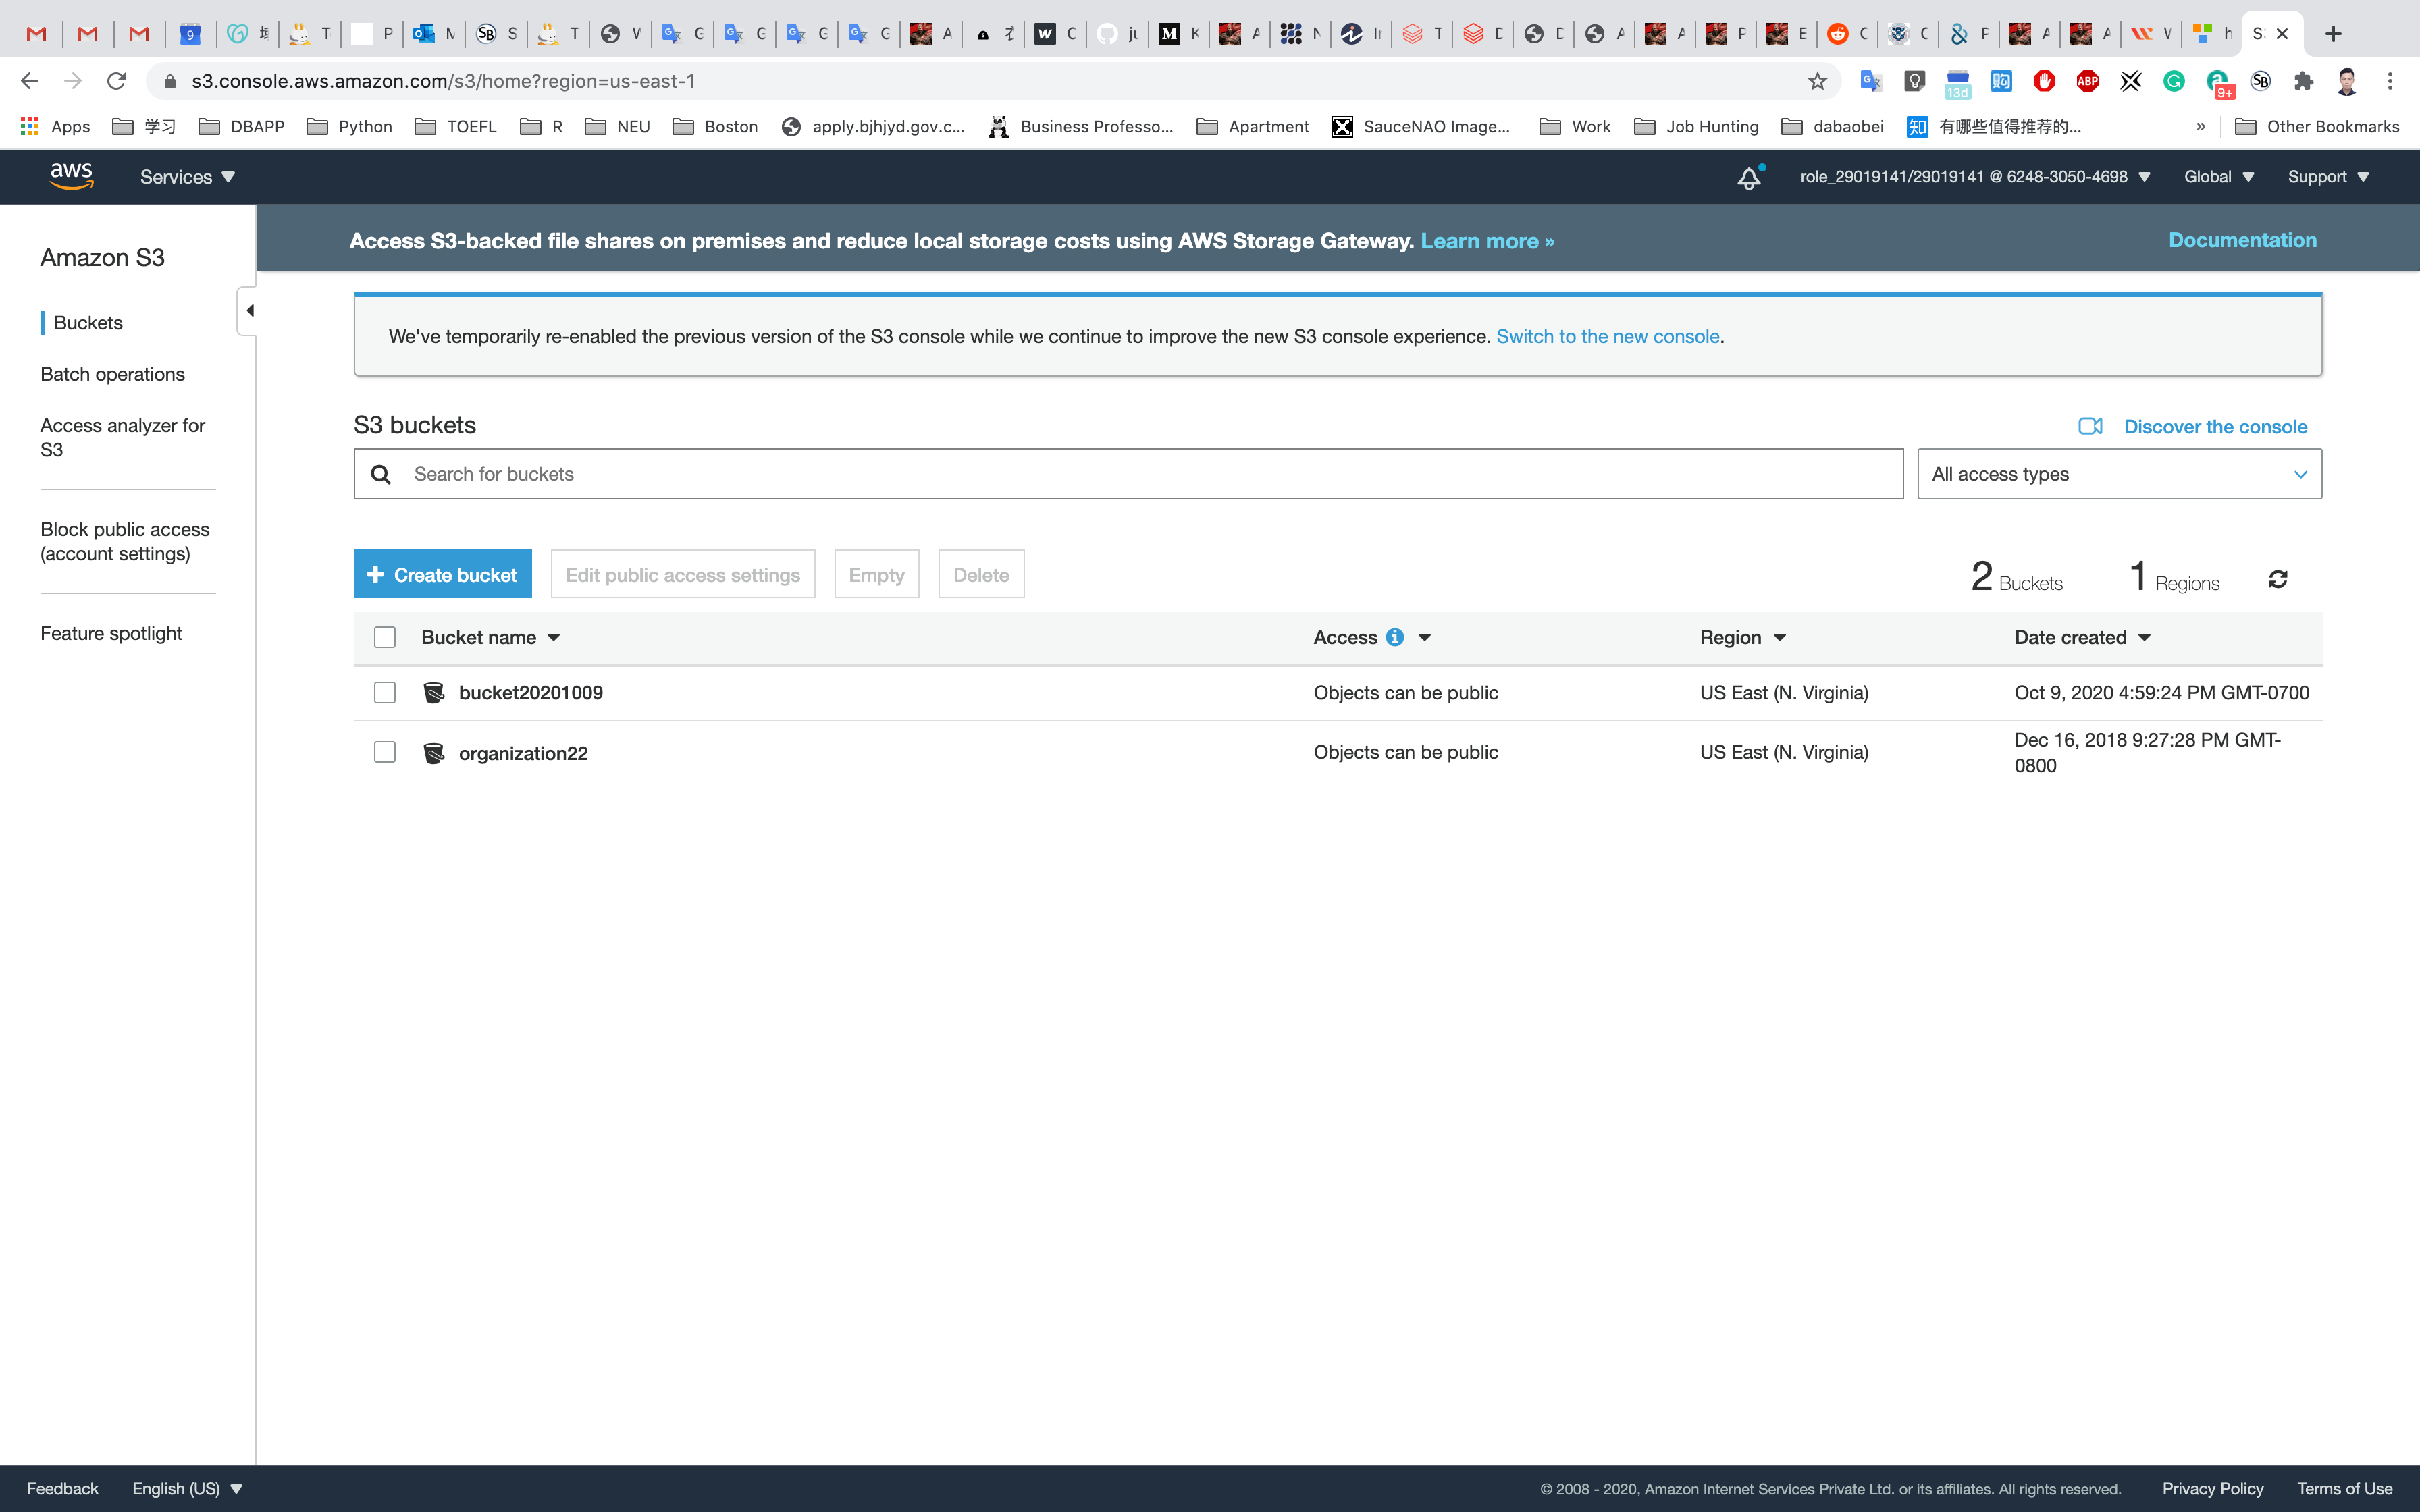
- Bucket name: Enter
inputYourBucketName- Note: S3 bucket names are globally unique, choose a name which is available.
- Region: Select
US East (N. Virginia) - Leave other settings as default.
Click Next then Next and go to the permissions and Uncheck the Block all Public Access and acknowledge the change.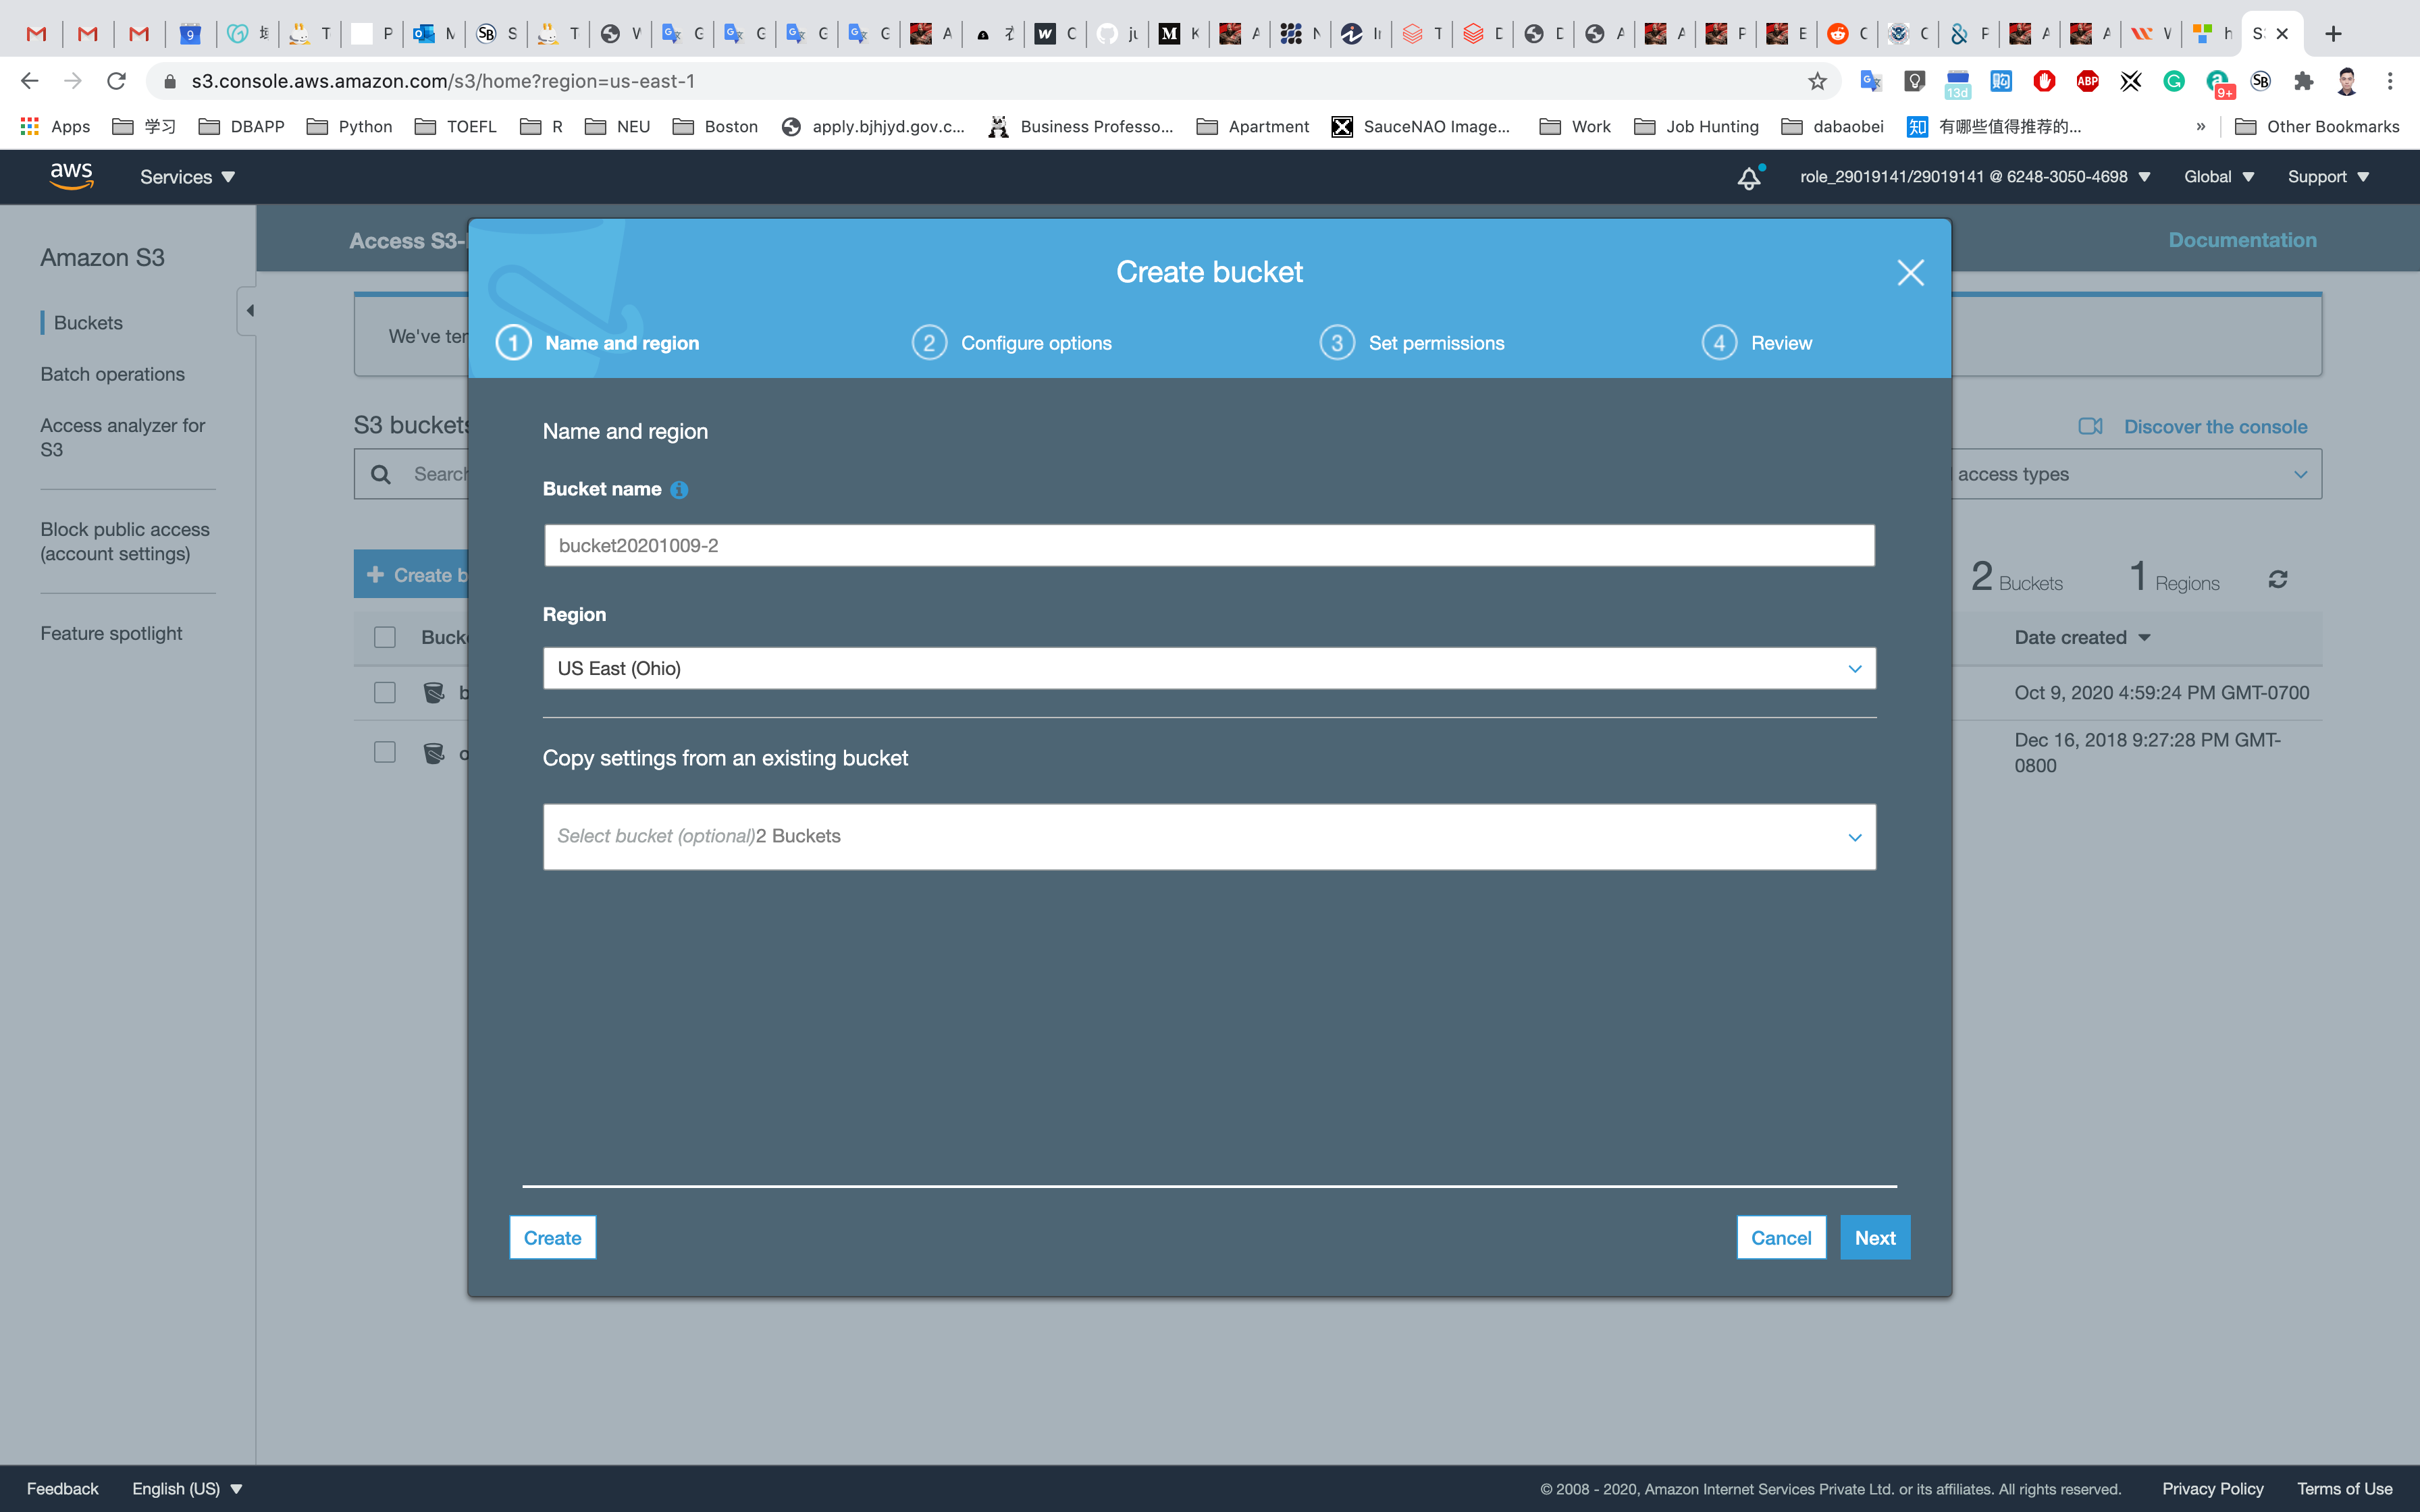
Click on Next and Create bucket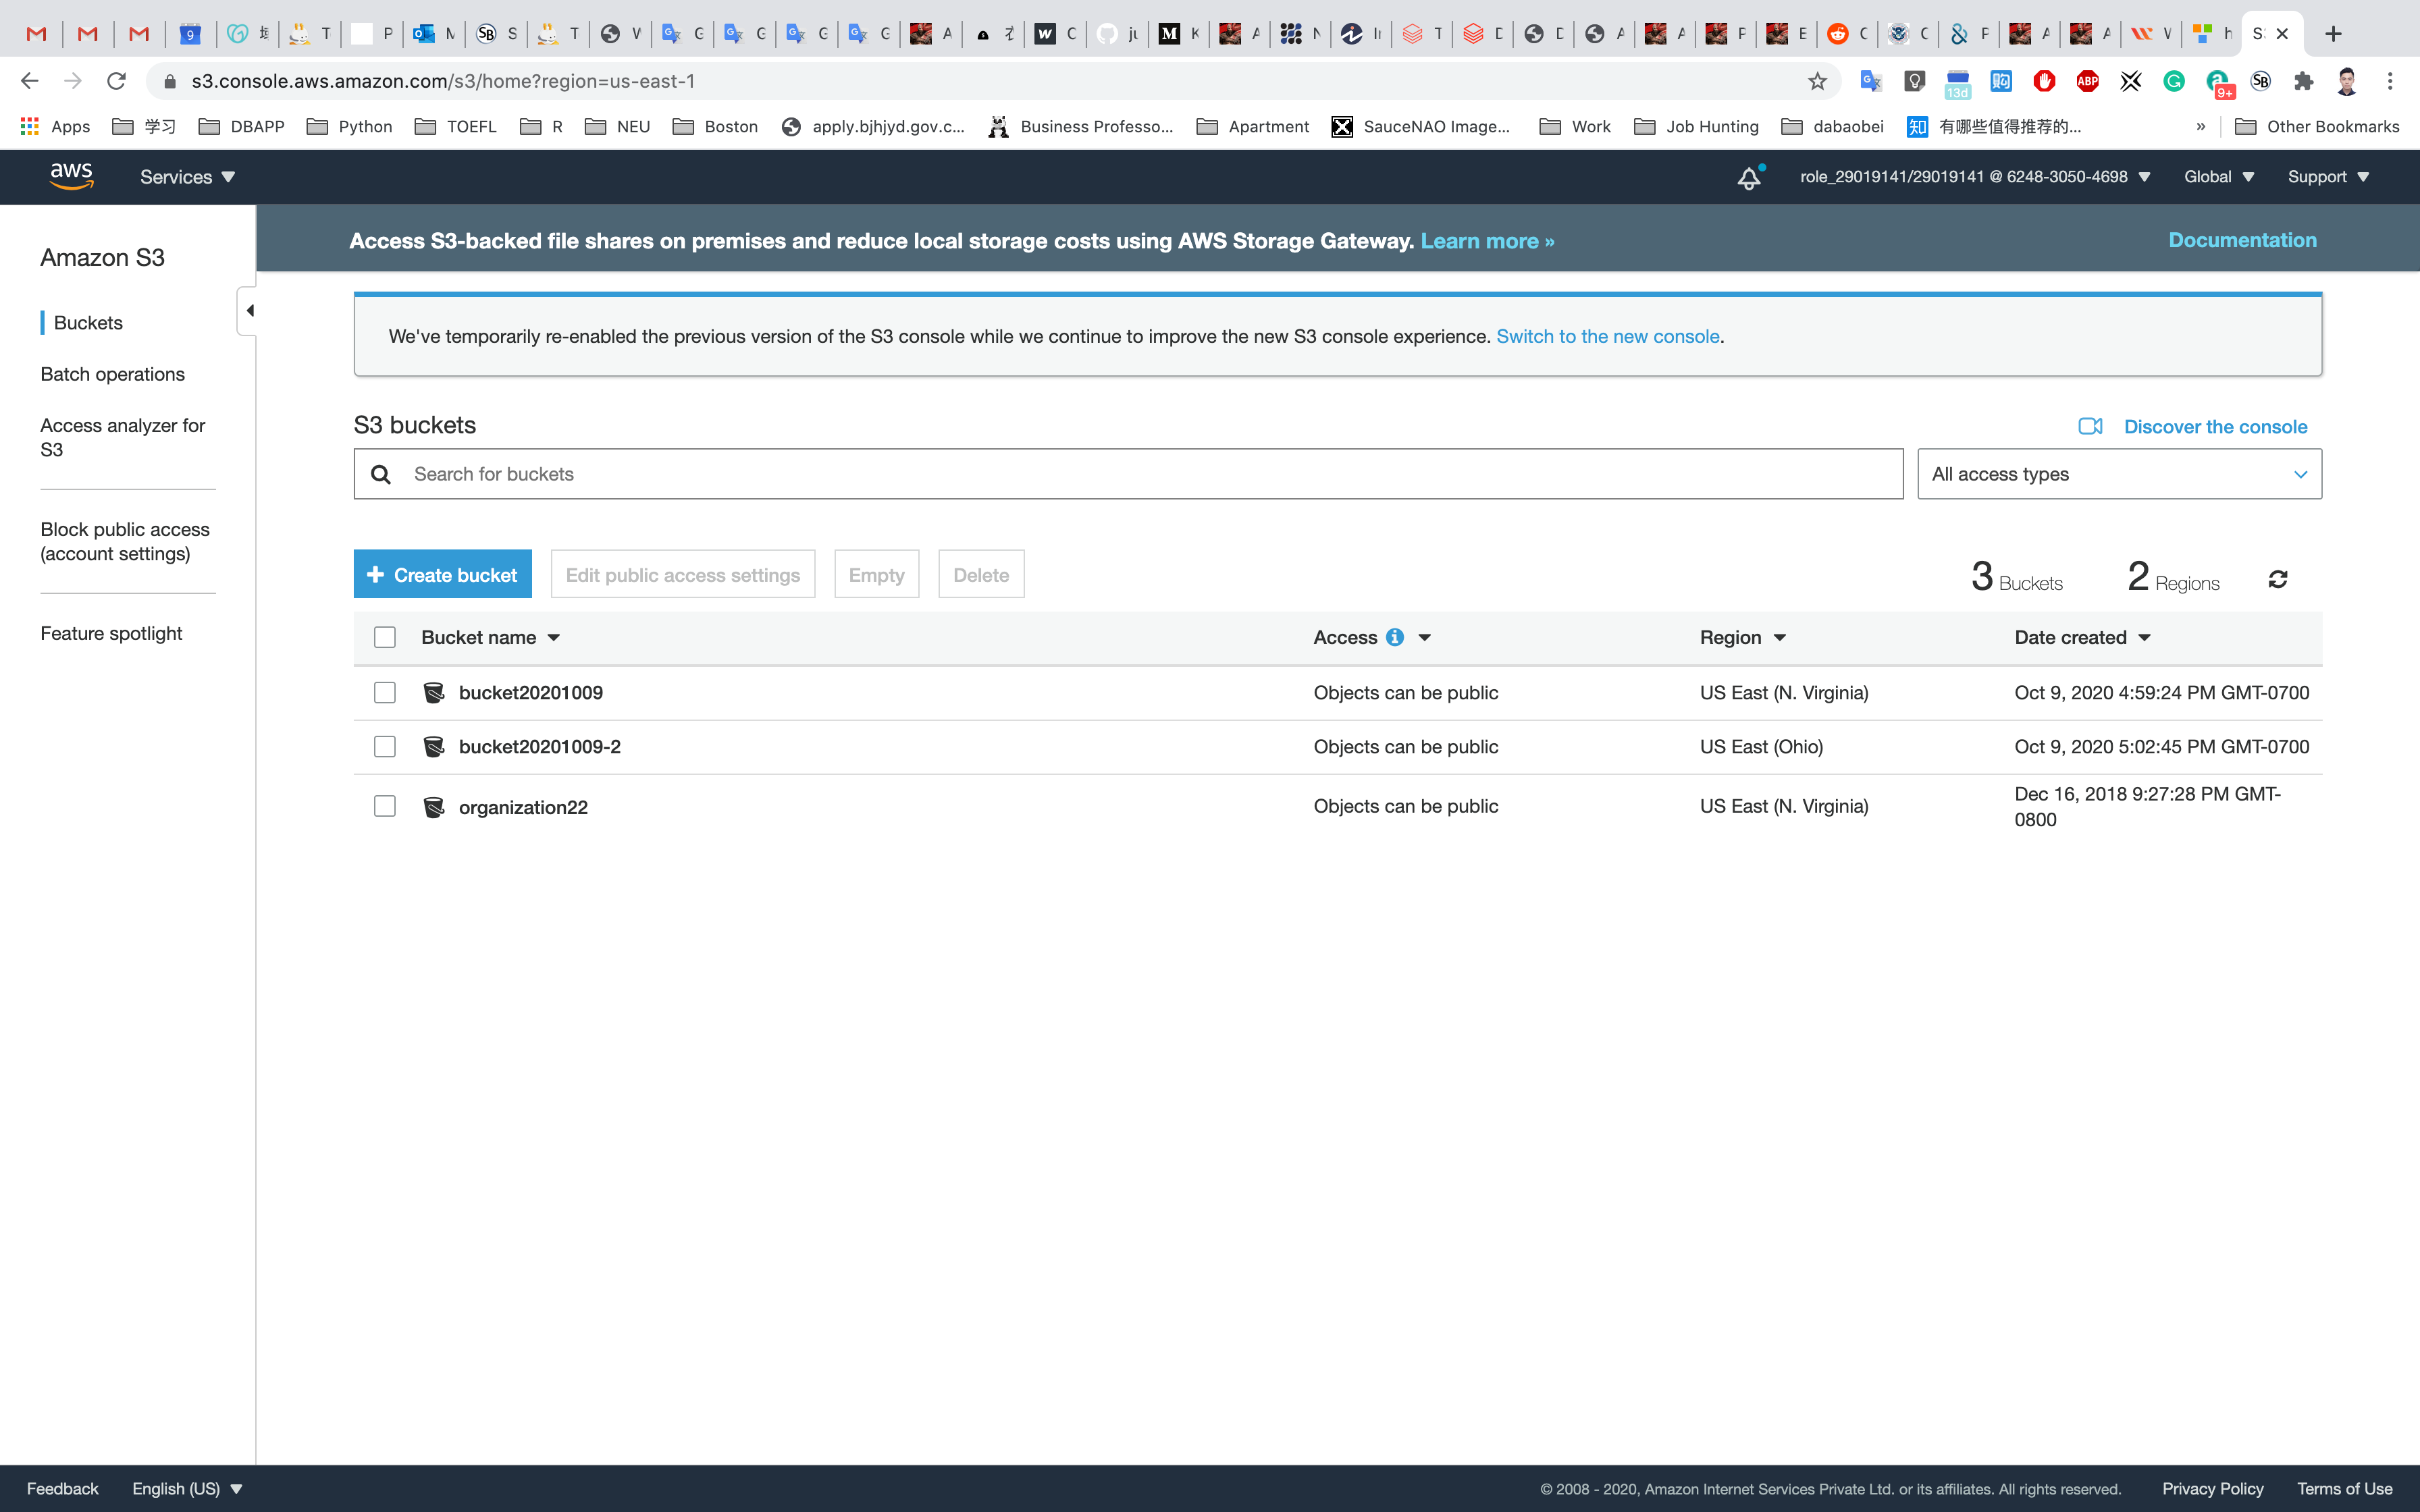
Amazon S3 Bucket is created successfully. Click on the bucket name and select Properties then Enable Versioning.
Testing CORS Configuration
Now go to Source Bucket (the first one that located in N.Virginia) and click on Management tab then select Replication and click on Add Rule then you will get like below.
Select Entire Bucket and check the Replication Objects encrypted with AWS KMS.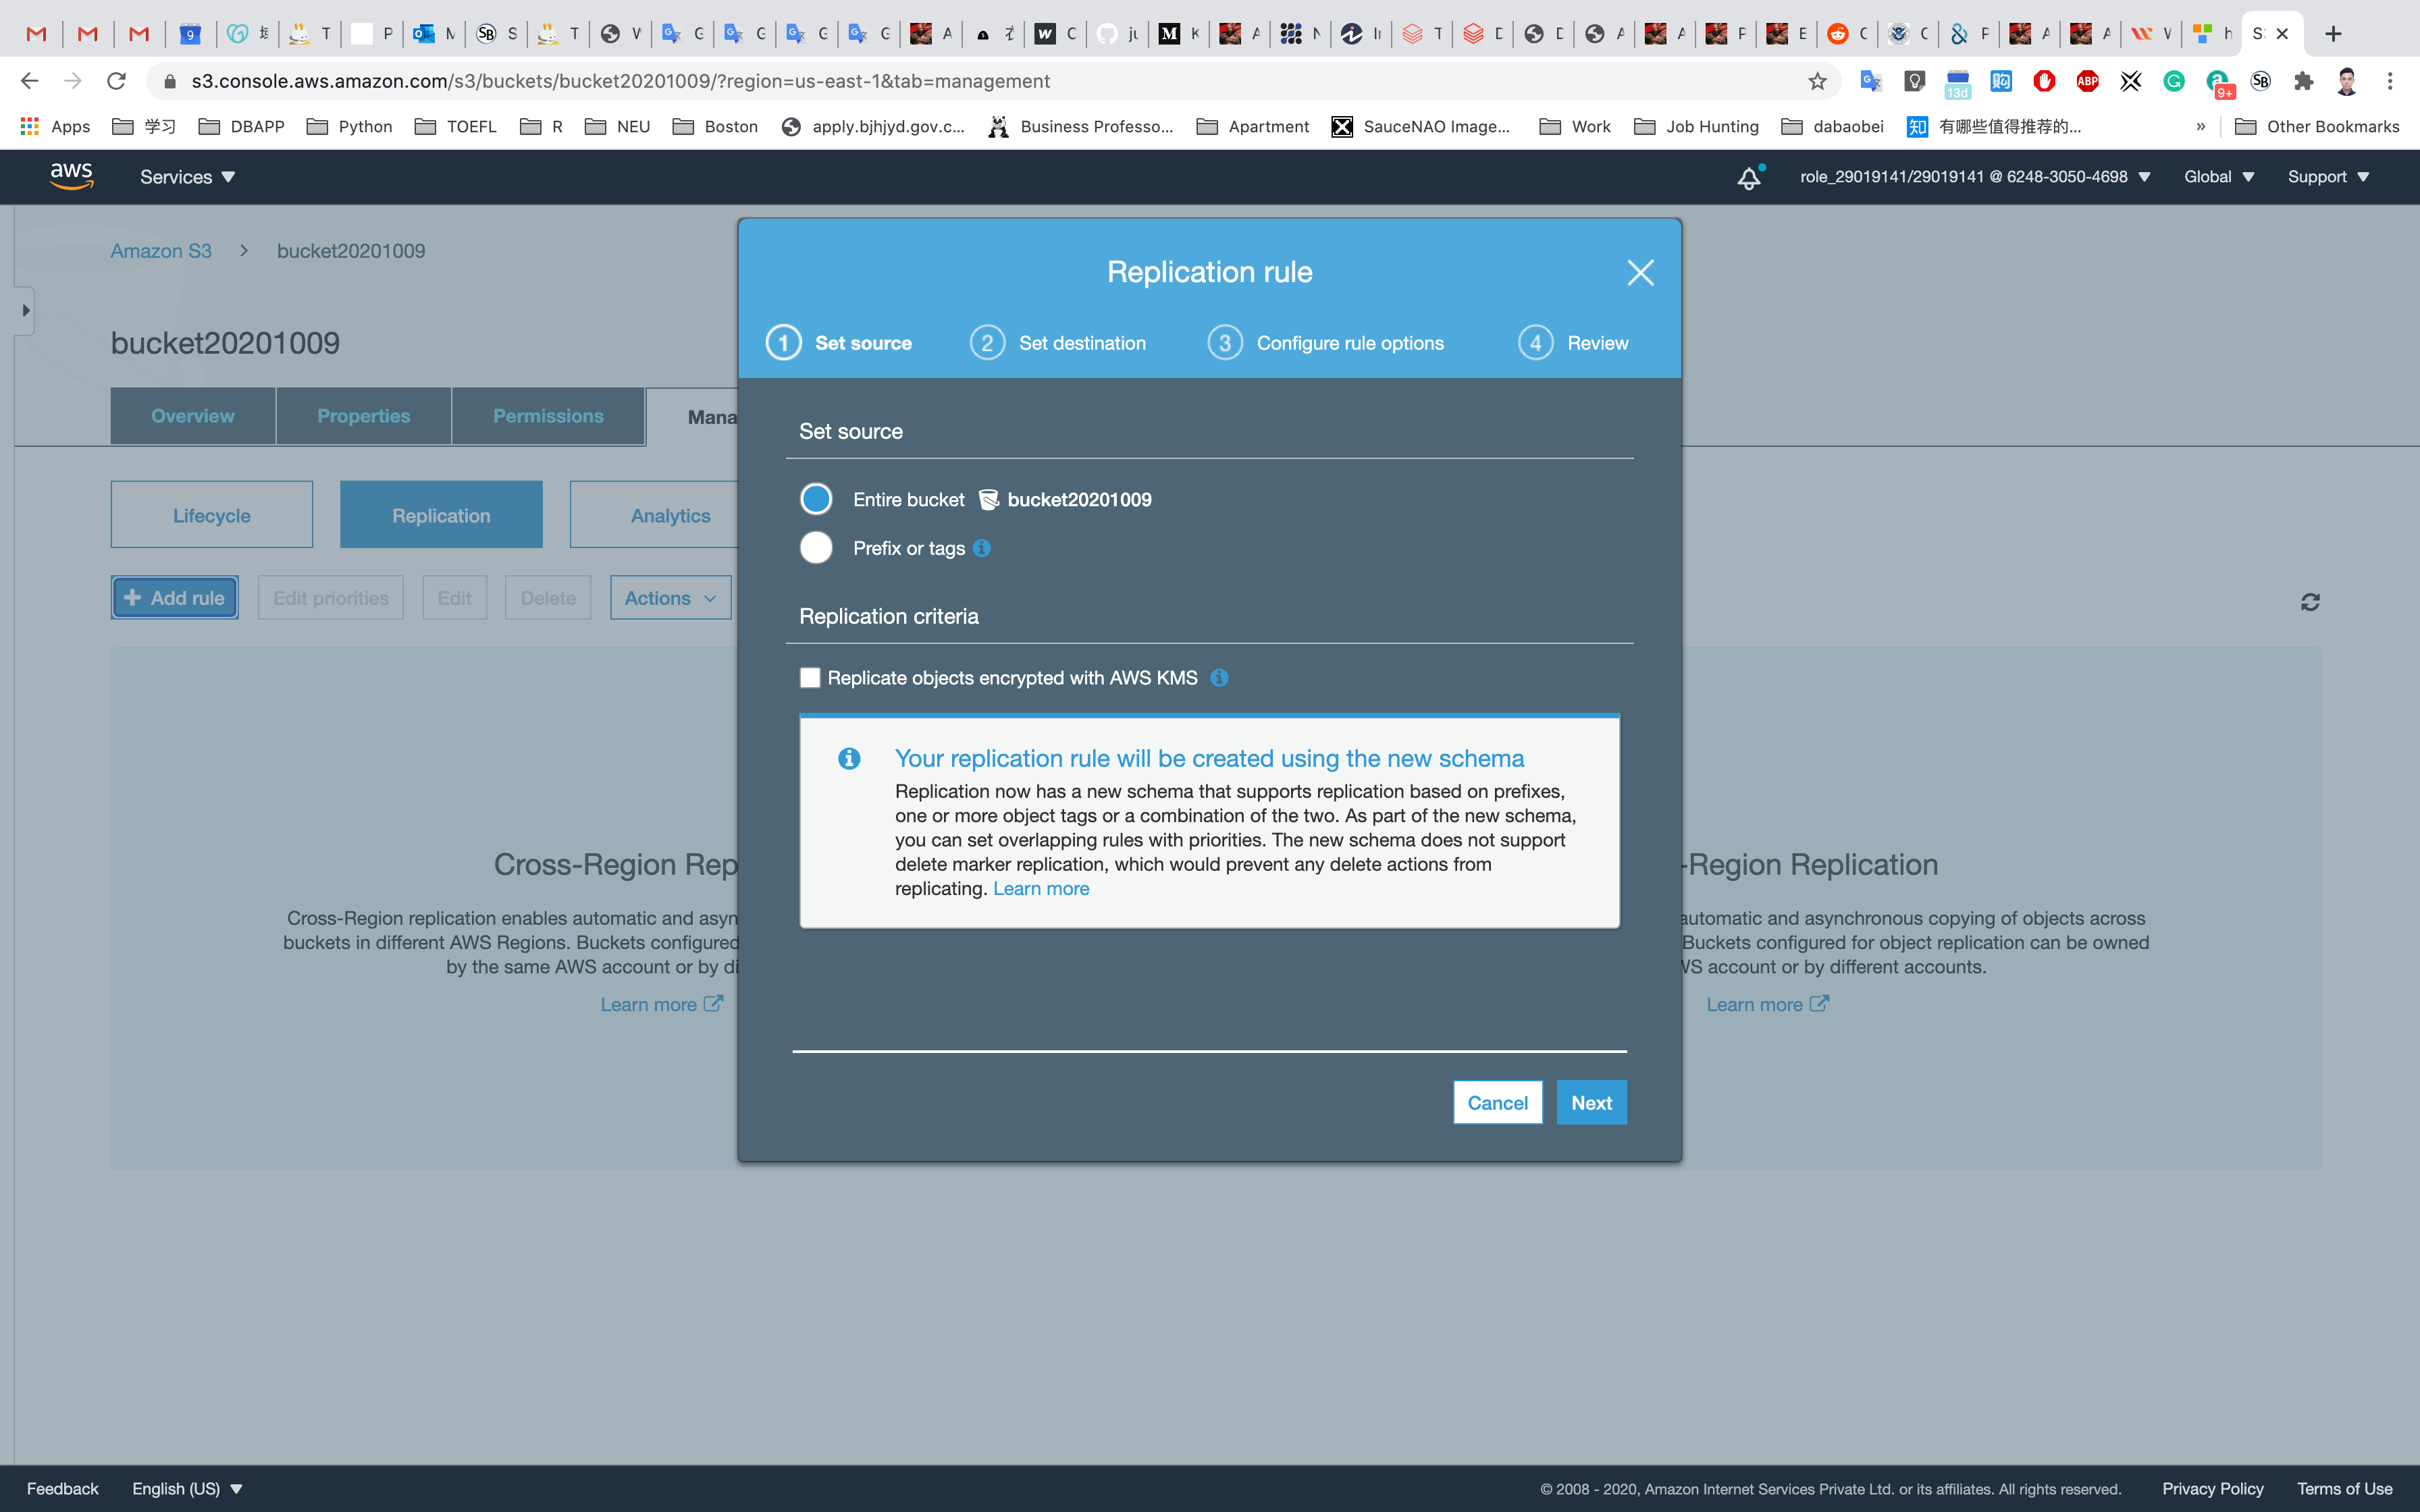
Choose Keys for decrypting the source objects as aws/s3 then click on Next.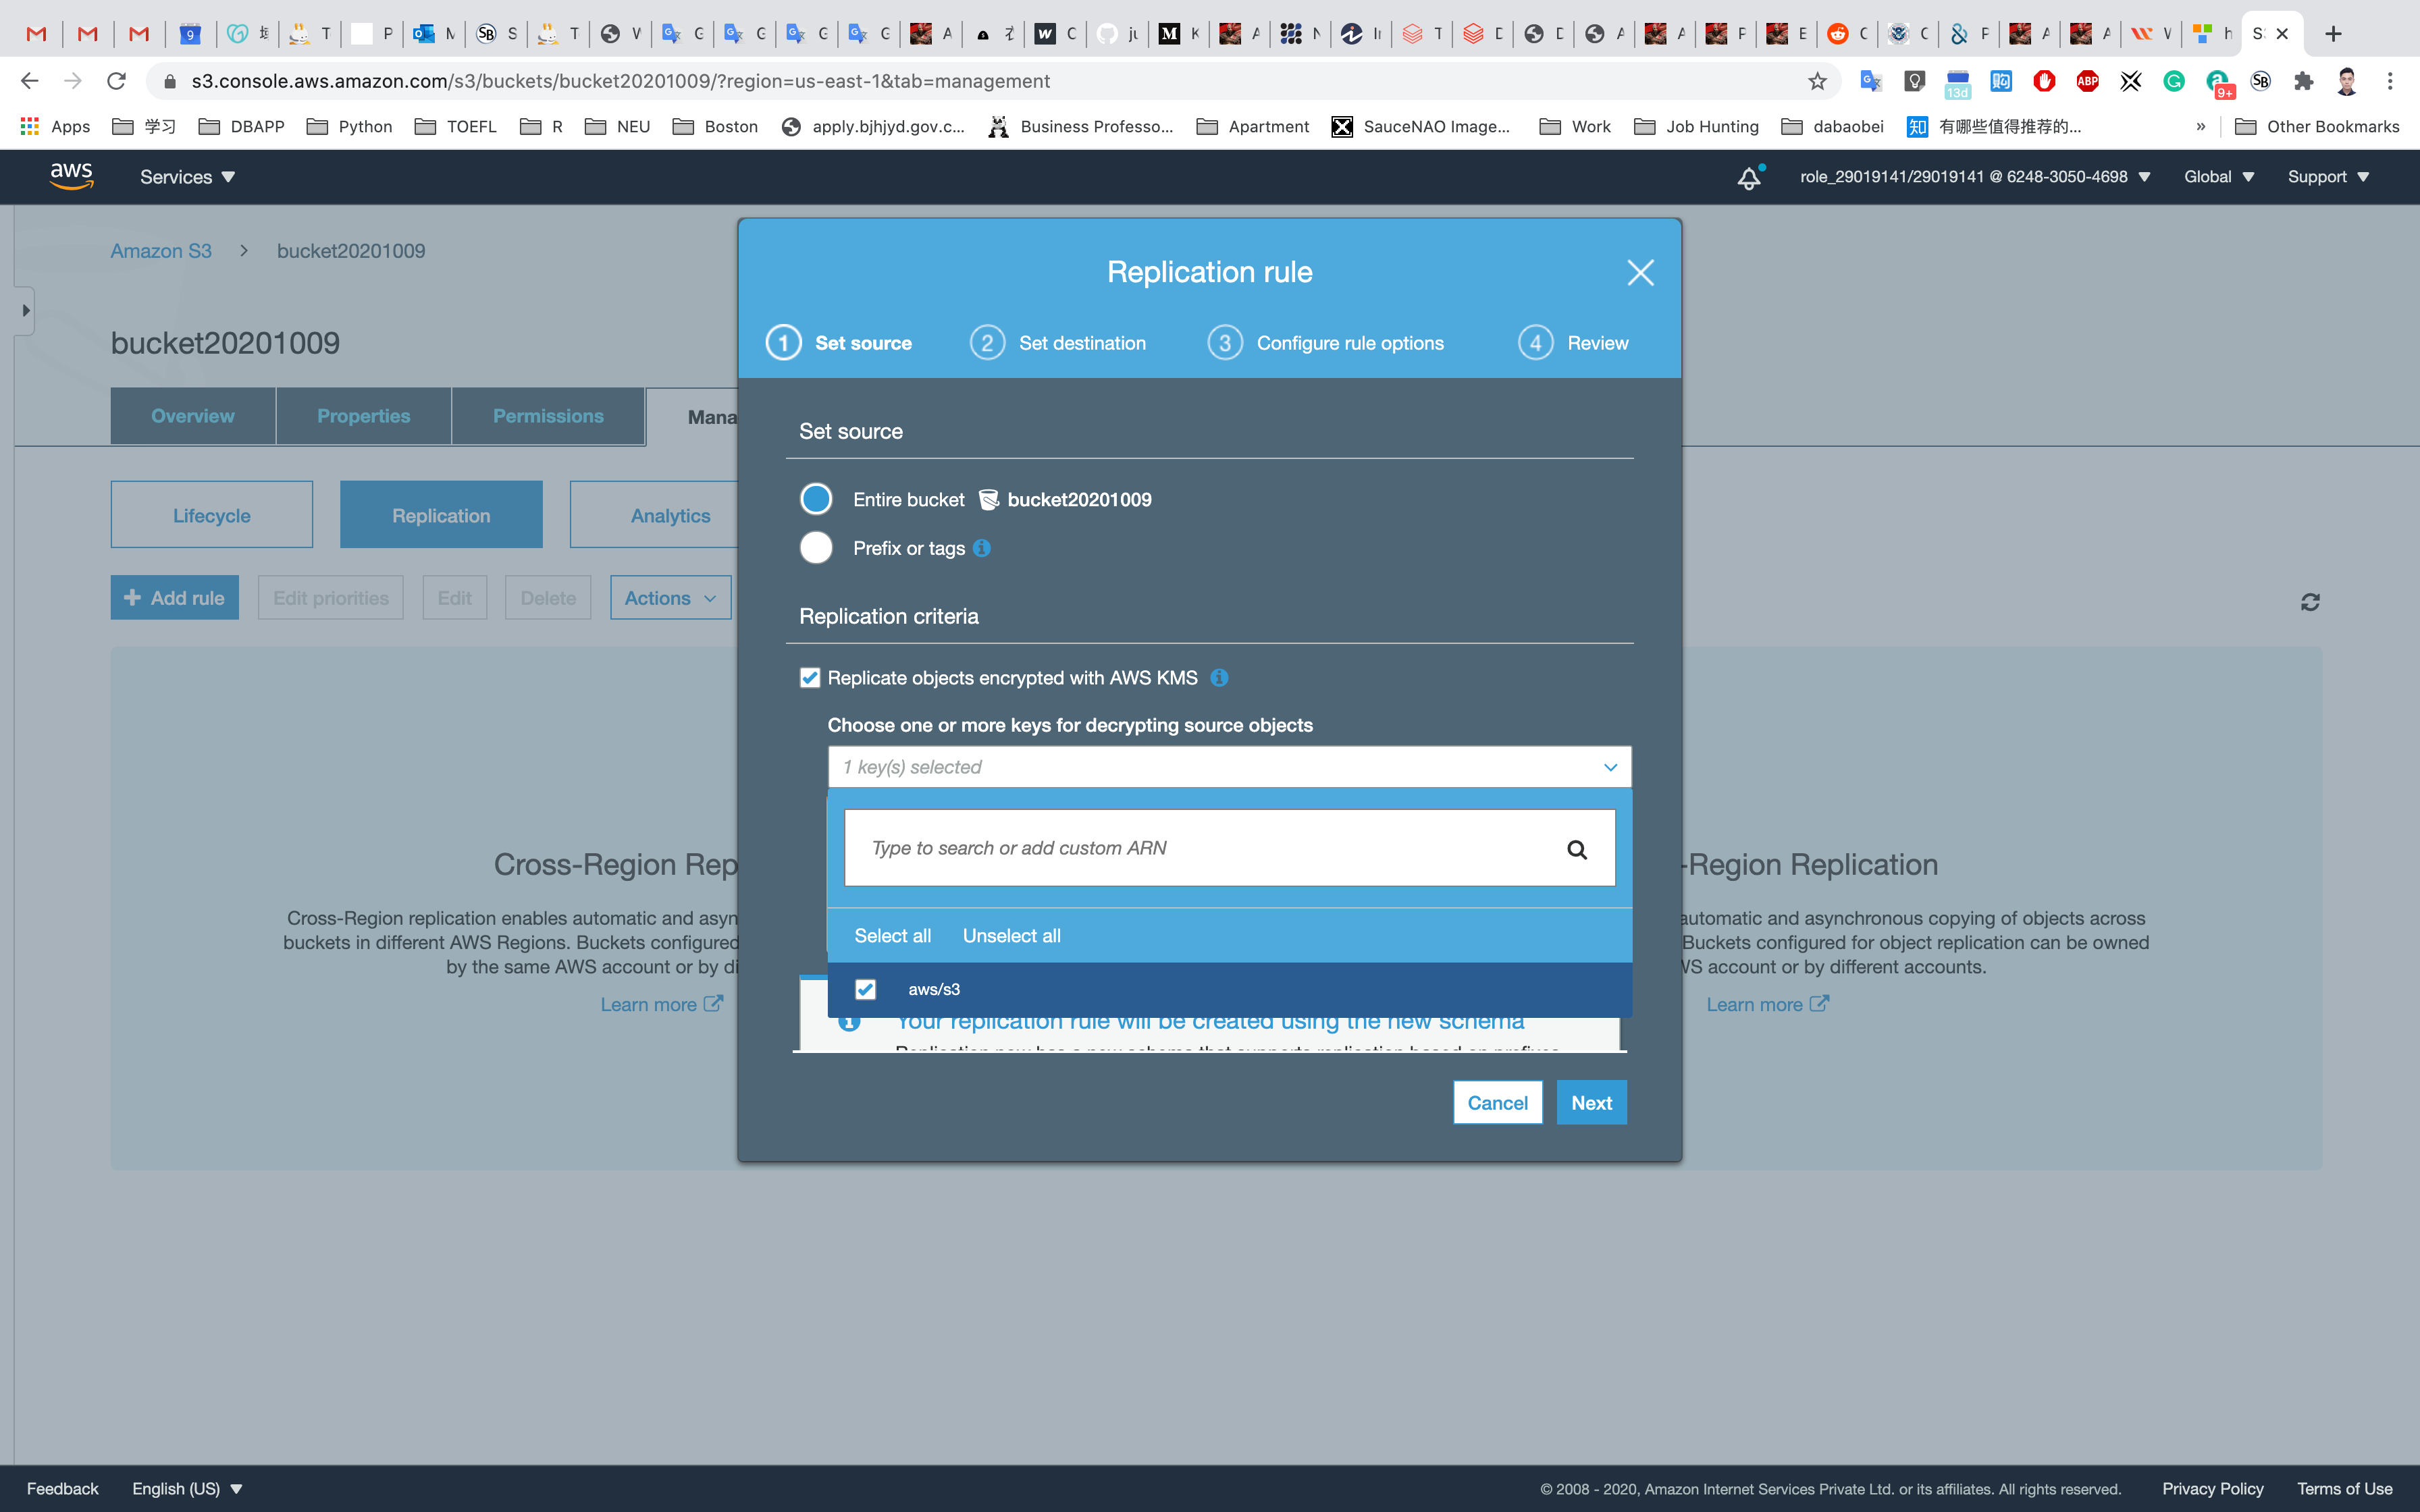
Enter the Destination Bucket Name (the second bucket that located in Ohio)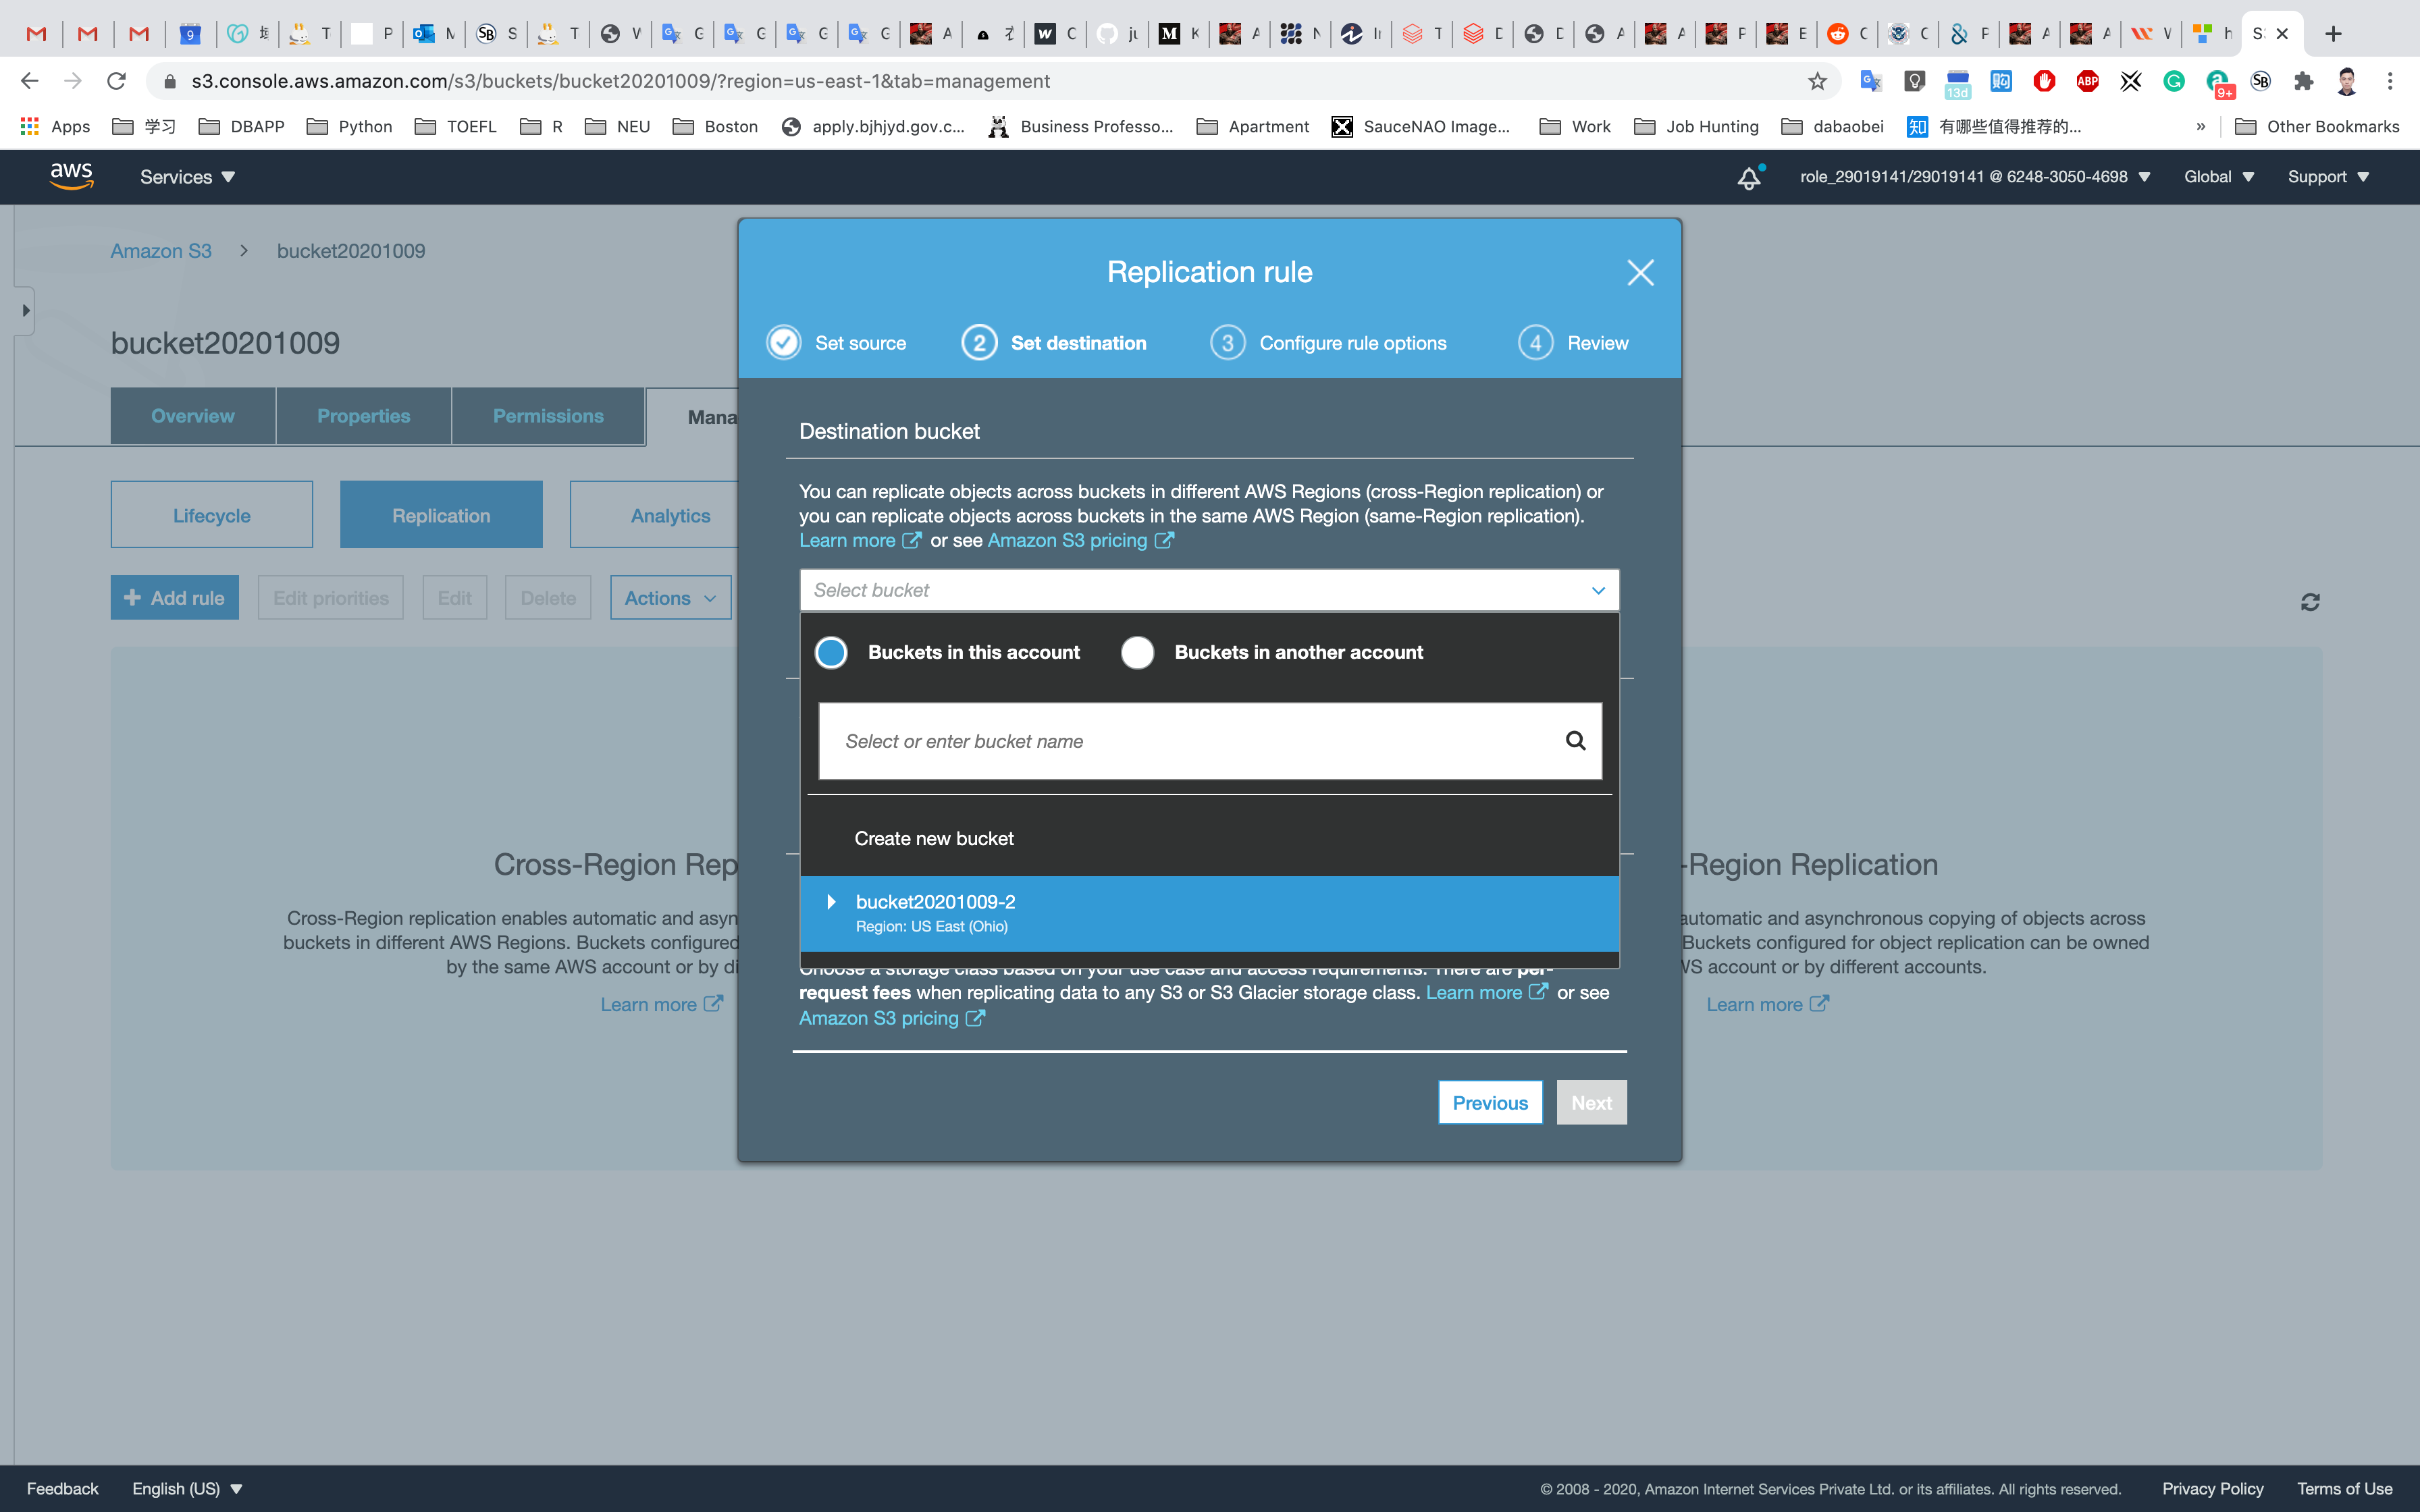
Select the key as previous and change storage class to One Zone-IA then click on Next.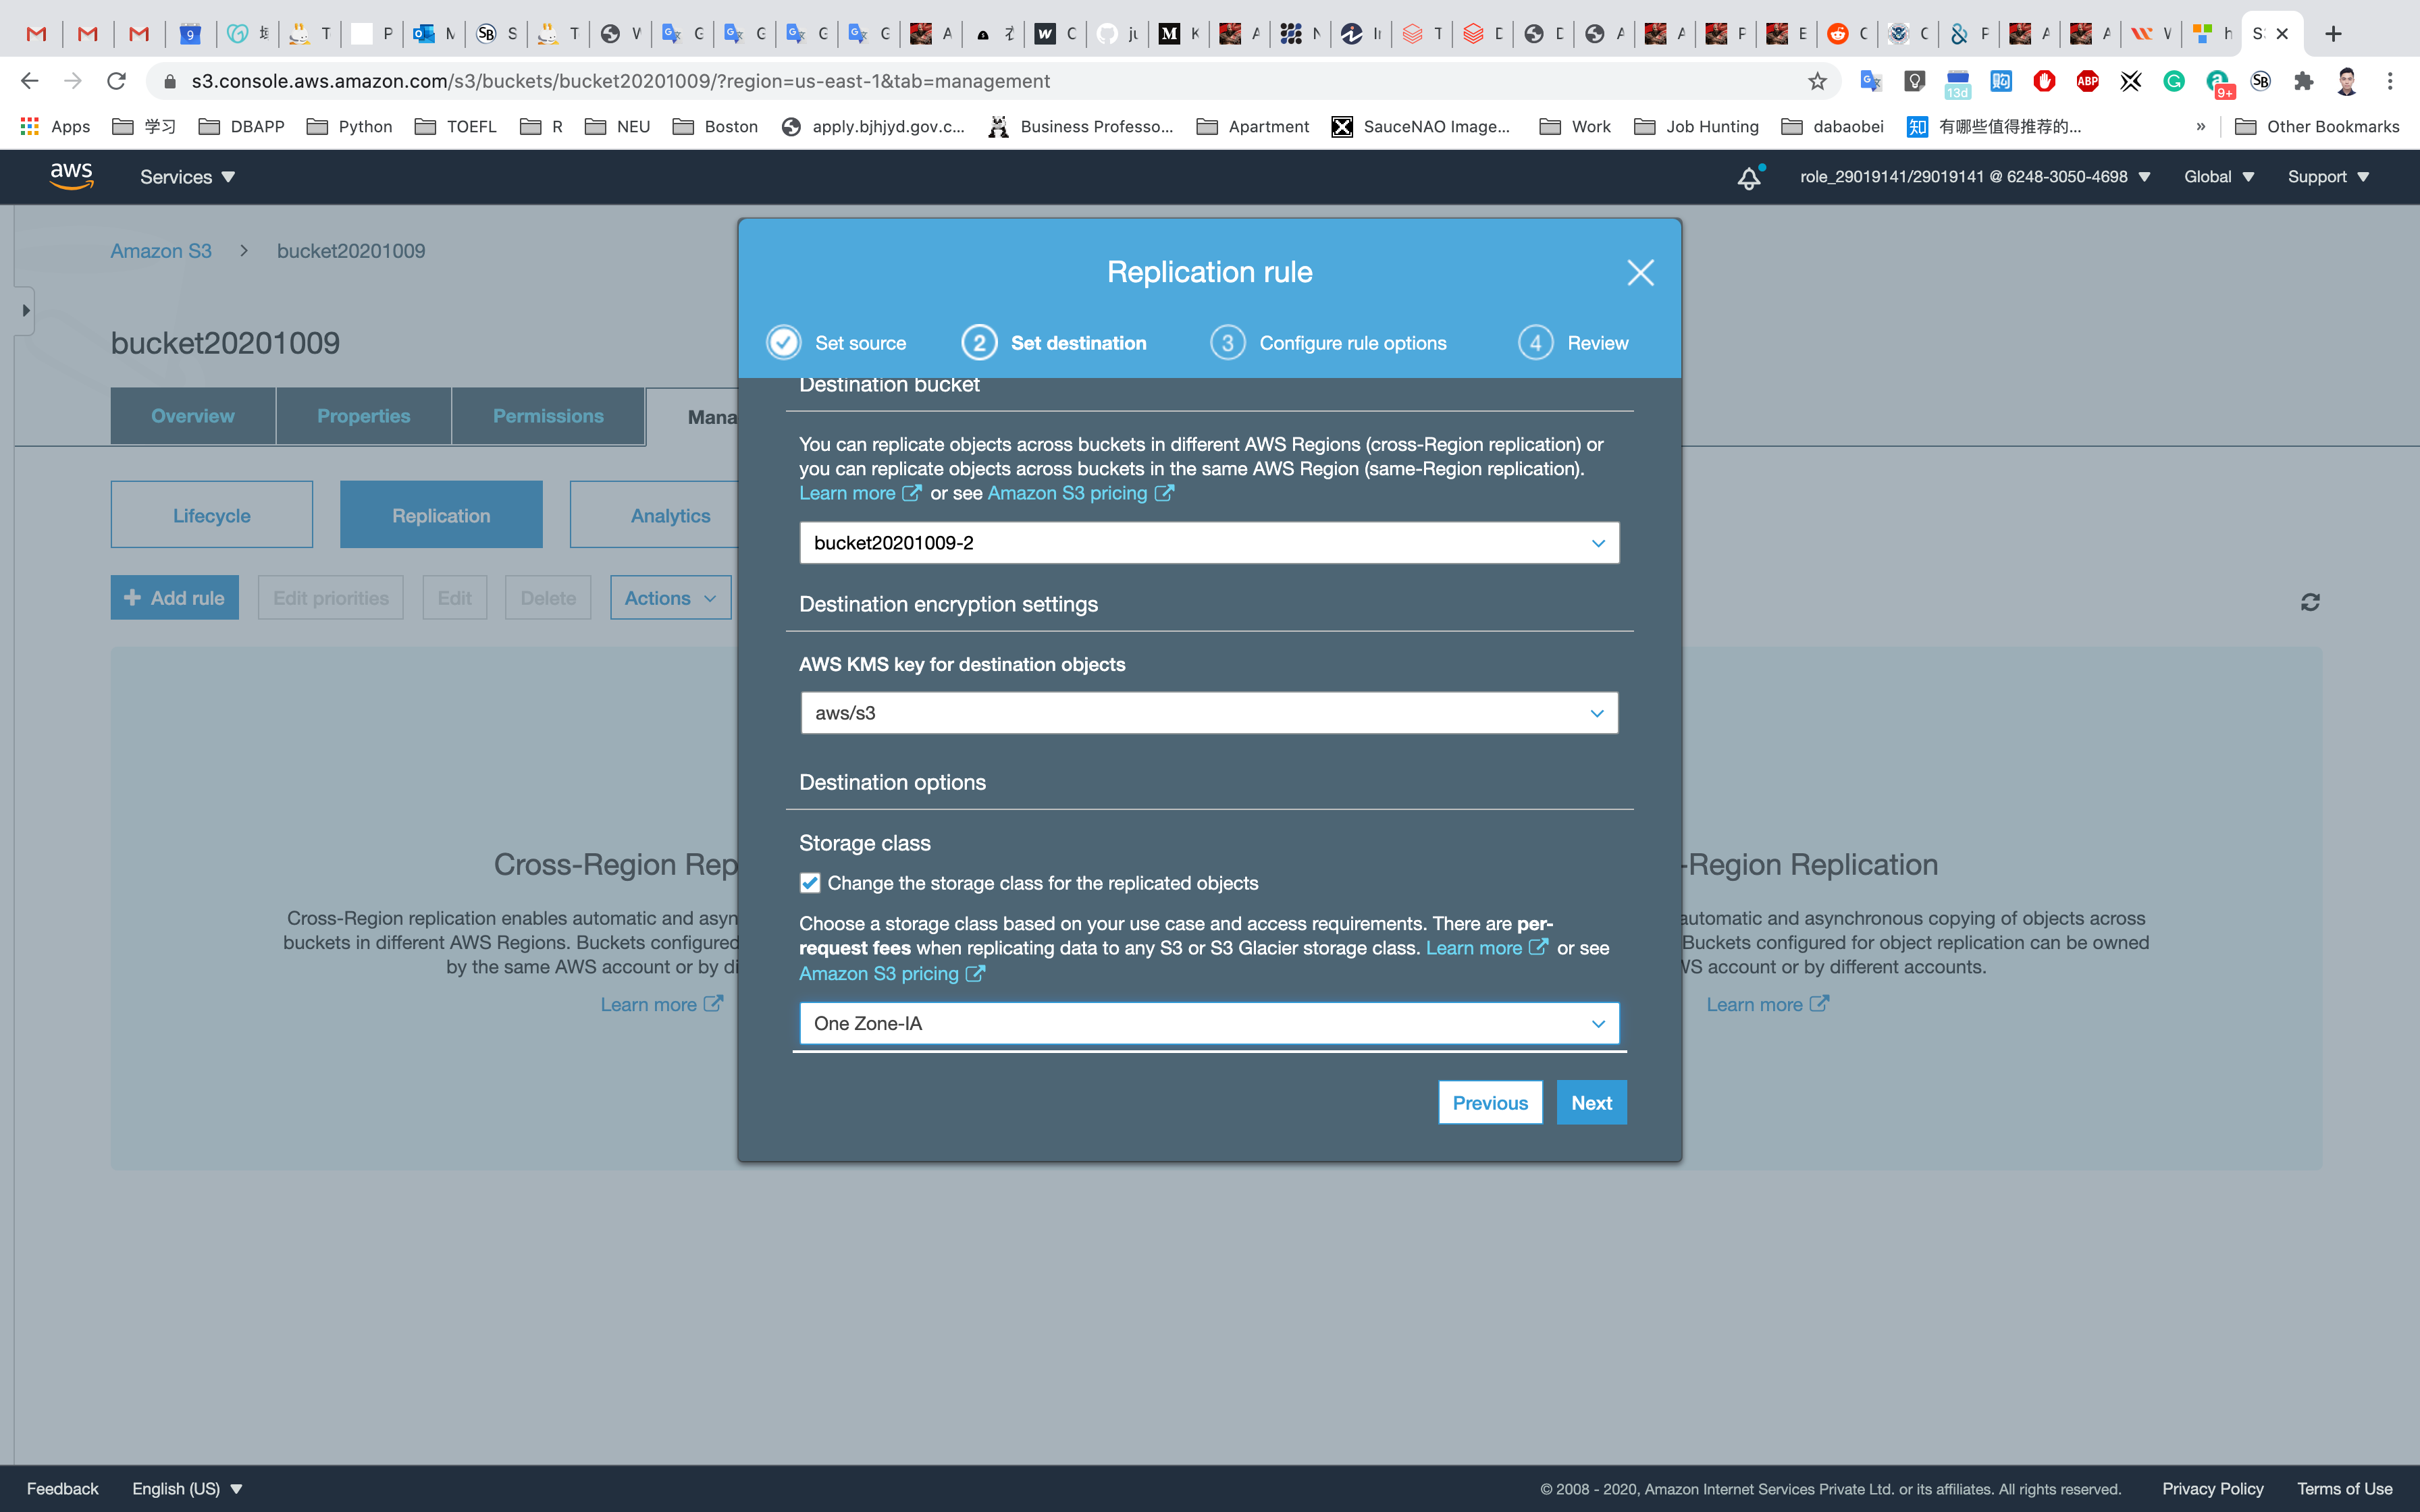
Select IAM Role as Create New Role and enter Rule name as S3CORS and click on Next.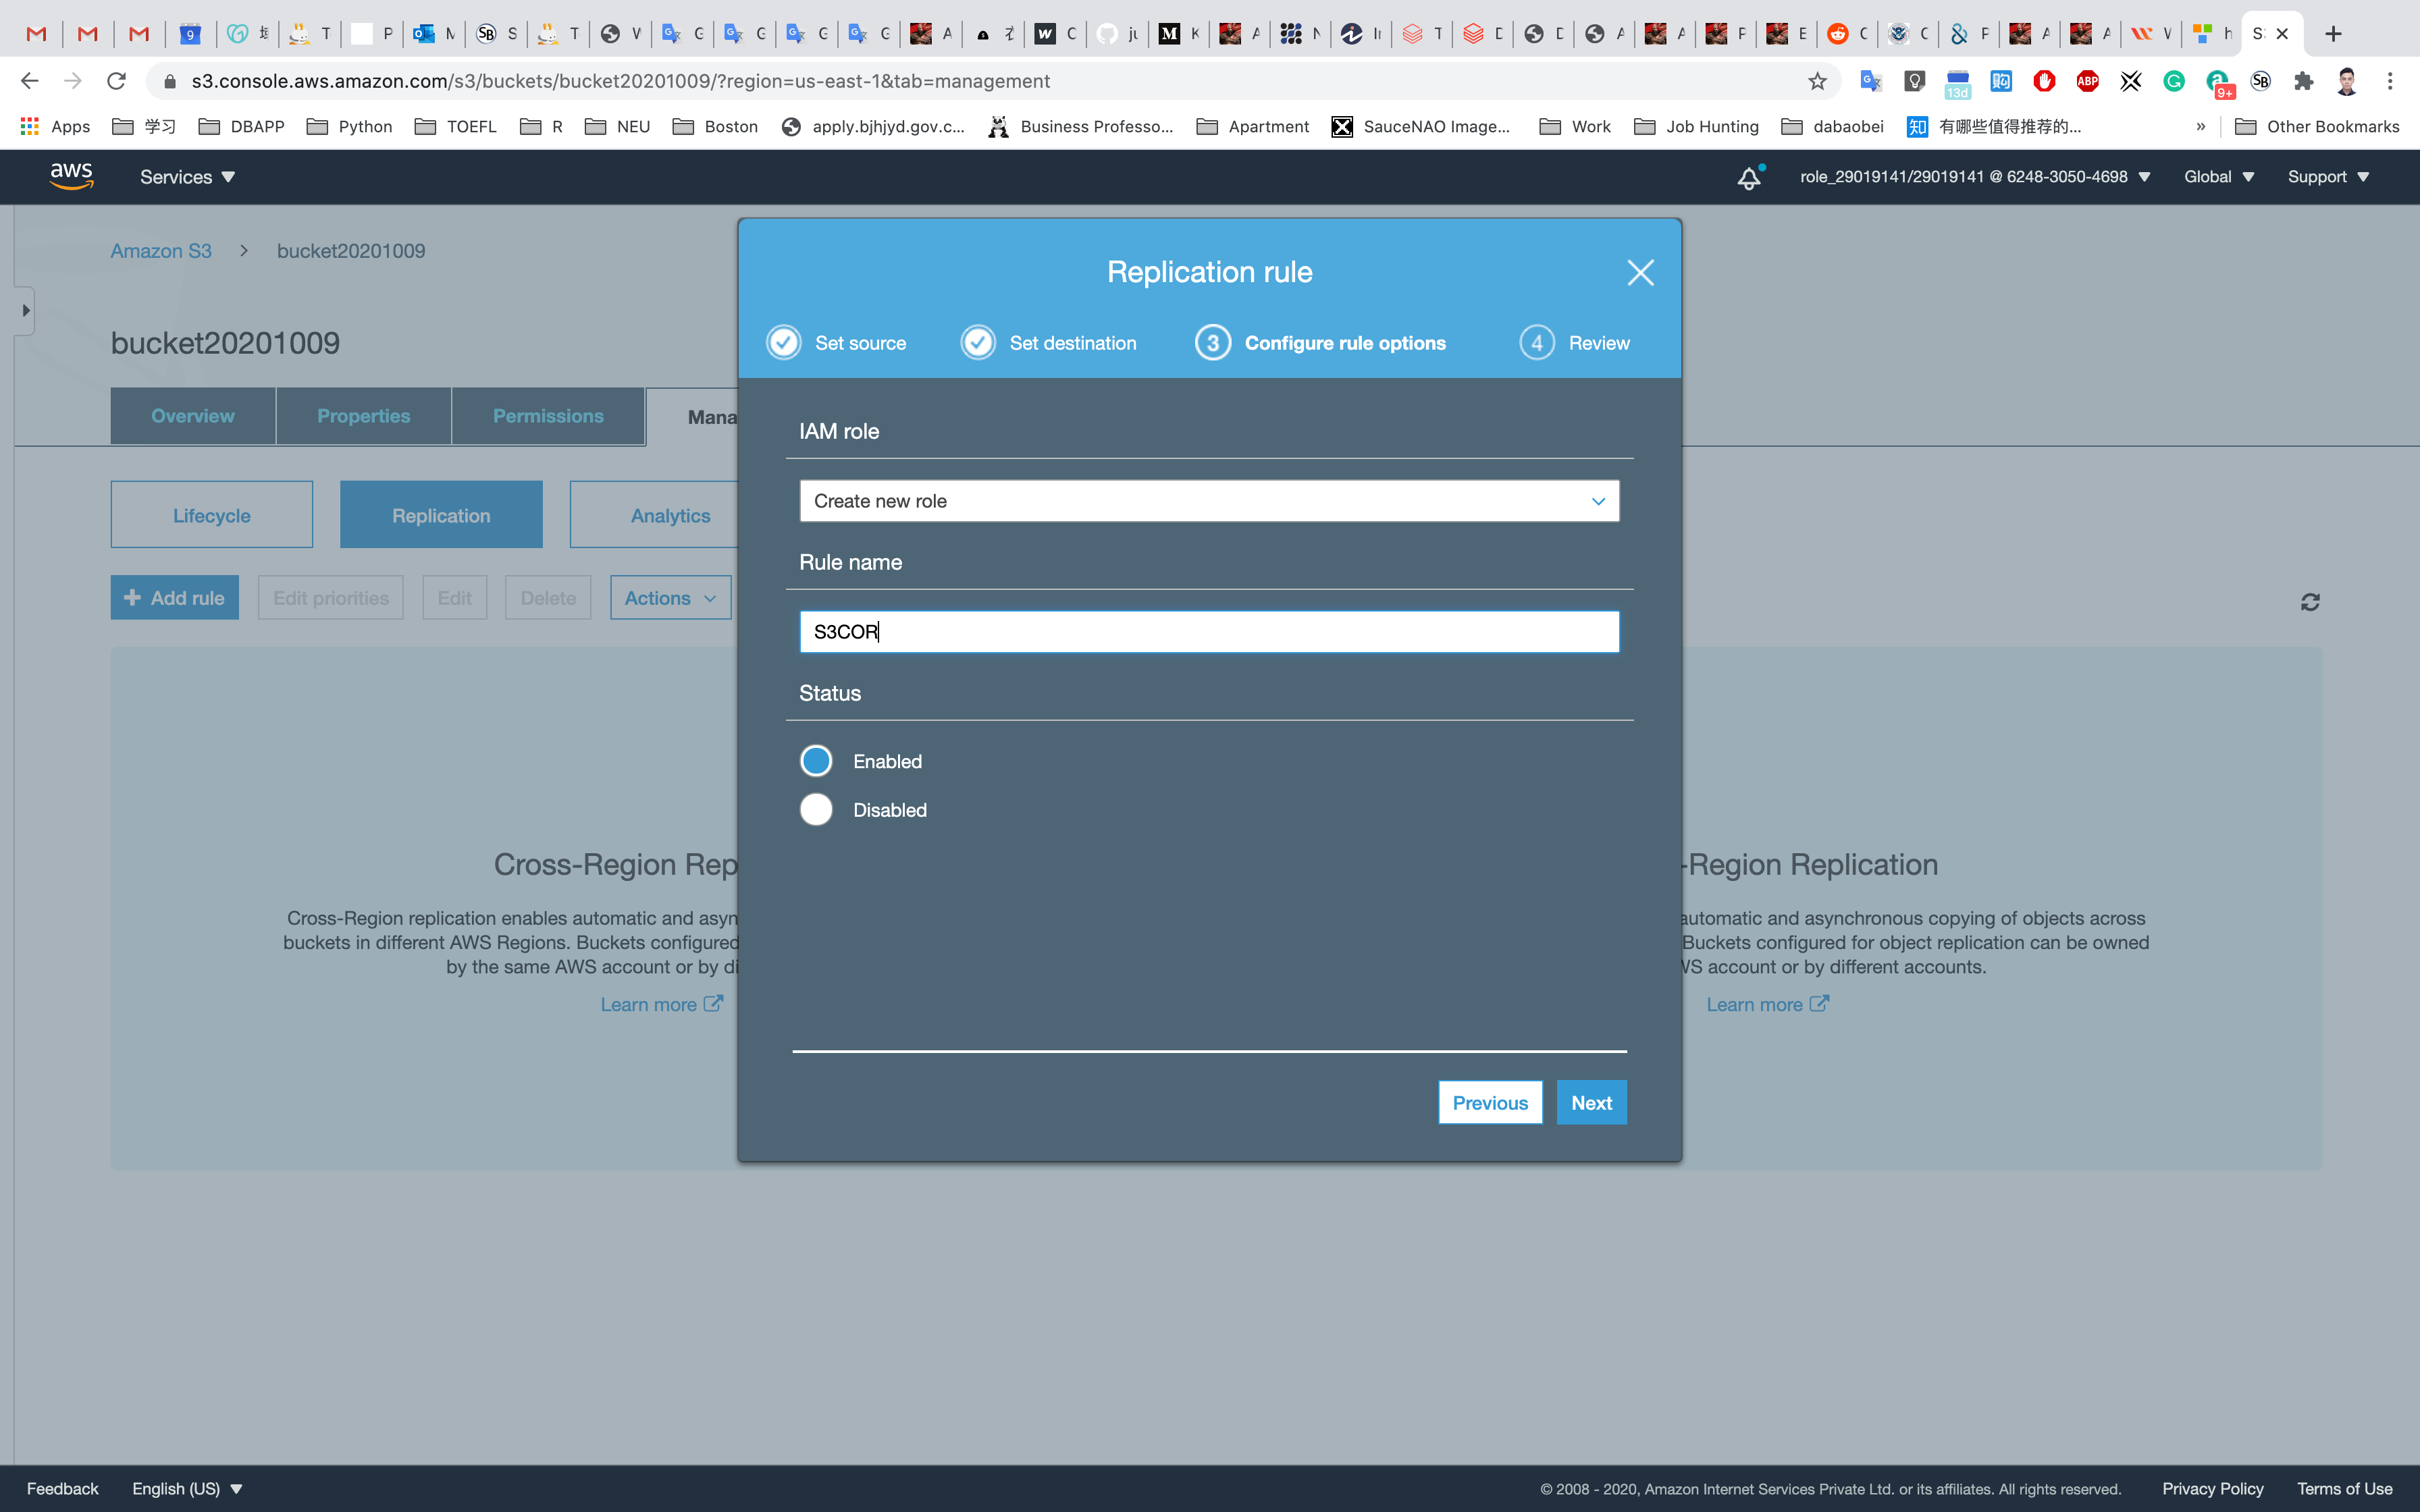
Review once and click on Save.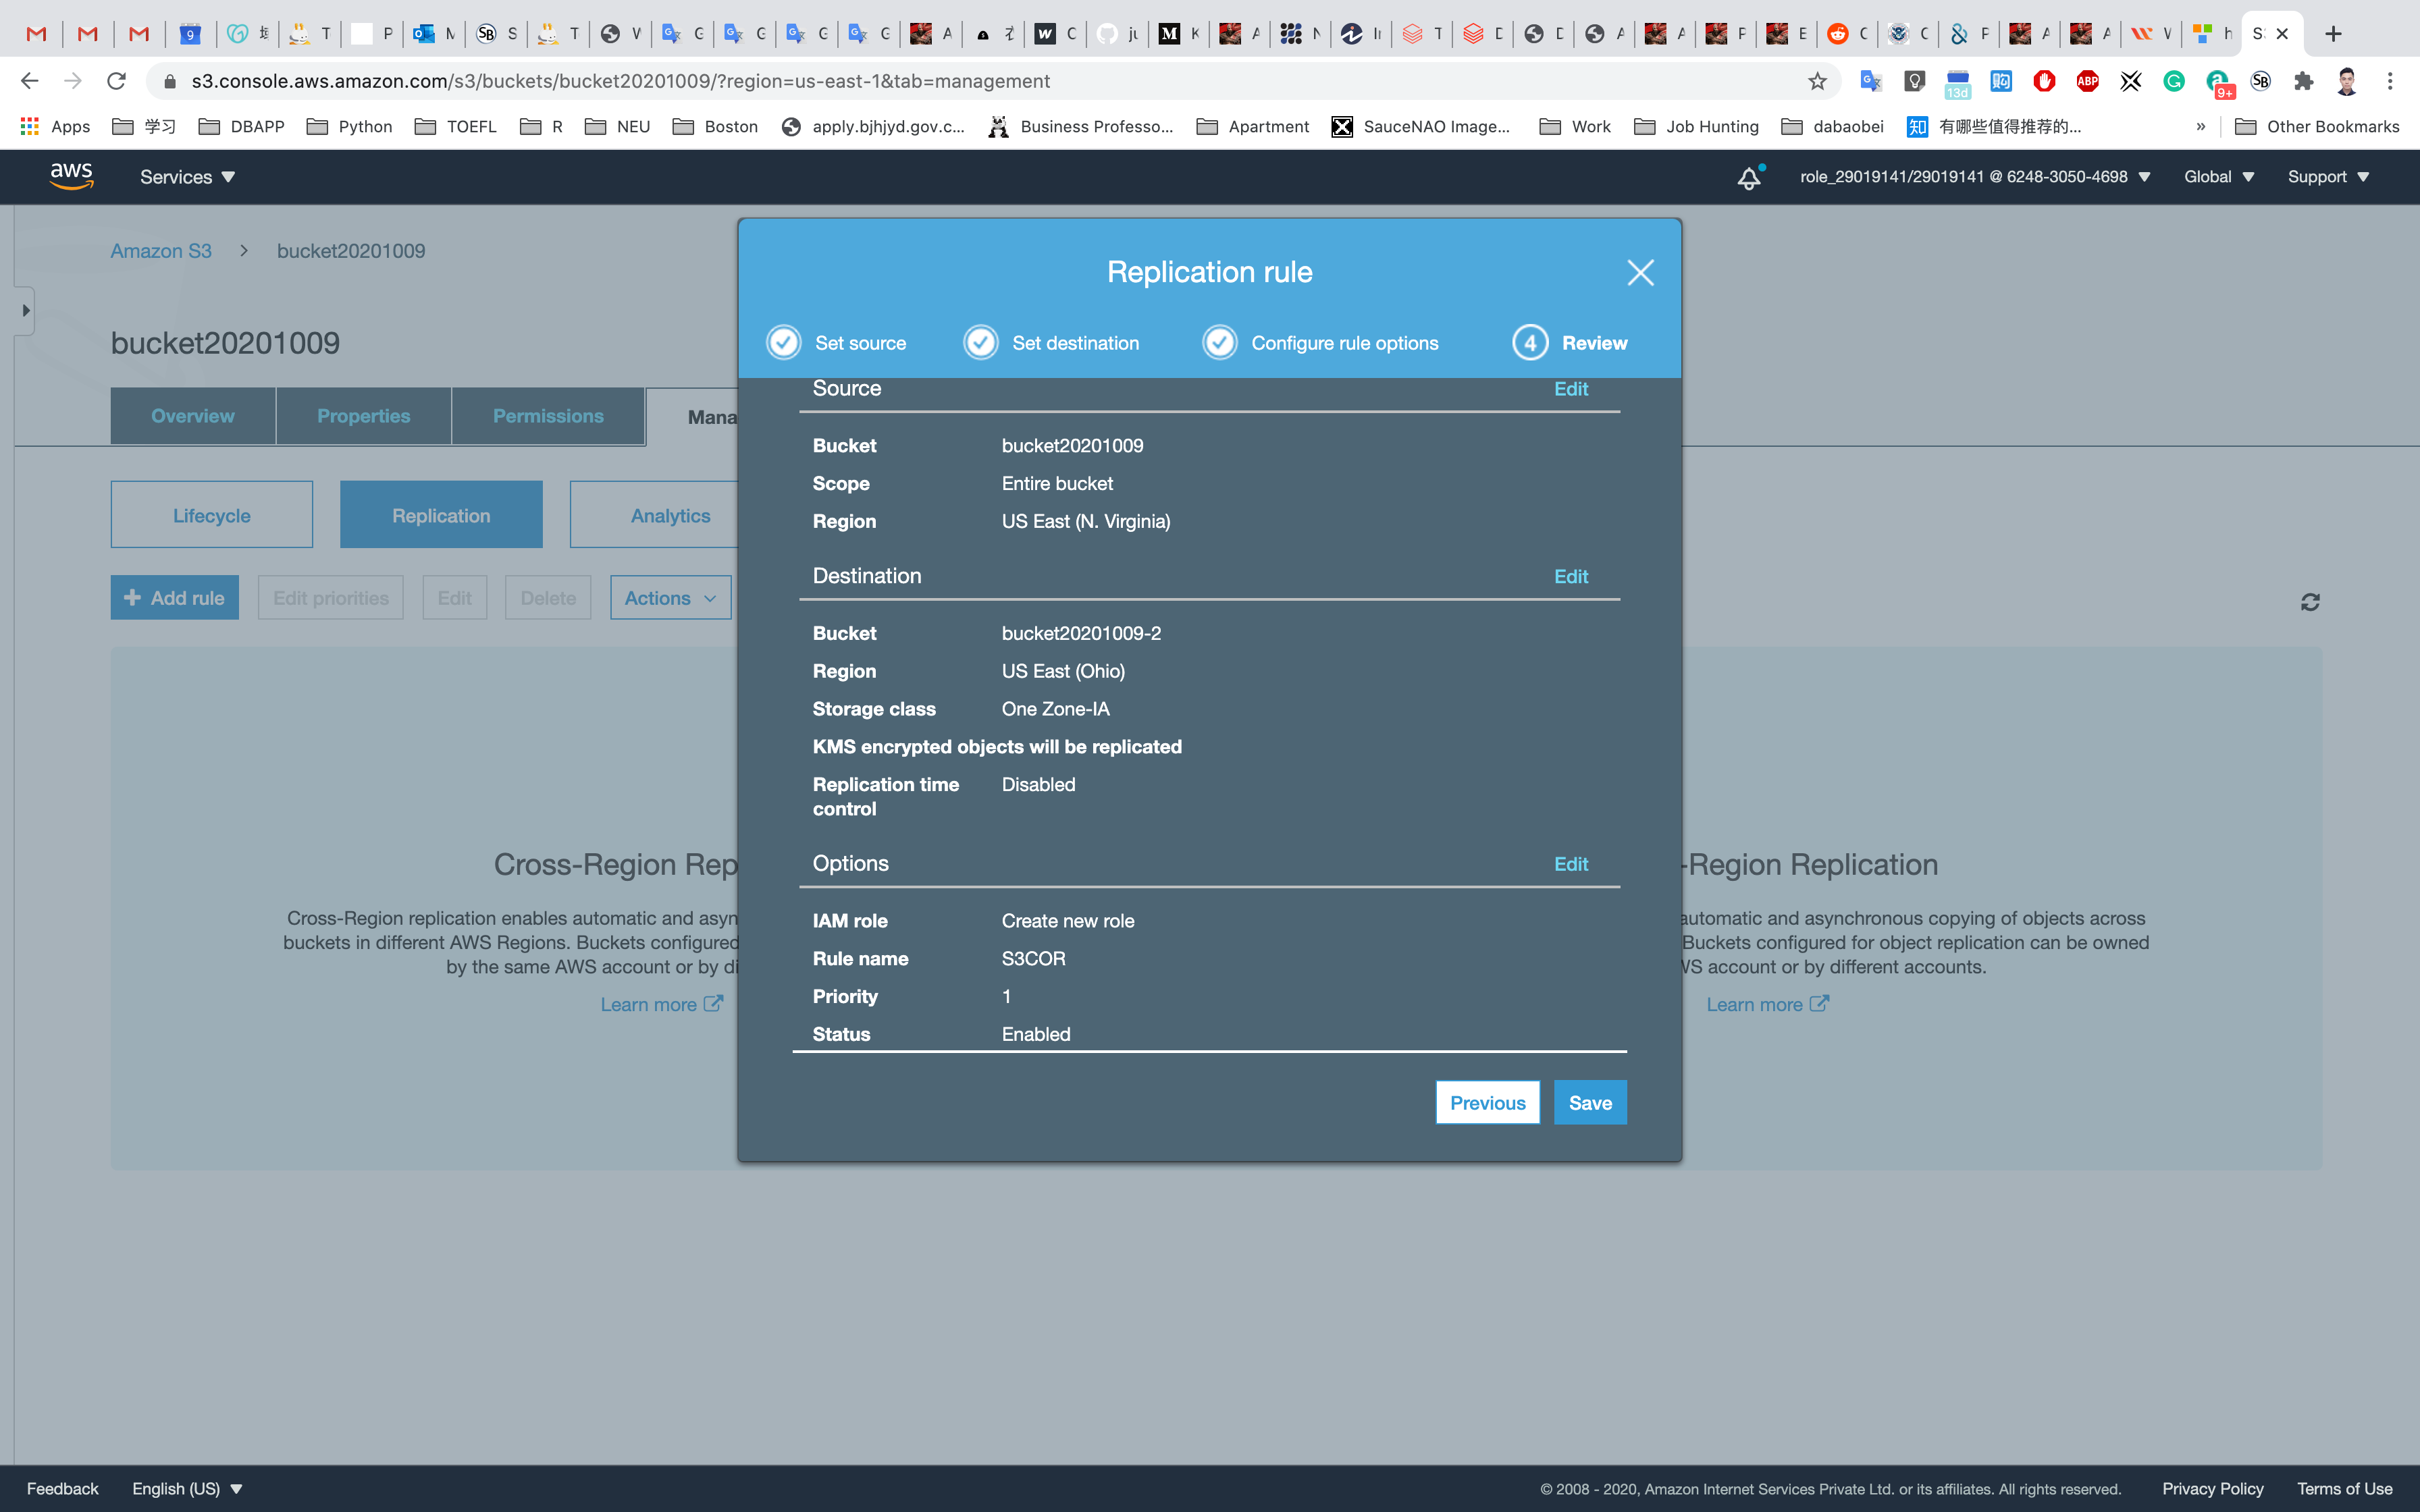
Upload an object
Now upload an Object (.txt or .png). to your source bucket (the first one that located in N.Virginia)
Upload any file from your local machine.
On the S3 Buck list page, Click on youBucketName
Click on Overview tab.
Click on the Upload button.
Click on the Add files button.
Browse for the file you want to upload.
Click on Next and Grant public read access to this project(s)
Click on the Upload button.
You can watch the progress of the upload from within the transfer panel at the bottom of the screen. If it’s a small file, you might not see the transfer. Once your file has been uploaded, it will be displayed in the bucket.
Click on the file just uploaded.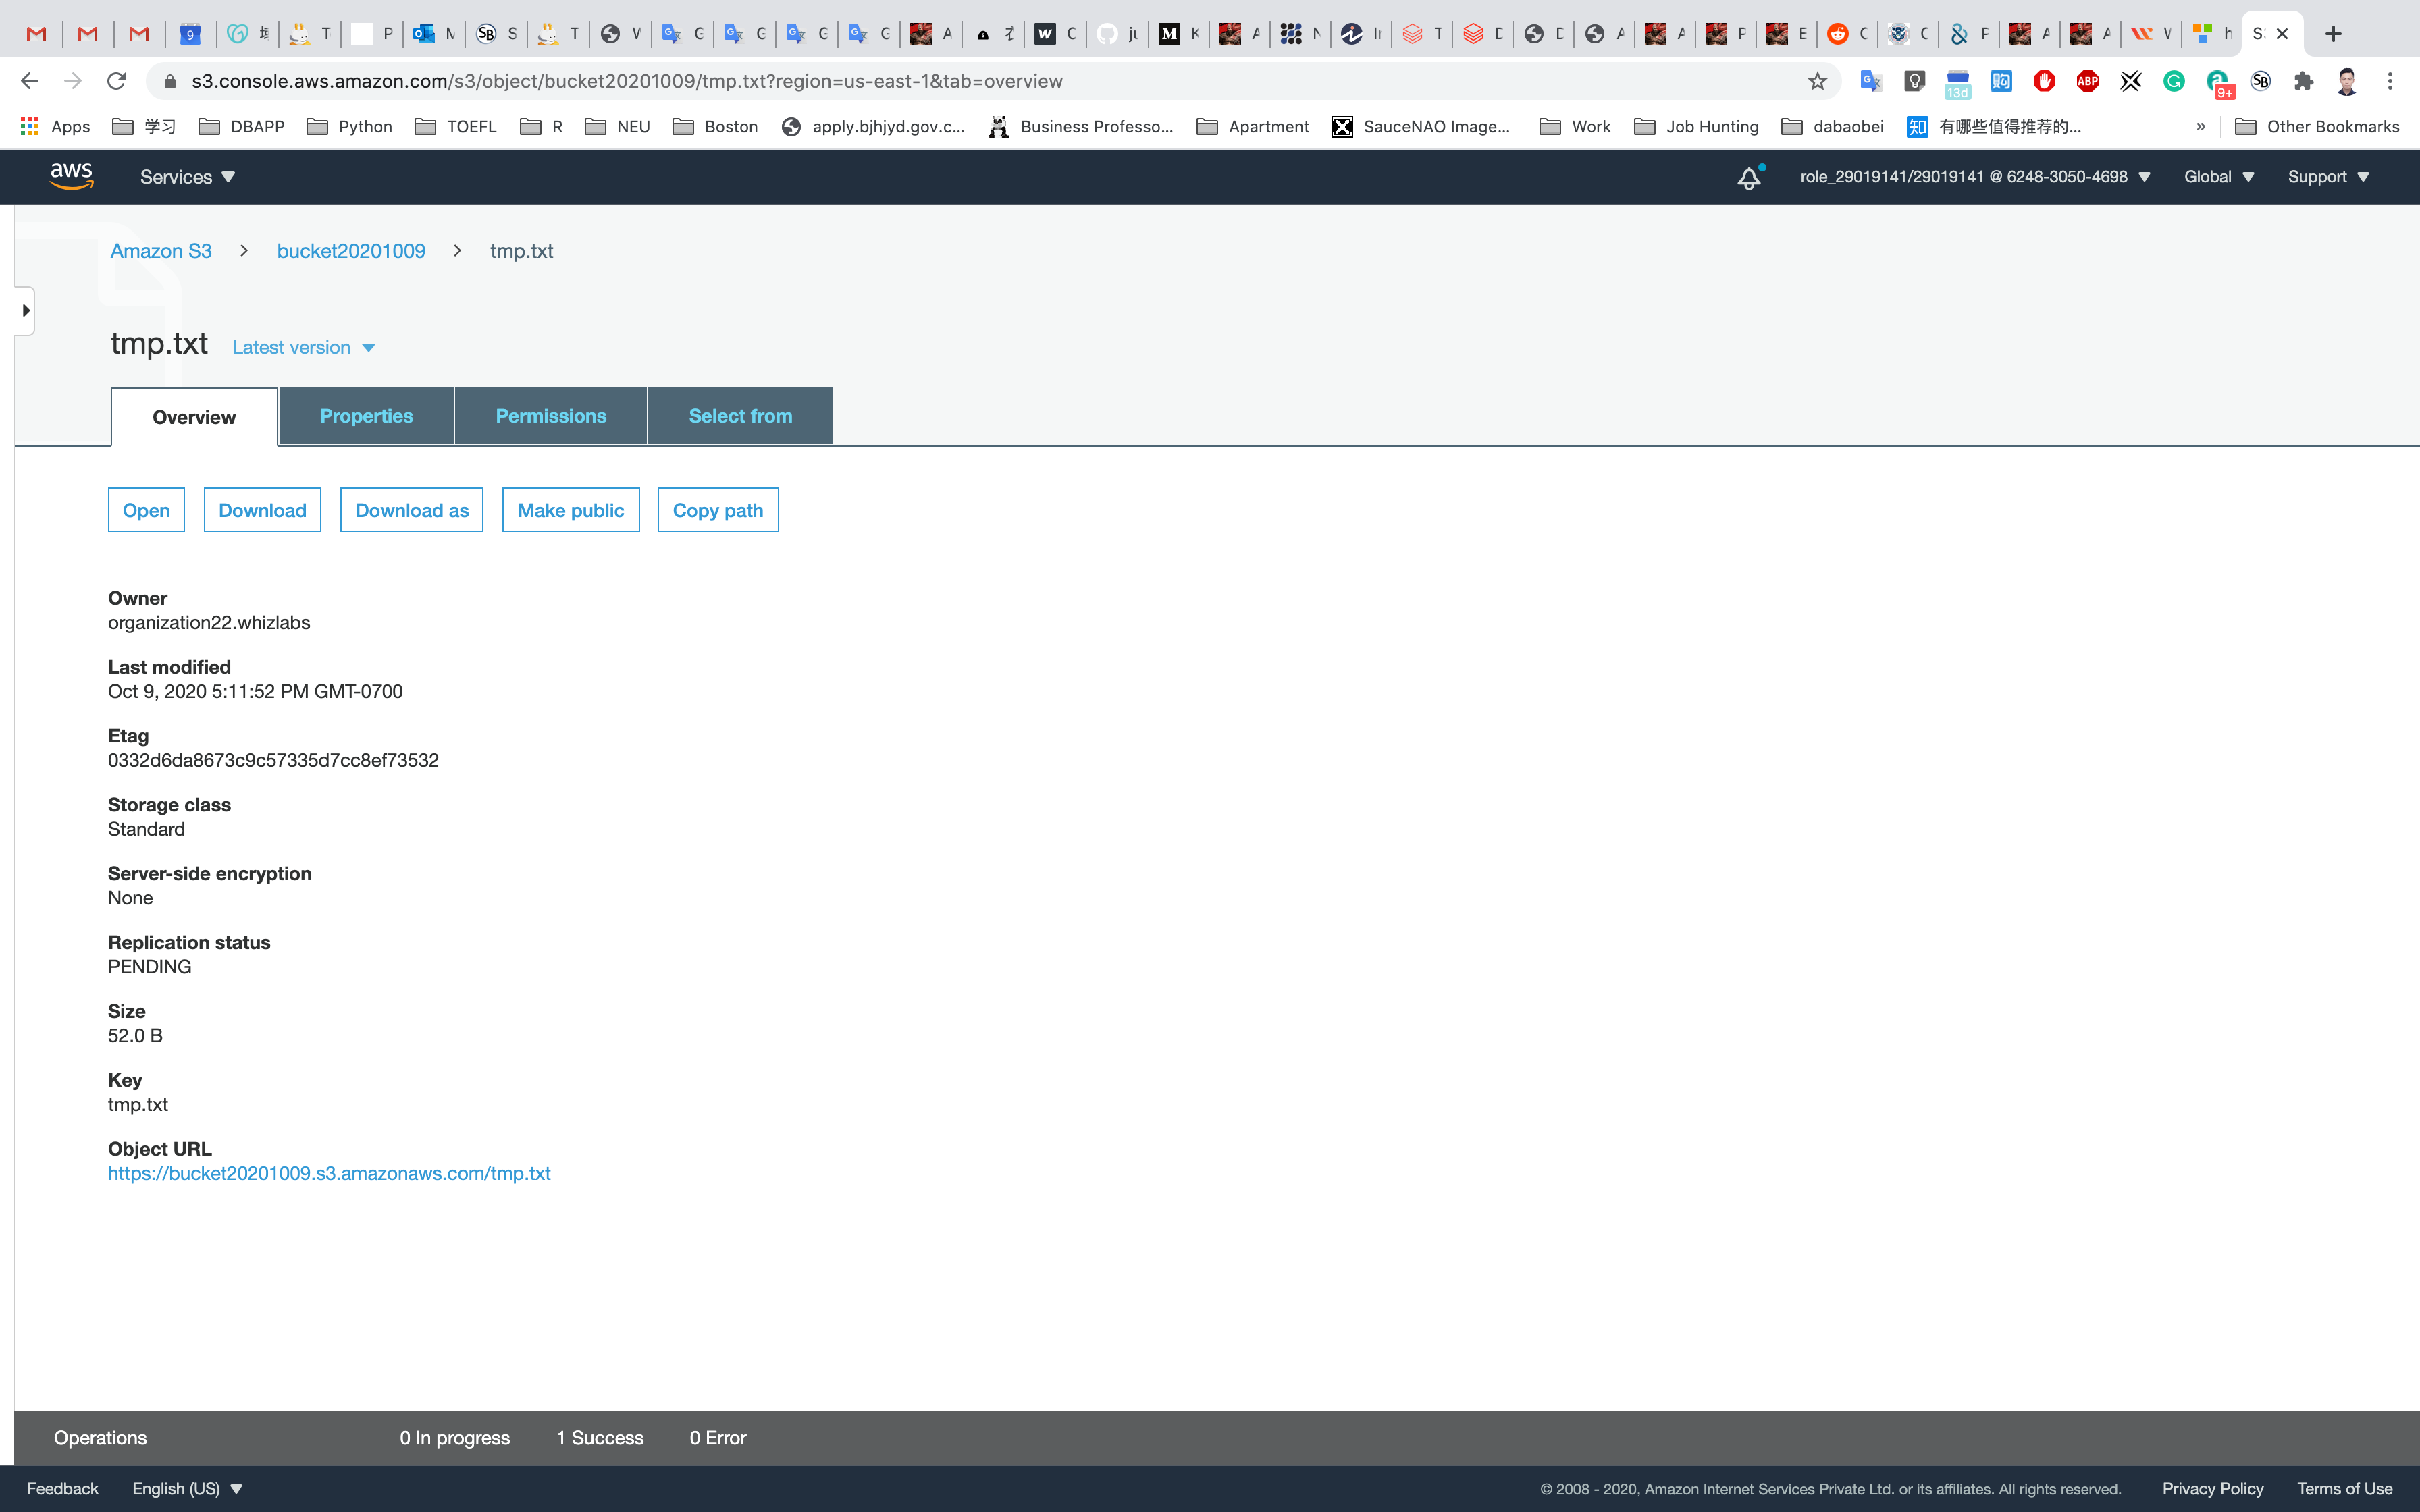
Click on the Object URL, notice the URL.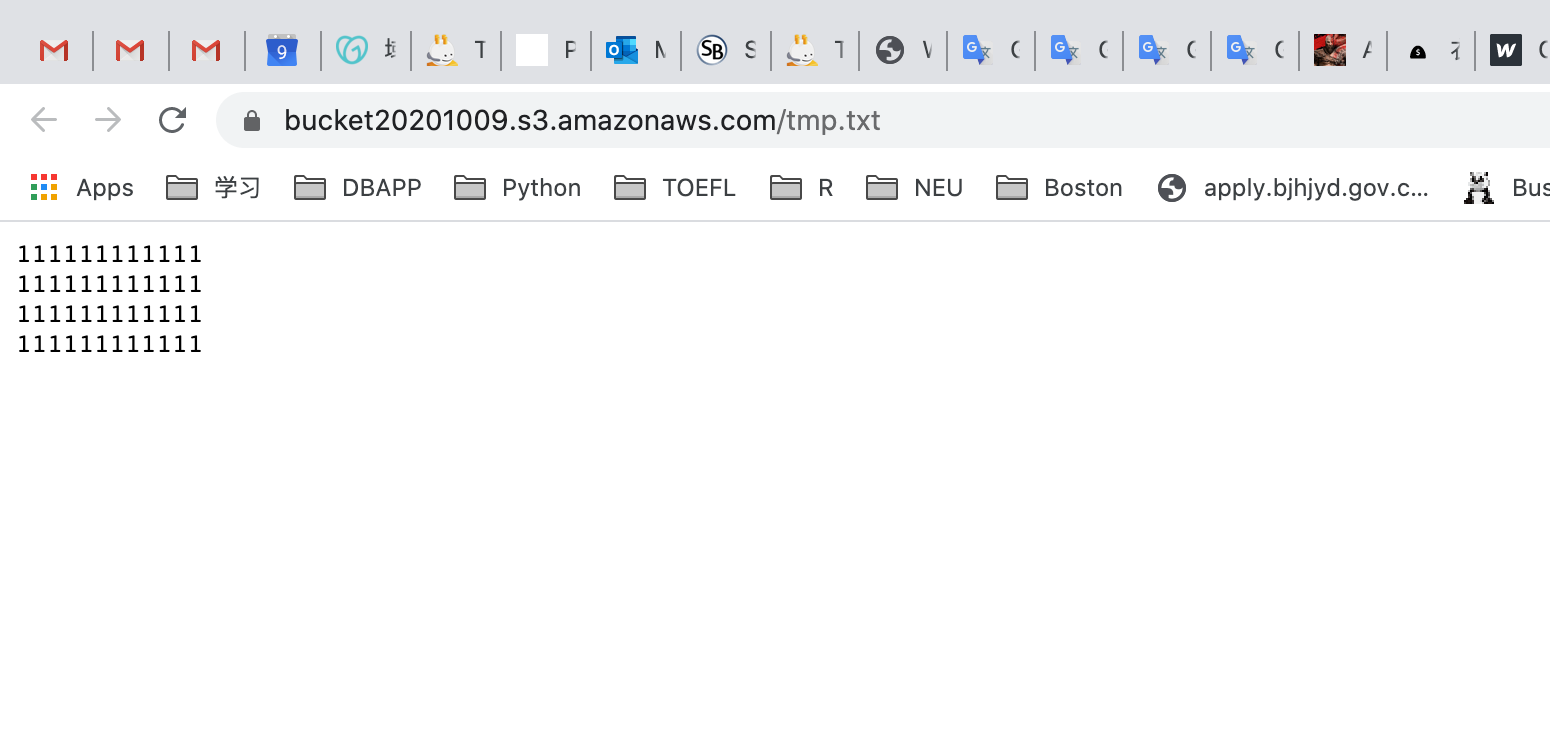
Validate Test
Navigate to your Target Bucket (the second bucket located in Ohio) to see the replication.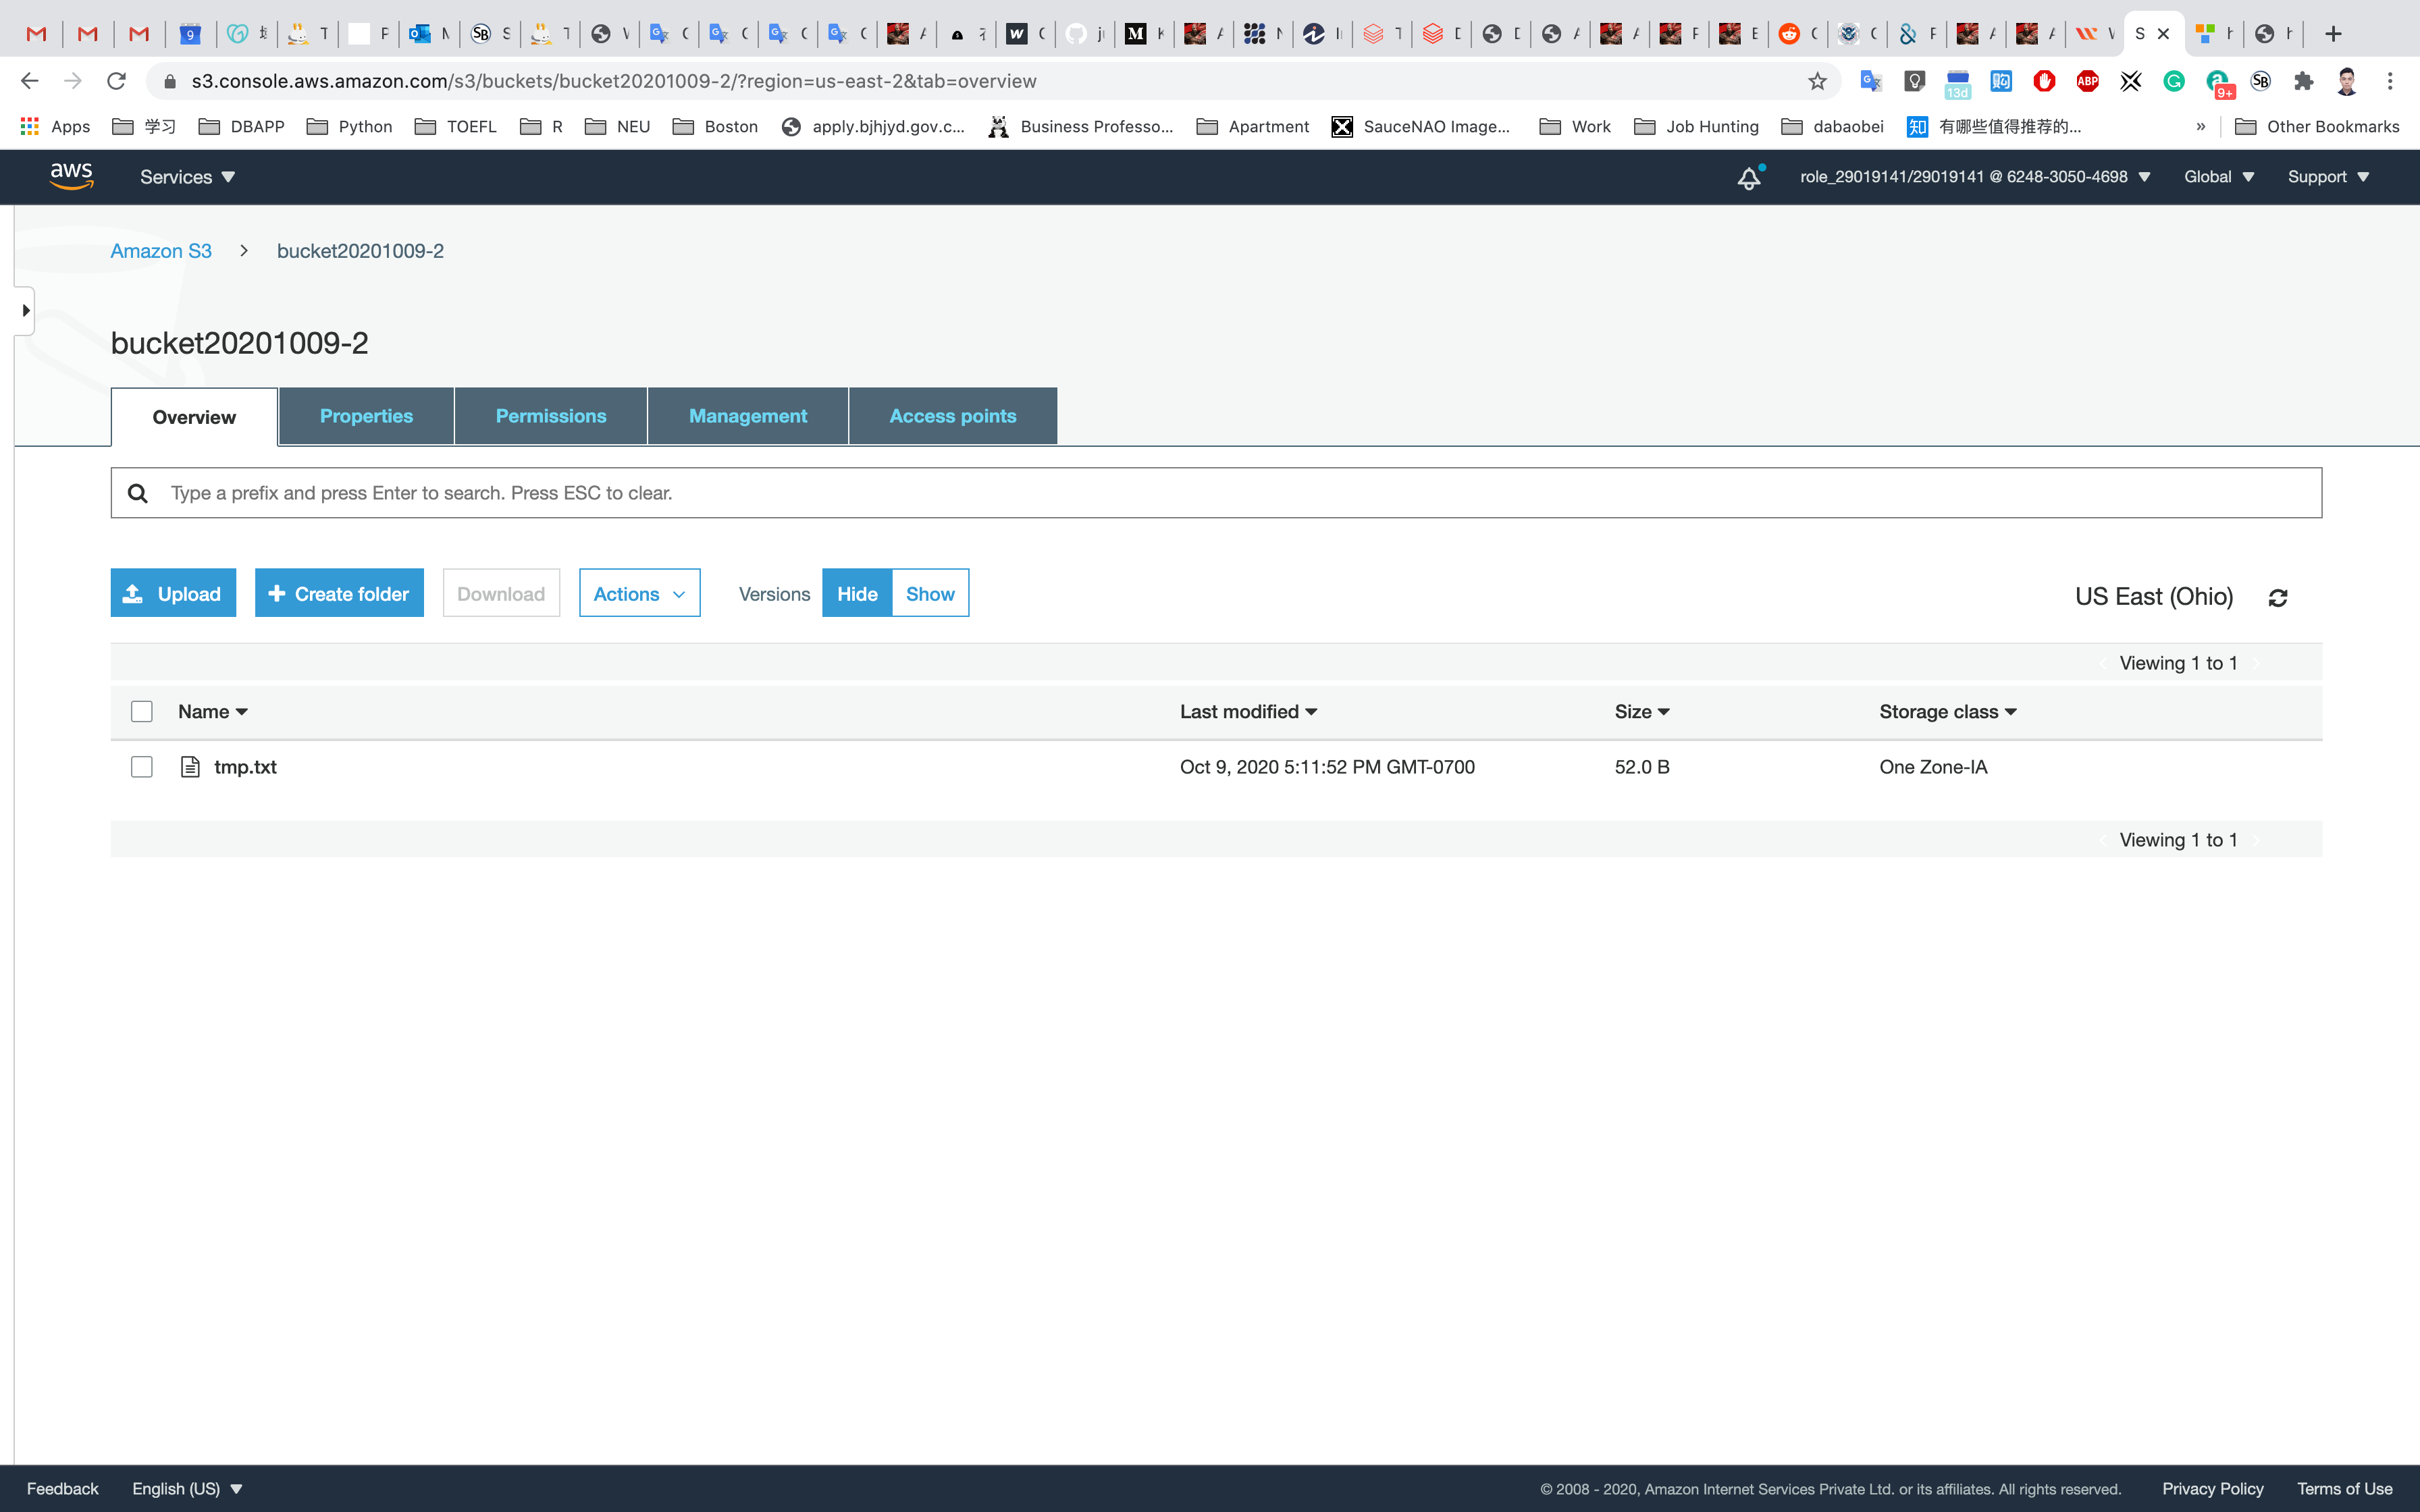
Now you have successfully configured the CORS in S3 Bucket. Notice the URL is different and content and file is the same.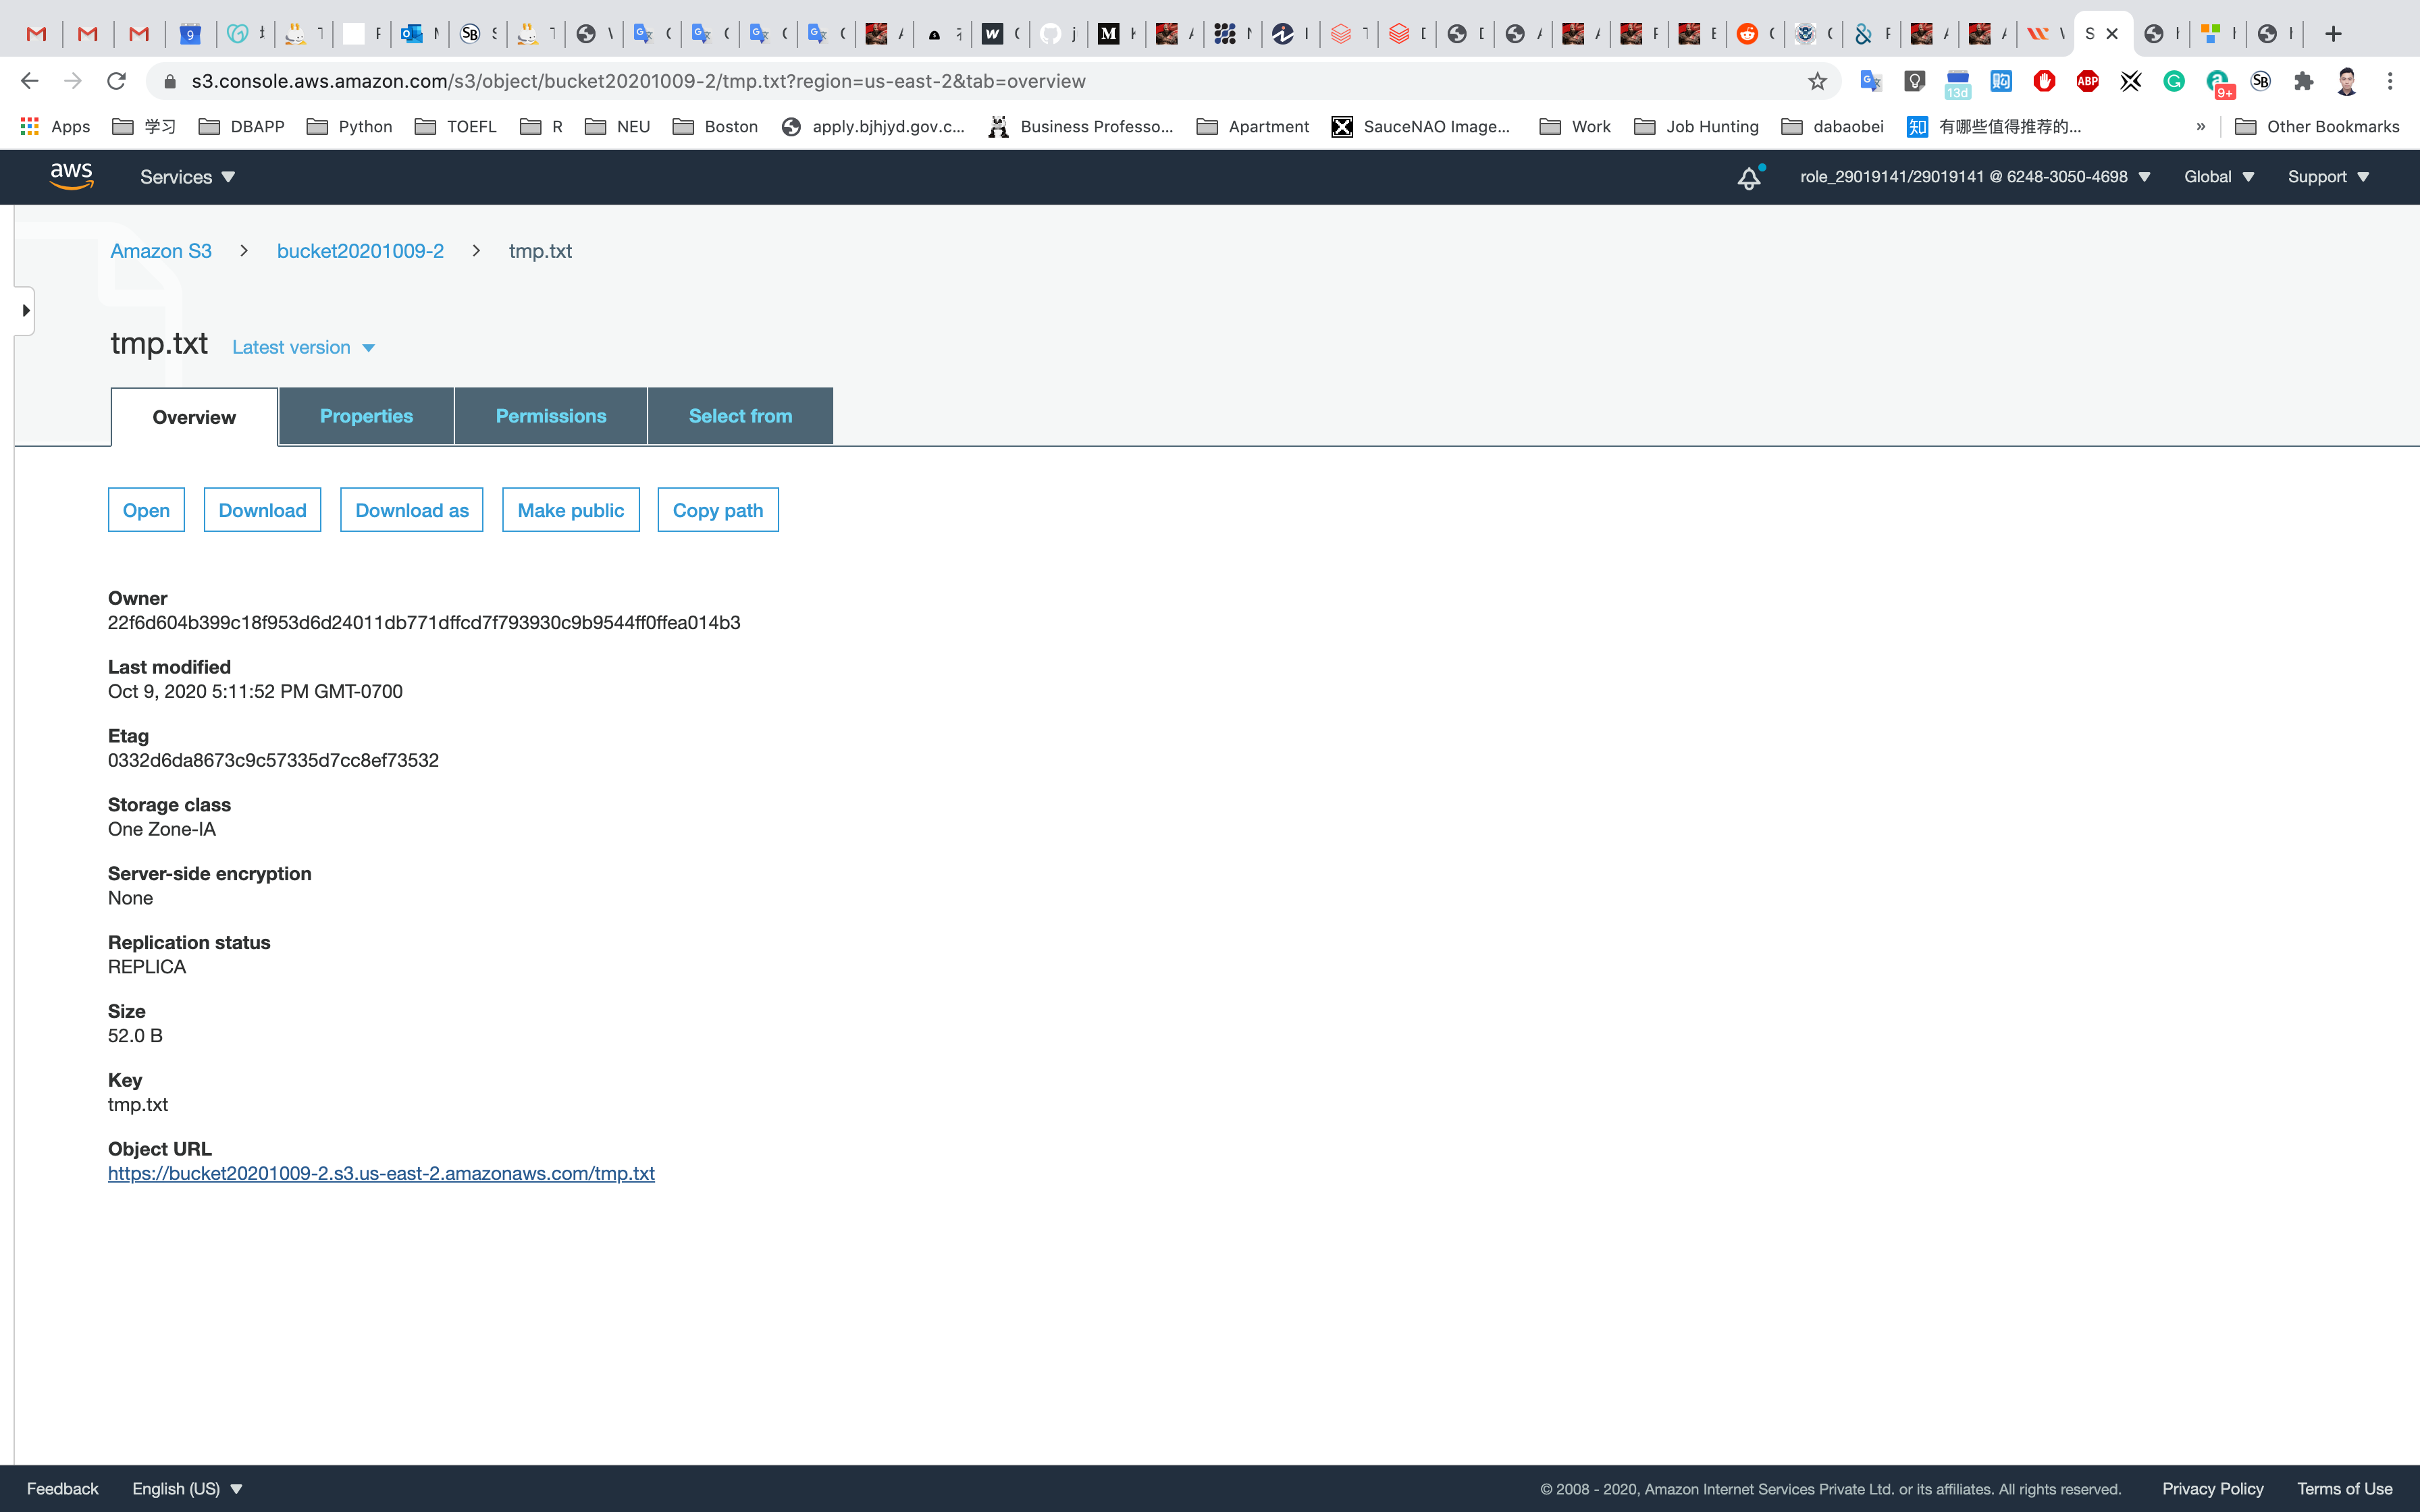
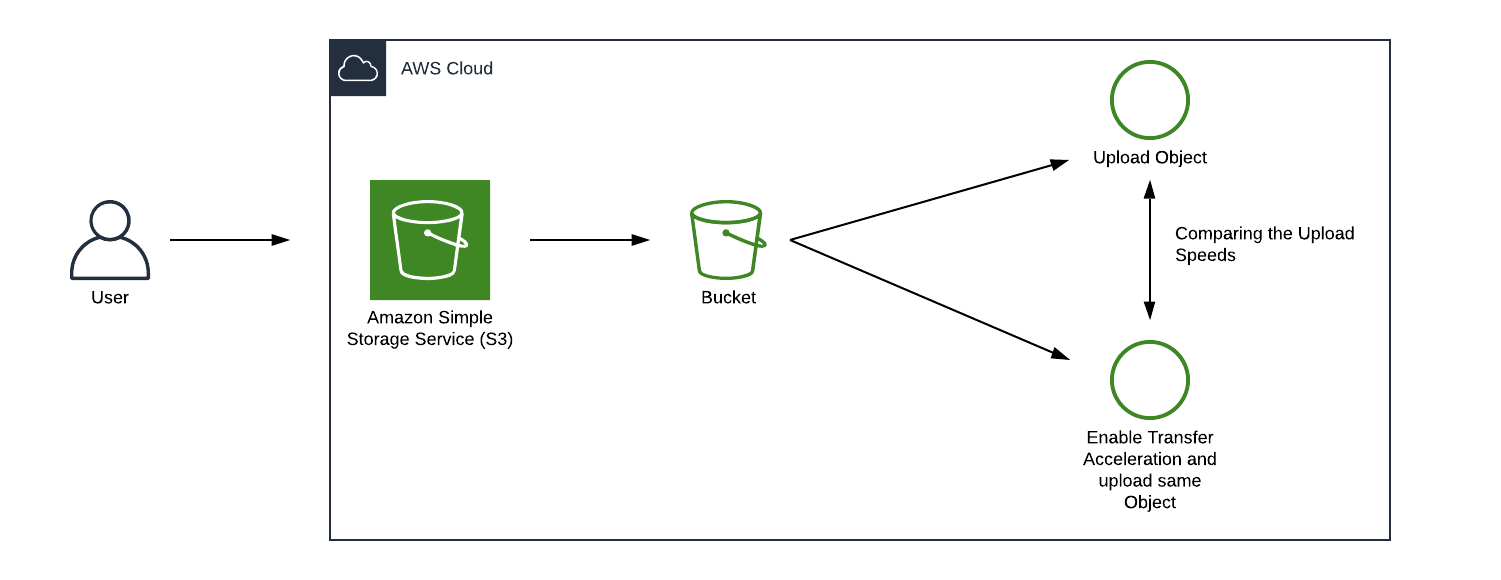
Comparing Data Transfer Speeds with S3 Transfer Acceleration
Lab Details
- This lab walks you through the steps to create an S3 Bucket to compare the speeds of Direct Upload and Transfer Accelerated Upload of a file.
- You will practice using Amazon S3.
Lab Tasks
- Prepare a short video on your local machine.
- Create an Amazon S3 Bucket.
- Upload the short video through Direct Upload.
- Enable Transfer Acceleration.
- Upload the same video after enabling Transfer Acceleration.
- Comparing the Upload Speeds.
Architecture Diagram
S3 Configuration
Service -> S3
Create an S3 Bucket
On the S3 dashboard, click on Create bucket and fill in the bucket details.
- Bucket name: Enter
inputYourBucketName- Note: S3 bucket names are globally unique, choose a name which is available.
- Region: Select
US East (N. Virginia) - Leave other settings as default.
Click Next then Next and go to the permissions and Uncheck the Block all Public Access and acknowledge the change.
Click on Next and Create bucket
Compare your data transfer speed by region
Click on your bucket and select Properties.
Scroll down to see Transfer acceleration under the Advanced settings and click on it.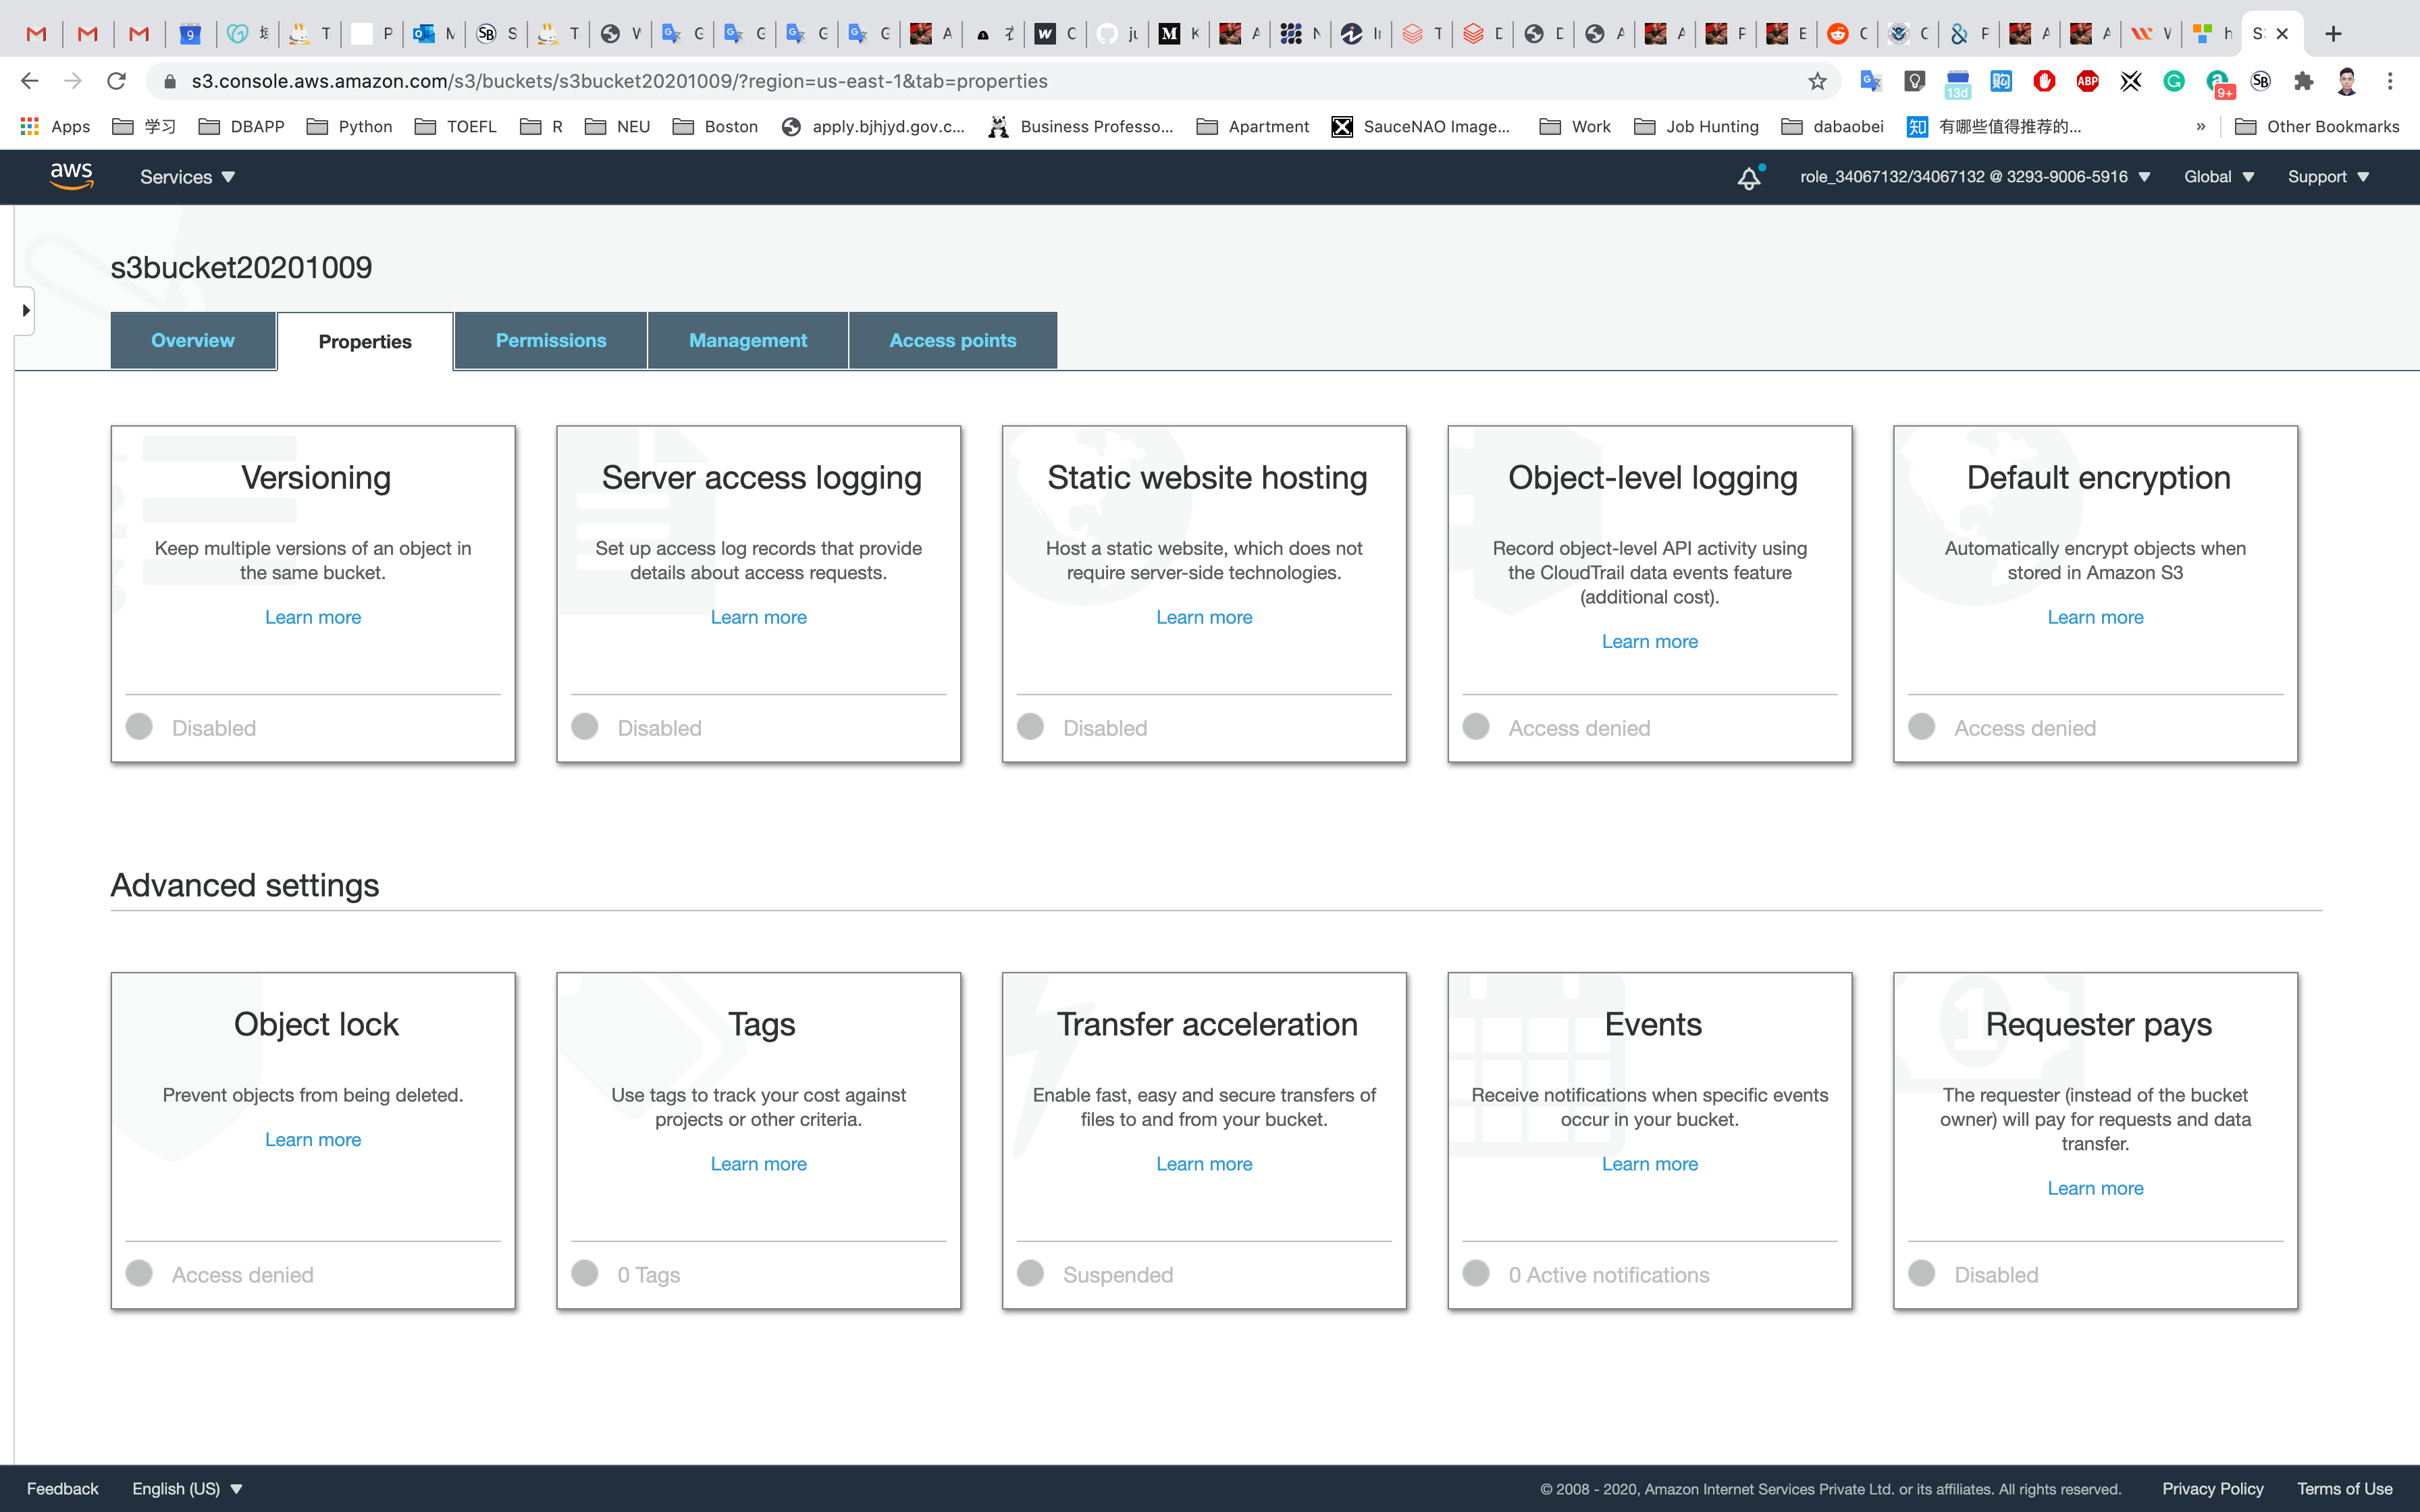
To test it, Amazon has provided a tool that will upload a file to your S3 bucket using both methods: Direct upload and transferred acceleration upload.
Click on Want to compare your data transfer speed by region?
This speed checker uses multipart uploads to transfer a file from your browser to various Amazon S3 regions with and without Amazon S3 Transfer Acceleration. It compares the speed results and shows the percentage difference for every region.
Note: In general, the further away you are from an Amazon S3 region, the higher the speed improvement you can expect from using Amazon S3 Transfer Acceleration.
If you see similar speed results with and without the acceleration, your upload bandwidth or a system constraint might be limiting your speed.
An upload speed comparison in the selected region is shown: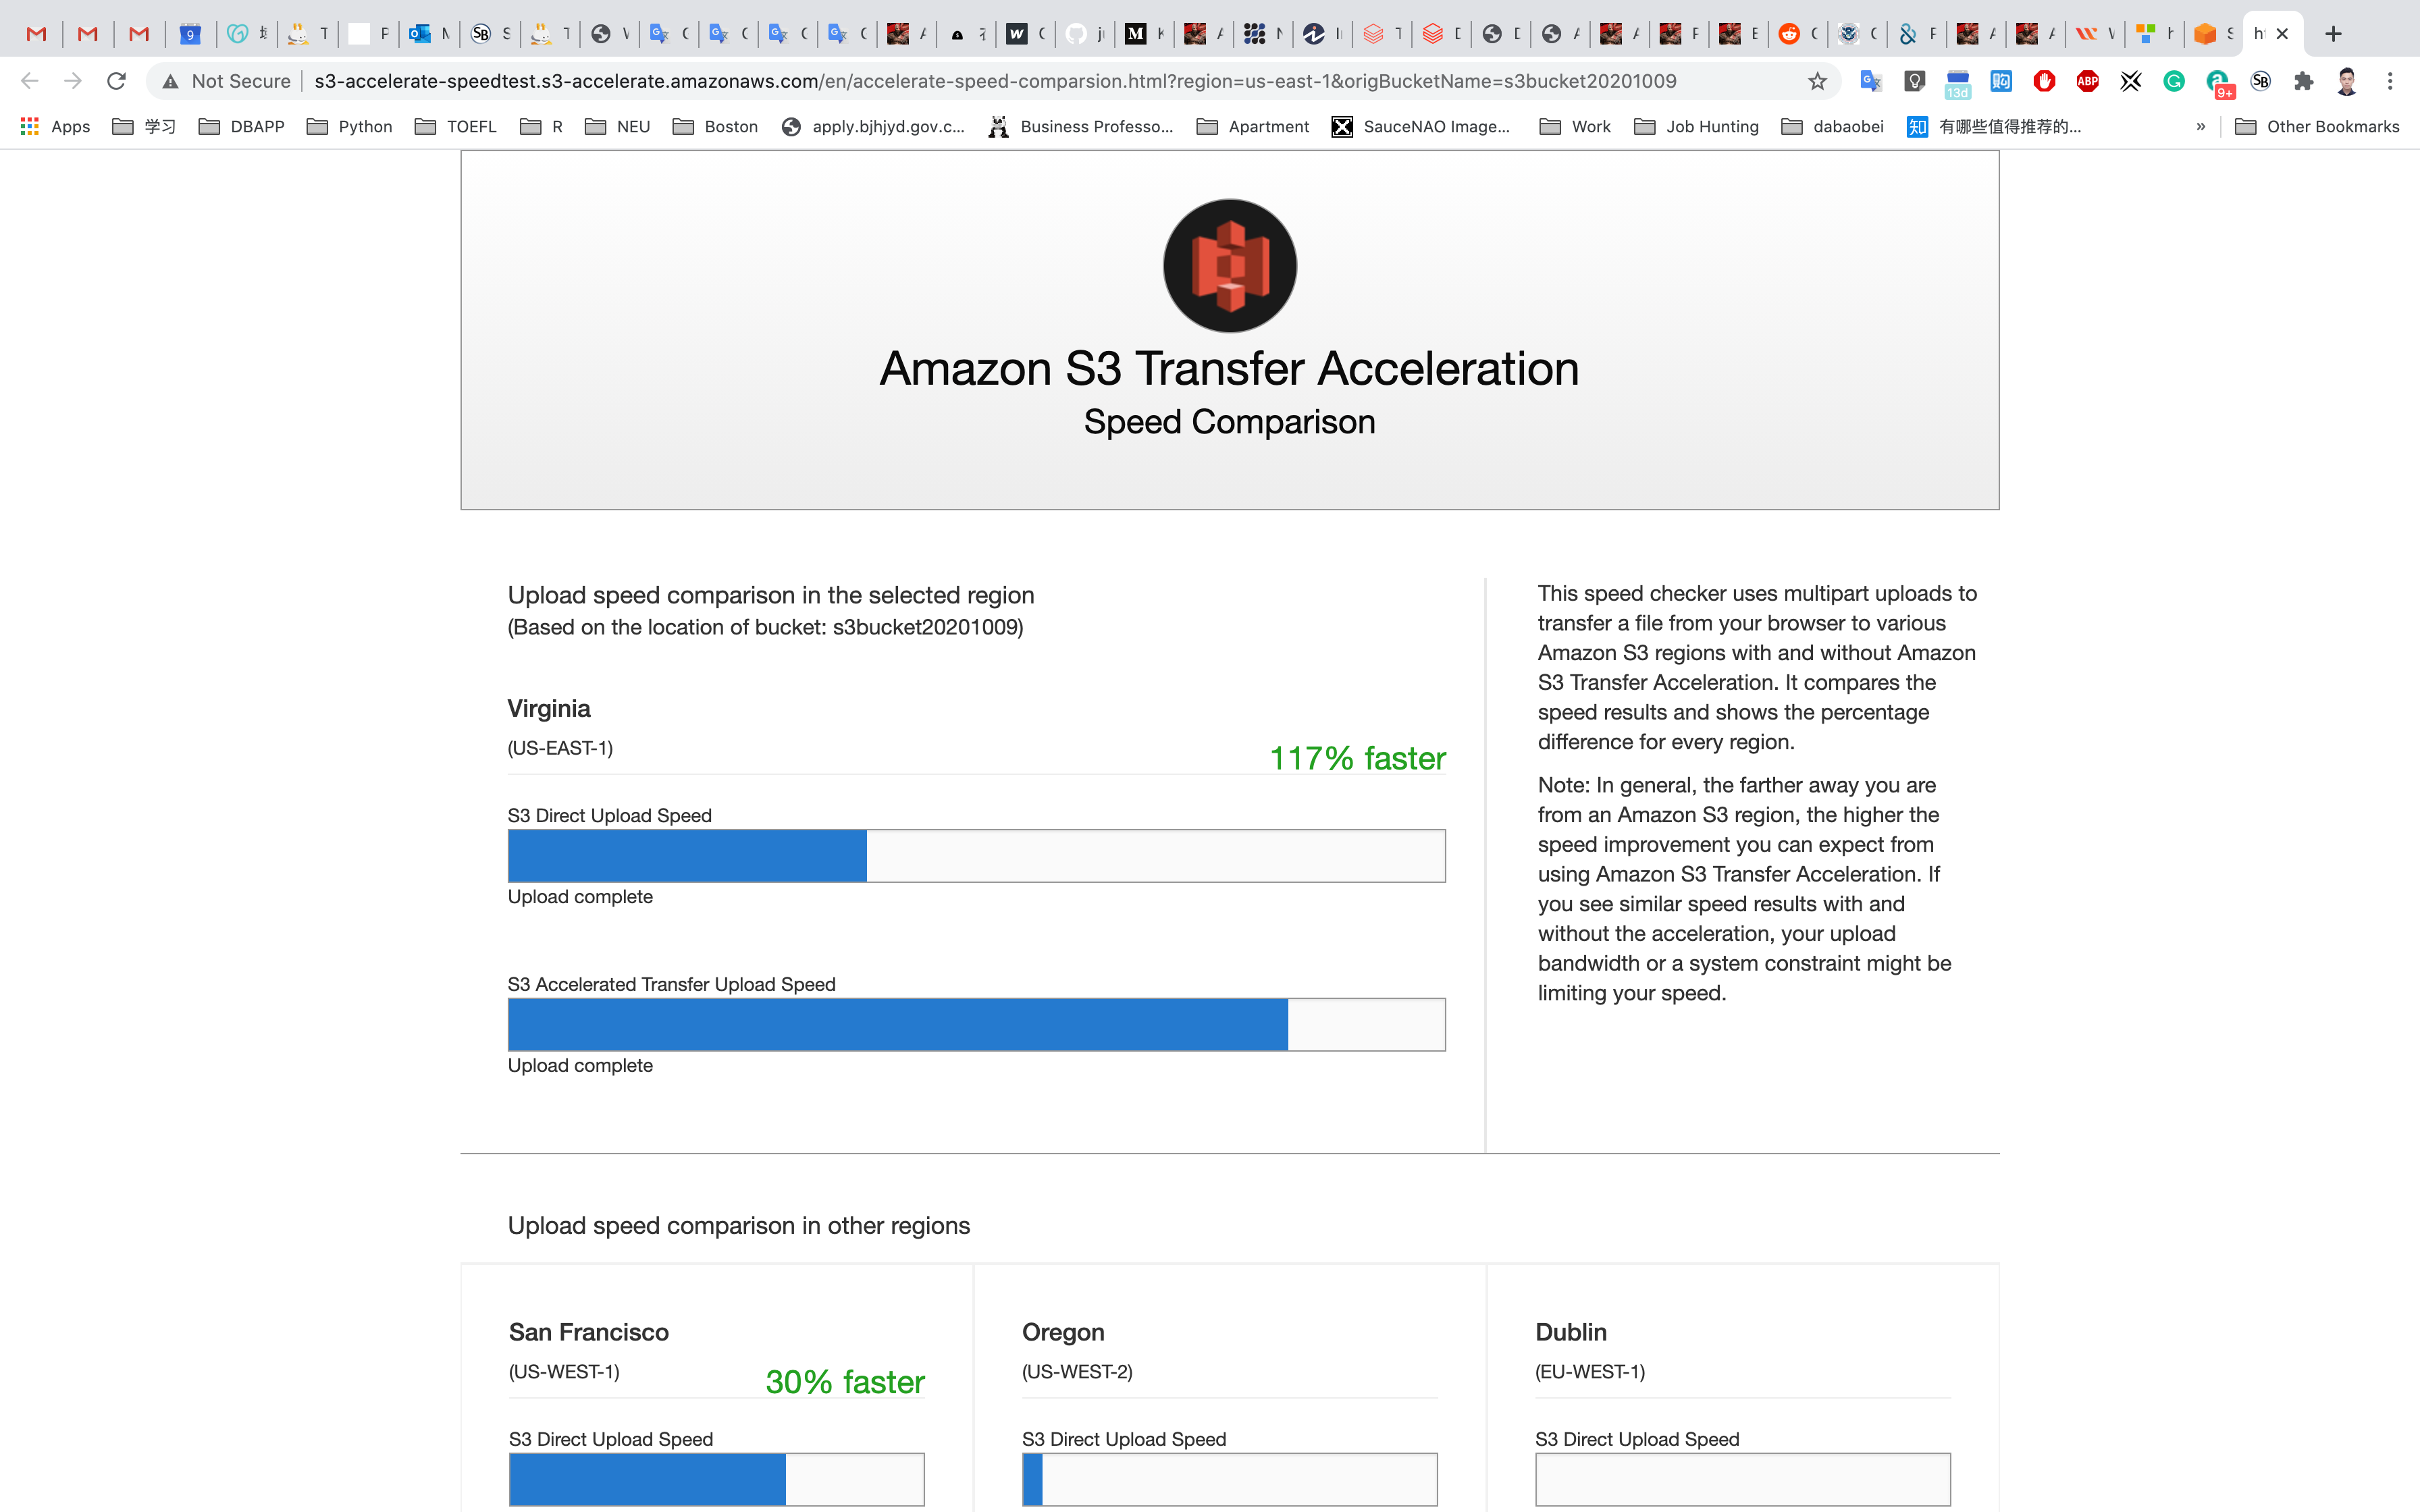
After the test, it shows the Direct Upload Speed was 171% faster than AWS Accelerated Transfer Upload Speed.
It will also show the compared transfer speeds in other regions if you scroll down. This will help you to decide if you want to switch to this option.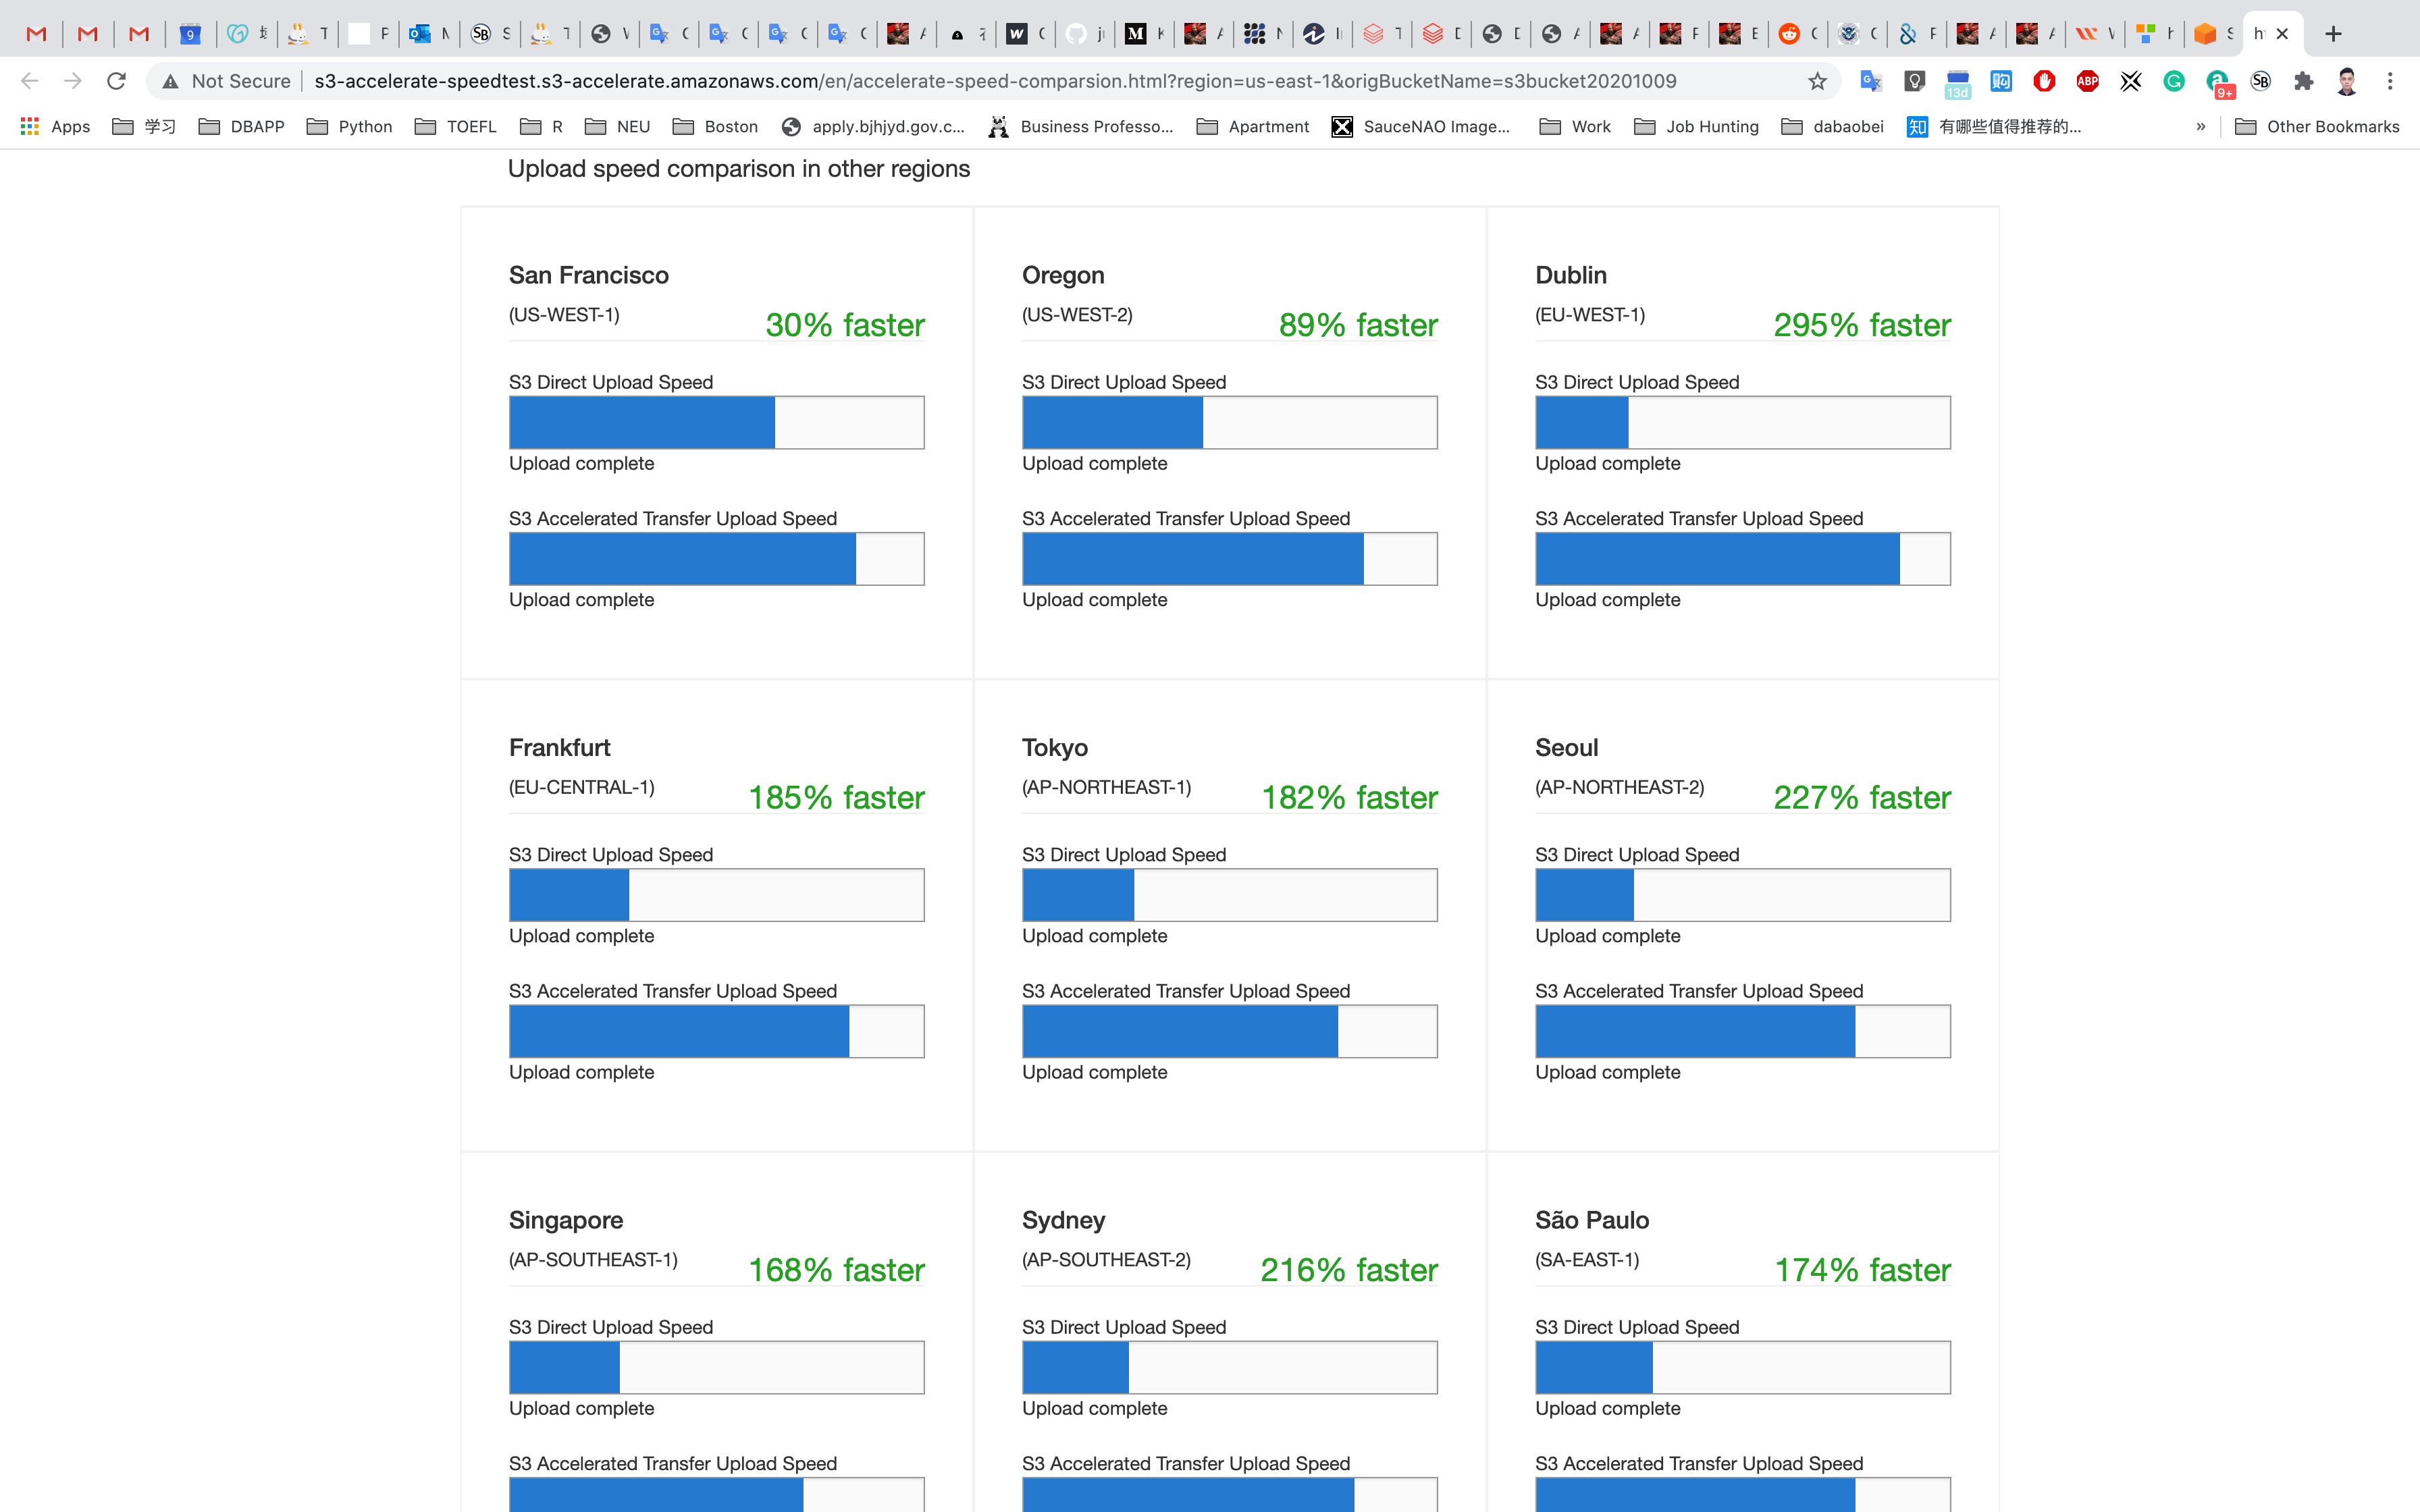
Live Demo
Let’s see a live example of the upload speed by uploading a short video with and without Transfer Acceleration, starting with our old method.
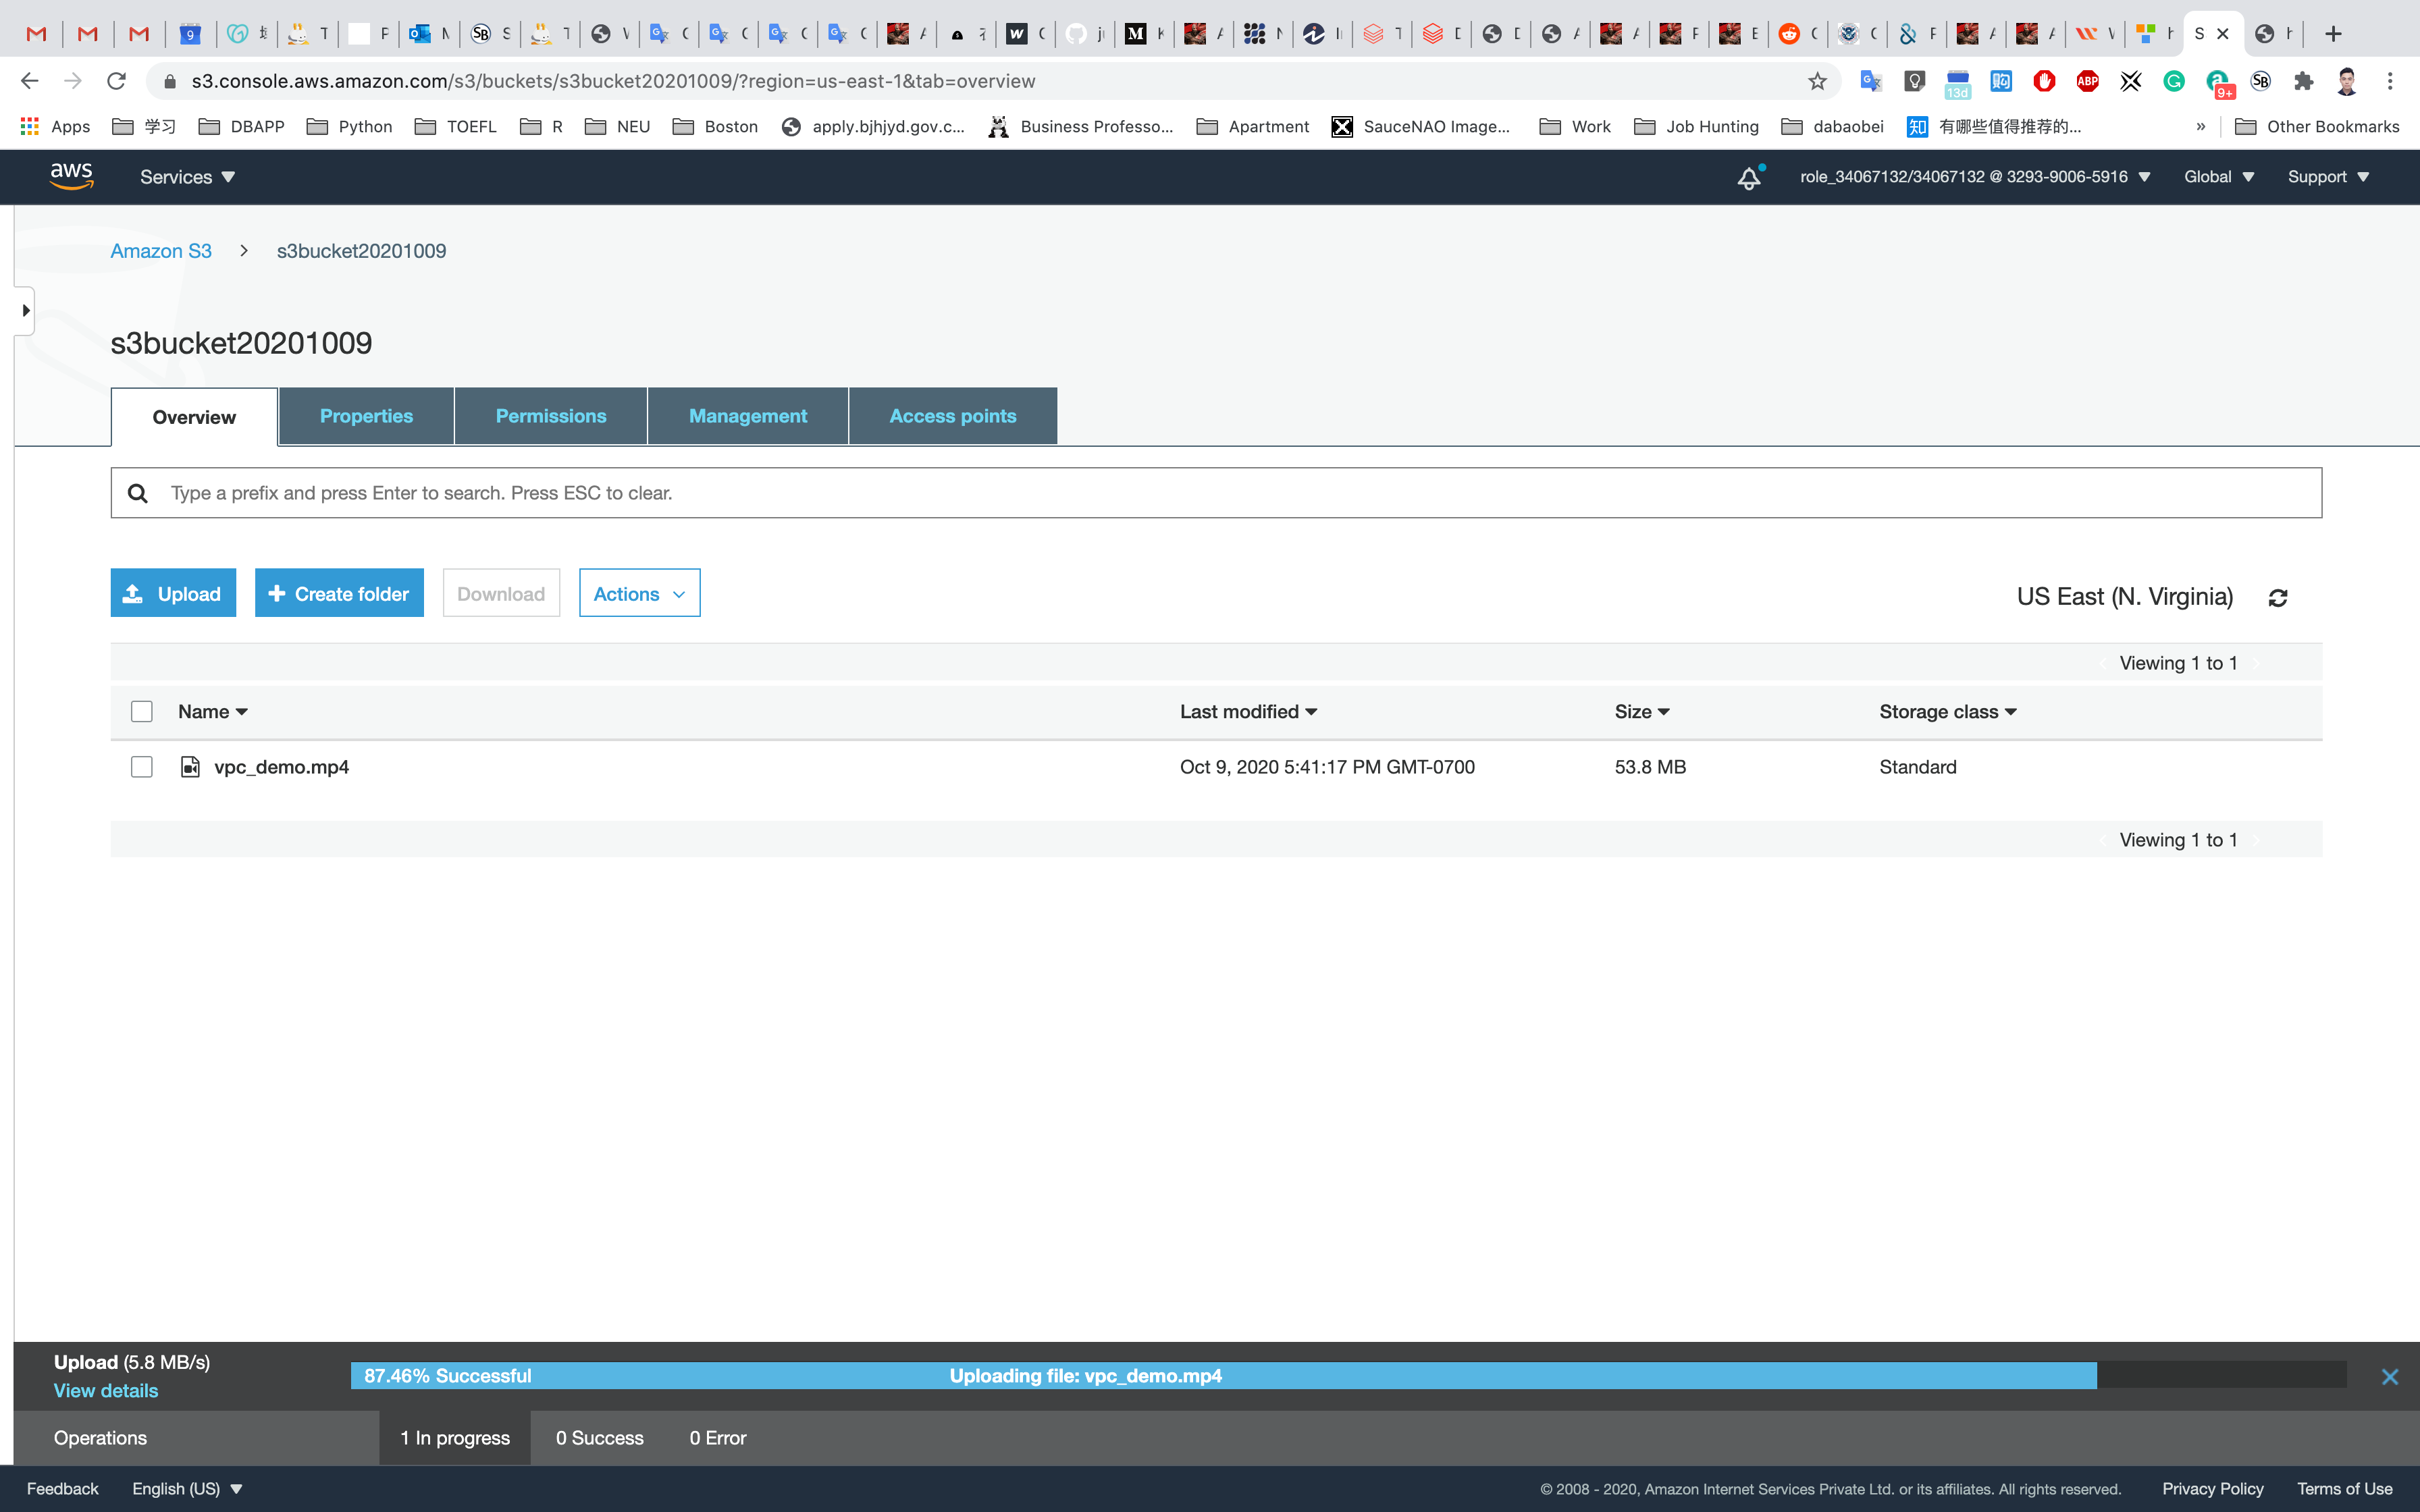
Direct Upload of the short video without Transfer Acceleration
Go back to your bucket and click on Upload.
Now click on Add files to upload the short video. Note the time of upload to see the difference.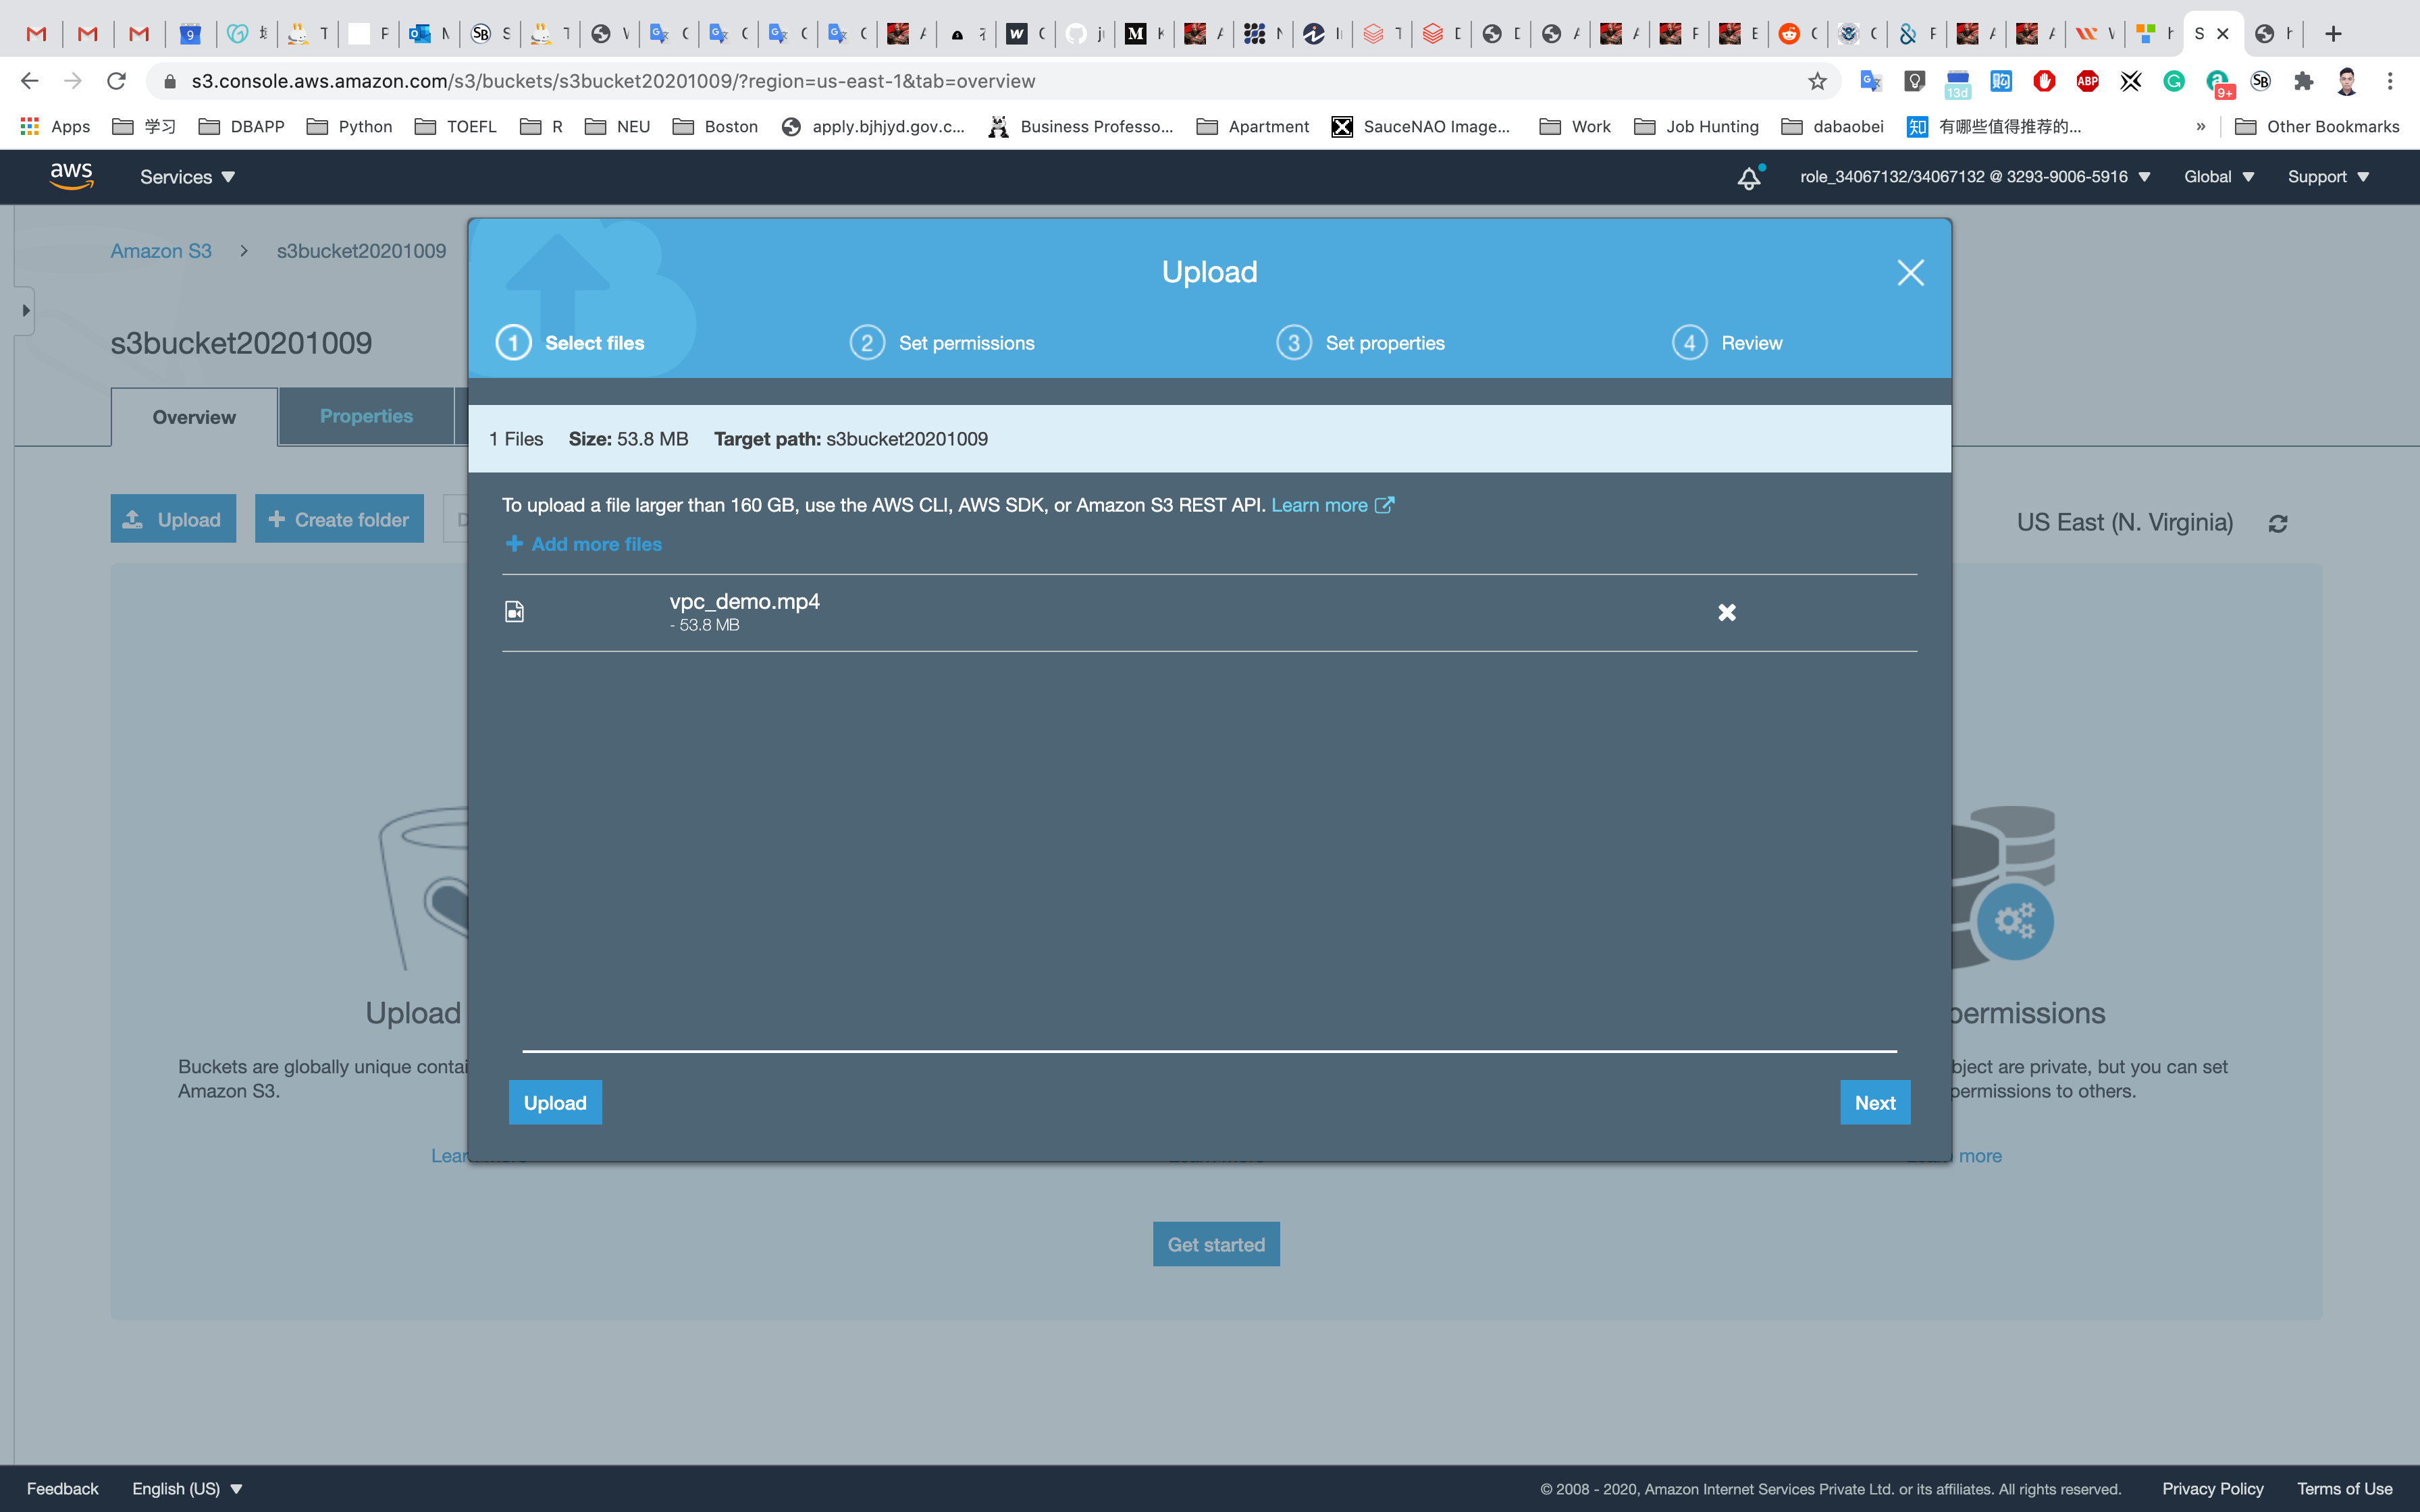
Uploading the same video with Transfer Acceleration
Select Properties on your bucket and scroll down to see Transfer acceleration under the Advanced settings and click on it.
Choose Enabled, and then choose Save.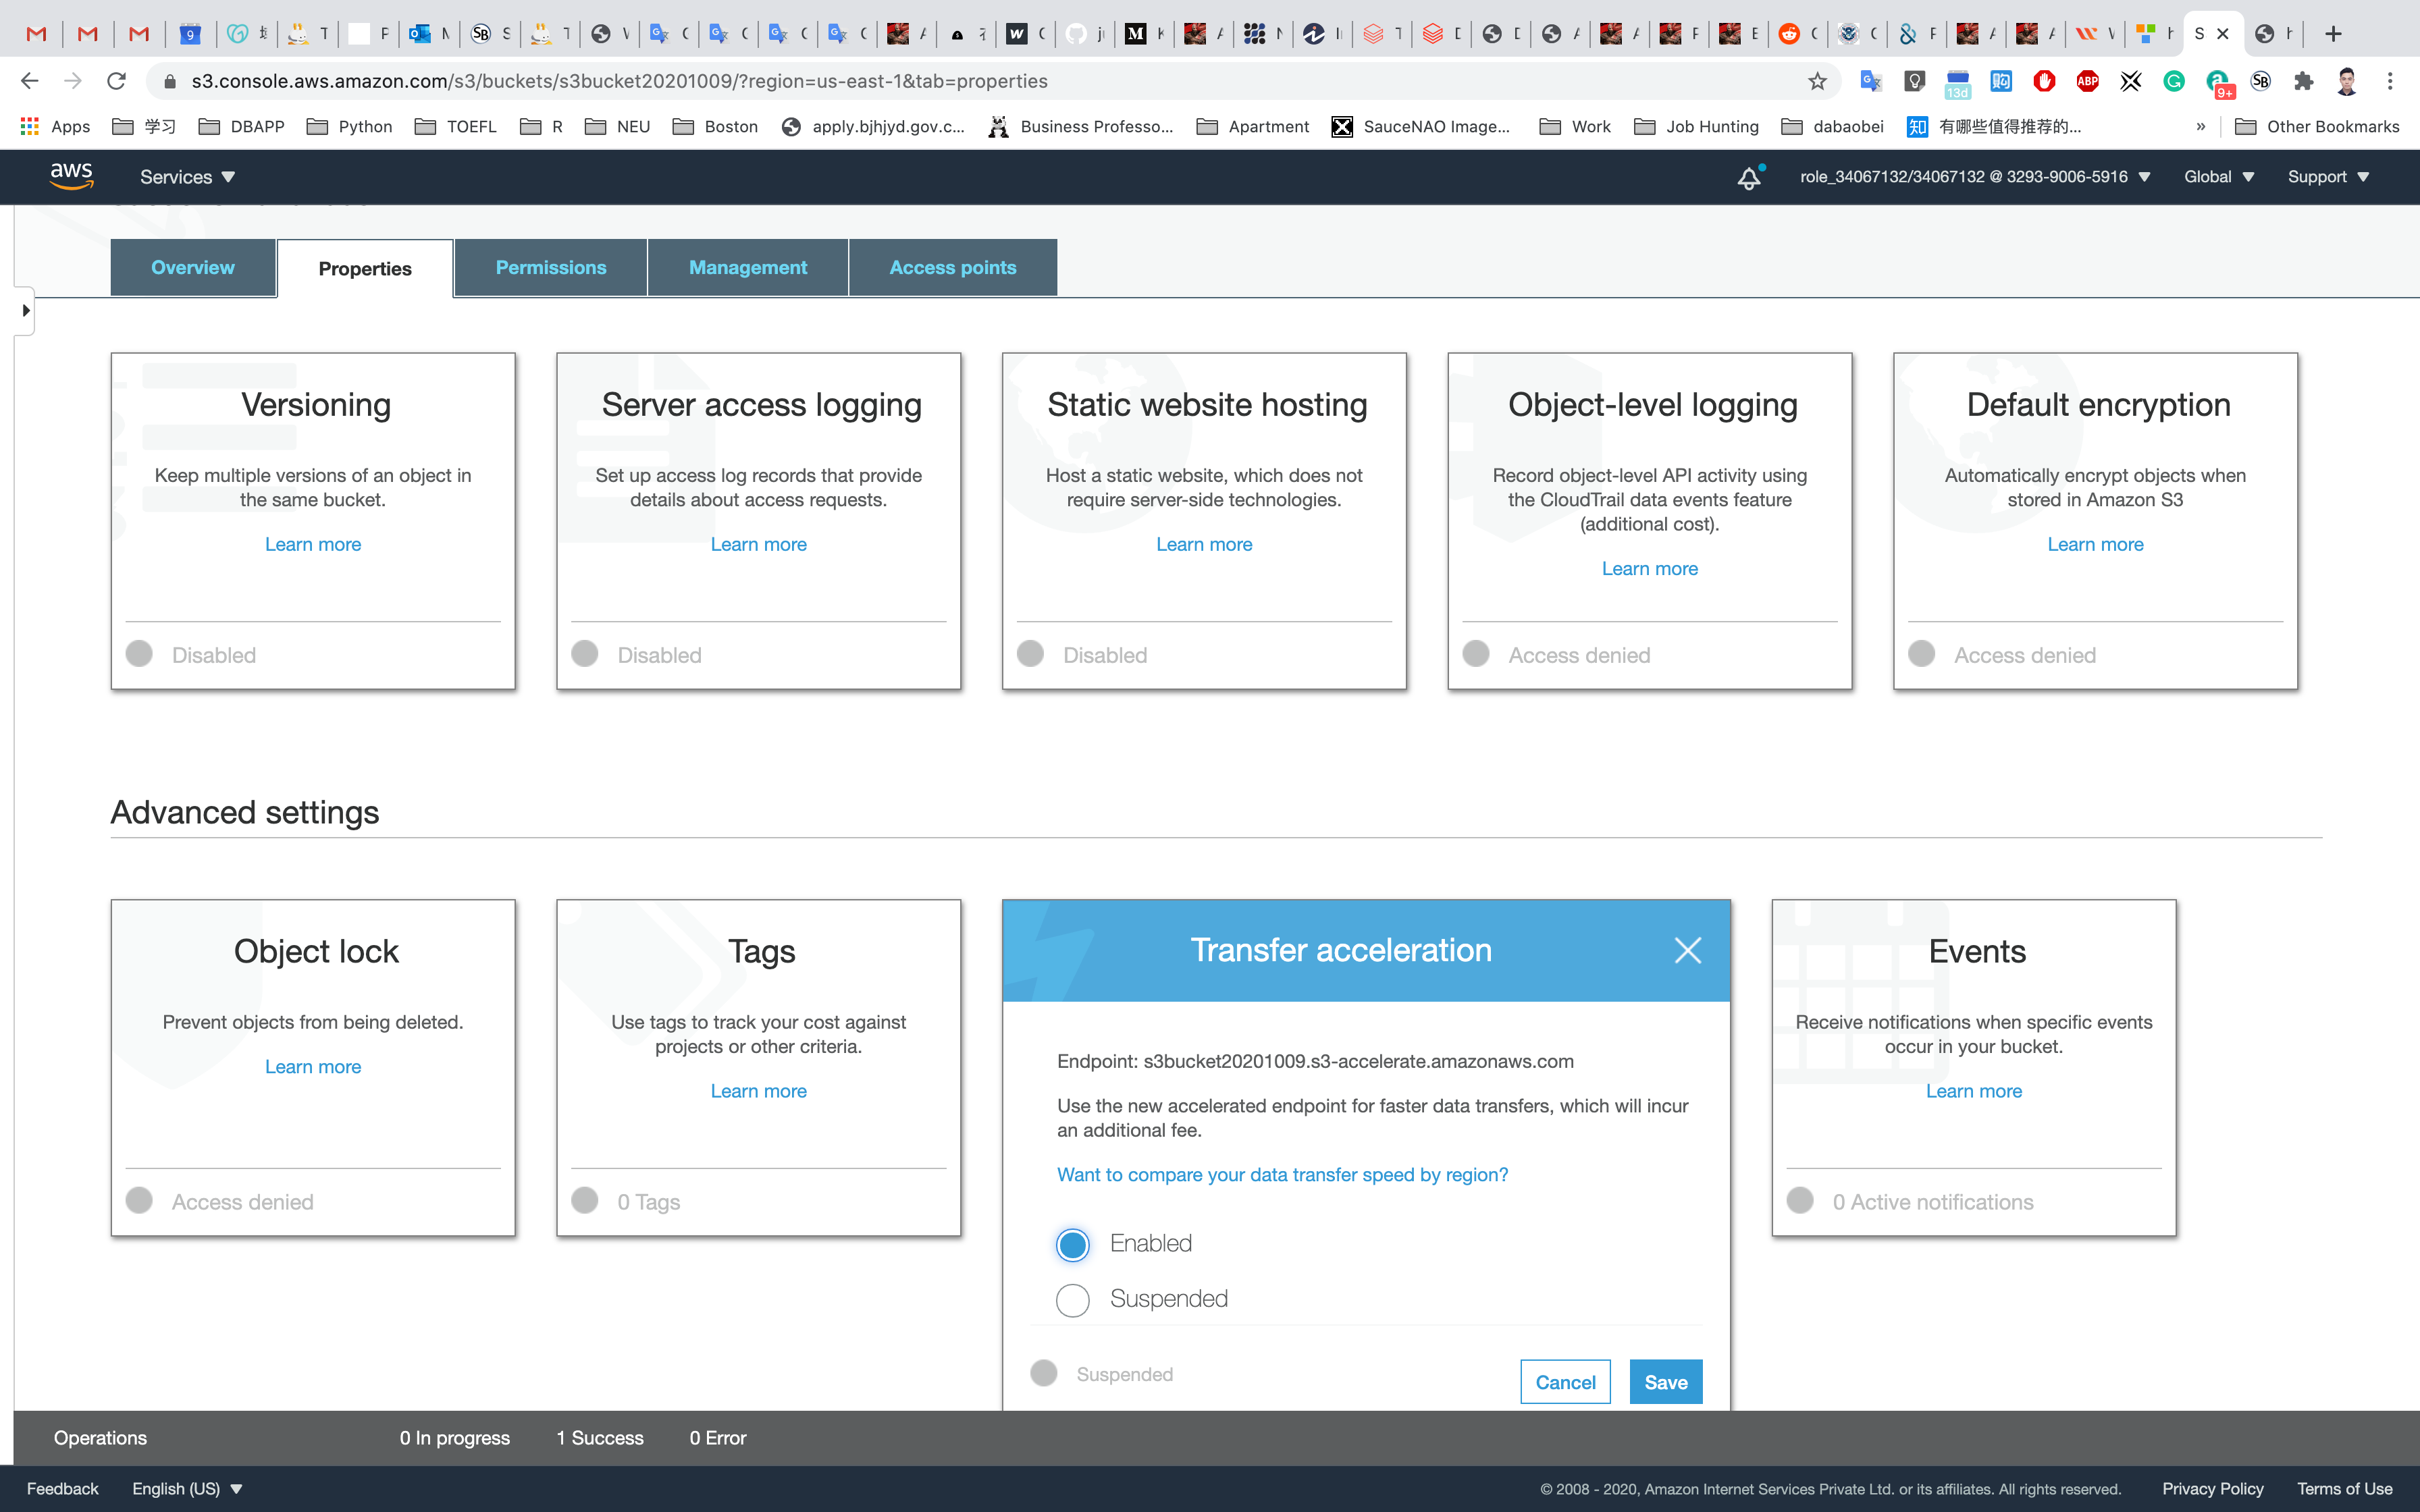
Endpoint displays the endpoint domain name that you use to access accelerated data transfers to and from the bucket. If you suspend transfer acceleration, the accelerated endpoint no longer works.
Change the downloaded filename as vpc_demo(1).mp4 in your local disk.
Now go back to the bucket and upload vpc_demo(1).mp4. Note the time of file upload to see the difference.
It should take less than 1 minute for the upload to complete.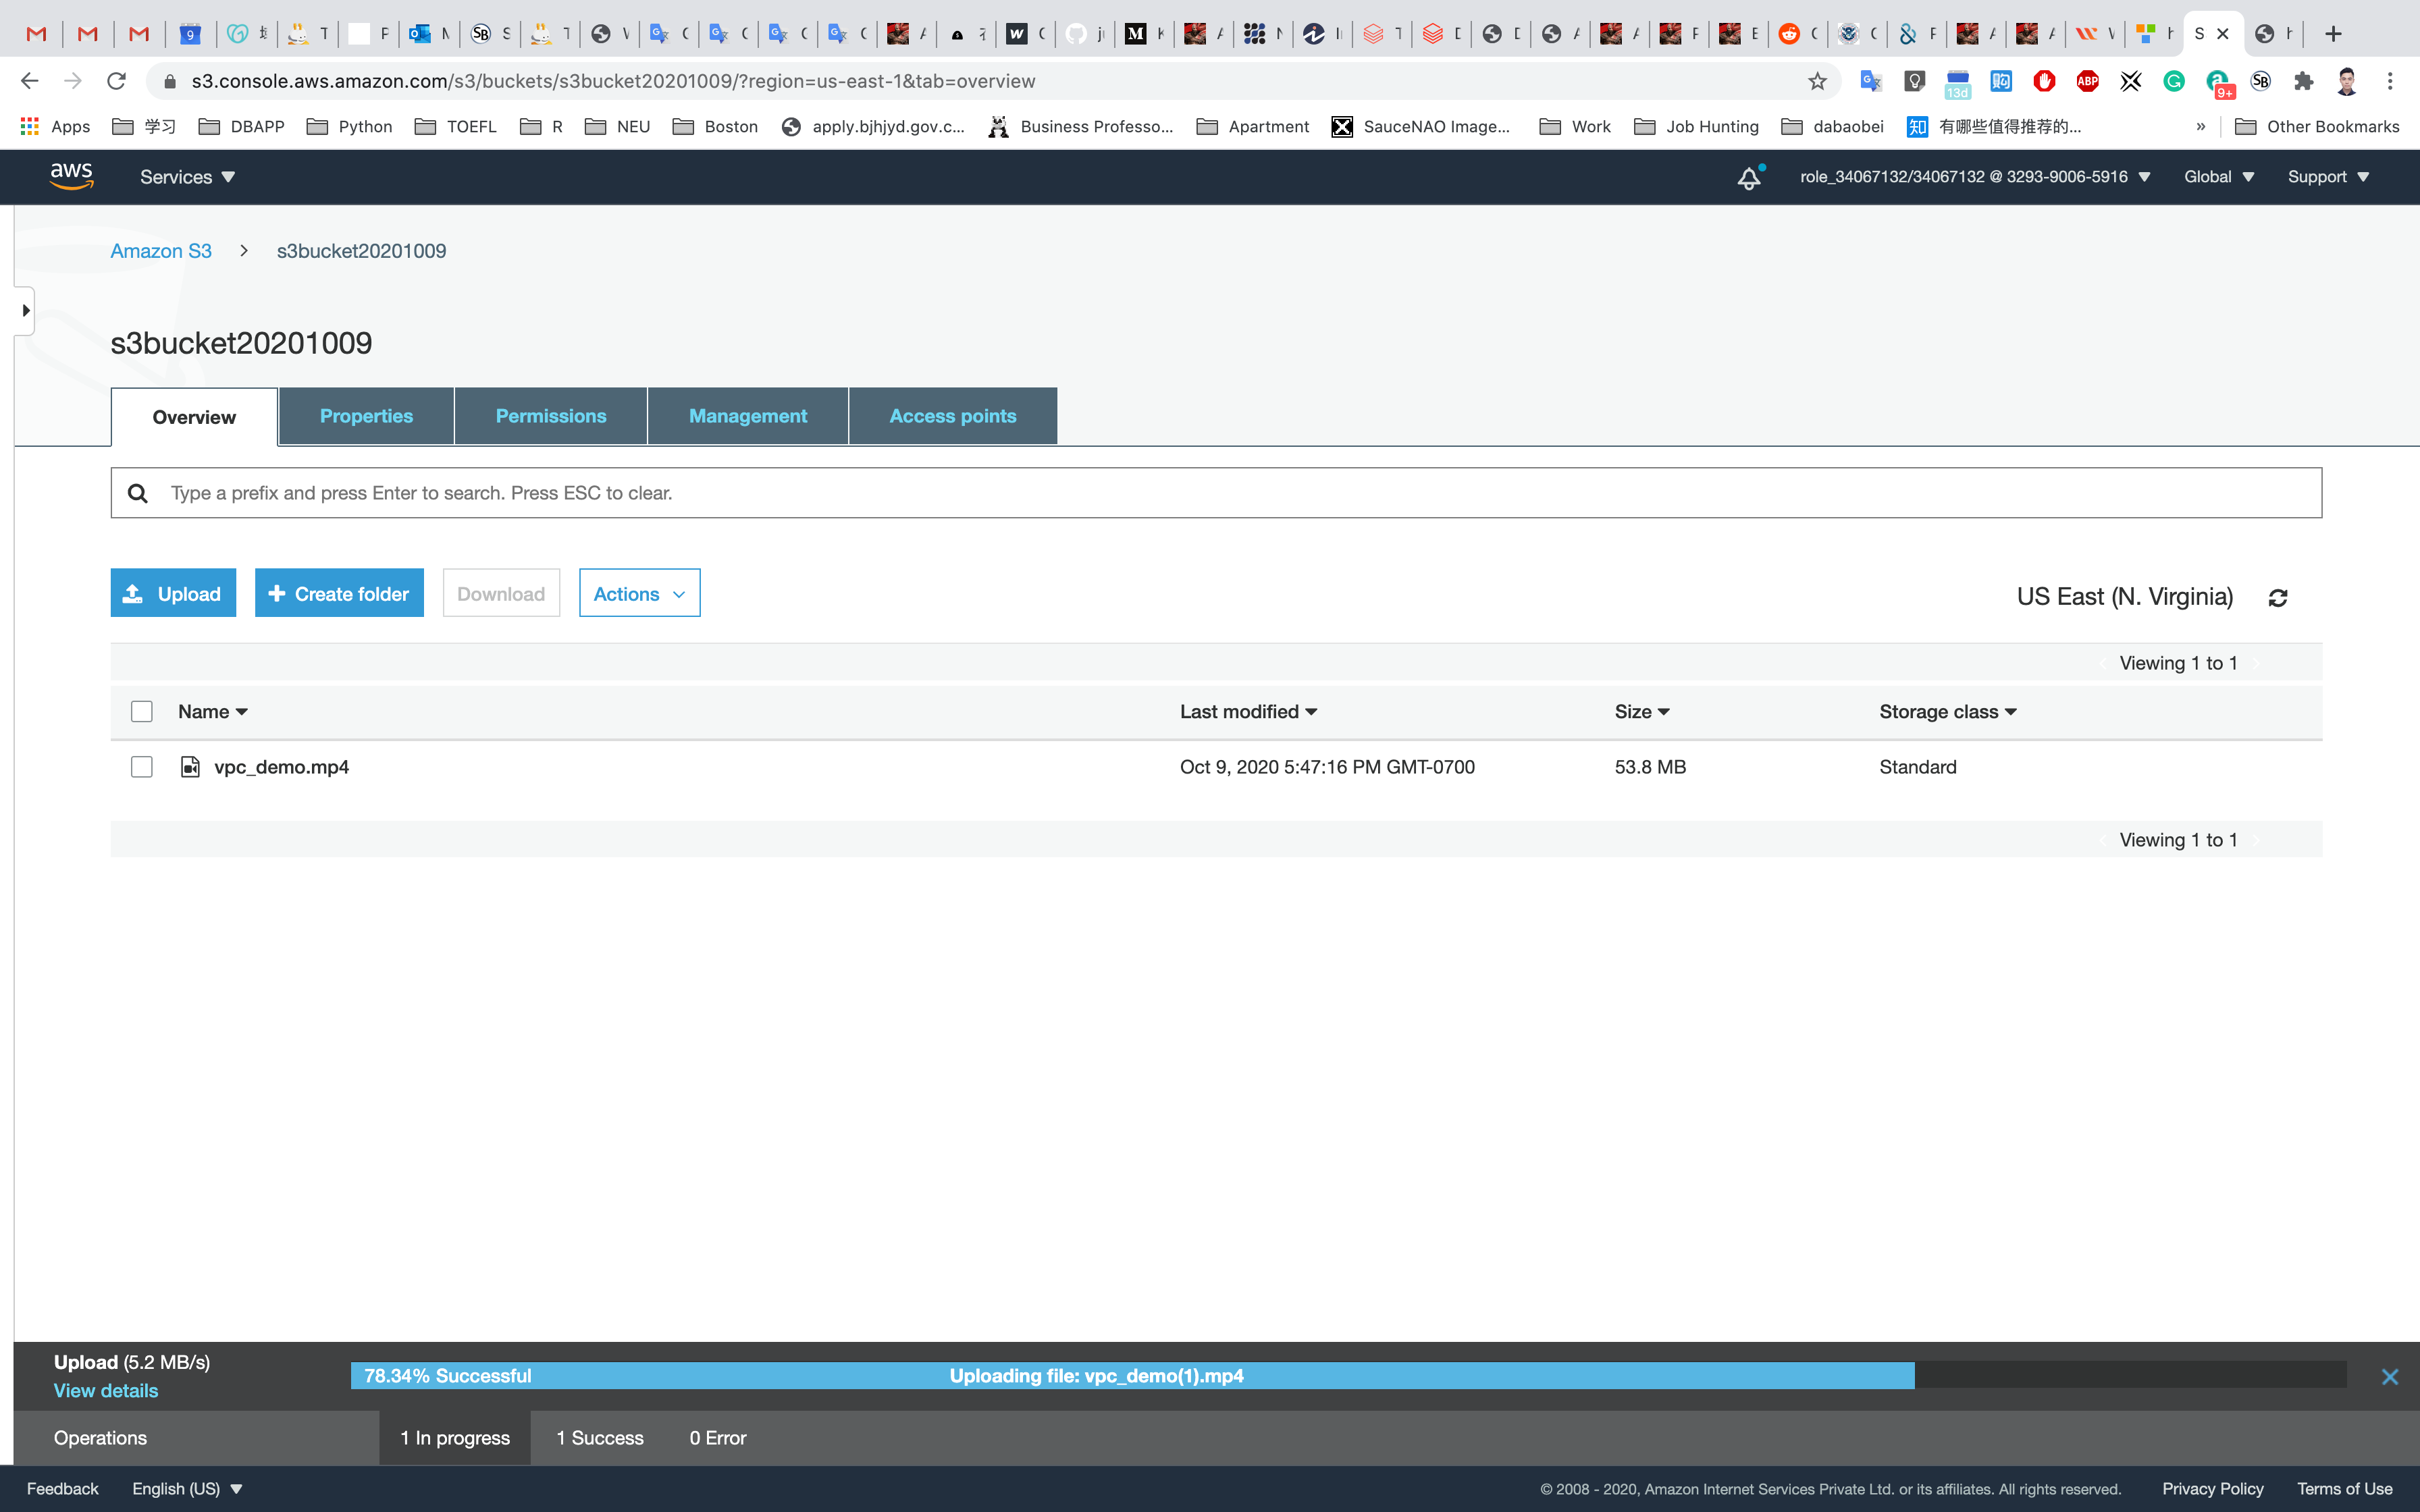
Completion and Conclusion
- You have successfully used the AWS management console to create an Amazon S3 Bucket.
- You have successfully compared your data transfer speed by region.
- You have uploaded a 55MB file with Direct Upload and noted how long it took to upload.
- You have enabled Transfer Acceleration, uploaded a 55MB file and noted the how long it took to upload.
- You have experienced the data transfer speeds with and without Transfer Acceleration by Live Demo.
How to Create a static website using Amazon S3
https://play.whizlabs.com/site/task_details?lab_type=1&task_id=23&quest_id=35
Lab Details
- This lab walks you through how to create a static HTML website using AWS S3 and also how to make it accessible from the internet.
Task Details
- Log into the AWS Management Console.
- Create an S3 bucket and upload a sample HTML page to the bucket.
- Enable static website settings in the S3 bucket.
- Make the bucket public.
- Test the website URL
S3 Configuration
Service -> S3
Create an S3 Bucket
On the S3 dashboard, click on Create bucket and fill in the bucket details.
- Bucket name: Enter
inputYourBucketName- Note: S3 bucket names are globally unique, choose a name which is available.
- Region: Select
US East (N. Virginia) - Leave other settings as default.
Click Next then Next and go to the permissions and Uncheck the Block all Public Access and acknowledge the change.
Click on Next and Create bucket
Enable Static Website Hosting
Click your bucket name in the list
Click the Properties tab at the top of the screen.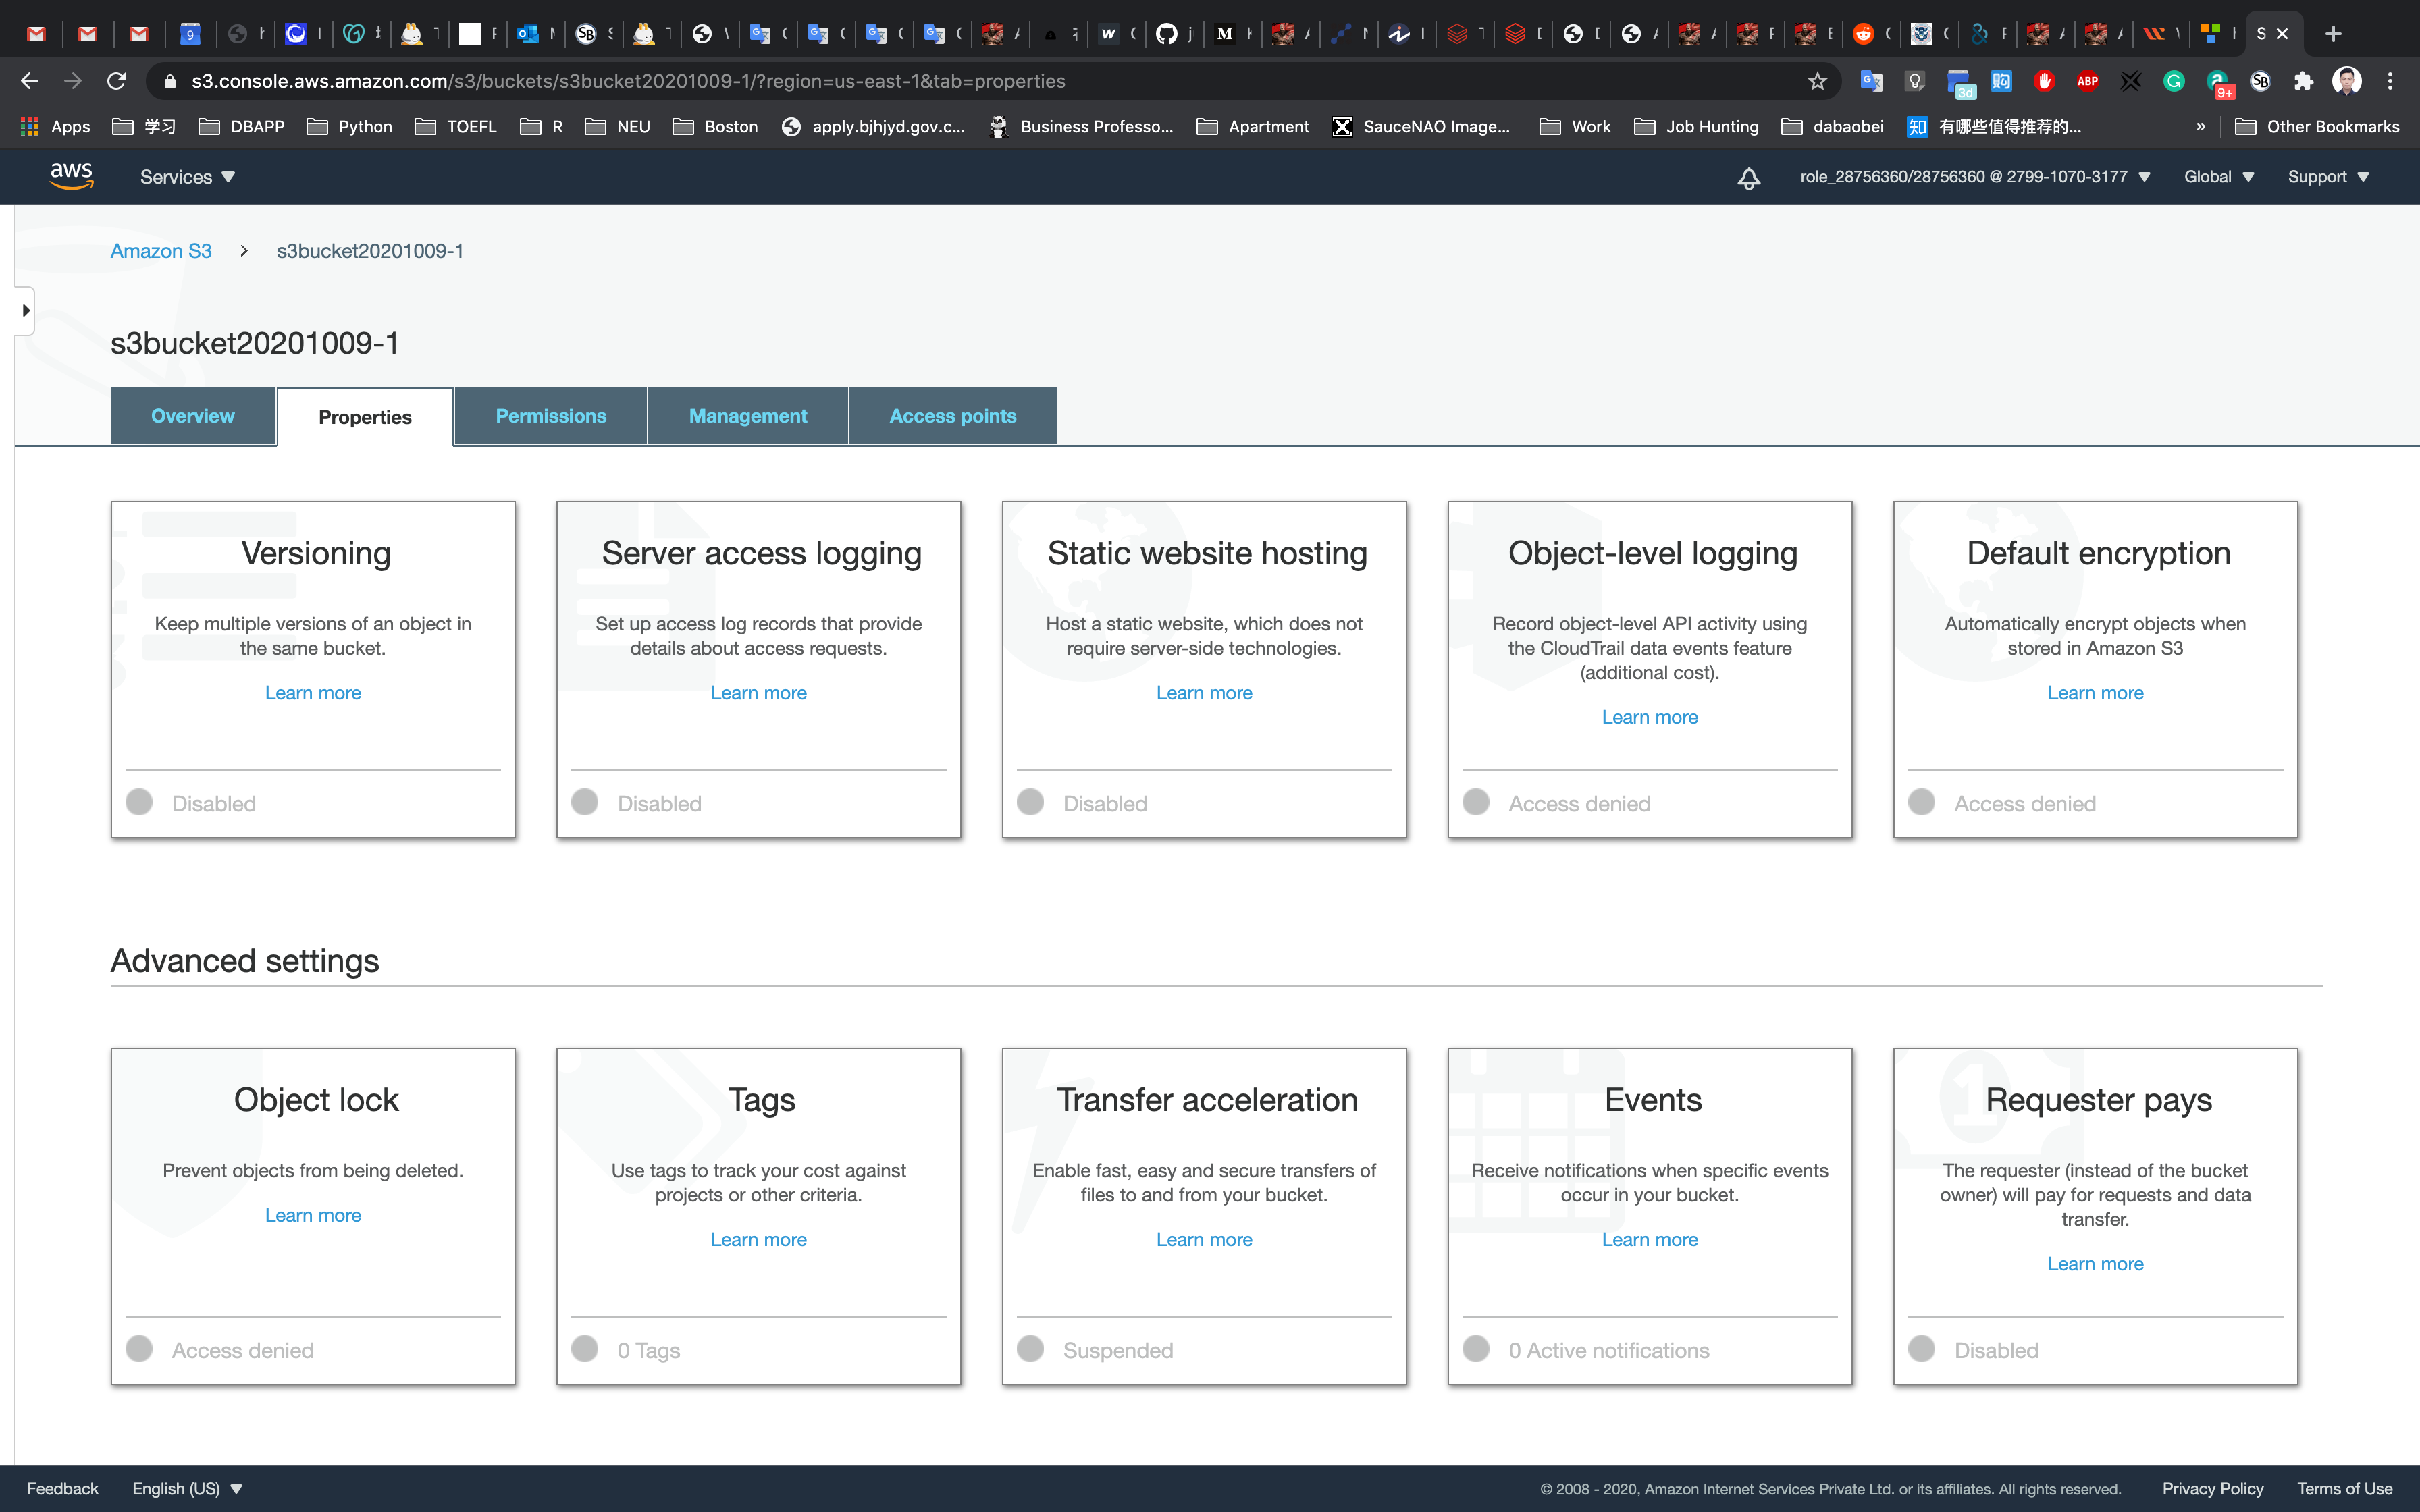
Click on Static website hosting.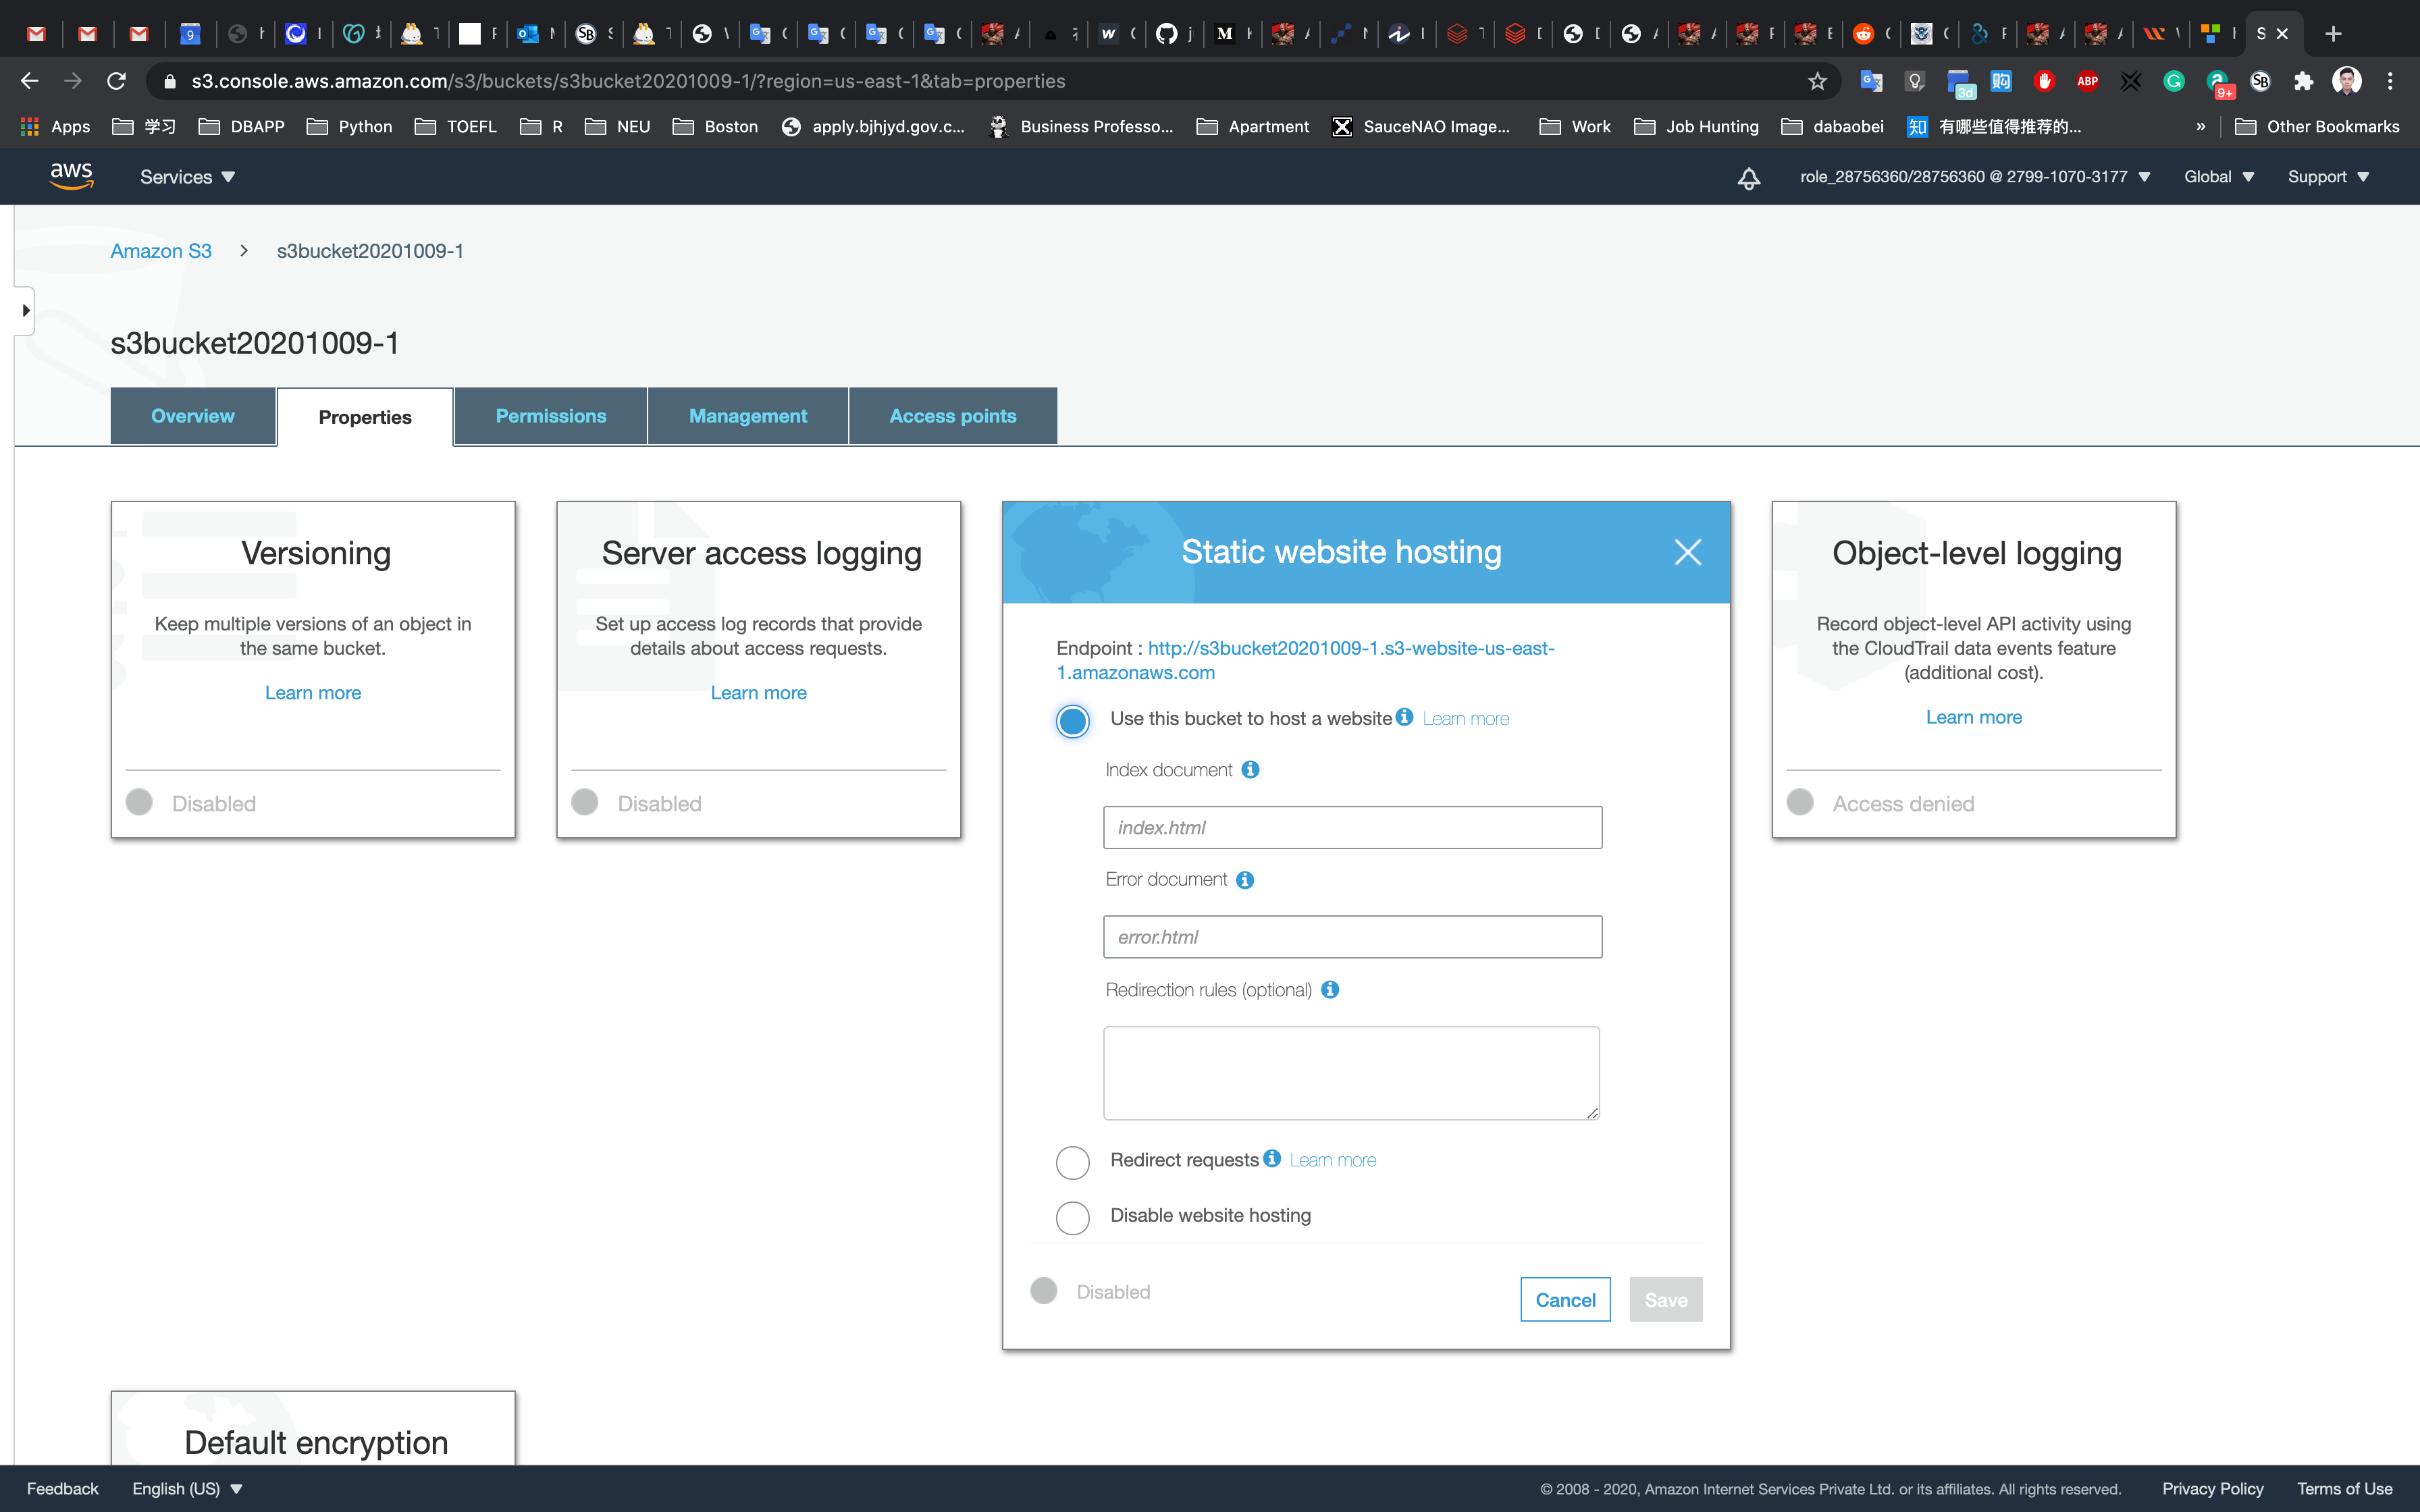
Copy the Endpoint to your clipboard and save it somewhere for later use.
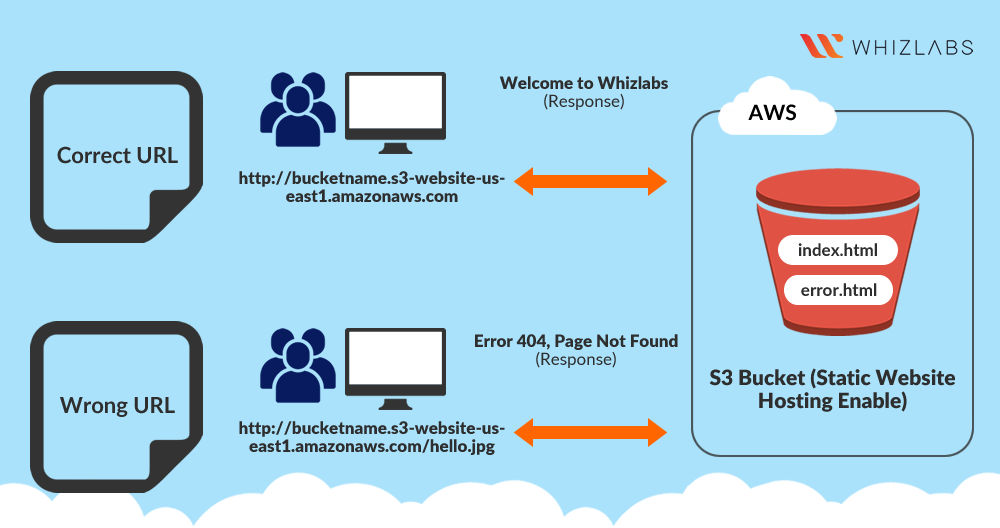
- It will look similar to: http://bucketname.s3-website-us-east-1.amazonaws.com
In the Static website hosting dialog box
- Choose
Use this bucket to host a website - For index document: input
index.html - For error document: input
error.html - Click on
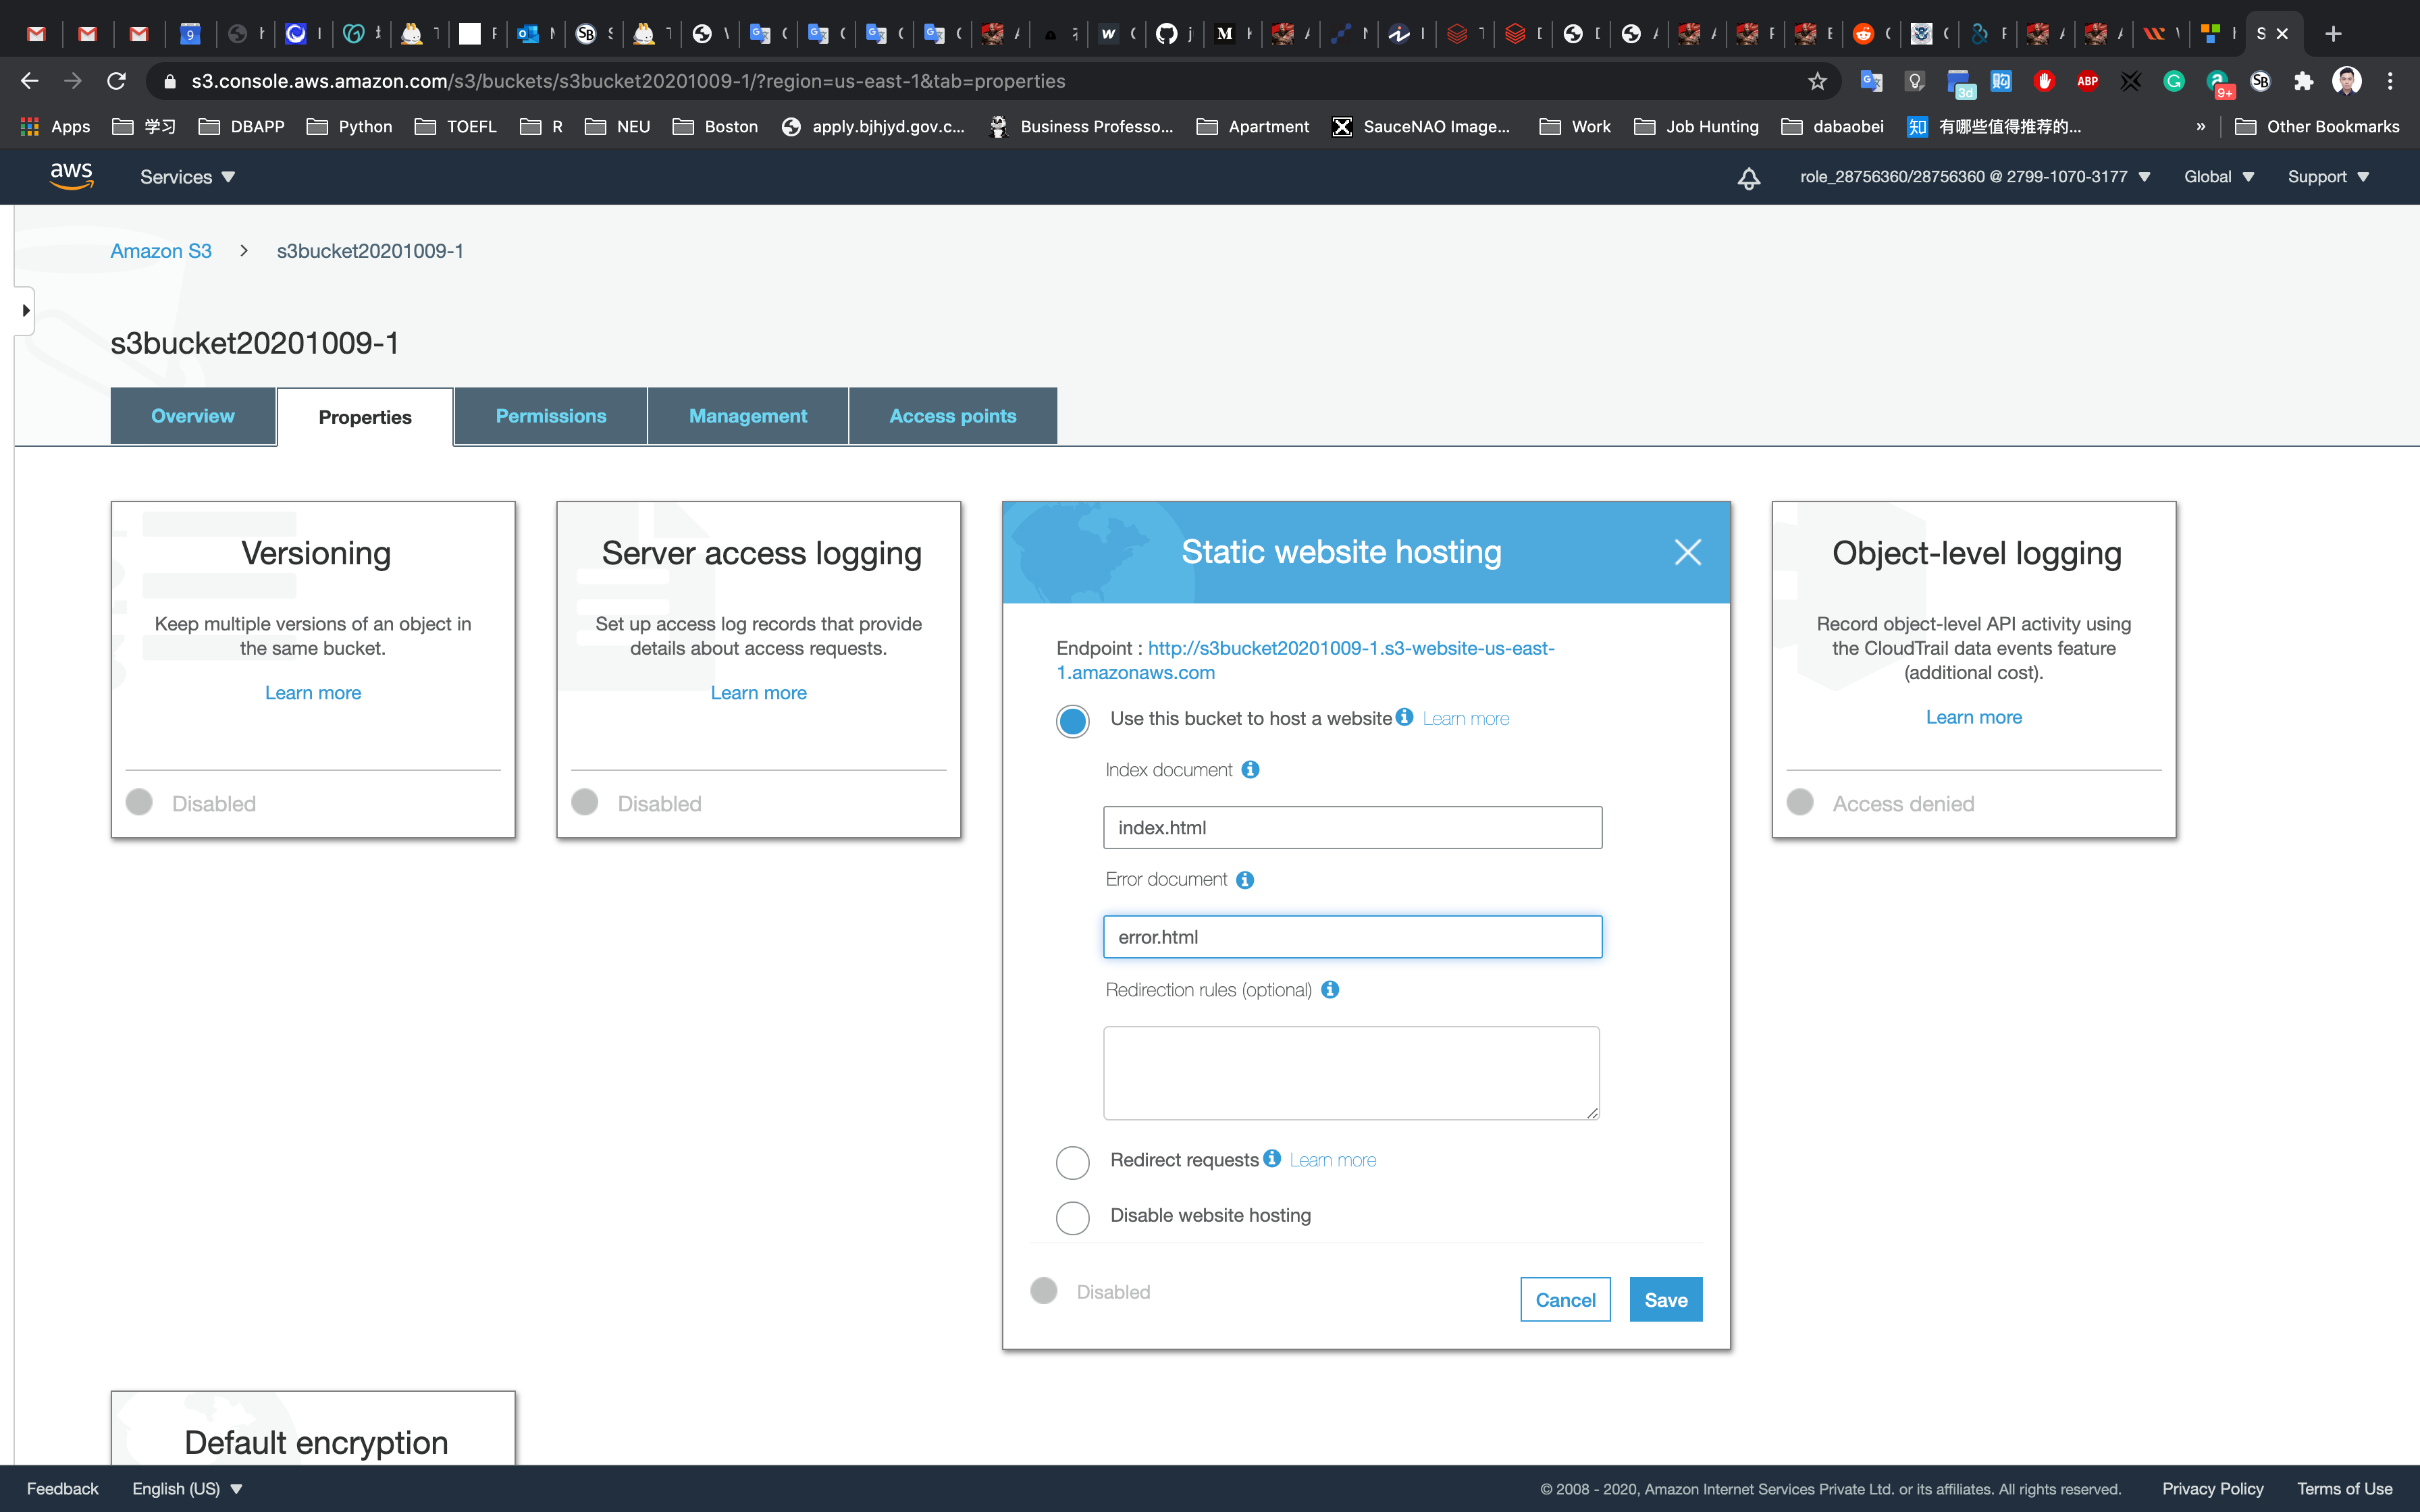
Save
Create a txt file on your local machine named index.txt
Copy the content below to index.txt
1 |
|
Save it.
Rename index.txt to index.html
Create a txt file on your local machine named error.txt
Copy the content below to error.txt
1 |
|
Save it.
Rename error.txt to error.html
Back to S3 bucket page.
Upload index.html and error.html to your bucket.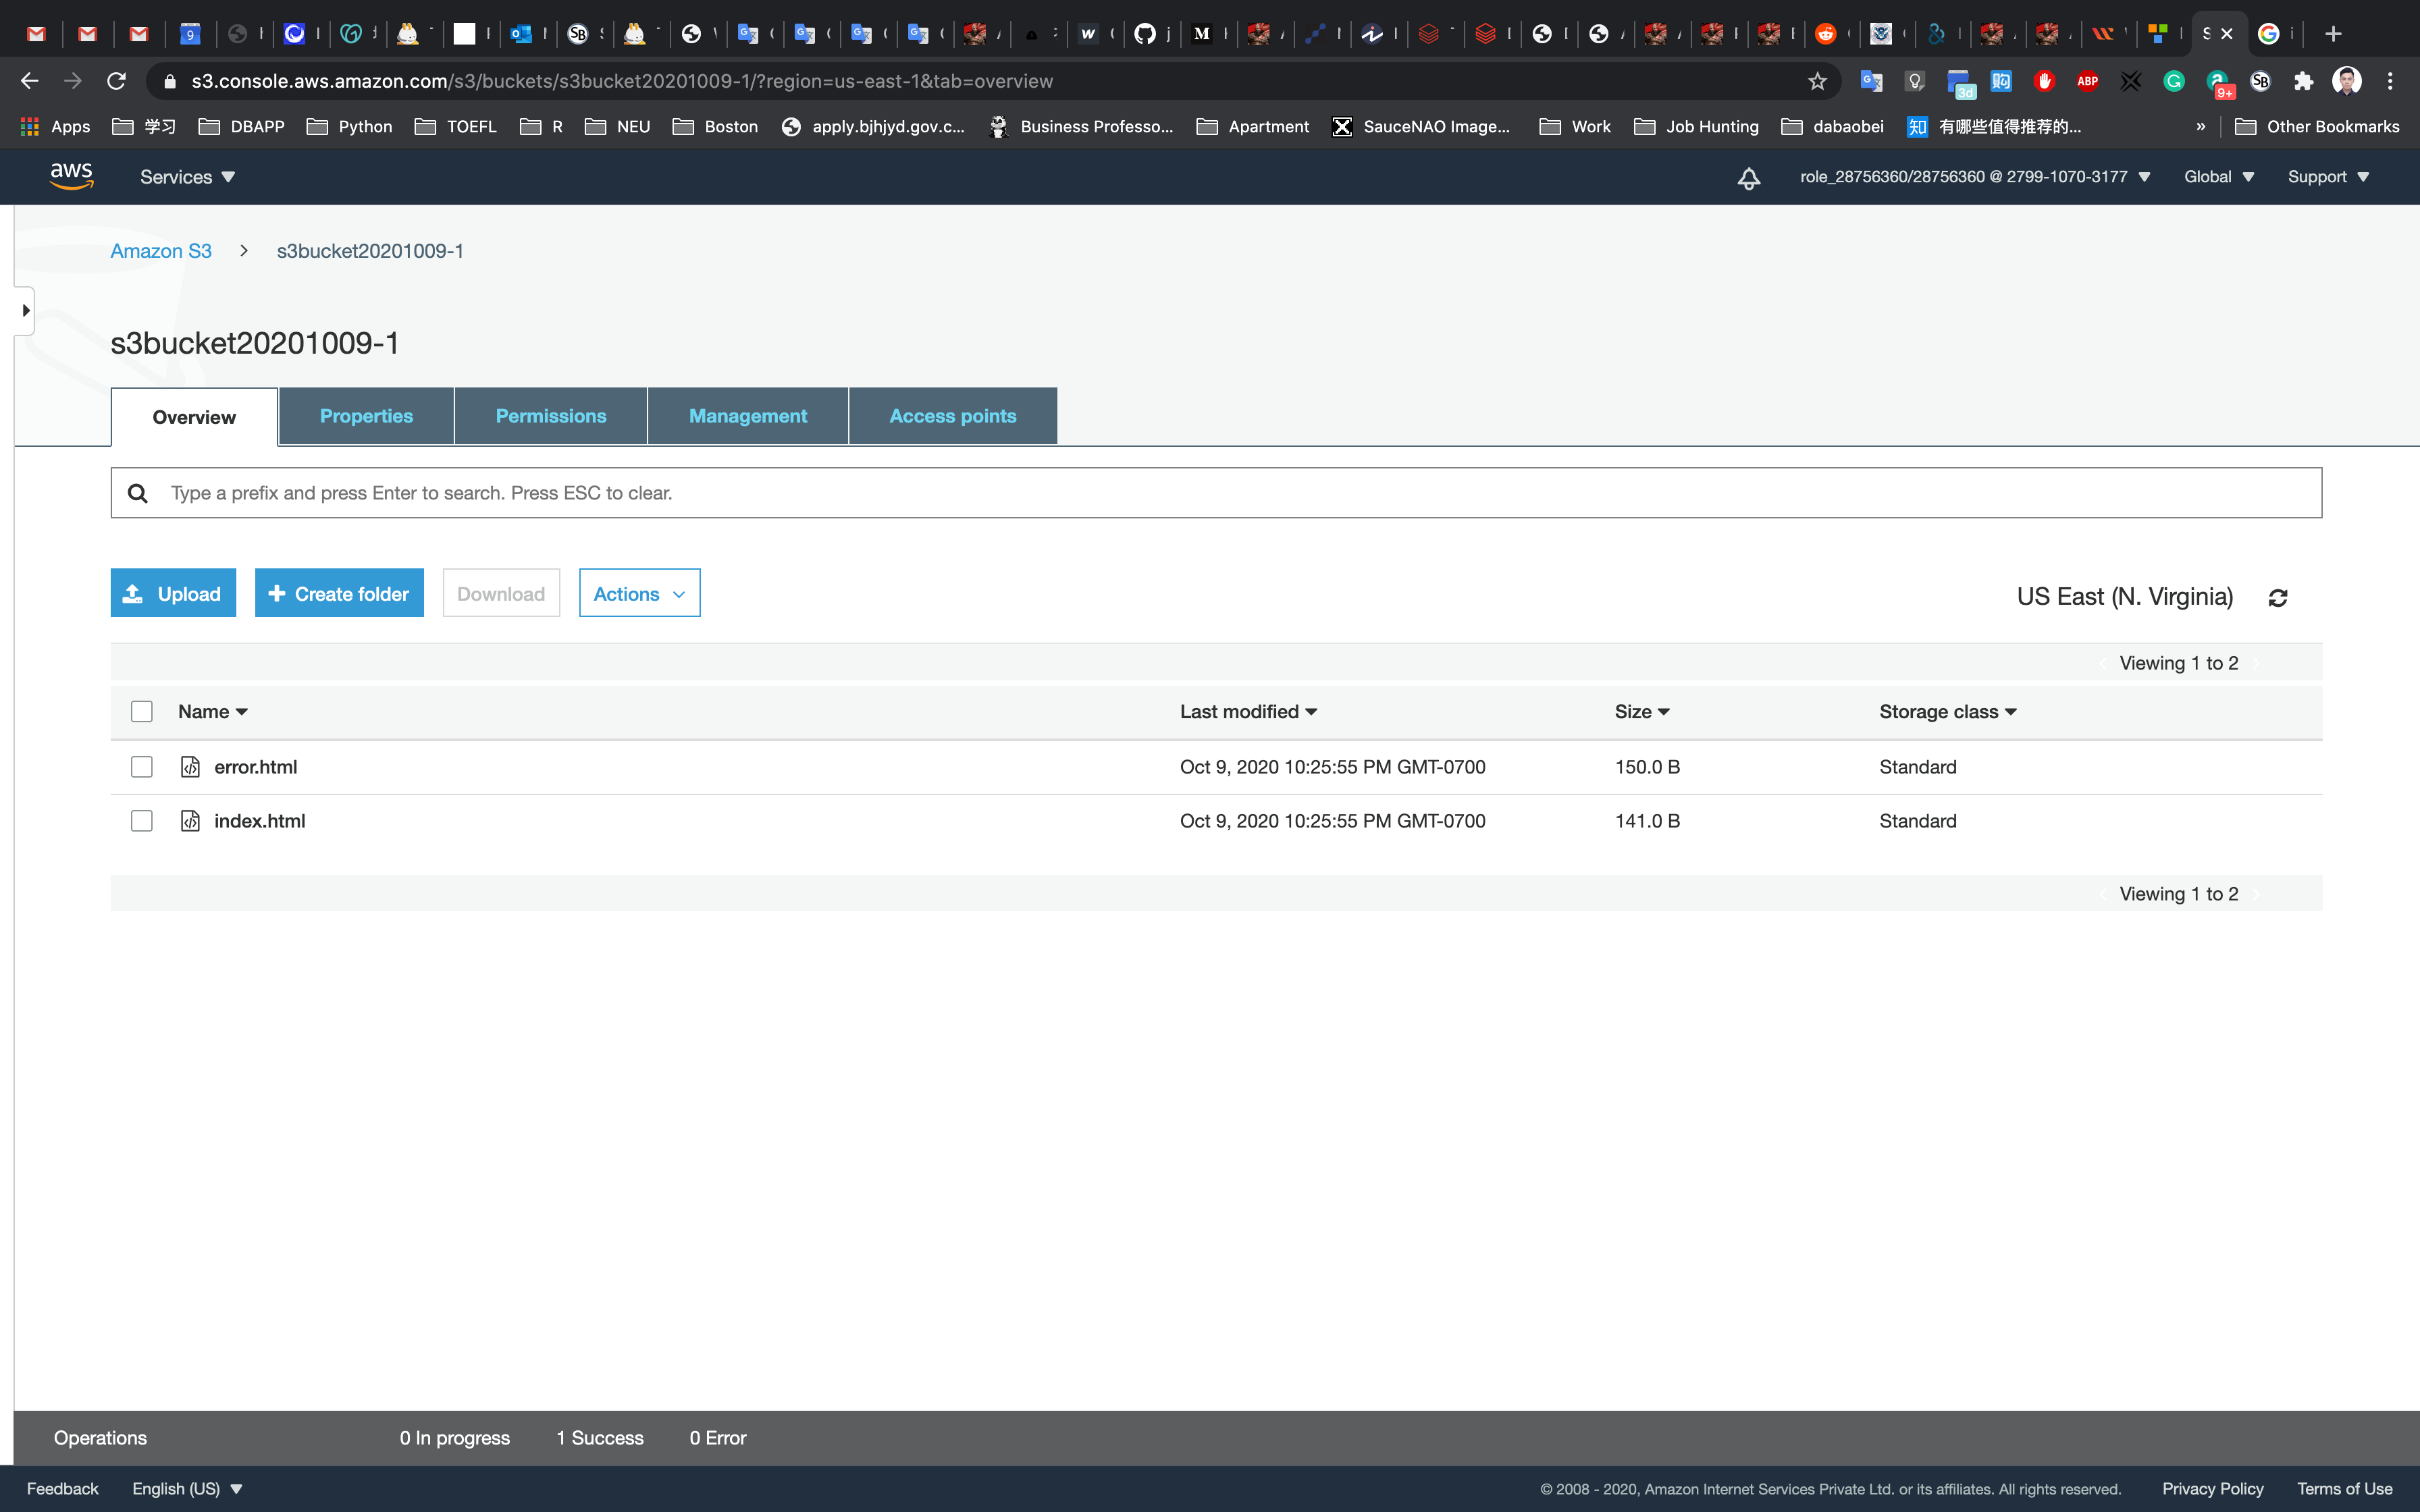
Click the Permissions tab to configure your bucket.
- In the
Permissionstab, click onBucket Policy - You will be able to see a blank Bucket Policy Editor.
- Before creating the policy, you will need to copy the ARN (Amazon Resource Name) of your bucket.
- Copy the ARN of your bucket to the clipboard. It is displayed at the top of the policy editor. it looks like ARN:
arn:aws:s3:::your-bucket-name. - In the policy below, update the bucket ARN on the Resource key value and copy the policy code.
1 | { |
Click on Save
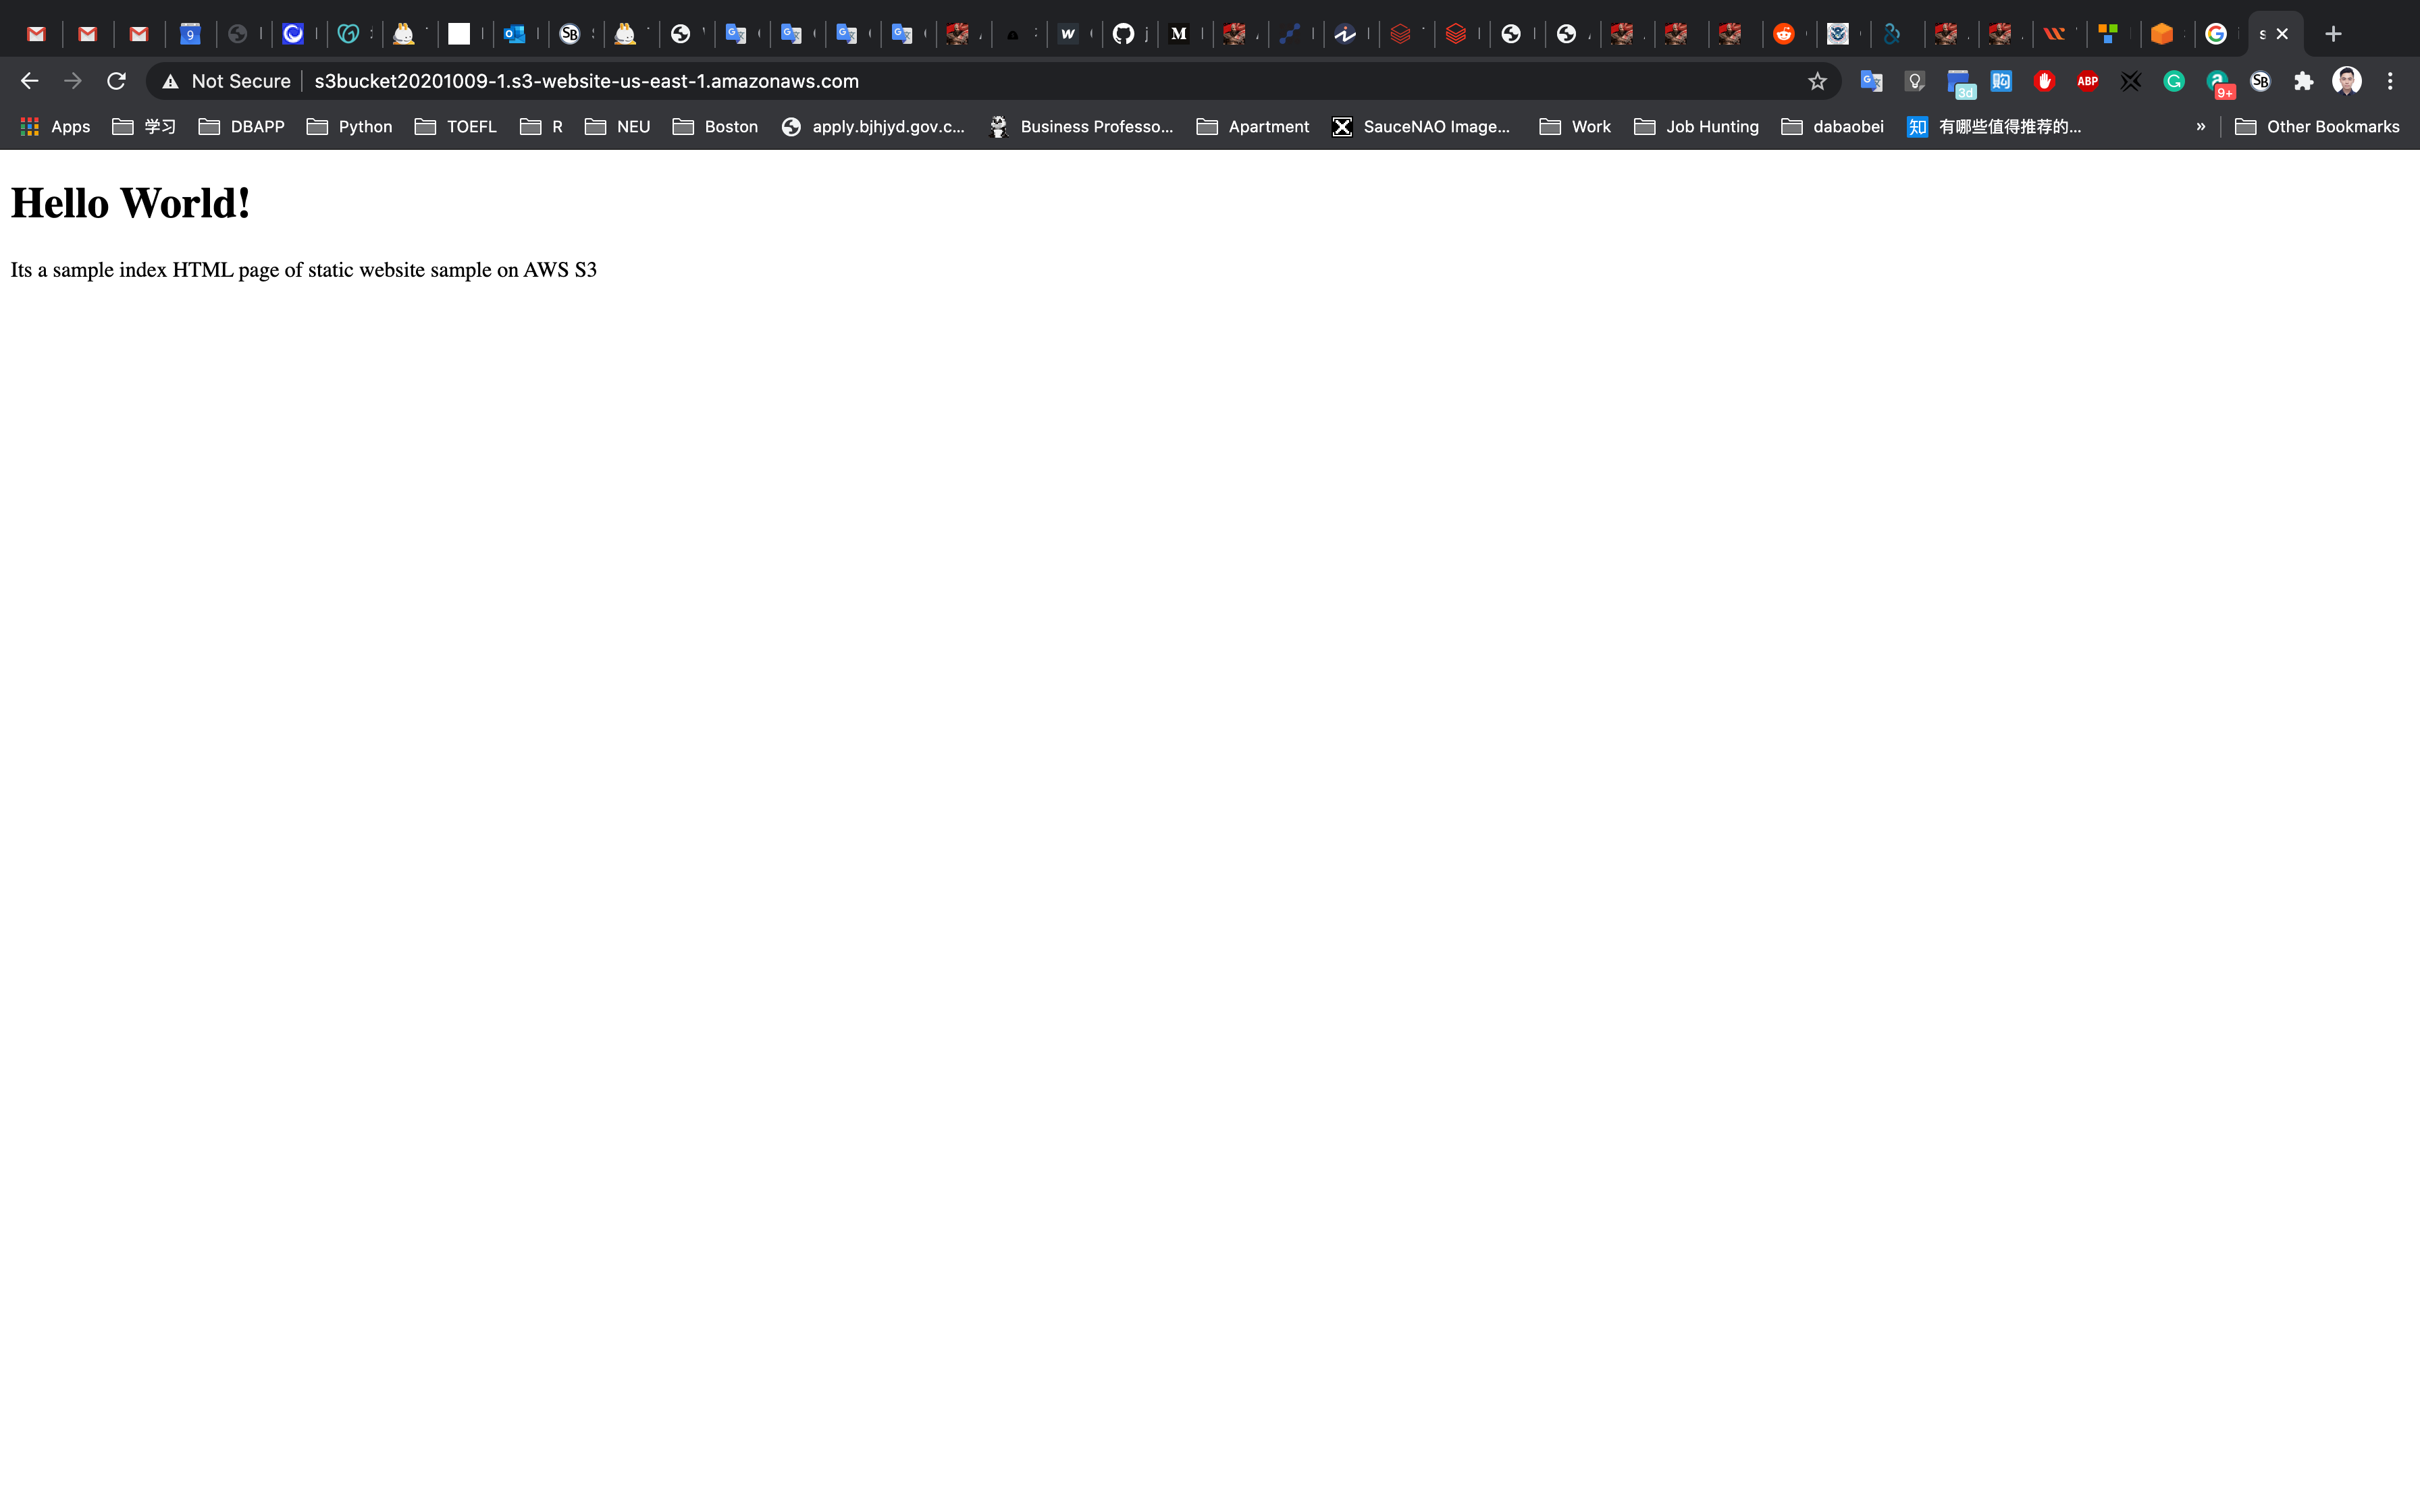
Validate Test
Test the website
Now copy the static website URL (that we saved earlier) and run it in your browser. You will be able to see the index.html file’s text. A sample screenshot is attached below:
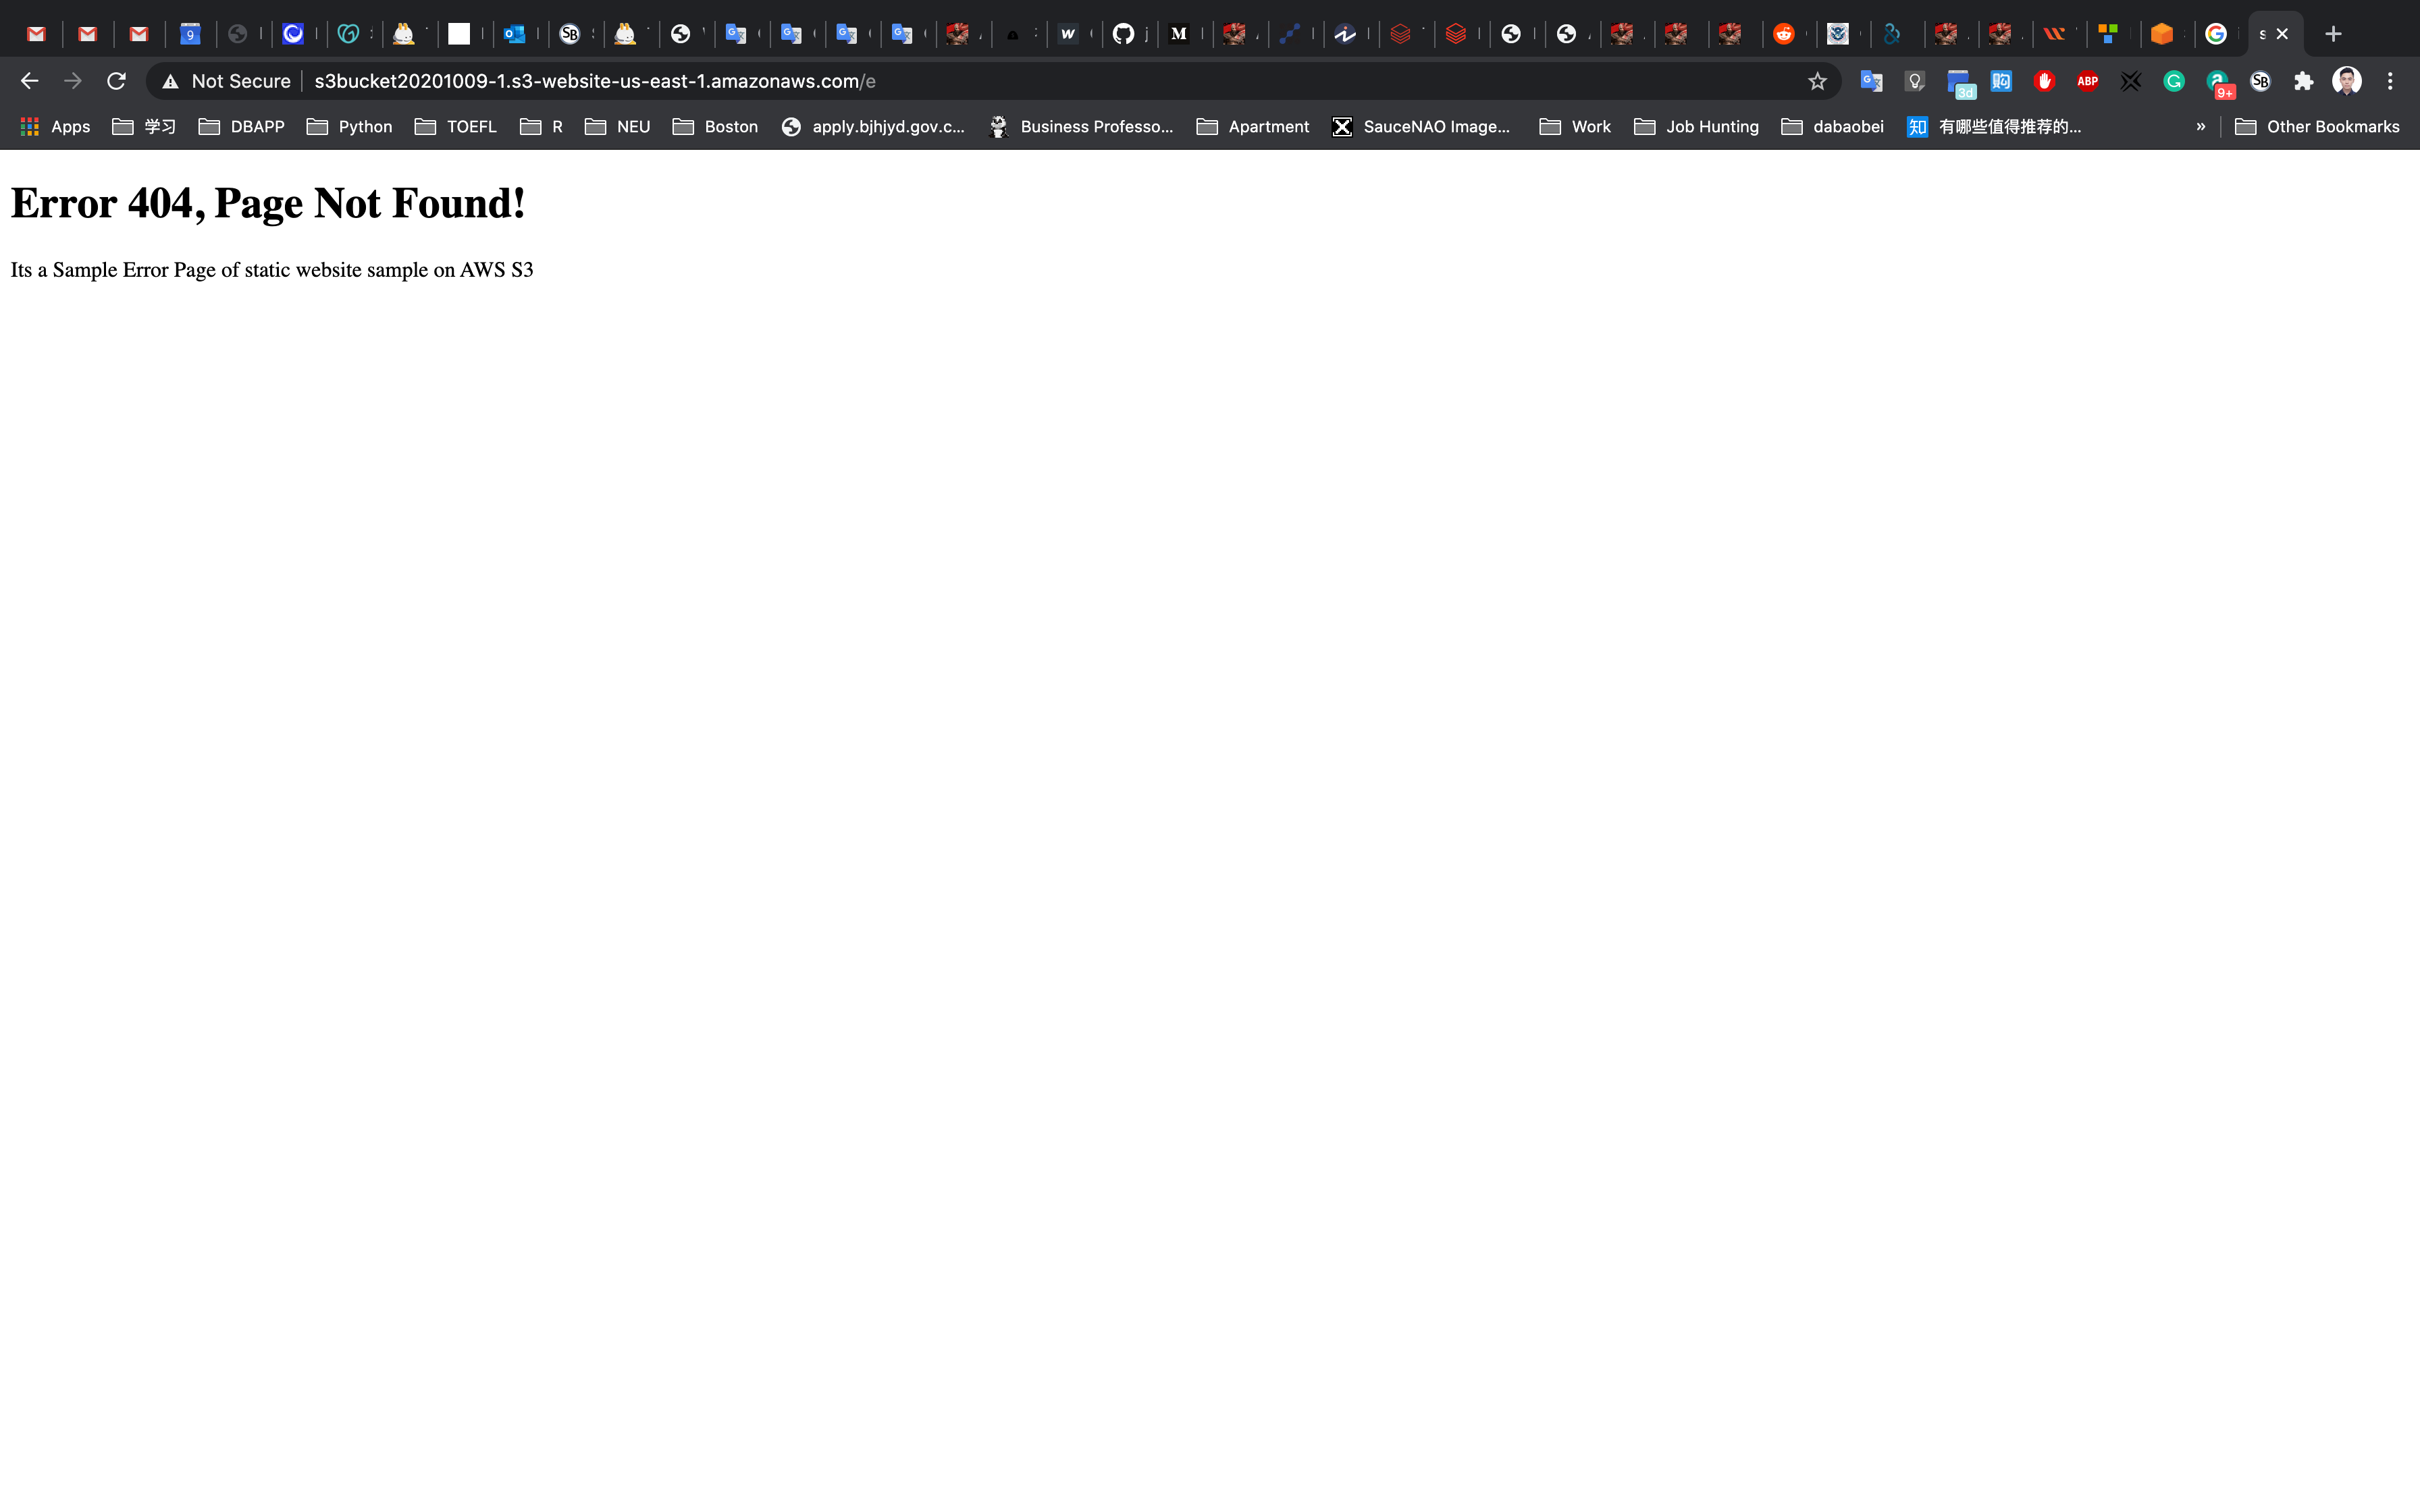
Test the website’s error page
Copy the static website URL (which we saved earlier) , but this time, add some random characters to the end of the url to break it. When satisfied, hit enter. You will be redirected to the error.html page automatically.
Completion and Conclusion
- You have successfully created and launched an Amazon S3 bucket.
- You have successfully configured the bucket to host a static website.
- You have tested your static website to make sure it works correctly.
- You have successfully tested the error page to make sure it works correctly.
Accessing S3 with AWS IAM Roles
https://play.whizlabs.com/site/task_details?lab_type=1&task_id=46&quest_id=35
Lab Details
- This lab walks you through the steps to create an AWS S3 bucket and demonstrates how to access the bucket using AWS CLI commands from EC2 instance and IAM roles.
Introduction
IAM Policy
- An IAM (Identity and access management) policy is an entity in AWS, that enables you to manage access to AWS services and resources in a secure fashion.
- Policies are stored on AWS in JSON format and are attached to resources as identity-based policies.
- You can attach an IAM policy to different entities such as an IAM group, user, or role.
- IAM policies gives us the power of restricting users or groups to only use the specific services that they need.
Policy Types
There are two important types of policies:
- Identity-Based-Policies
- Resource-Based-Policies
Identity-Based-Policy**
- Identity-based policies are policies that you can attach to an AWS identity (such as a user, group of users, or role).
- These policies control what actions an entity can perform, which resources they can use, and the conditions in which they can use said resources.
- Identity-based policies are further classified as:
- AWS Managed Policies
- Custom Managed Policies
AWS Managed Policies
- AWS Managed policies are those policies that are created and managed by AWS itself.
- If you are new to IAM policies, you can start with AWS managed policies before managing your own.
Custom Managed Policies
- Custom managed policies are policies that are created and managed by you in your AWS account.
- Customer managed policies provide us with more precise control than AWS managed policies.
- You can create and edit an IAM policy in the visual editor or by creating the JSON policy document directly.
- You can create your own IAM policy using the following link: https://awspolicygen.s3.amazonaws.com/policygen.html
Resource-Based-Policy
- Resource-based policies are policies that we attach to a resource such as an Amazon S3 bucket.
- Resource-based policies grant the specified permission to perform specific actions on particular resources and define under what conditions these policies apply to them.
- Resource-based policies are in line with other policies.
- There are currently no AWS-managed resource-based policies.
- There is only one type of resource-based policy called a trust policy, which is attached to an IAM role.
- An IAM role is both an identity and a resource that supports resource-based policies.
IAM Role
- An IAM role is an AWS IAM identity (that we can create in our AWS account) that has specific permissions.
- It is similar to an IAM user, which determines what the identity can and cannot do in AWS.
- Instead of attaching a role to a particular user or group, it can be attached to anyone who needs it.
- The advantage of having a role is that we do not have standard long-term credentials such as a password or access keys associated with it.
- When resources assume a particular role, it provides us with temporary security credentials for our role session.
- We can use roles to access users, applications, or services that don’t have access to our AWS resources.
- We can attach one or more policies with roles, depending on our requirements.
- For example, we can create a role with s3 full access and attach it to an EC2 instance to access S3 buckets.
Lab Tasks
- Create an IAM role with S3 full access.
- Create an EC2 instance and attach the S3 role created in the first step.
- Create an S3 bucket and upload some files to the bucket.
- Access the bucket using AWS CLI via our EC2 instance.
- List the objects in the S3 bucket using the AWS CLI from the EC2 instance.
Architecture Diagram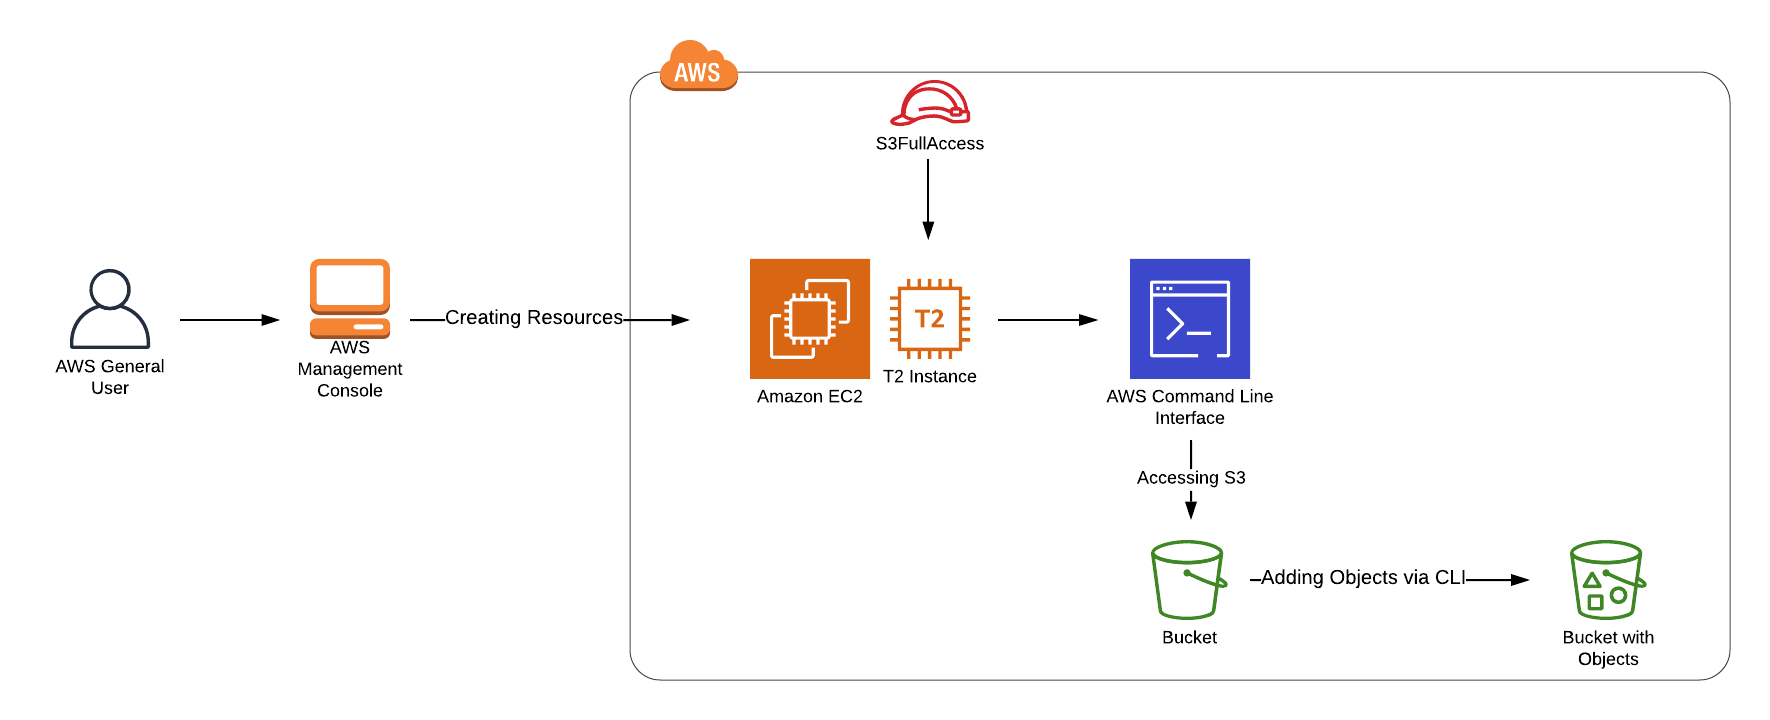
IAM Configuration
Services -> IAM
Creating IAM Role
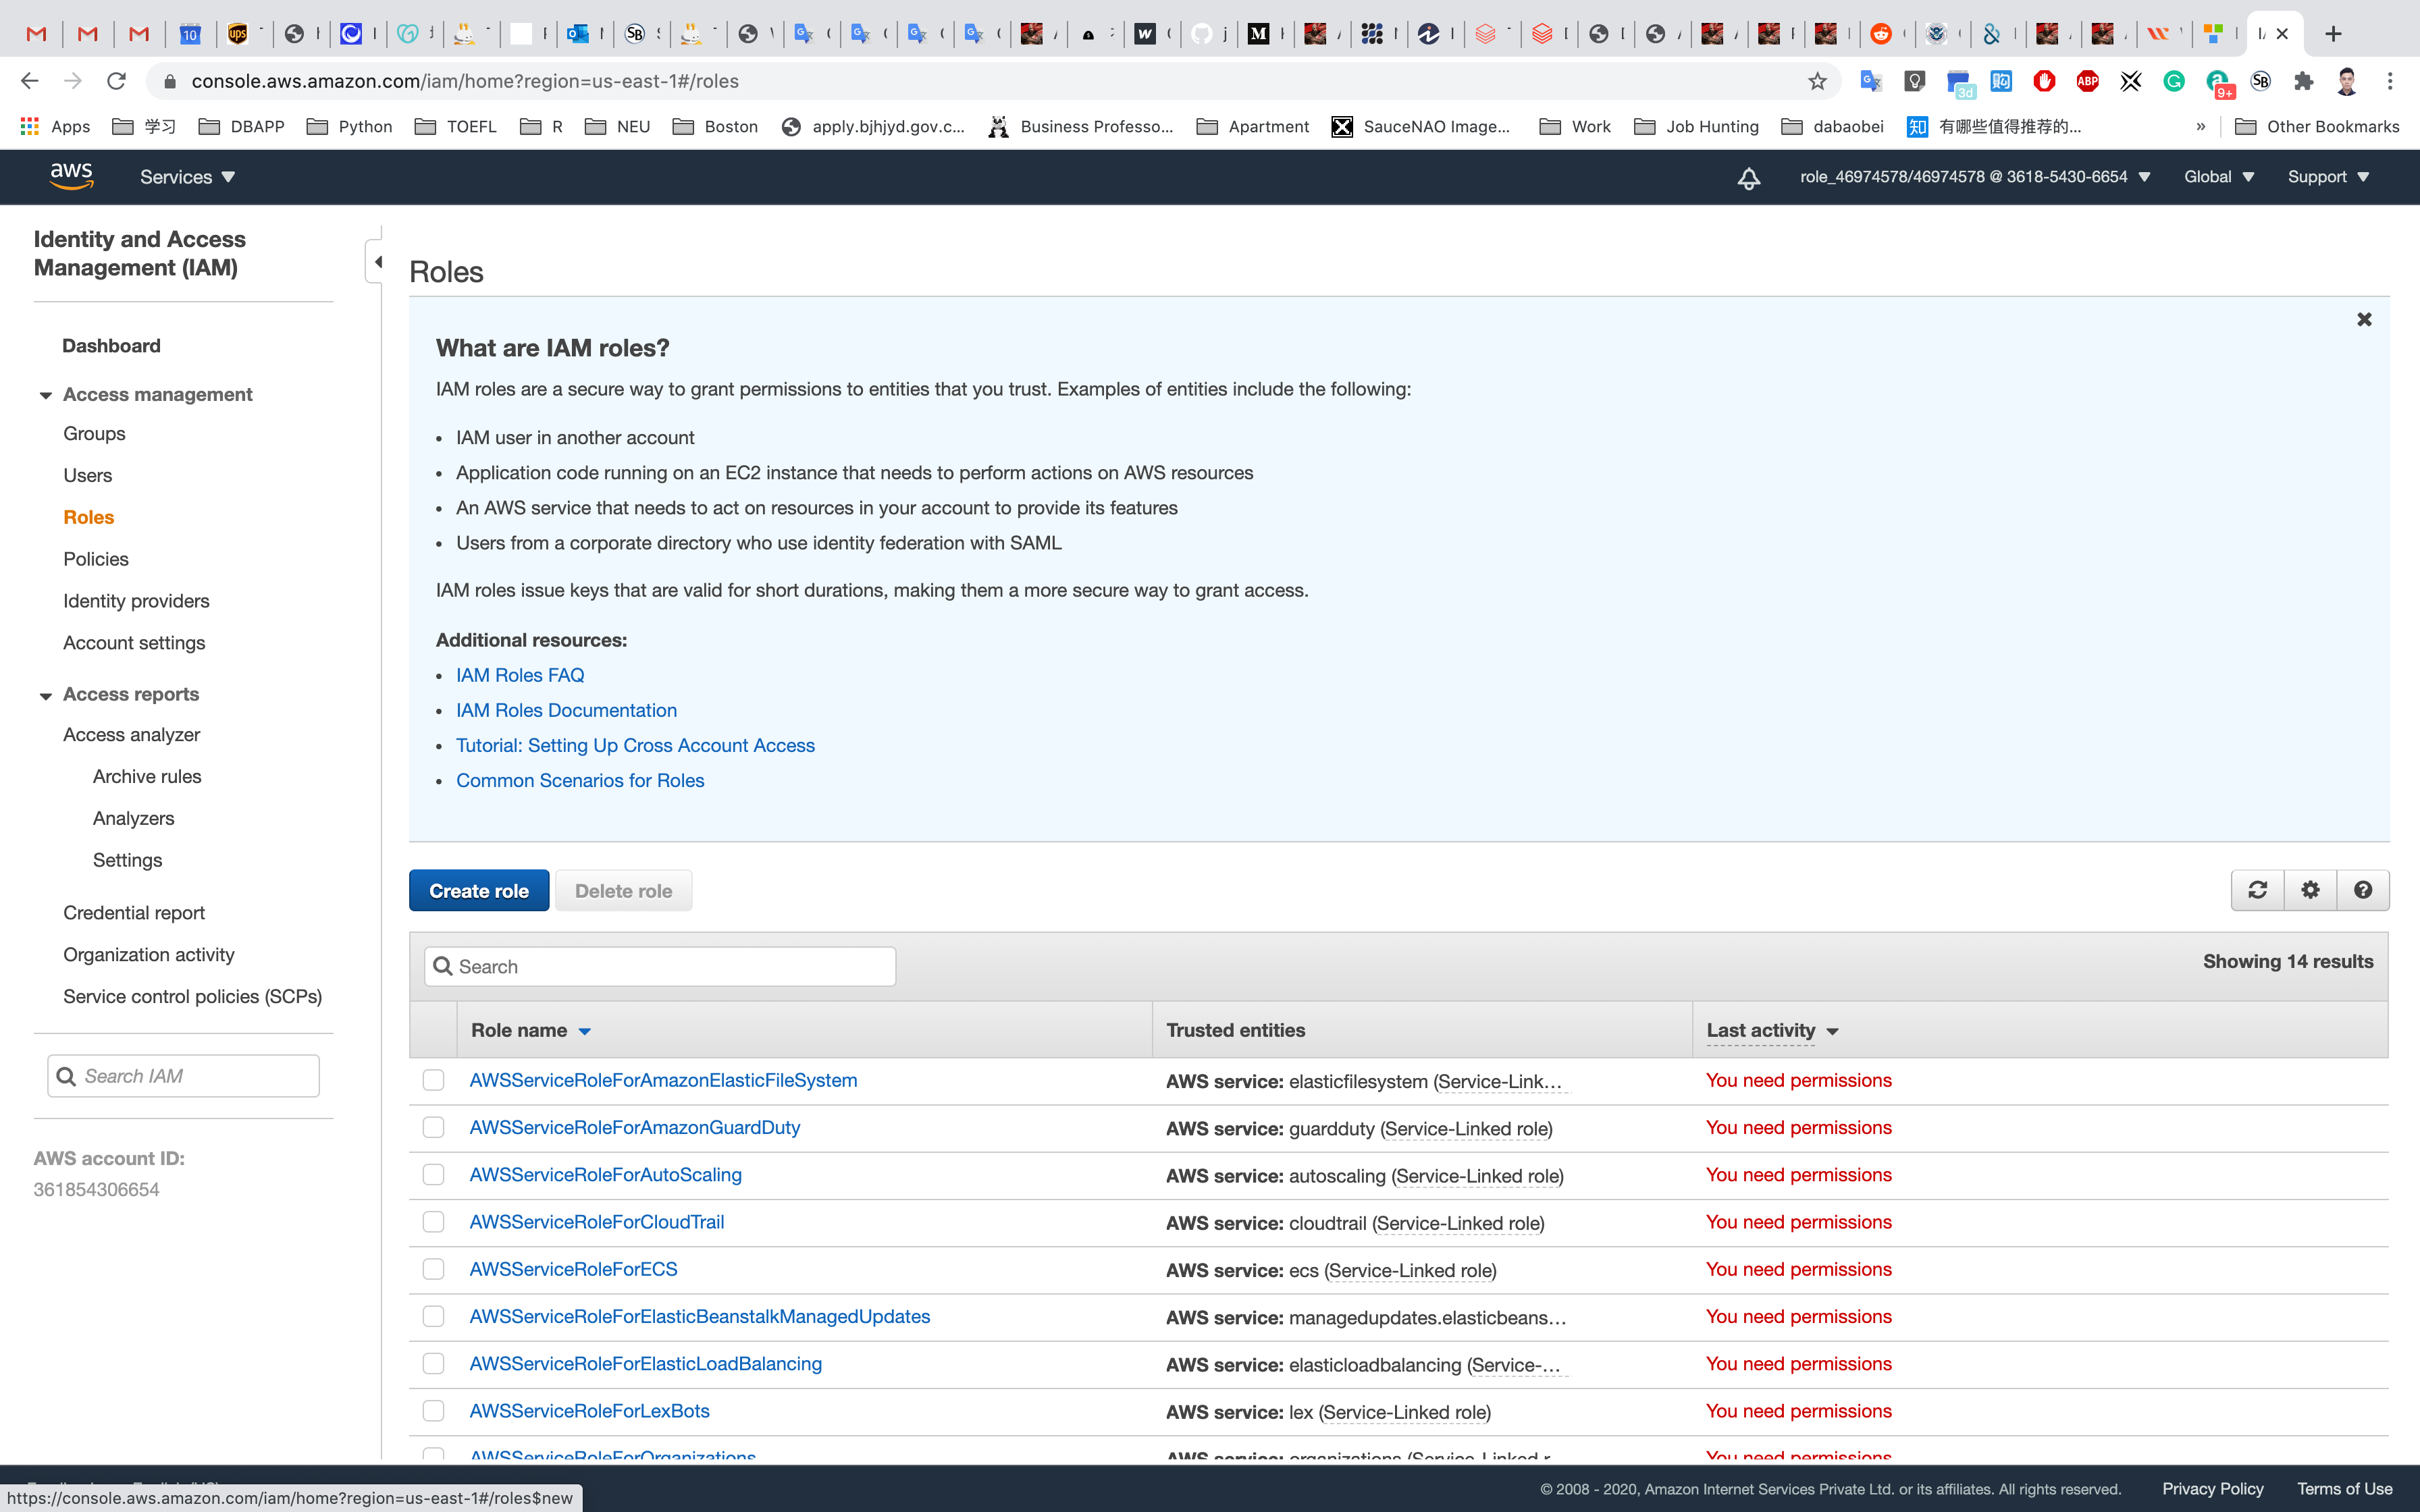
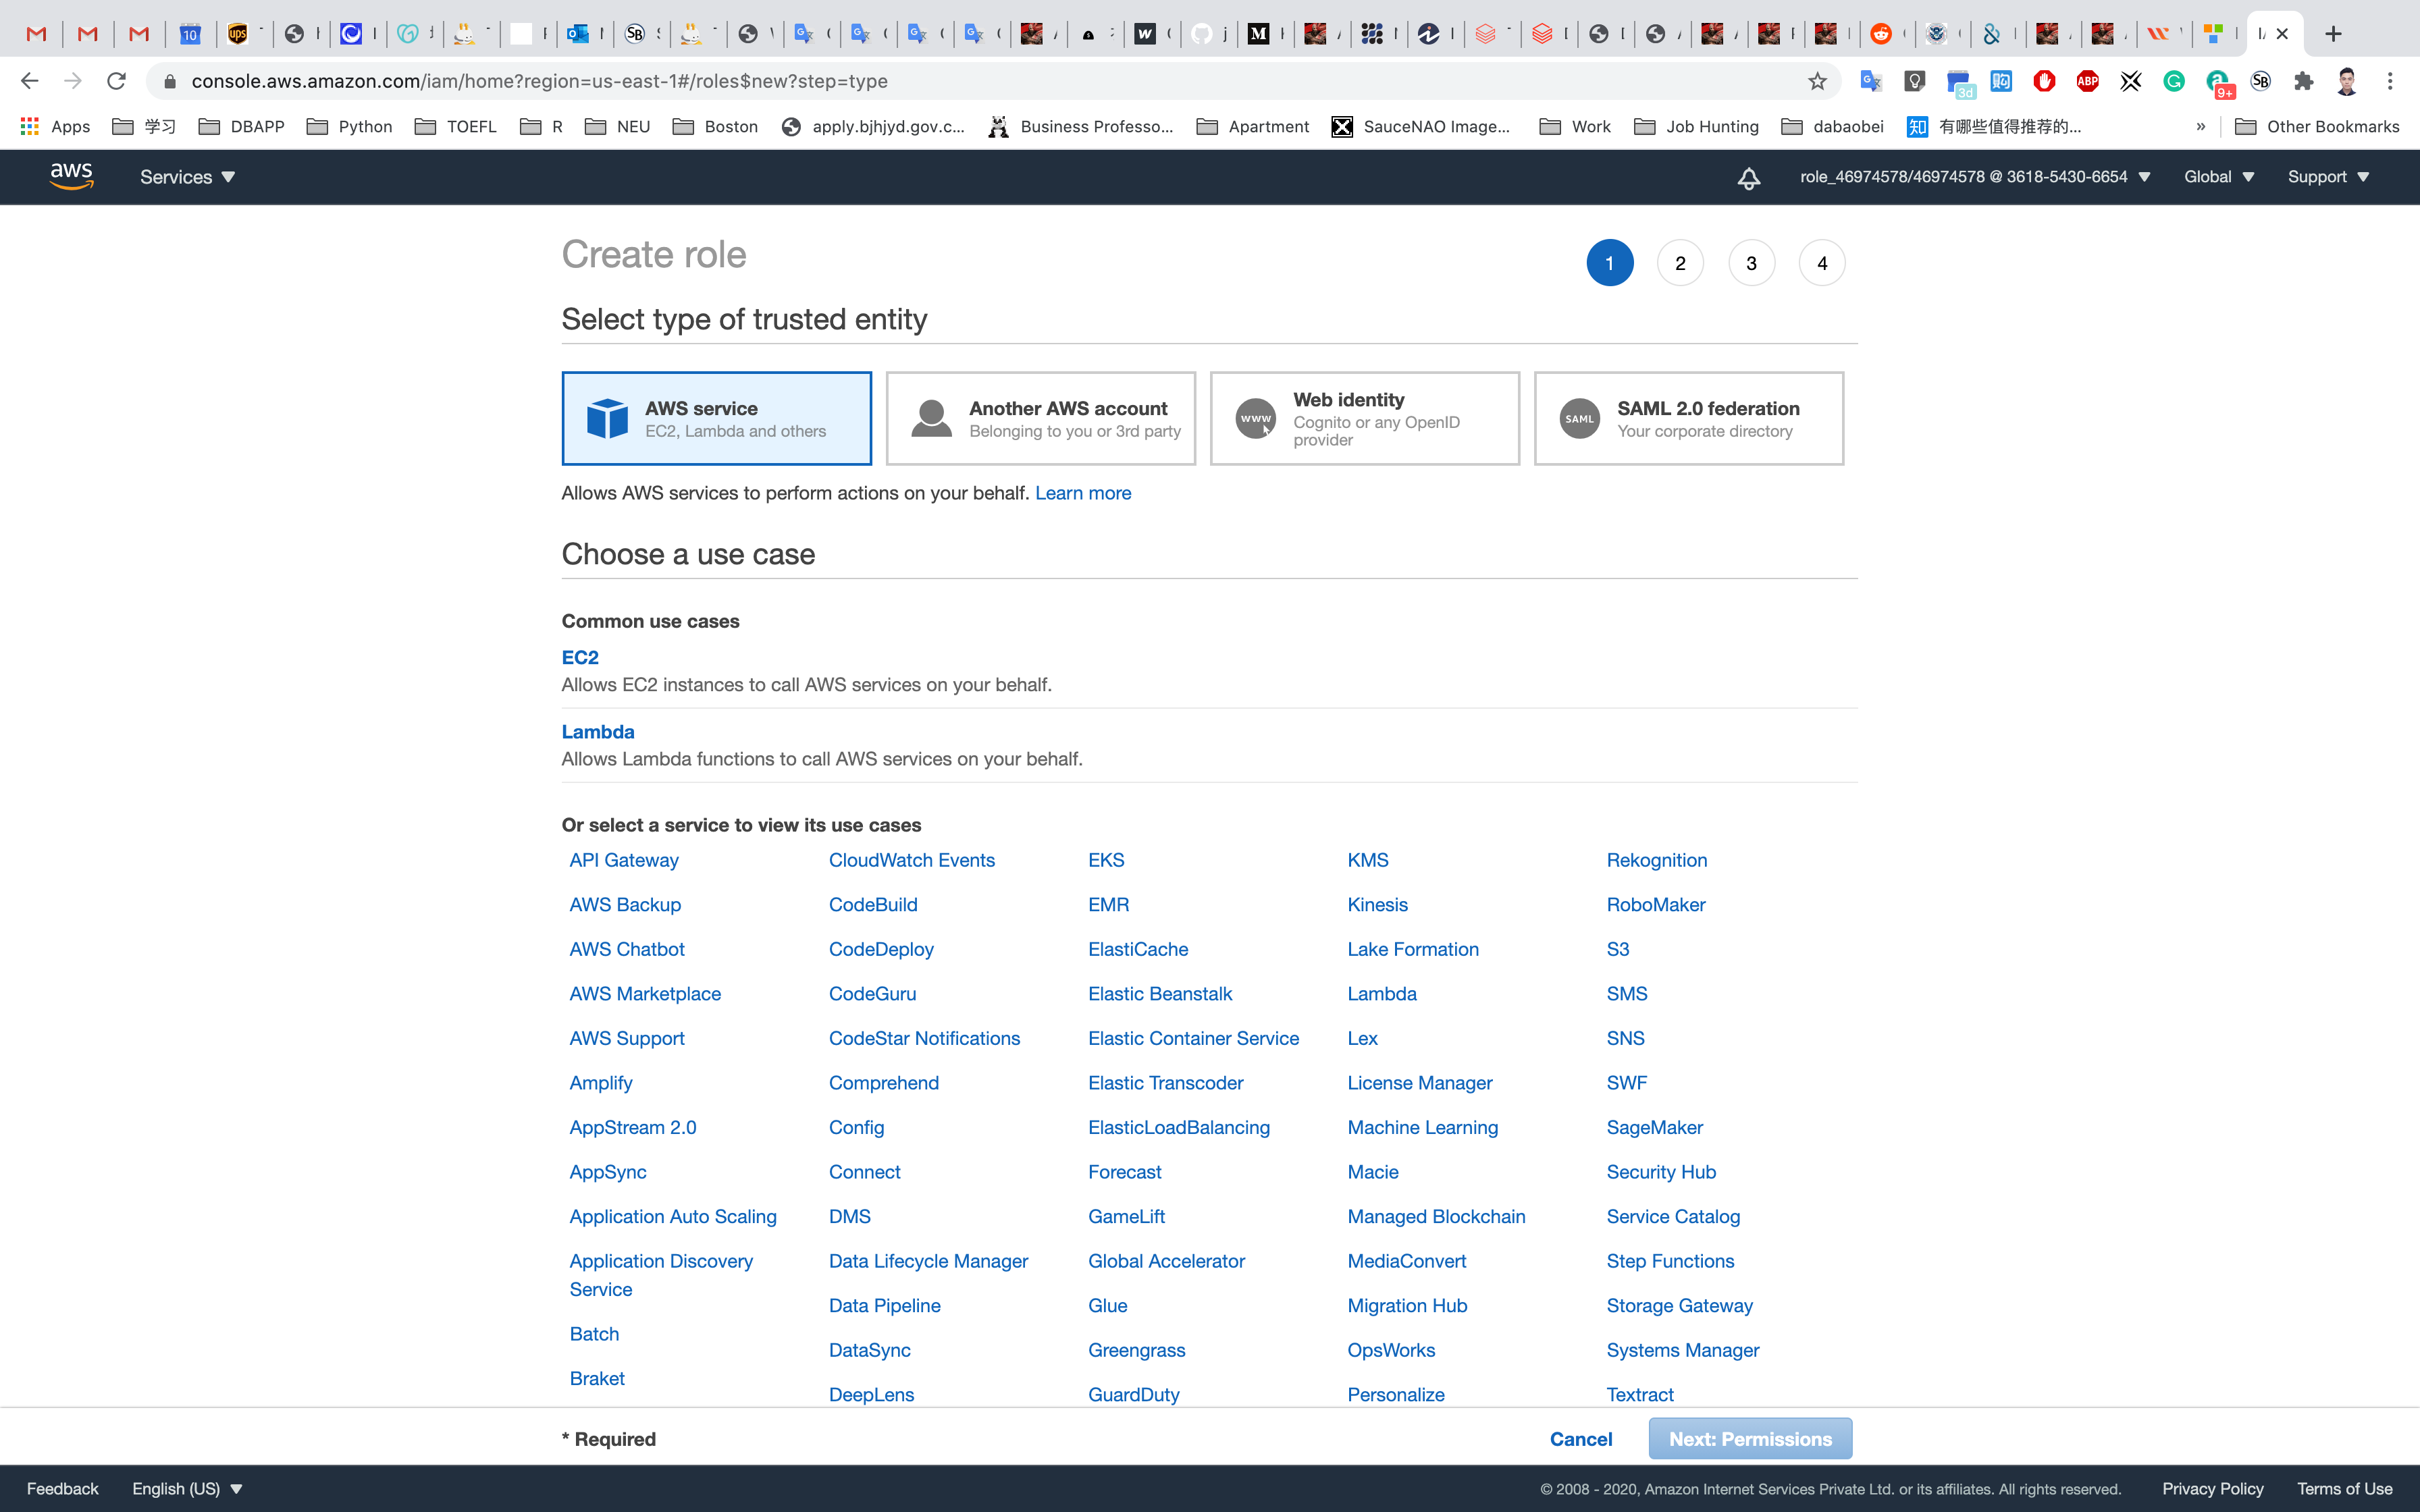
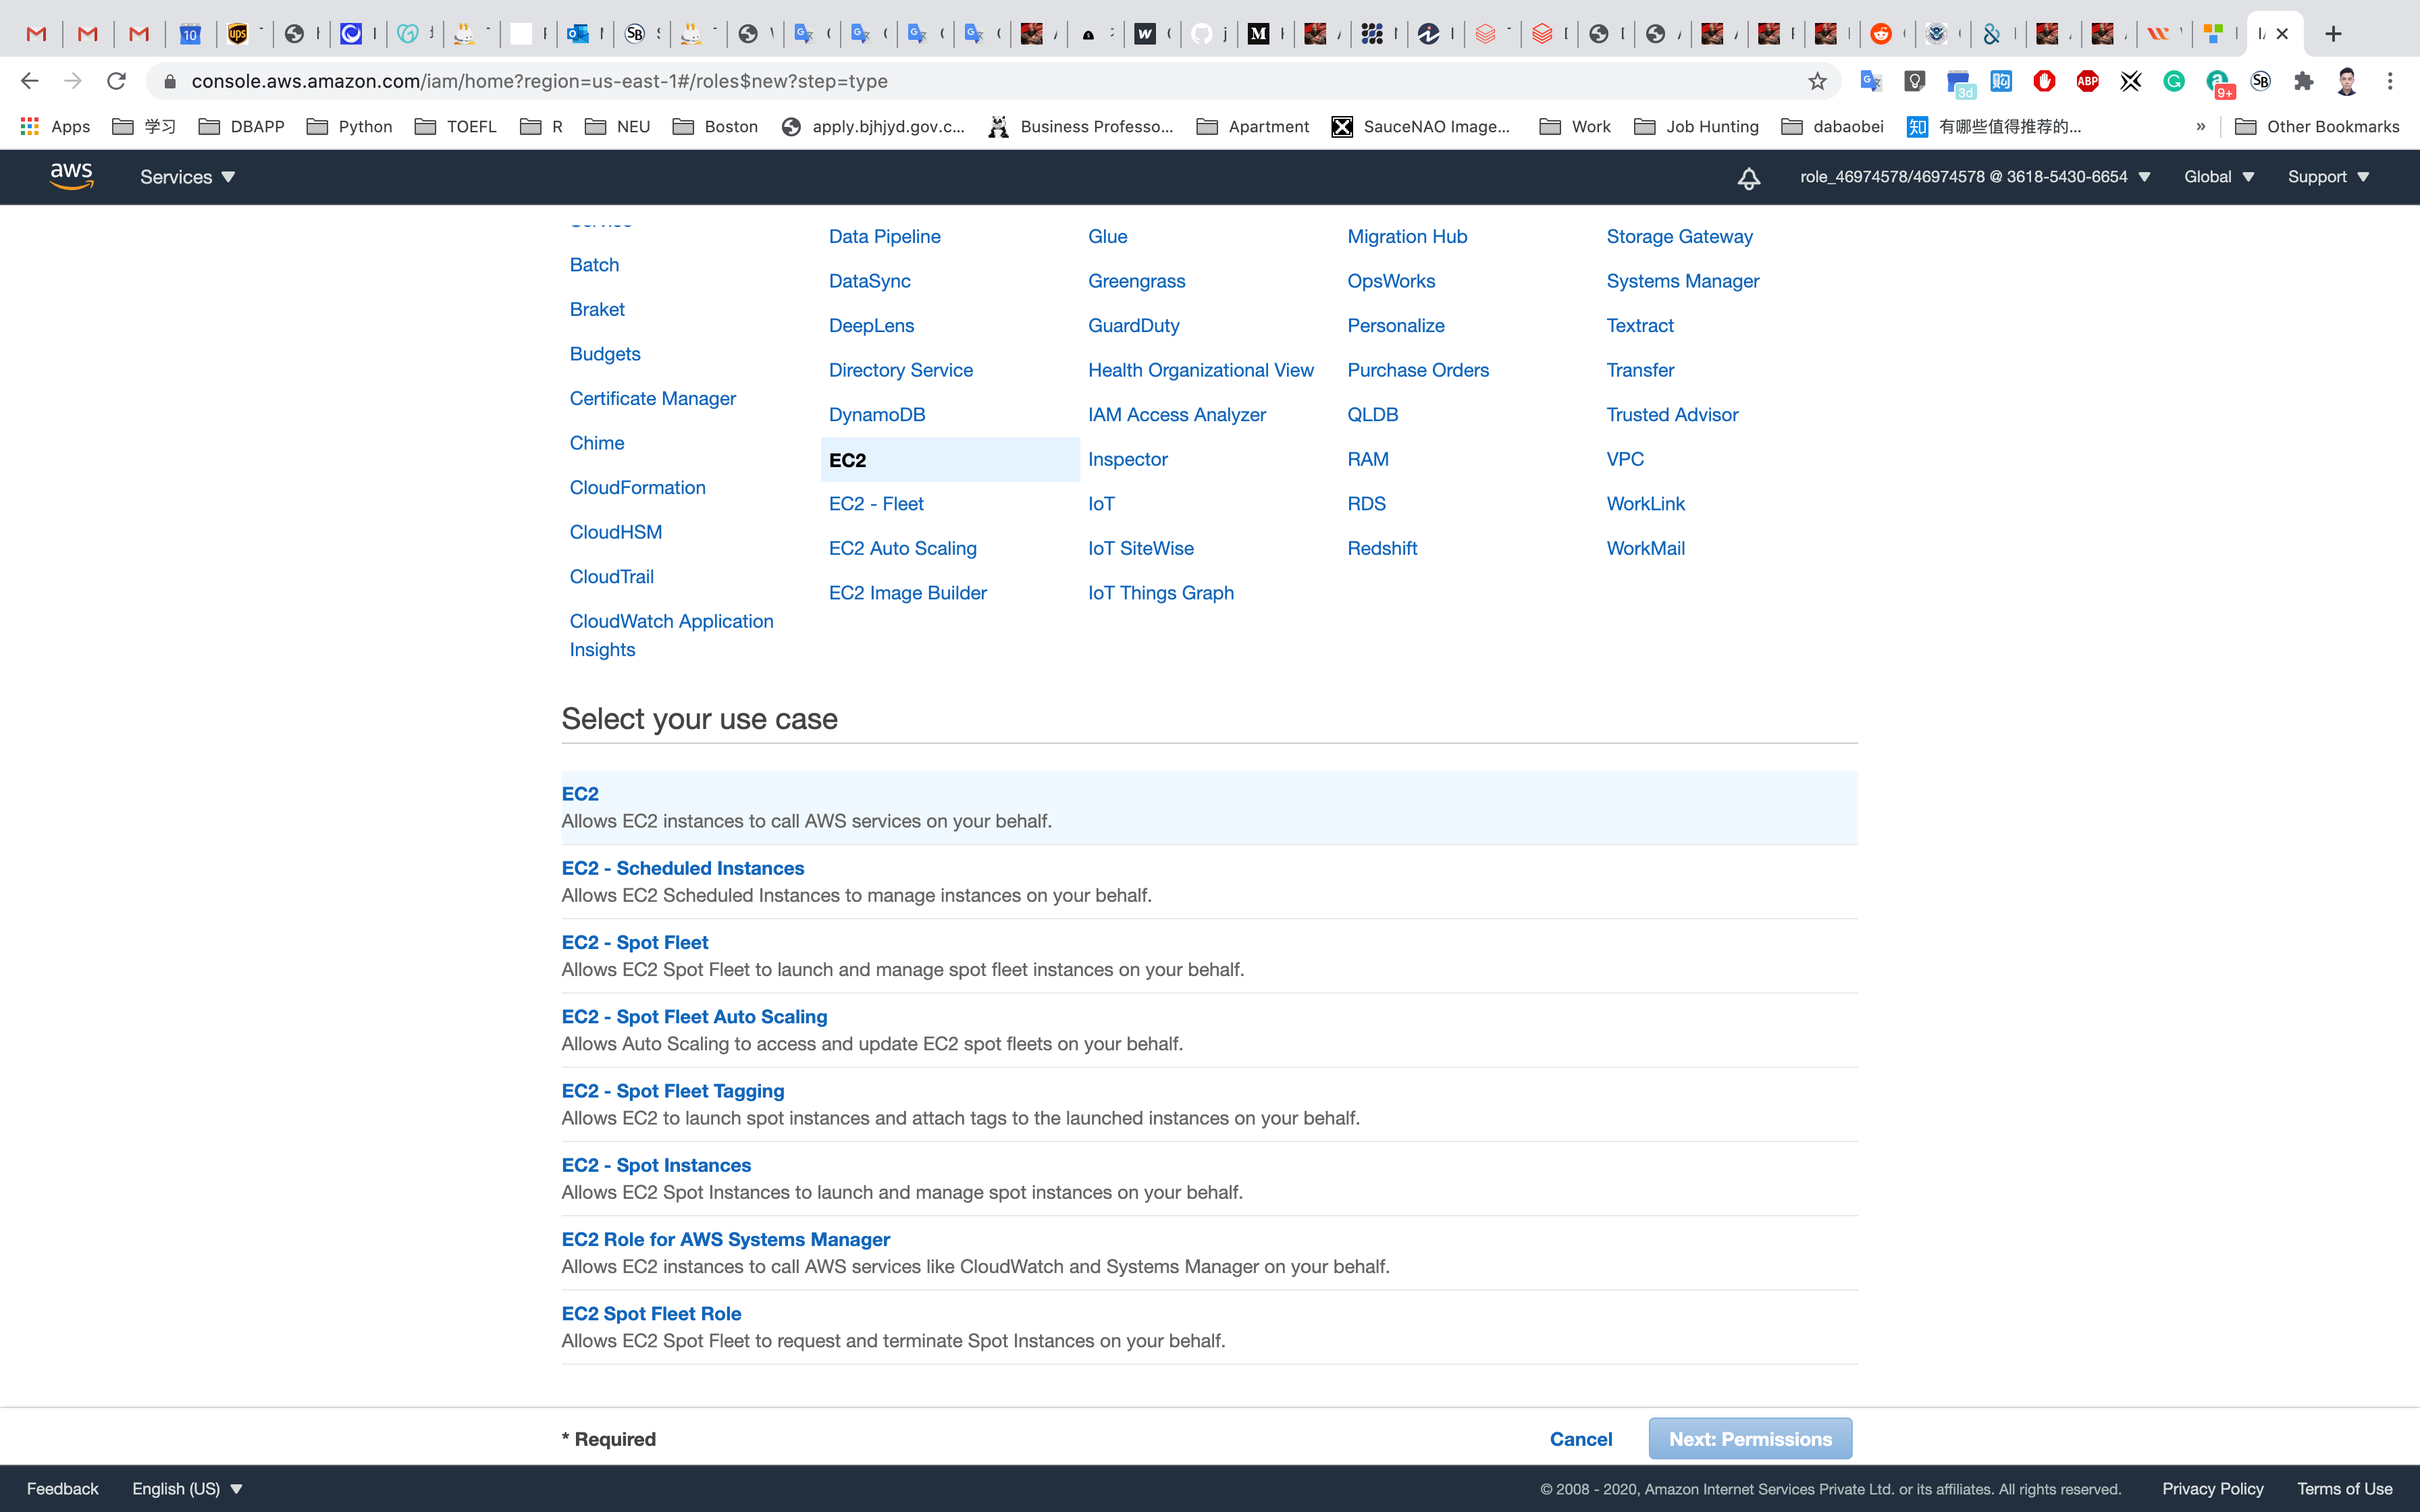
Select Roles in the left pane and click on Create Role to create a new IAM role.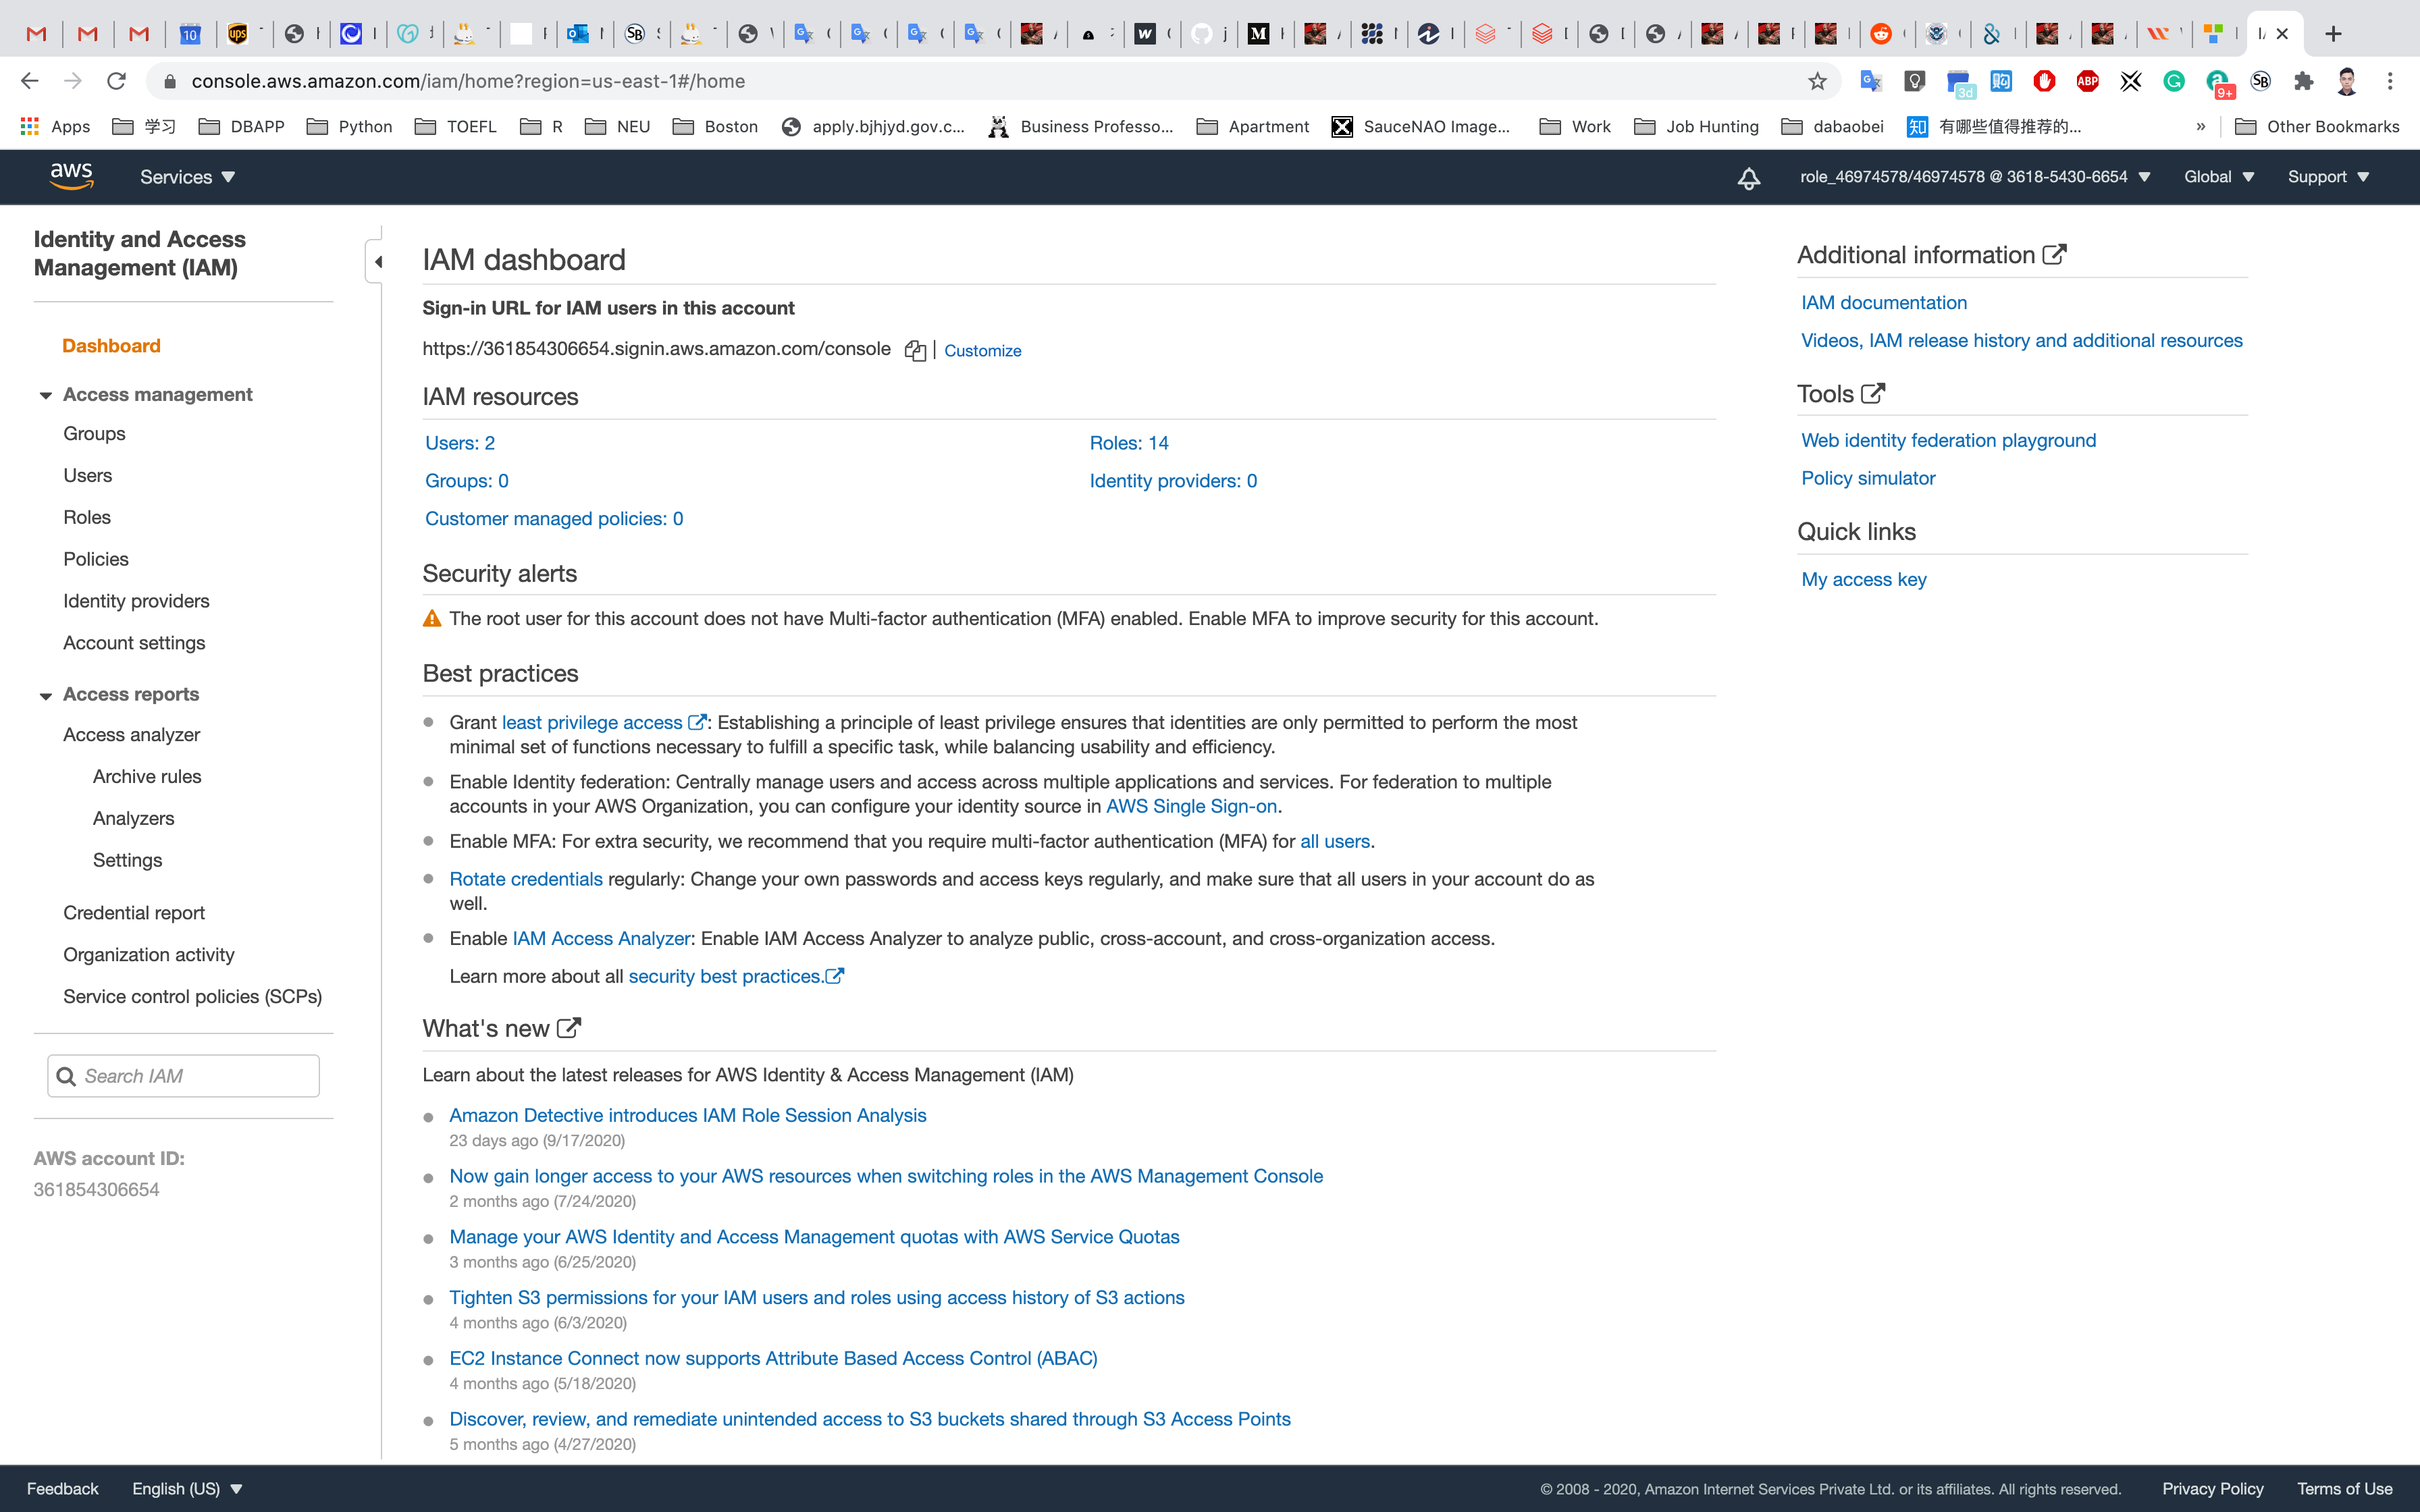
In the Create Role section, choose AWS Service and then select EC2 service for the role. Click on Next: Permissions as shown below in the screenshot:
Type S3fullaccess in the search bar and then click on AmazonS3FullAccess.
Click on Next: Tags.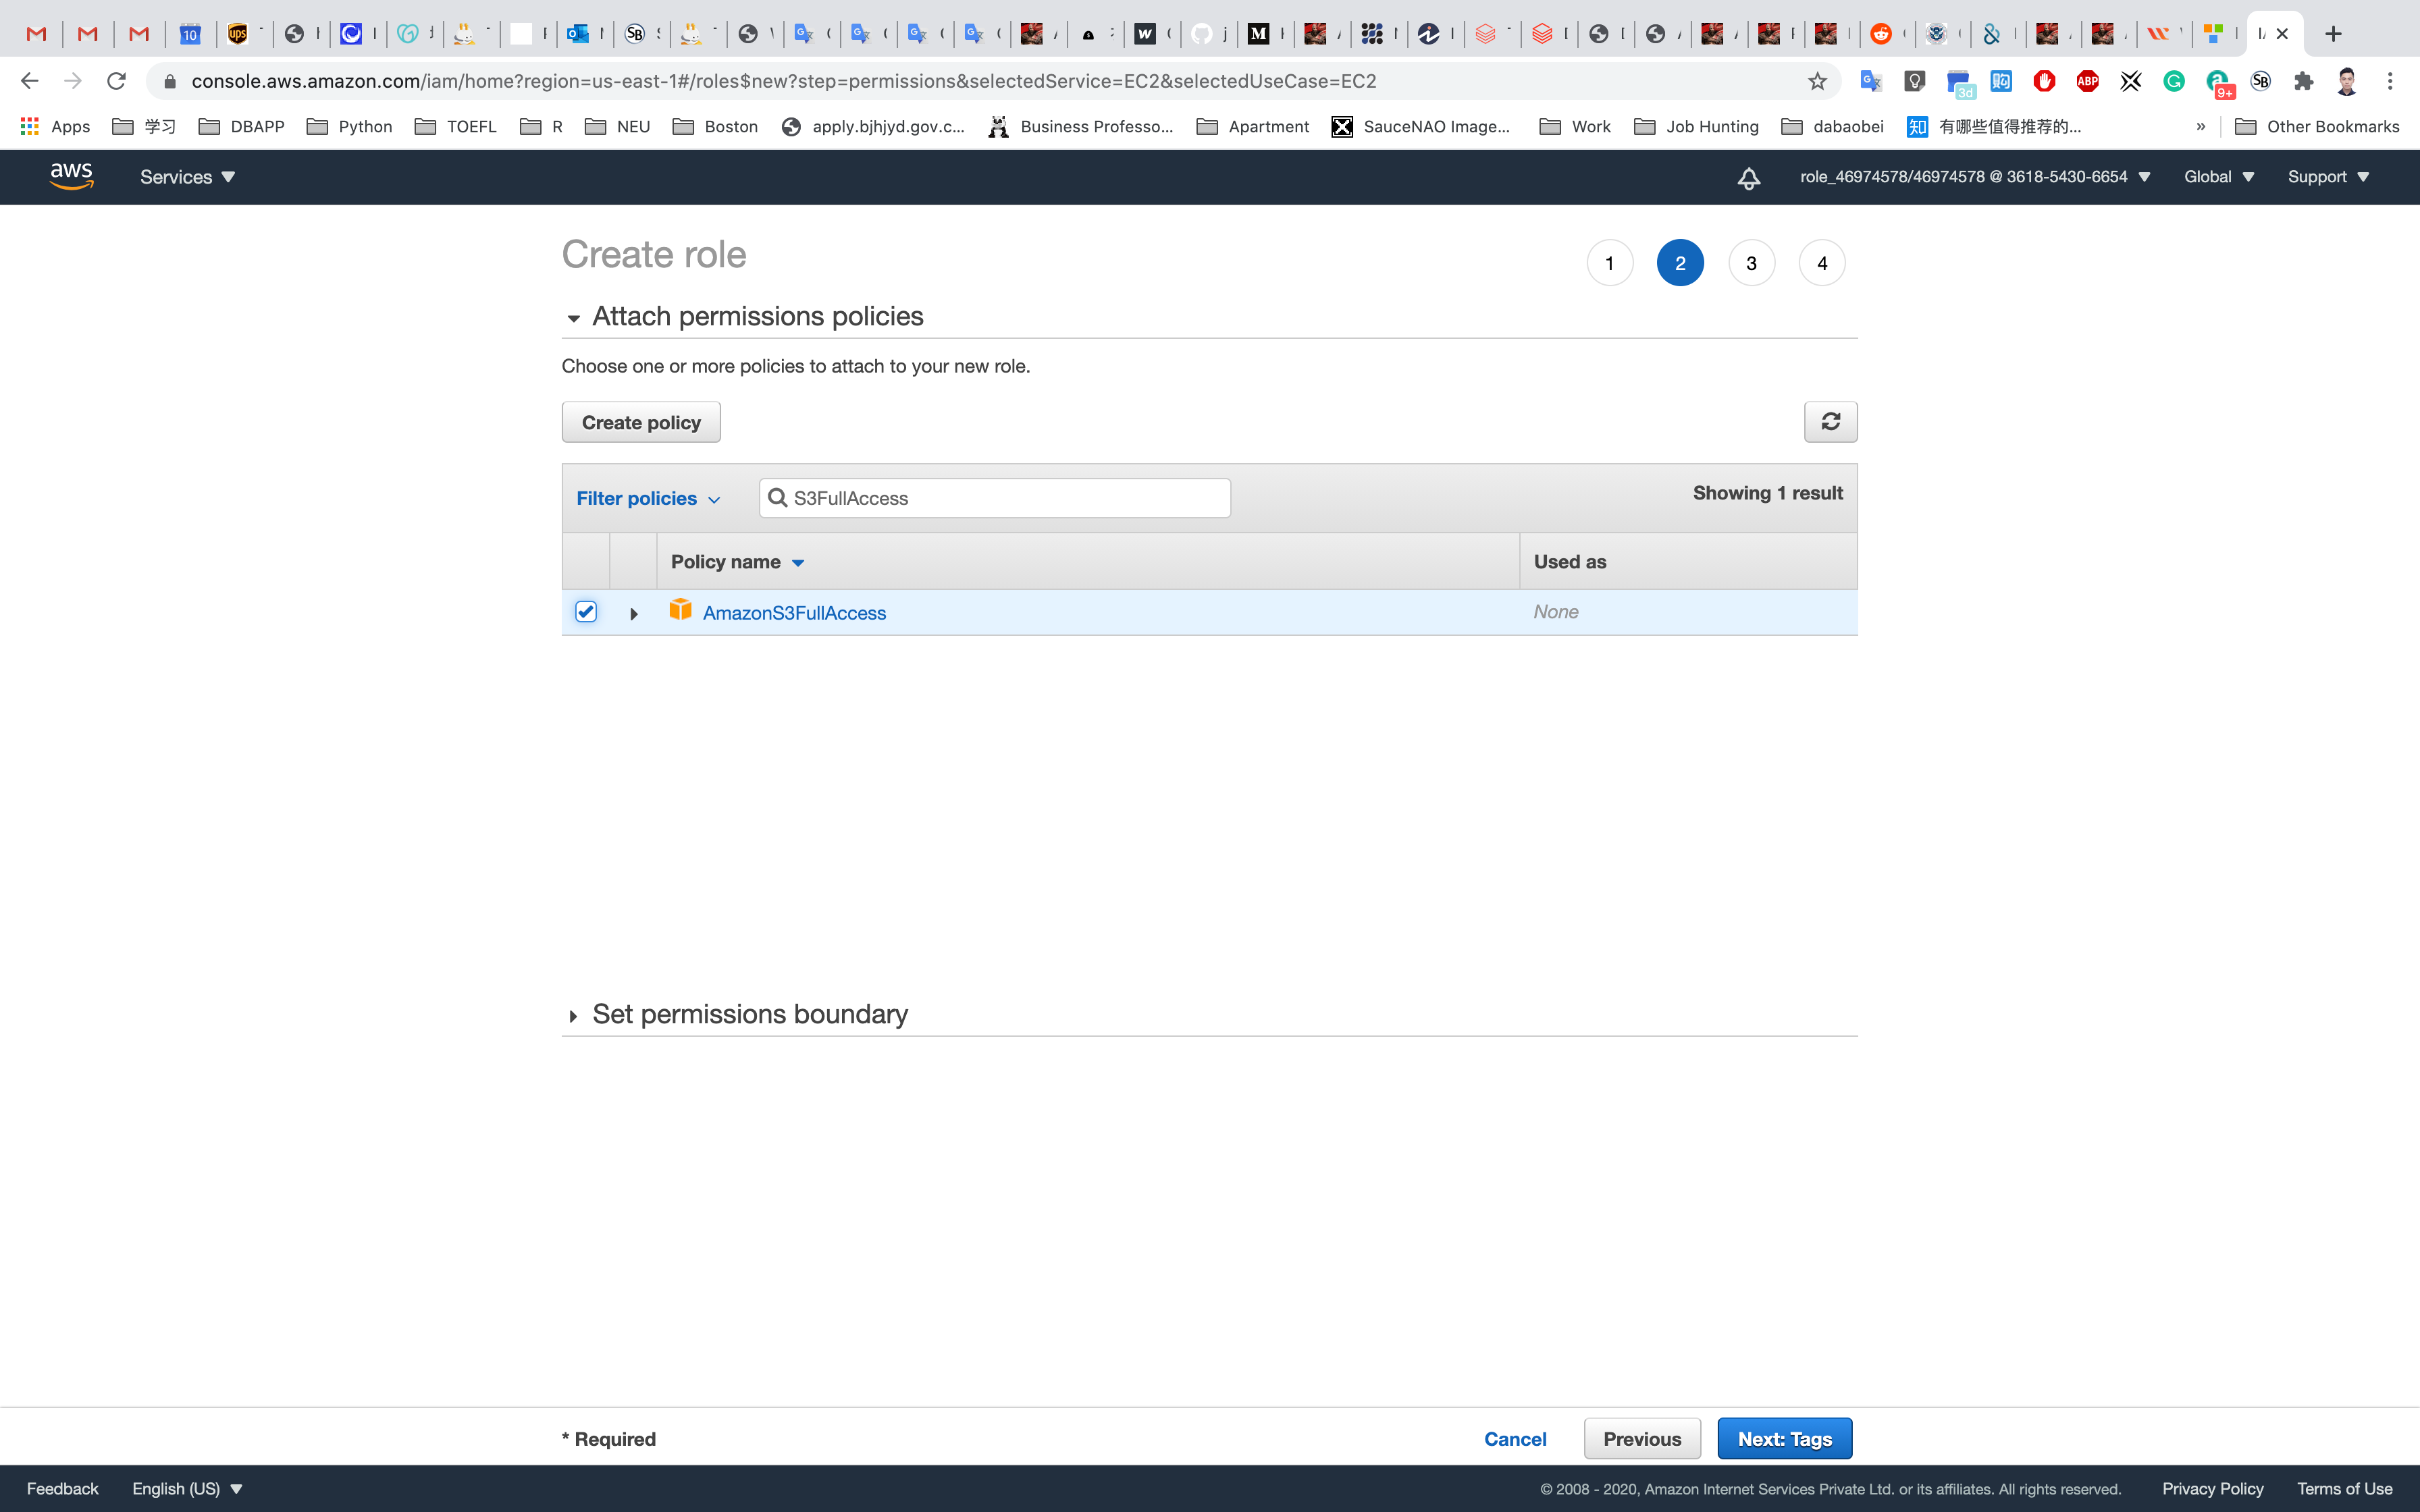
- Key:
Name - Value:
ec2S3role
Click on Next: Review.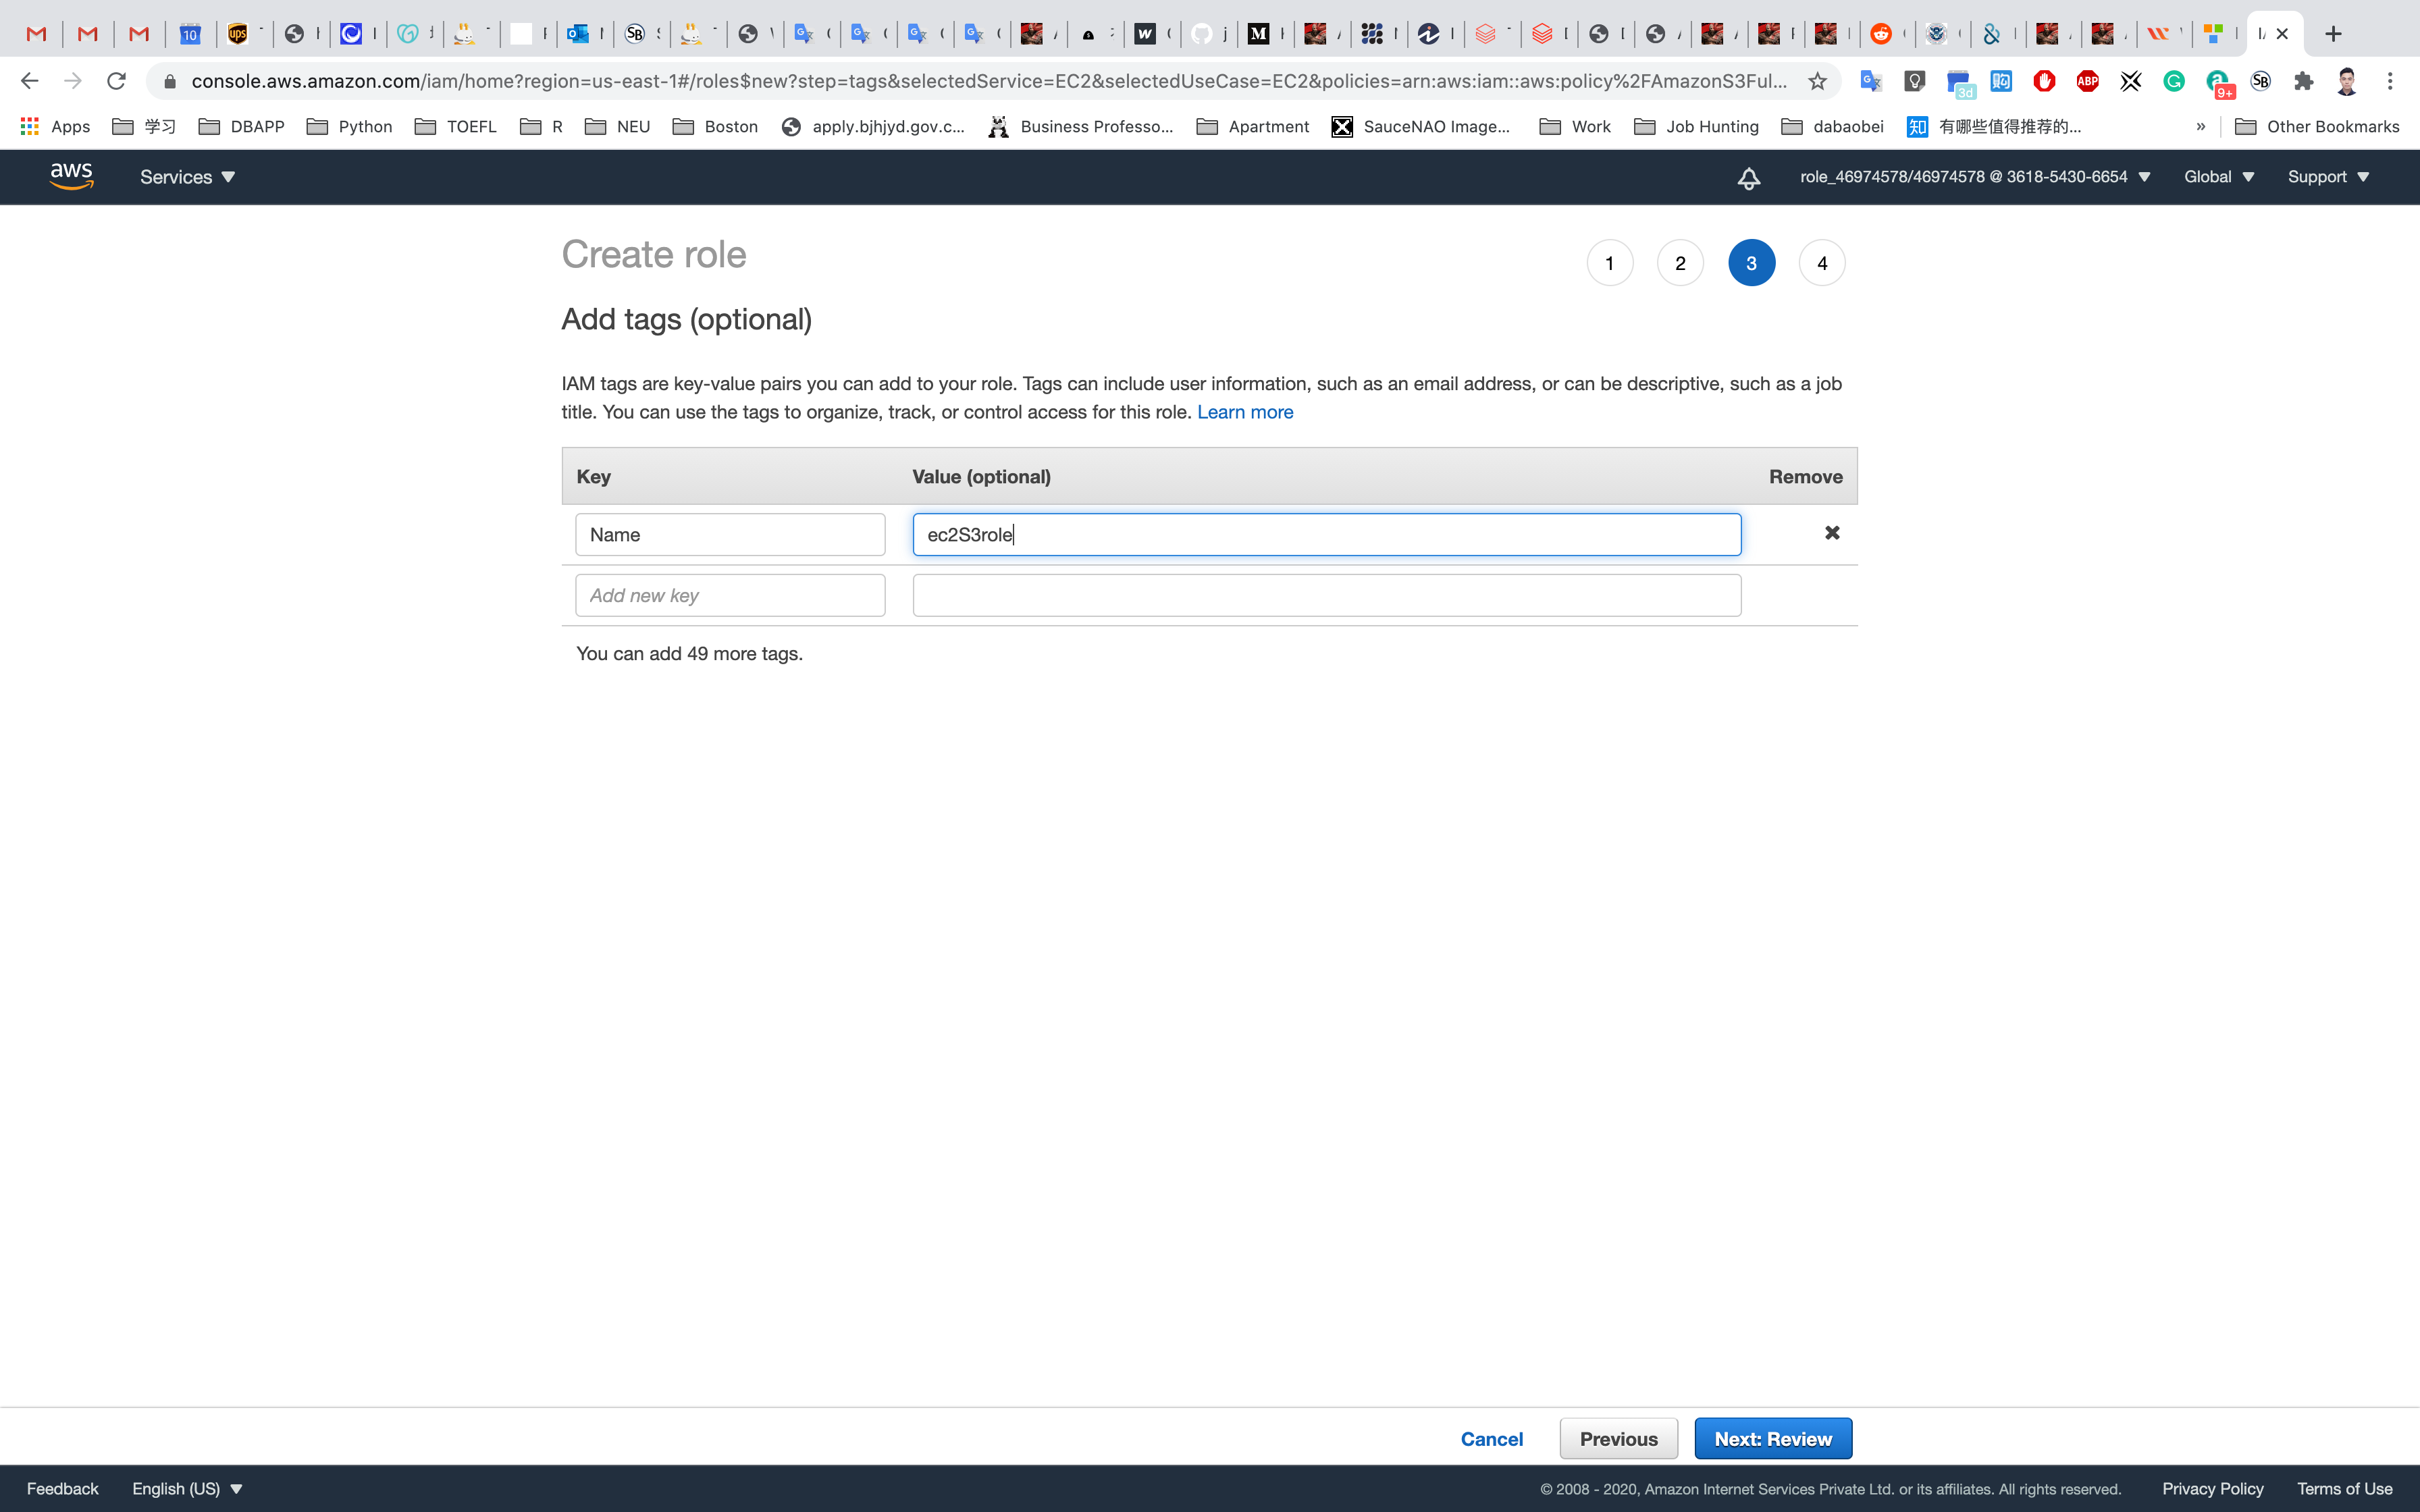
On the Create Role Page:
- Role Name:
S3Role- Note : You can create the role in your desired name and then attach it to the EC2 instance.
- Role description :
IAM Role to access S3
Click on Create Role.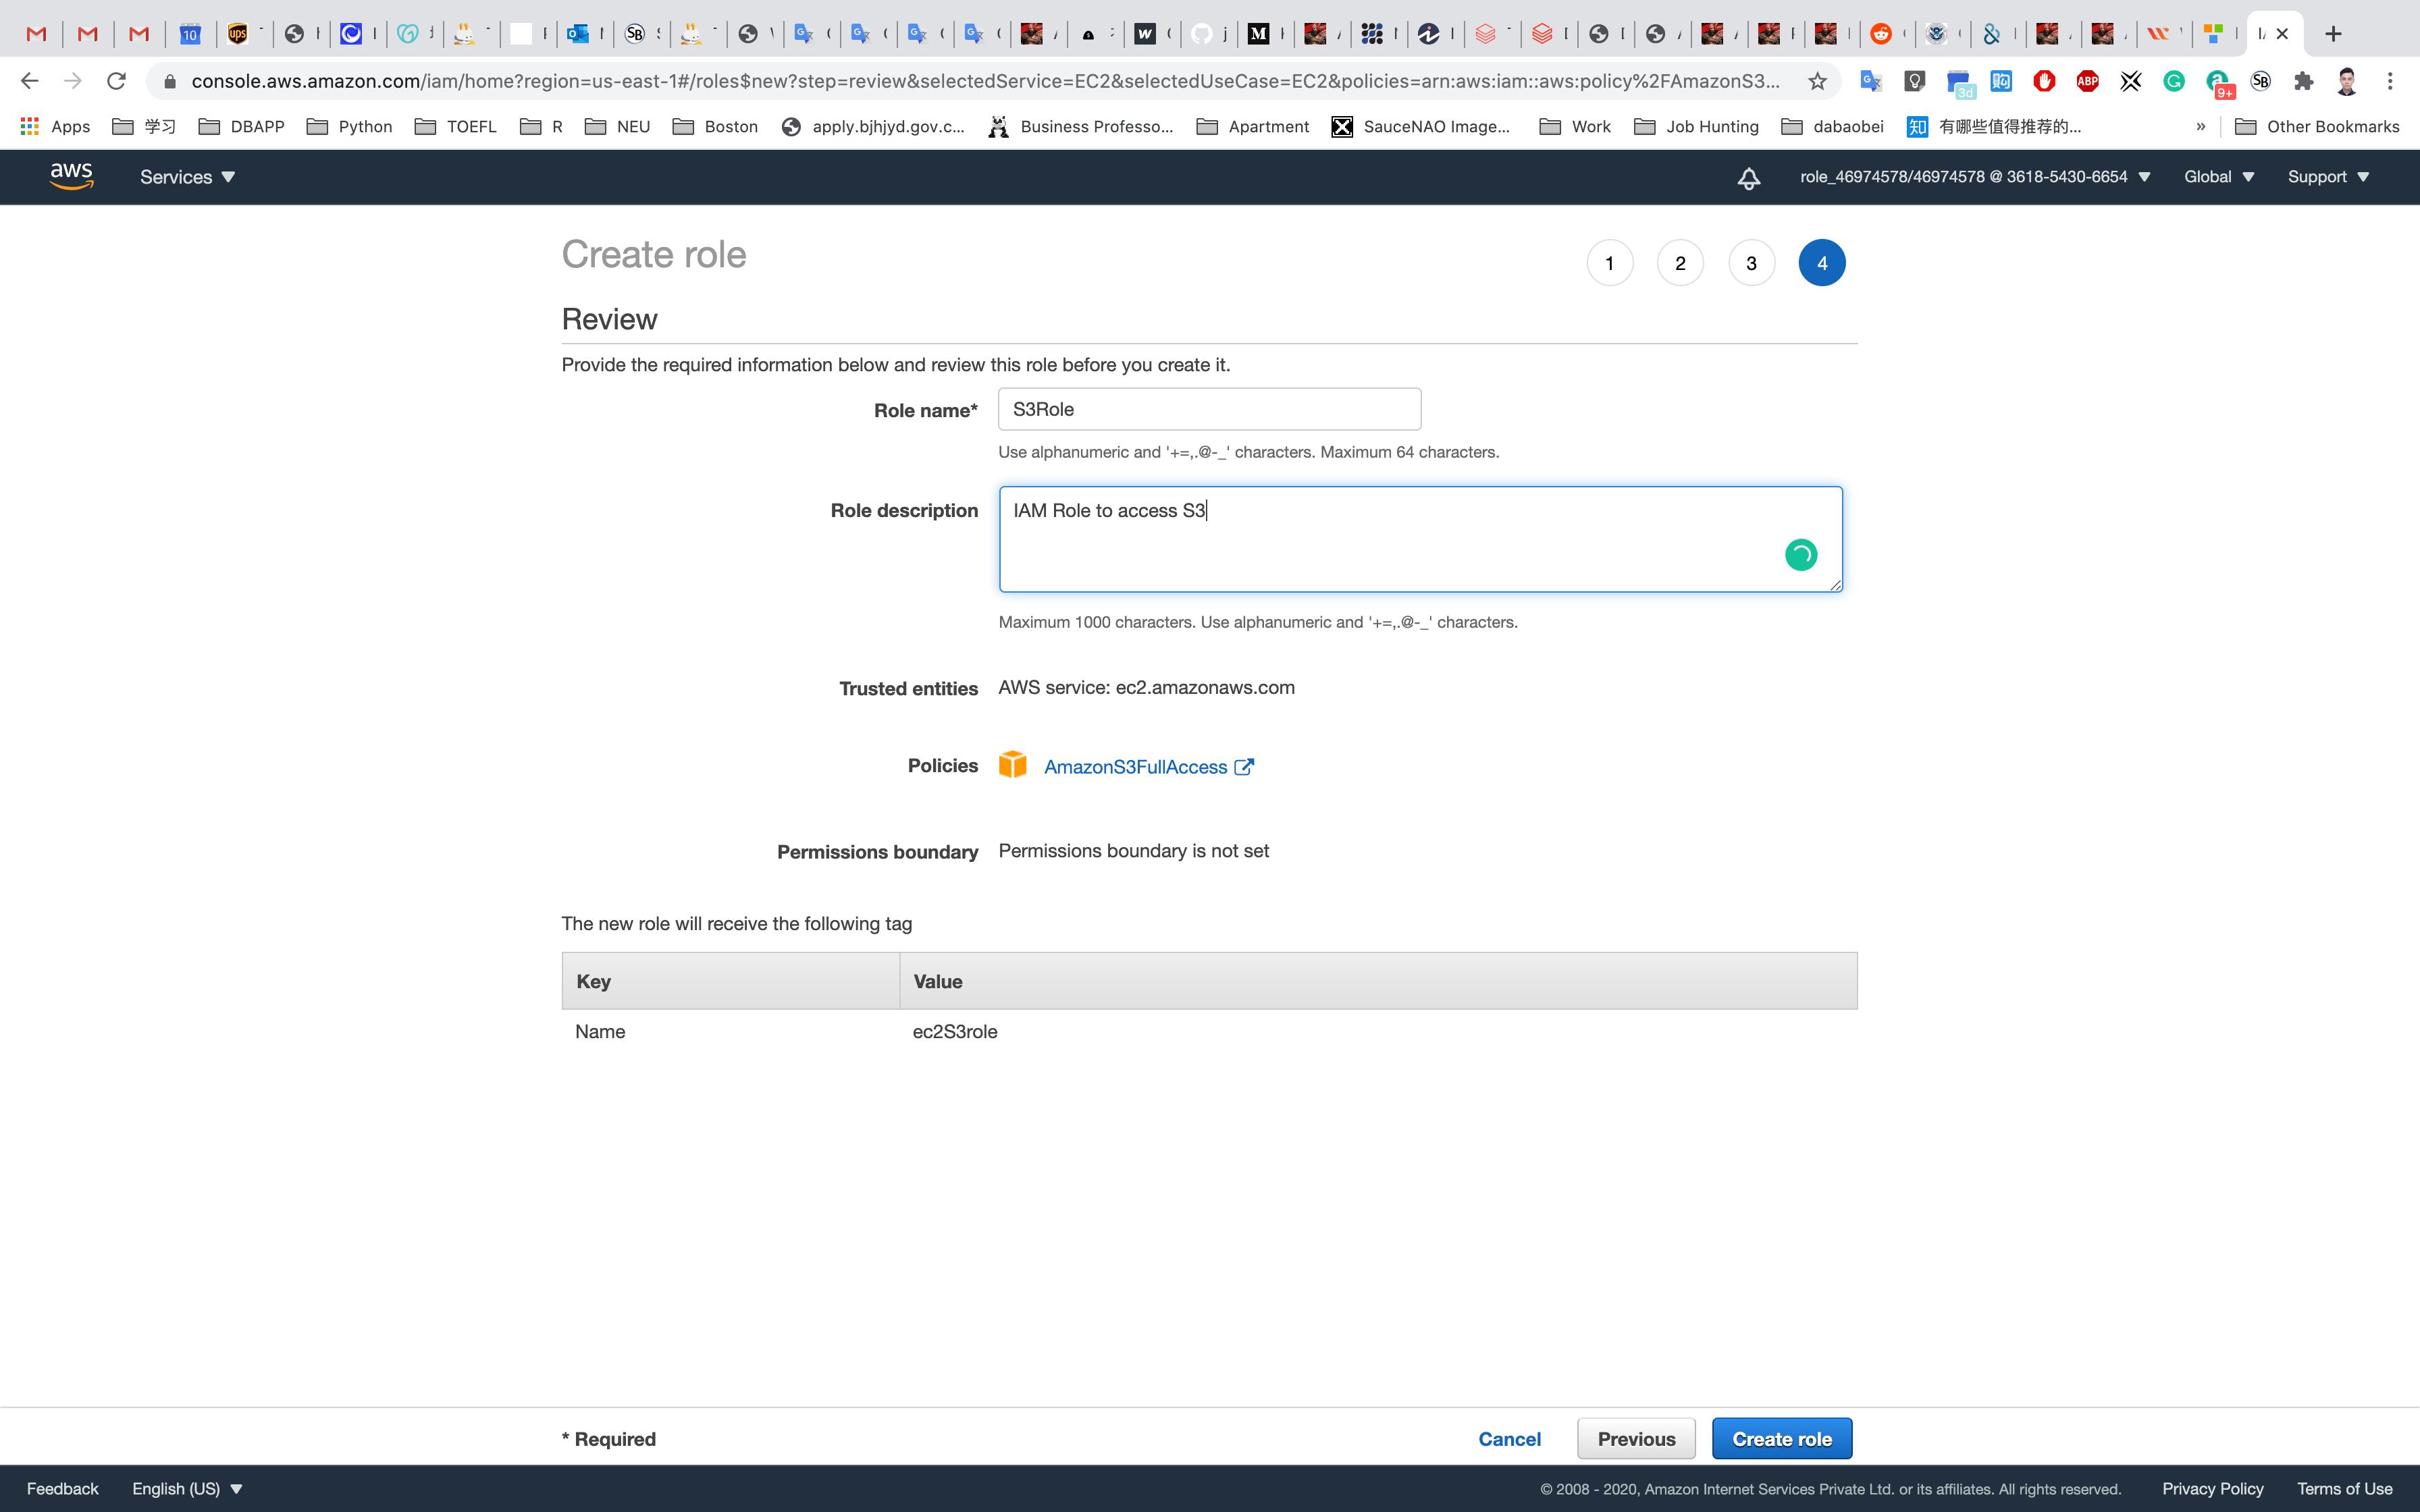
You have successfully created the IAM role to access the S3 bucket.
See the highlight role.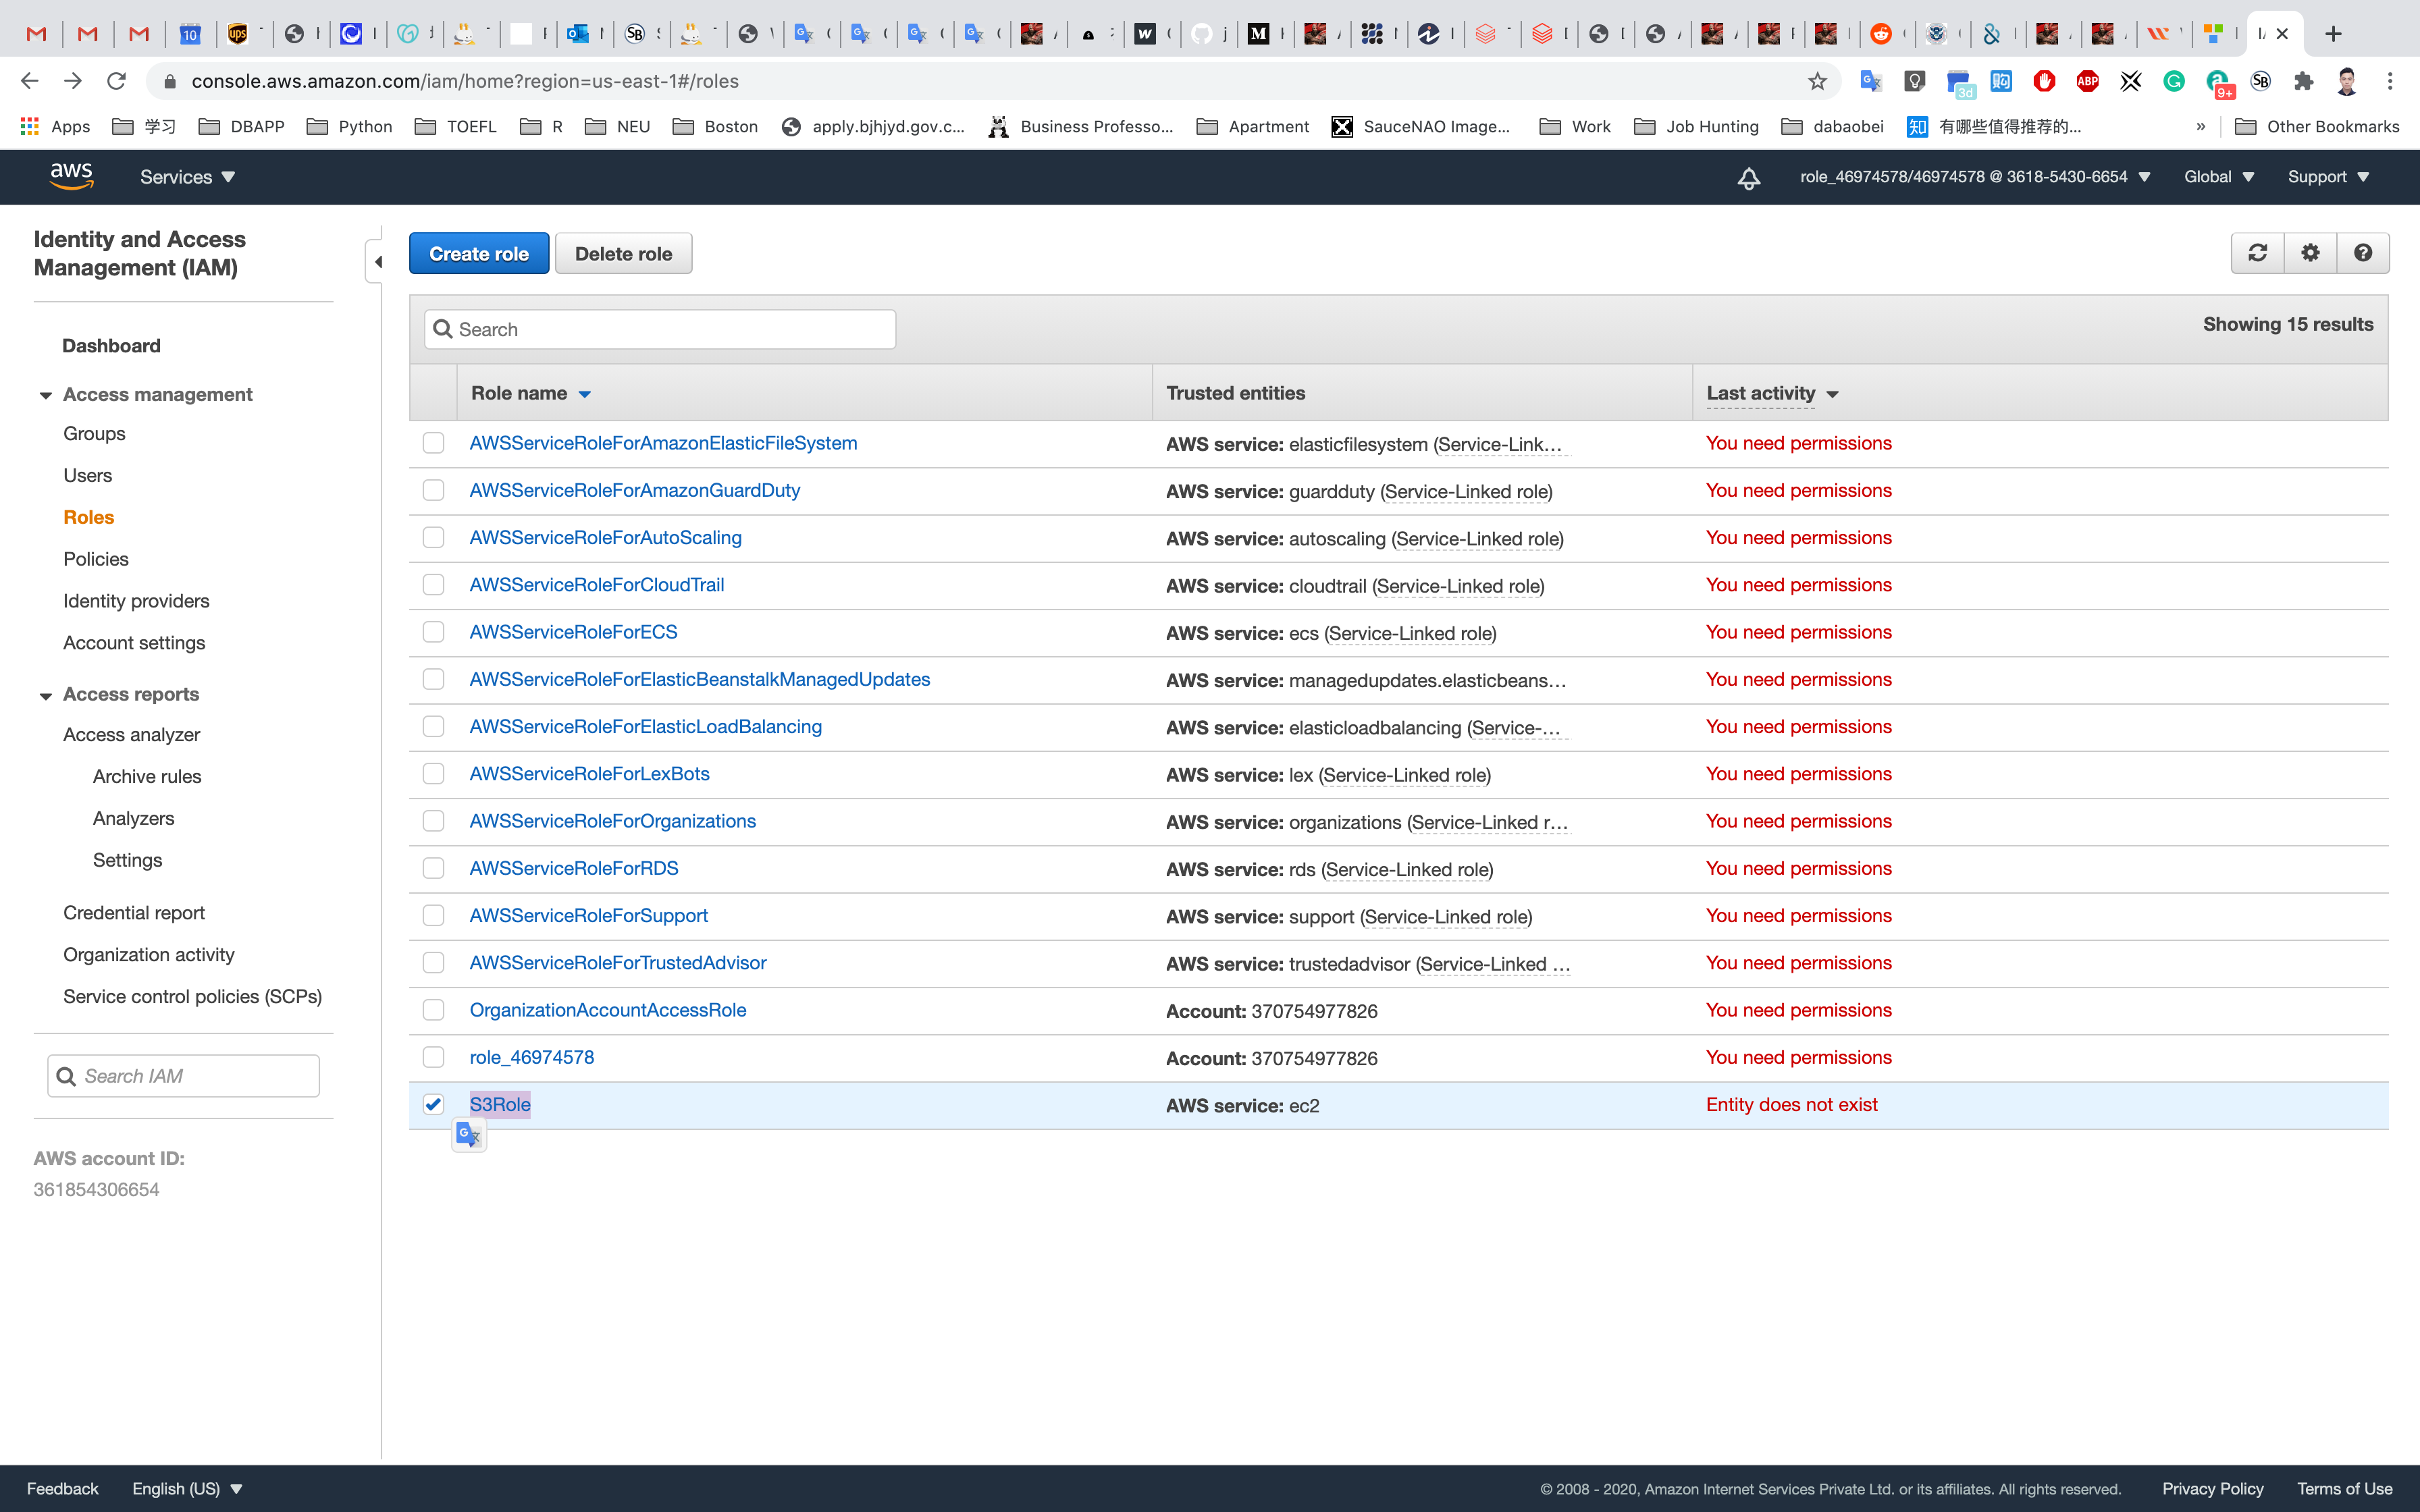
EC2 Configuration
Services -> EC2
Region: N.Virginia
Under the left sub-menu, click on Instances and then click on Launch Instance
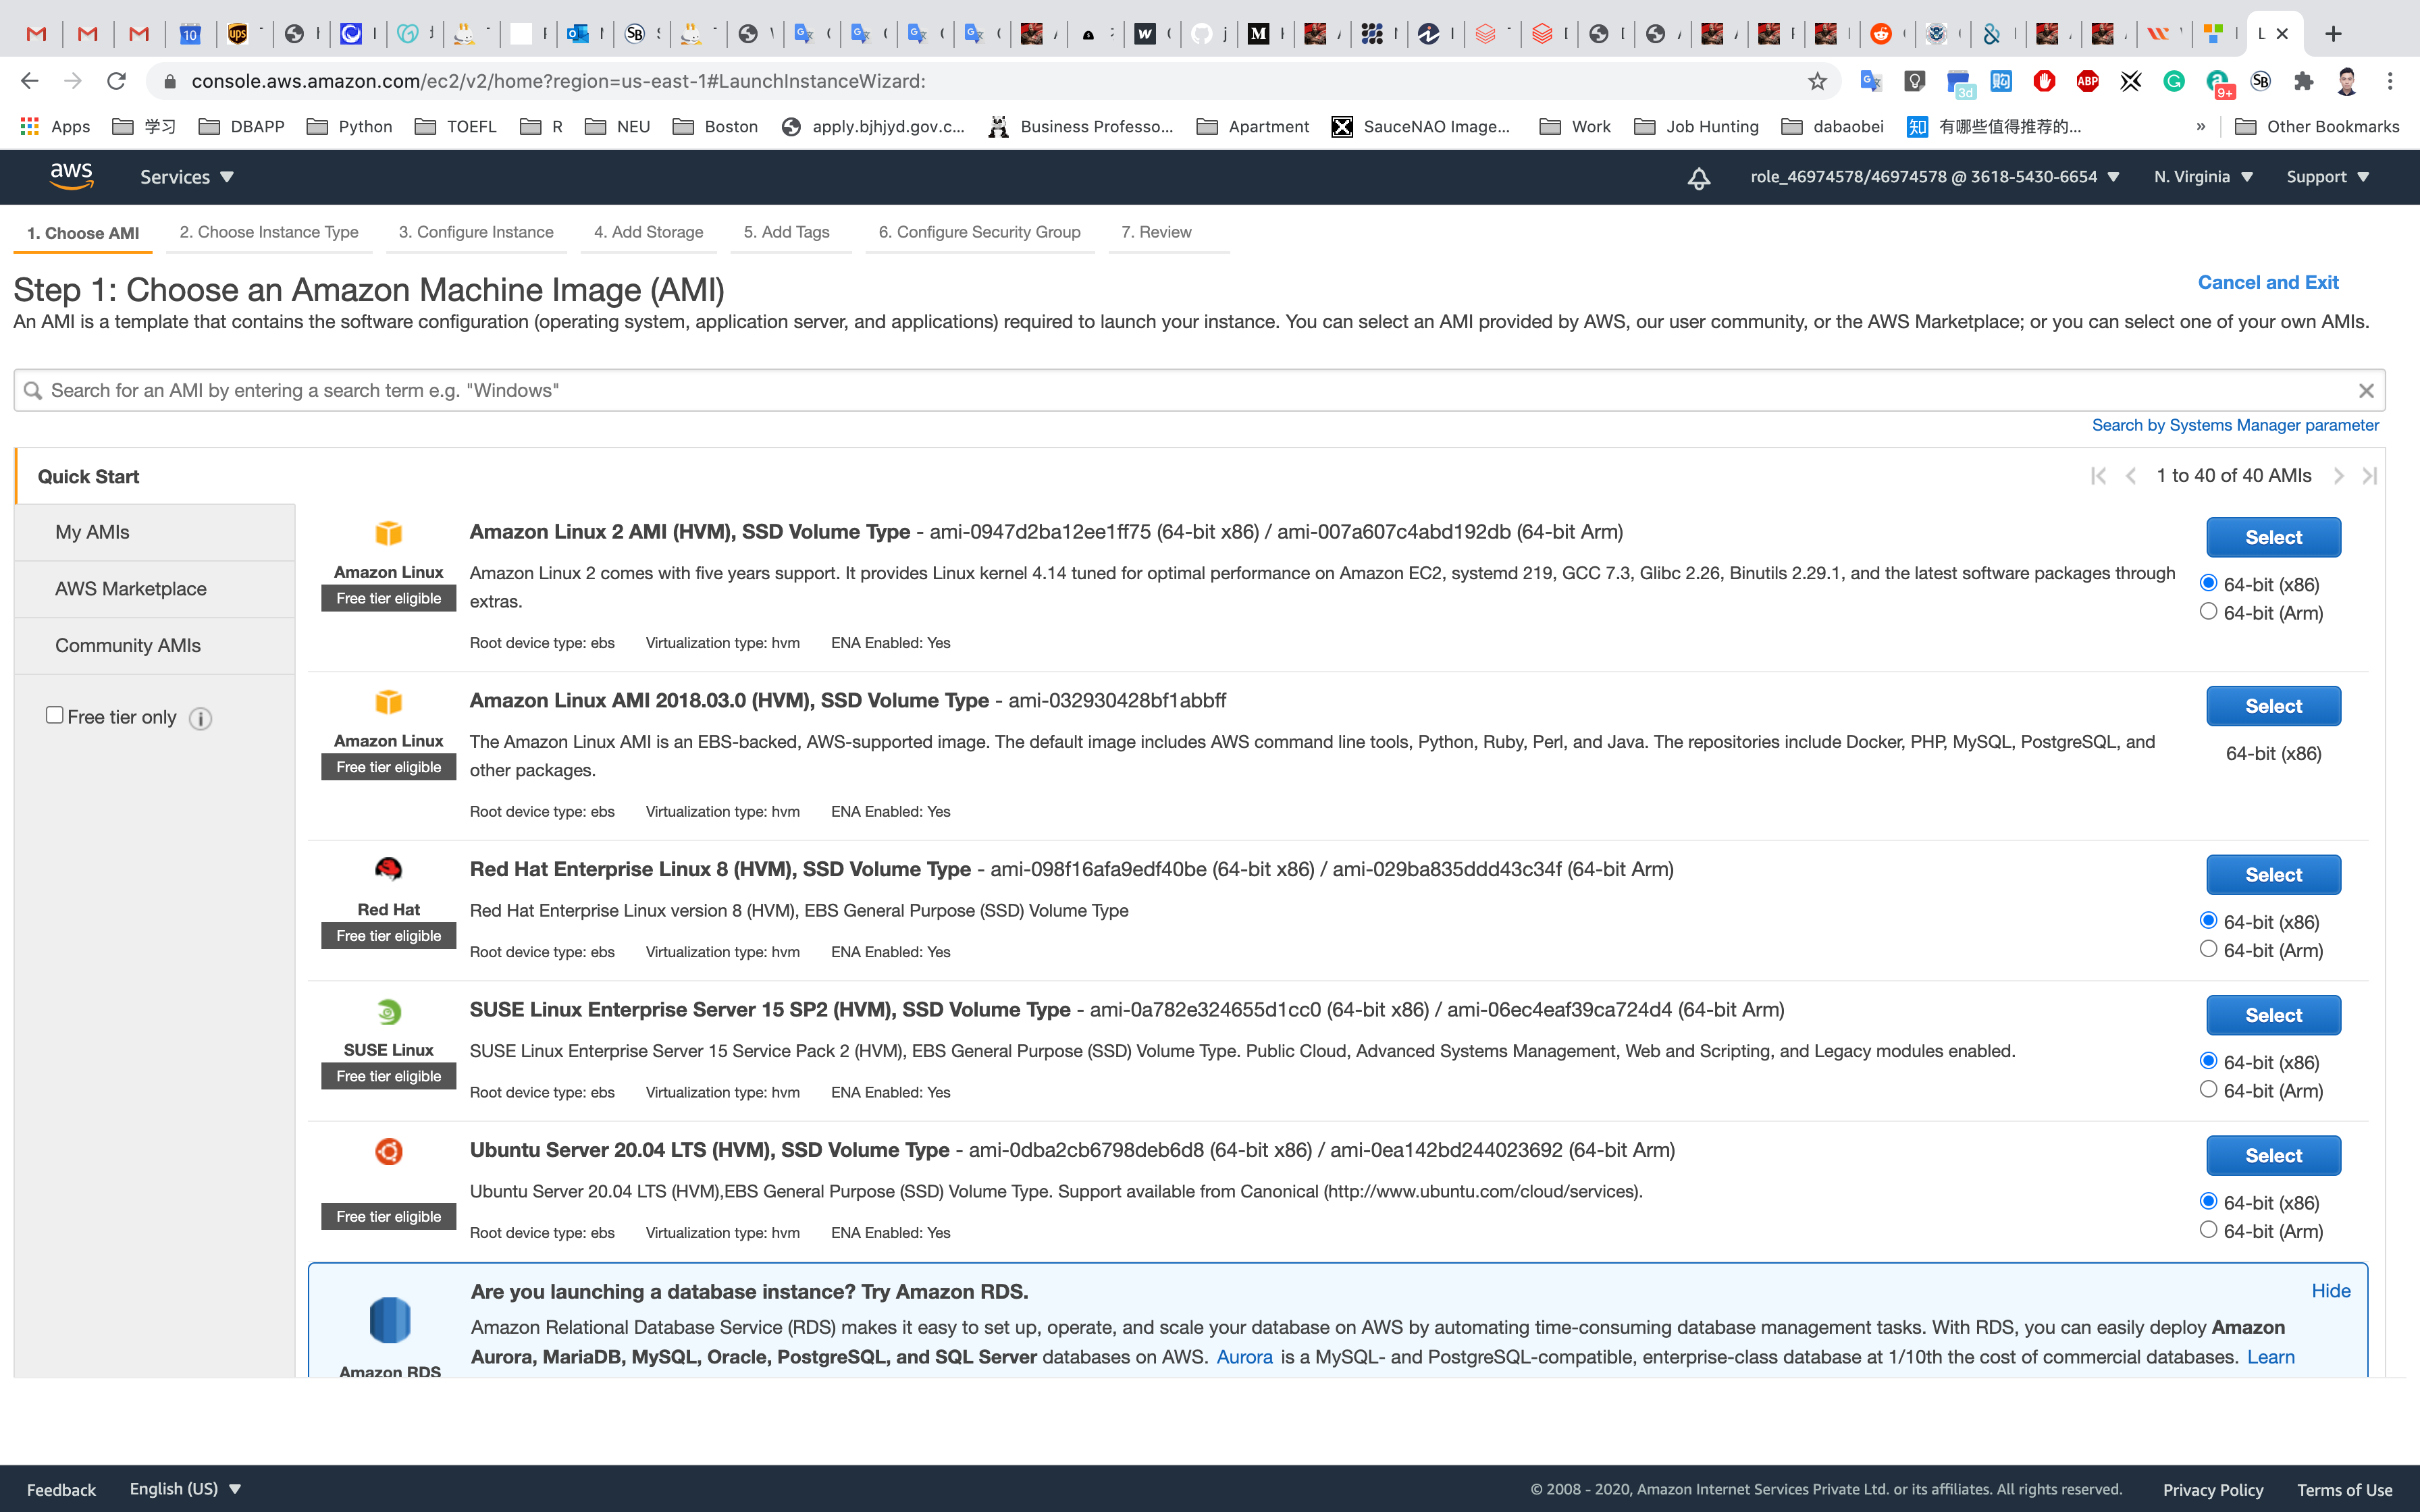
Choose an Amazon Machine Image (AMI): Search for Amazon Linux 2 AMI in the search box and click on the Select button.
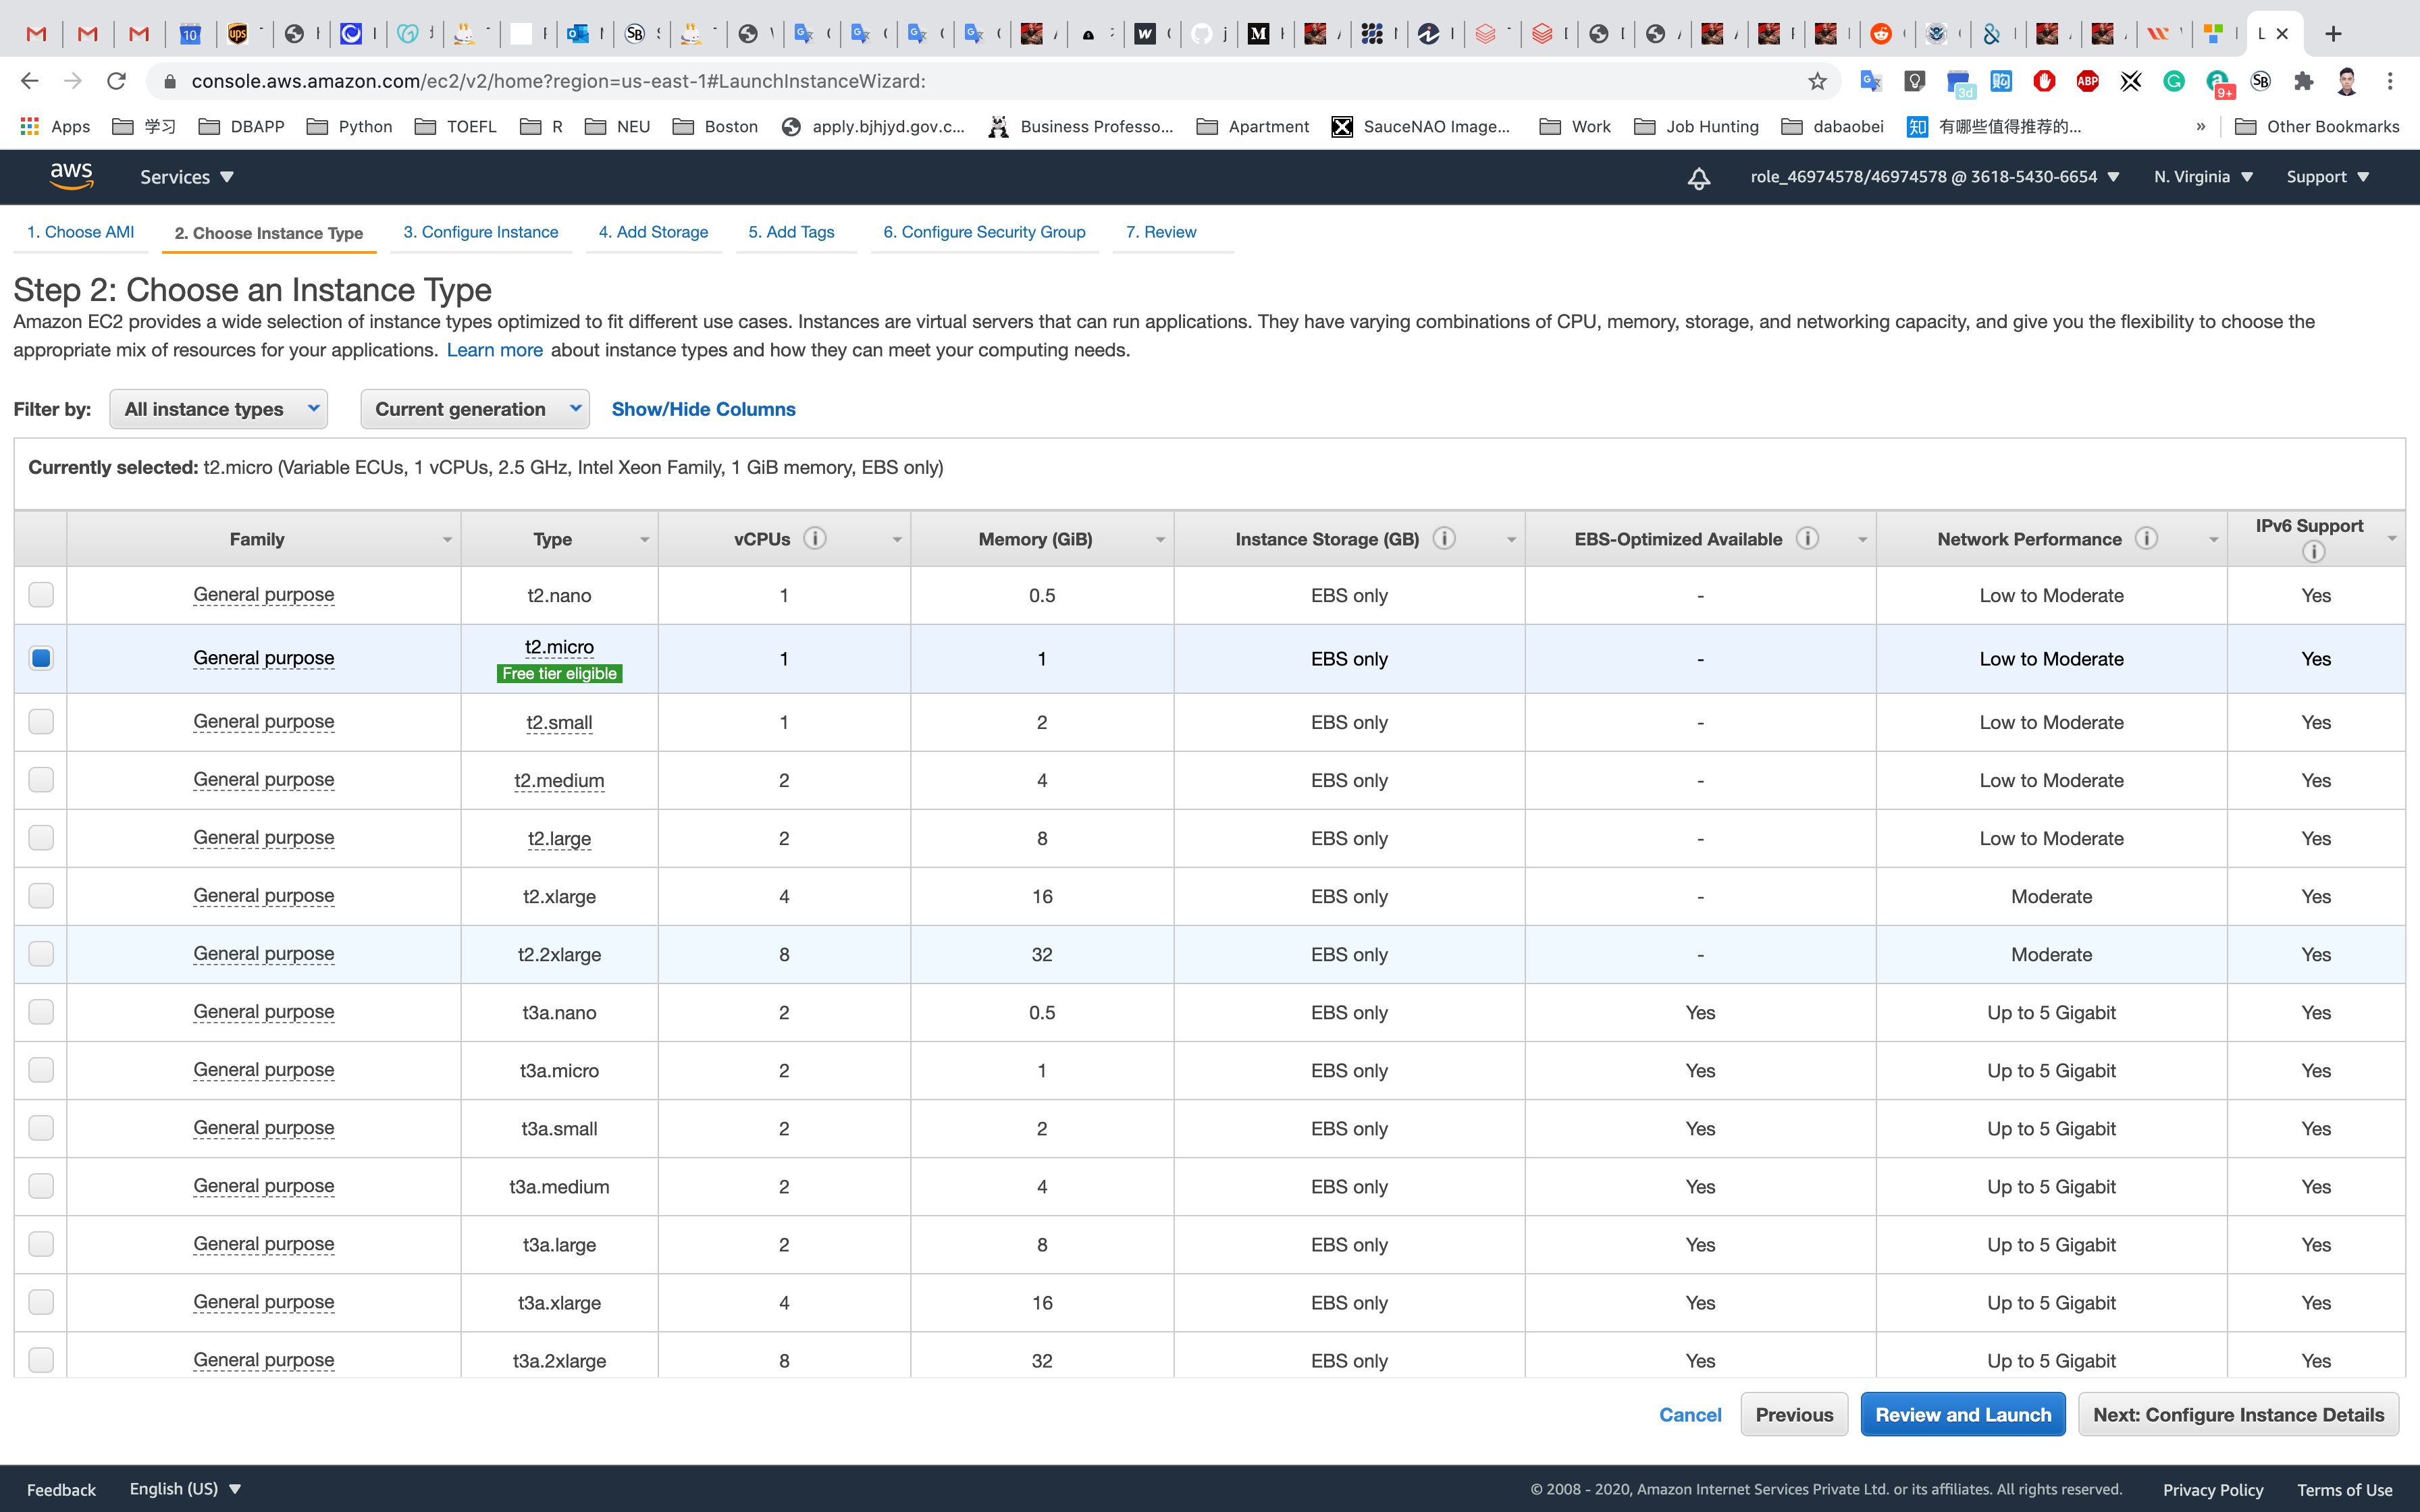
Choose an Instance Type: Select t2.micro and then click on Next: Configure Instance Details
Configure Instance Details:
- Scroll down to the IAM role and then select the role that we have created in the above step.
- Leave other fields as default.
Click on Next: Add Storage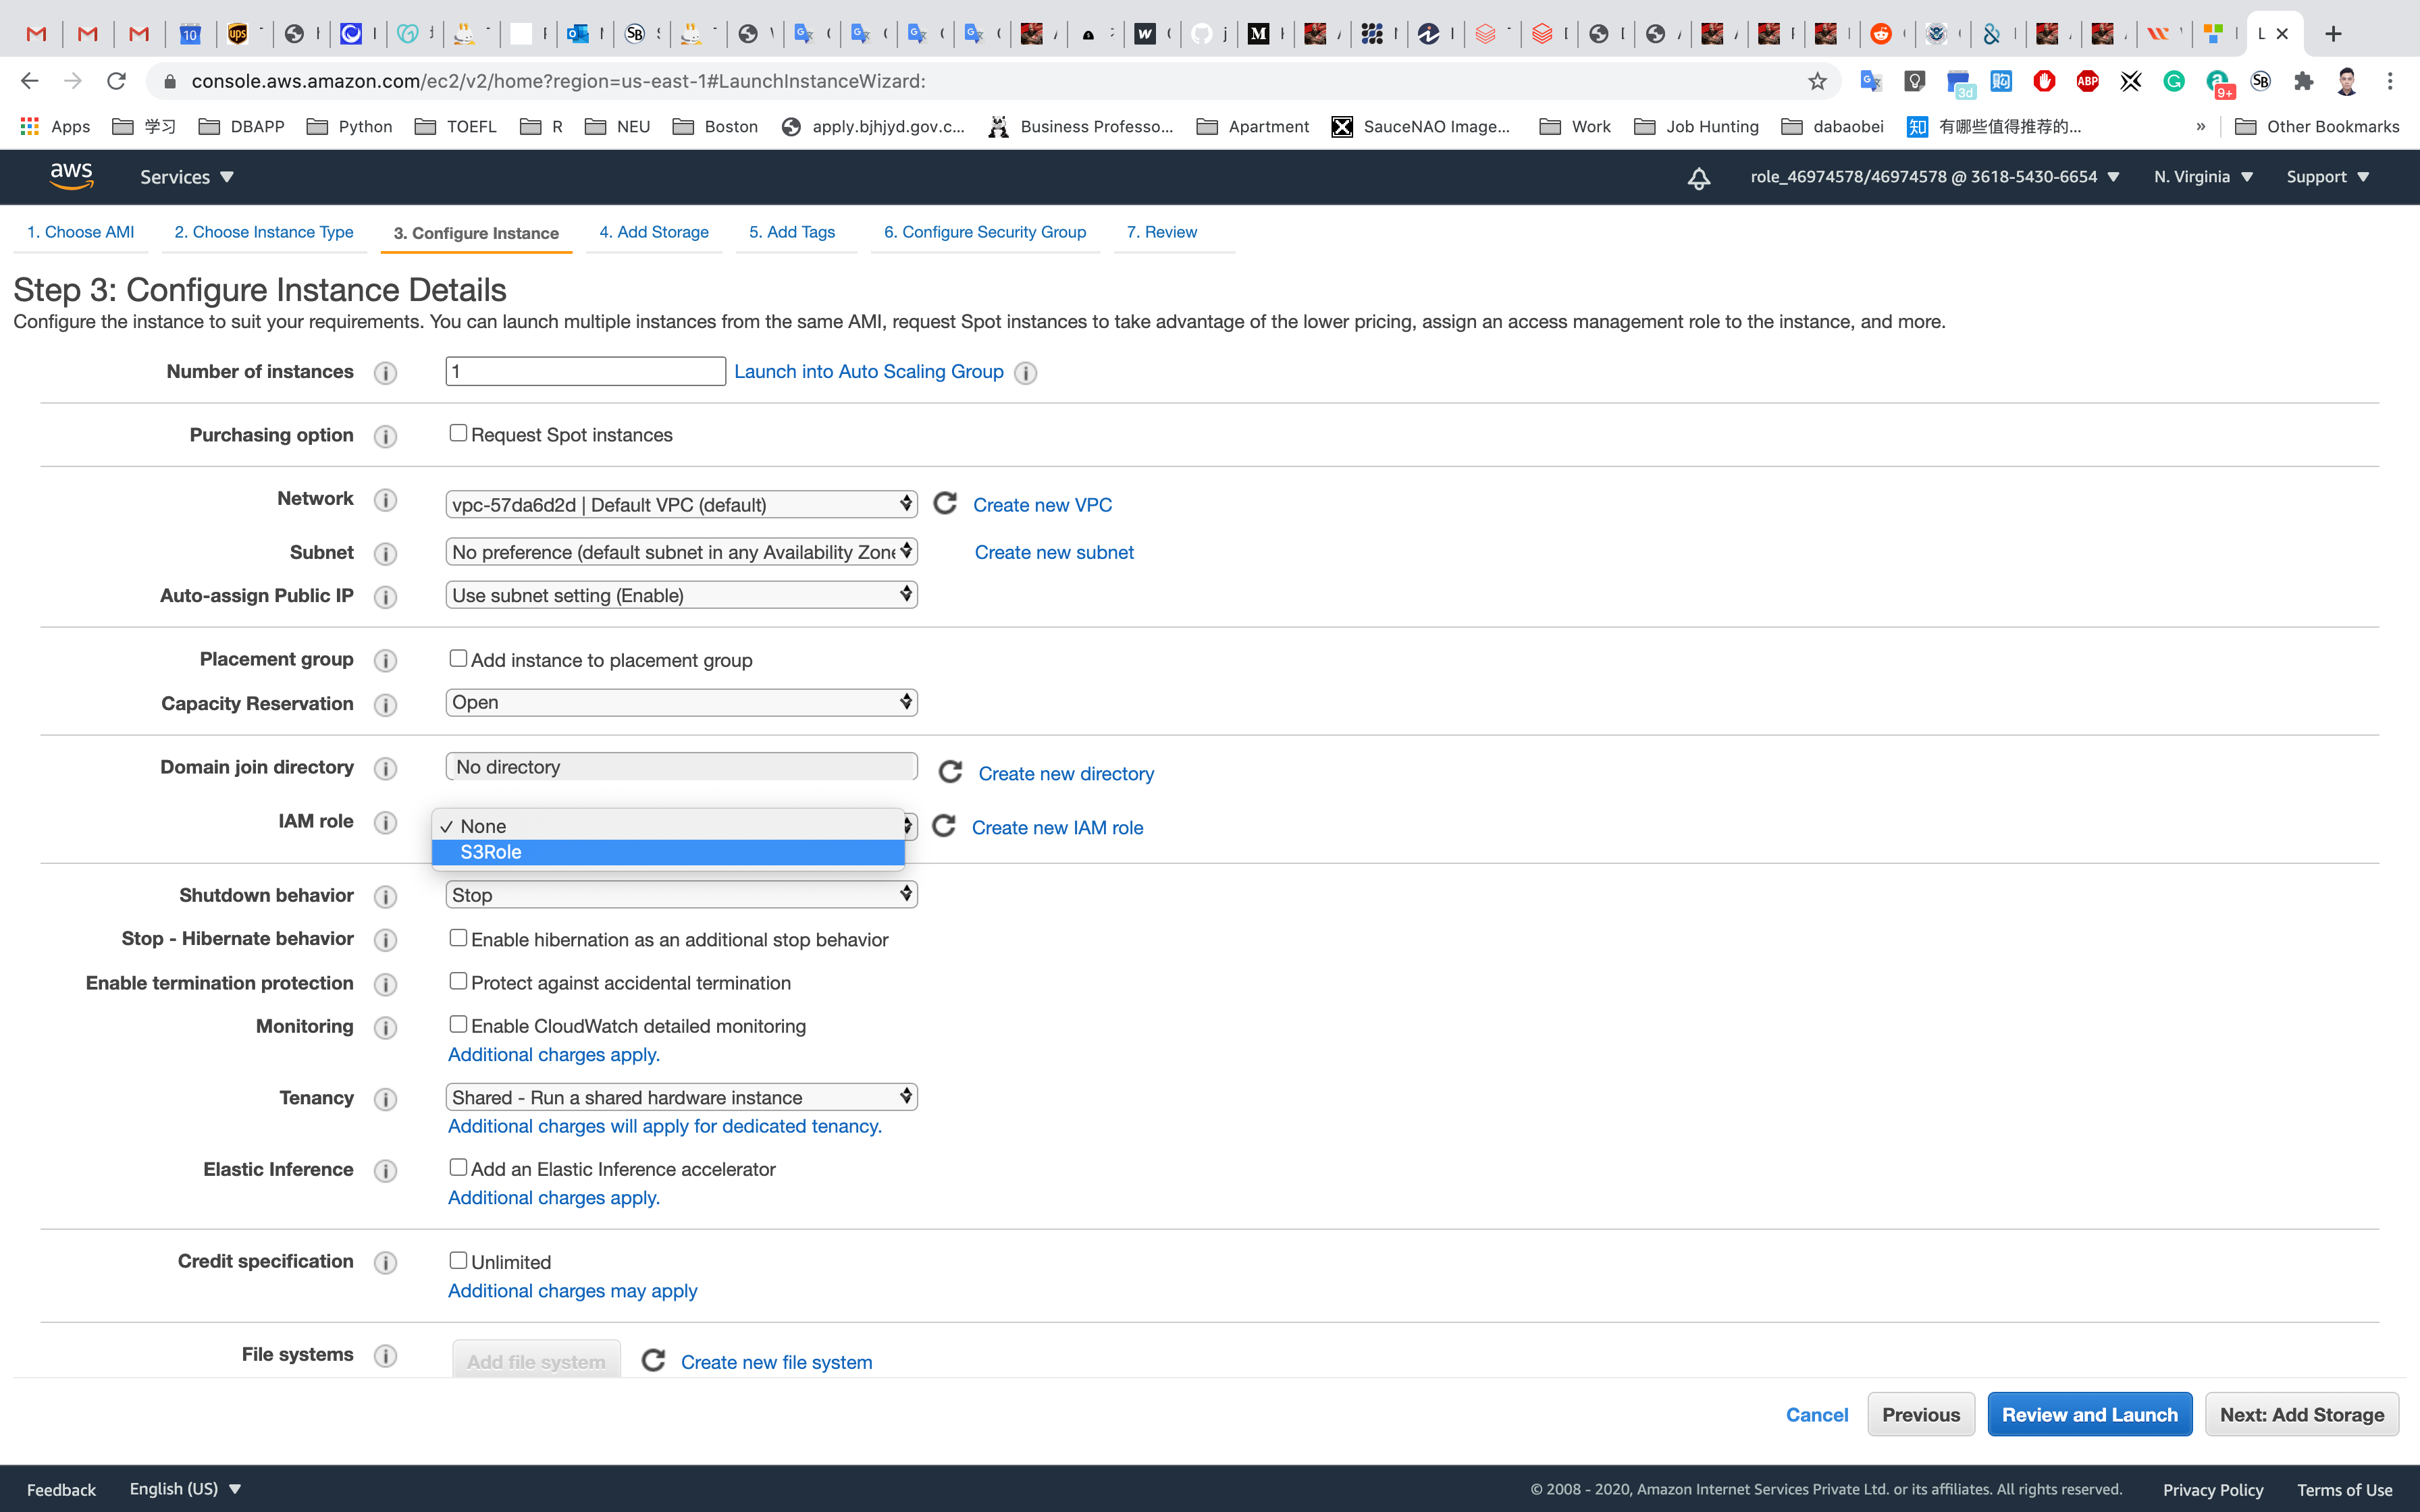
Add Storage: No need to change anything in this step. Click on Next: Add Tags
Add Tags: Click on Add Tag
- Key:
Name - Value:
S3EC2server
Click on Next: Configure Security Group:
Configure Security Group:
Choose Create new security group
- Name:
S3server-SG
To add SSH:
- Choose Type
SSH: - Source :
Custom - 0.0.0.0/0
Click on Review and Launch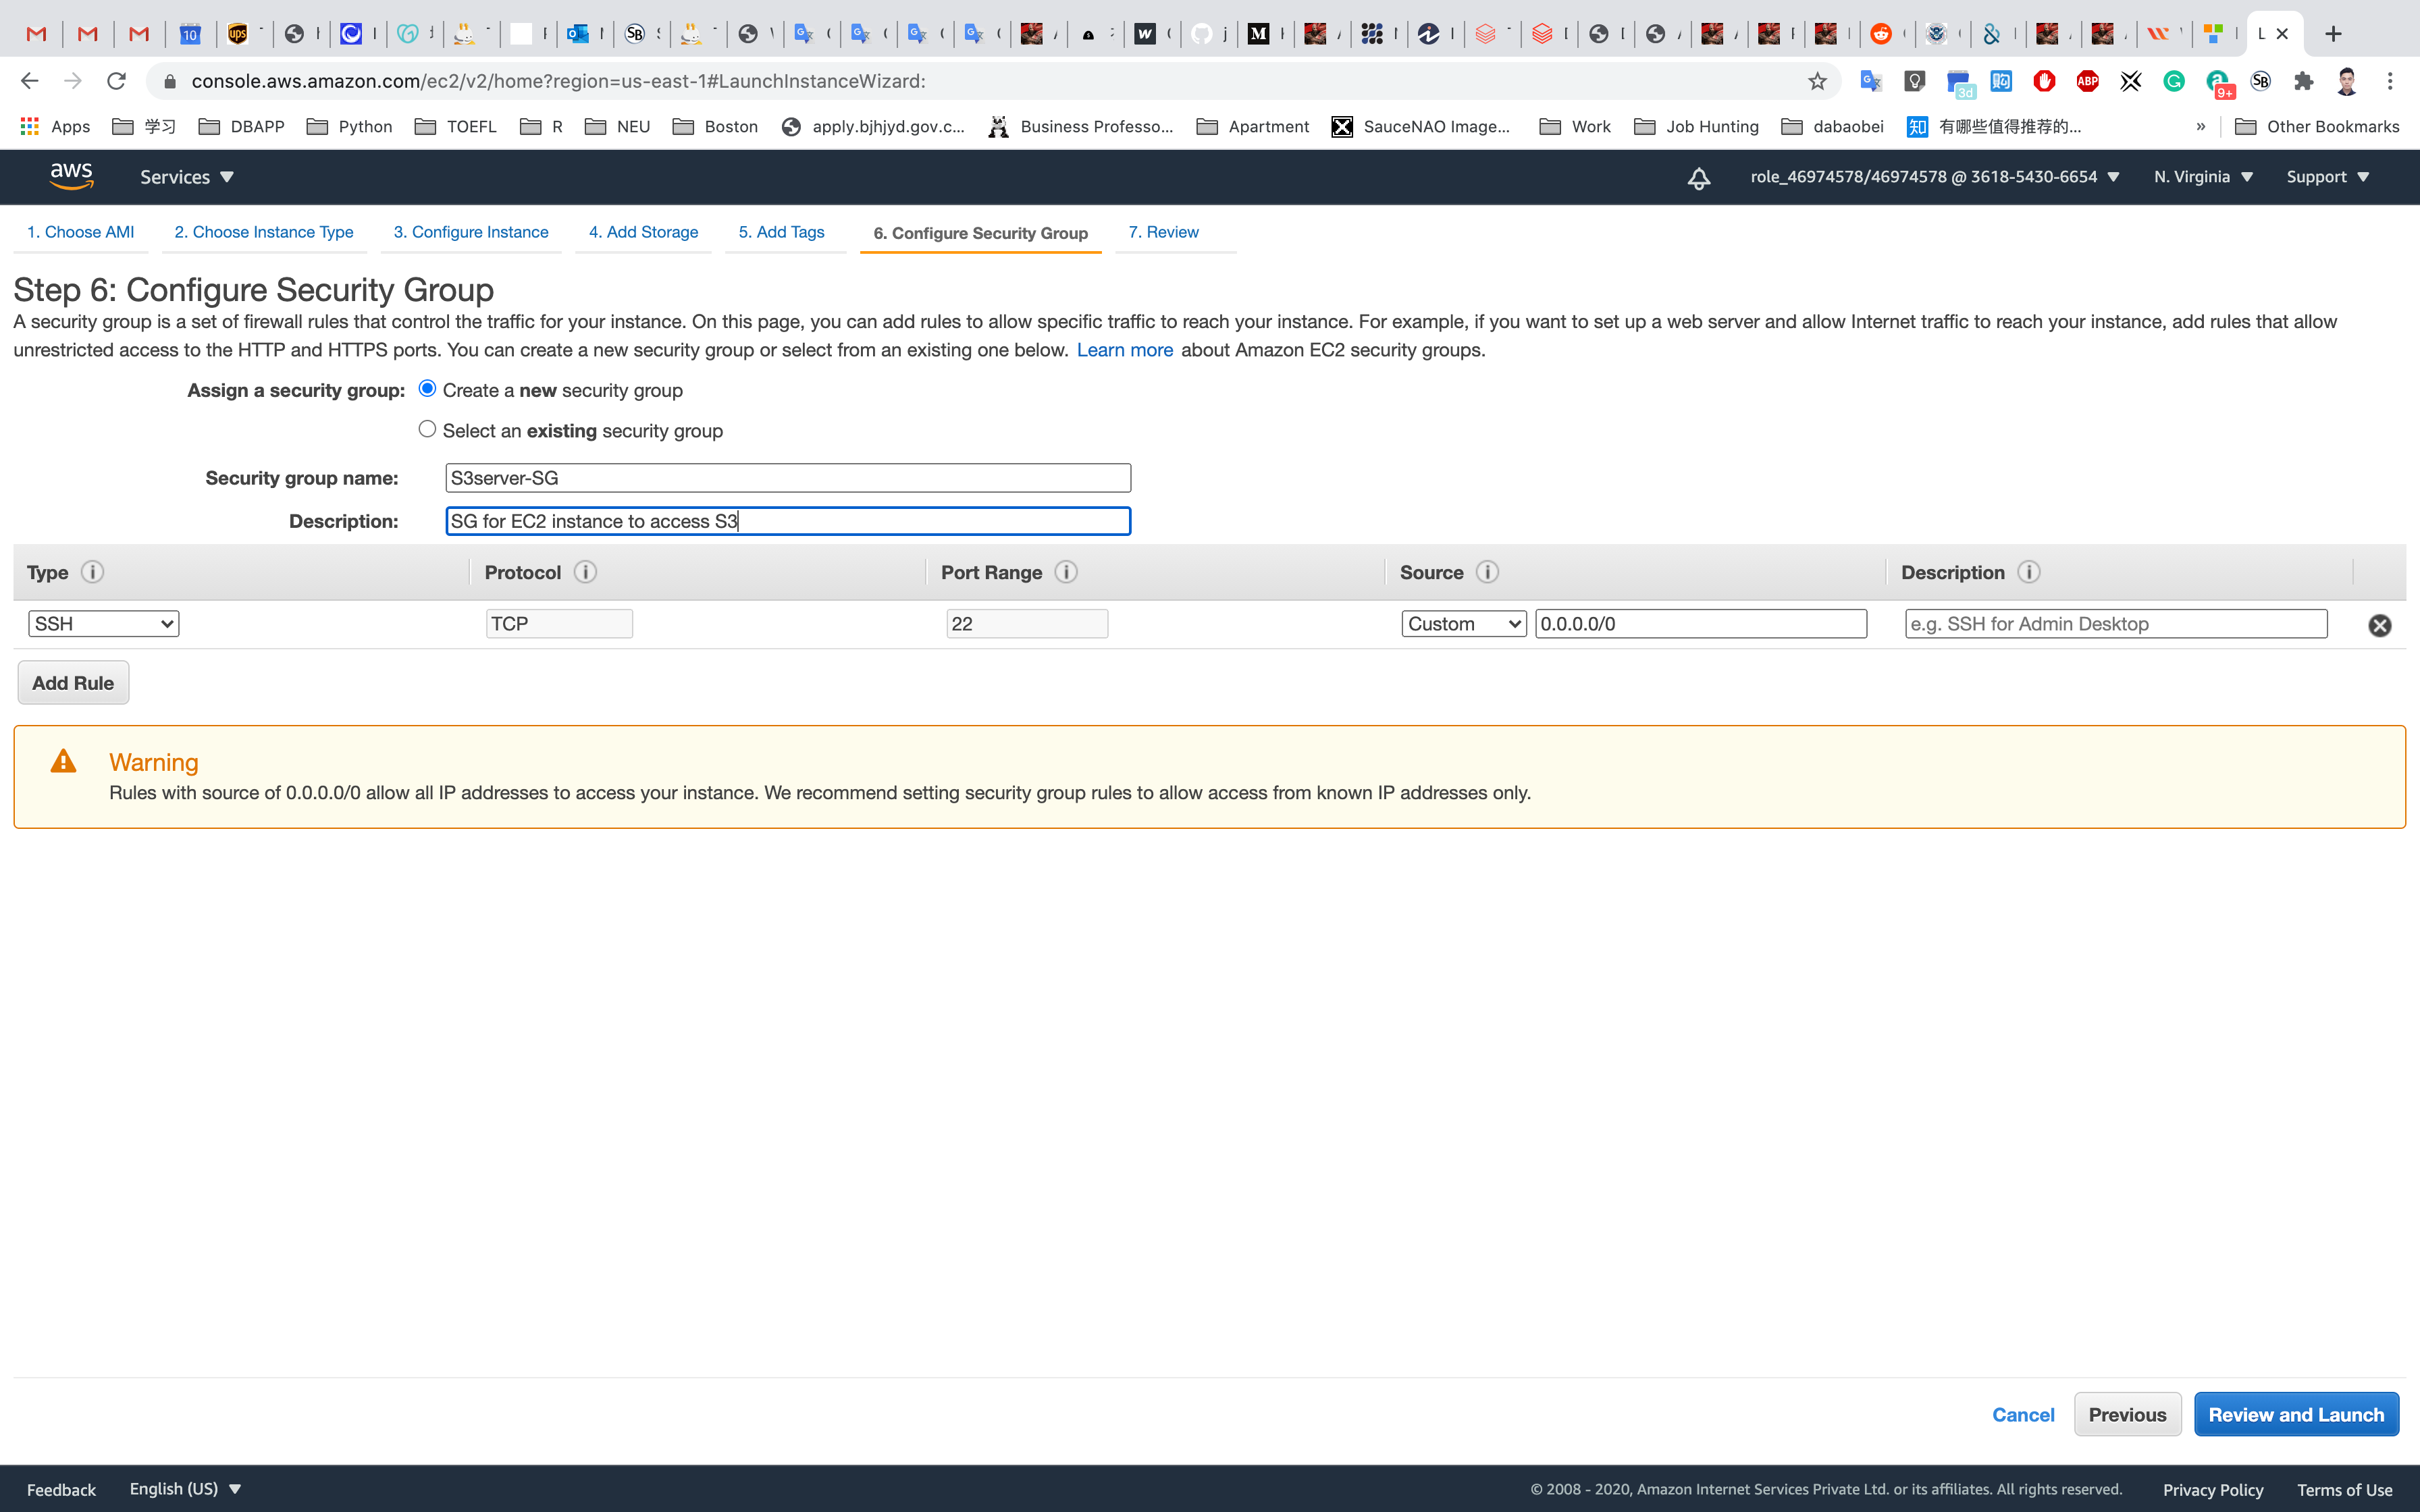
Review and Launch: Review all settings and click on Launch.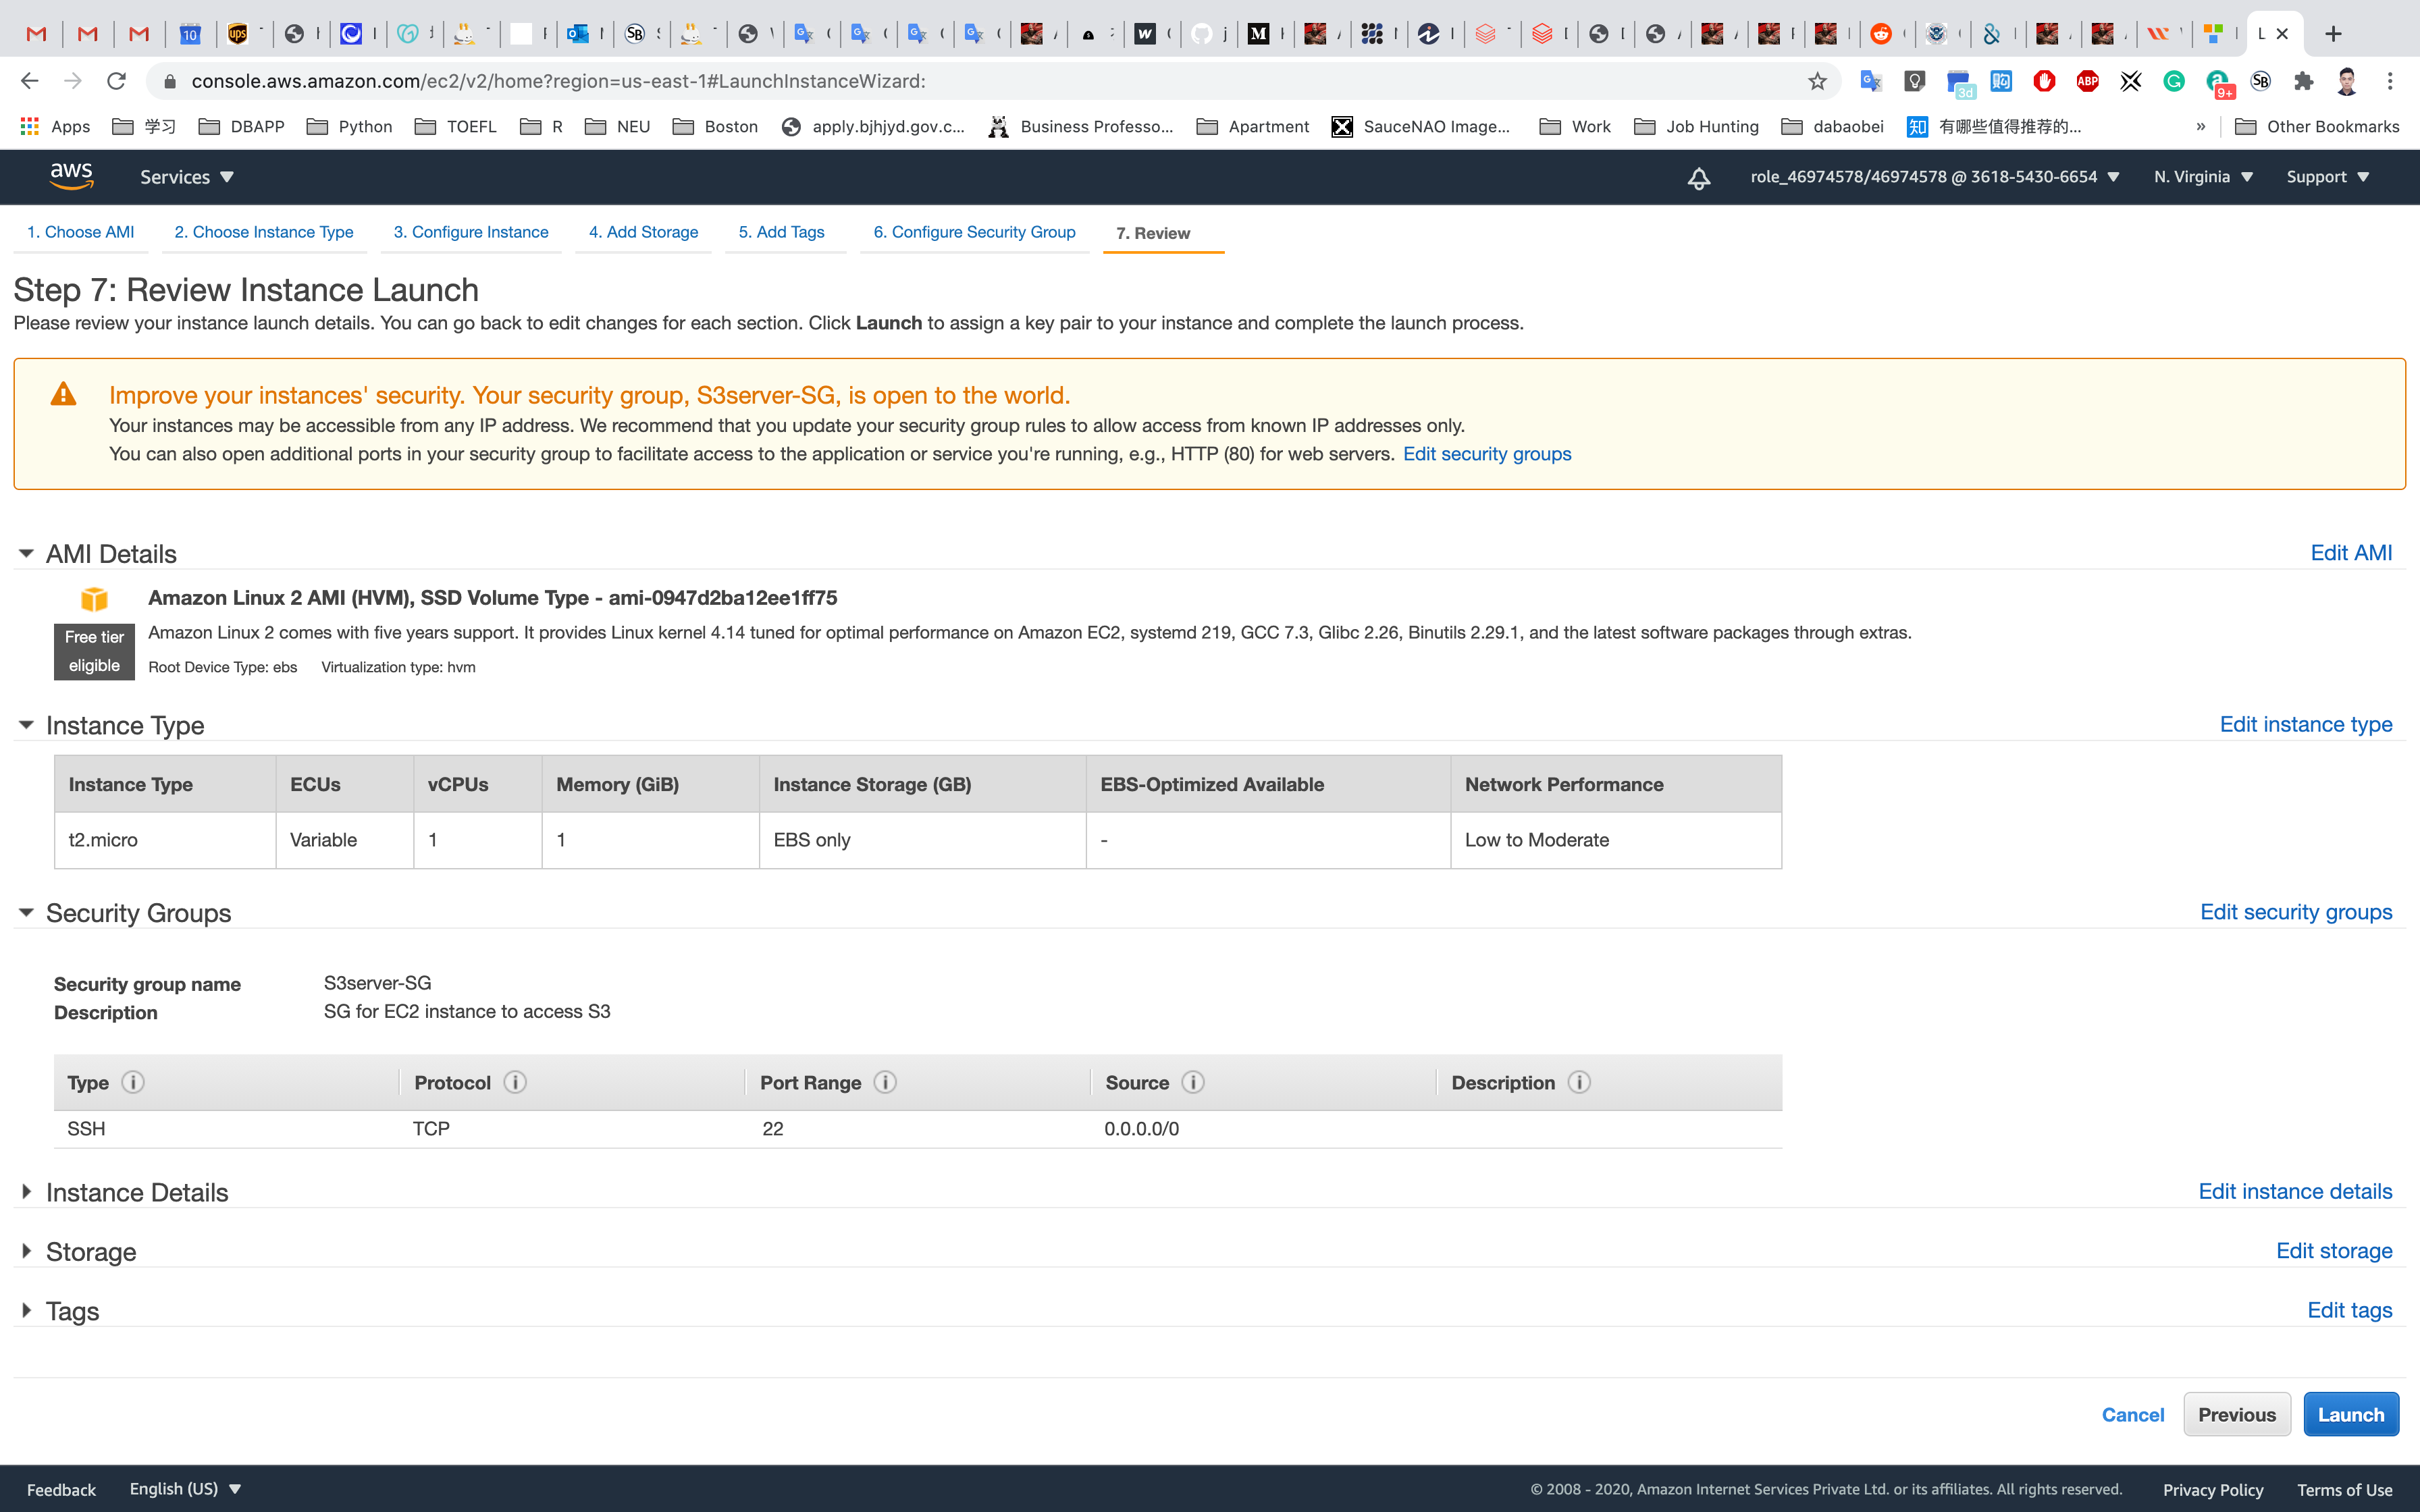
Key Pair : Select Create a new key pair and click on Download Key Pair.
- Key pair name:
ec2
Click on Launch Instances.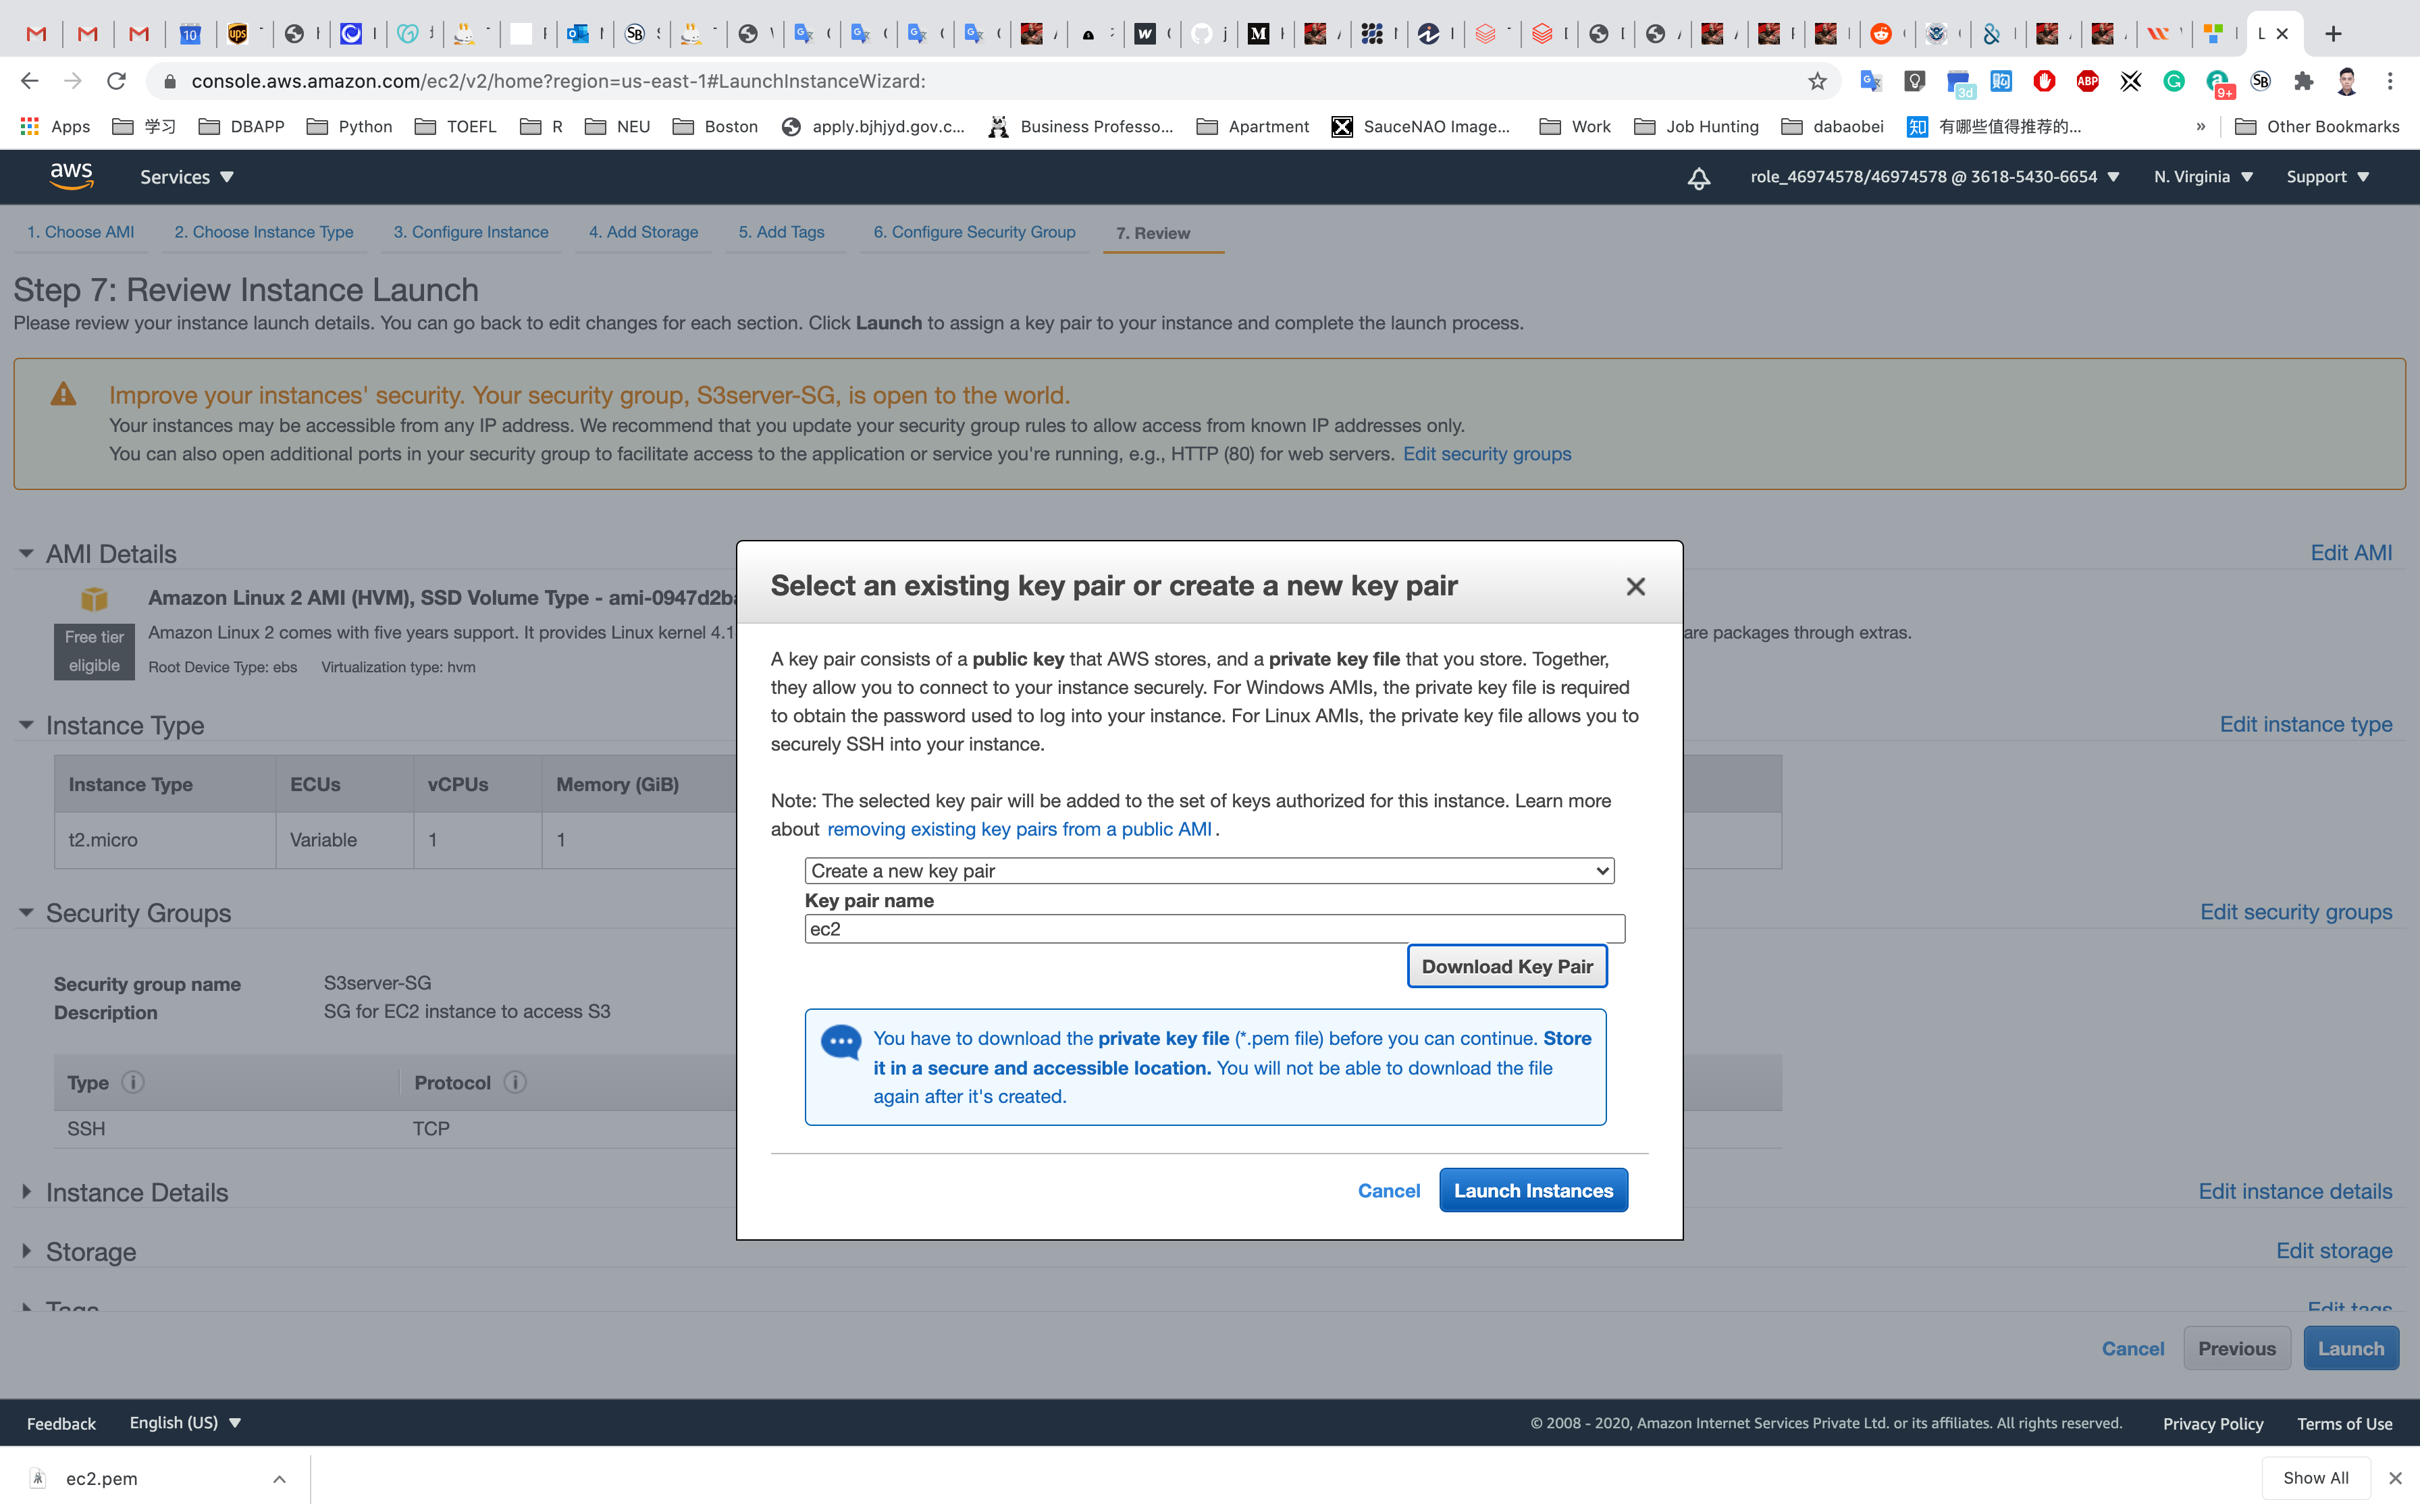
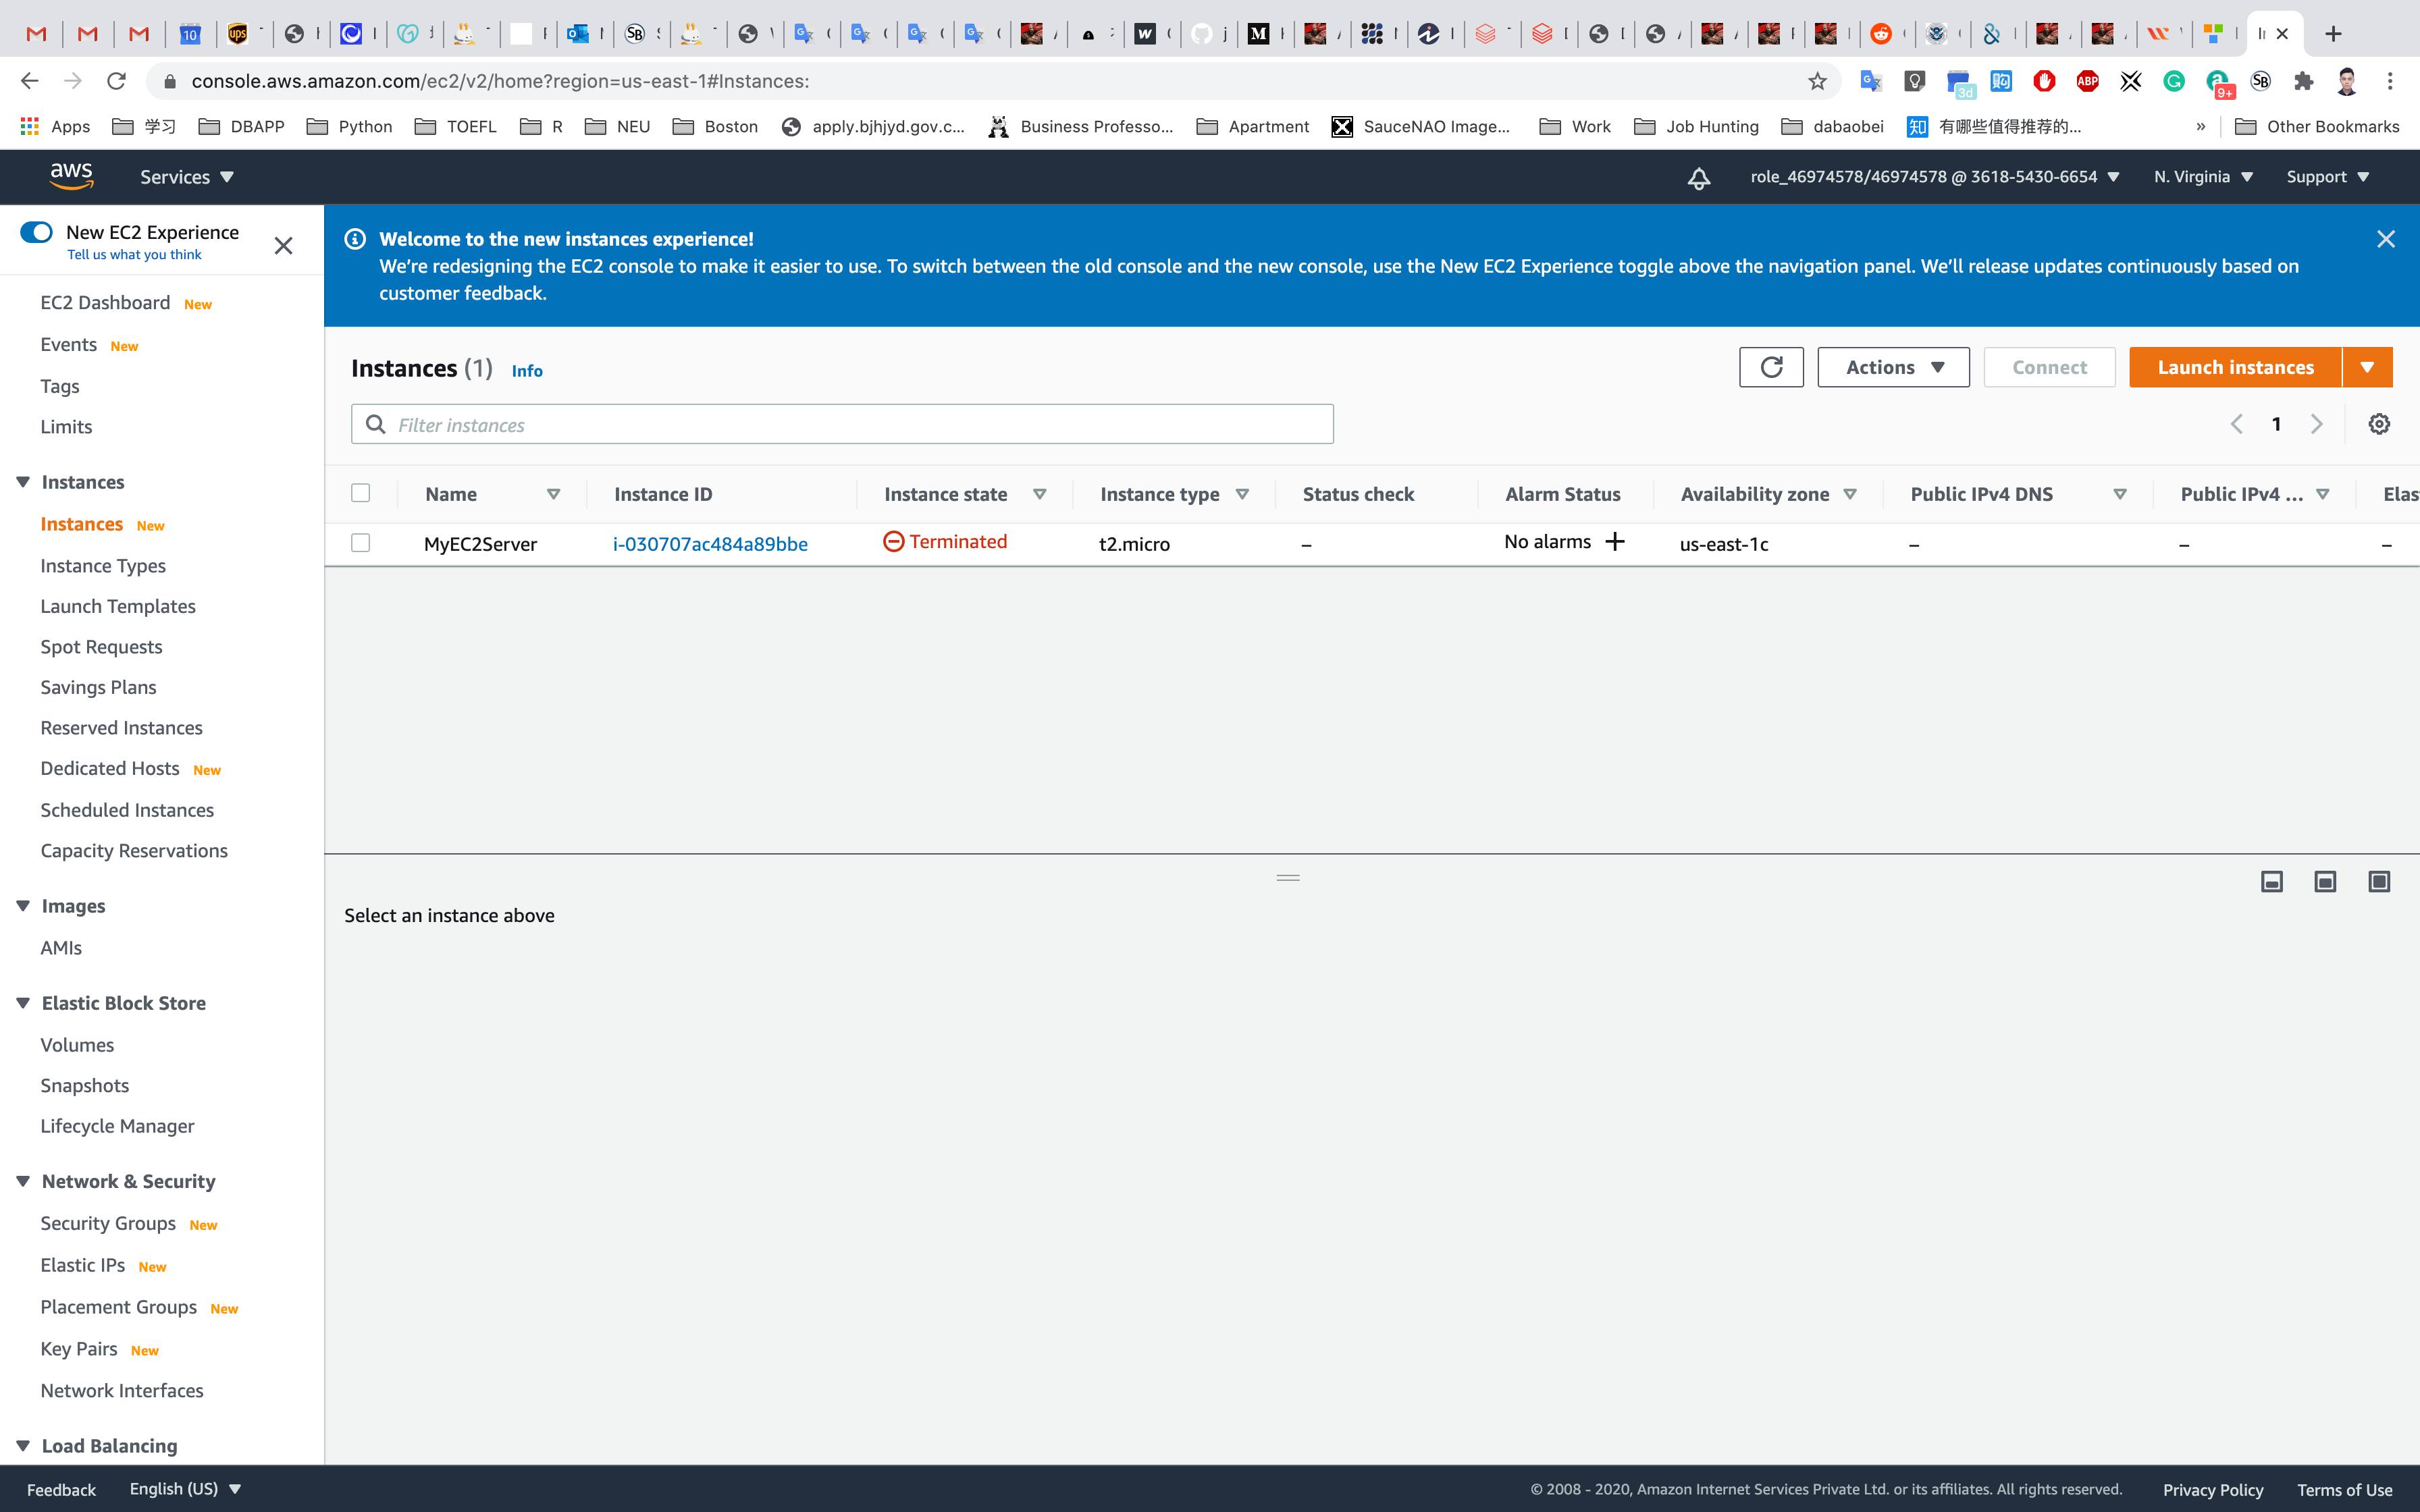
Navigate to Instances. Once the Instance State changes from pending to running, the EC2 instance is ready.
You can tell that the instance is running by checking the instance status (example below).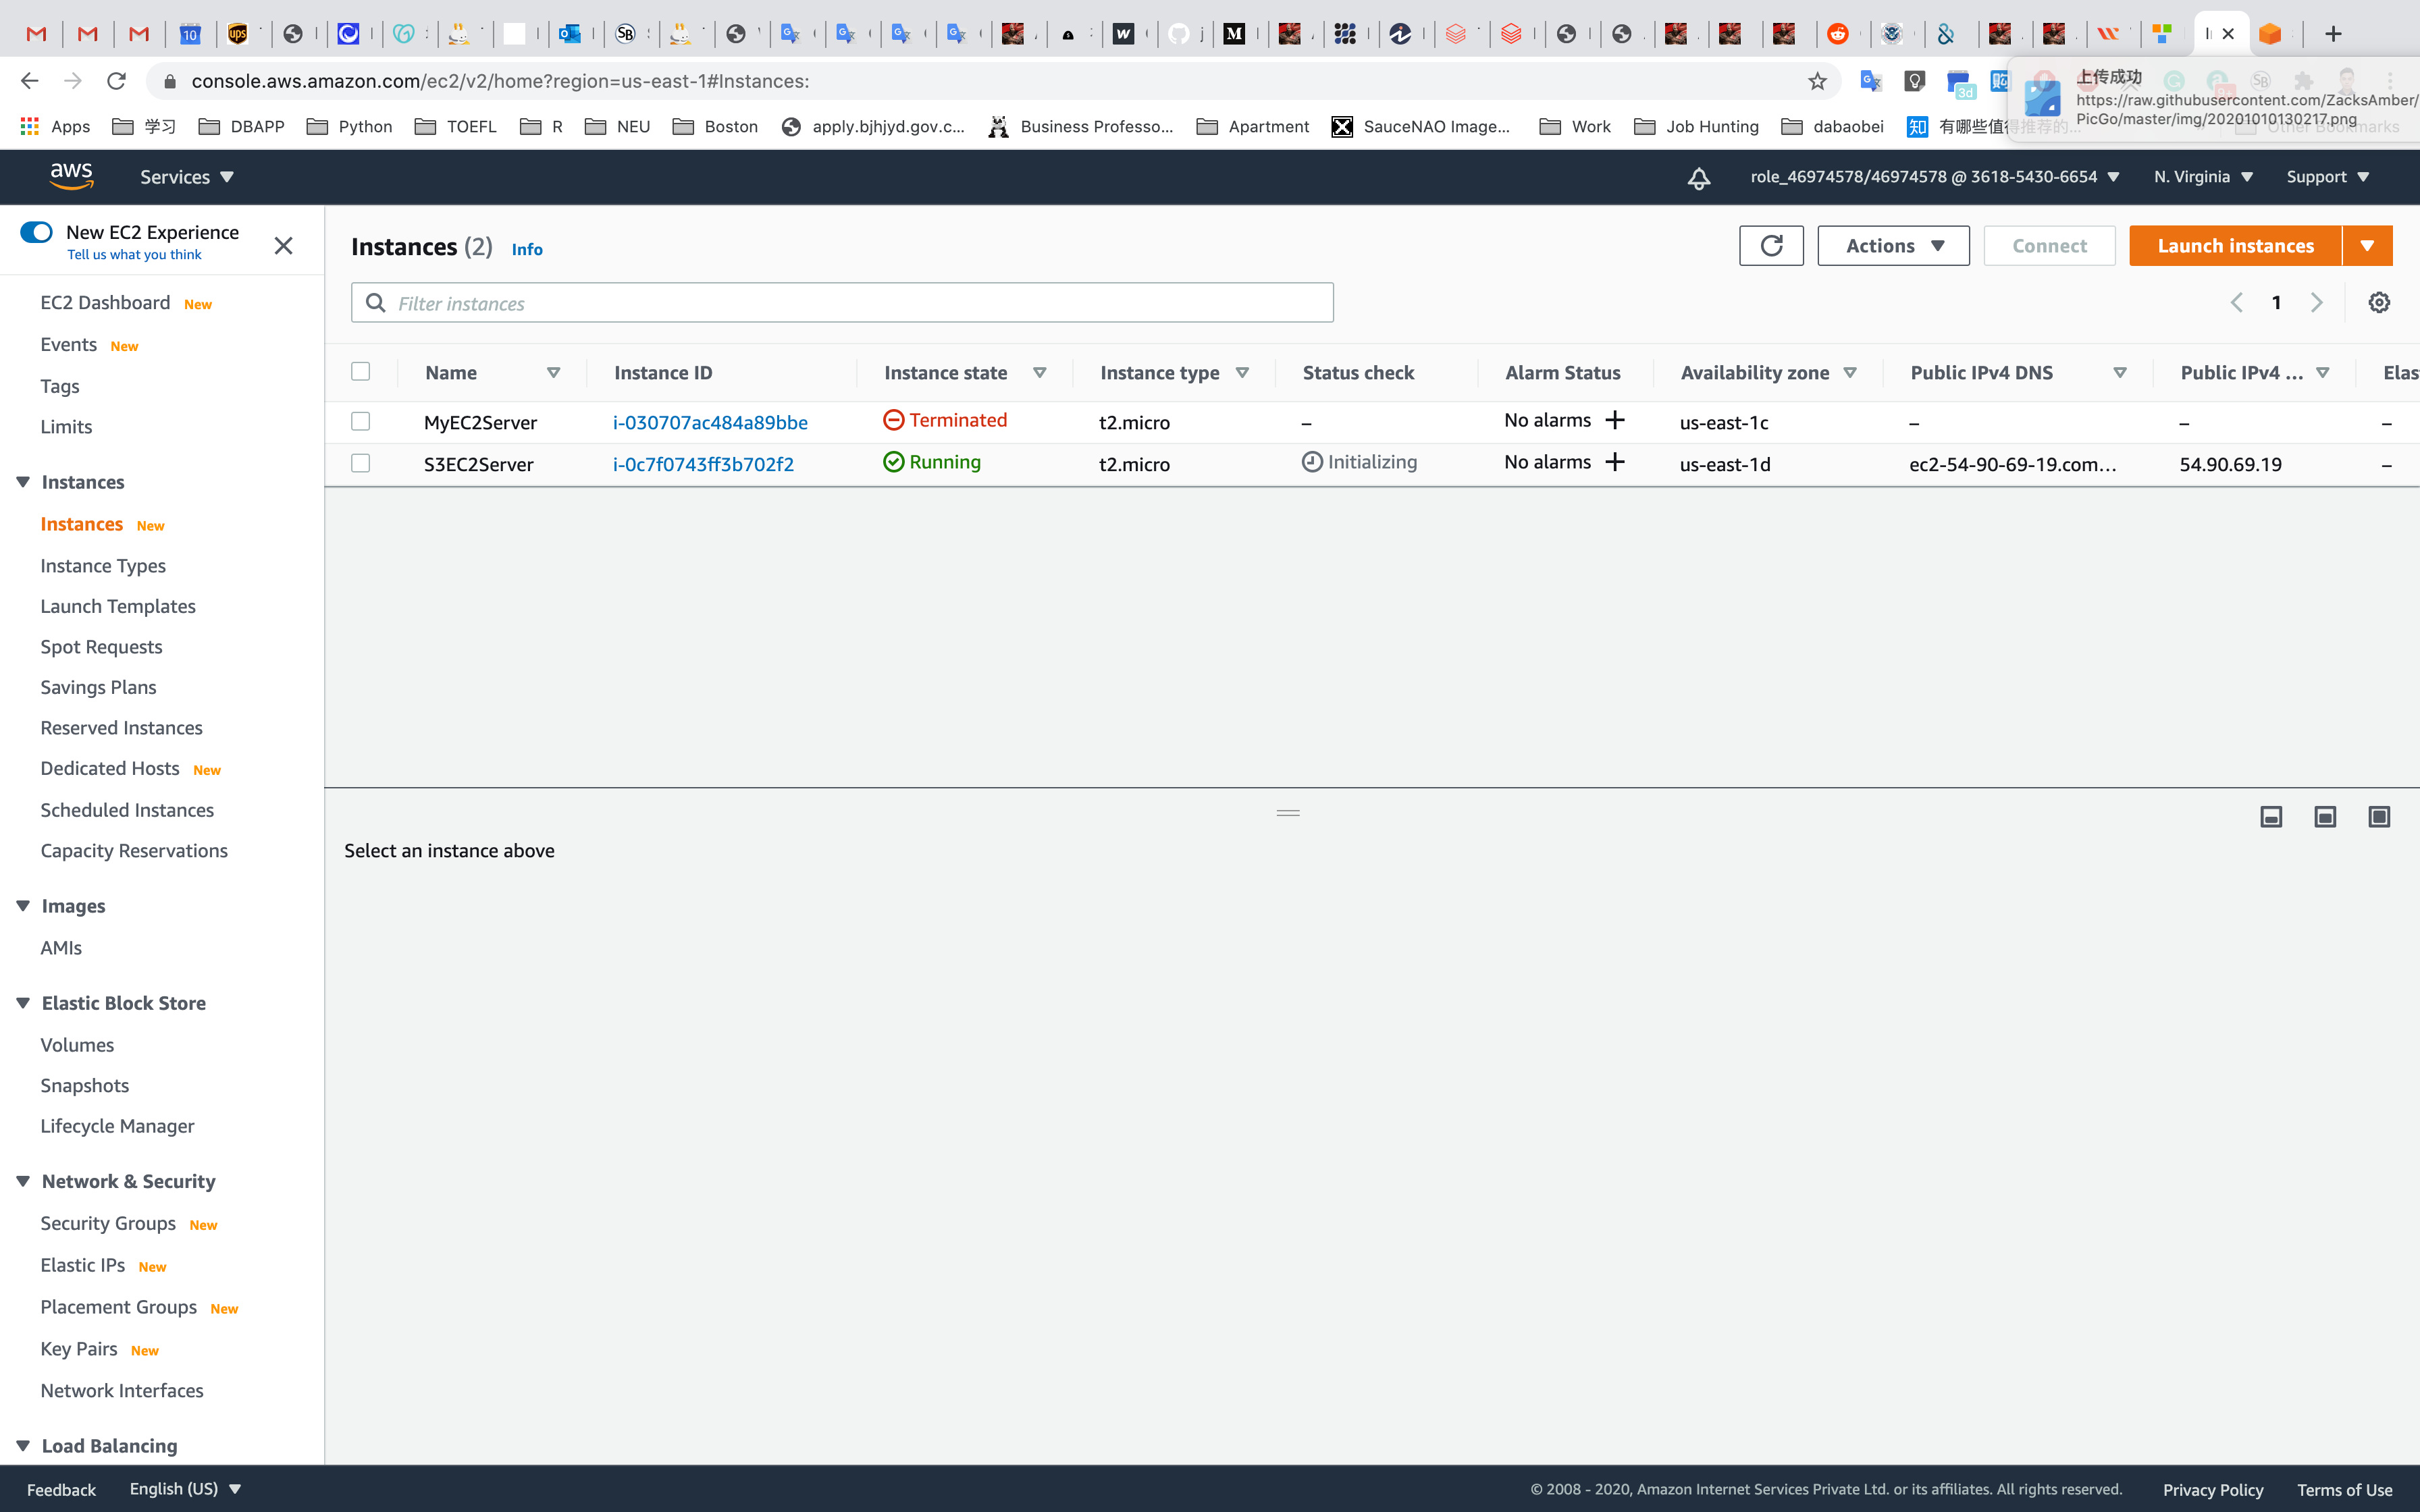
S3 Configuration
Services - > S3
Create a bucket with all default settings. Give it a bucket name yourBucketName.
Note: the bucket name must be globally unique.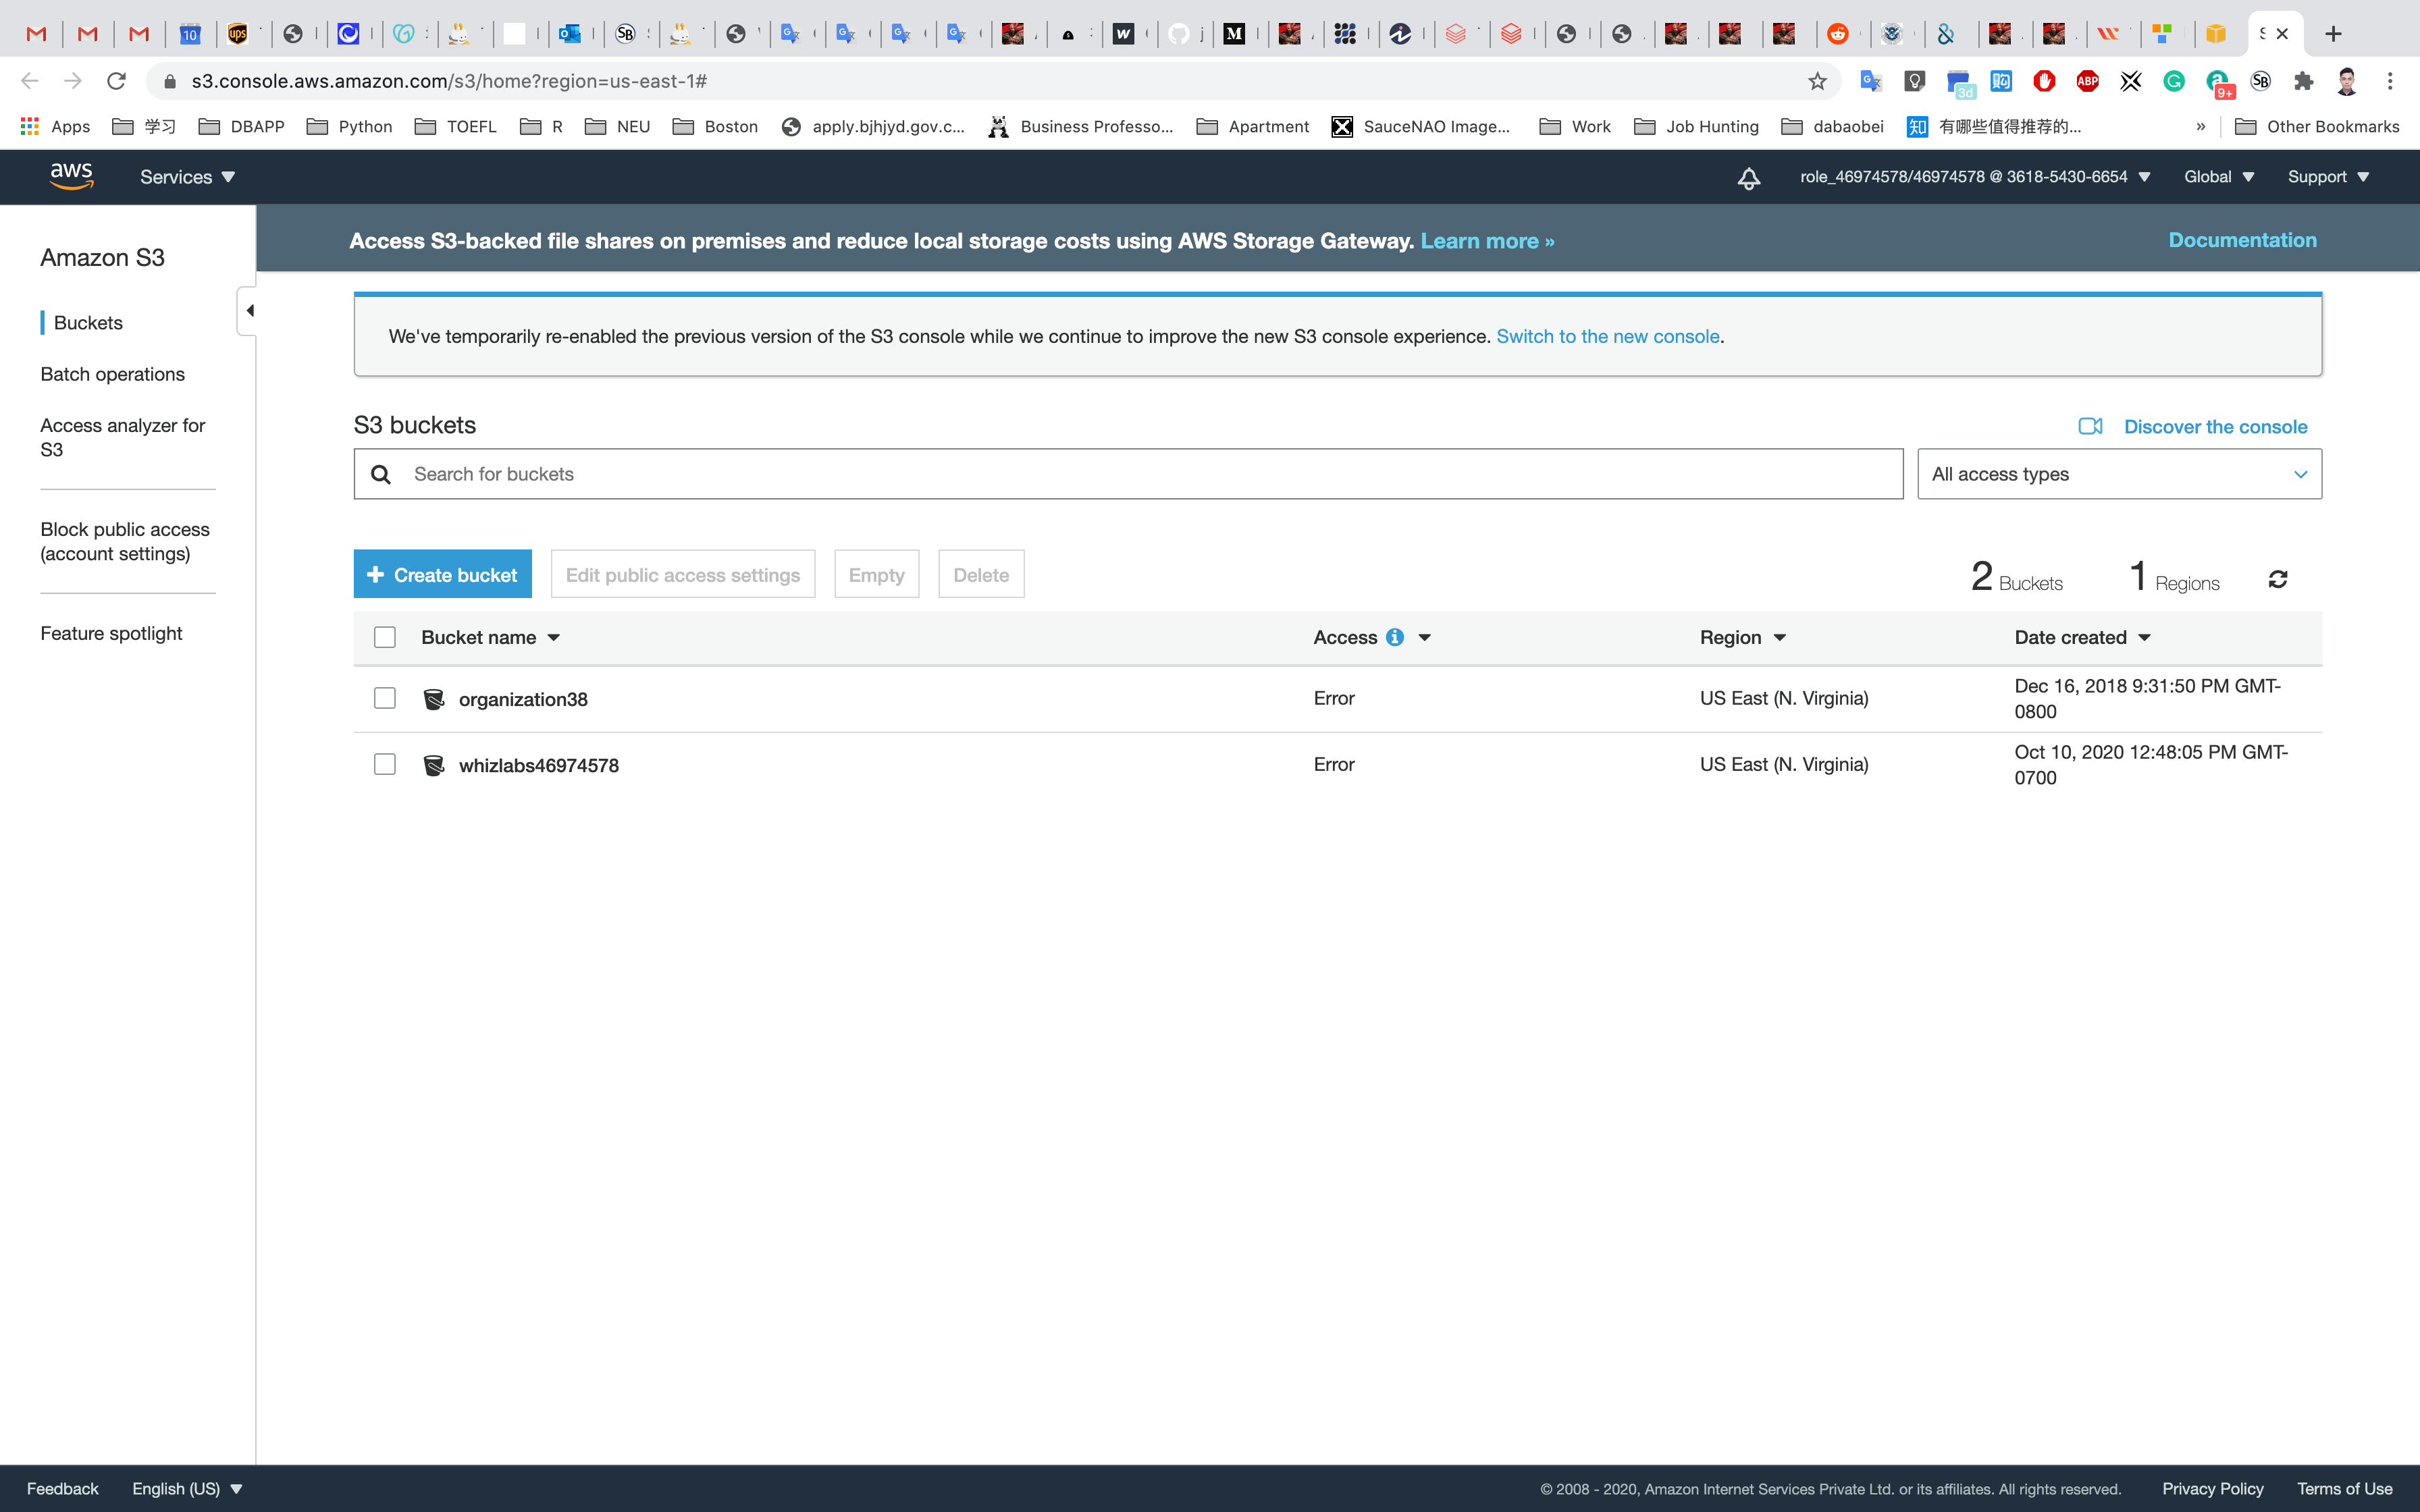
Accessing the S3 bucket via EC2 Instance
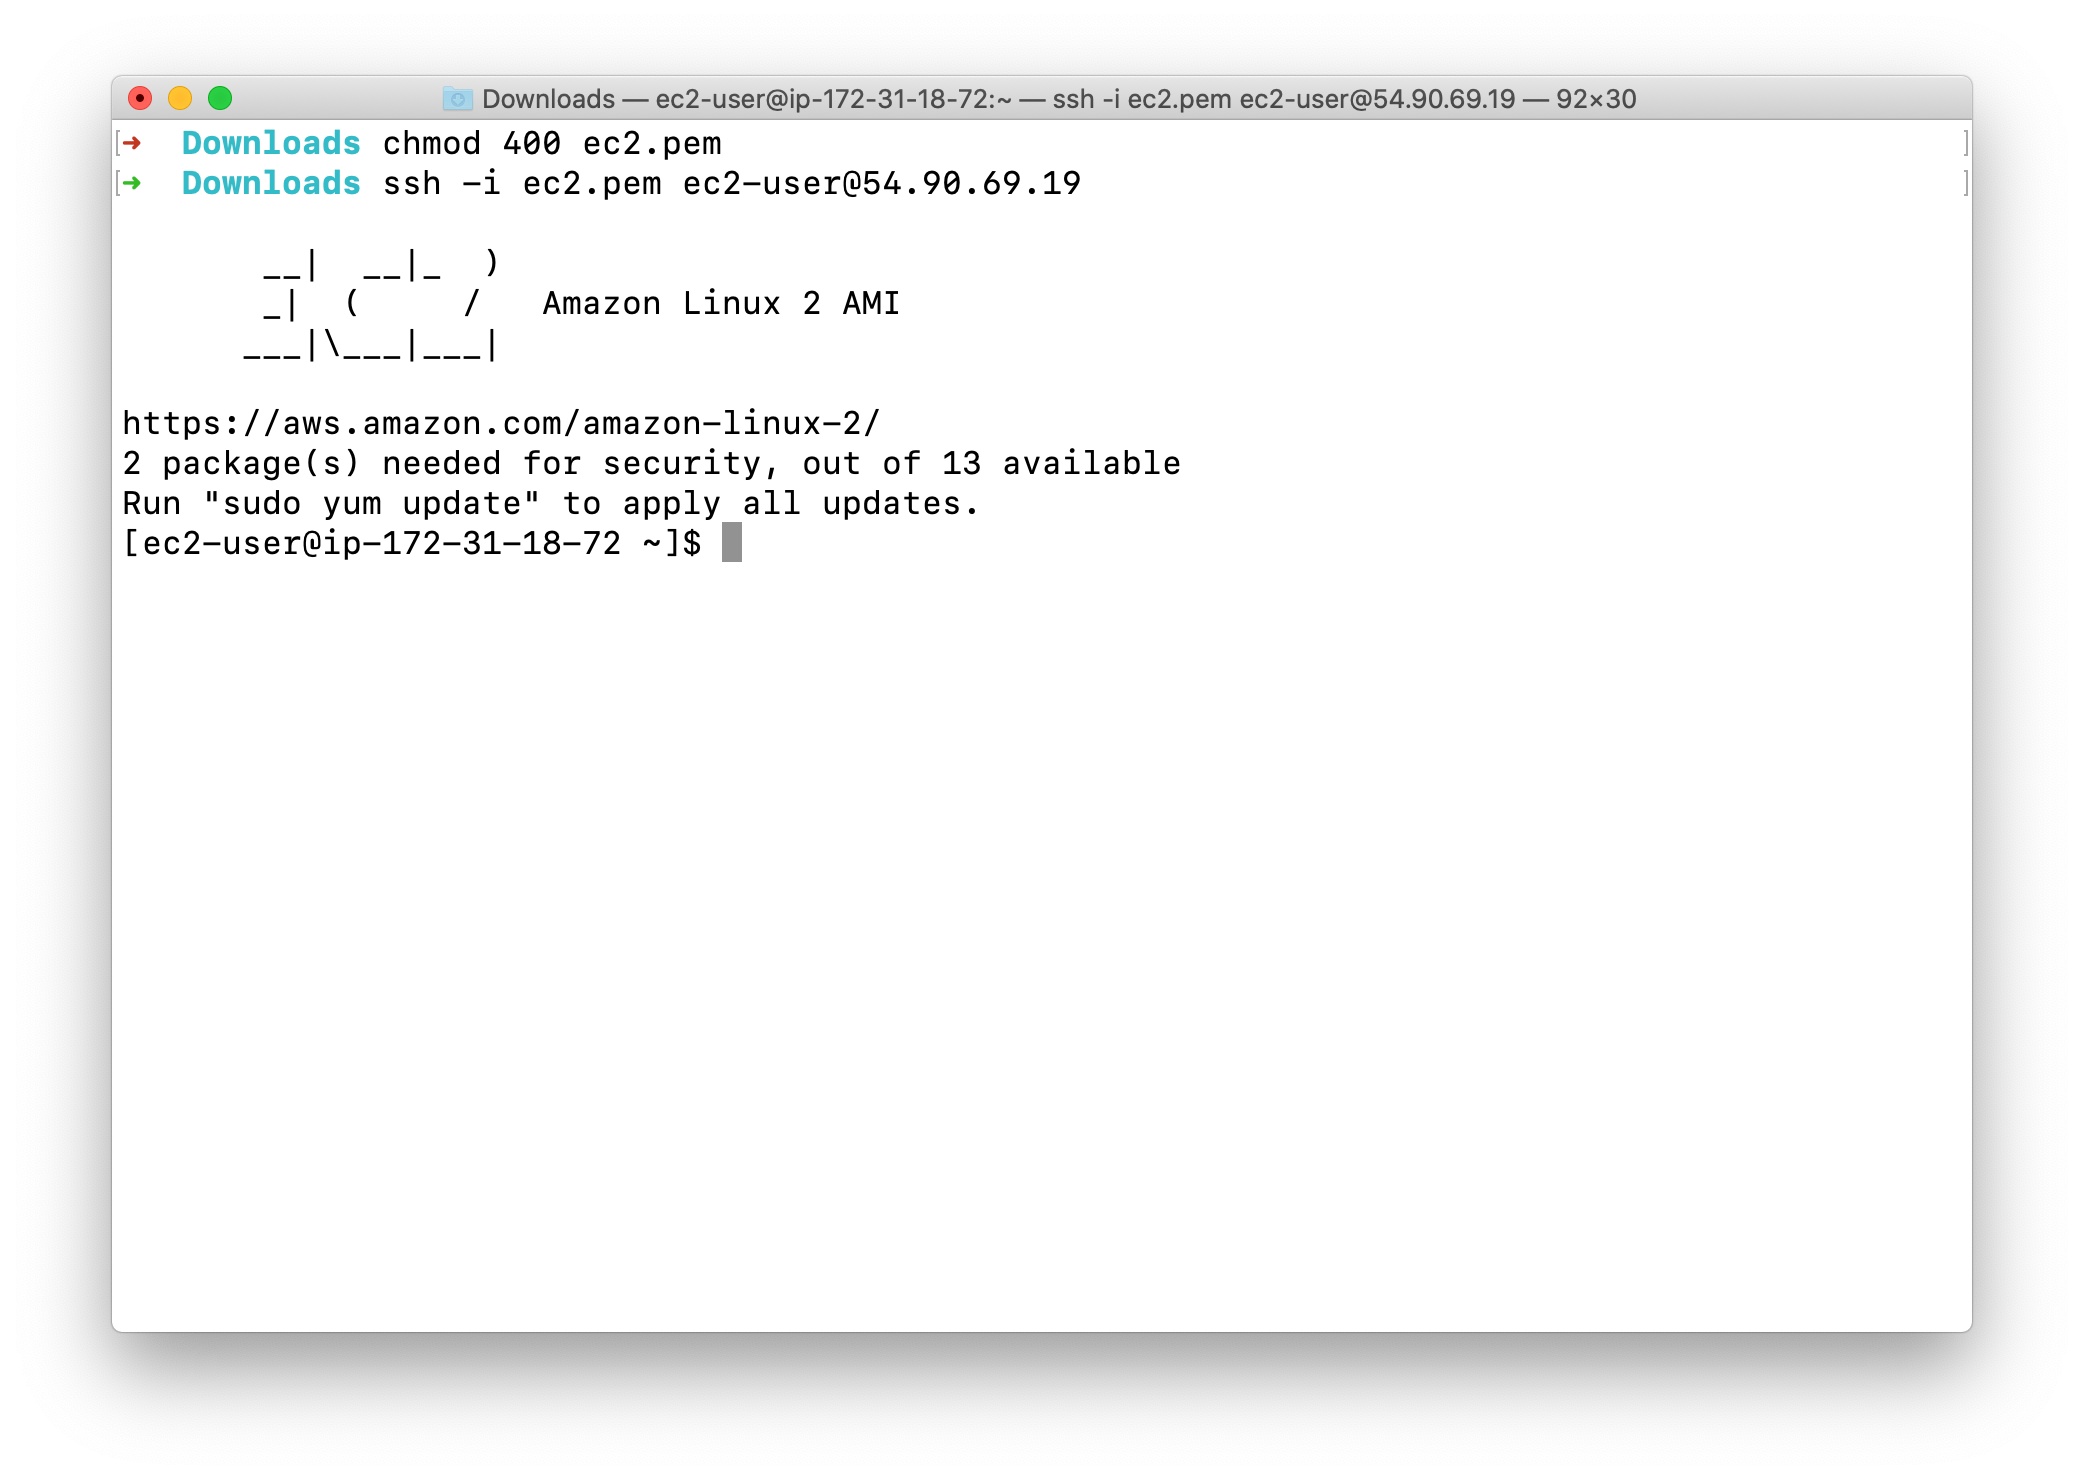
SSH into the EC2 Instance
To SSH into the server, please follow the steps in SSH into EC2 Instance.
Move file from current EC2 instance to S3 bucket
Once logged in, switch to the root user:
1 | sudo su |
Run the below command to find your S3 bucket via CLI.
You can see yourBucketName below.
1 | aws s3 ls |
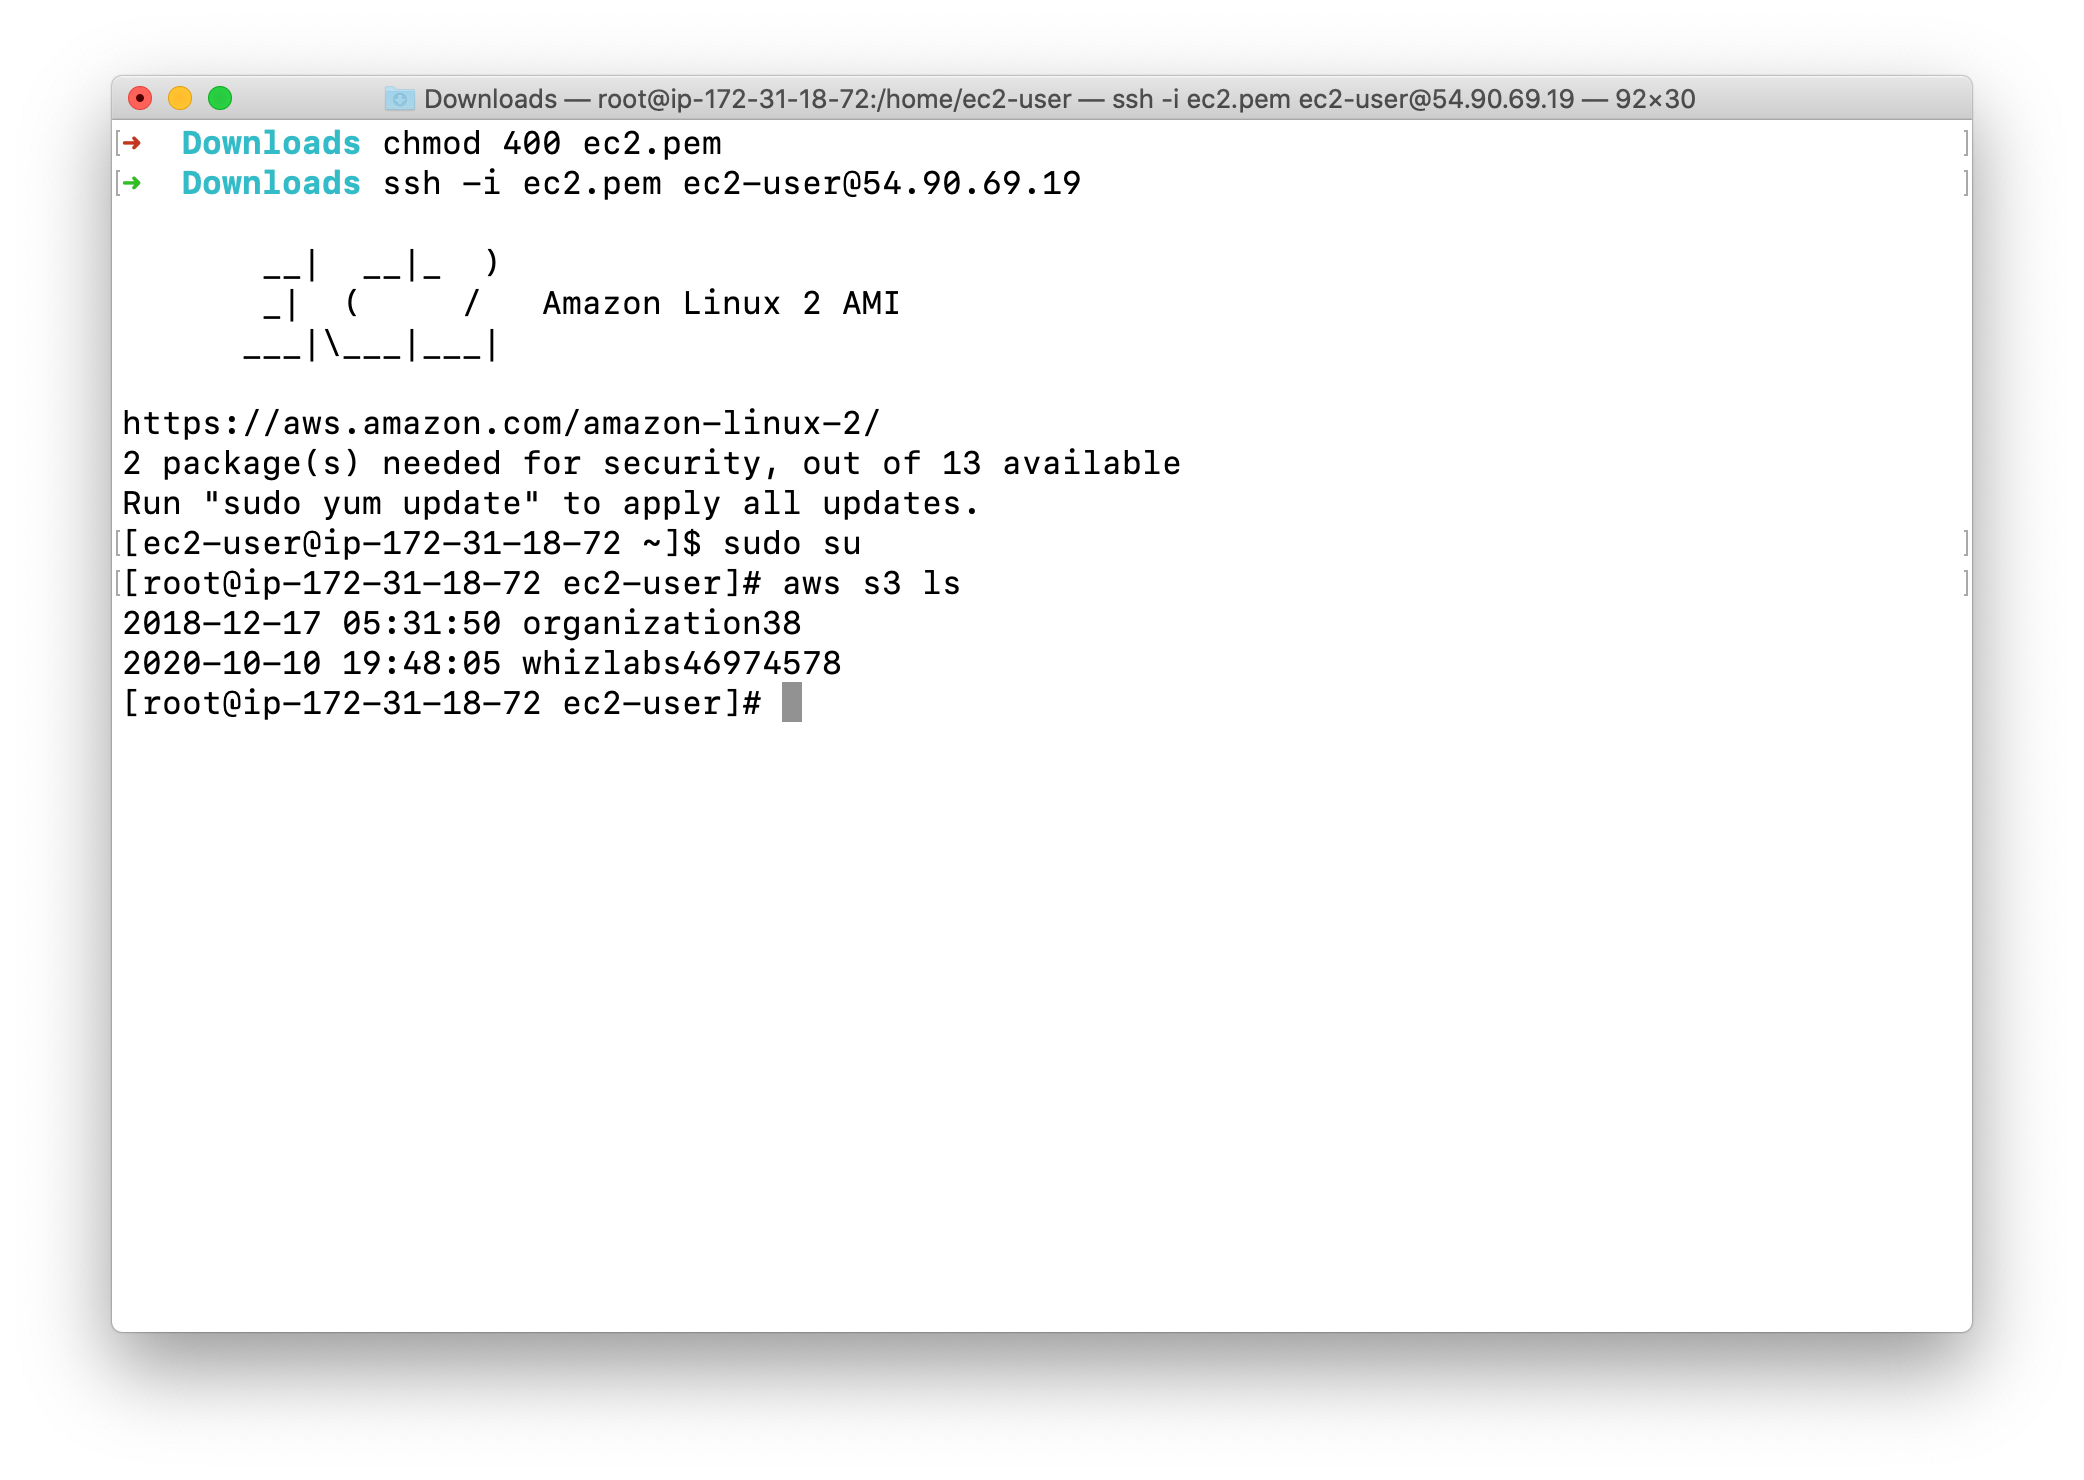
You will see output similar to the image above, which shows that we are able to access the S3 bucket with the help of role attached to the EC2 instance.
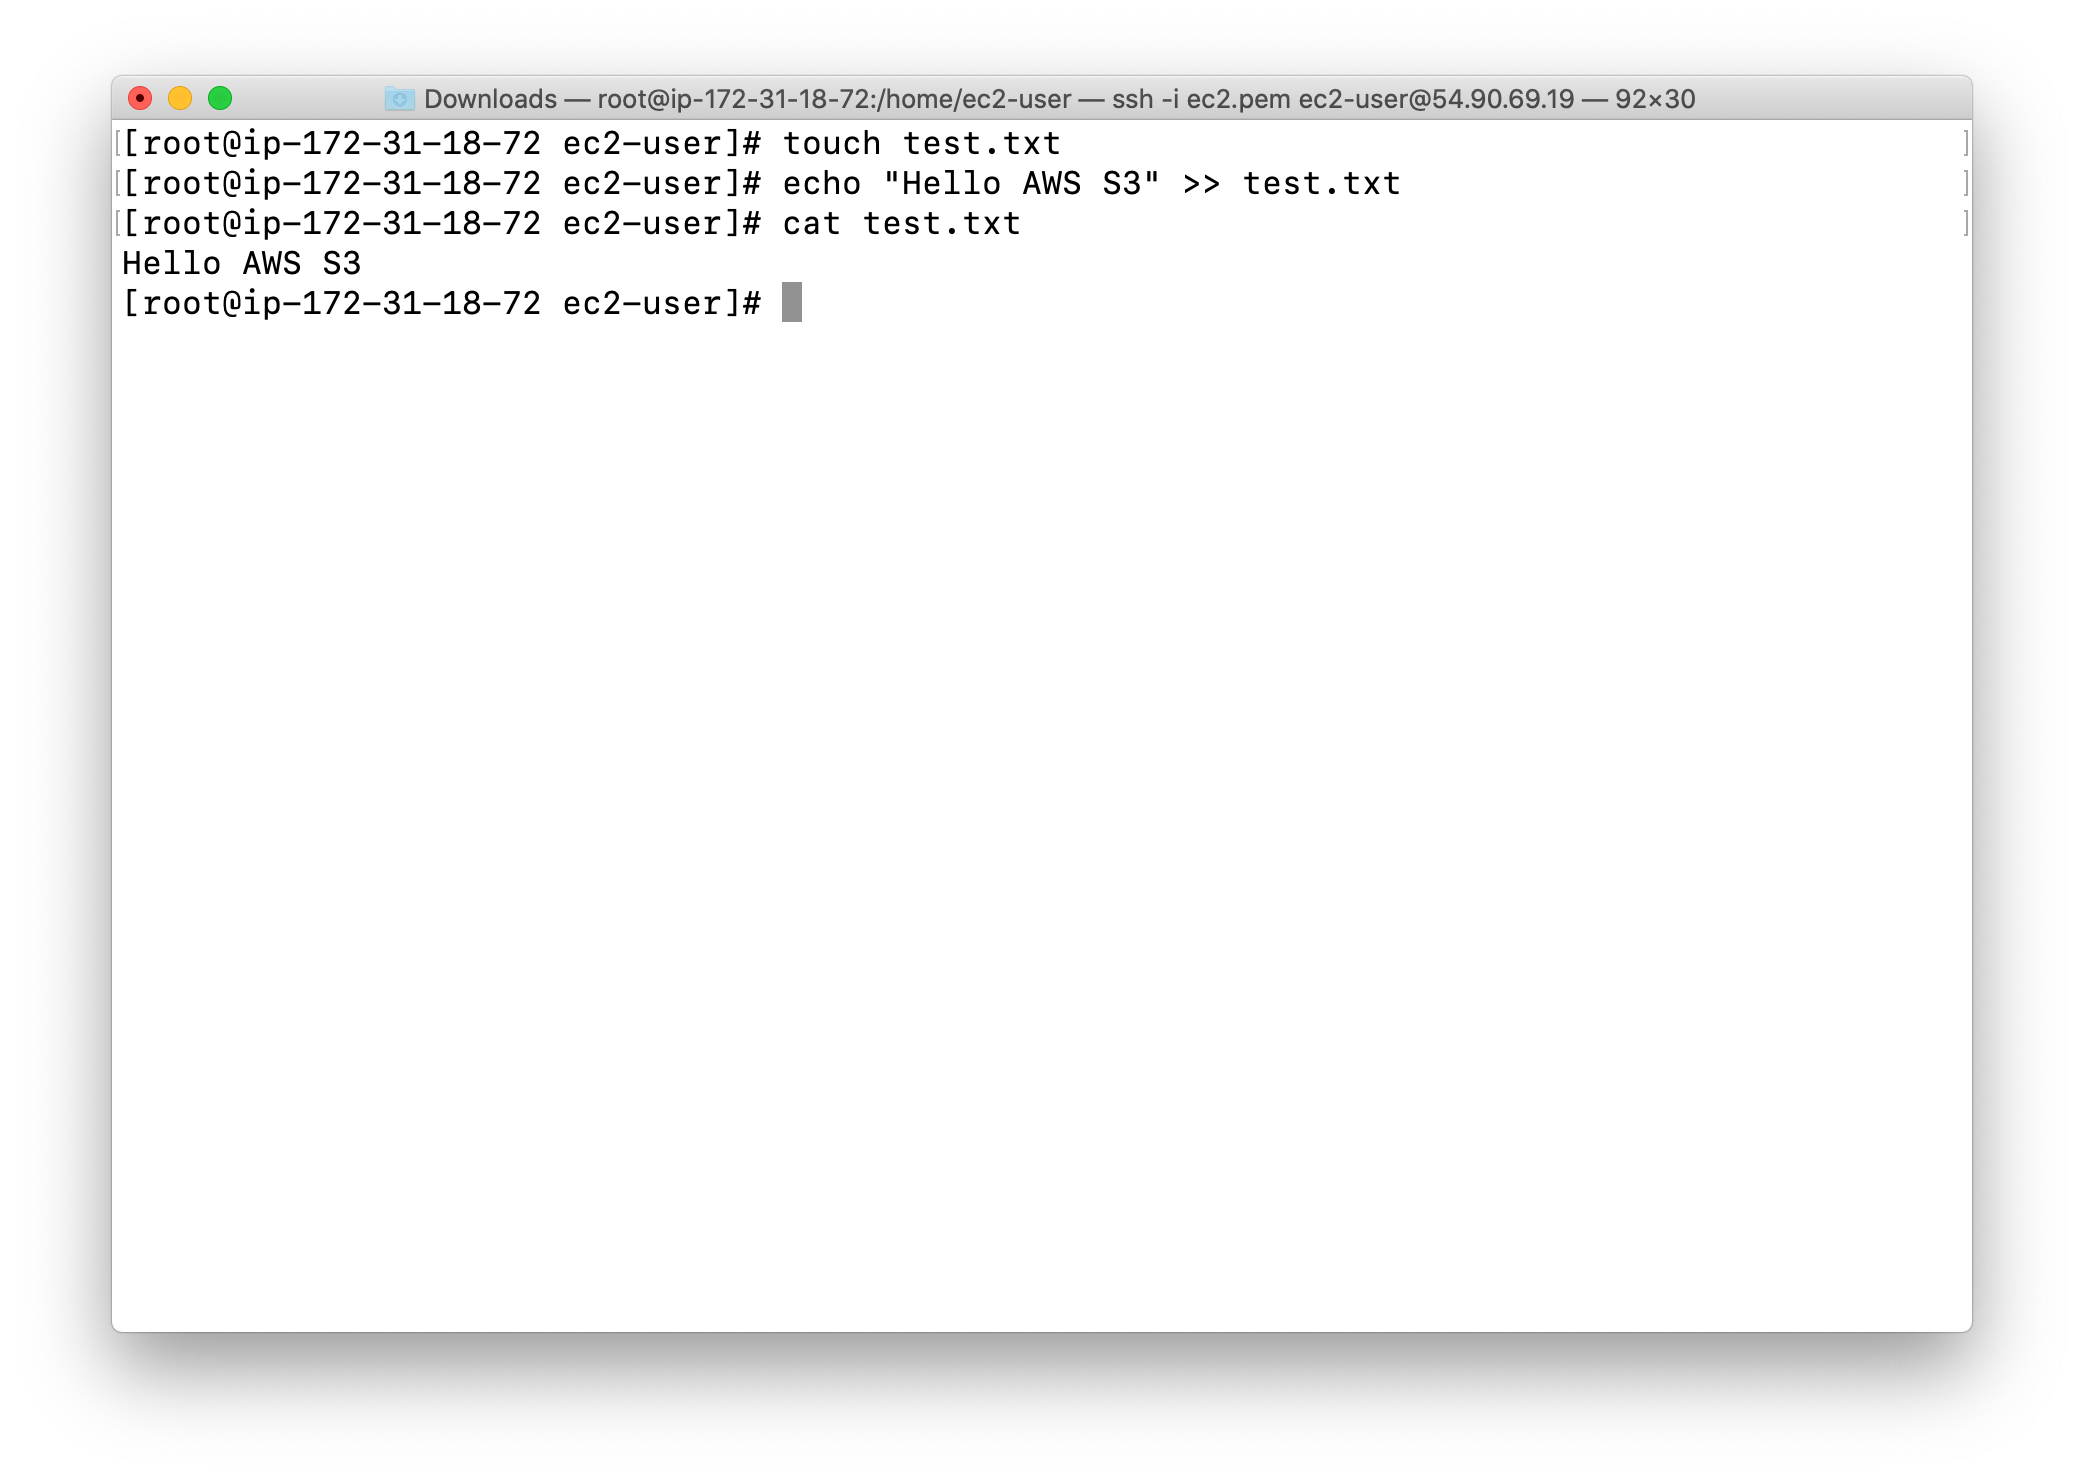
Create a new text file and upload it to the bucket via AWS CLI (using the following set of commands):
1 | touch test.txt |
Move your the file in the EC2 instance to S3 bucket:
replace yourBucketName below
1 | aws s3 mv test.txt s3://yourBucketName |
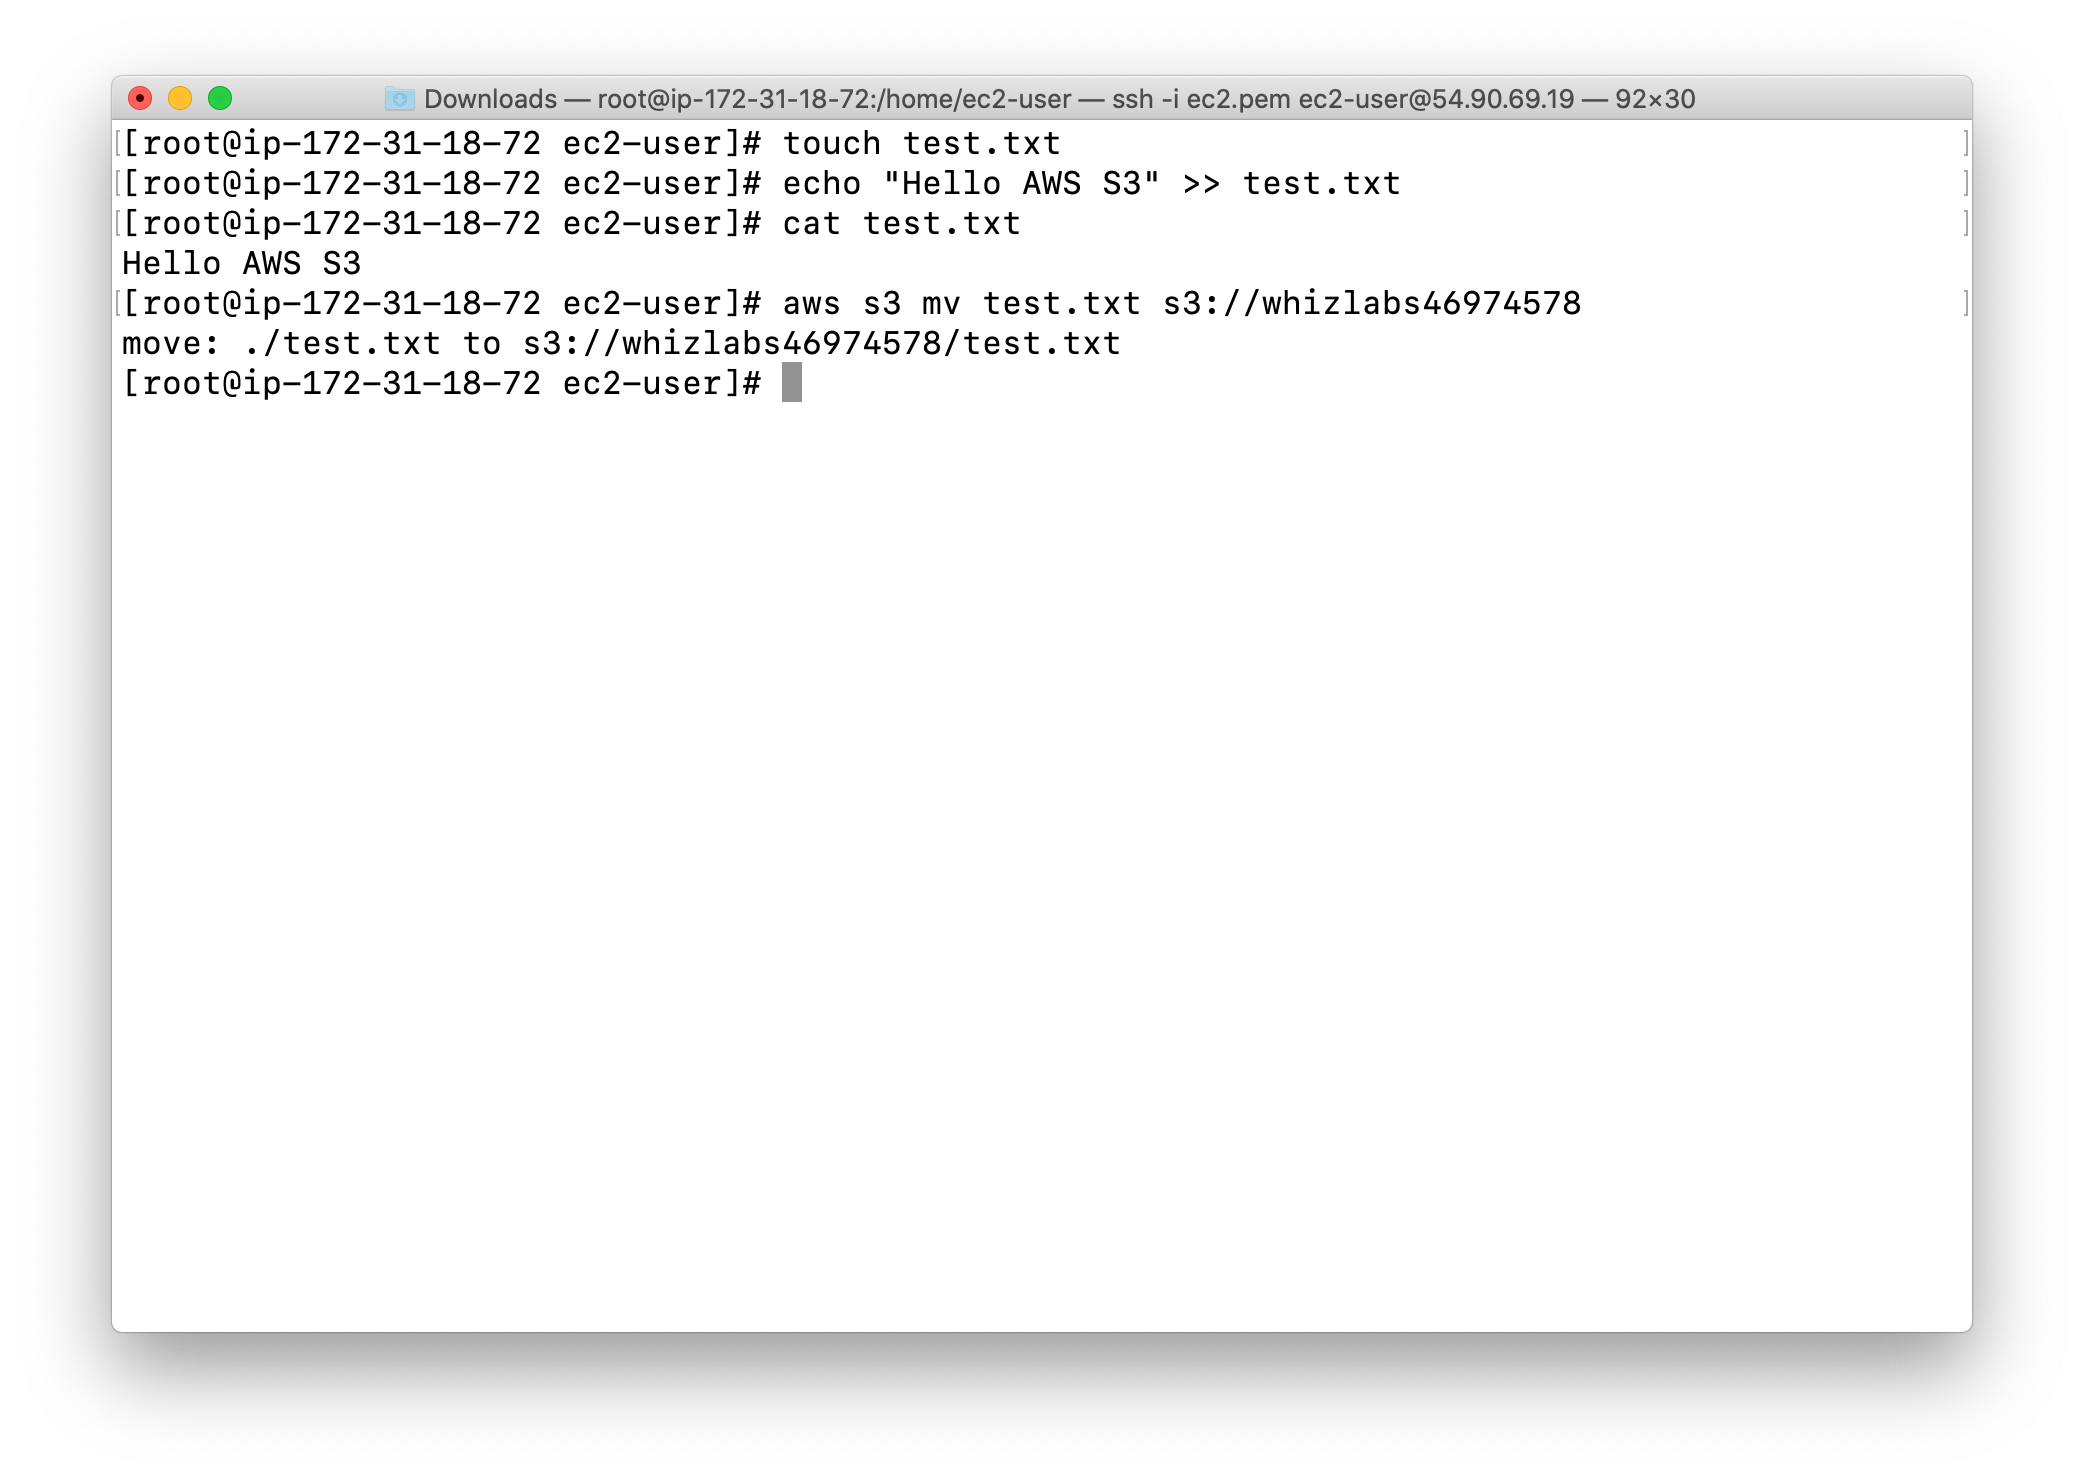
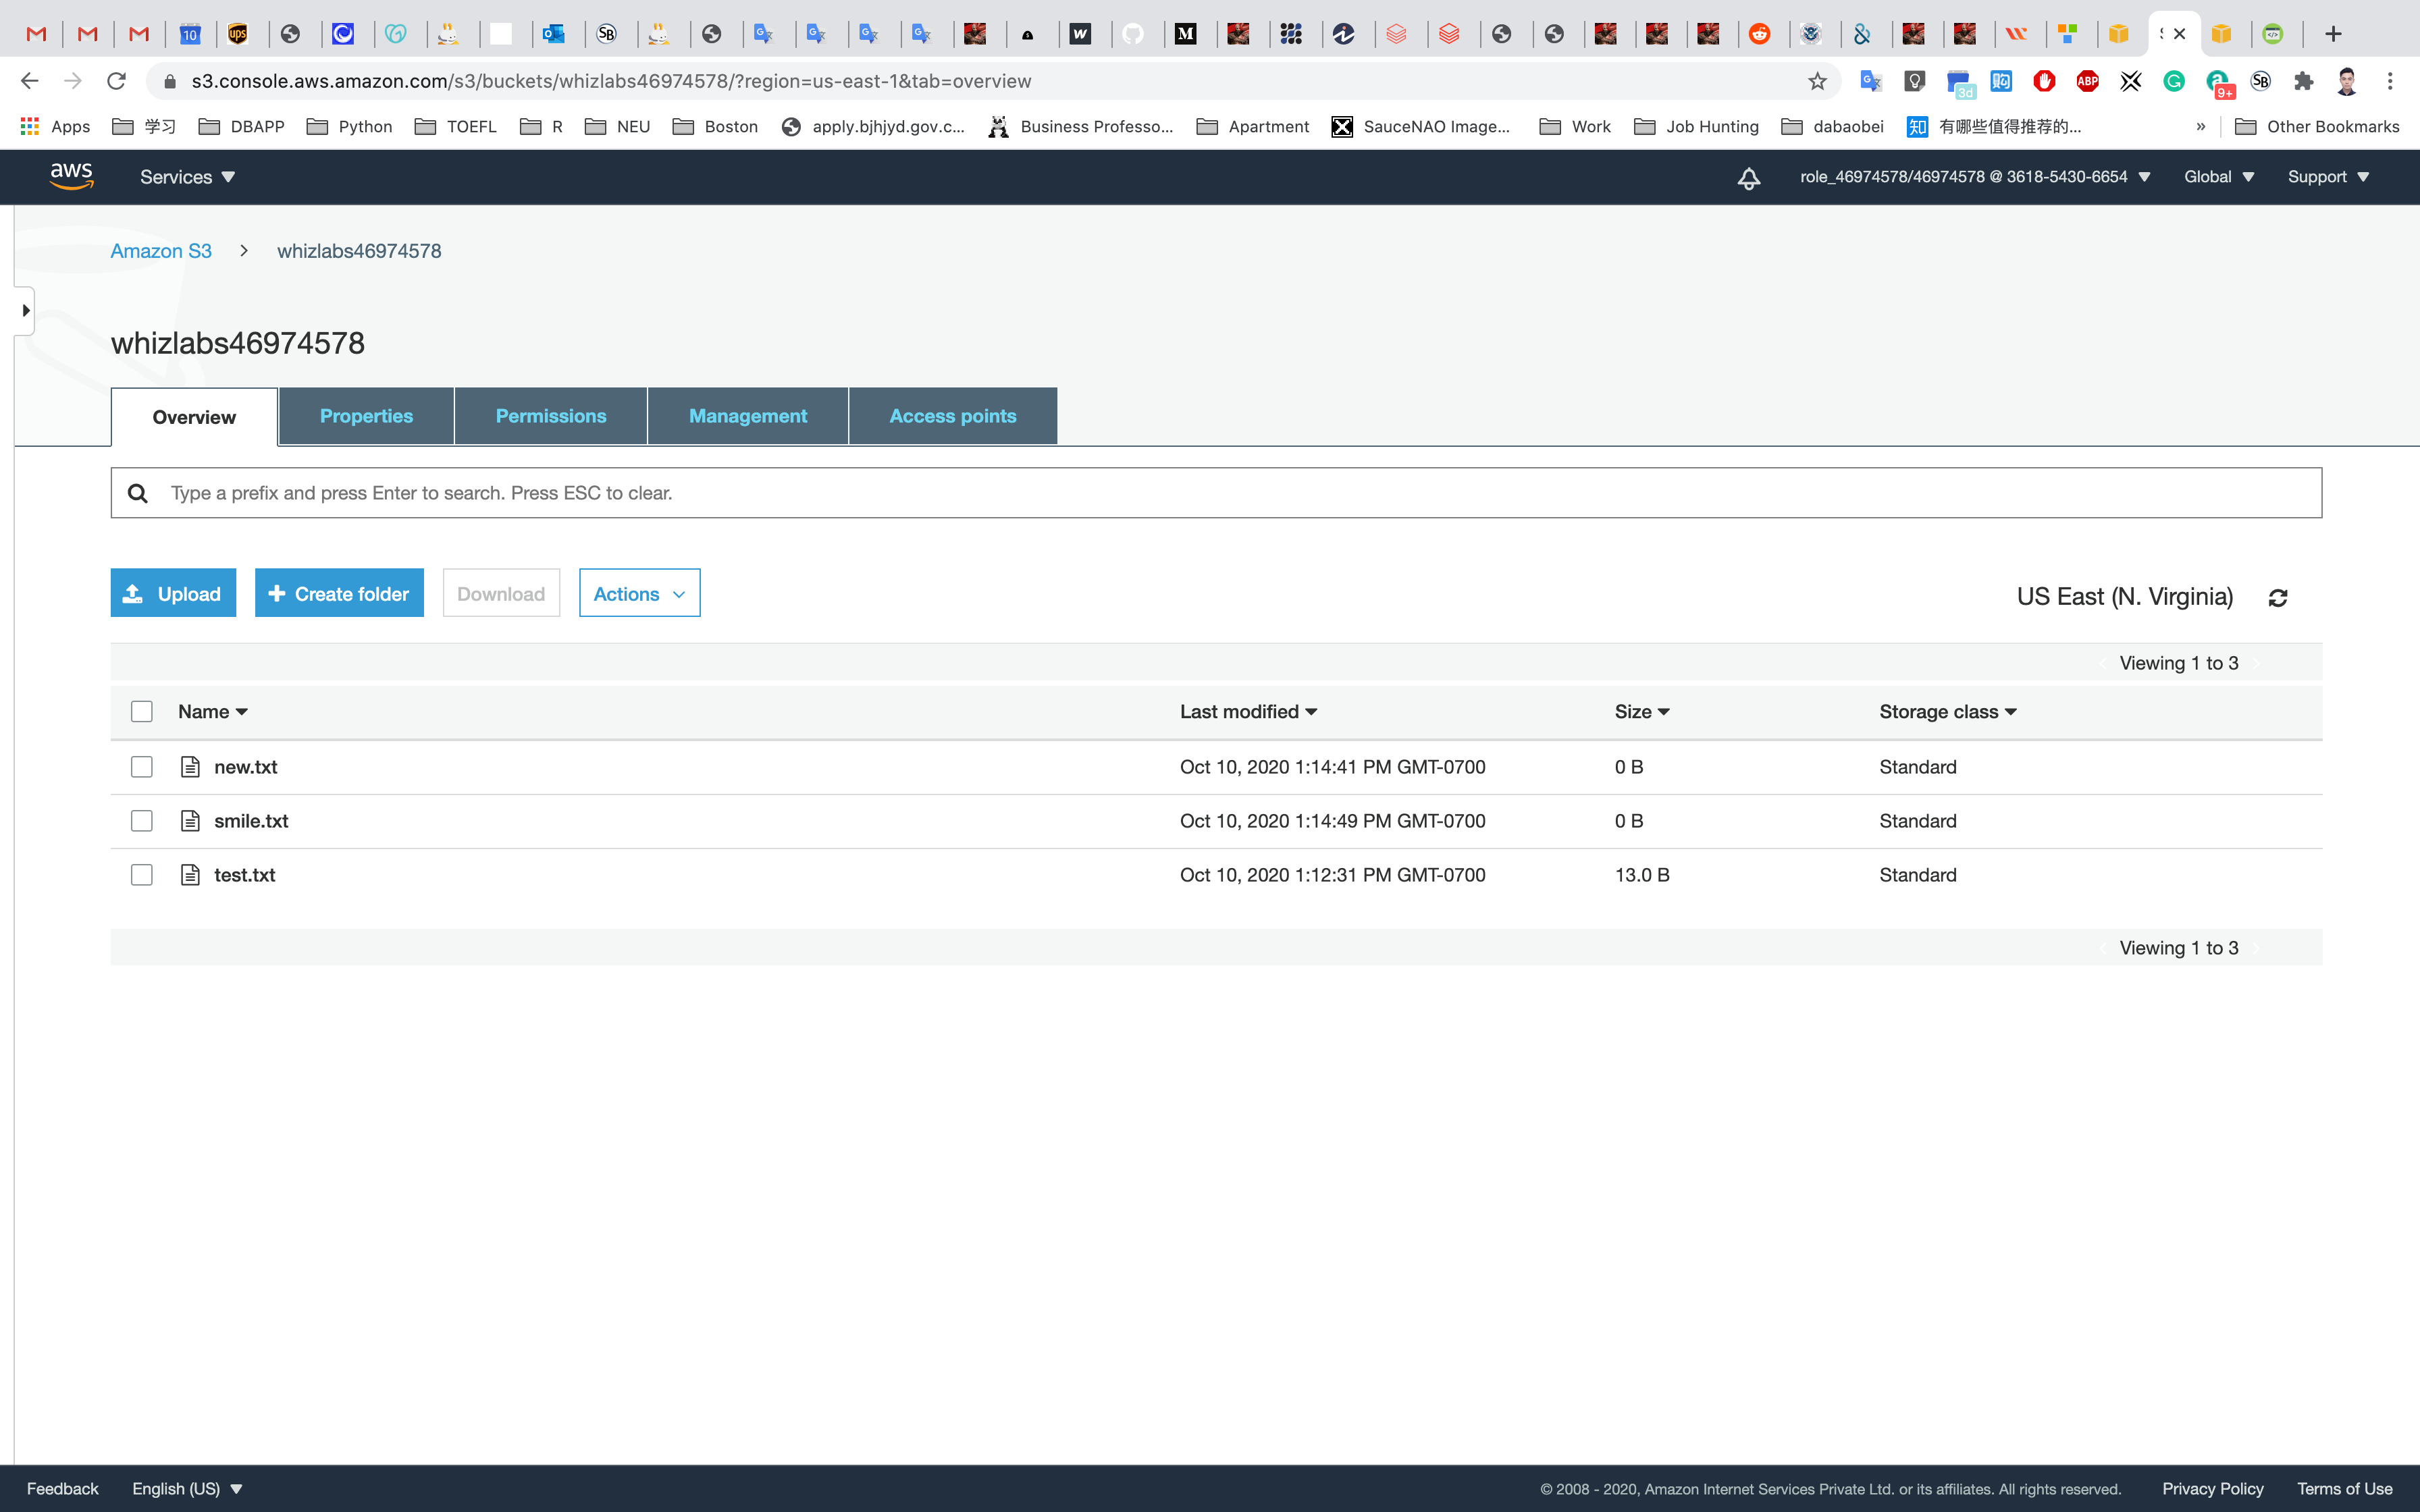
Check for the new file in the S3 bucket.
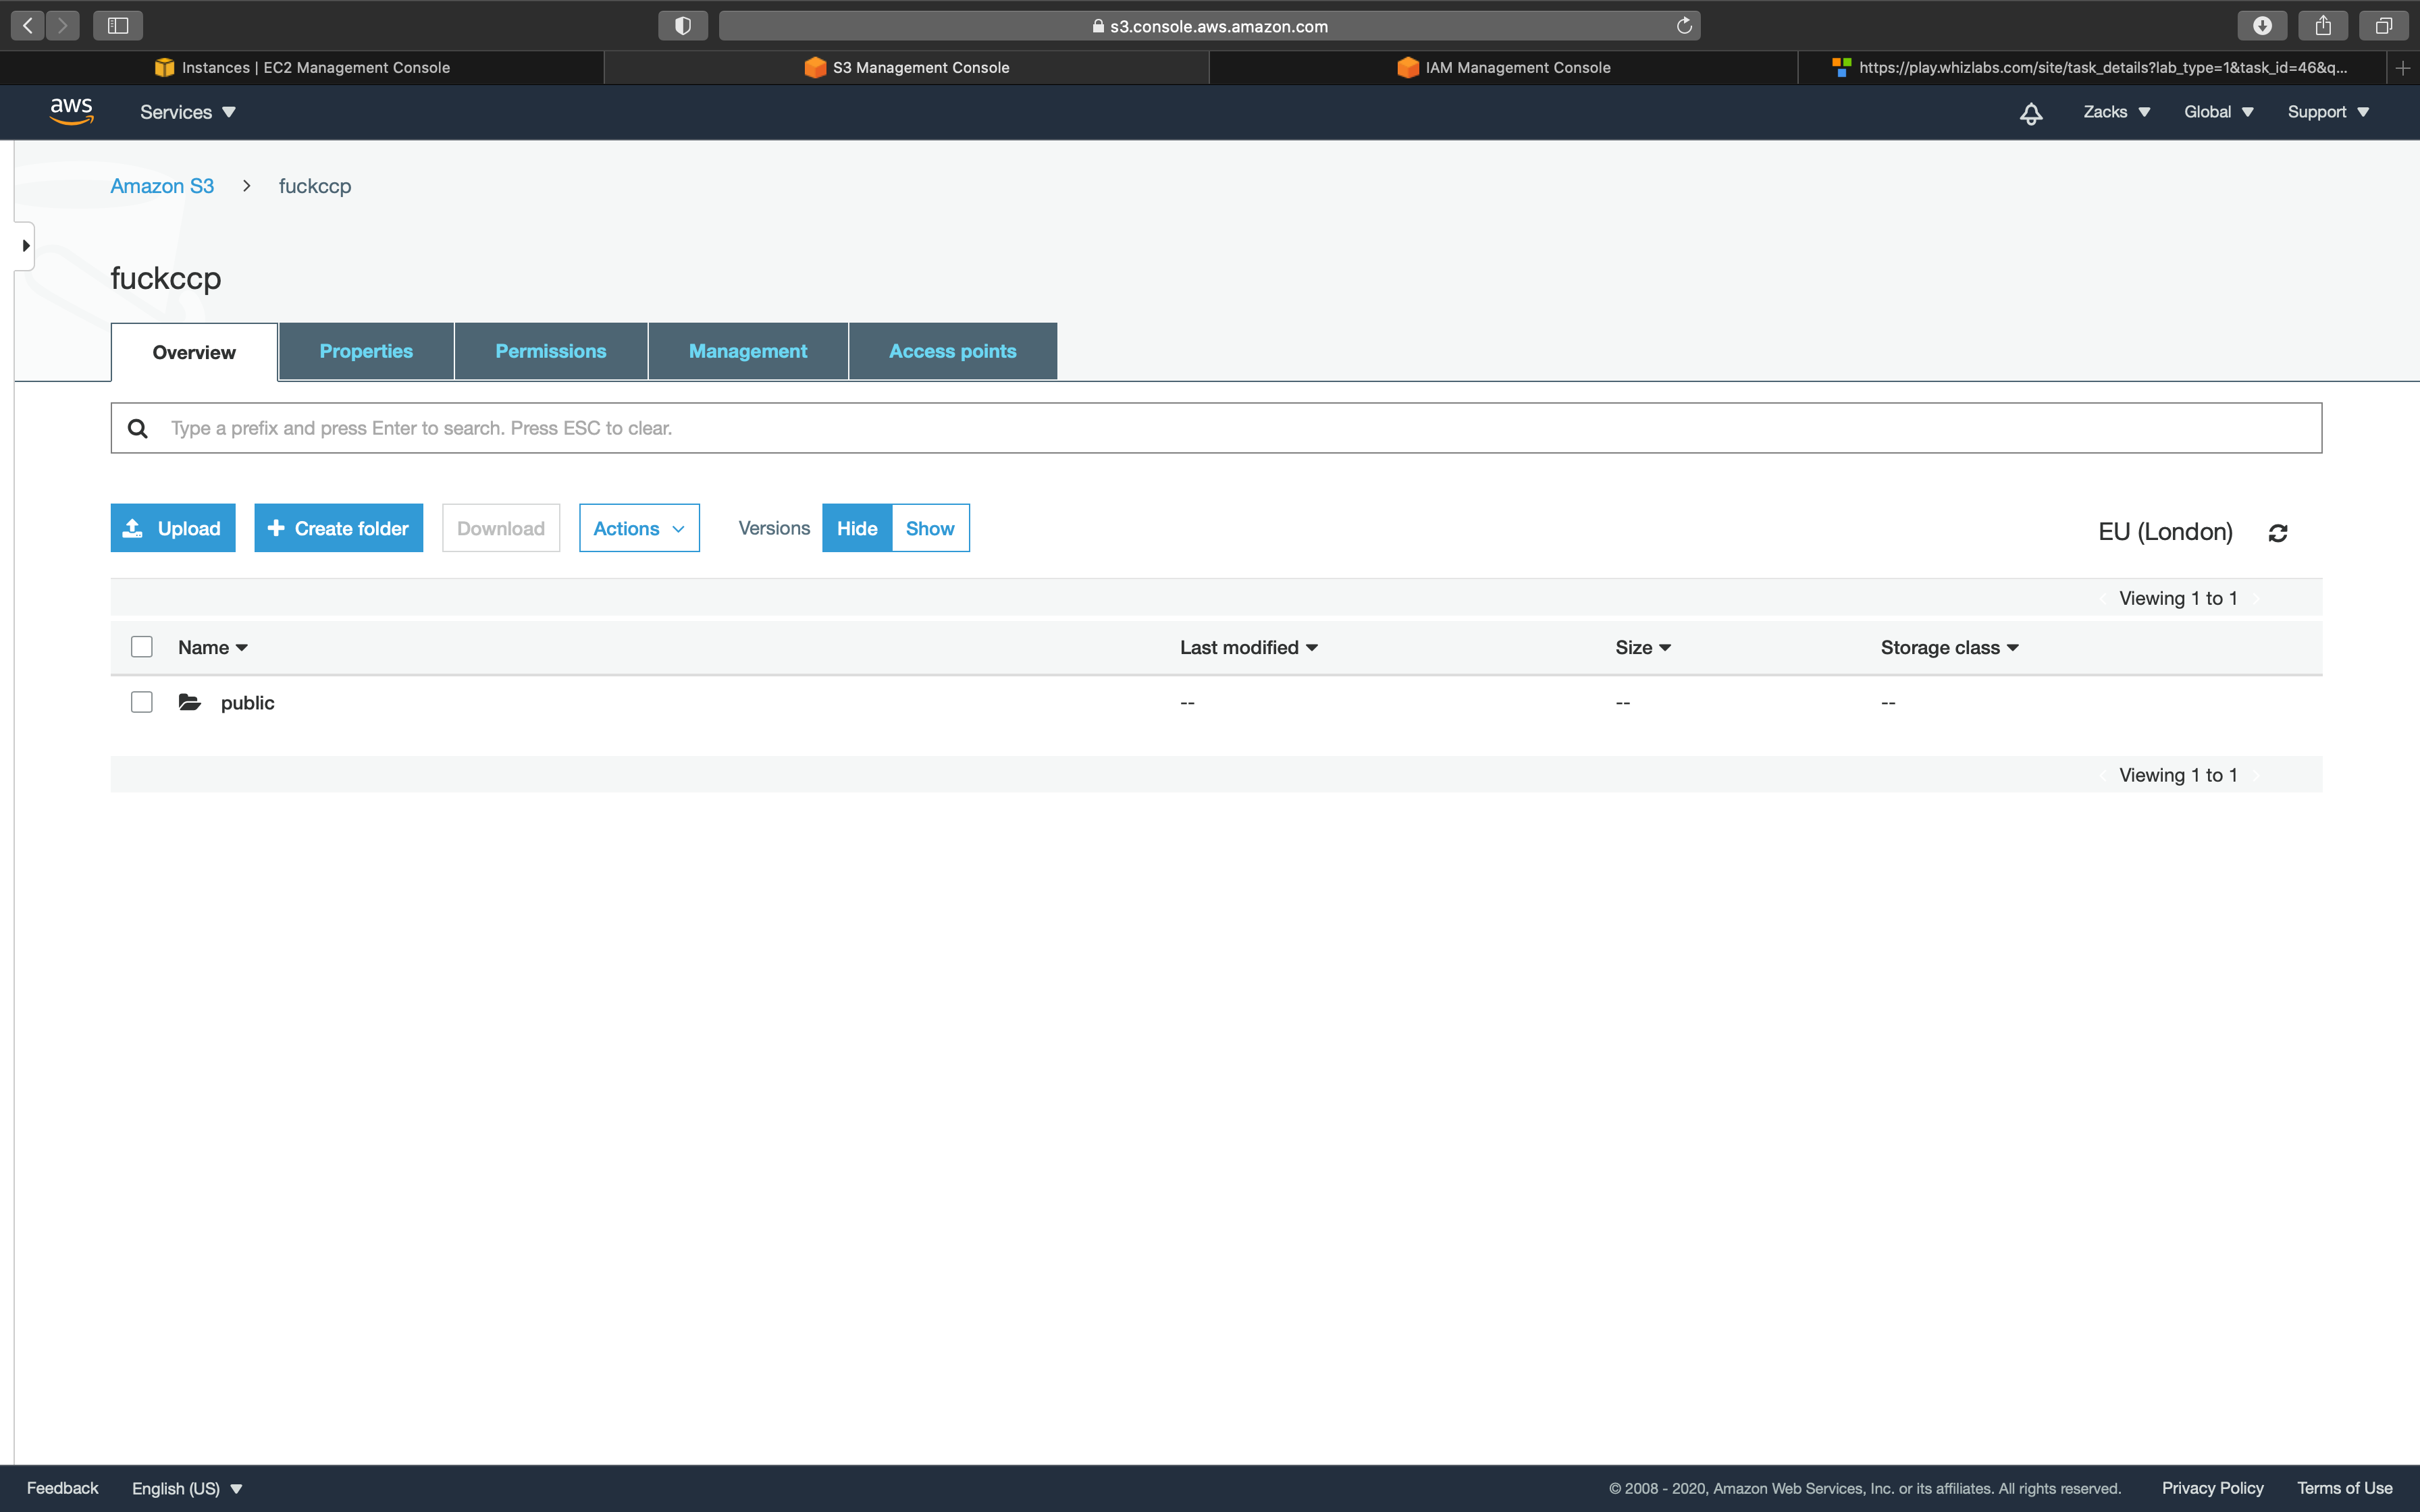
Service -> S3
Click on yourBucketName
Repeat the above steps and create some more files like new.txt, smile.txt and upload it to the S3 bucket using below commands:
1 | touch new.txt smile.txt |
1 | aws s3 mv new.txt s3://yourBucketName |

You can confirm the files uploaded to S3 bucket by navigating to the bucket in the AWS console.
Services -> S3
You can also list the files uploaded to S3 bucket via CLI from the EC2 instance with the following command:
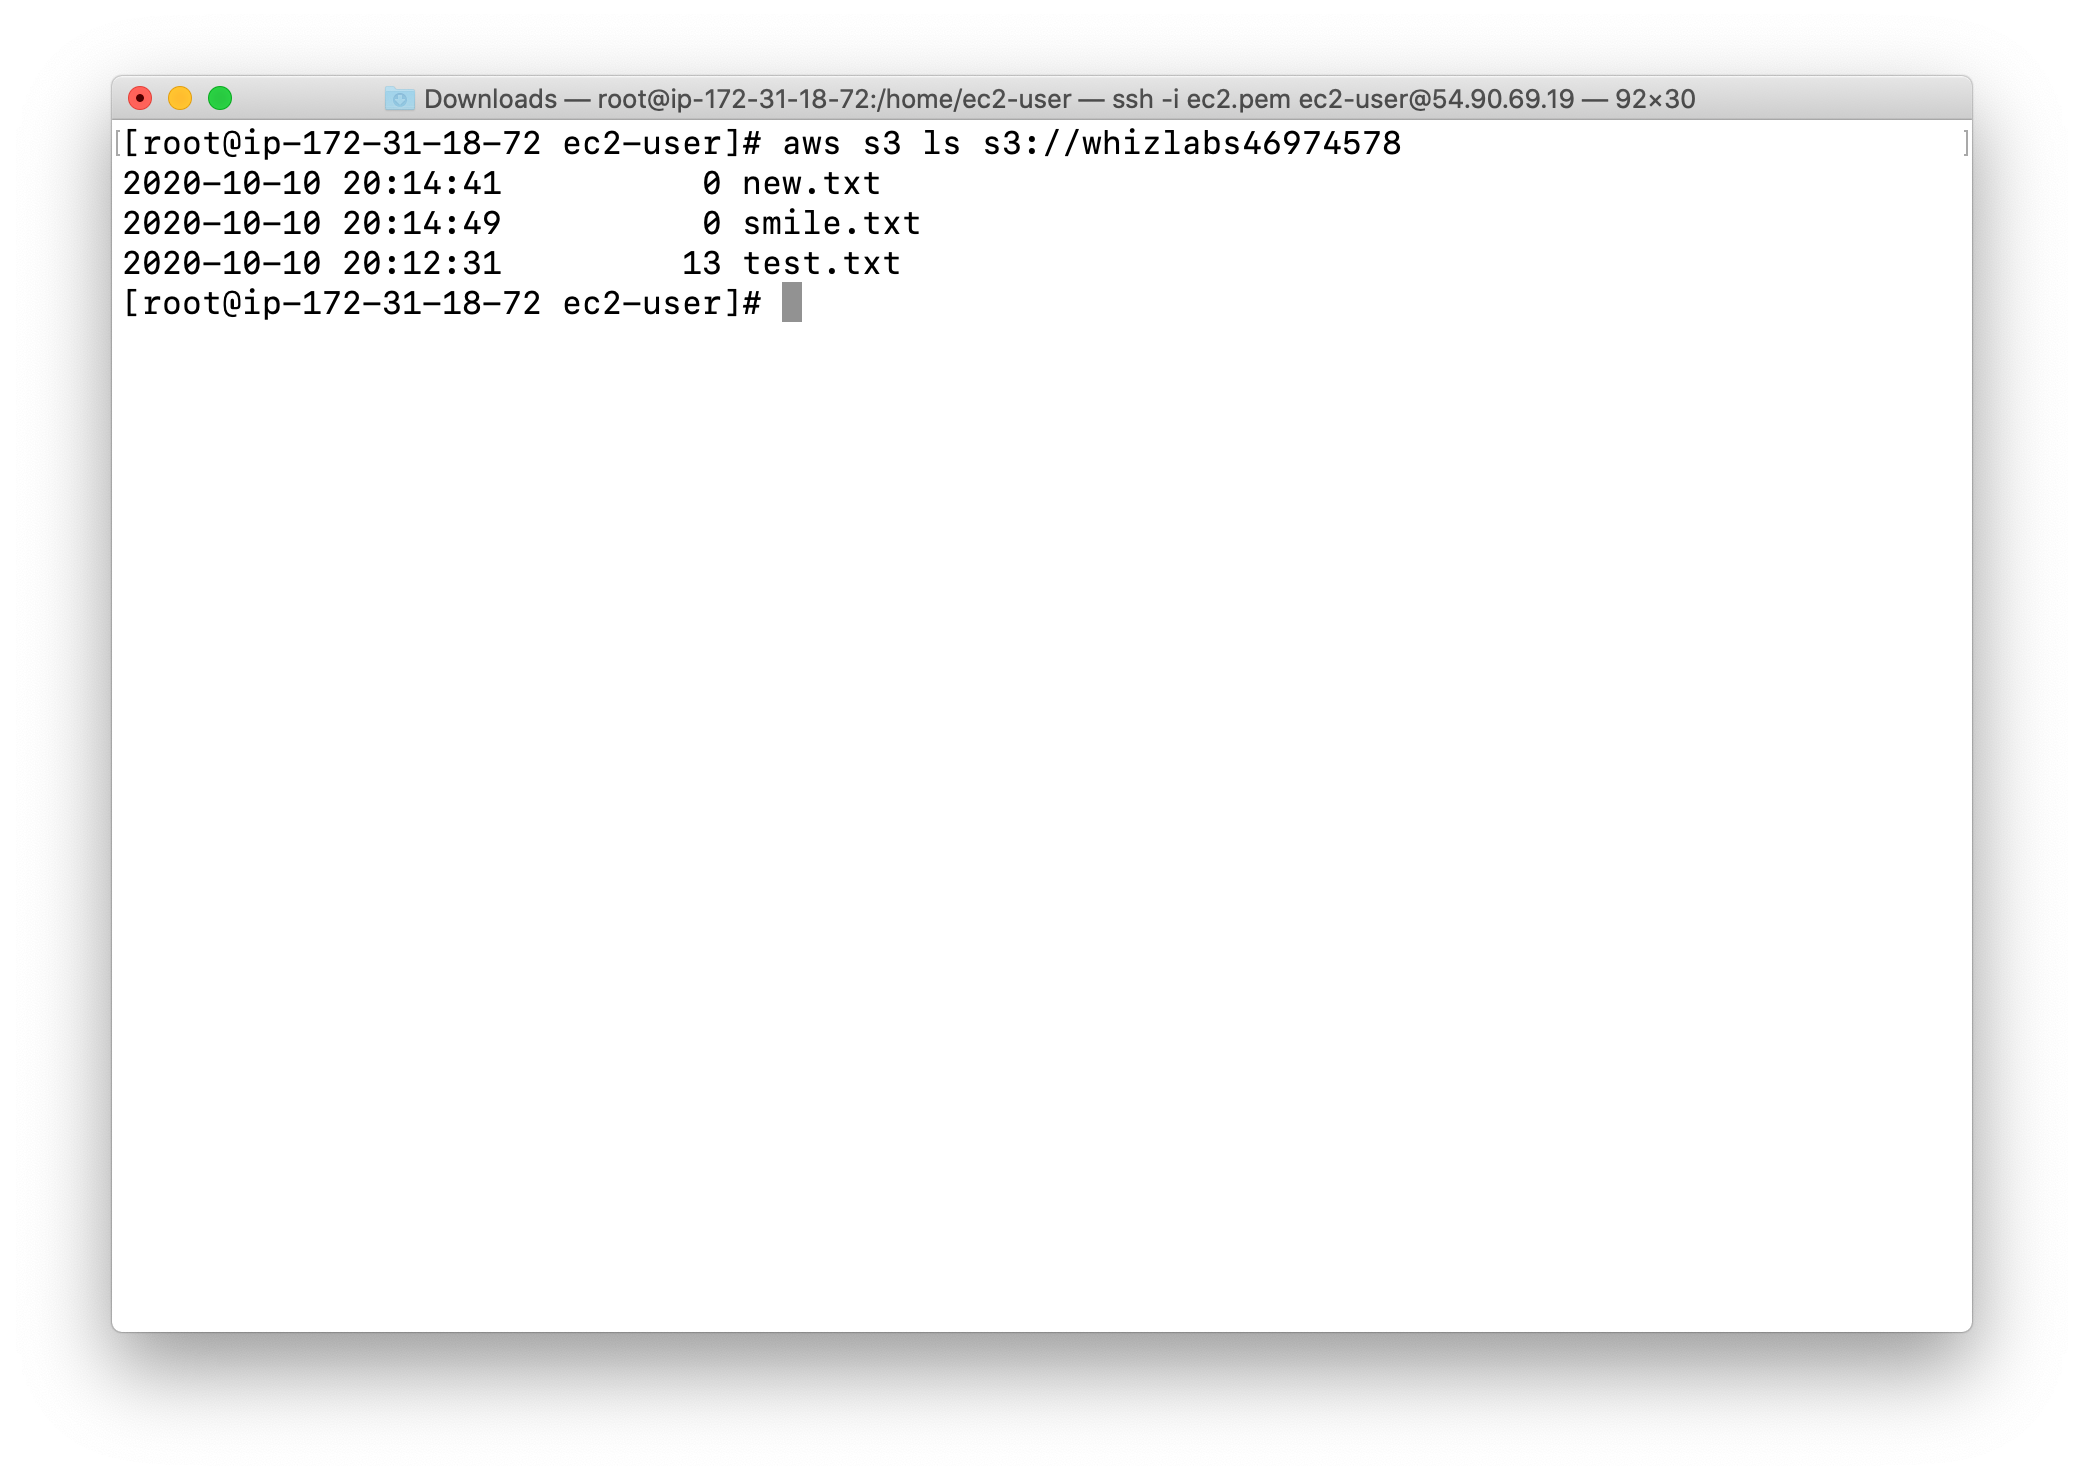
1 | aws s3 ls s3://yourBucketName |
Move file from S3 bucket to current EC2 instance
Check the S3 bucket, now we have three files.
Move test.txt from the S3 bucket to current EC2 instance.
- a single
.means your current working directory
1 | aws s3 mv test.txt s3://yourBucketName/test.txt . |
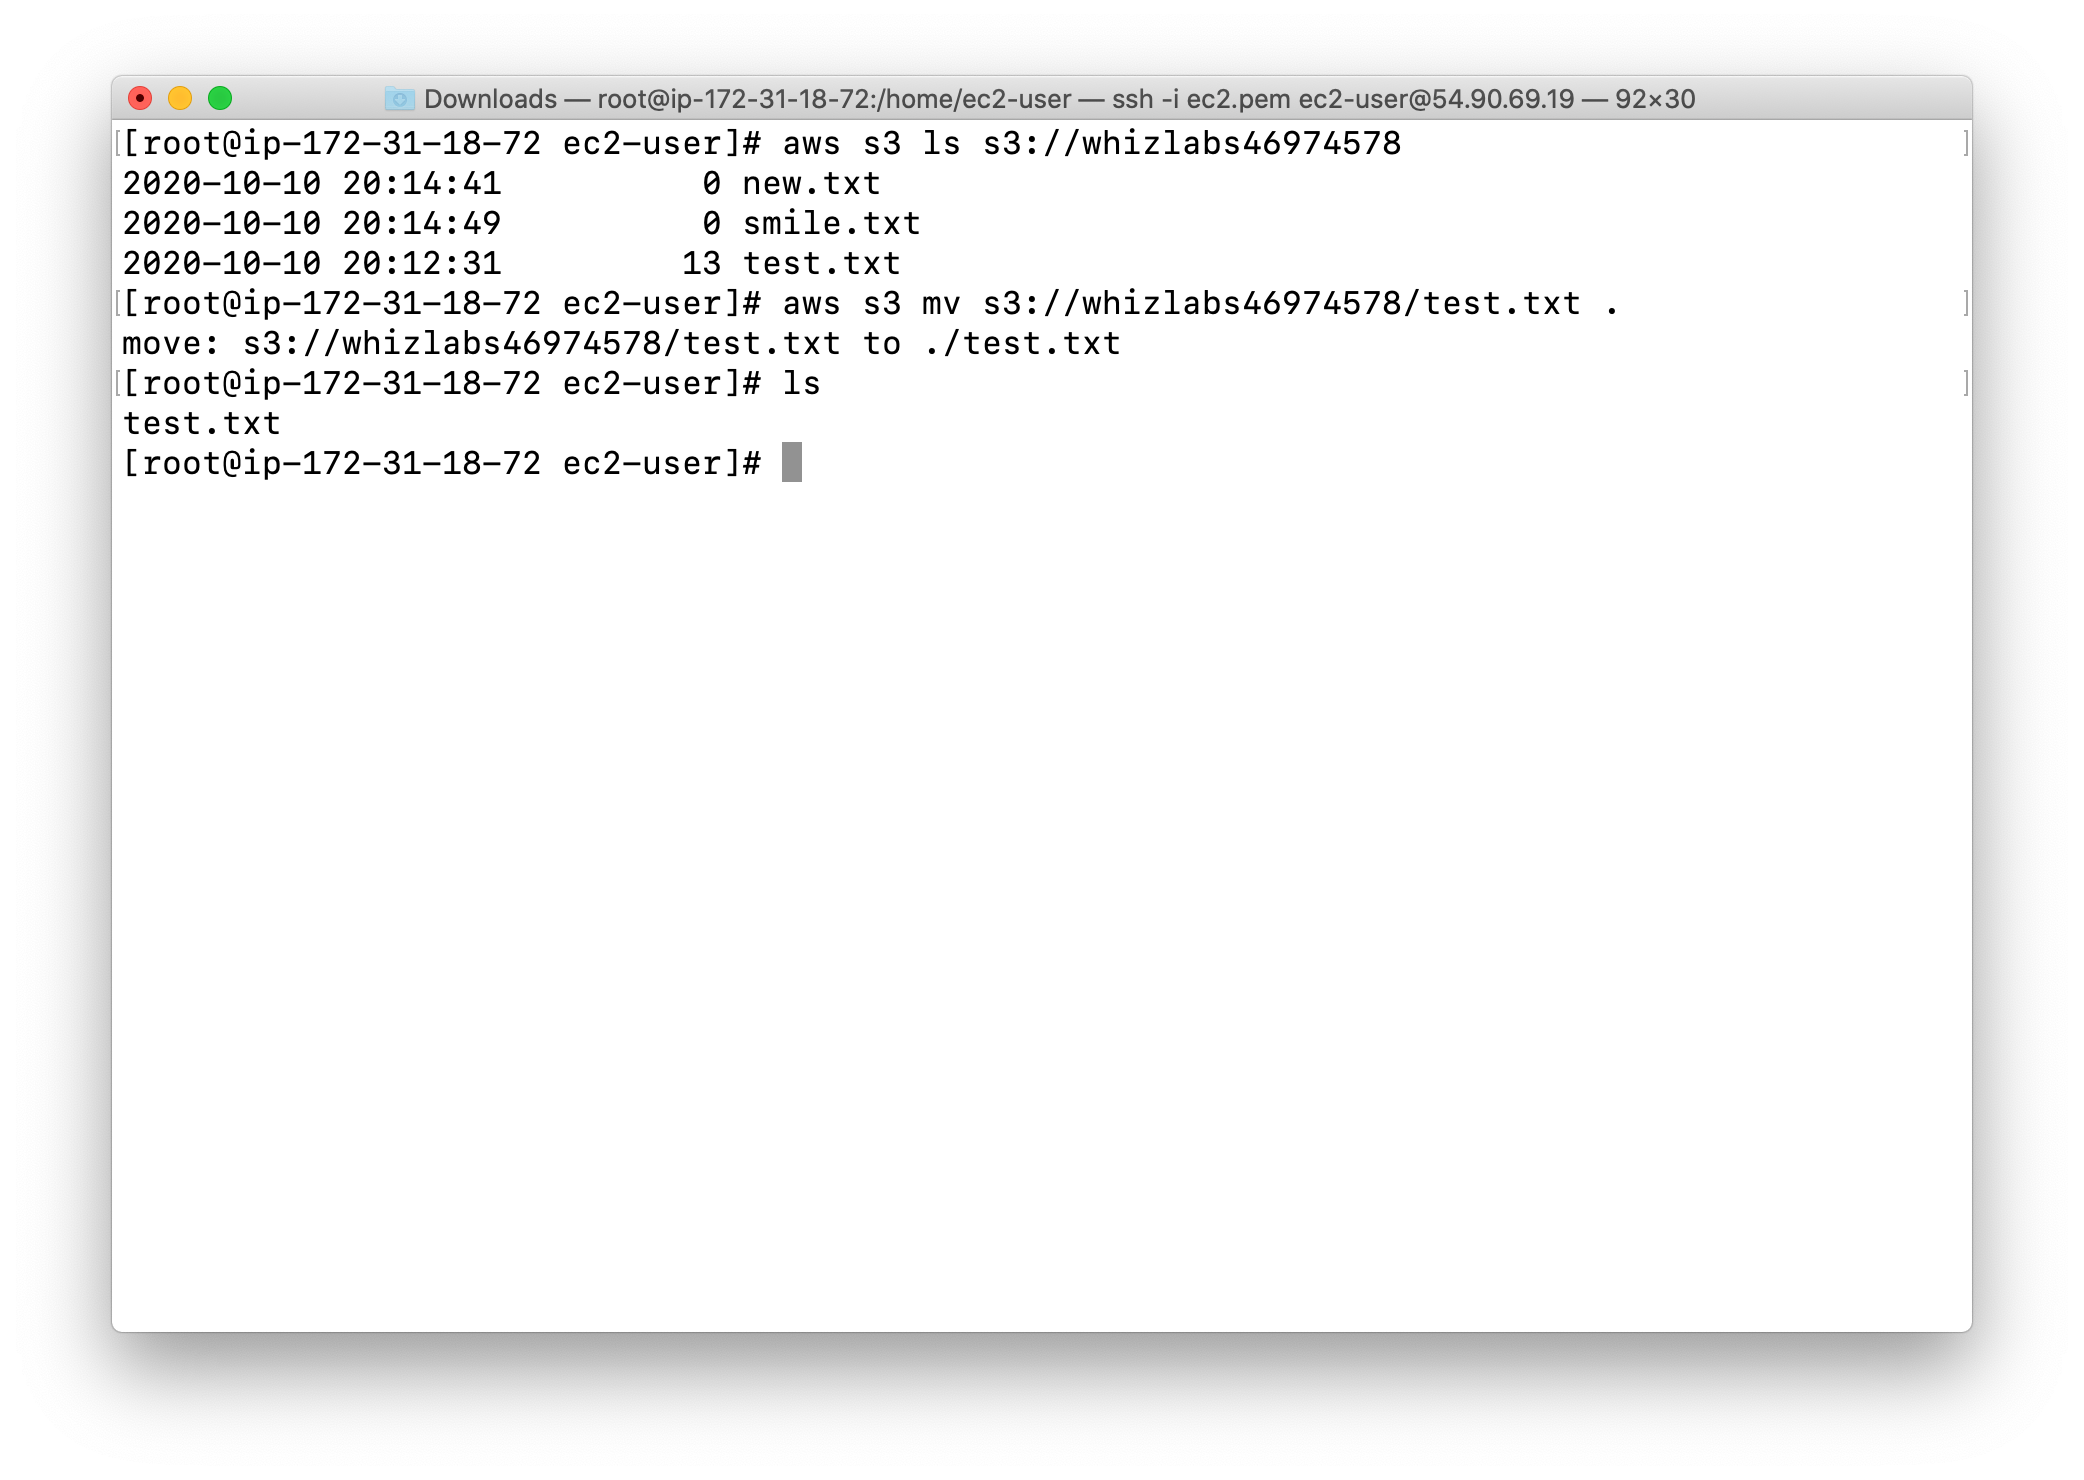
Check the S3 bucket, now we have two files.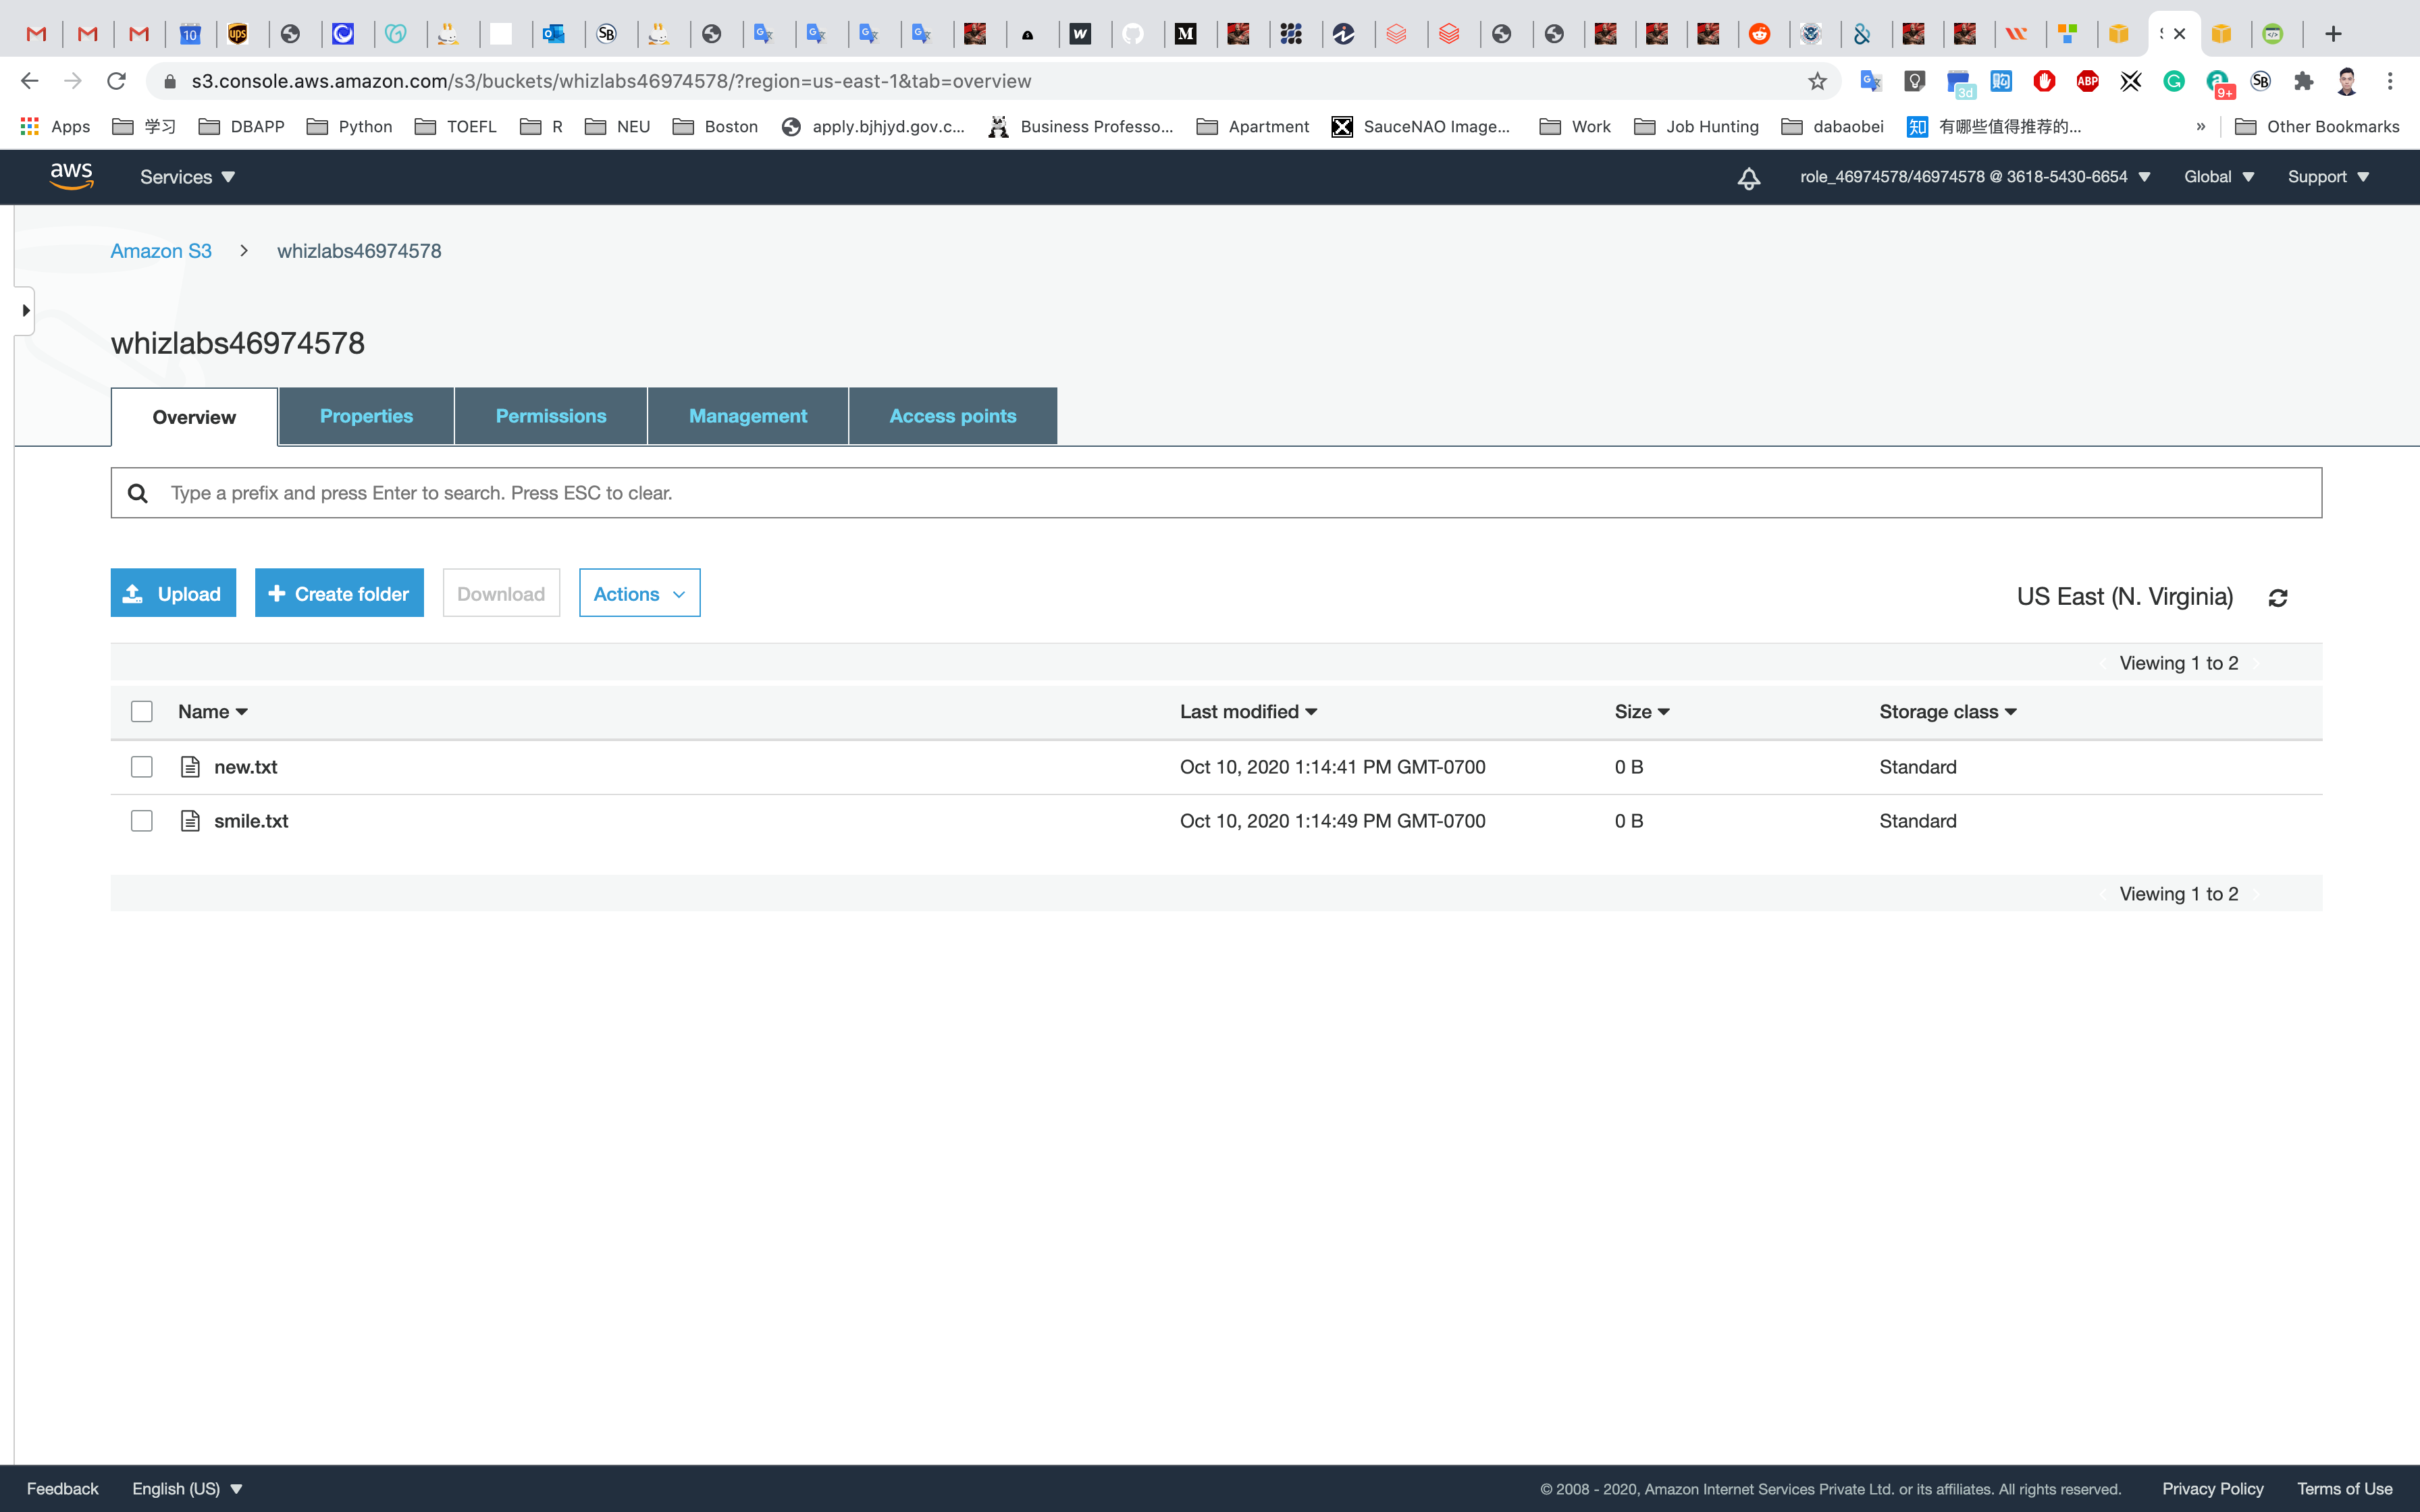
AWS S3 Multipart Upload using AWS CLI
Lab Details
- This Lab walks you through the steps on how to upload a file to an S3 bucket using multipart uploading.
Tasks
- Log in to the AWS Management Console.
- Create an S3 bucket
- Create an EC2 instance
- SSH into the EC2 instance
- Create a directory
- Copy a file from S3 to EC2
- Split the file into many parts
- Initiate Multipart upload
- Upload the individual parts
- Combine individual parts to a single file
- View the file in the S3 bucket
Architecture Diagram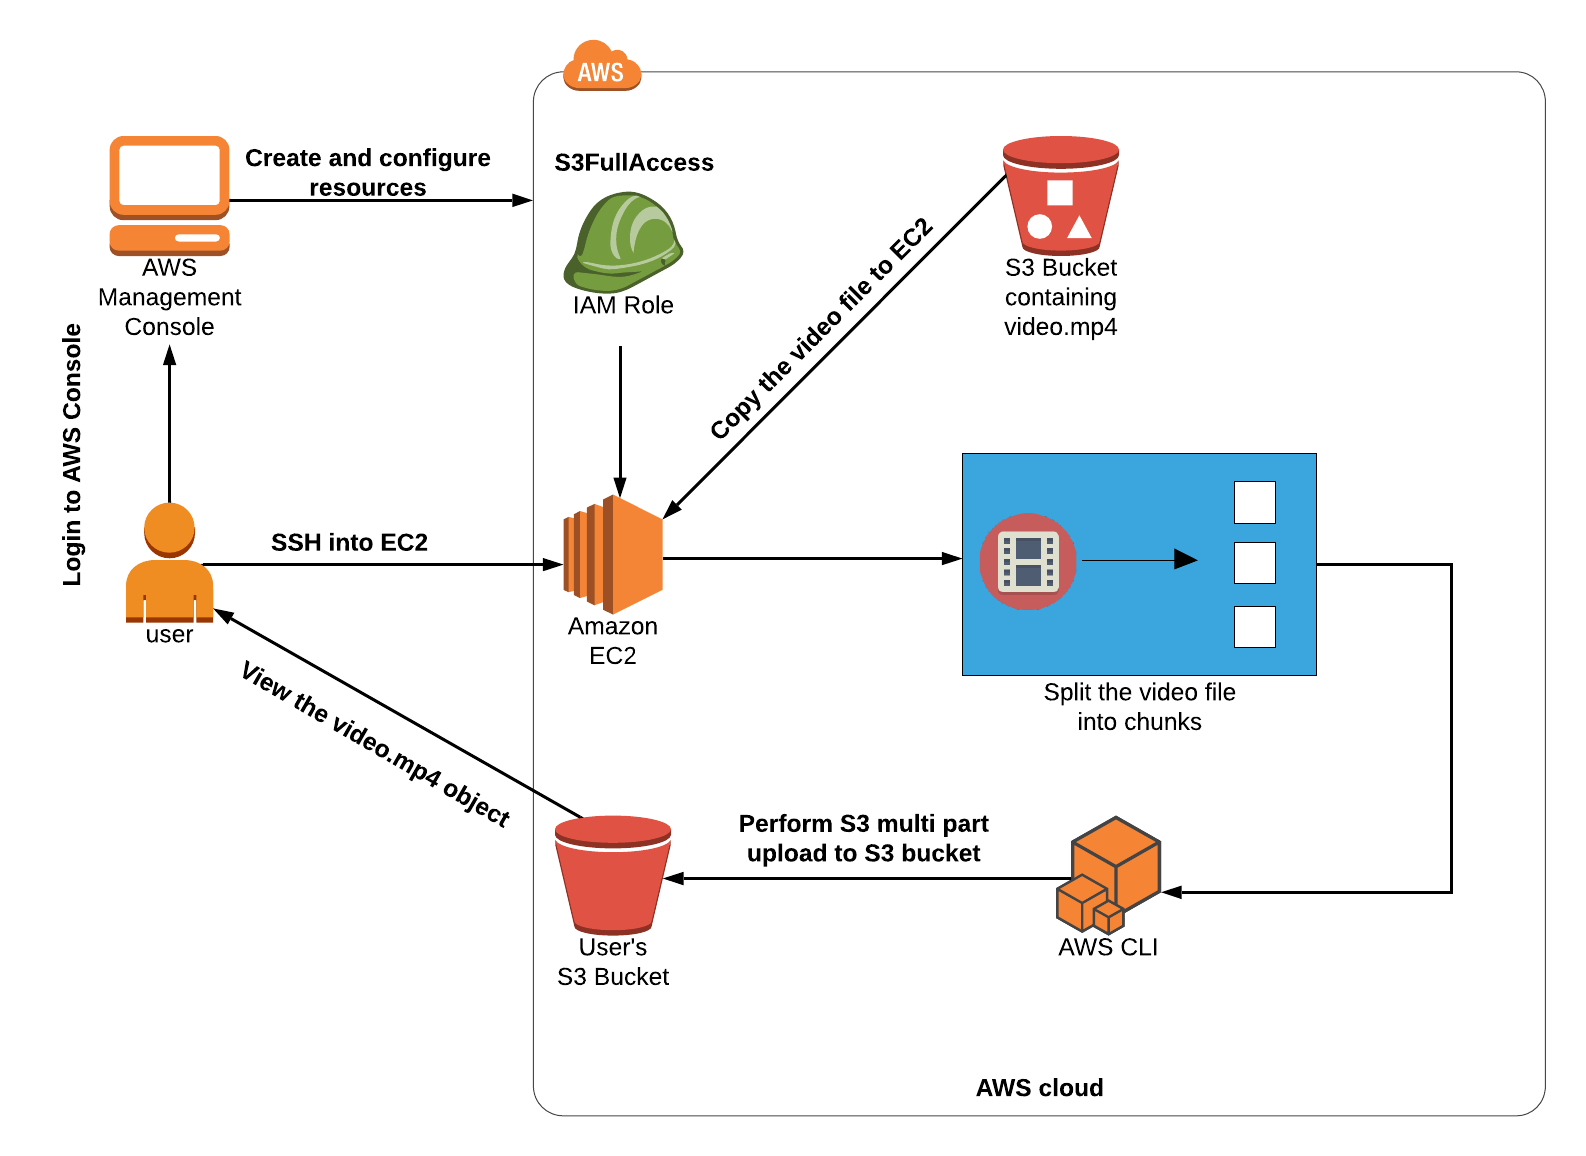
IAM Configuration
Services -> IAM
Creating IAM Role
Select Roles in the left pane and click on Create Role to create a new IAM role.
In the Create Role section, choose AWS Service and then select EC2 service for the role. Click on Next: Permissions as shown below in the screenshot:
Type S3fullaccess in the search bar and then click on AmazonS3FullAccess.
Click on Next: Tags.
- Key:
Name - Value:
EC2-S3-fullAccess
Click on Next: Review.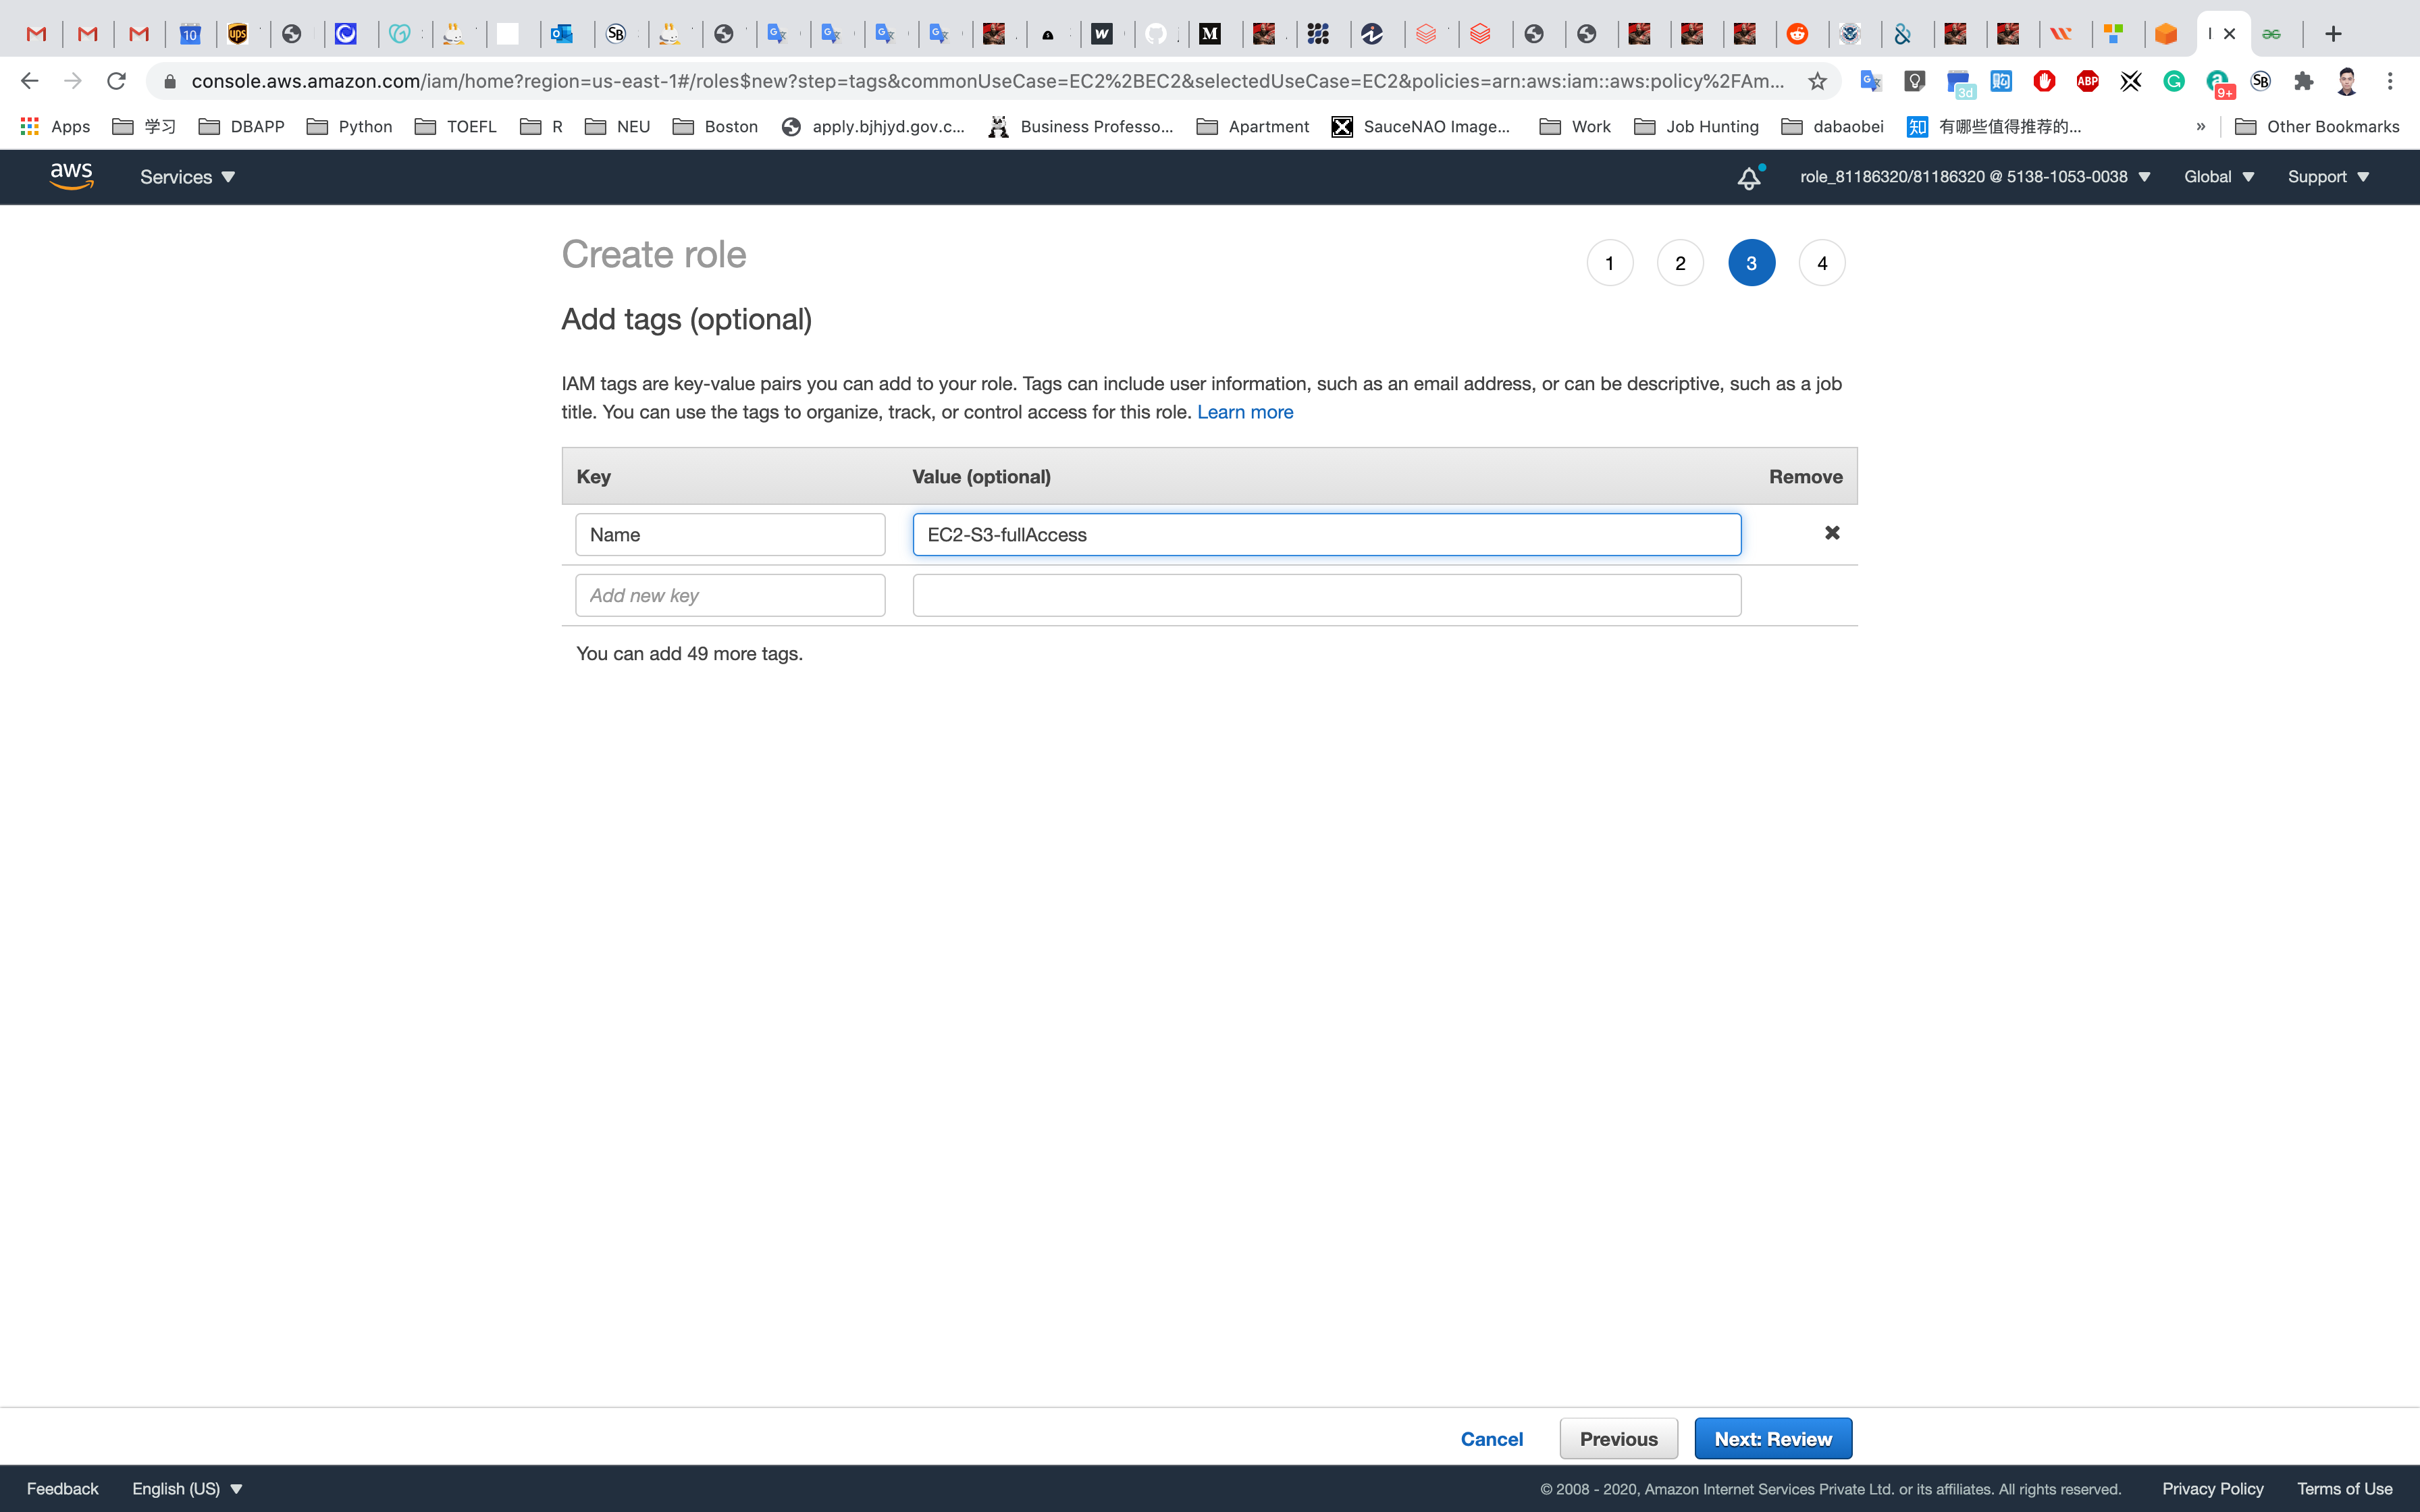
On the Create Role Page:
- Role Name:
EC2S3Role- Note : You can create the role in your desired name and then attach it to the EC2 instance.
- Role description :
IAM Role to access S3
Click on Create Role.
You have successfully created the IAM role to access the S3 bucket.
See the highlight role.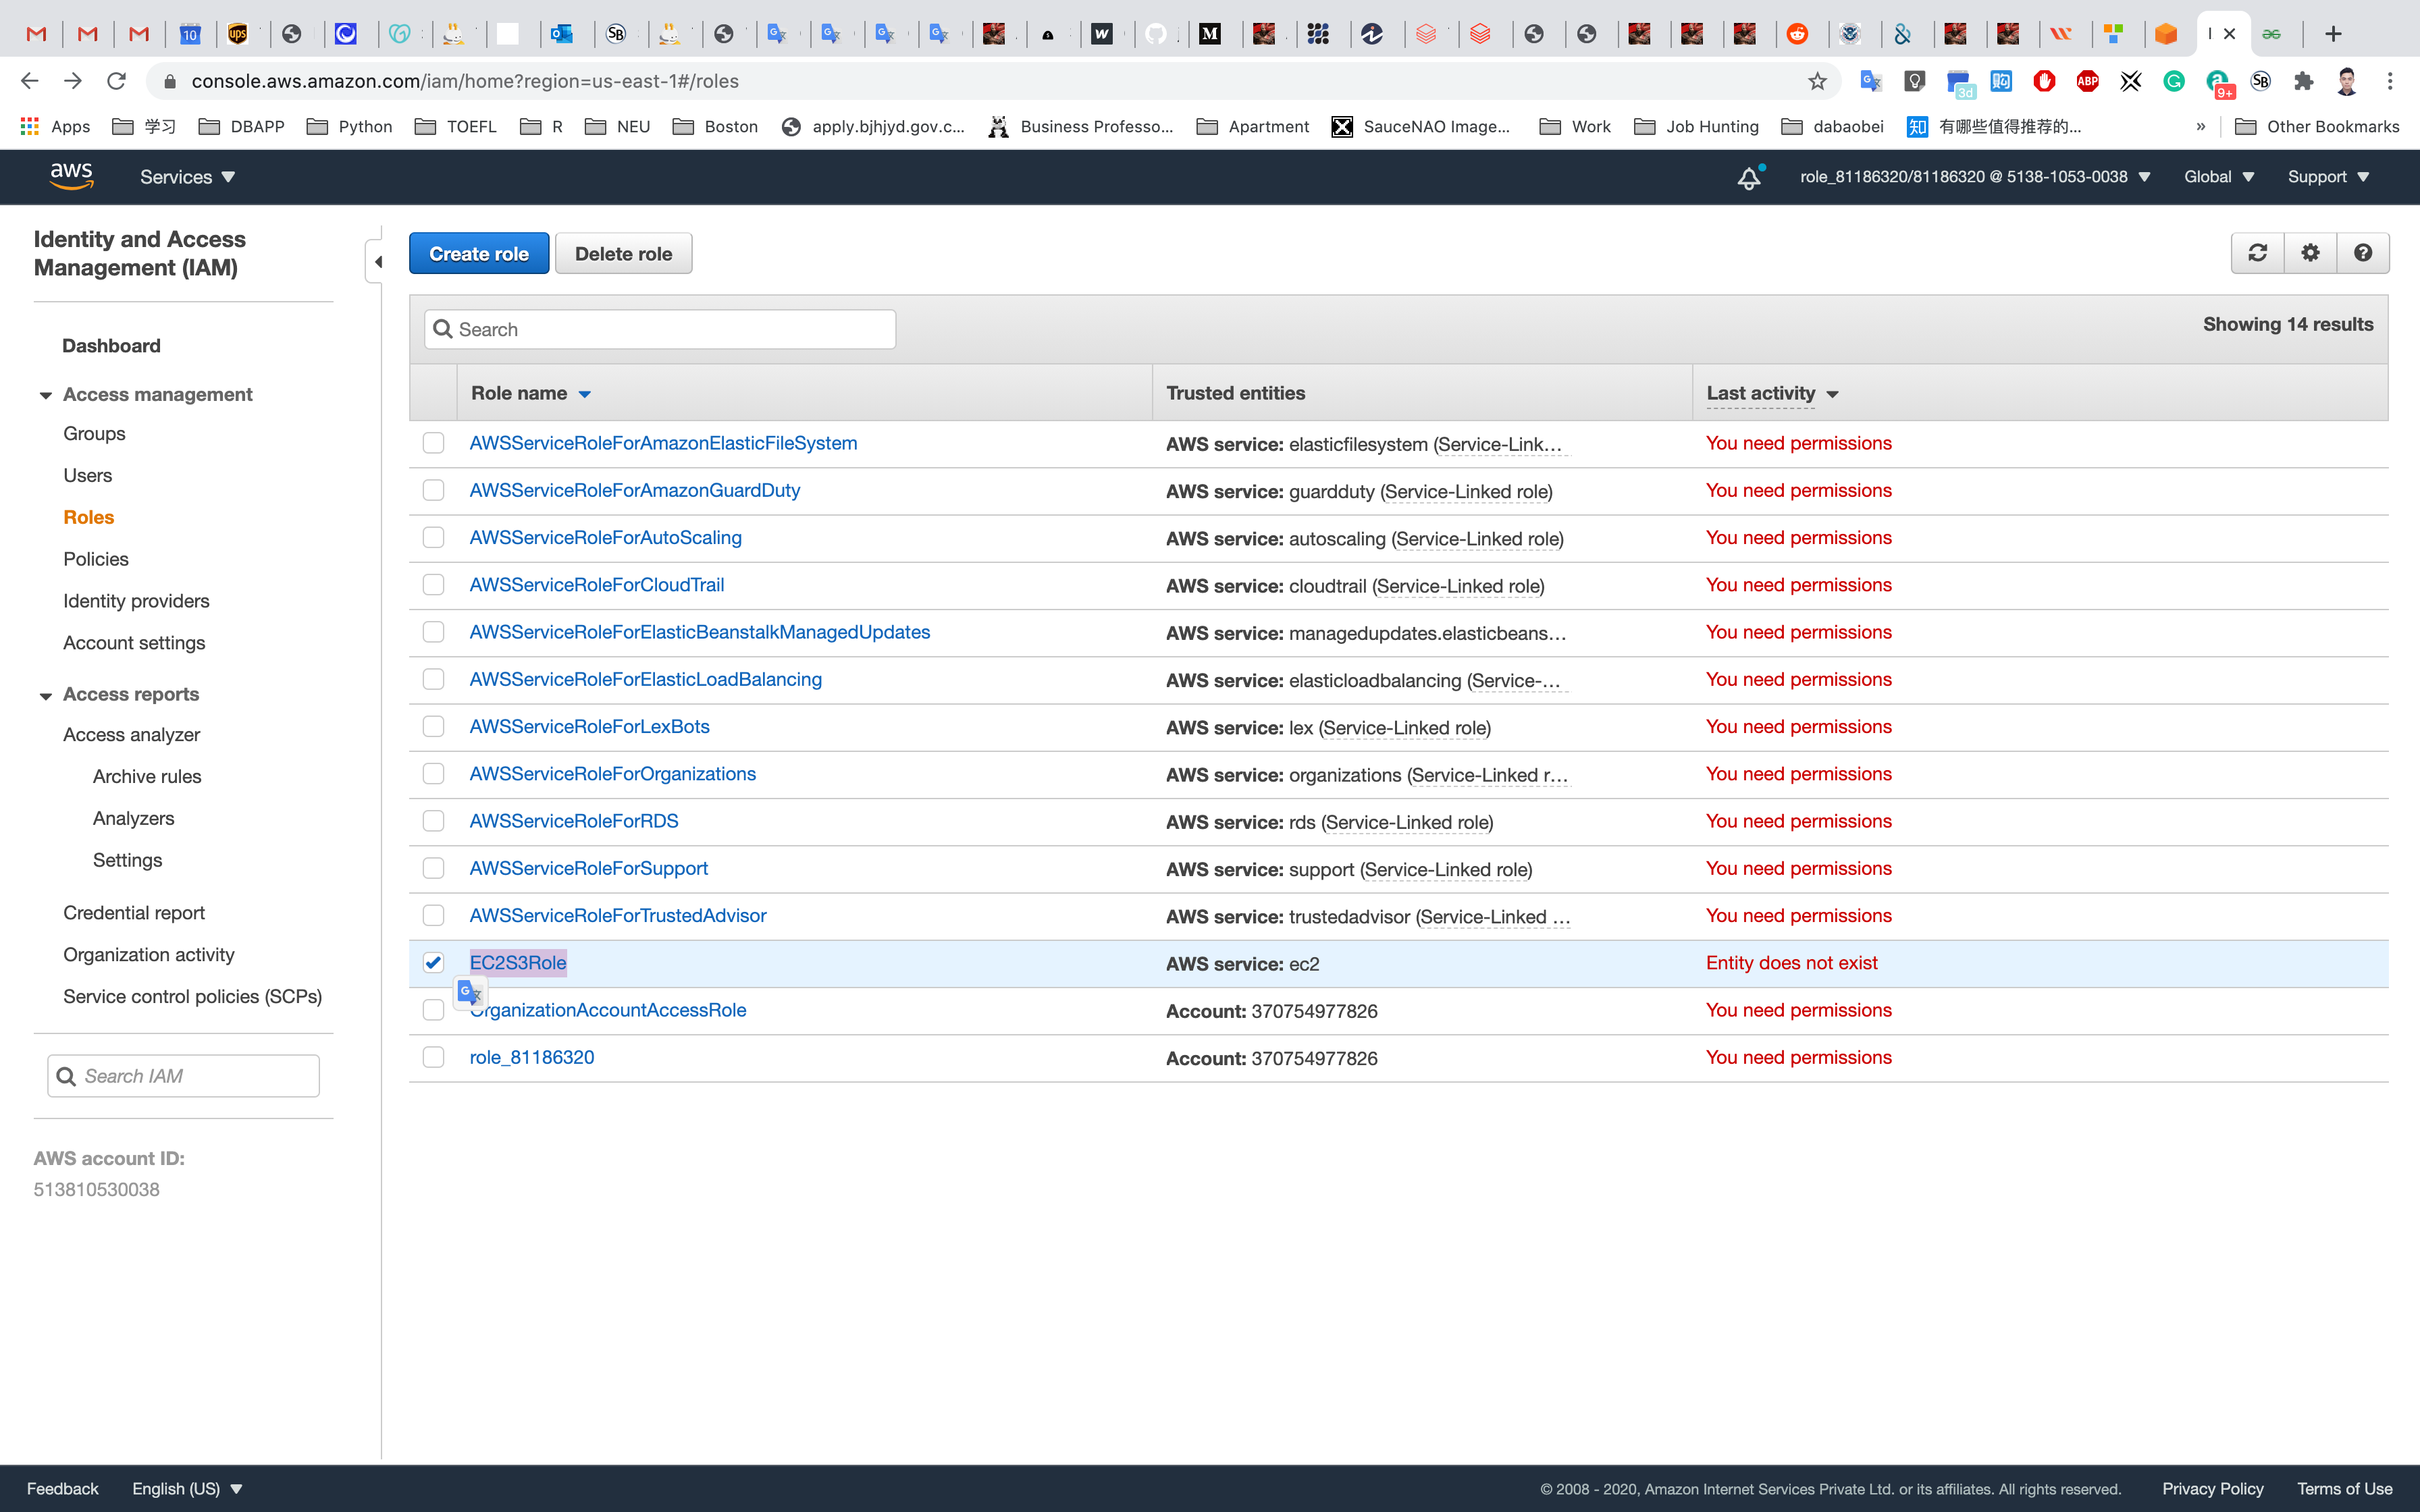
S3 Configuration
Services - > S3
Create a bucket with all default settings. Give it a bucket name yourBucketName.
- Note: the bucket name must be globally unique.
Click on Create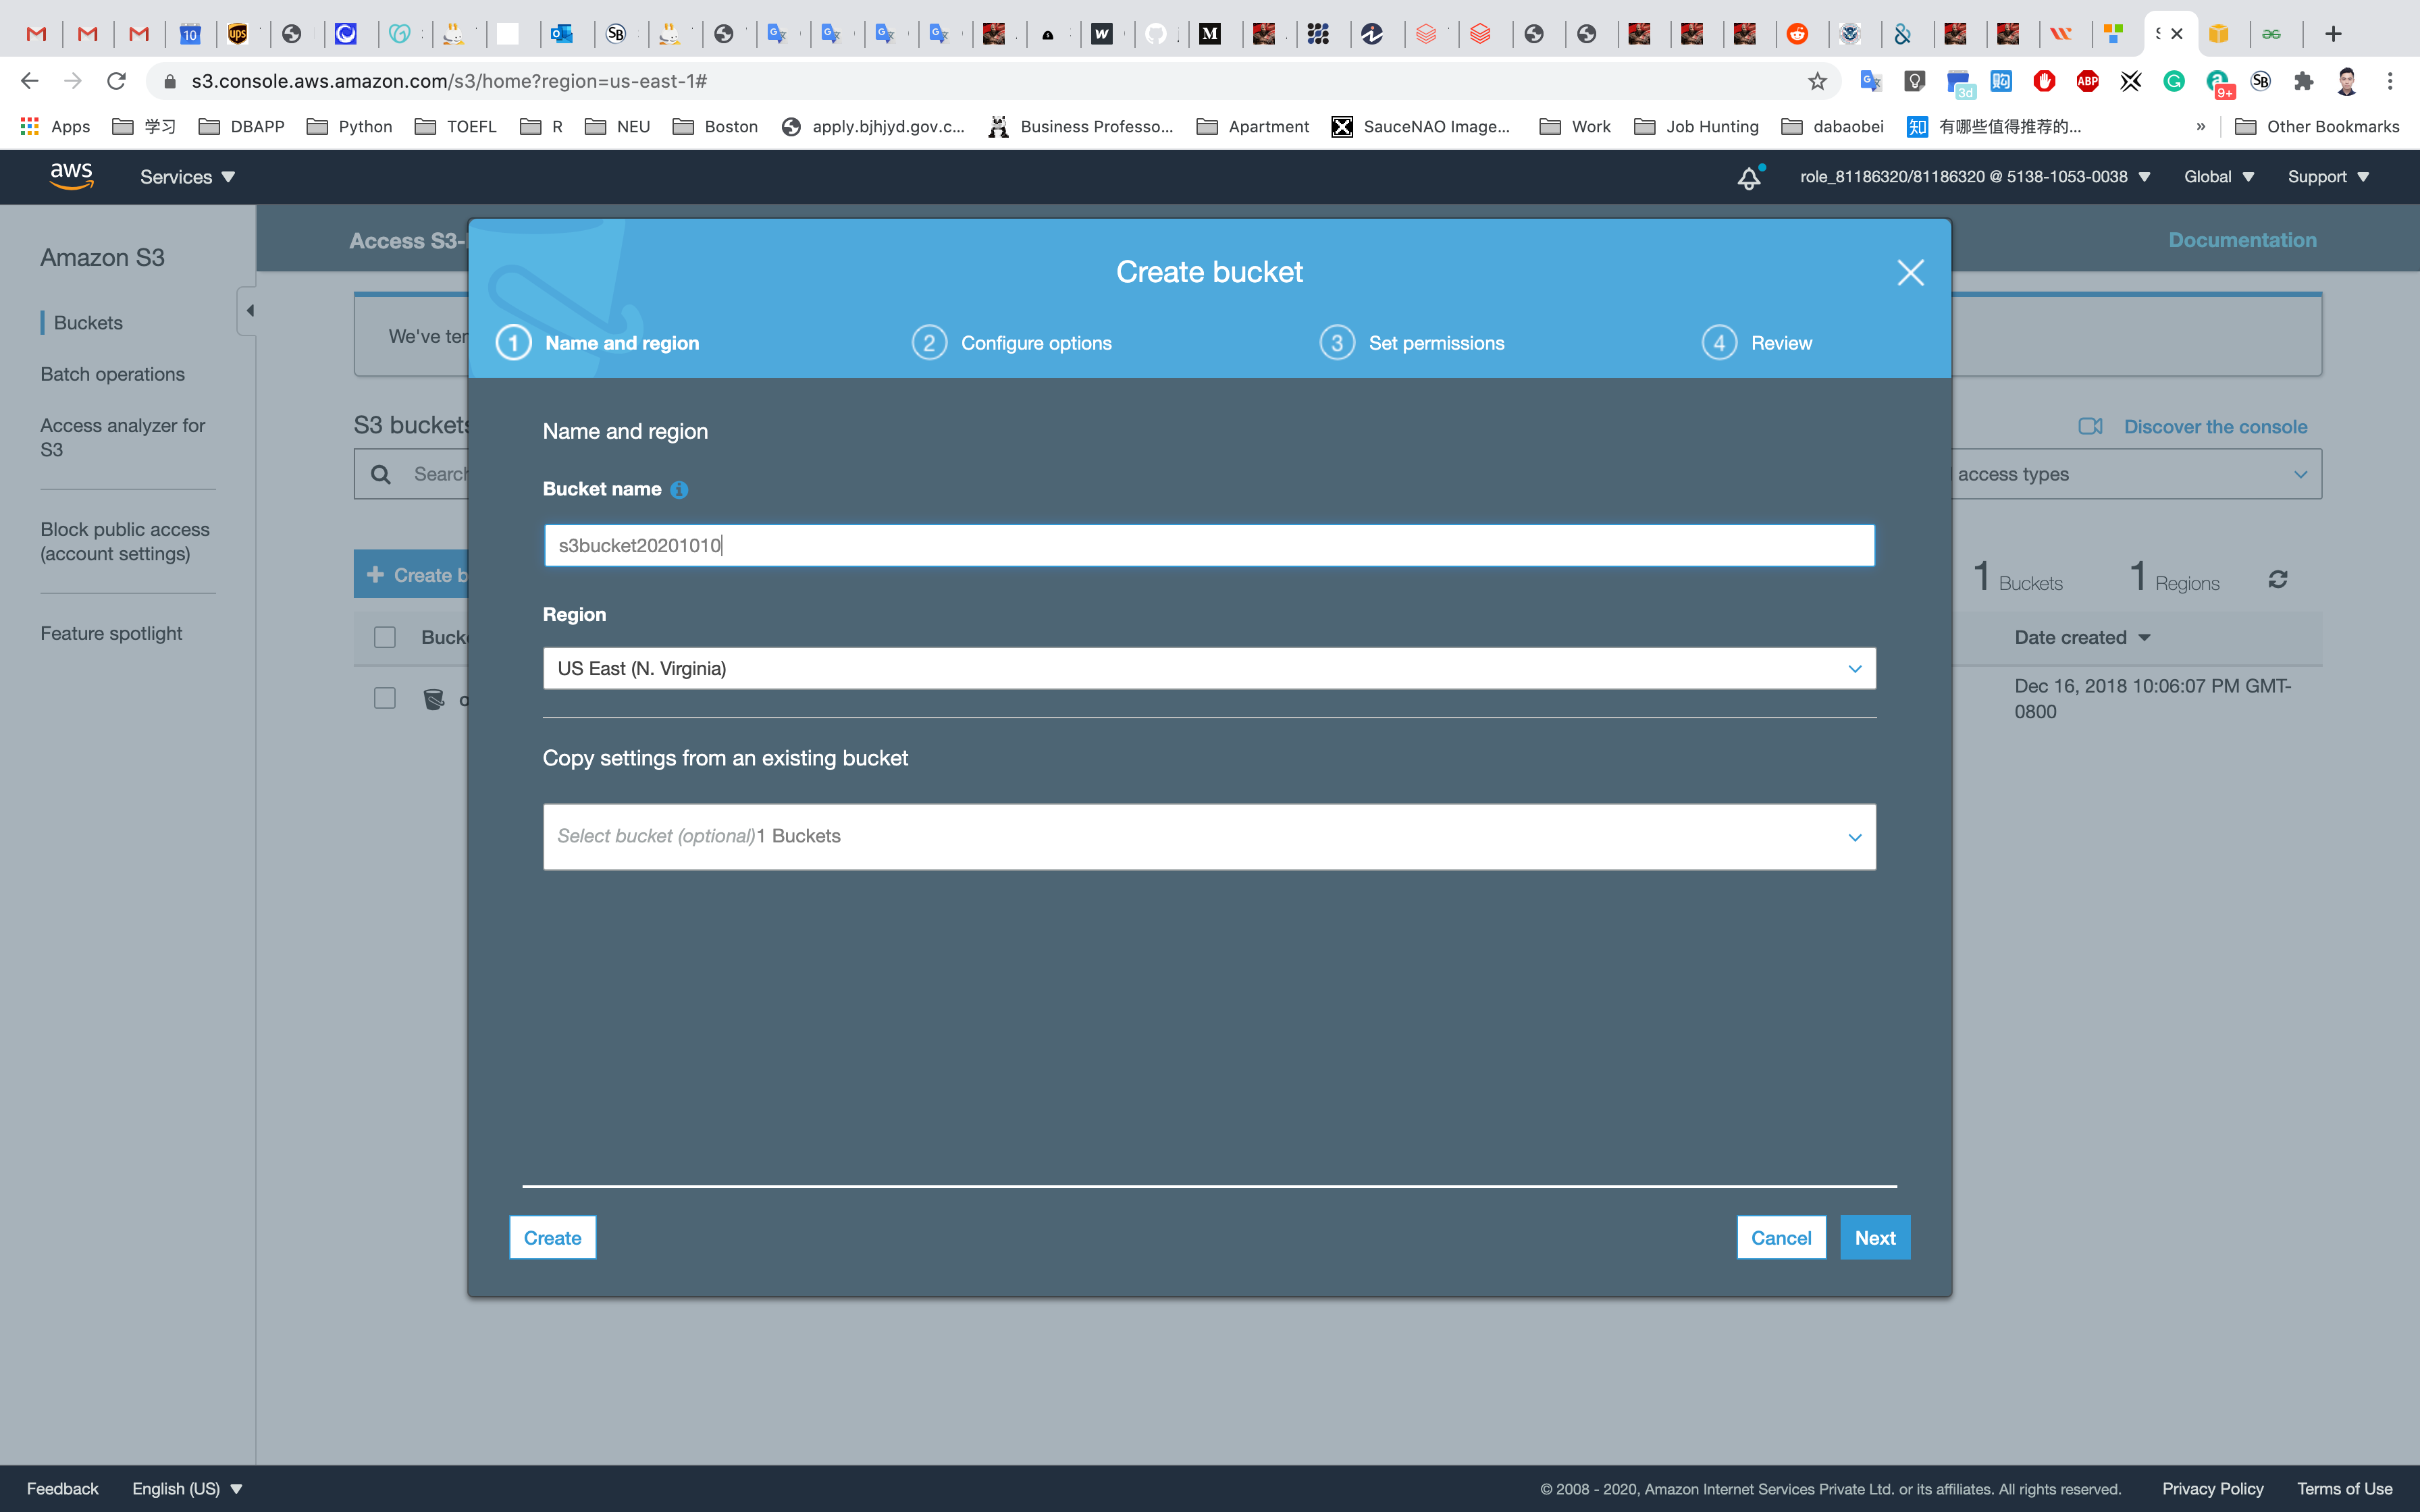
EC2 Configuration
Services -> EC2
Region: N.Virginia
Launching a EC2 Instance
Under the left sub-menu, click on Instances and then click on Launch Instance
Choose an Amazon Machine Image (AMI): Search for Amazon Linux 2 AMI in the search box and click on the Select button.
Choose an Instance Type: Select t2.micro and then click on Next: Configure Instance Details
Configure Instance Details:
- Scroll down to the IAM role and then select the role that we have created in the above step.
- Leave other fields as default.
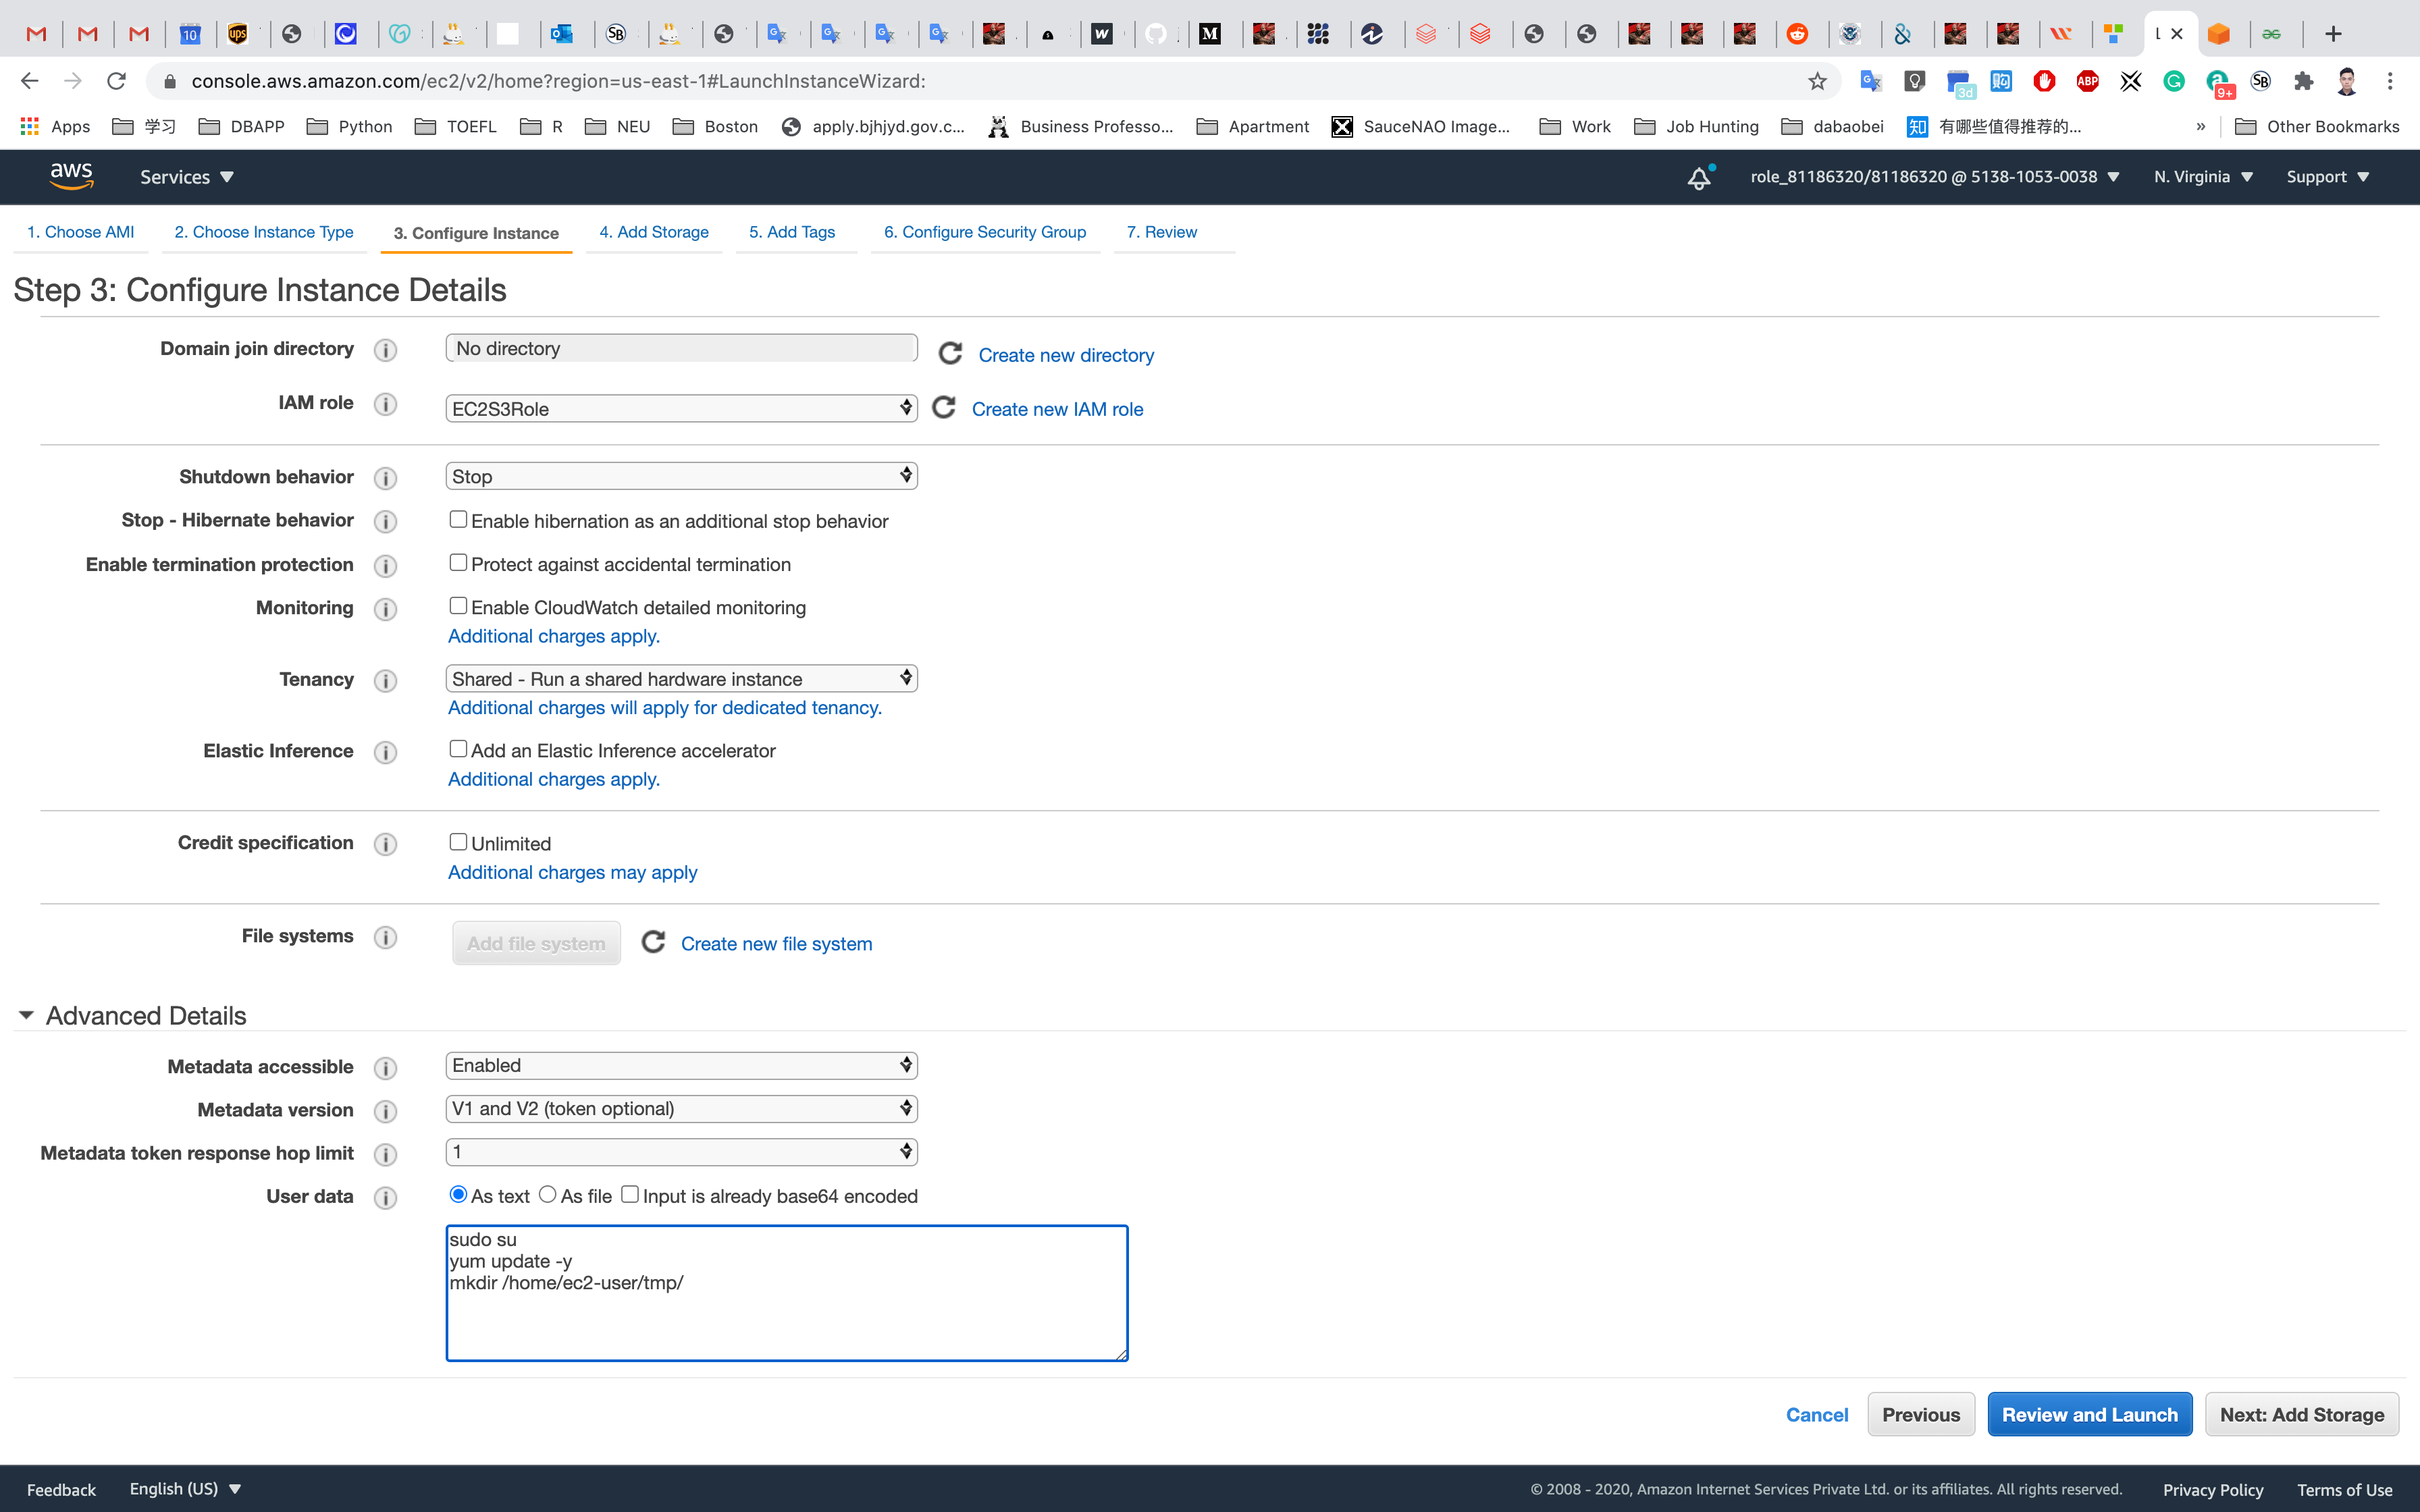
Scroll down to Advanced Details
Under the user data section, enter the following script to copy a video file from the S3 bucket to the EC2 instance.
1 |
|
Click on Next: Add Storage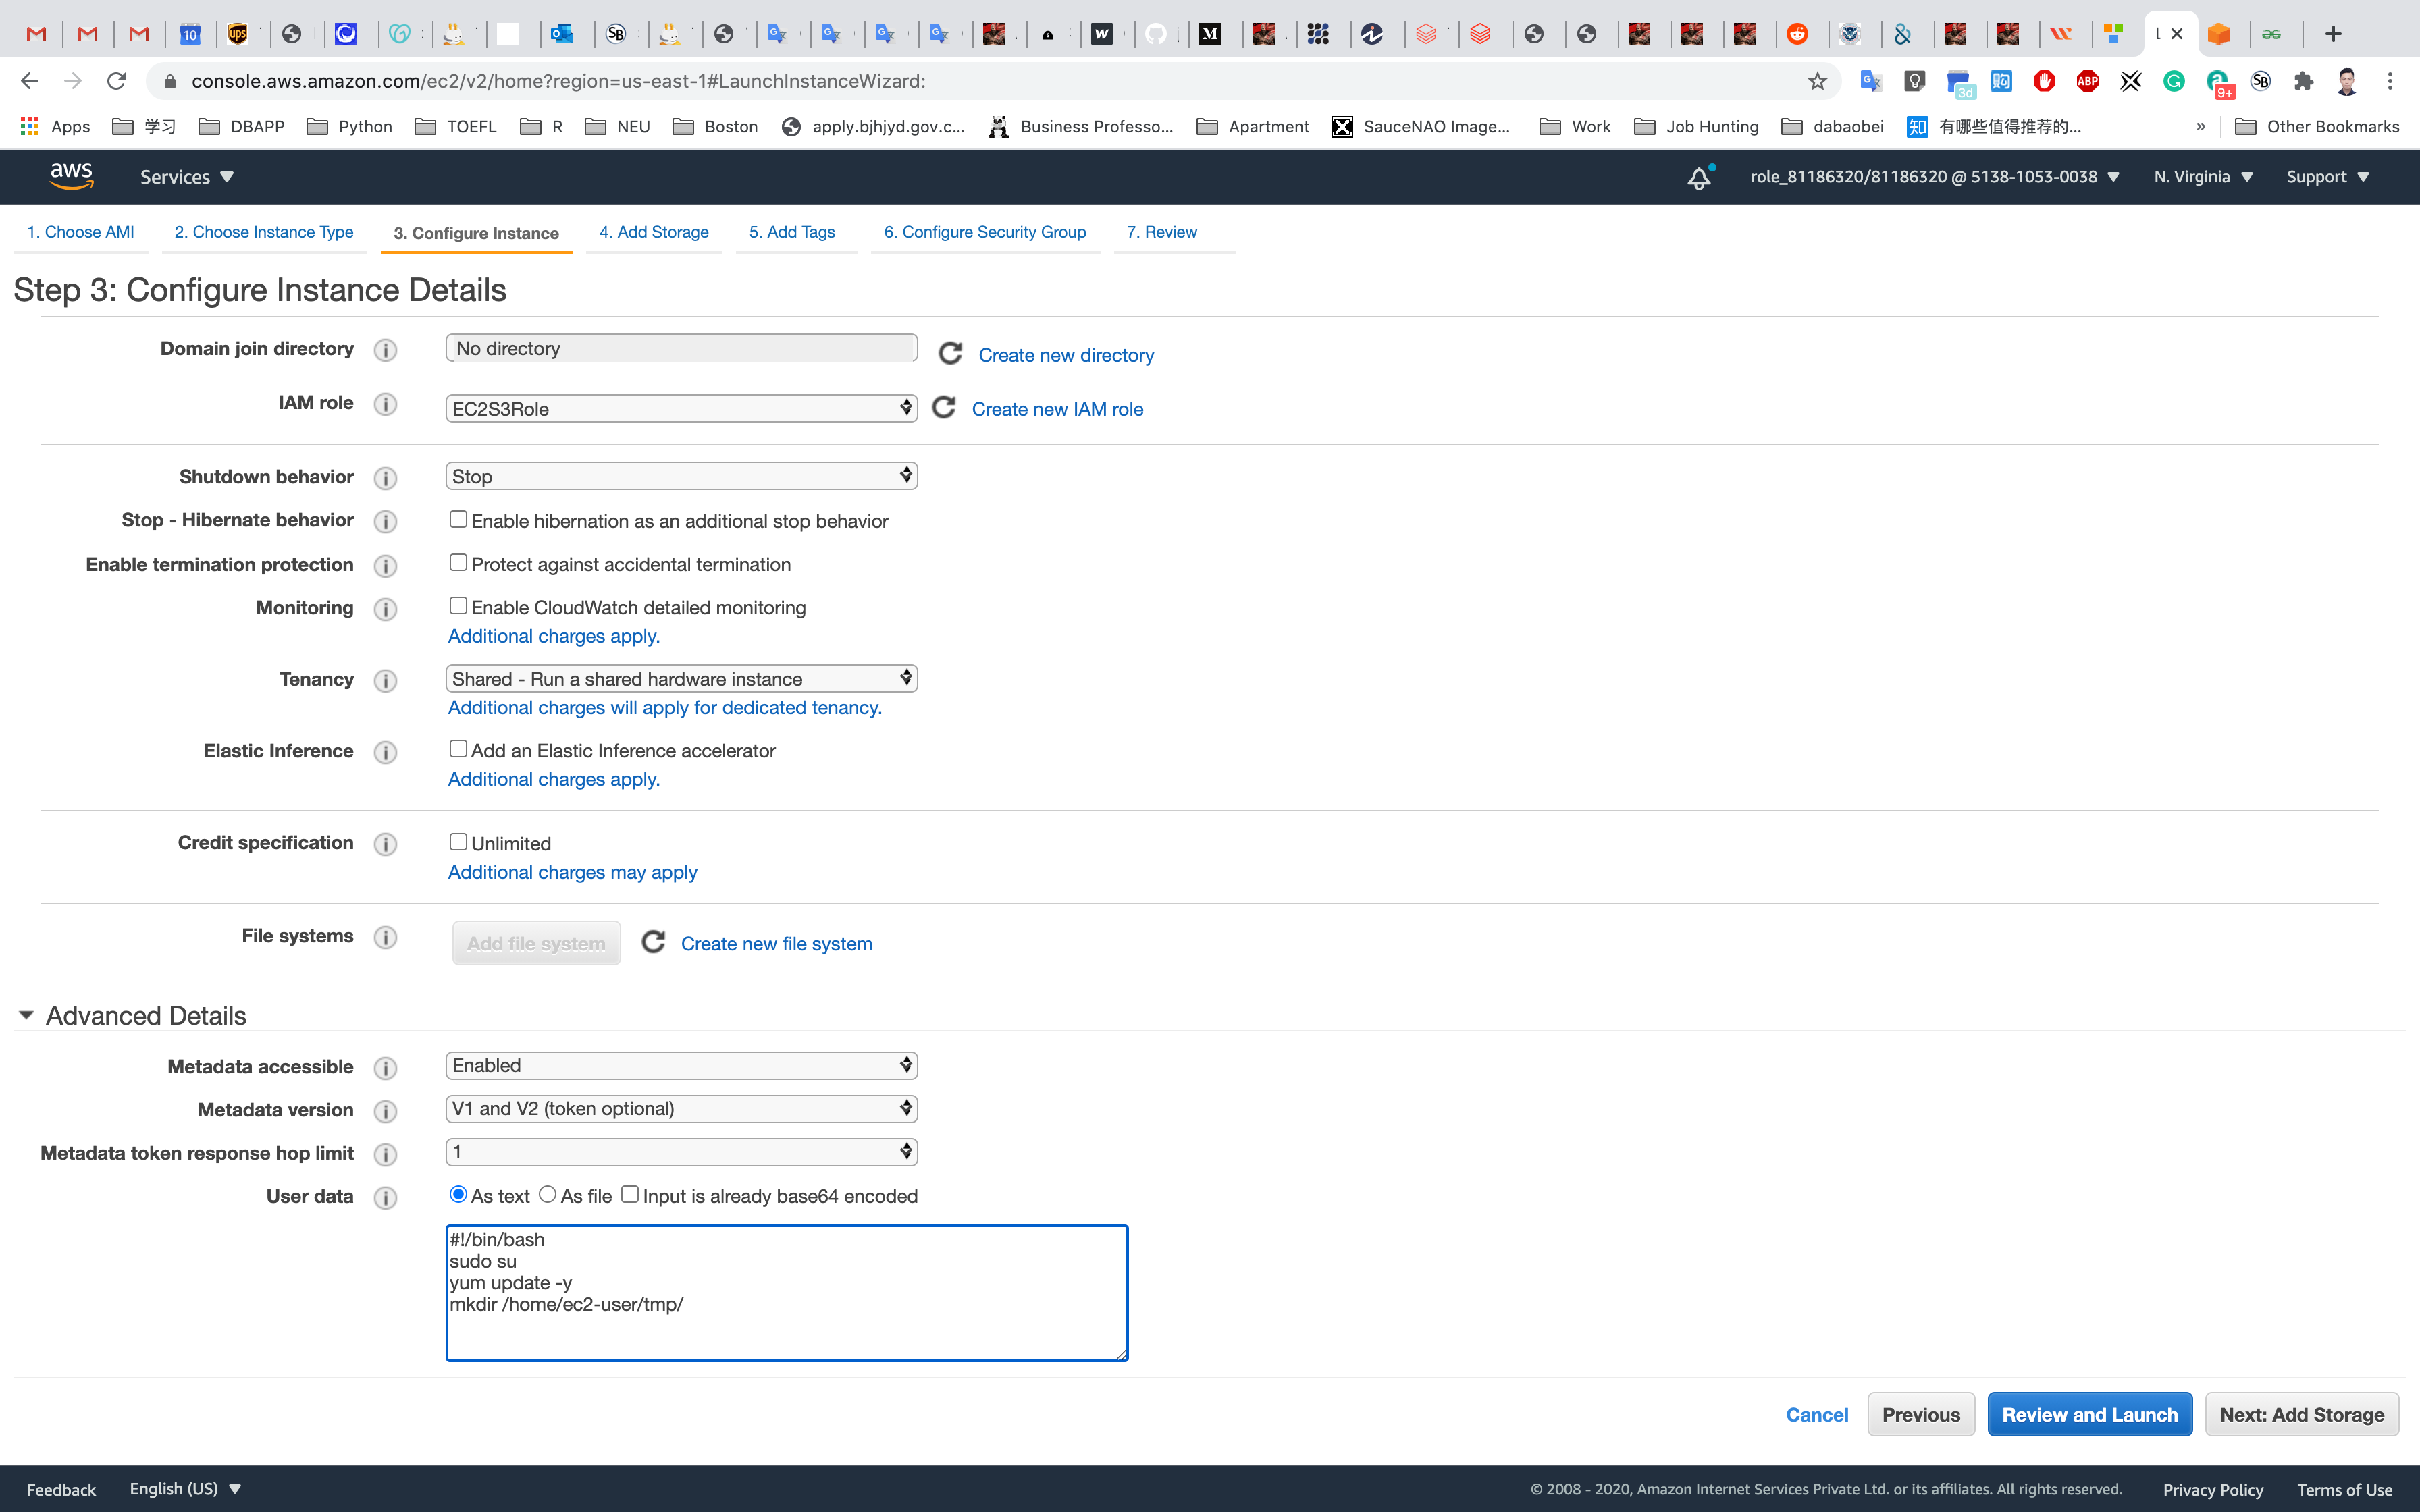
Add Storage: No need to change anything in this step. Click on Next: Add Tags
Add Tags: Click on Add Tag
- Key:
Name - Value:
Multipart_Server
Click on Next: Configure Security Group: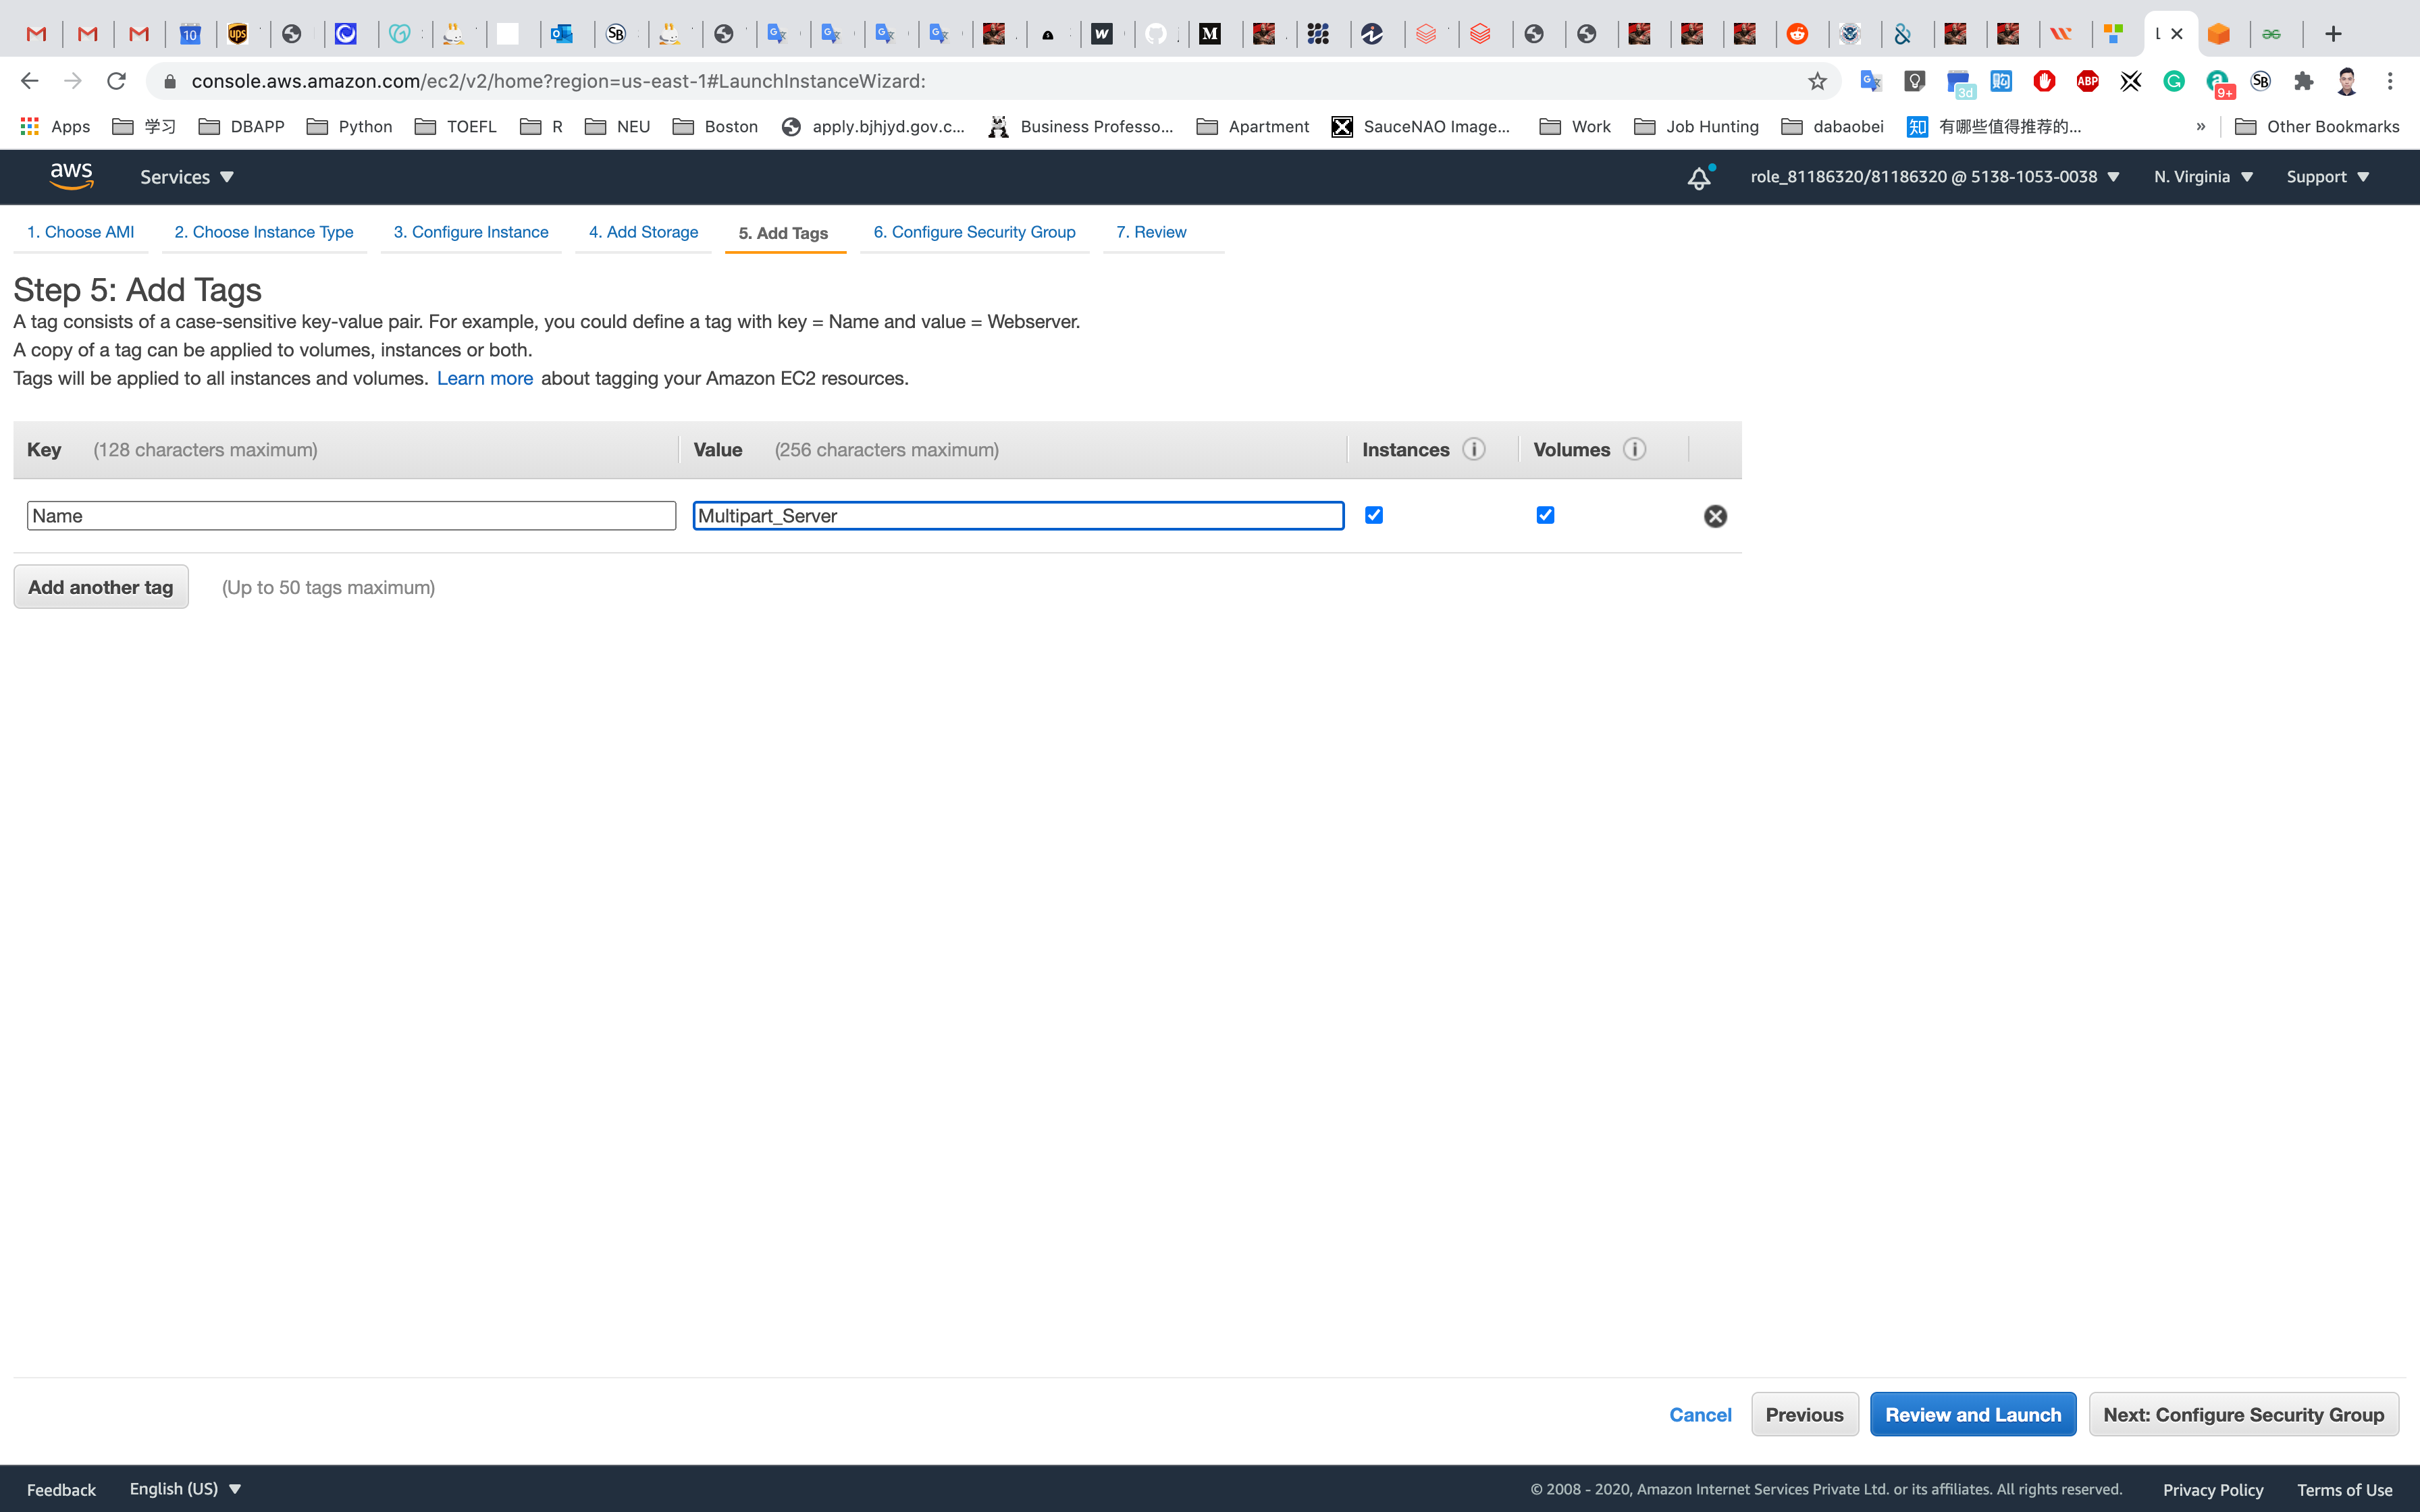
Configure Security Group:
Choose Create new security group
- Name:
Multipart_Server-SG - Description:
Multi-part Server SSH Security Group
To add SSH:
- Choose Type
SSH: - Source :
Anywhere
Click on Review and Launch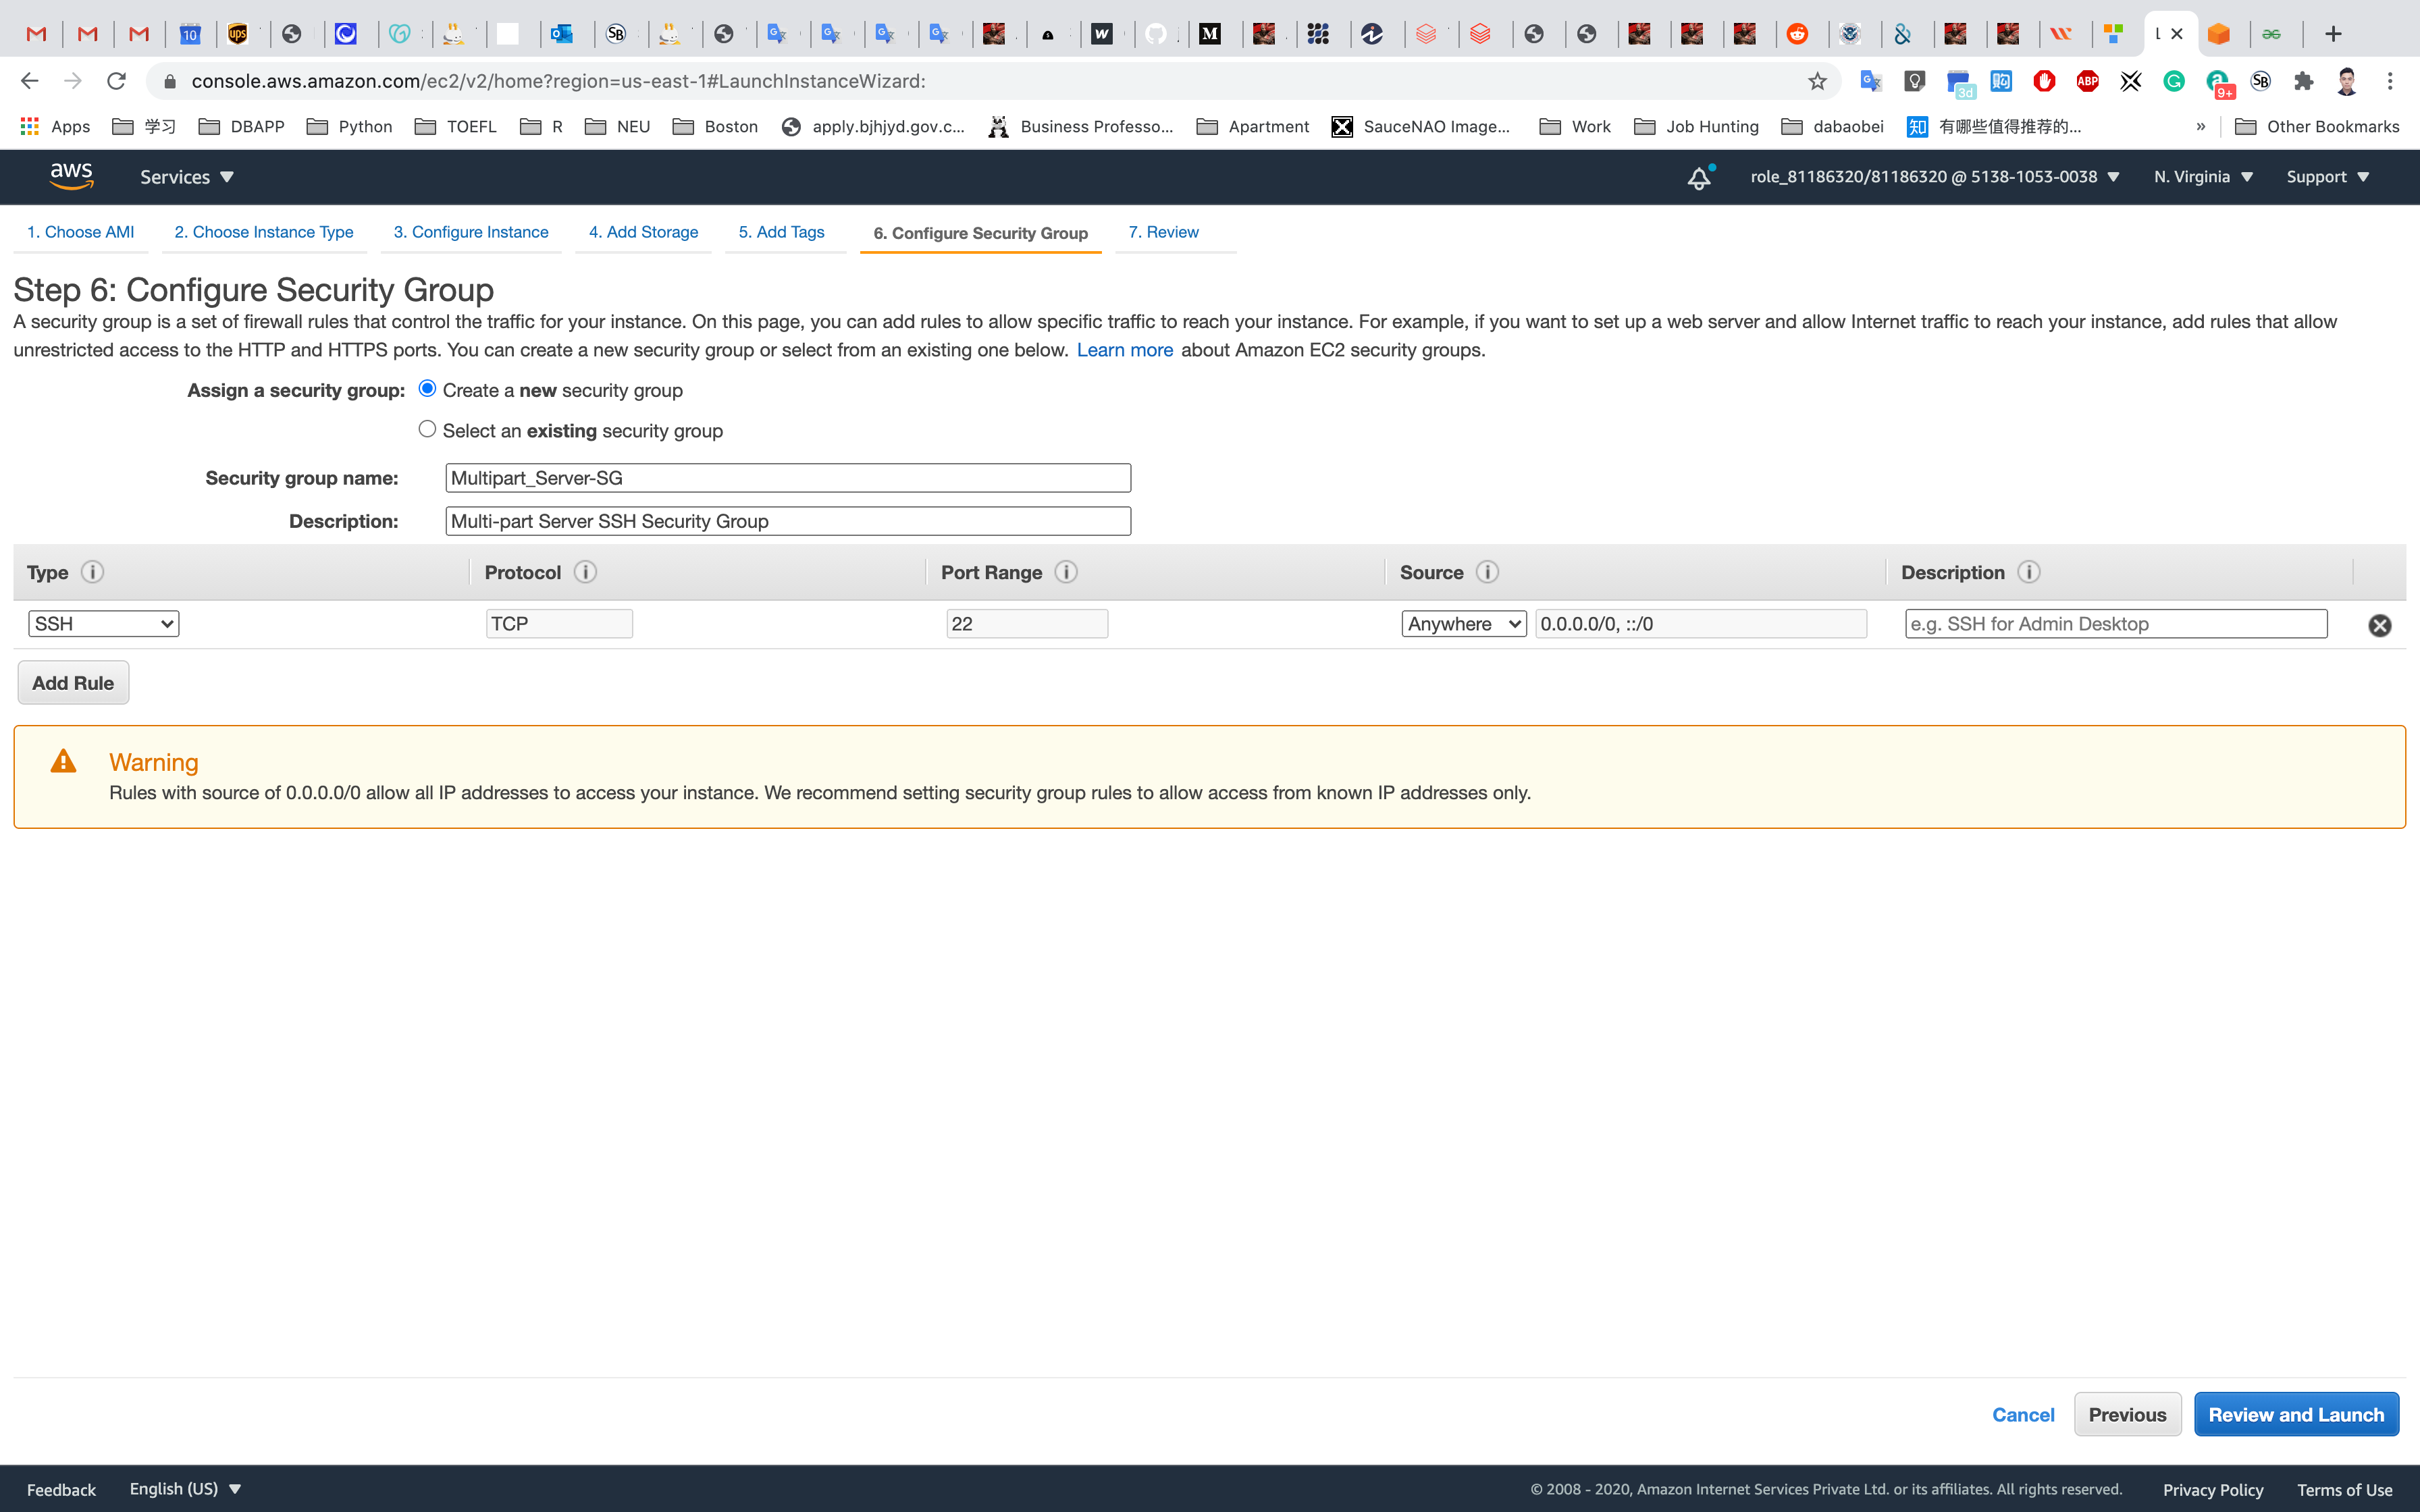
Review and Launch: Review all settings and click on Launch.
Key Pair : Select Create a new key pair and click on Download Key Pair.
- Key pair name:
ec2
Click on Launch Instances.
Navigate to Instances. Once the Instance State changes from pending to running, the EC2 instance is ready.
You can tell that the instance is running by checking the instance status (example below).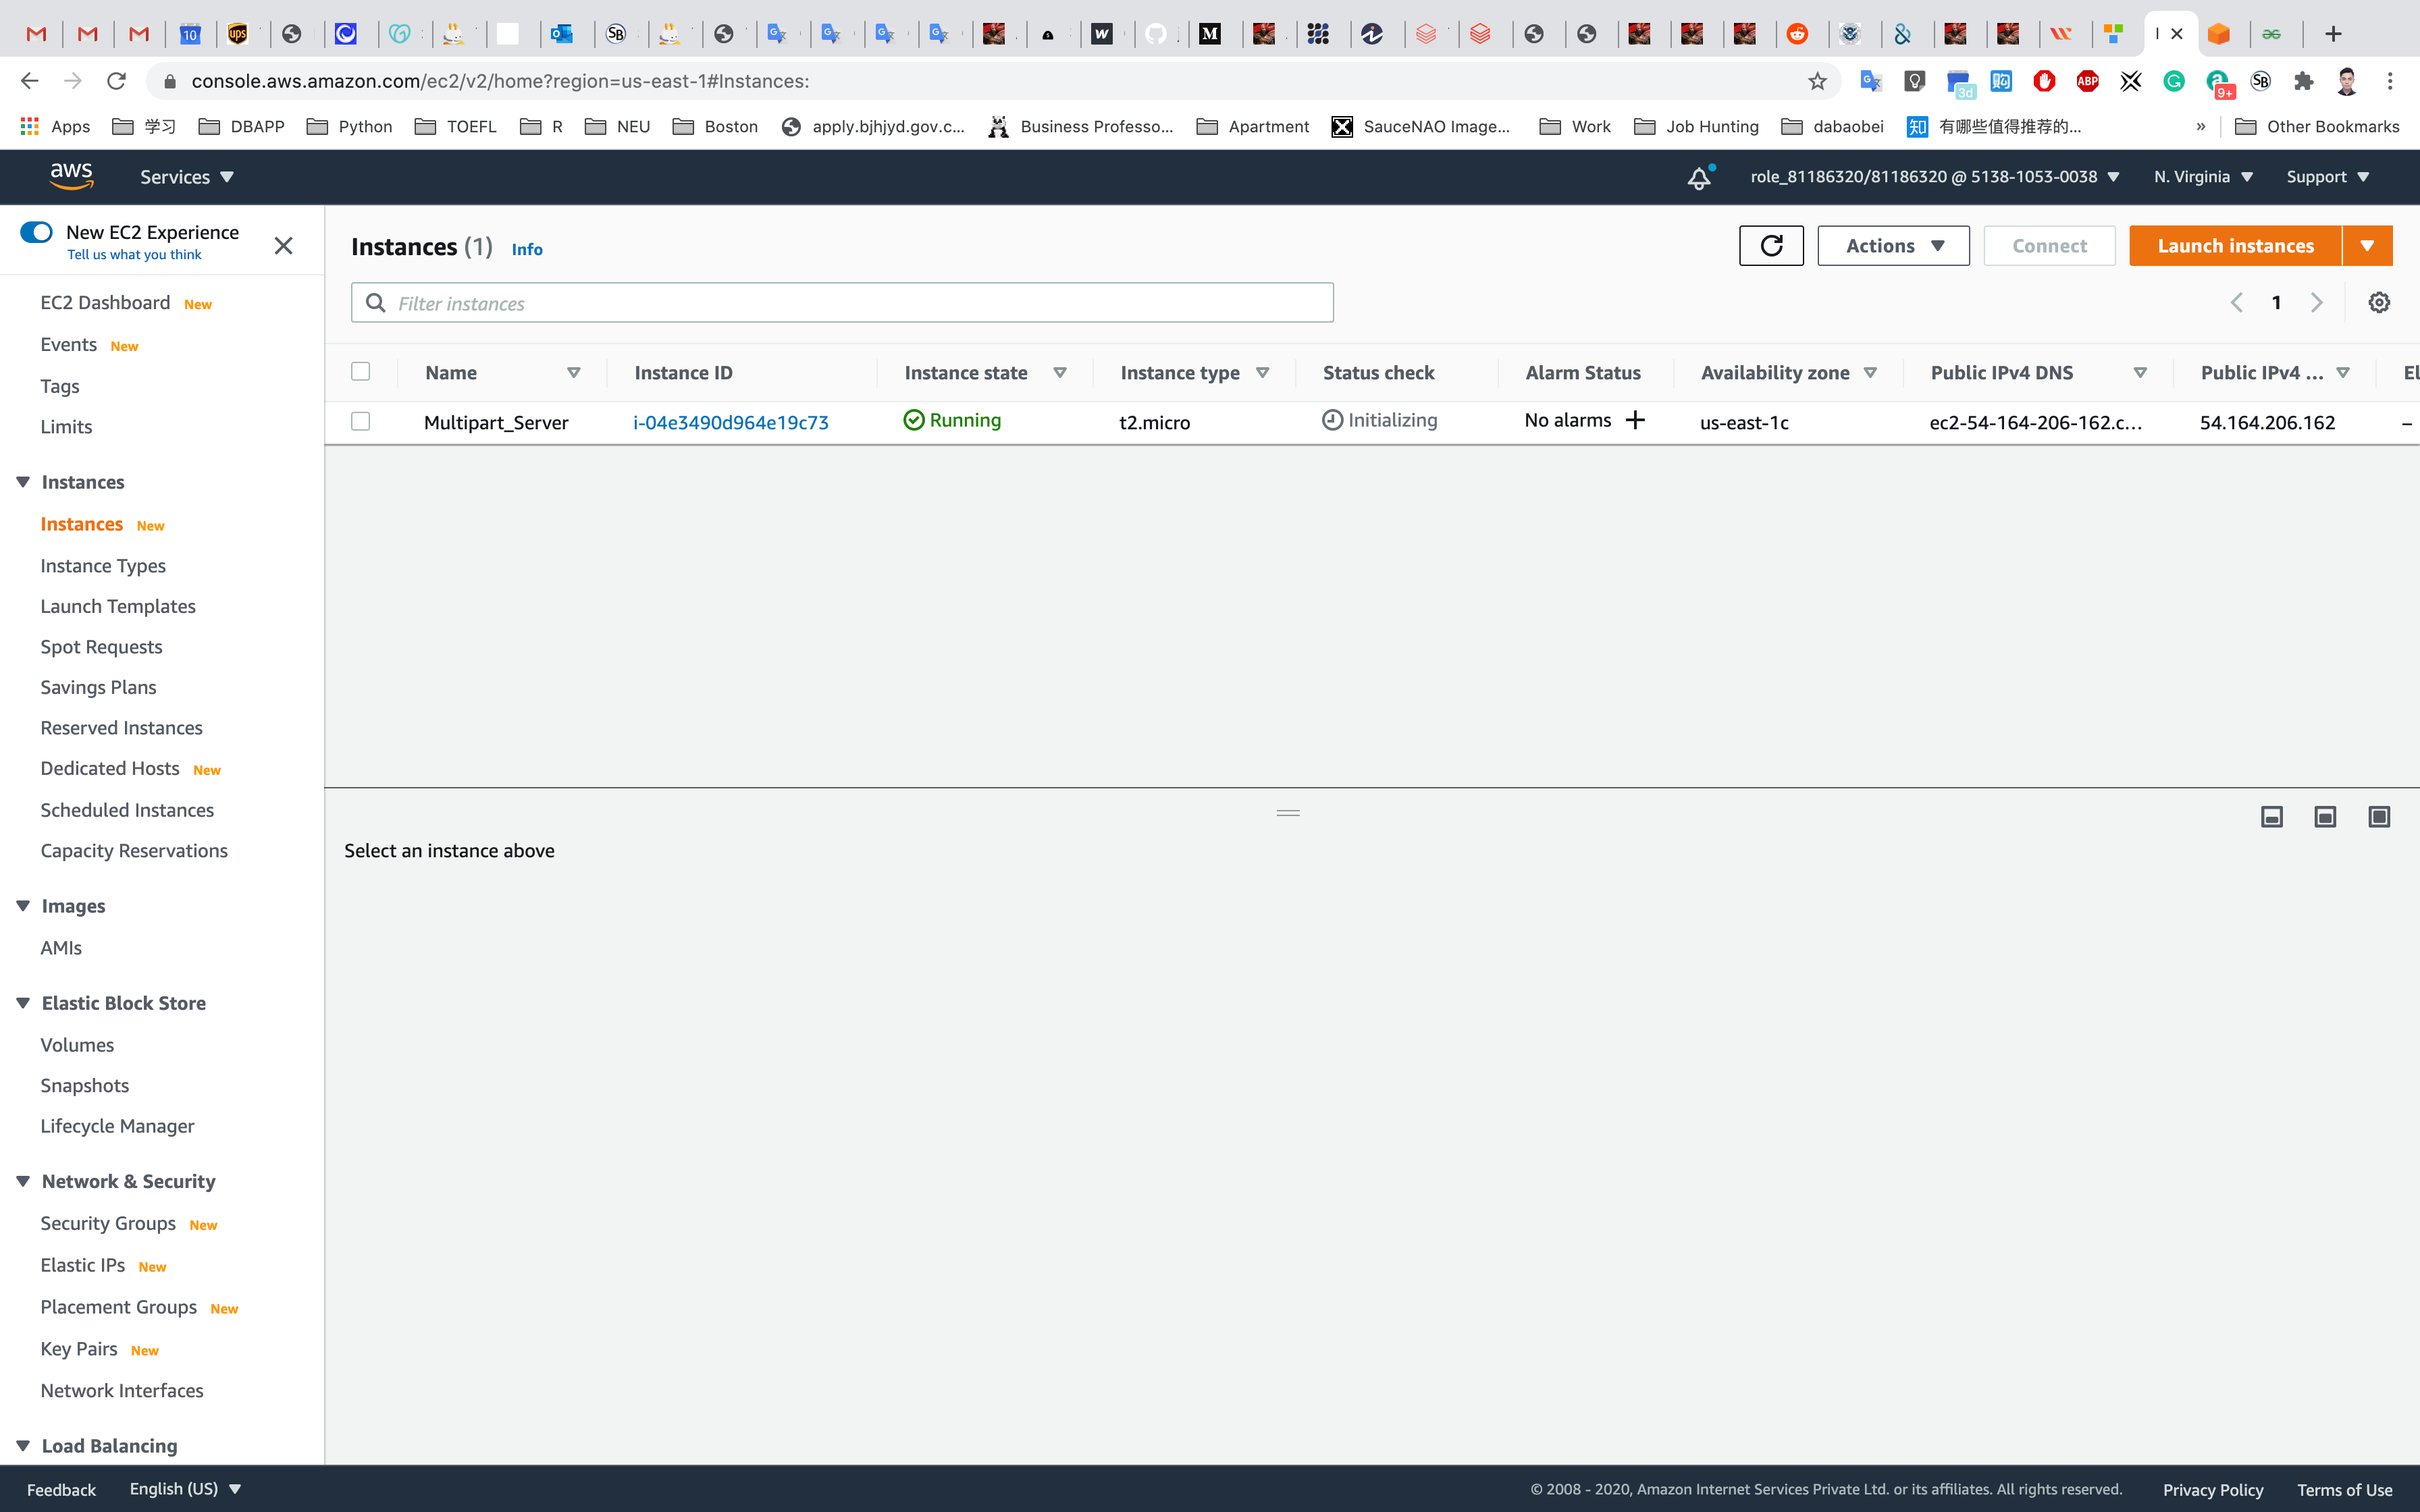
Accessing the S3 bucket via EC2 Instance
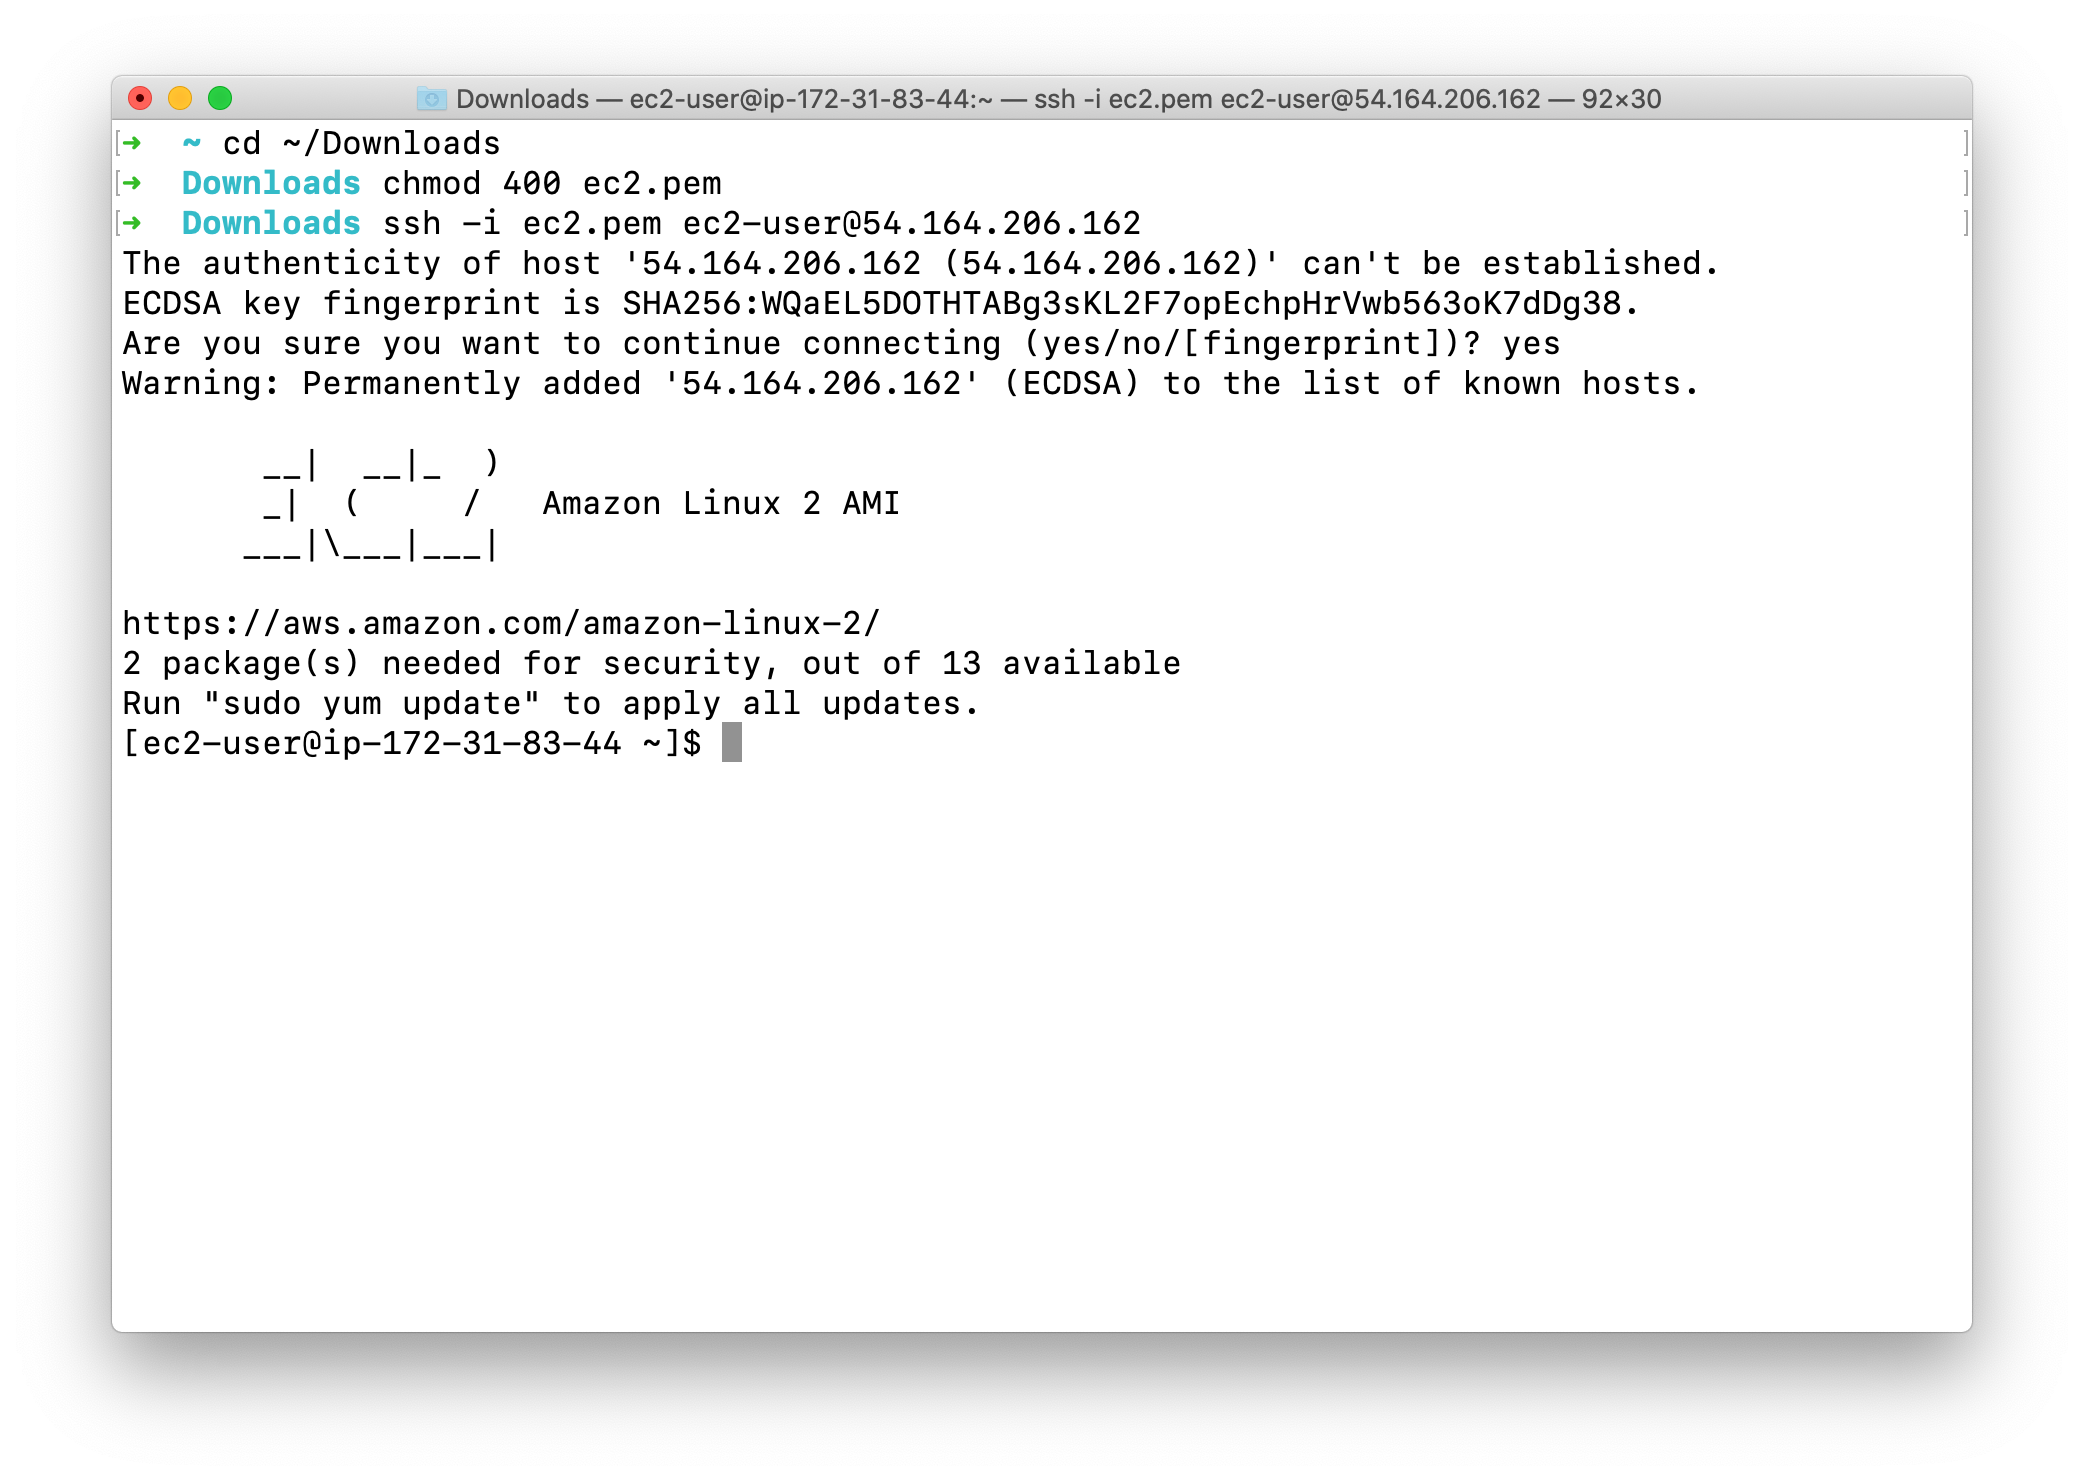
SSH into the EC2 Instance
To SSH into the server, please follow the steps in SSH into EC2 Instance.
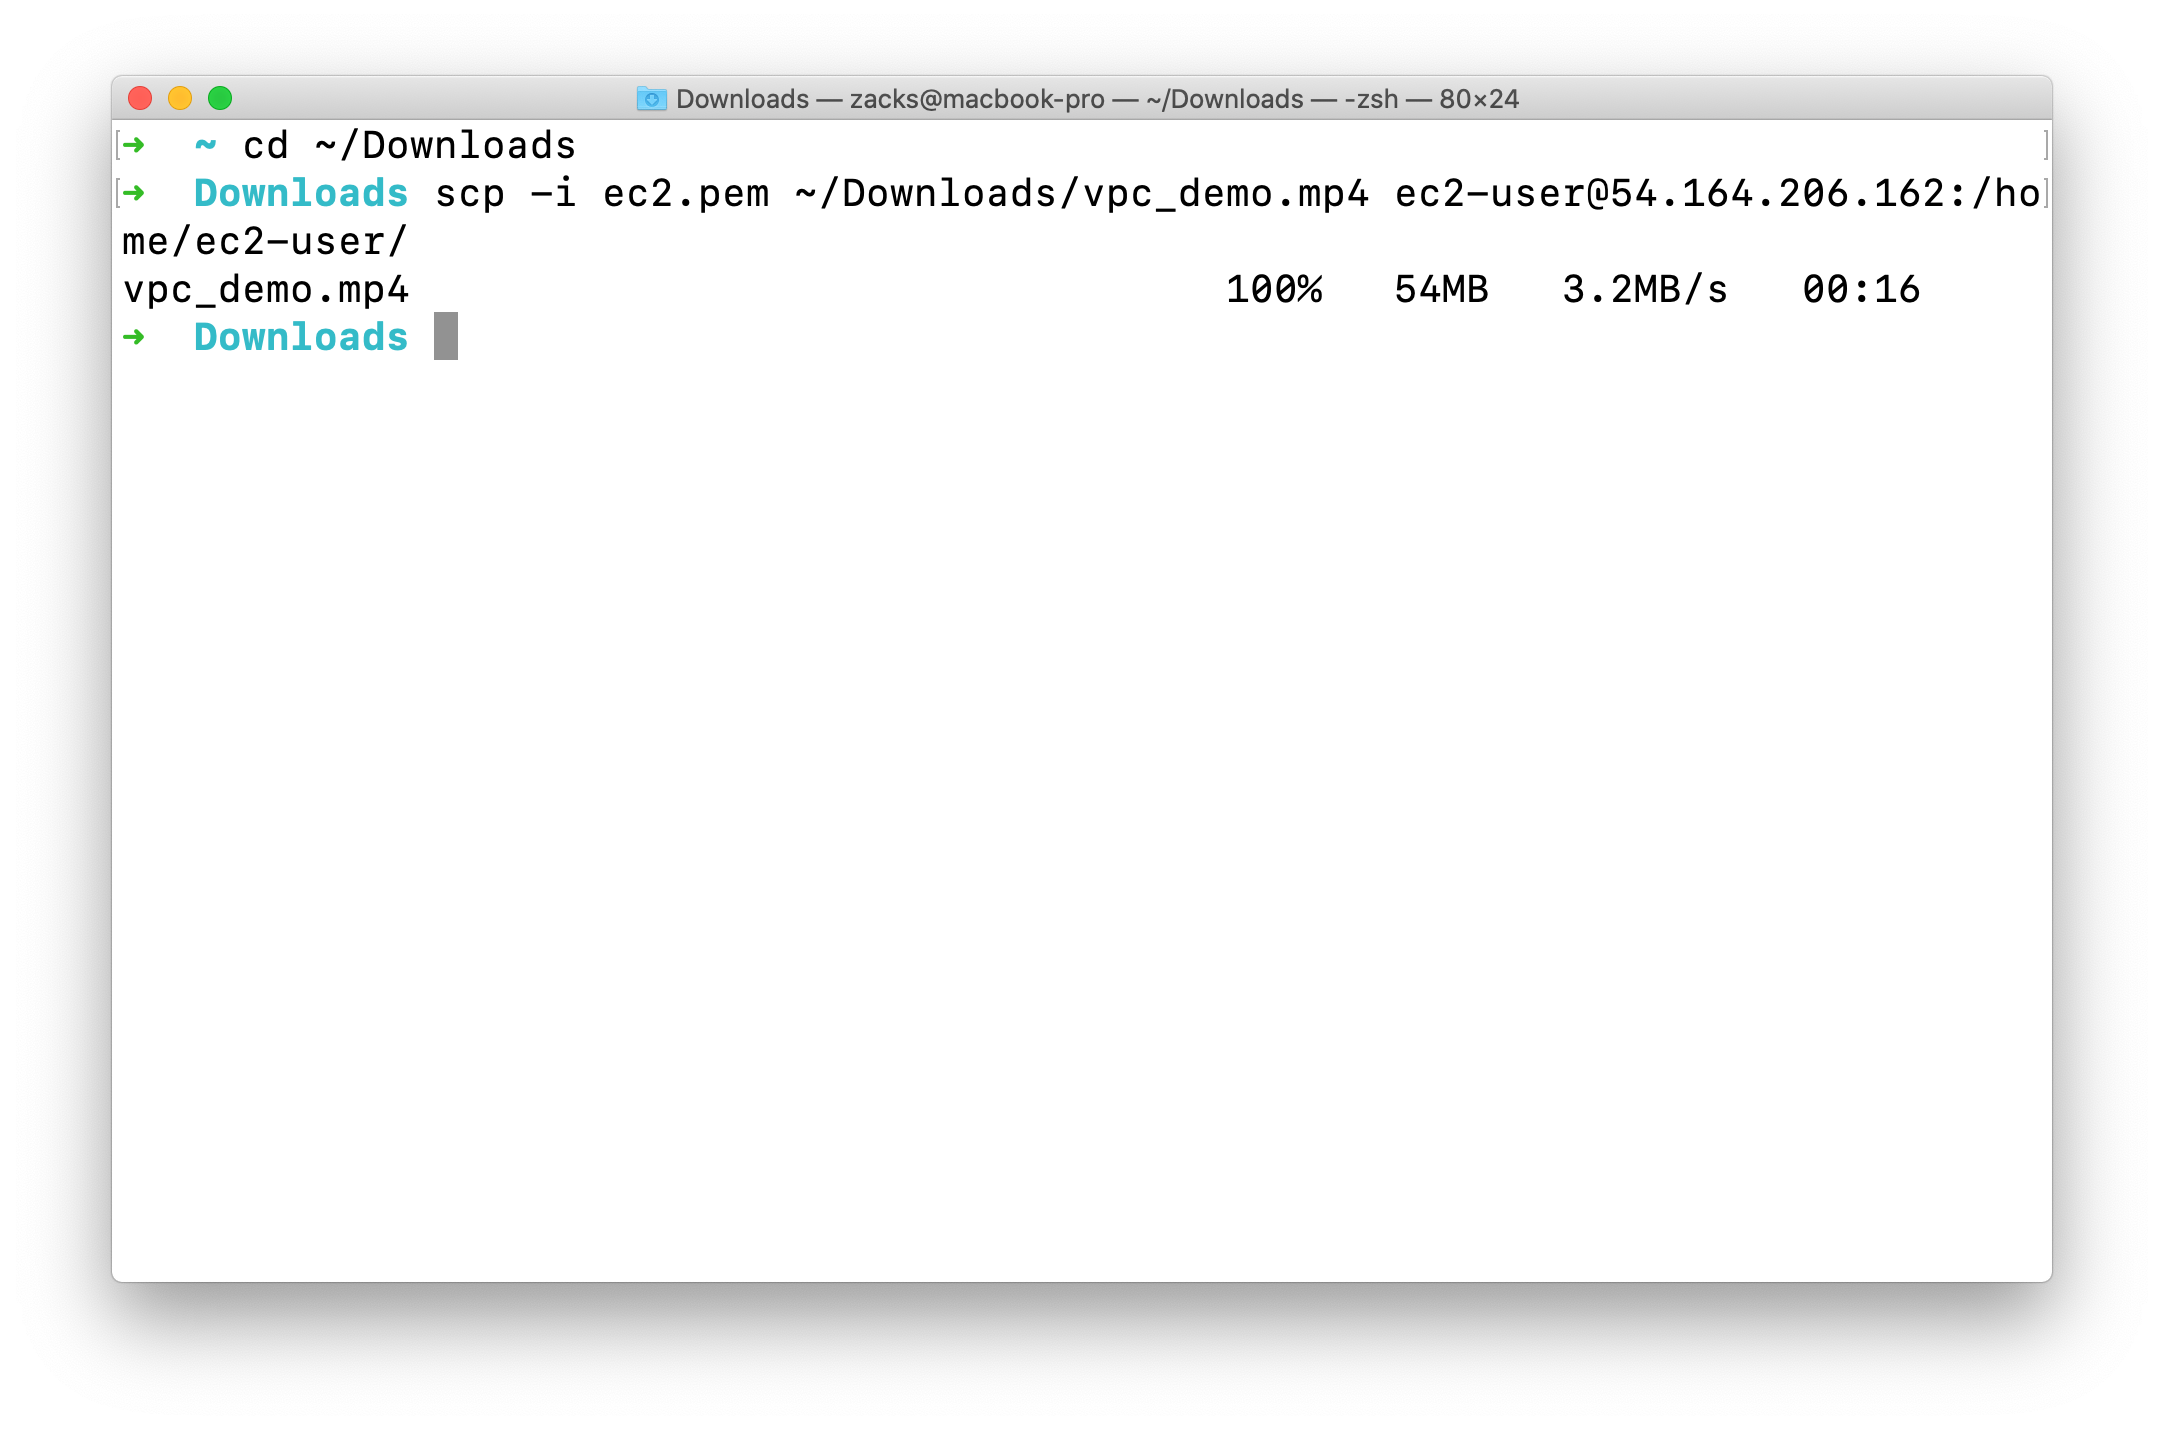
Upload a short video to EC2
Open another terminal on your local machine
- change directory that has your short video and
ec2.pem- my
ec2.pemand short video are located on~/Downloads/directory
- my
- upload it to your EC2 server
- replace
yourEC2PublicIPAddressto your EC2 instance public IPv4 address - replace
yourVideo.mp4to your video name - replace
ec2.pemto your pem file name
- replace
1 | cd ~/Downloads/ |
Go to the terminal logged into your EC2 server
Move your video to directory tmp
- replace
yourVideo.mp4to your video name
1 | sudo su |
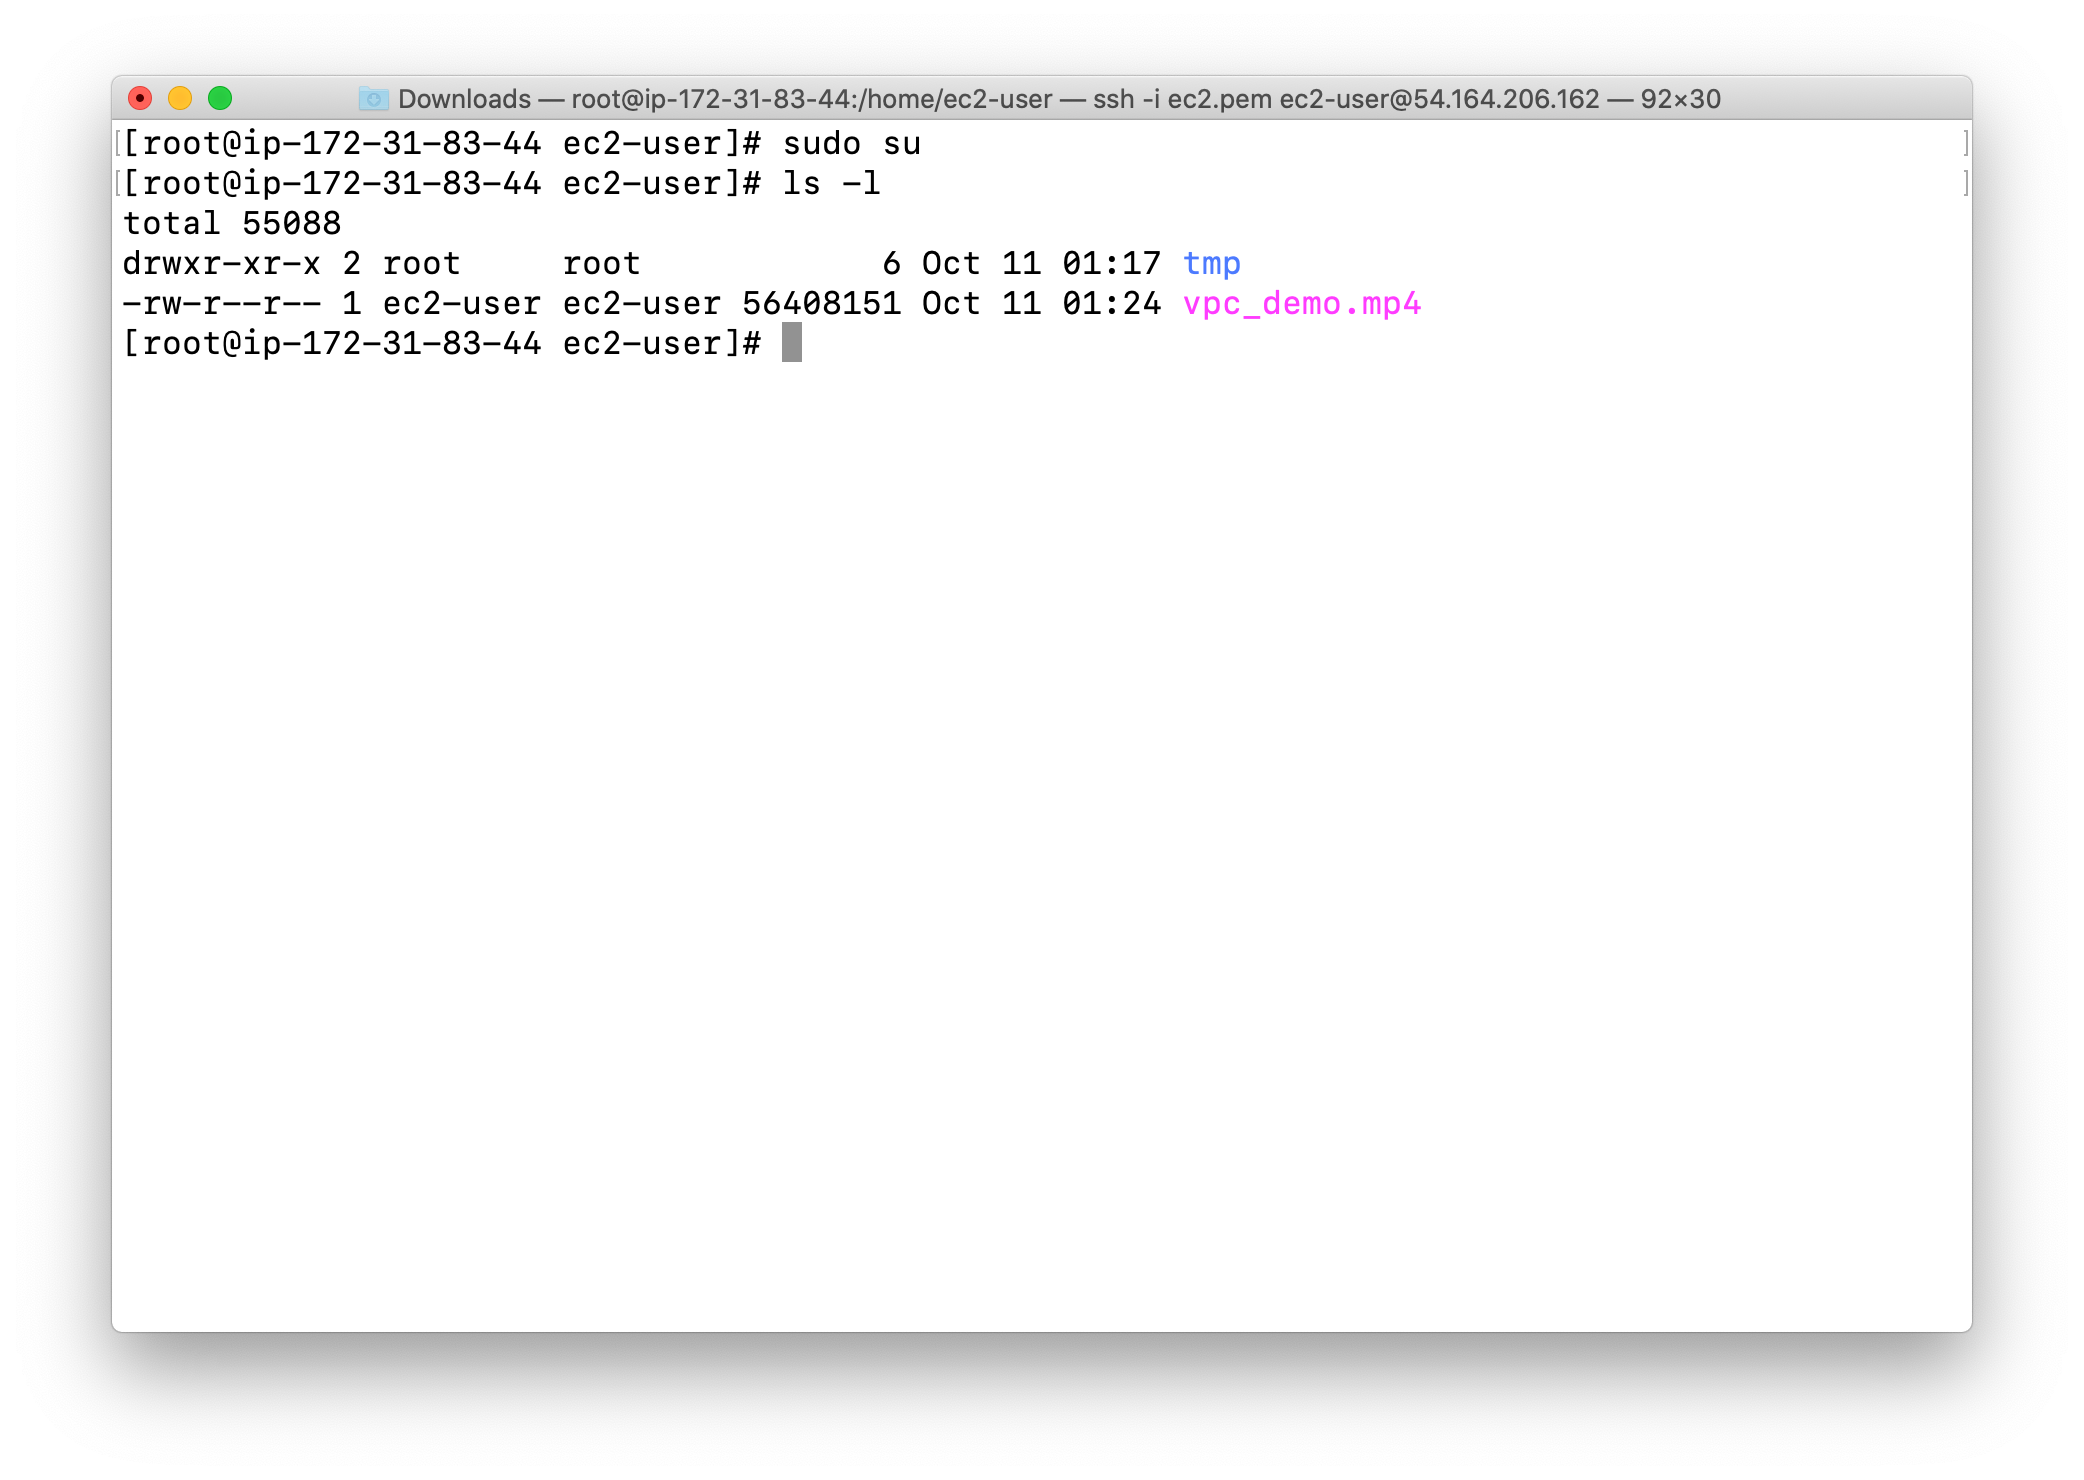
Change directory to tmp
1 | cd tmp |
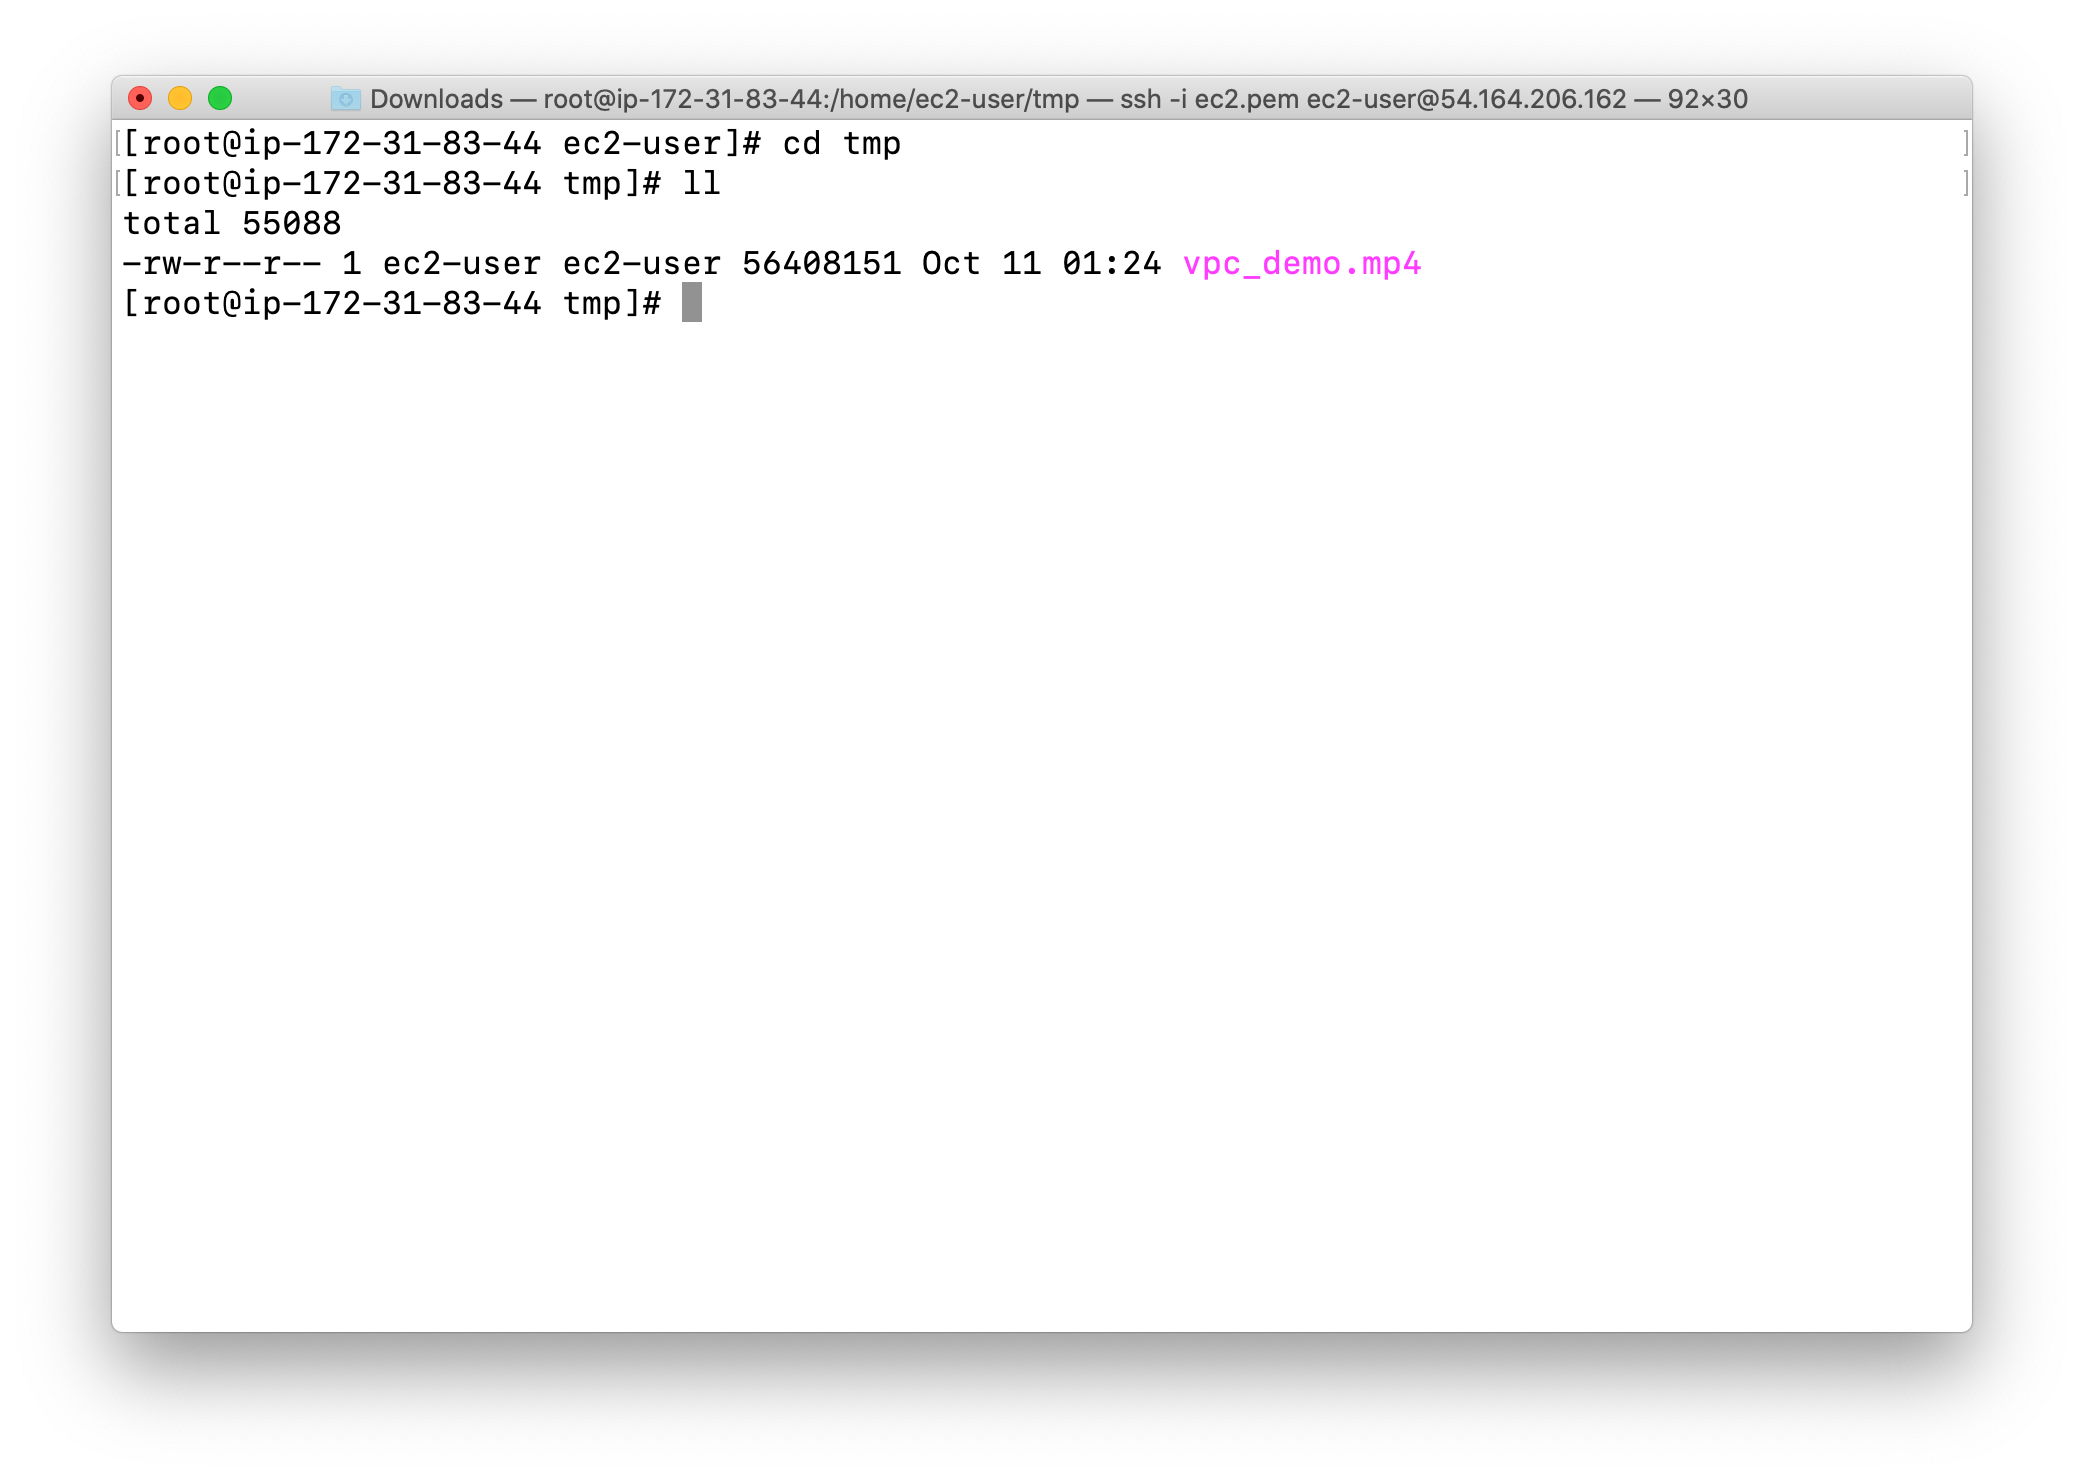
Notice this is a 56.4MB video
Split the Original File
Split the file into chunks
- The split command will split a large file into many pieces (chunks) based on the option.
split [options] [filename]
Here we are dividing the 56.4 MB file into 10MB chunks. [ -b option means Bytes ]
1 | split -b 10M yourVideo.mp4 |
View the chunked files
1 | ls -lh |
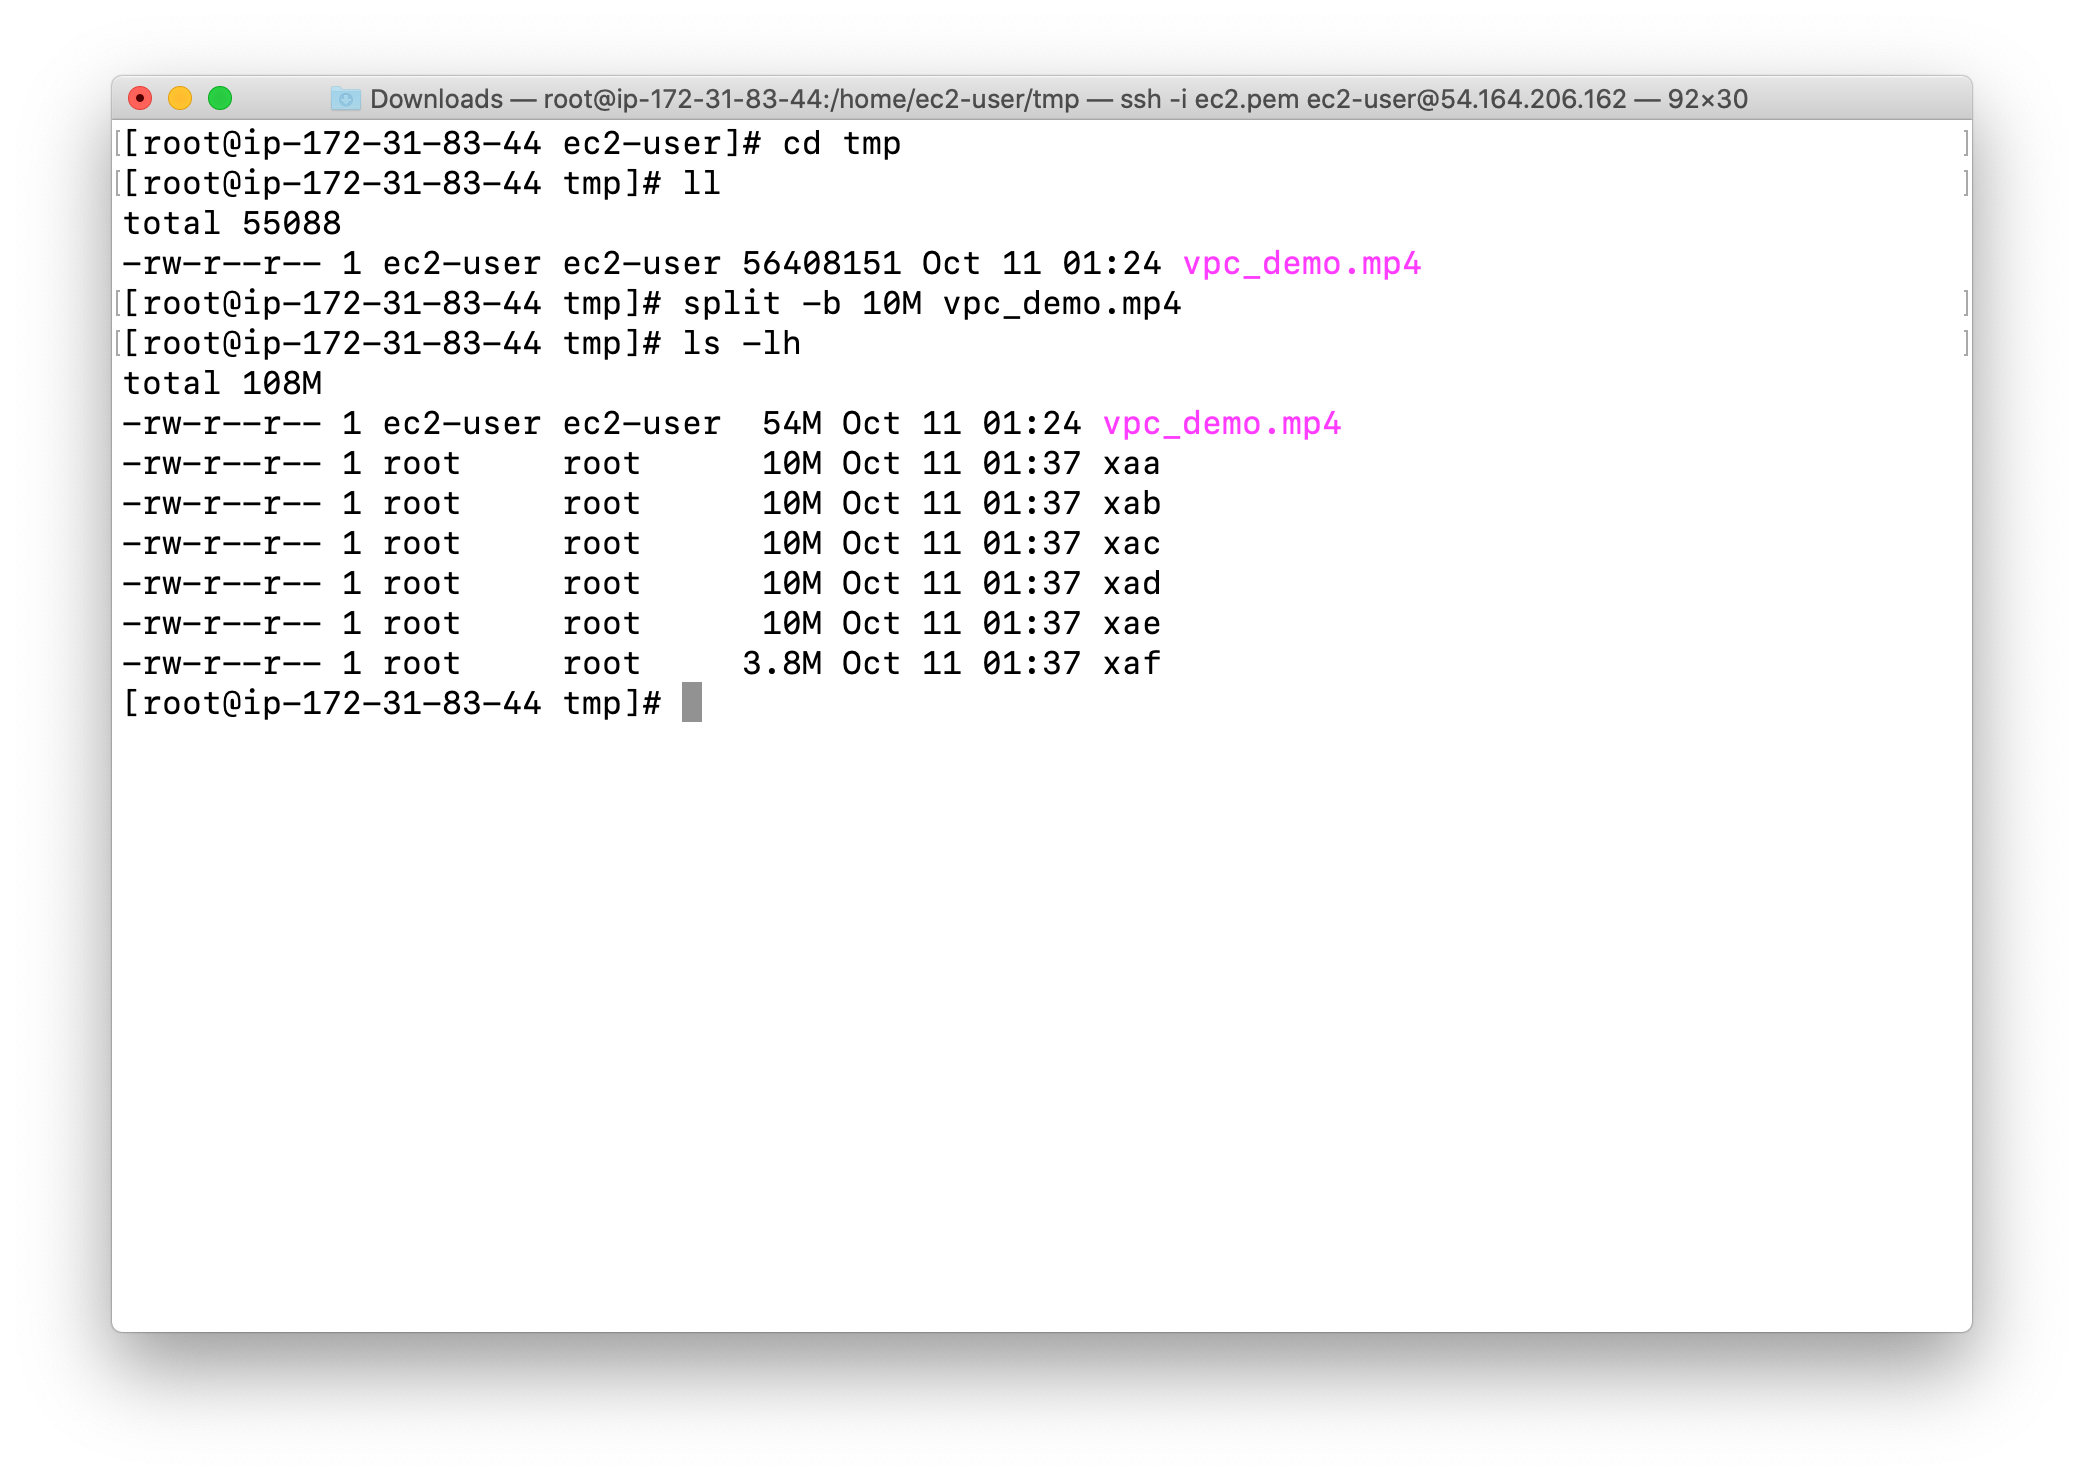
Info: Here “xaa” and “xad” are the chunked files that have been renamed alphabetically. Each file is 10MB in size but except the last one. The number of chunks depends on the size of your original file and the byte value used to partition the chunks.
Create a Multipart Upload
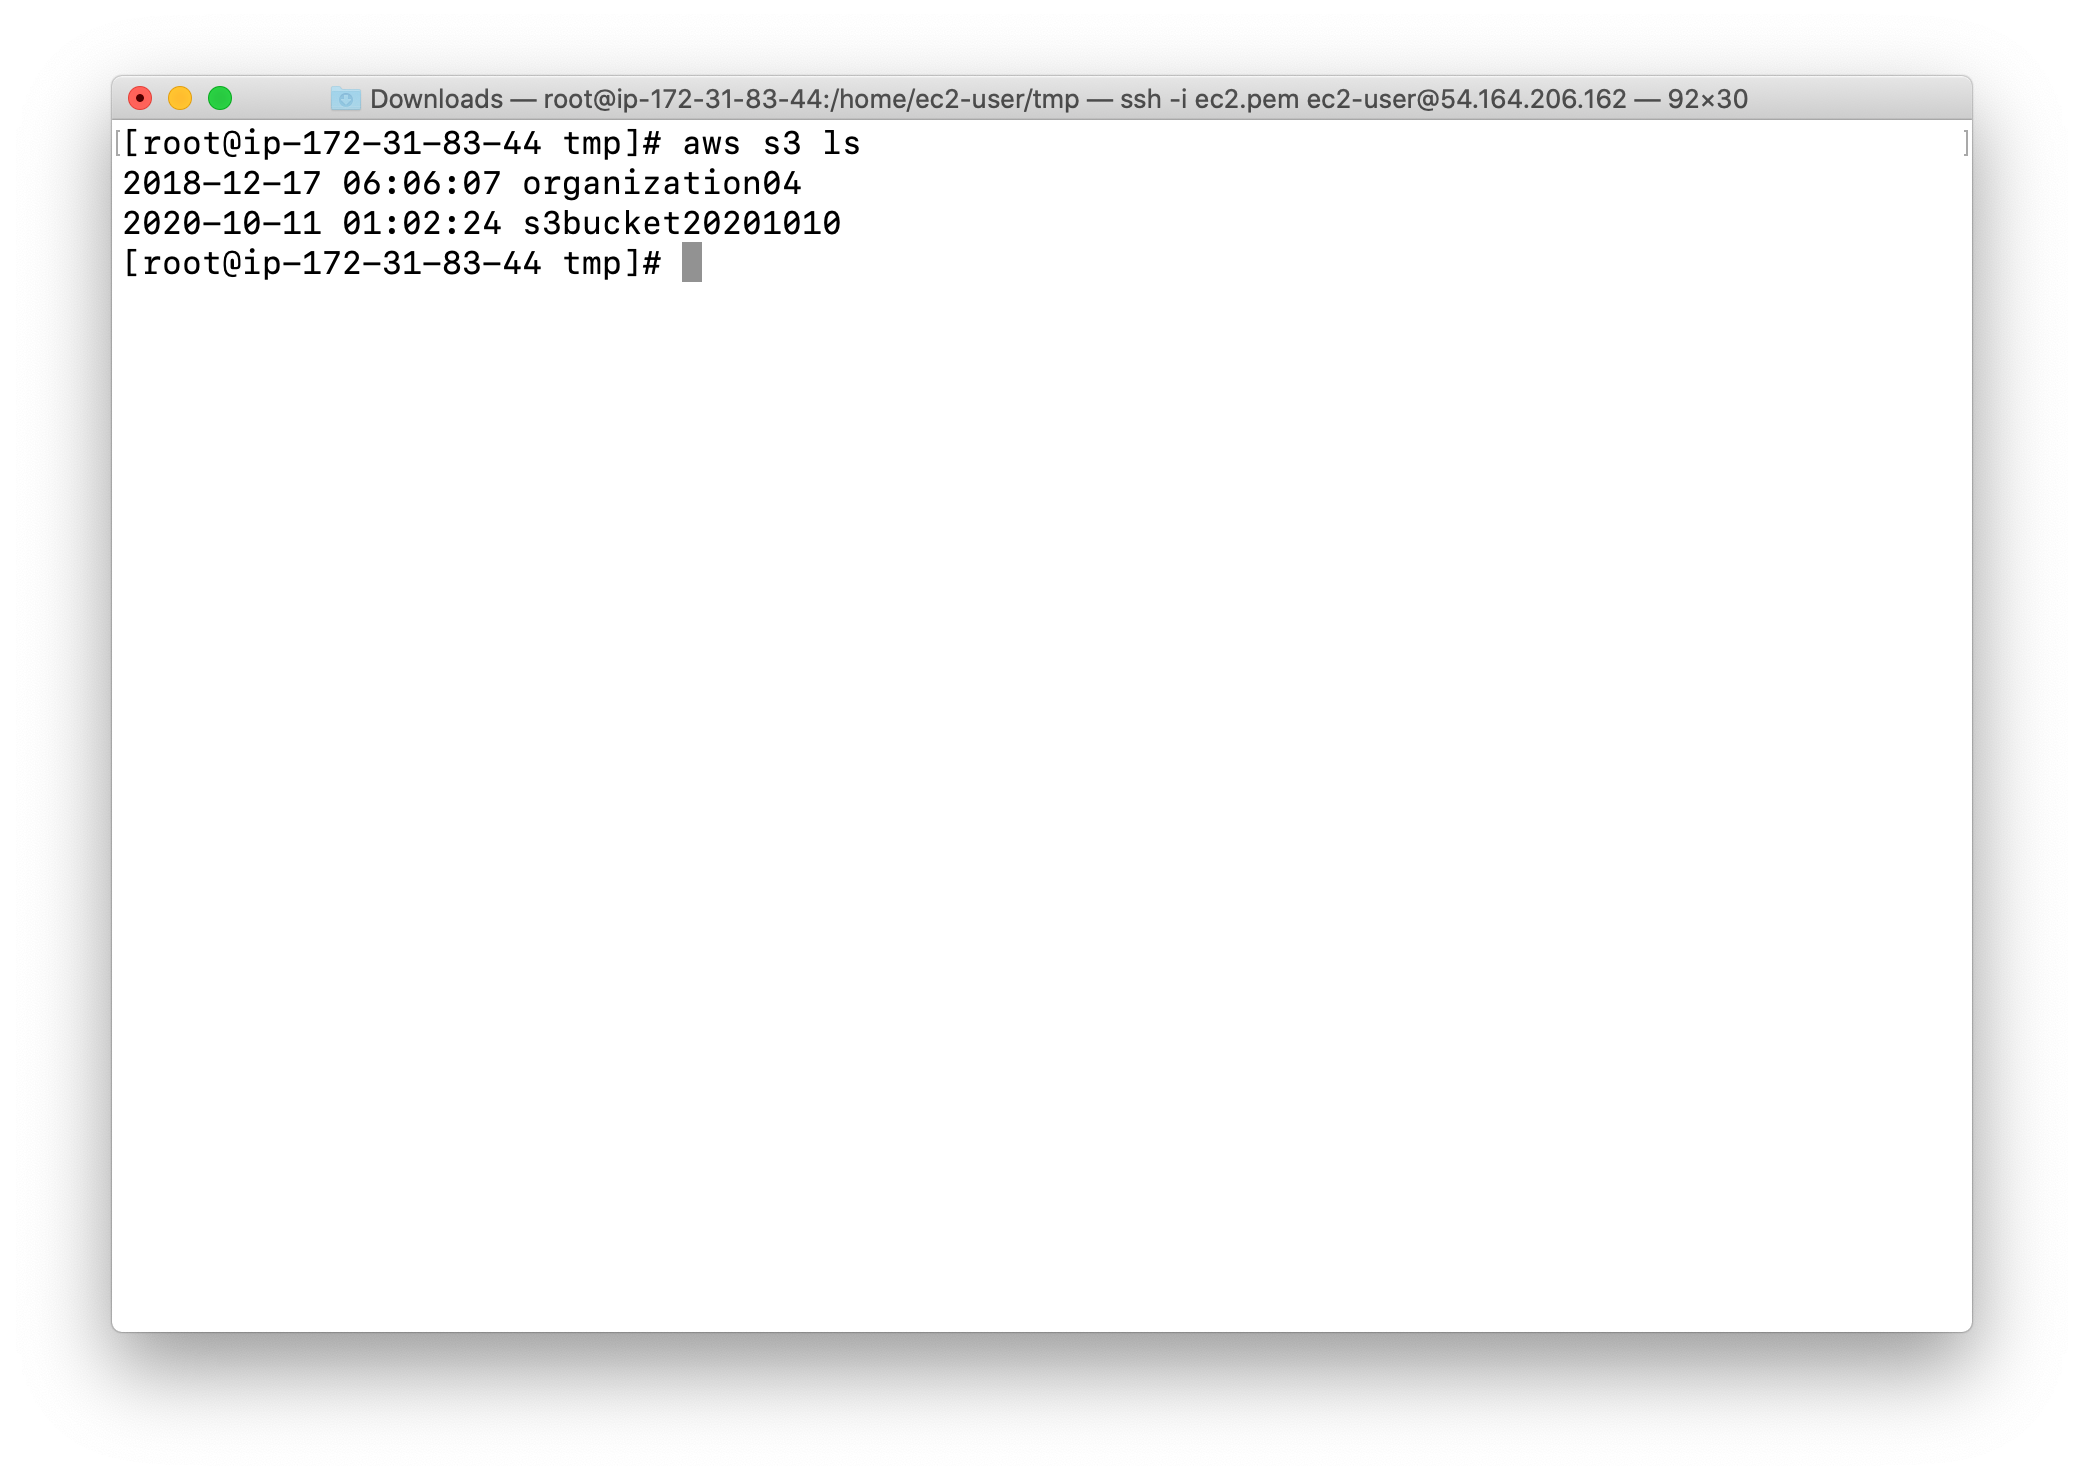
Get your bucket name first.
1 | aws s3 ls |
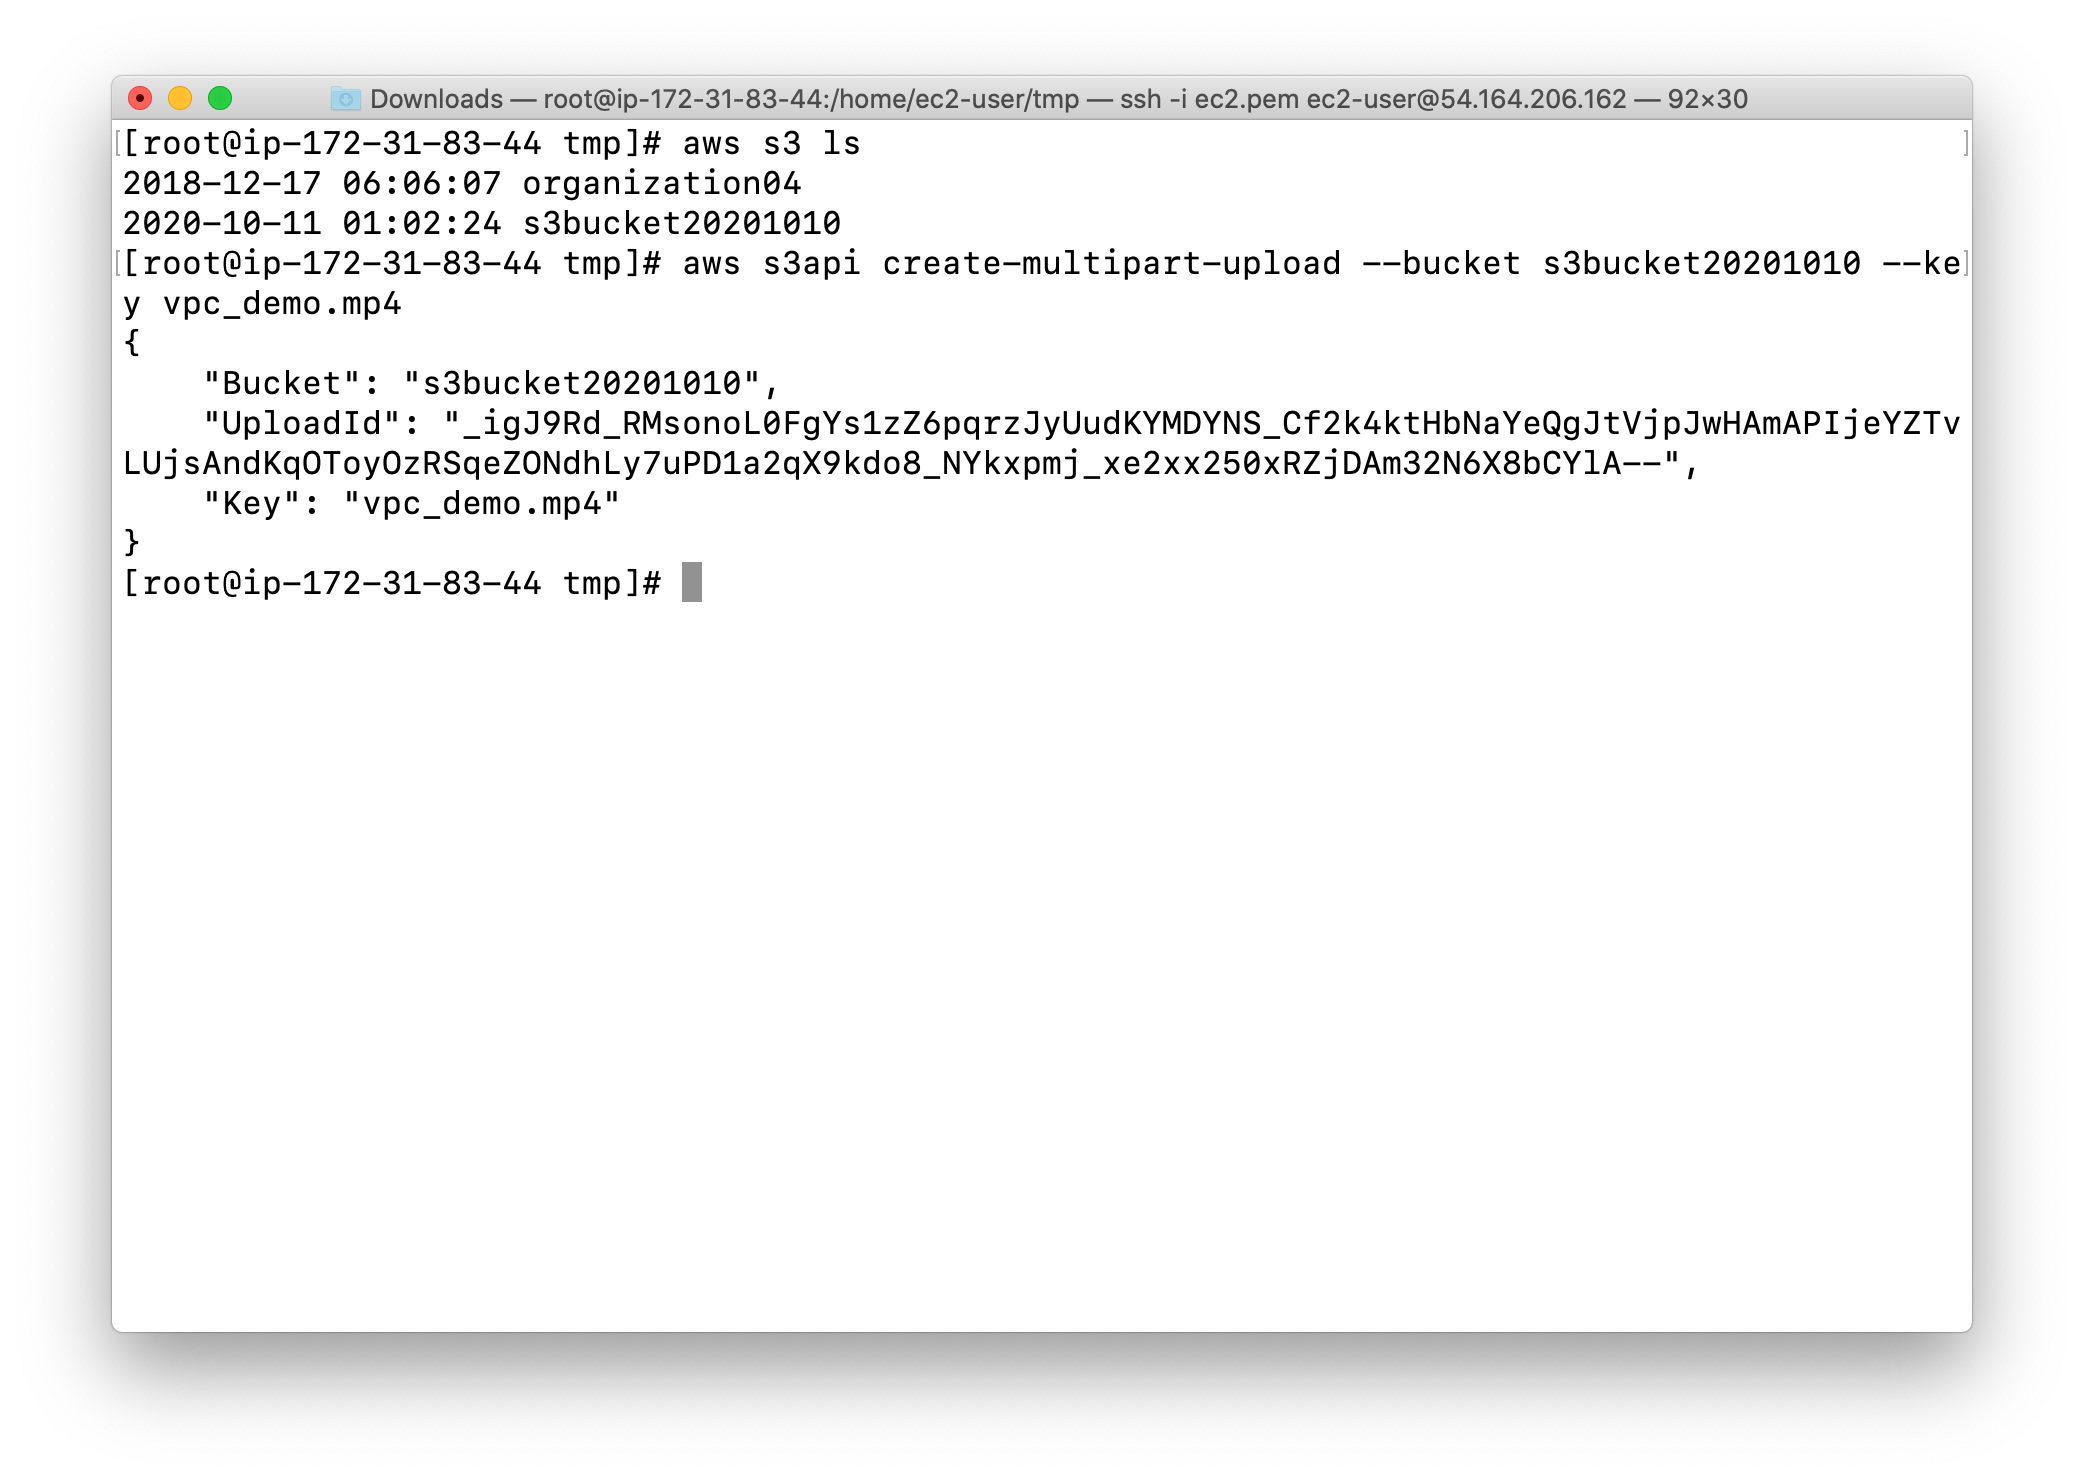
We are initiating the multipart upload using an AWS CLI command, which will generate a UploadID that will be used later.
- Syntax: aws s3api create-multipart-upload –bucket [Bucket name] –key [original file name]
Note: Replace the example bucket name below with your bucket name.
Note: Replace the example file name below with your file name.
1 | aws s3api create-multipart-upload --bucket yourBucketName --key yourVideo.mp4 |
Note: Please copy the UploadId and save it for later use.
- My UploadId:
_igJ9Rd_RMsonoL0FgYs1zZ6pqrzJyUudKYMDYNS_Cf2k4ktHbNaYeQgJtVjpJwHAmAPIjeYZTvLUjsAndKqOToyOzRSqeZONdhLy7uPD1a2qX9kdo8_NYkxpmj_xe2xx250xRZjDAm32N6X8bCYlA--
Uploading the File Chunks
Next, we need to upload each file chunk one by one, using the part number. The part number is assigned based on the alphabetic order of the file.
|
Chunk File Name |
Part Number |
|
xaa |
1 |
|
xab |
2 |
|
xac |
3 |
|
xad |
4 |
|
xae |
5 |
|
xaf |
6 |
Syntax:
1 | aws s3api upload-part --bucket [bucketname] --key [filename] --part-number [number] --body [chunk file name] --upload-id [id] |
Example:
Note: Replace the example bucket name below with your bucket name.
Note: Replace the example file name below with your file name.
Note: Replace the example UploadId below with your UploadId.
1 | aws s3api upload-part --bucket yourBucketName --key yourVideo.mp4 --part-number 1 --body xaa --upload-id yourUploadId |
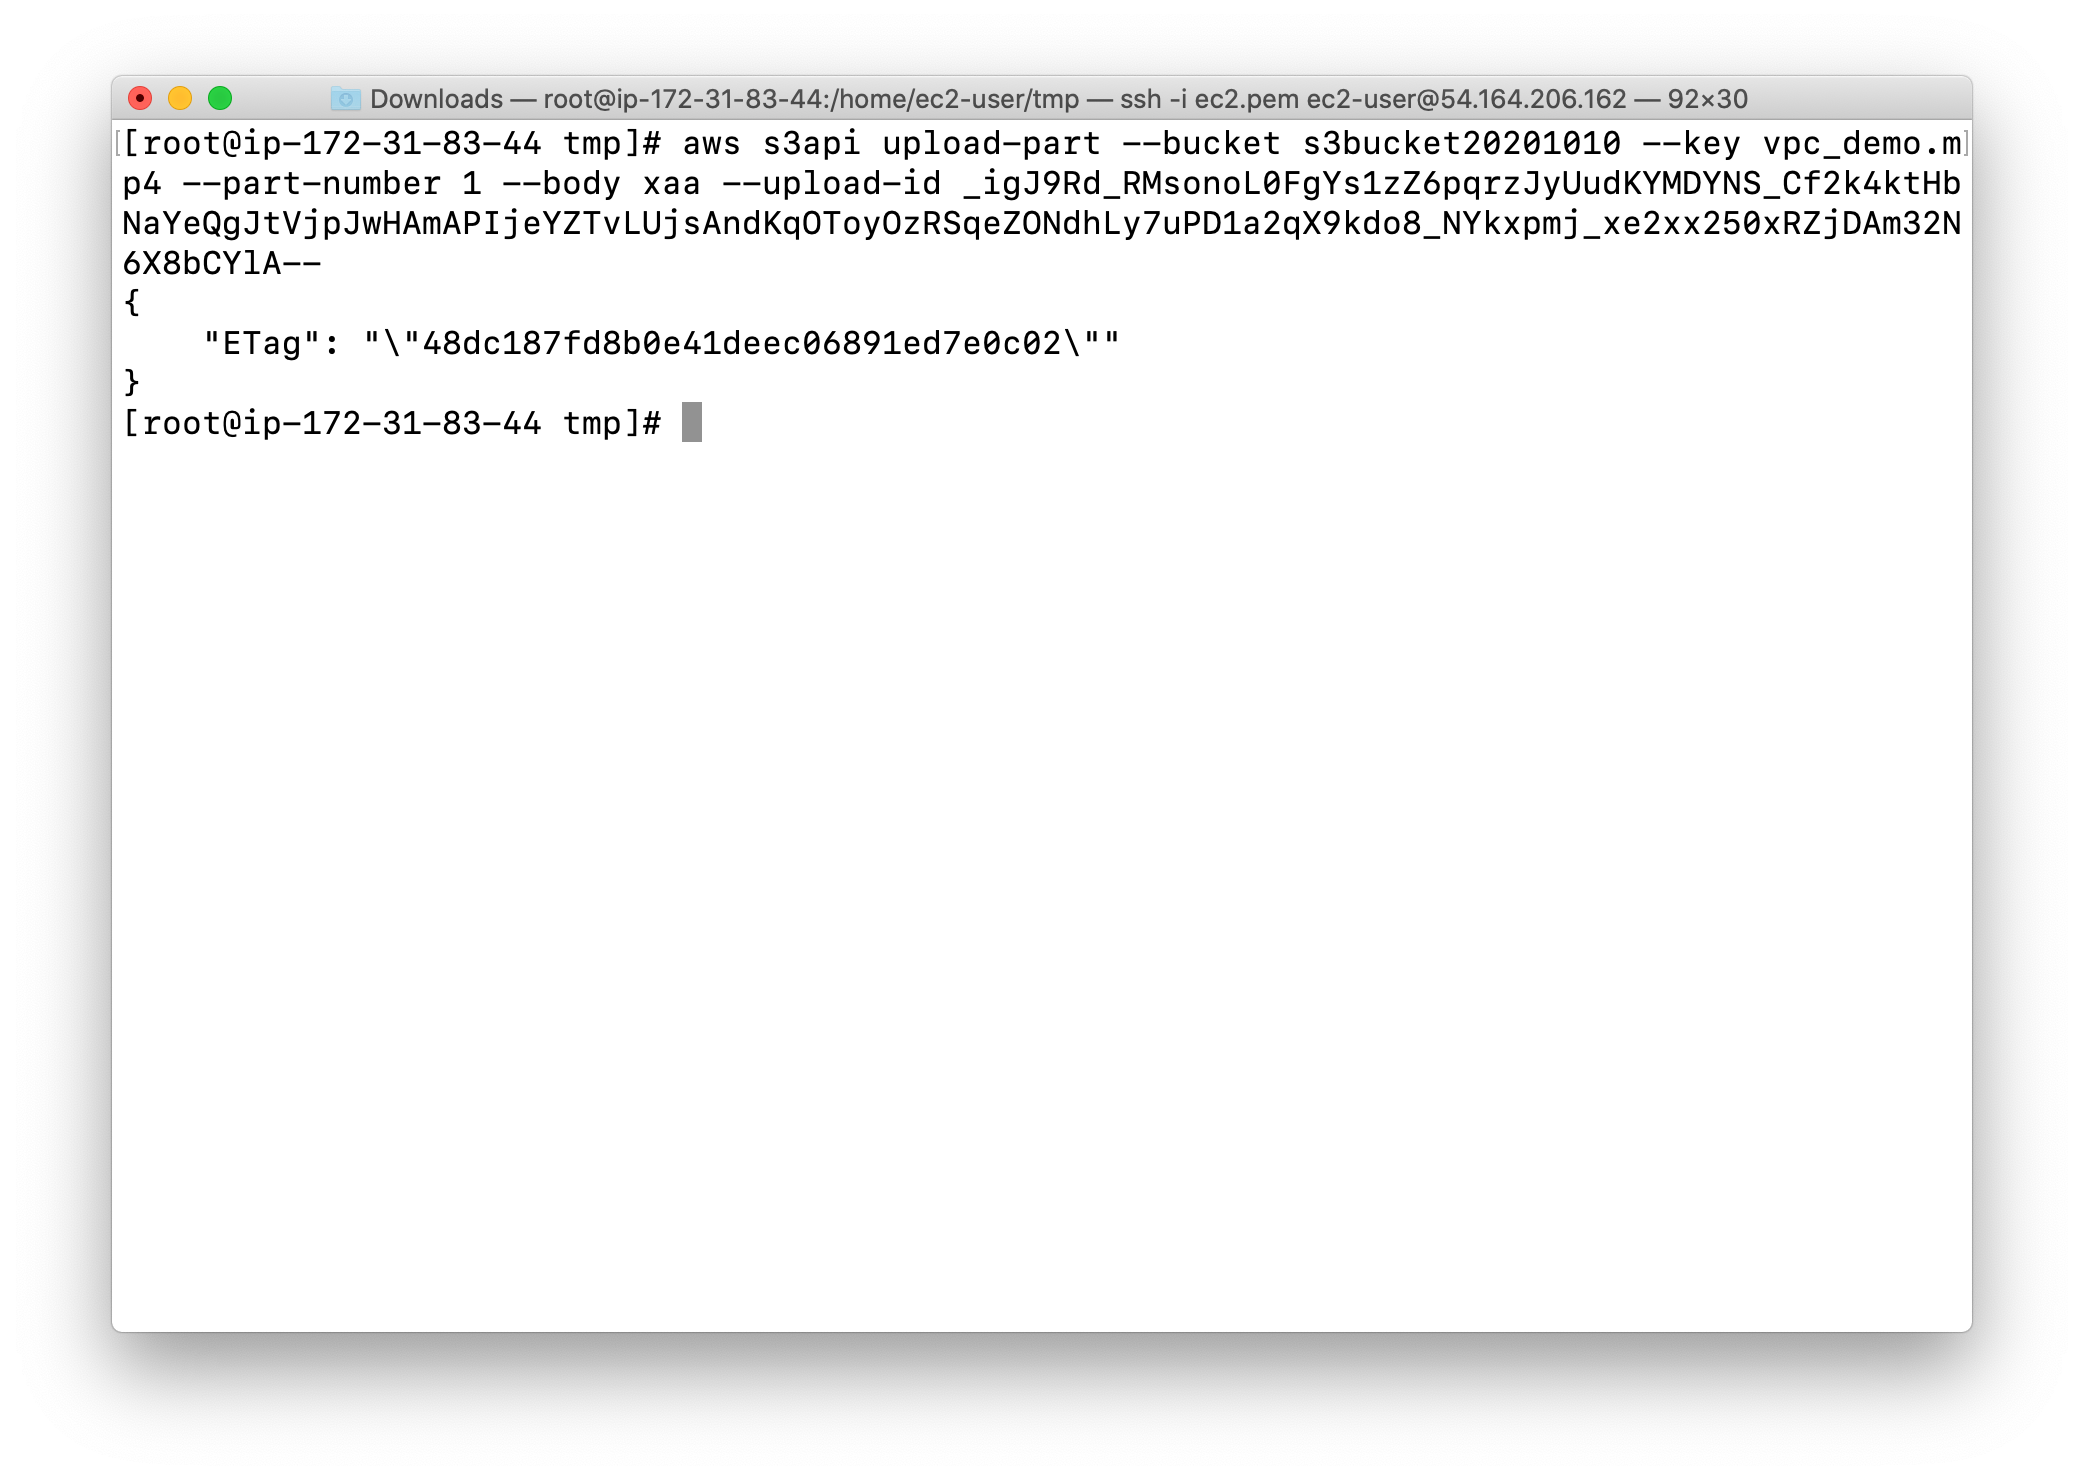
Note: Copy the ETag id and Part number for later use.
Repeat the above CLI command for each file chunk [Replace --part-number & --body values with the above table values]
Press the UP Arrow Key on your computer to get back to the previous command. No need to enter the Upload ID again, just change the Part Number and Body Value.
Each time you upload a chunk, don’t forget to save the Etag value.
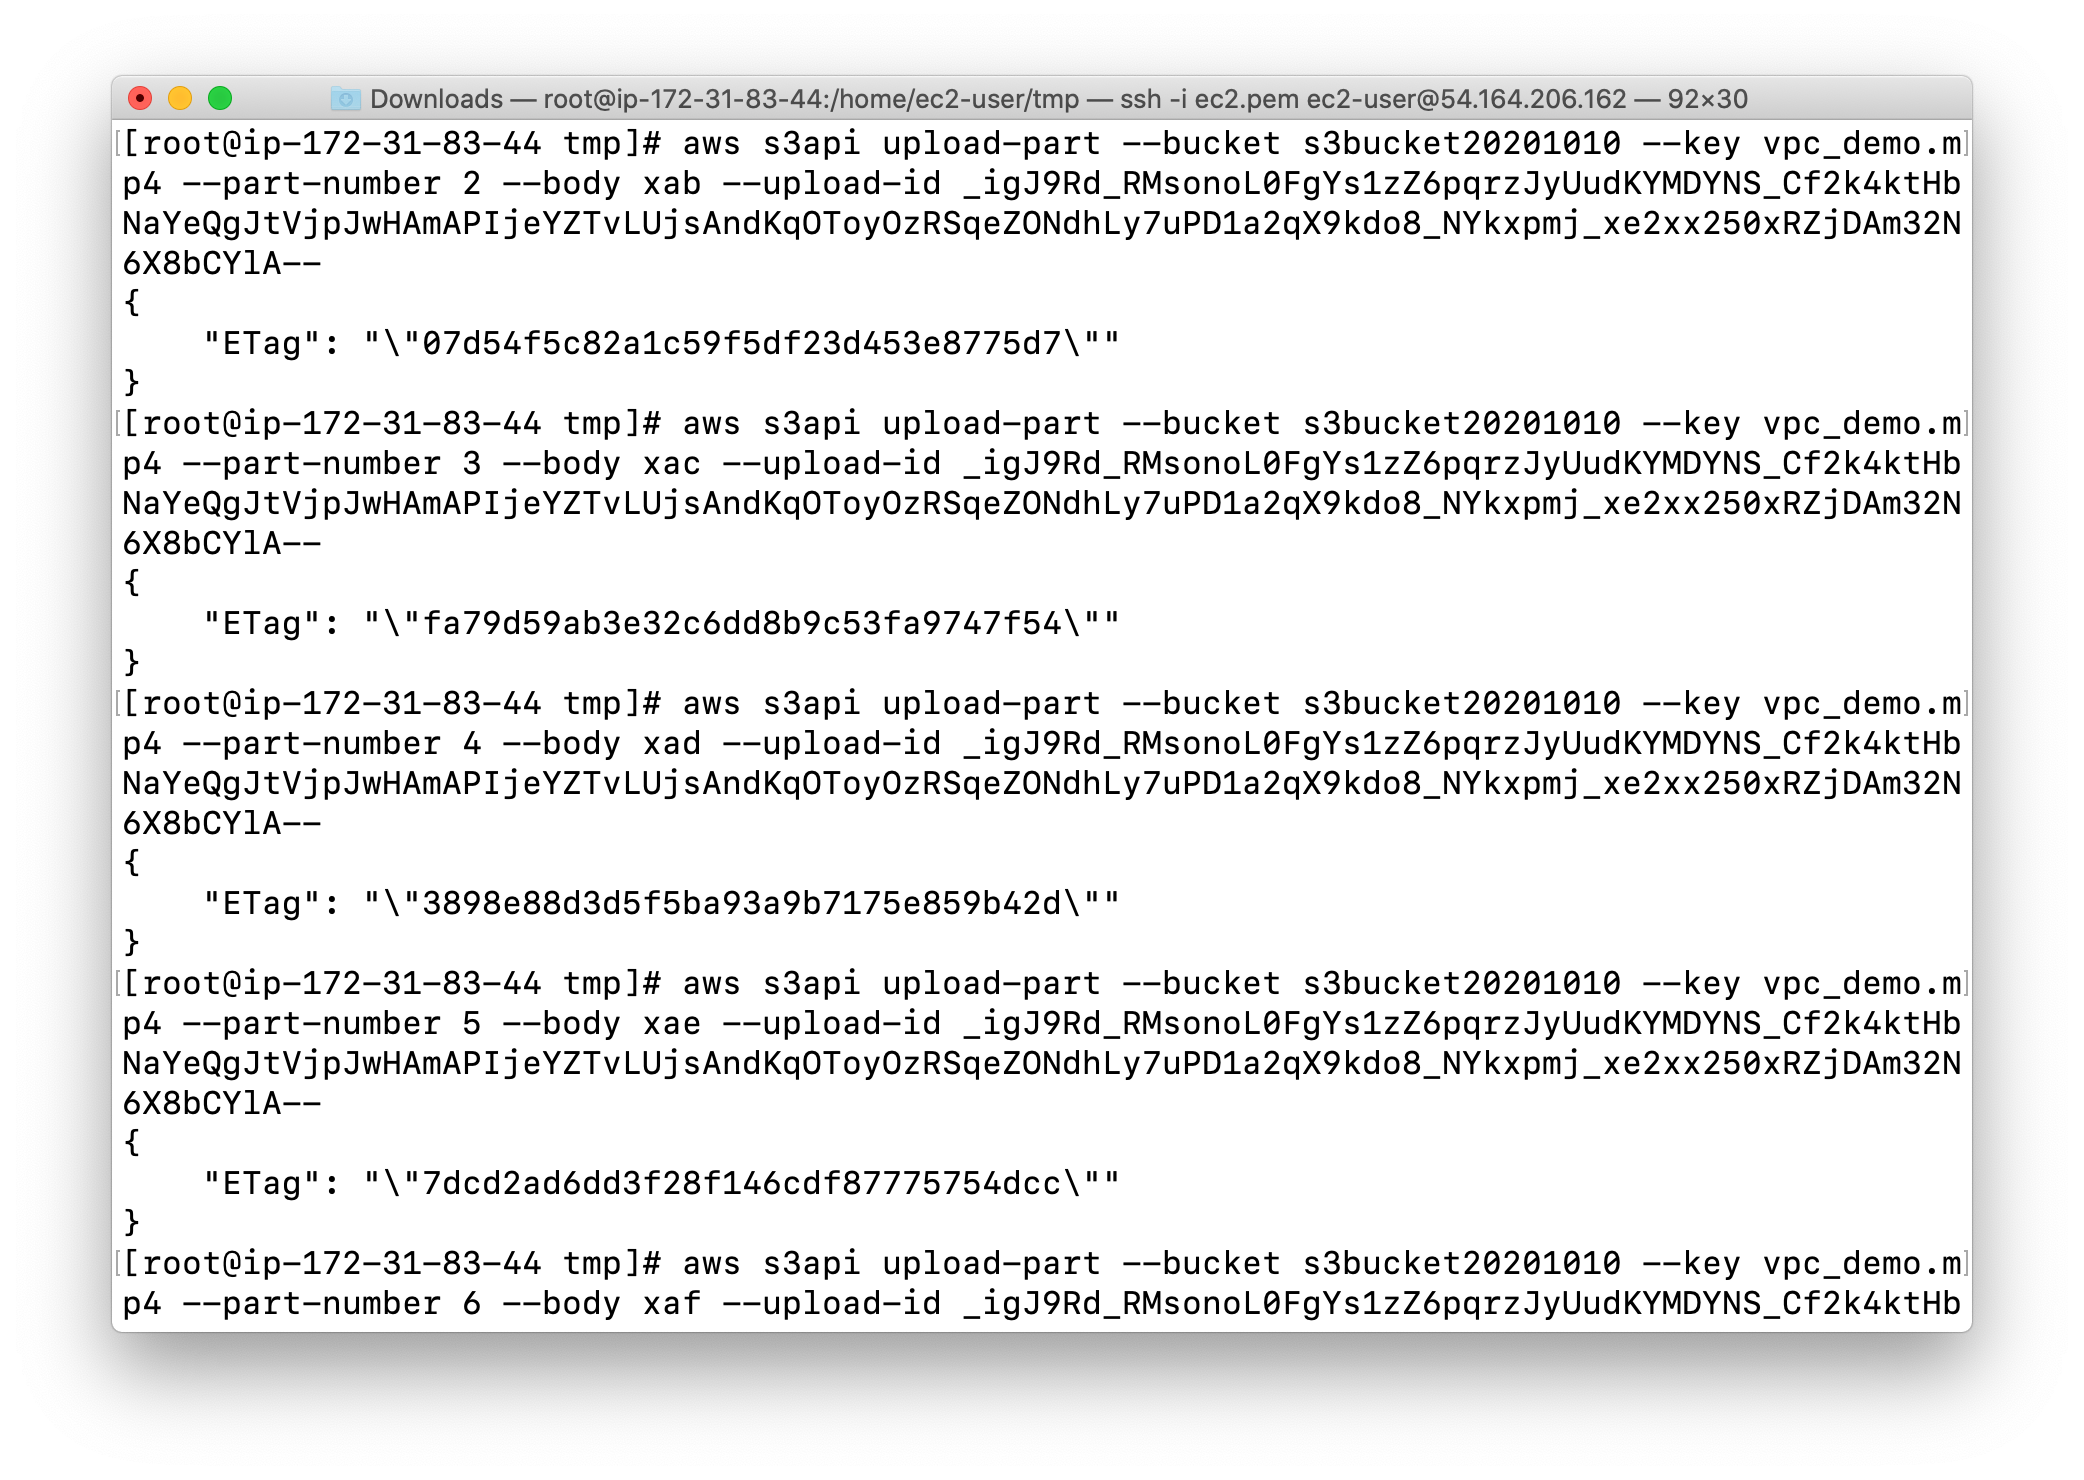
My ETags:
- “ETag”: “"48dc187fd8b0e41deec06891ed7e0c02"“
- “ETag”: “"07d54f5c82a1c59f5df23d453e8775d7"“
- “ETag”: “"fa79d59ab3e32c6dd8b9c53fa9747f54"“
- “ETag”: “"3898e88d3d5f5ba93a9b7175e859b42d"“
- “ETag”: “"7dcd2ad6dd3f28f146cdf87775754dcc"“
- “ETag”: “"fc511daca99afd0be81a6d606ee95c2d"“
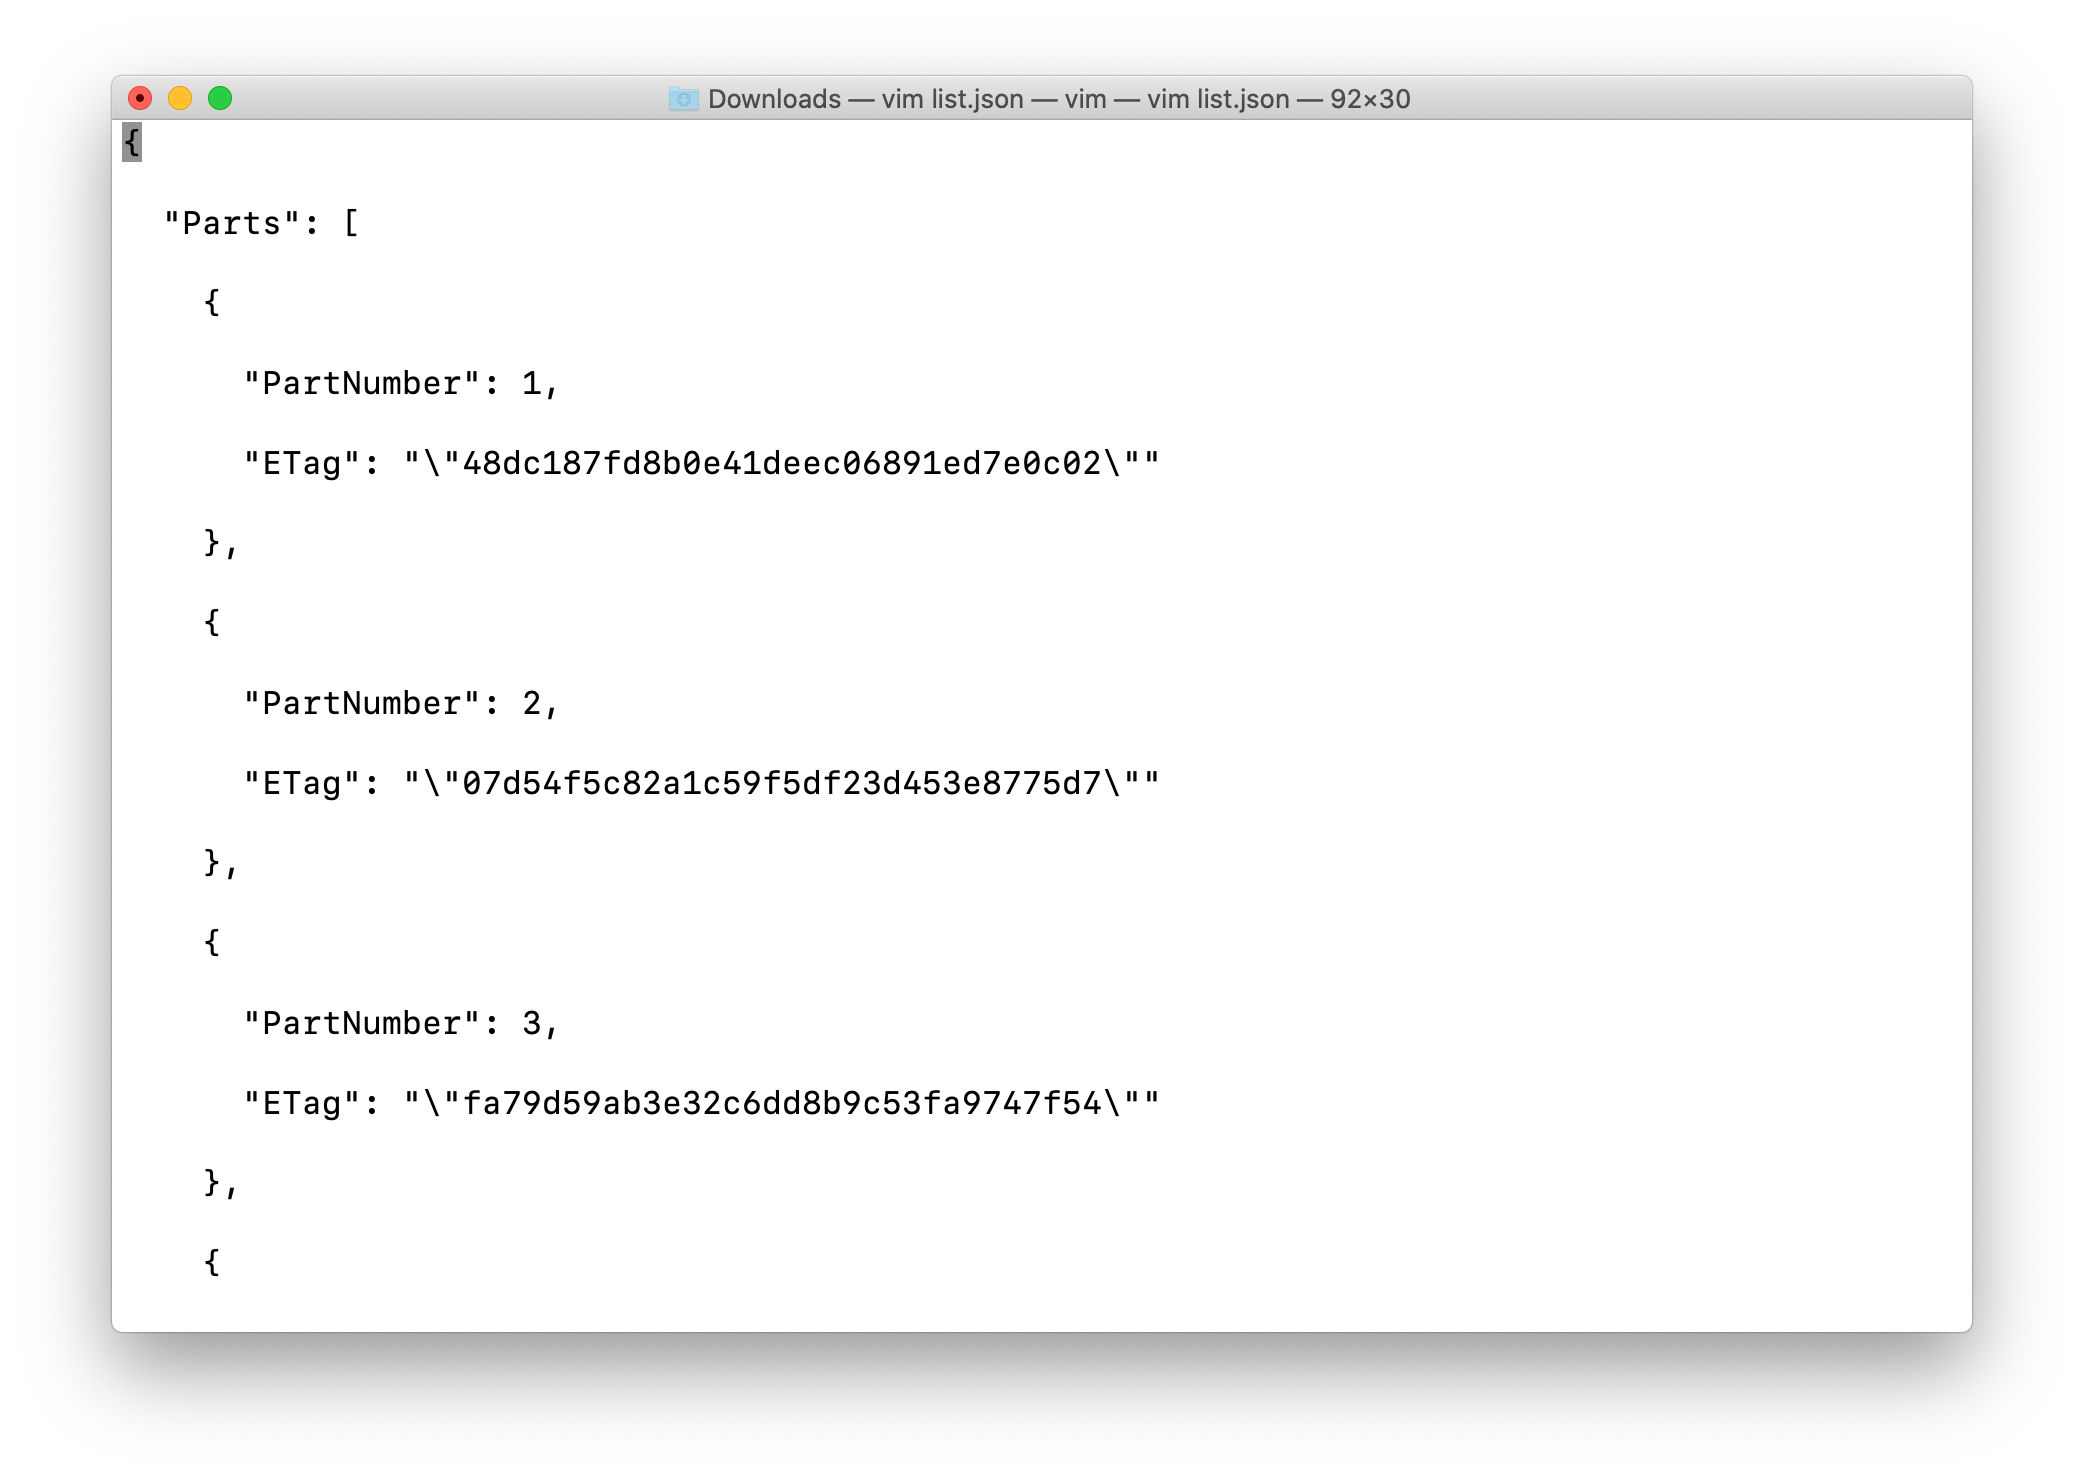
Create a Multipart JSON file
Create a file with all part numbers with their Etag values.
Creating a file named list.json
1 | vim list.json |
Copy the below JSON Script and paste it in the list.json file.
Note: Replace the ETag ID according to the part number, which you received after uploading each chunk.
1 | { |
Complete the Multipart Upload
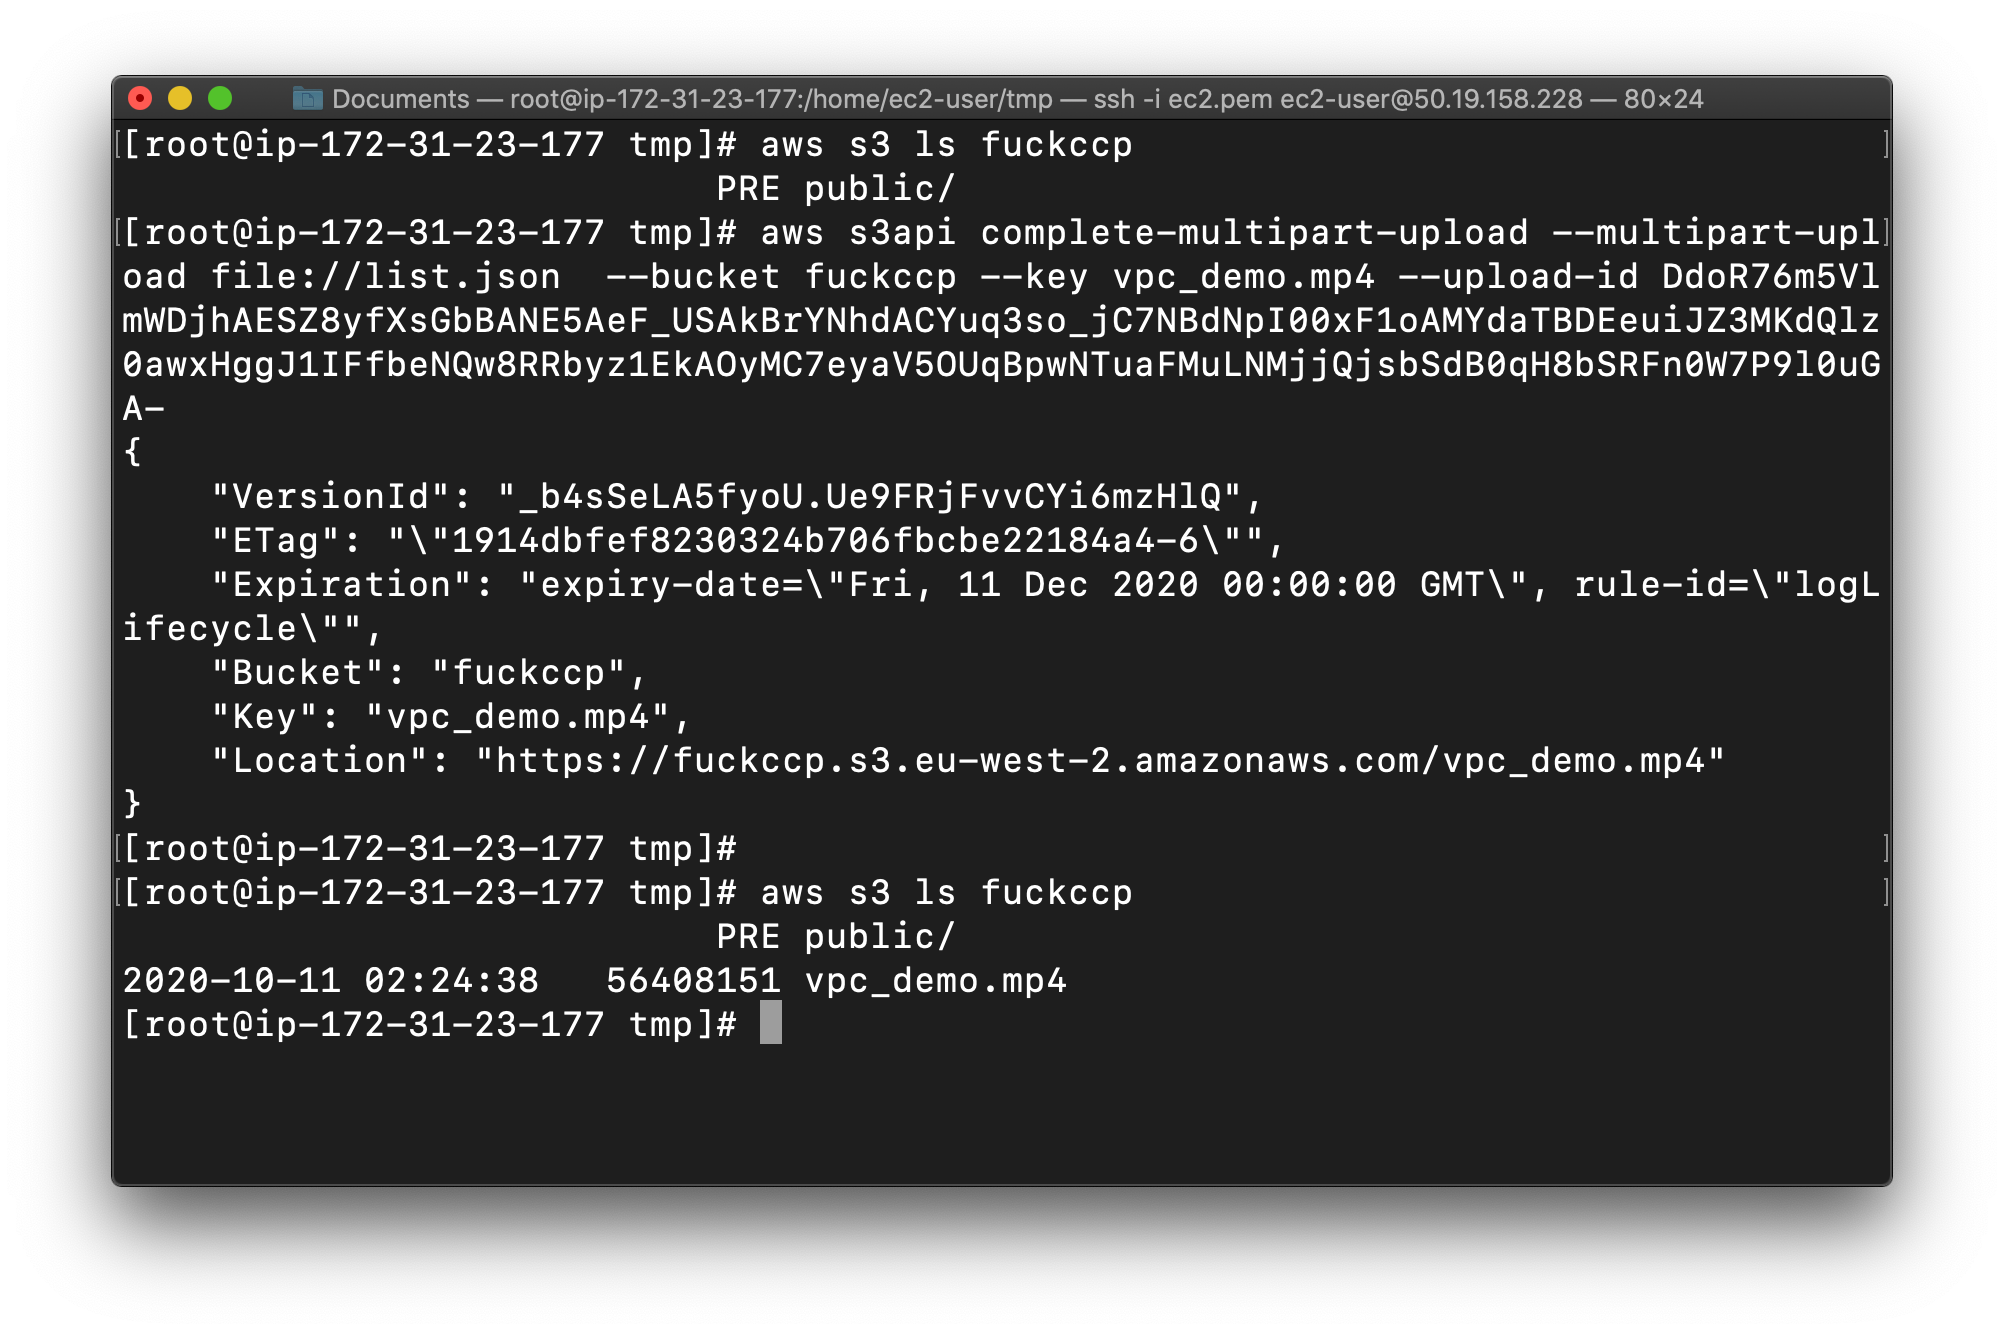
Now we are going to join all the chunks together with the help of the JSON file we created in the above step.
Syntax:
1 | aws s3api complete-multipart-upload --multipart-upload [json file link] --bucket [upload bucket name] --key [original file name] --upload-id [upload id] |
Example:
Example:
Note: Replace the example bucket name below with your bucket name.
Note: Replace the example file name below with your file name.
Note: Replace the example UploadId below with your UploadId.
Note: Replace the example list.json with your json name.
1 | aws s3api complete-multipart-upload --multipart-upload file://yourJsonName --bucket yourBucketName --key yourVideo.mp4 --upload-id yourUploadId |
Note:
Replace the example below with our bucket name.
Replace the Upload-Id value with your upload id.
Complete!
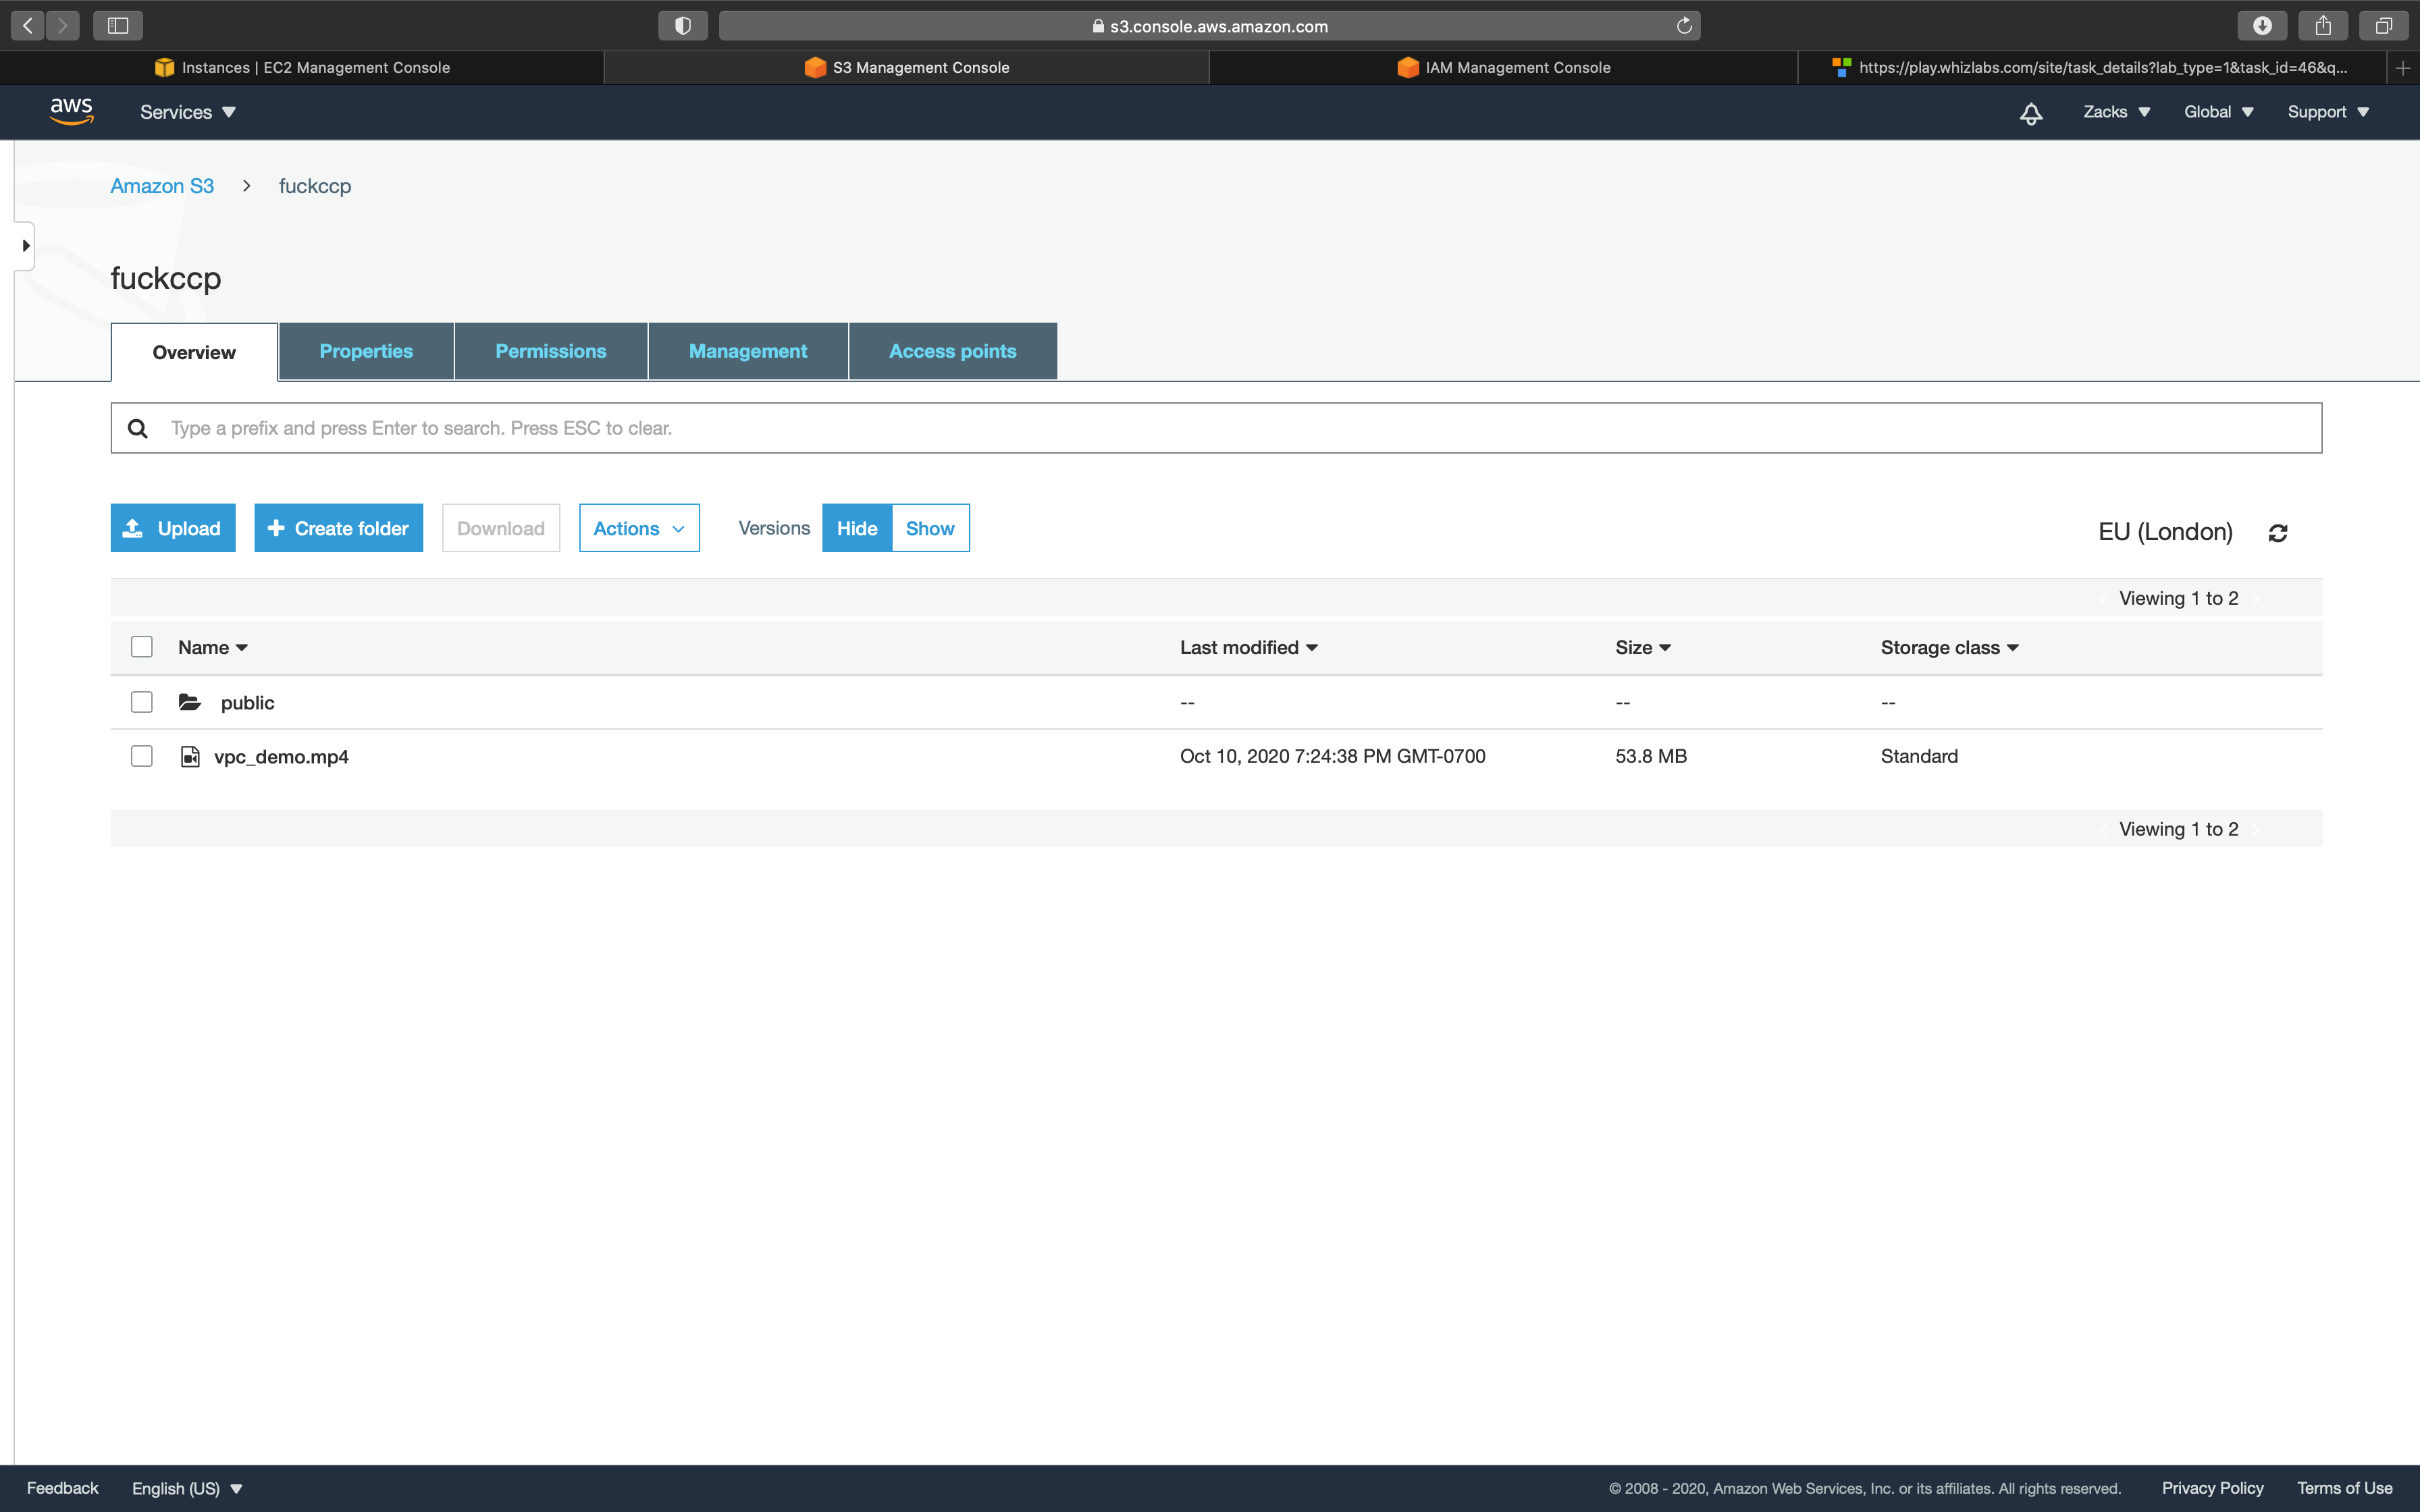
Completion and Conclusion
- You have successfully created an S3 bucket.
- You have successfully created an EC2 instance and copied a file from S3 to EC2.
- You have successfully split a file into multiple parts and used the parts to perform a multipart upload via AWS CLI.