AWS Elastic Beanstalk Lab
Elastic Beanstalk
Introduction to AWS Elastic Beanstalk
https://play.whizlabs.com/site/task_details?lab_type=1&task_id=10&quest_id=35
Lab Details
- This lab walks you through AWS Elastic Beanstalk. In this lab, you will quickly deploy and manage a Java application in the AWS Cloud without worrying about the infrastructure that runs those applications.
Tasks
- Log into AWS Management Console.
- Create your first Elastic Beanstalk Application and test it.
Architecture Diagram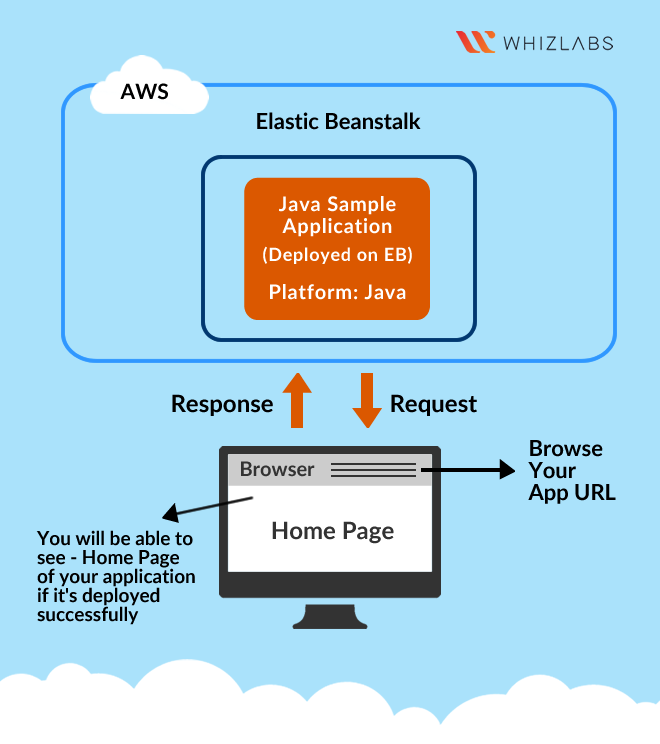
Elastic Beanstalk Configuration
Services -> Elastic Beanstalk
CLick on Create Application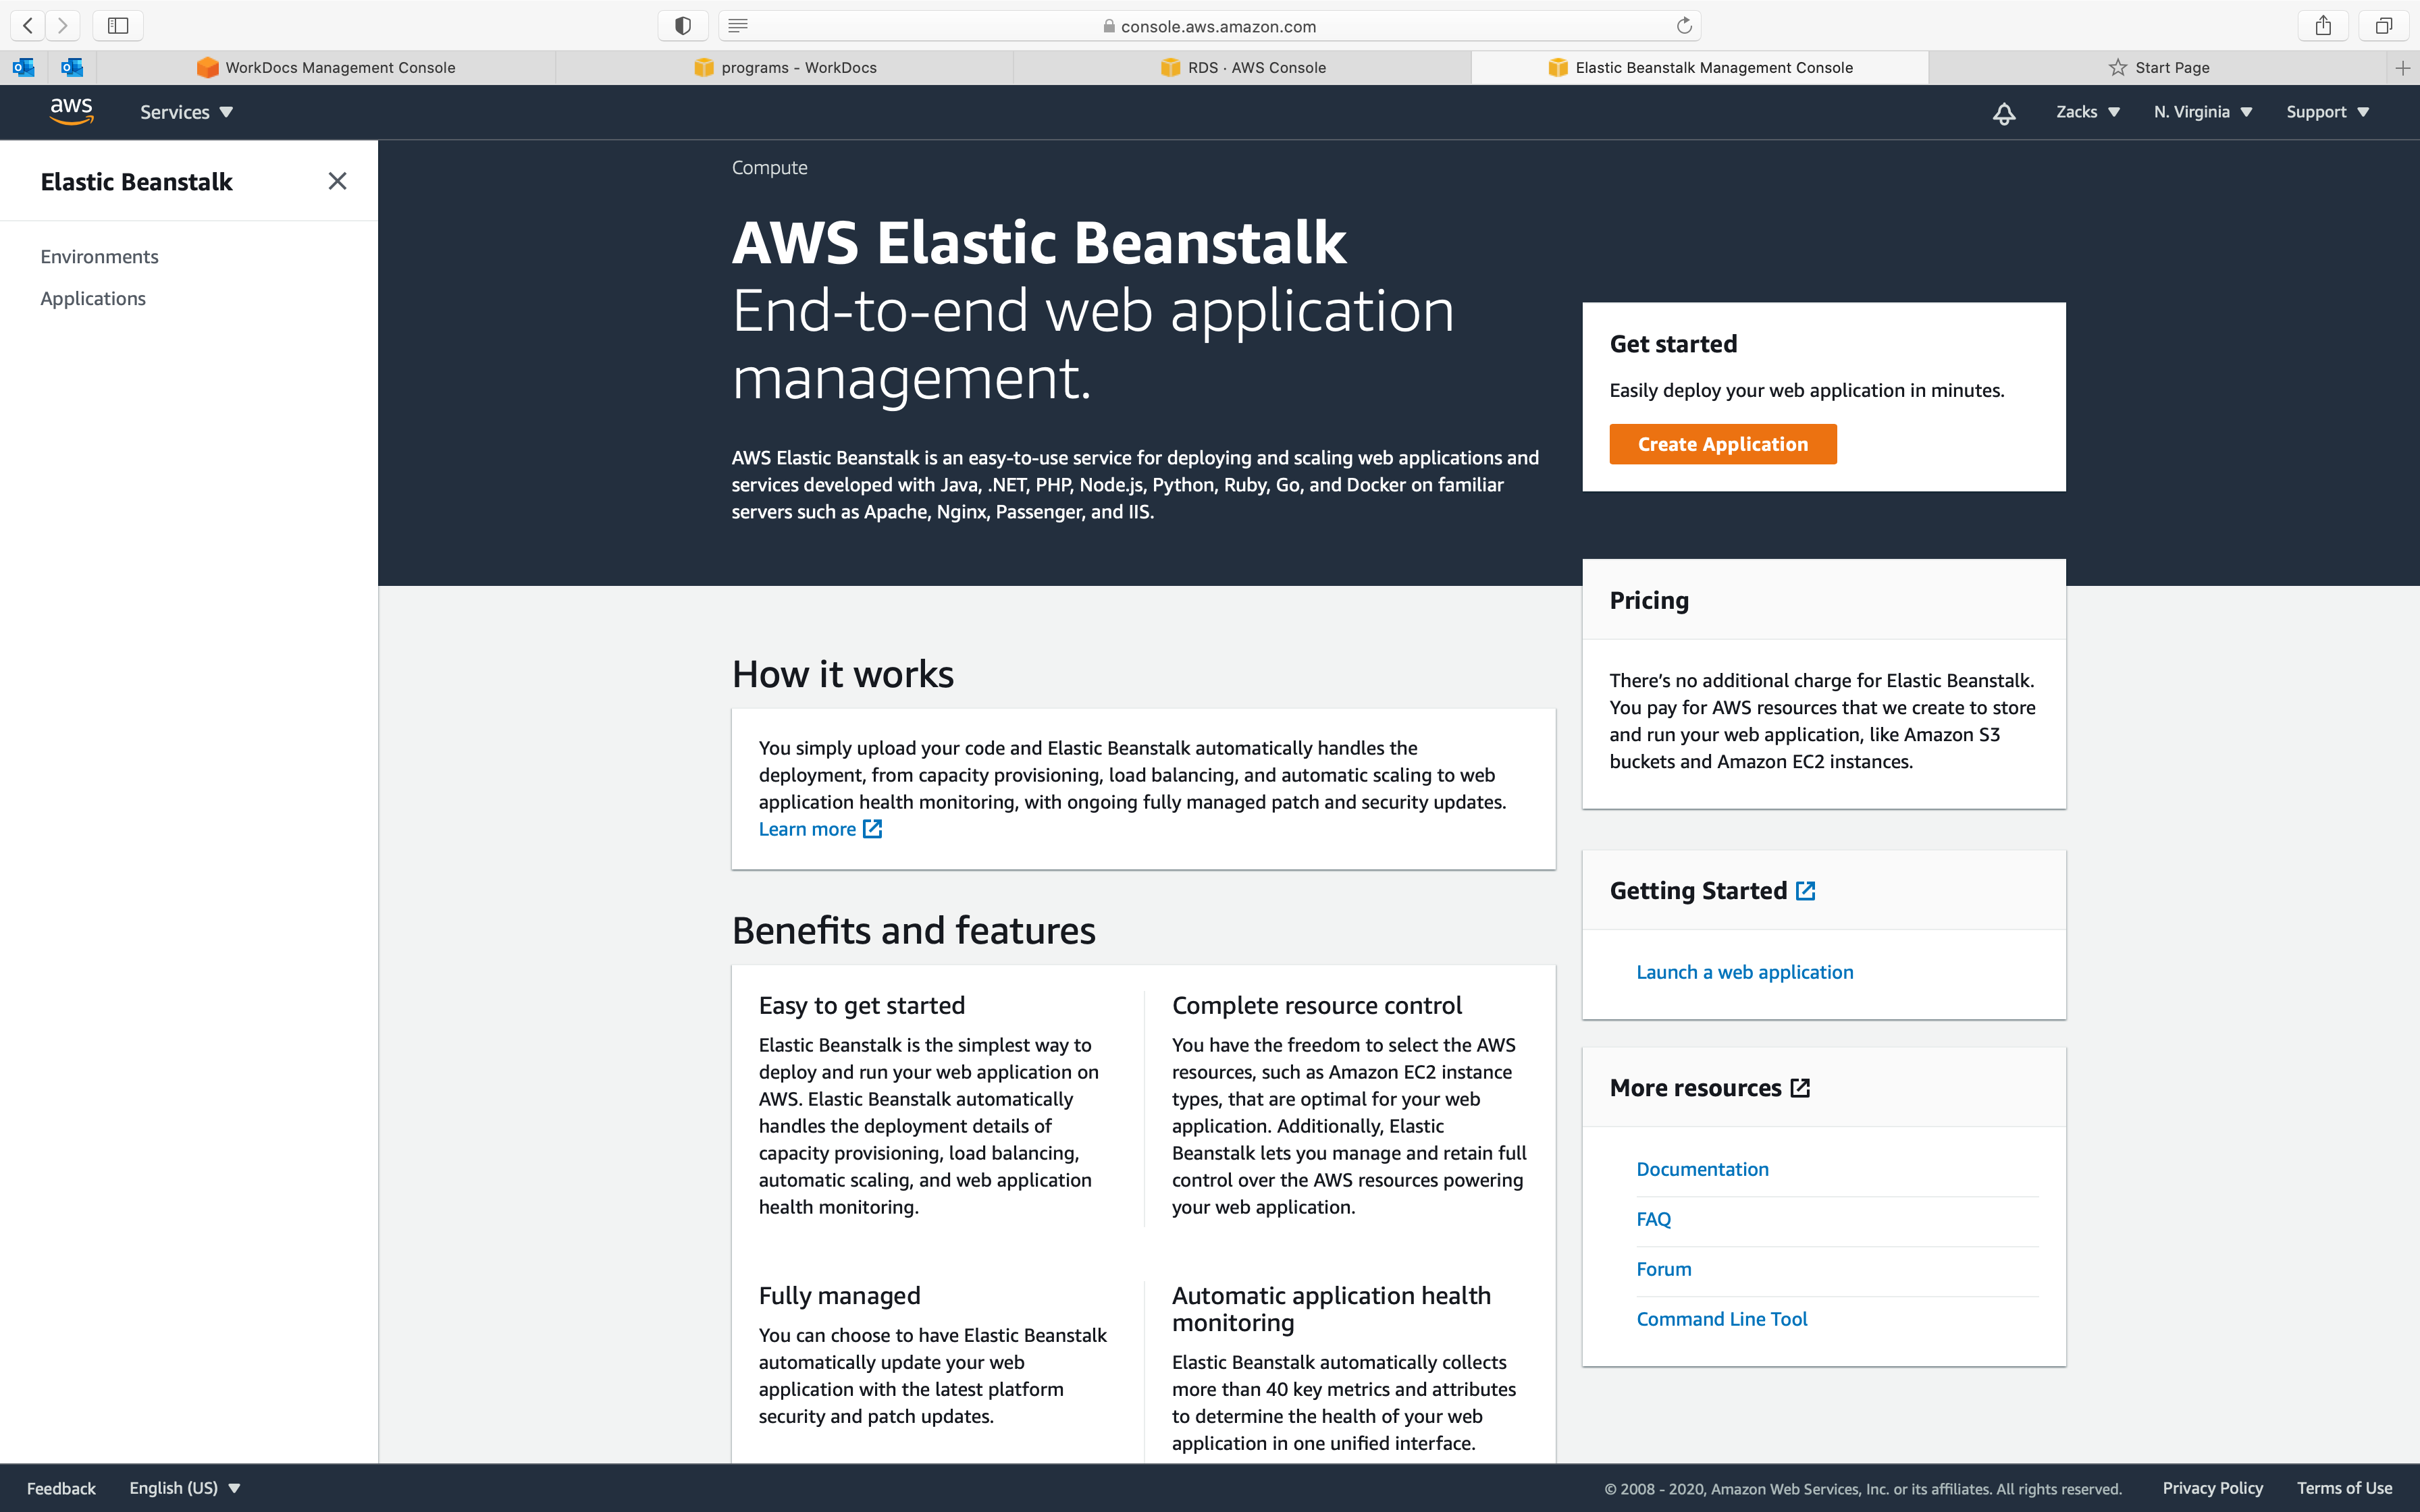
On this page, we will enter simple details to get your environment up and running:
- Application Name :
SampleApplication. This is usually the name of the product/project that you are building. - Application tags
- Key
- Value
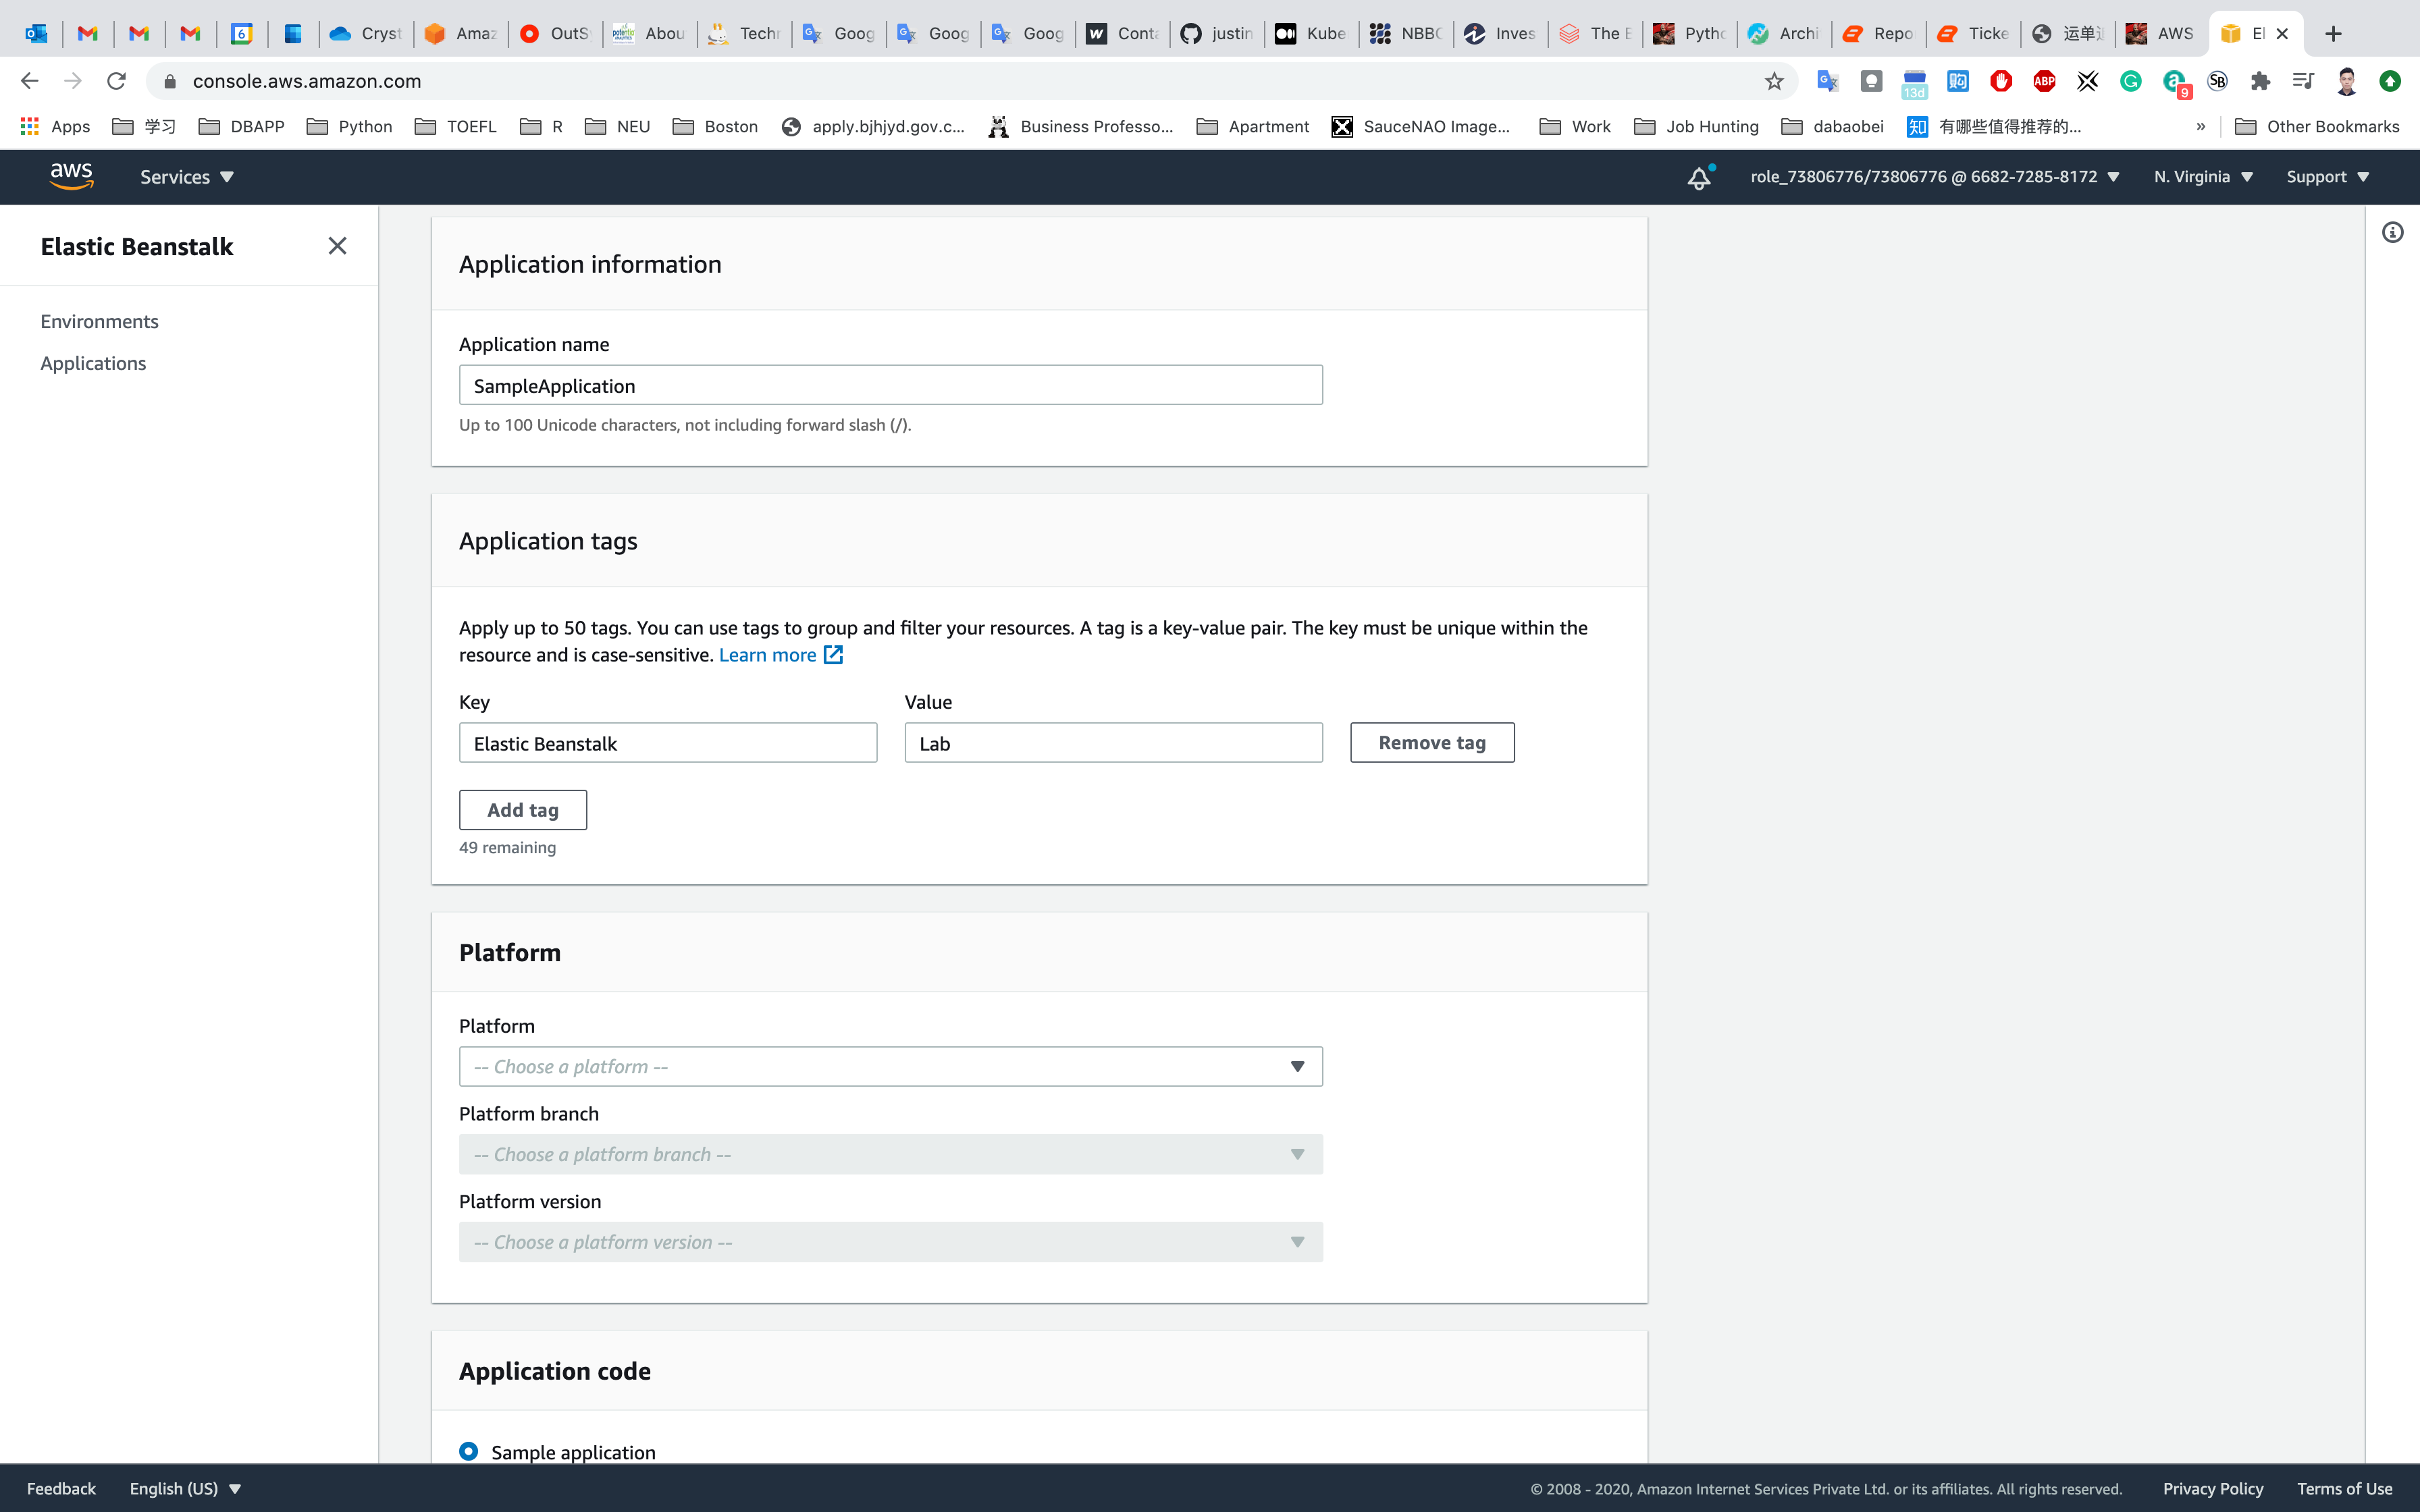
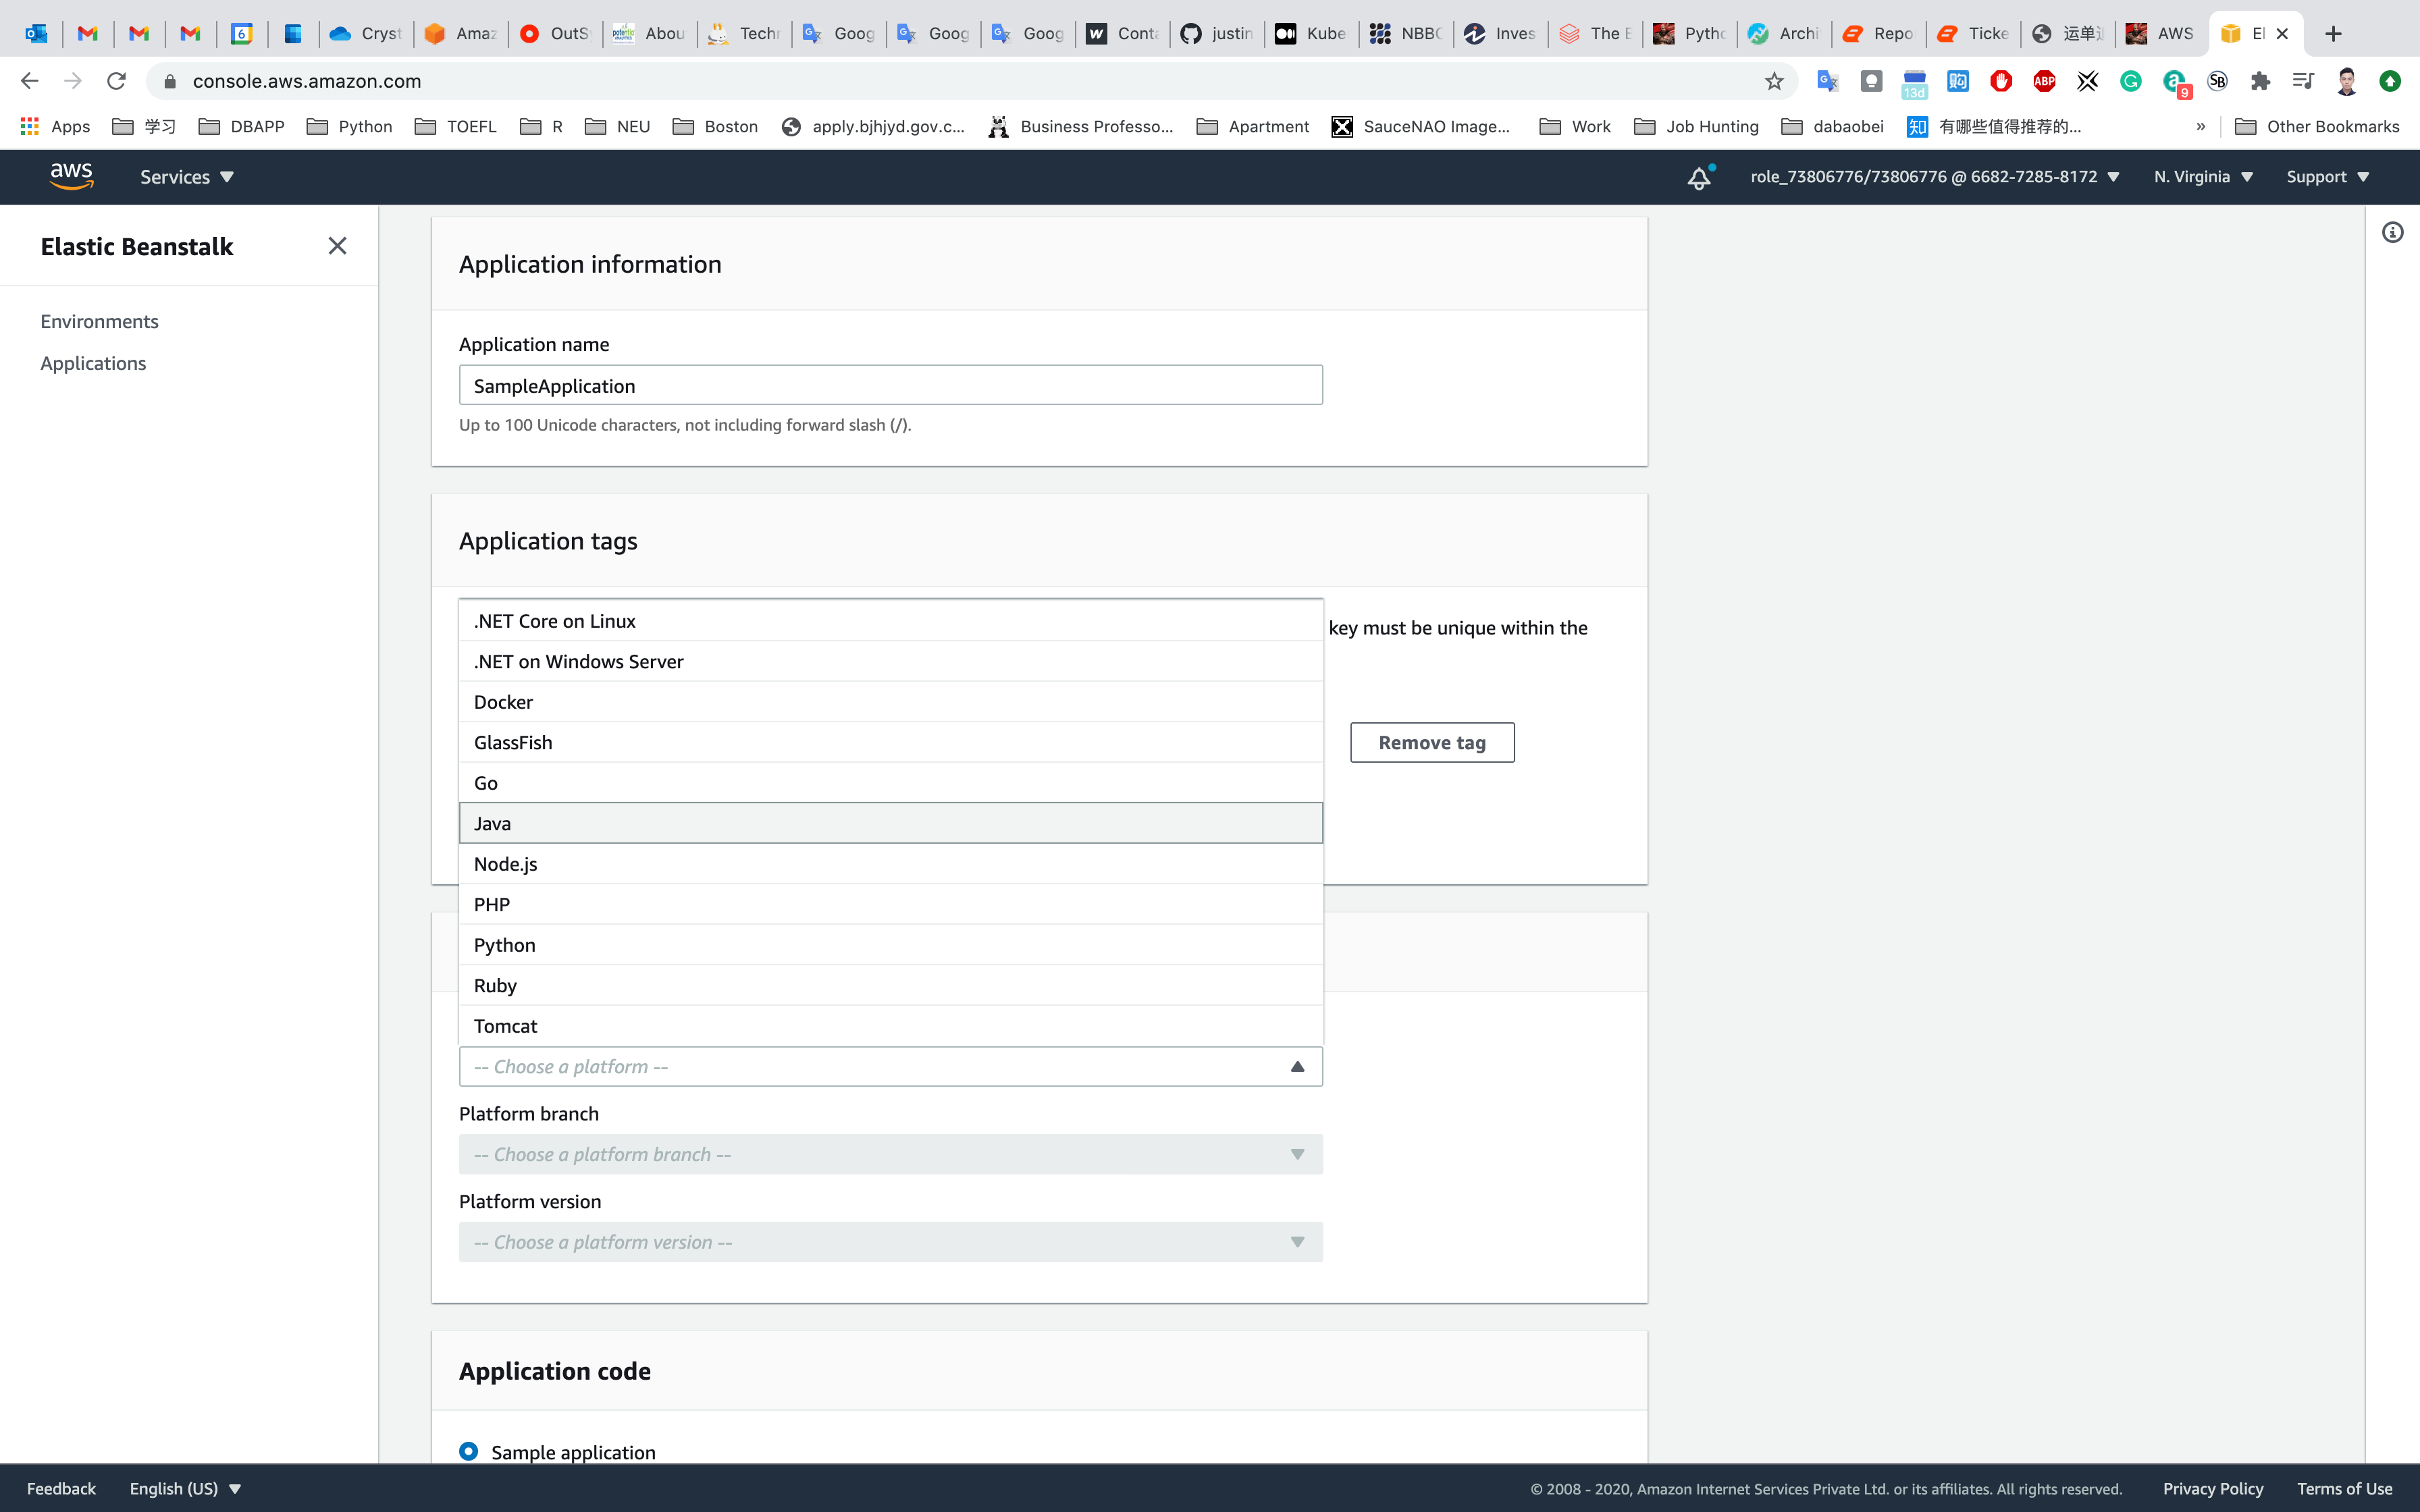
- Platform:
Java
Leave the other settings as default.
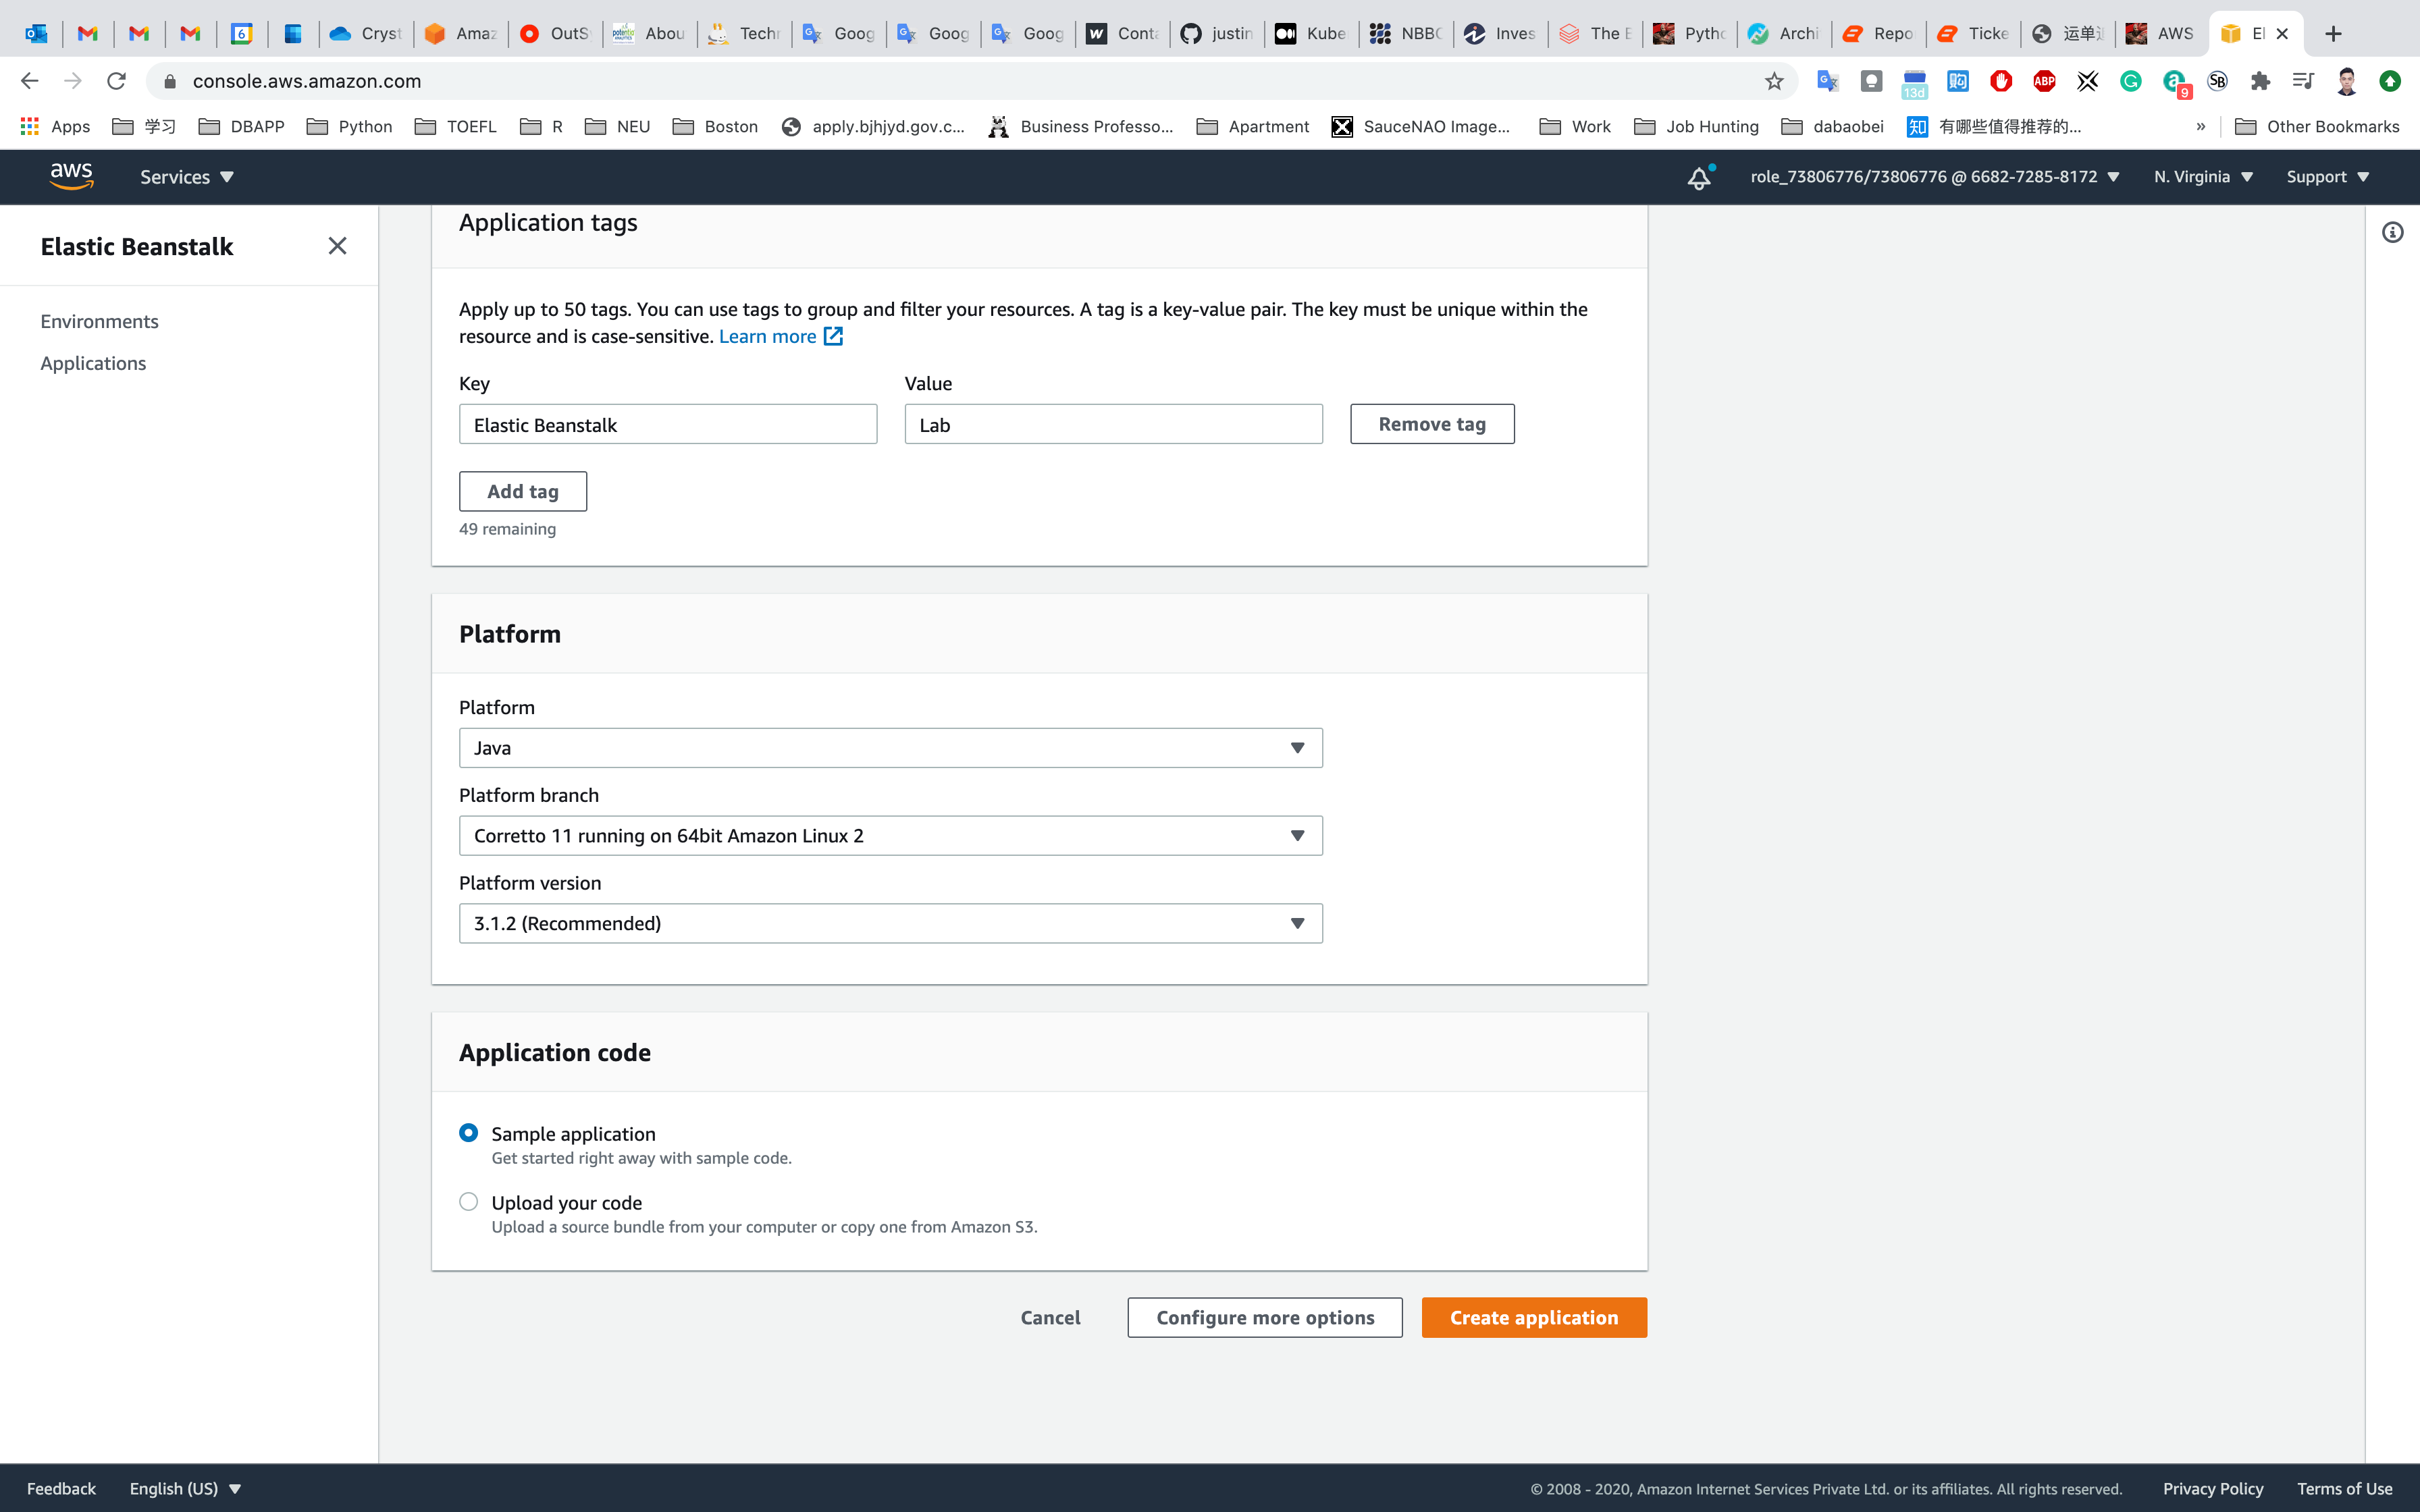
Click on Create Application. AWS will start the work of creating your environment for you.
Note: This process usually takes about 10 to 15 minutes to complete. Refresh the page once every few minutes to see if it has completed.
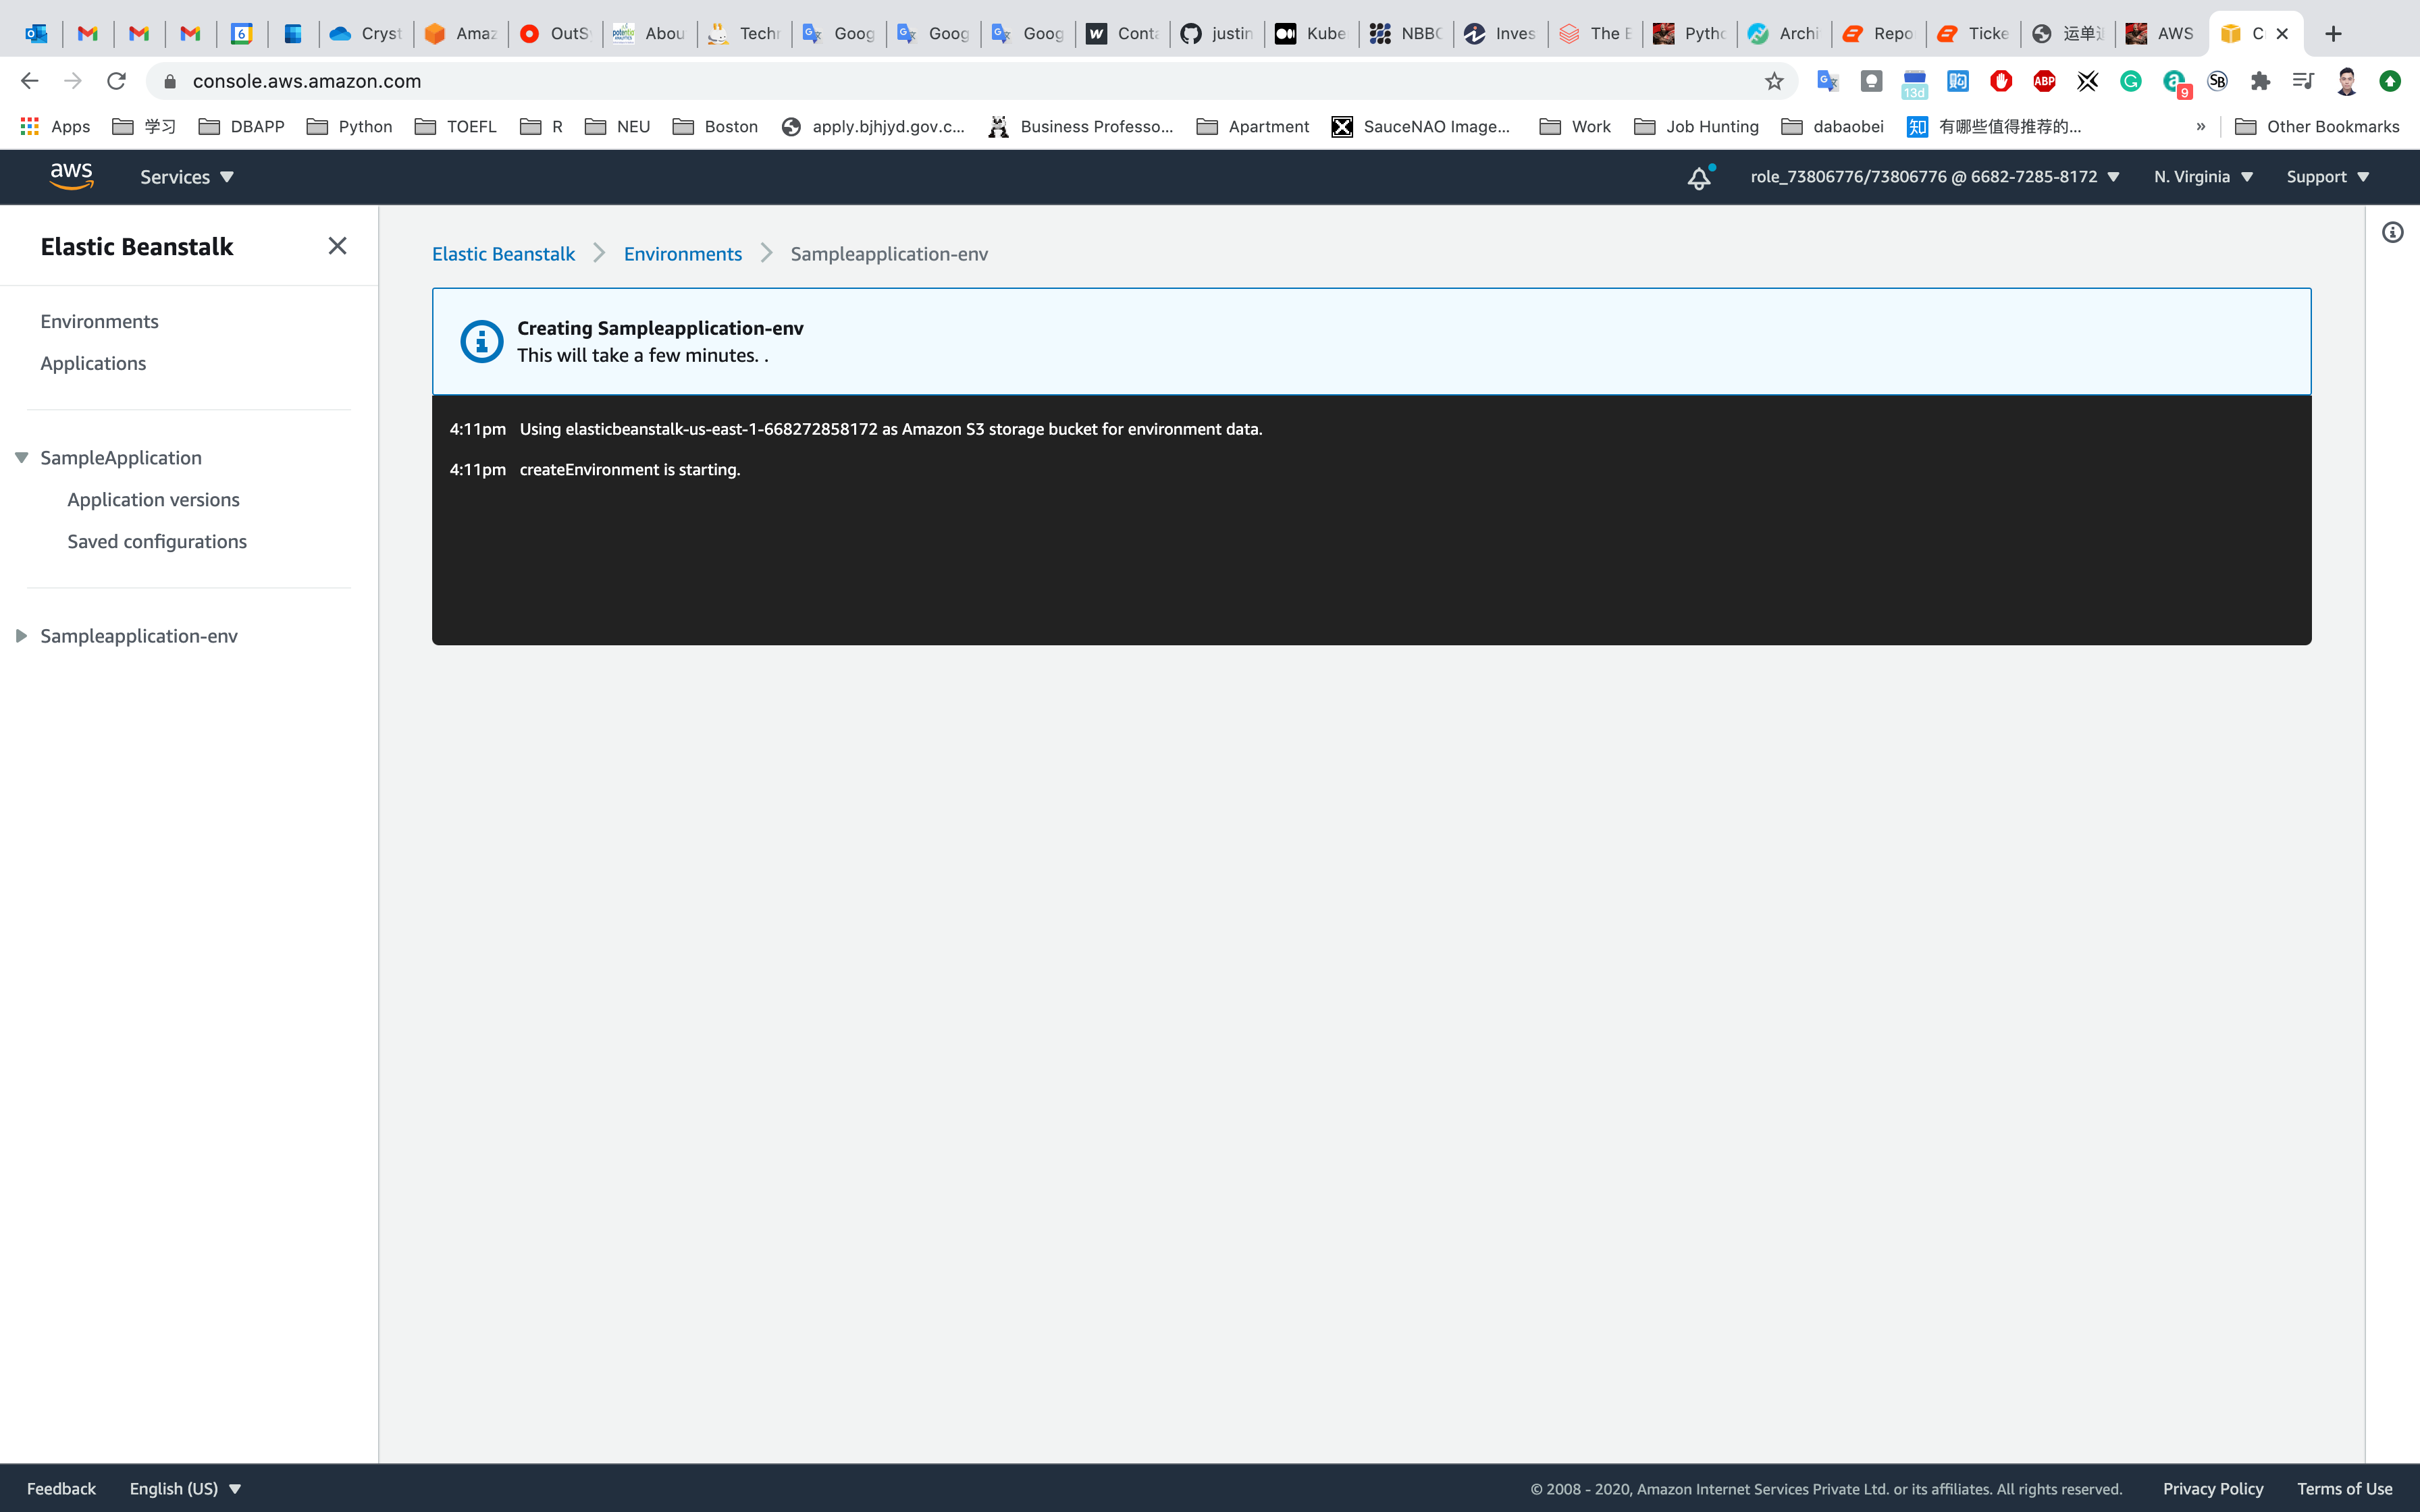
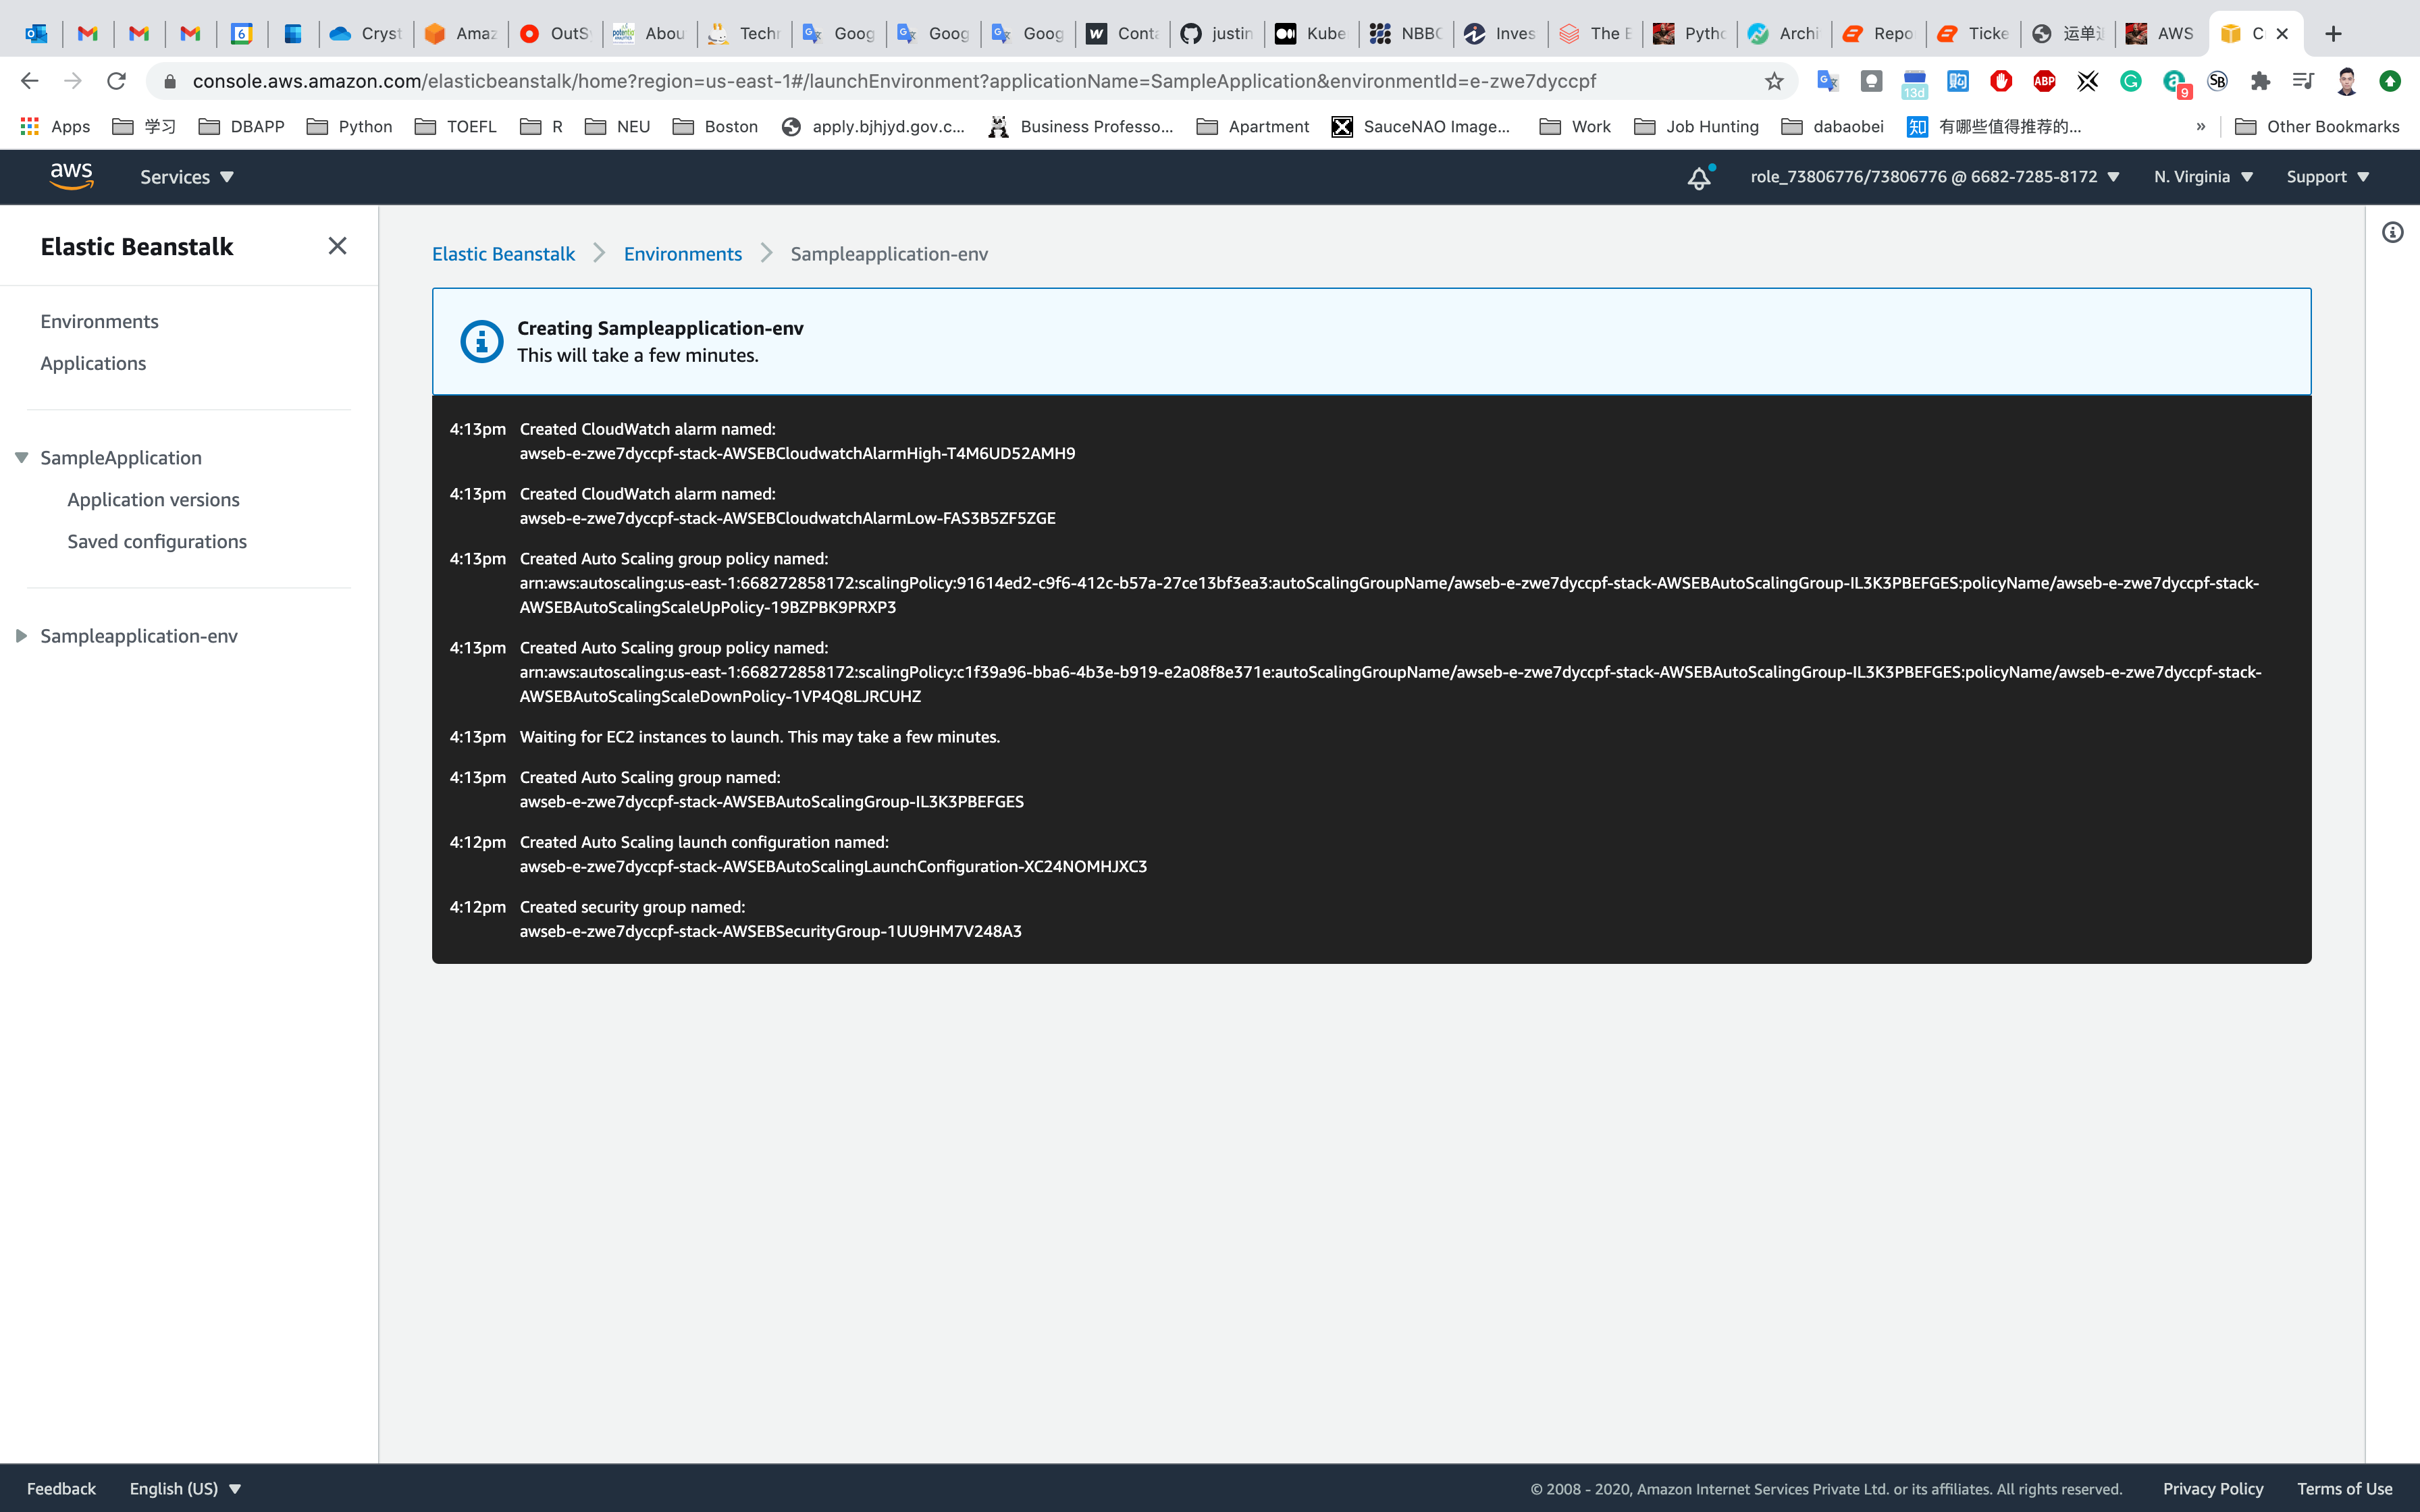
Once the above is completed, you will be able to see SampleApplication in the dashboard. This is the main Elastic Beanstalk screen for your application. A sample screenshot is given below:

Validate Test
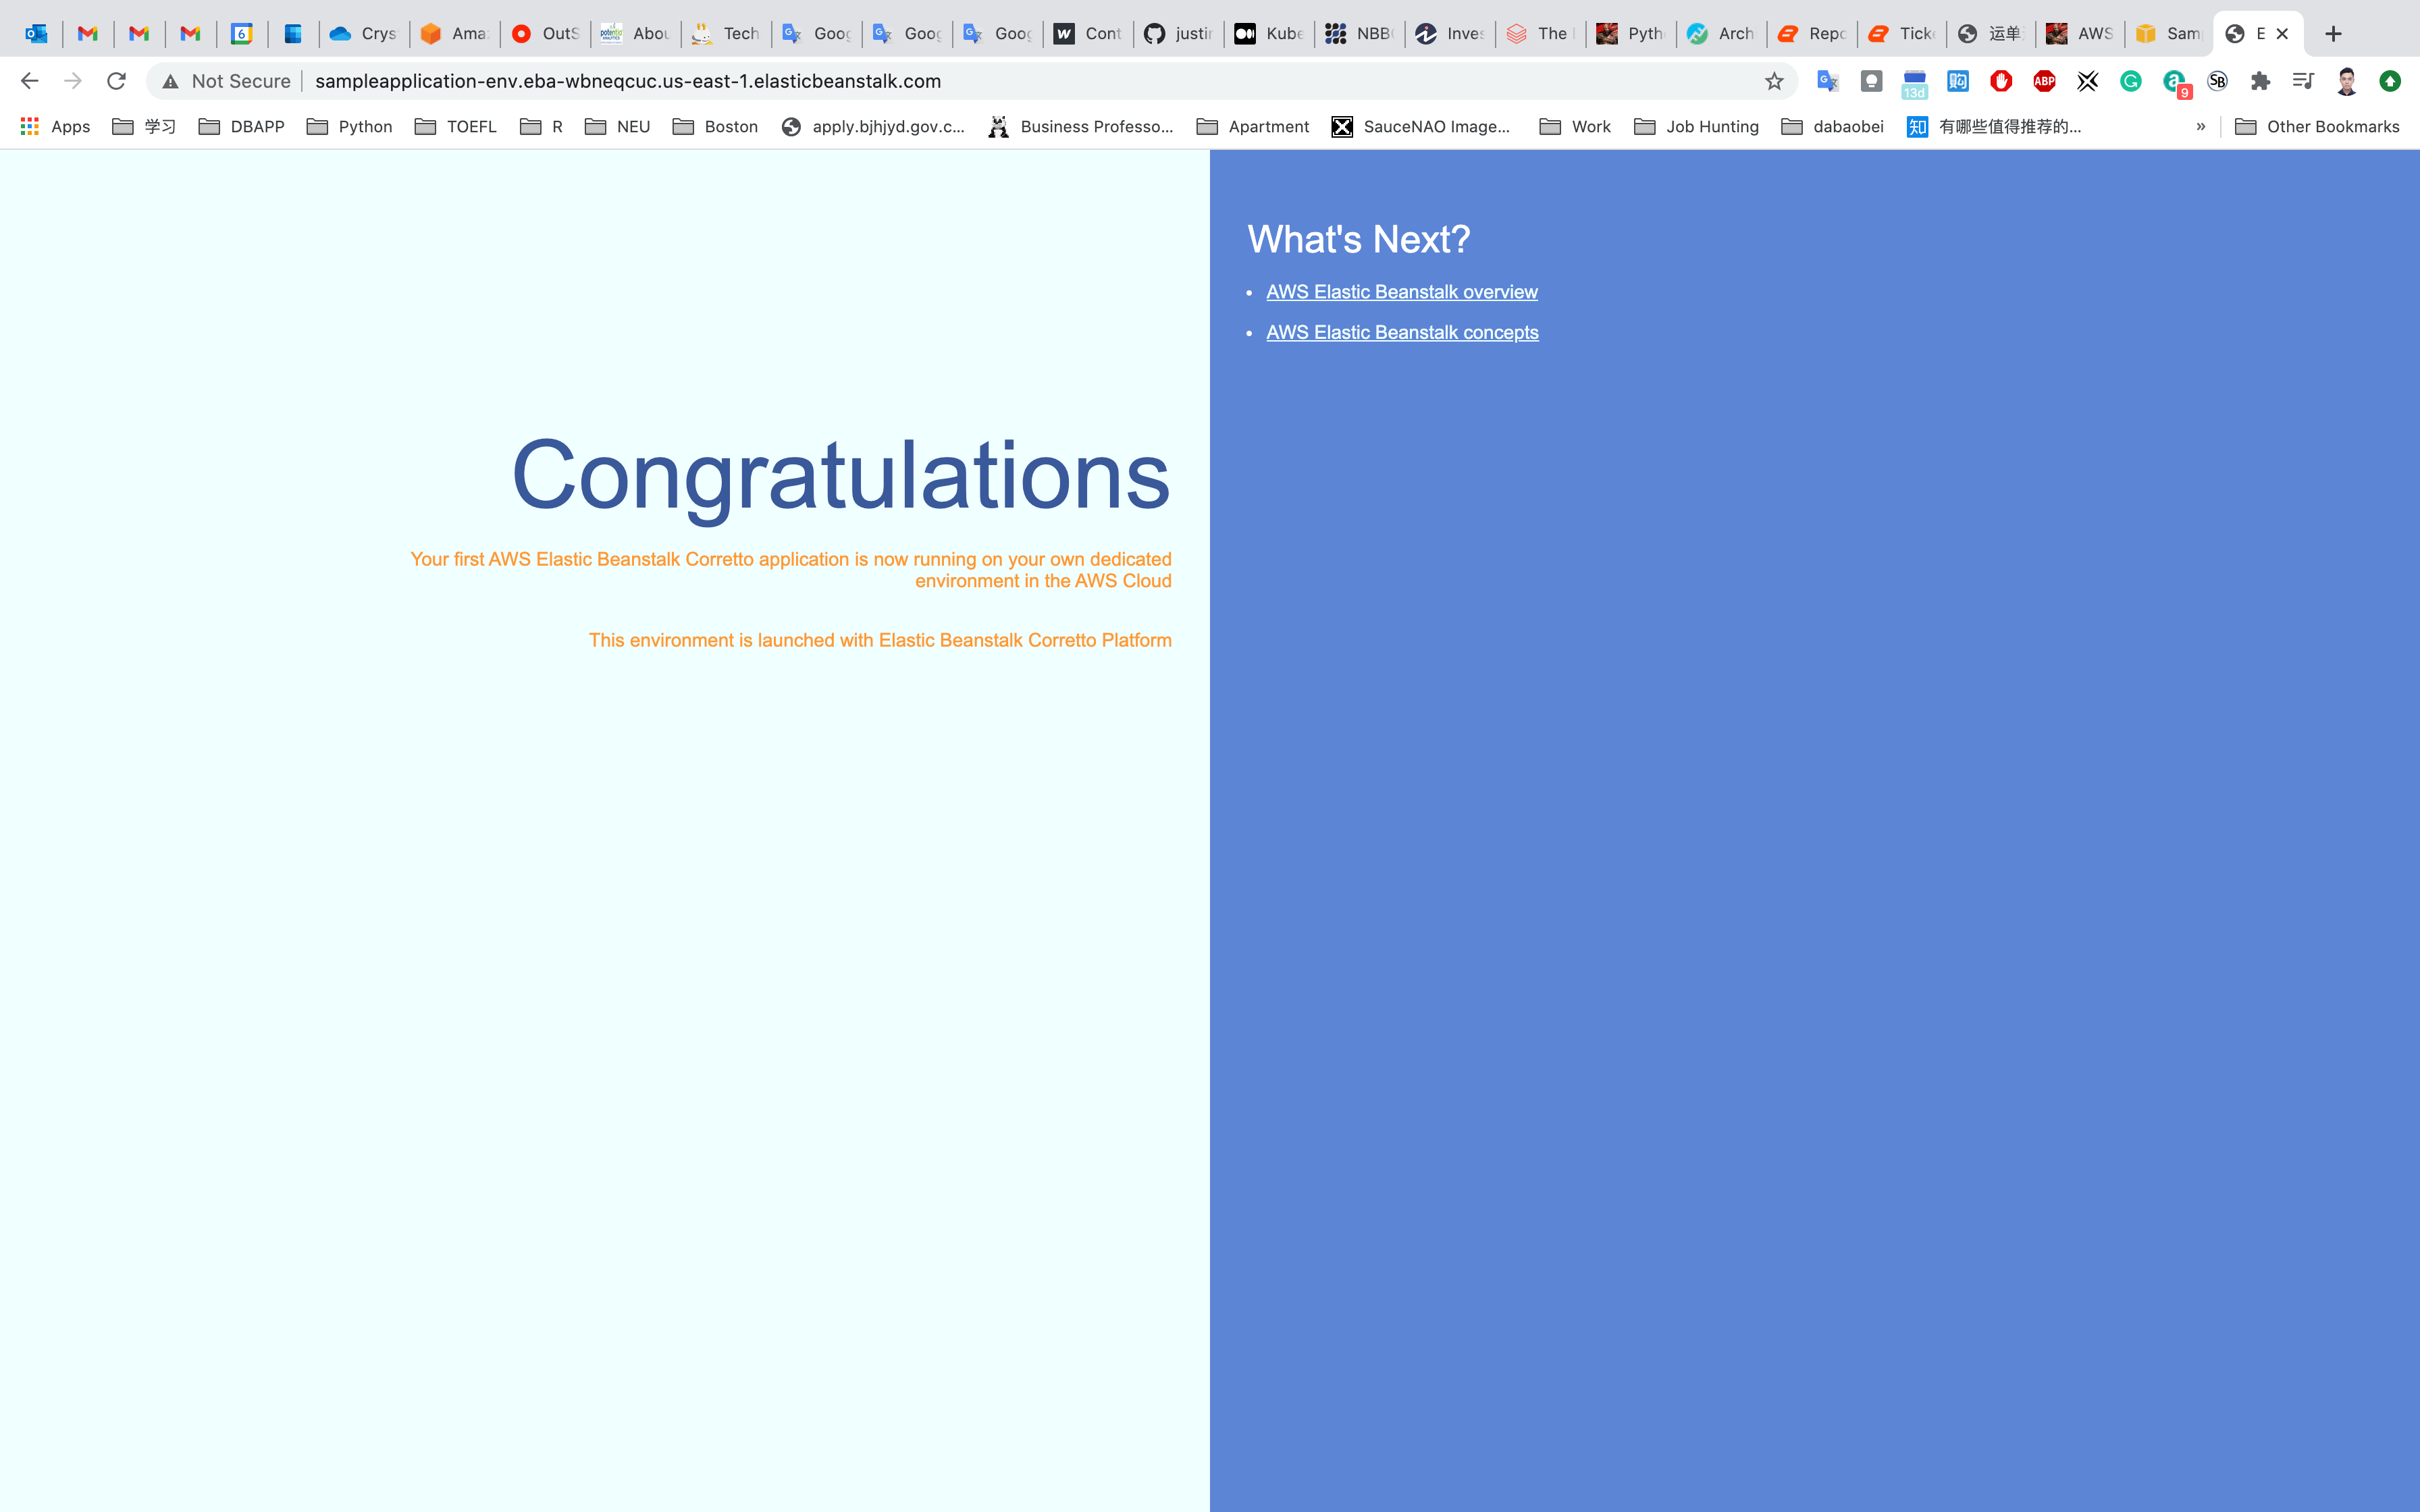
On the dashboard, you can see your application URL.
- Sampleapplication-env.eba-wbneqcuc.us-east-1.elasticbeanstalk.com
To test your application, copy the app URL and paste into your browser. You will see your application is running successfully. A sample screenshot is given below:
You can also change other important configuration options for your application like database, software, and instances in the Configuration menu.
Completion and Conclusion
- You have successfully deployed a sample Java Application in AWS Elastic Beanstalk.
- You have tested the deployed application with the URL generated after the deployment.