AWS CloudFormation Lab
AWS CloudFormation
Introduction to Amazon CloudFormation
https://play.whizlabs.com/site/task_details?lab_type=1&task_id=19&quest_id=35
Lab Details
- This lab walks you through AWS CloudFormation features. In this lab, we will demonstrate the use of AWS CloudFormation Stack through creating a simple LAMP Server.
Task Details
- Log into the AWS Management Console.
- Create a new CloudFormation Stack using the JSON file provided an S3 bucket.
- Test the Environment created by the CloudFormation Stack.
Architecture Diagram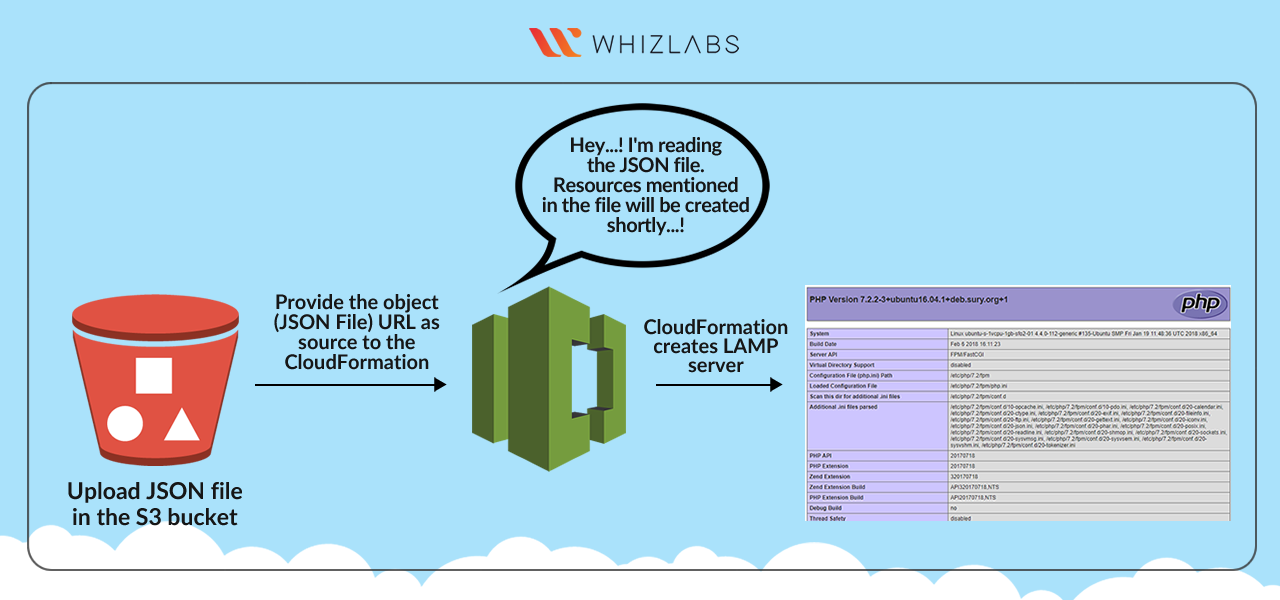
CloudFormation Configuration
Services -> CloudFormation
Prerequisite
- Download the CloudFormation template from https://zacks-aws.s3.amazonaws.com/LAMP_template.json
- Then modify the settings in the JSON file as yours.
- Upload the JSON file to your S3 bucket (make sure with proper access permission) and copy the object url.
Create Cloudformation Stack
On the CloudFormation dashboard, click on Create stack.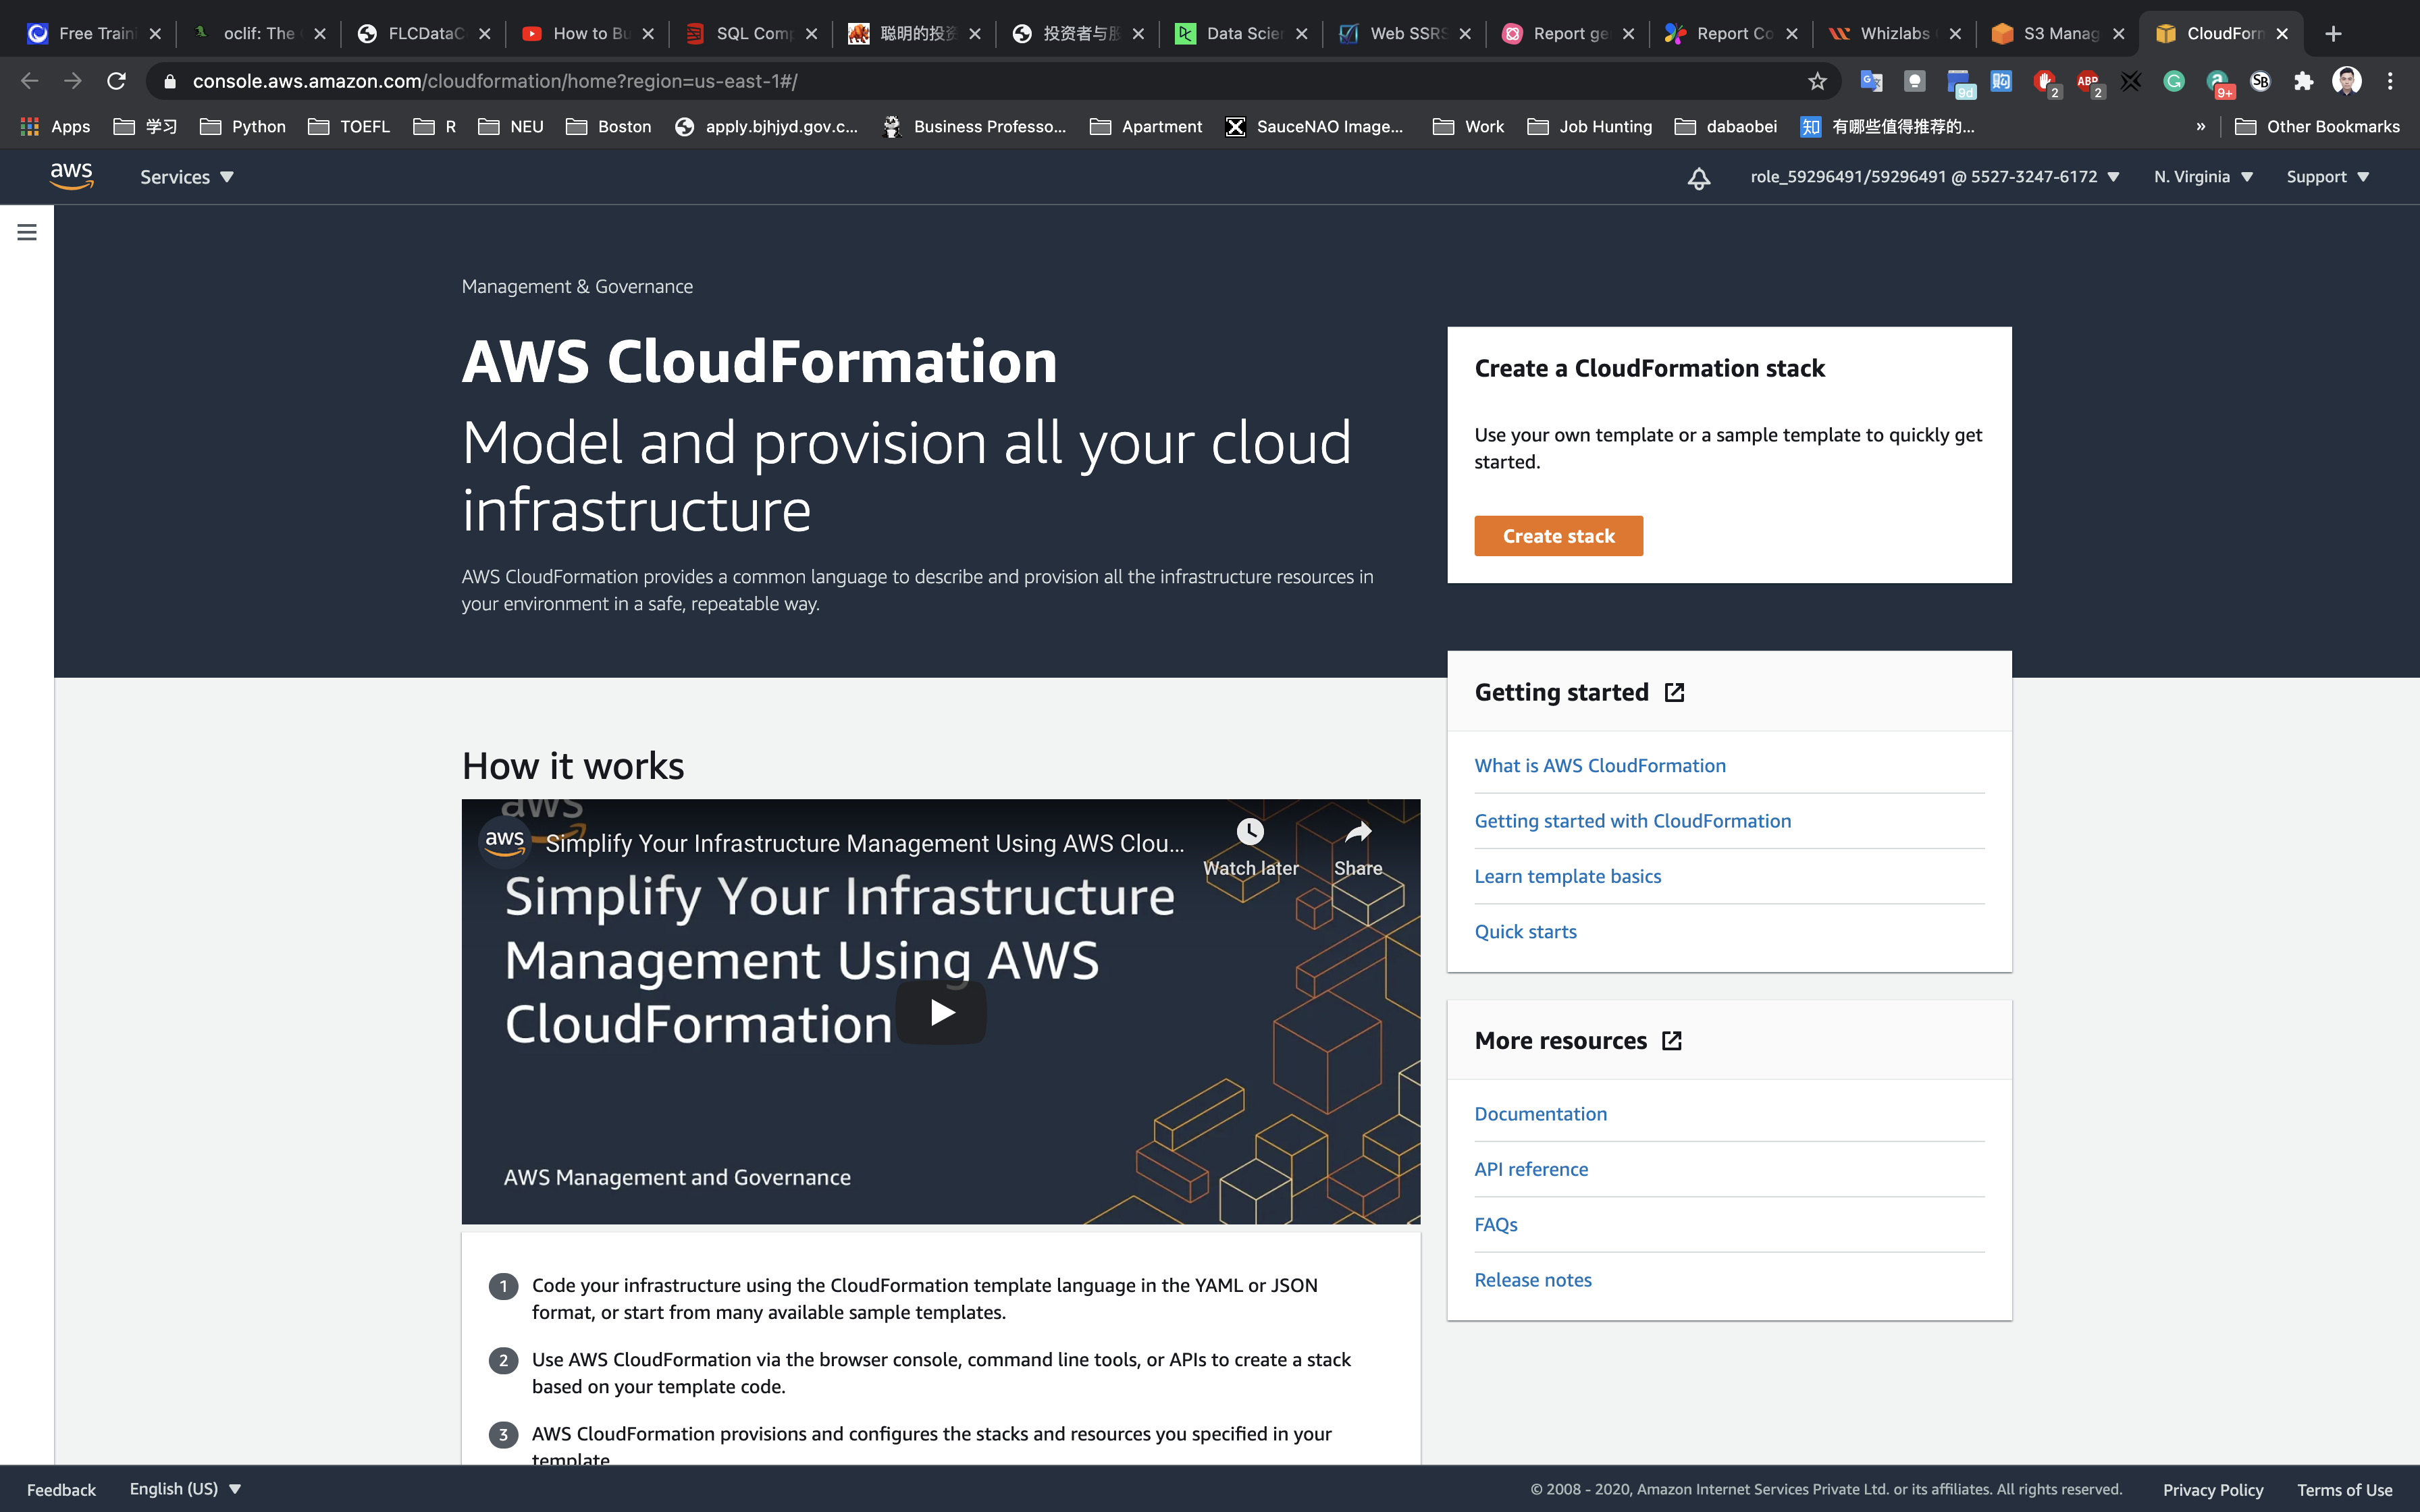
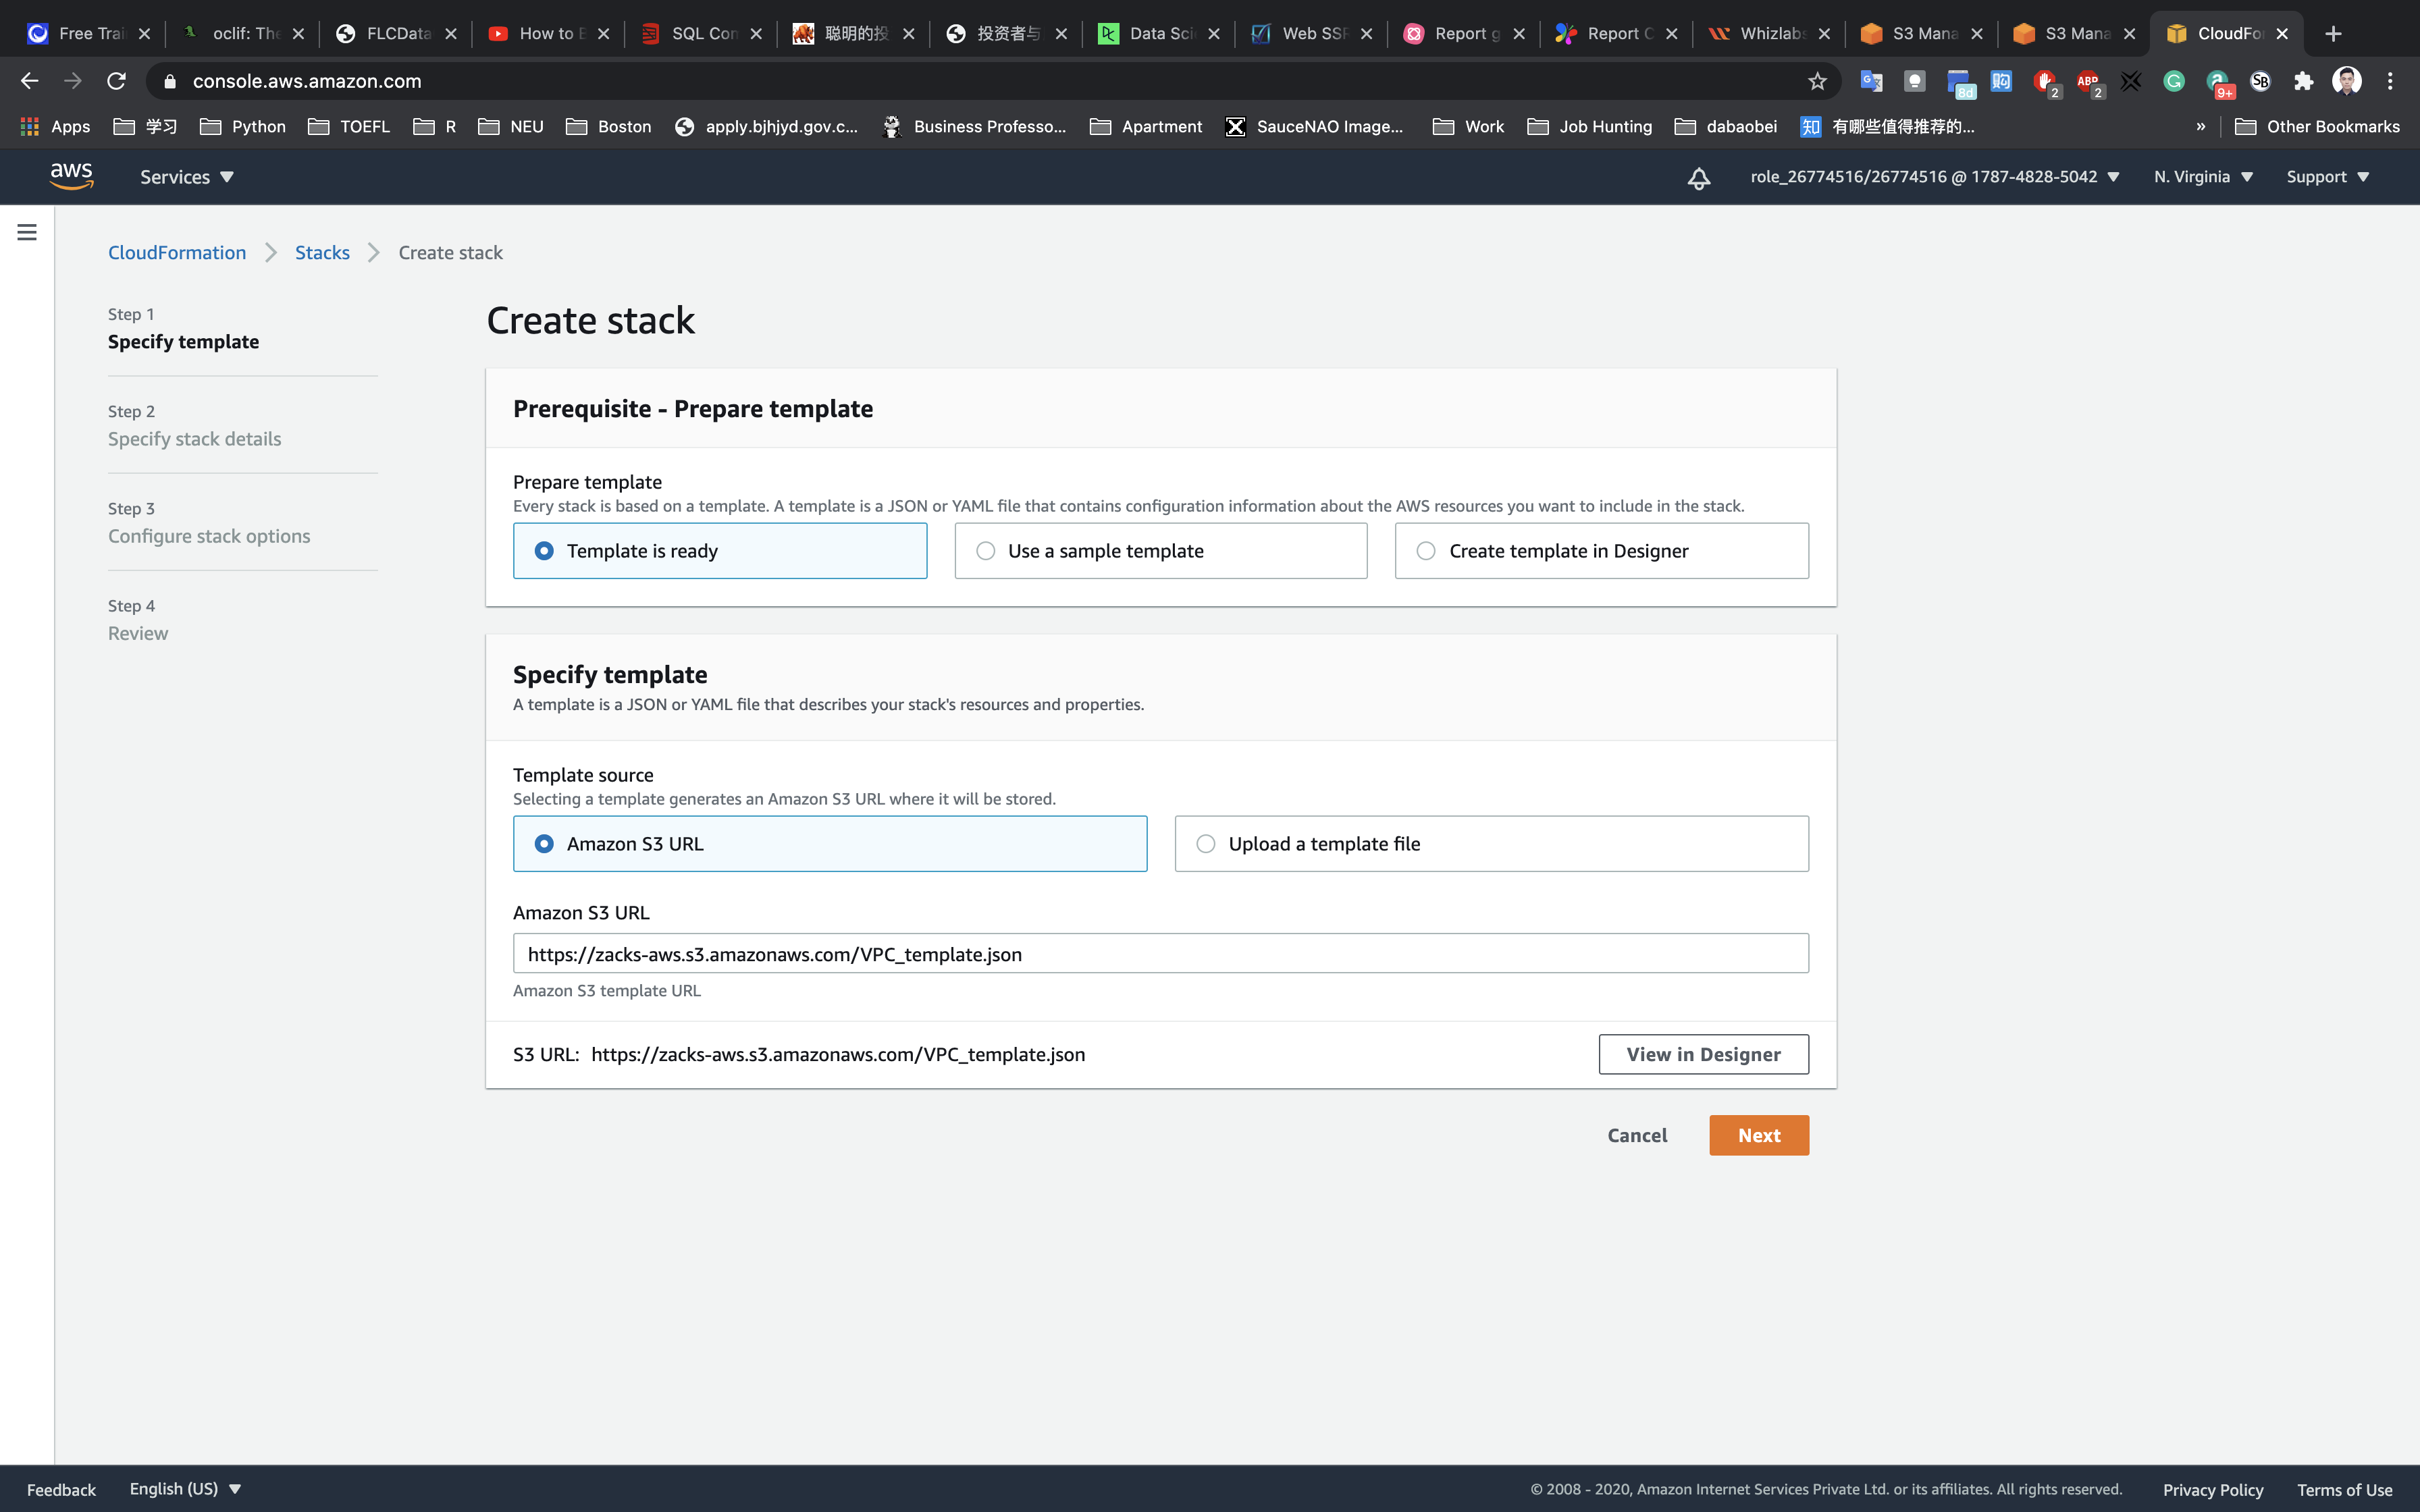
Step 1: Specify Template
- Prepare template:
Template is ready - Specific templates
- Template source:
Select Amazon S3 URL or Upload your template - Amazon S3 URL: Paste the URL copied from earlier.
- Template source:
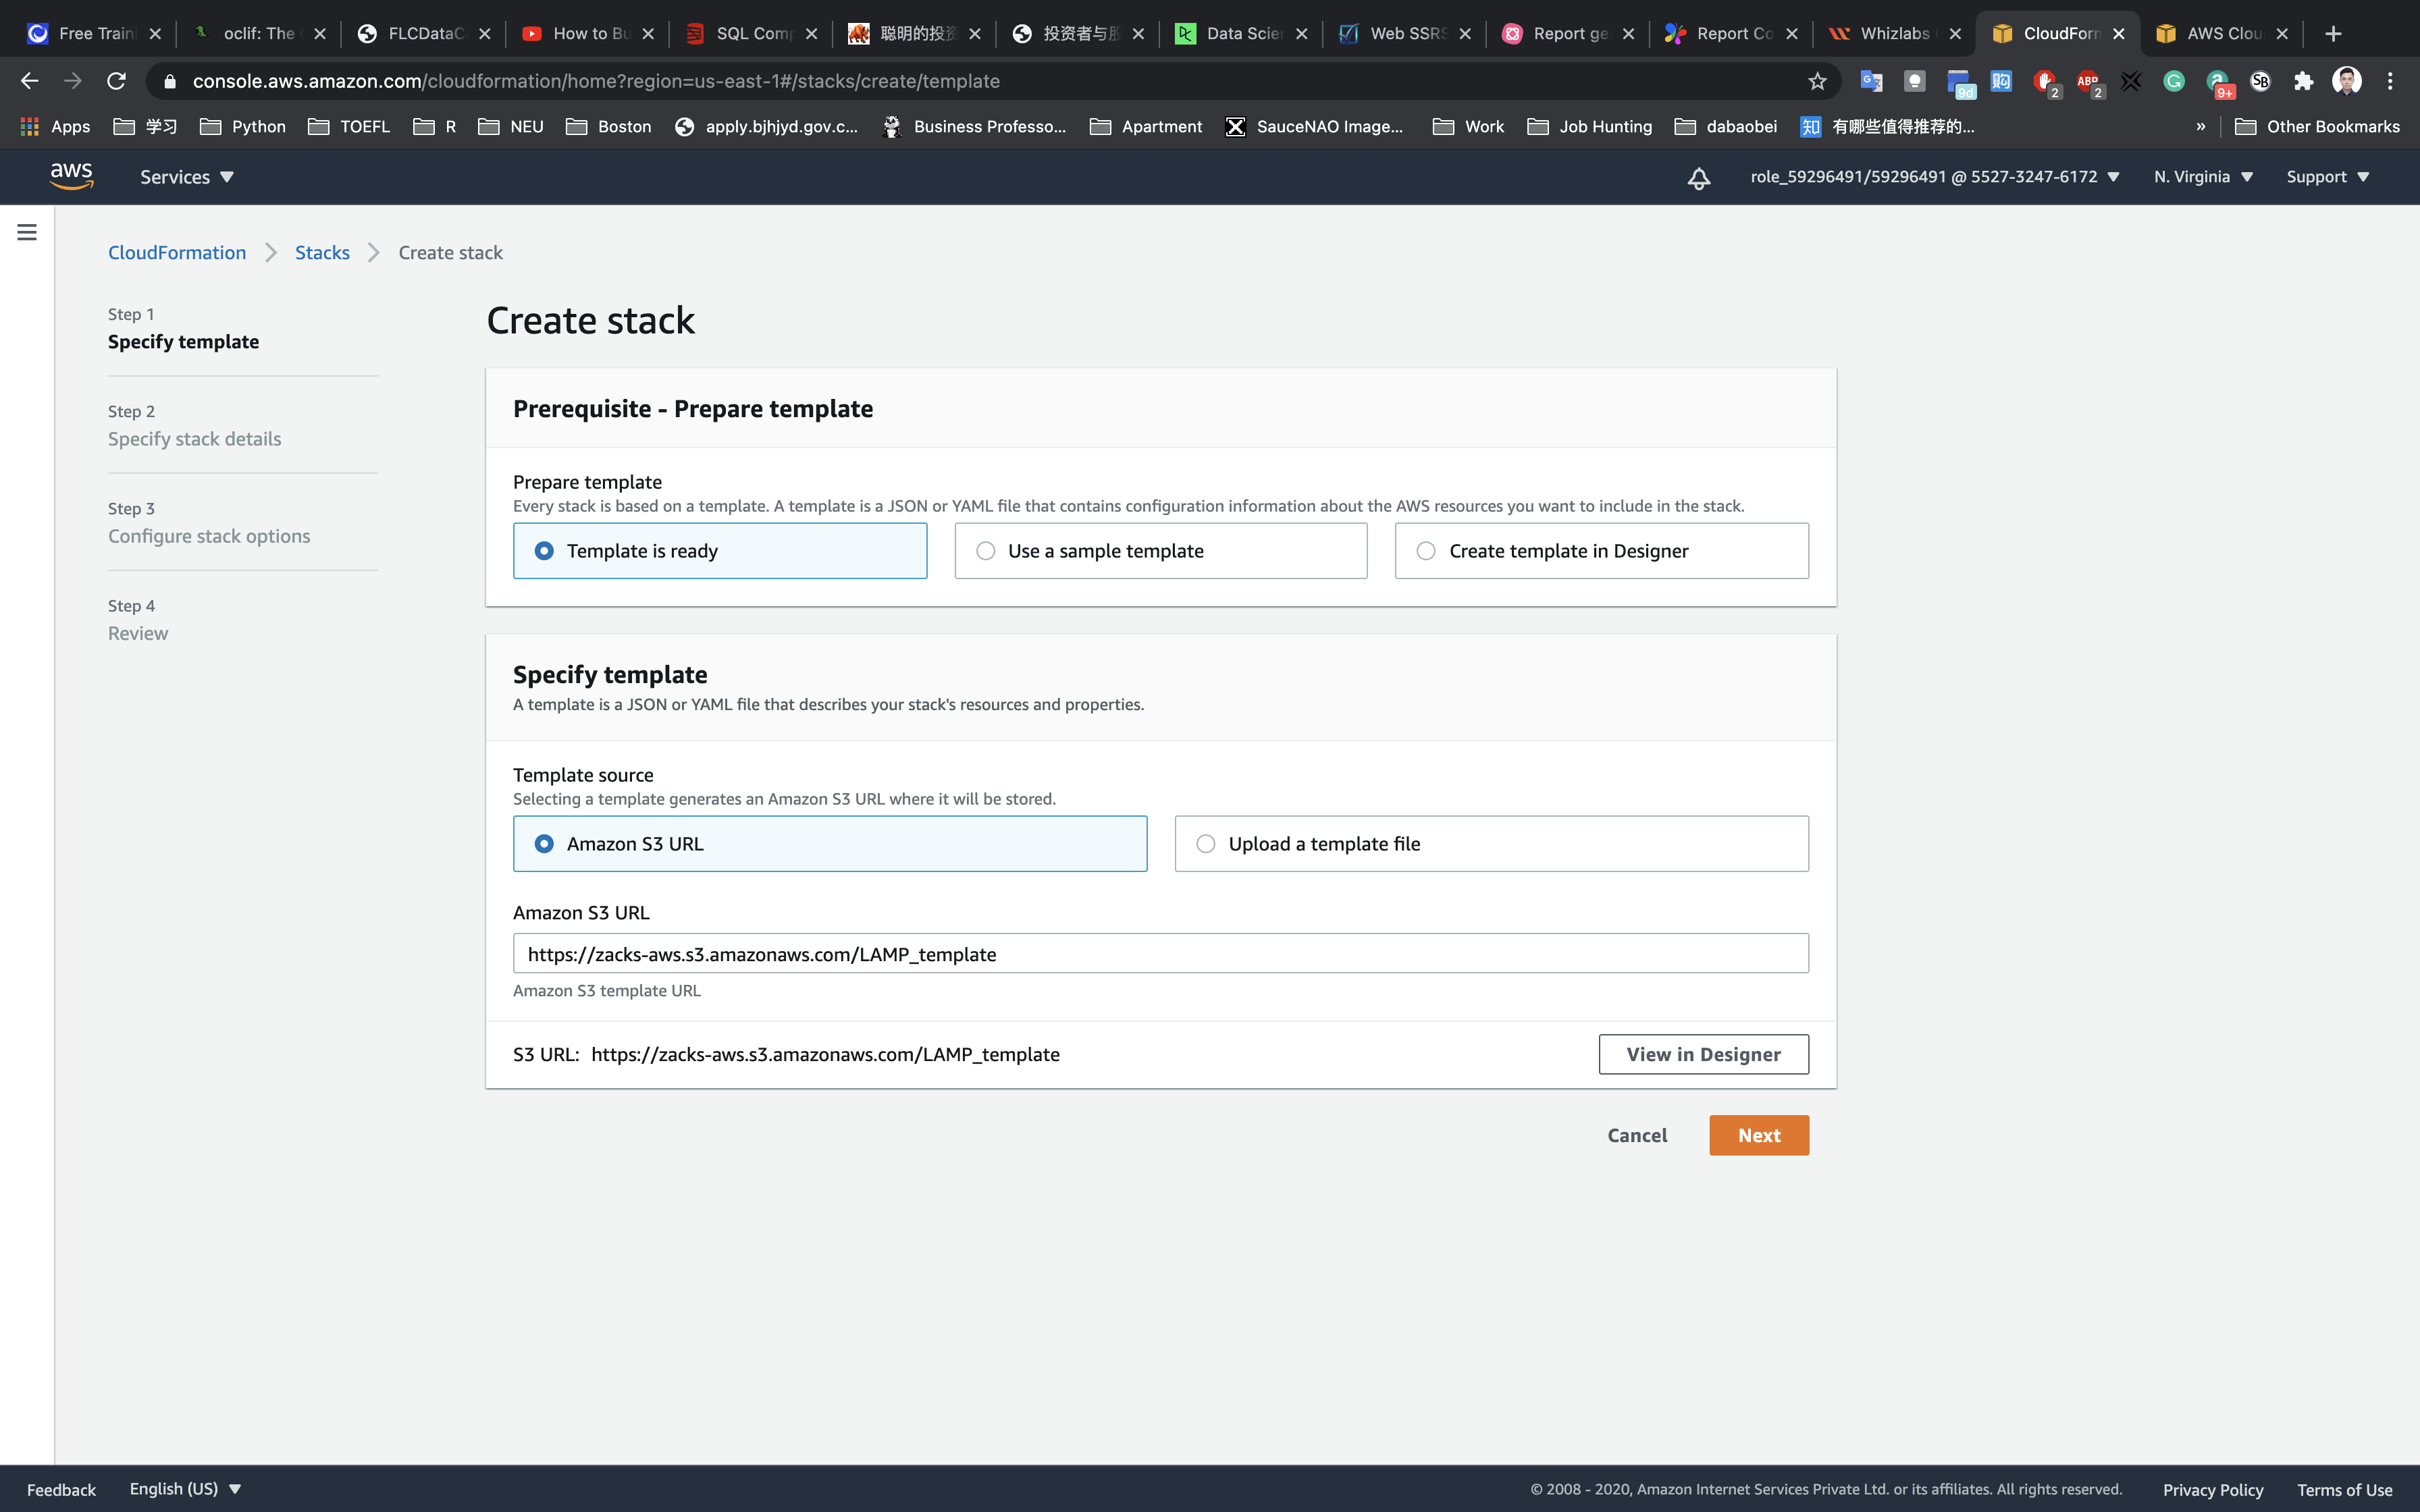
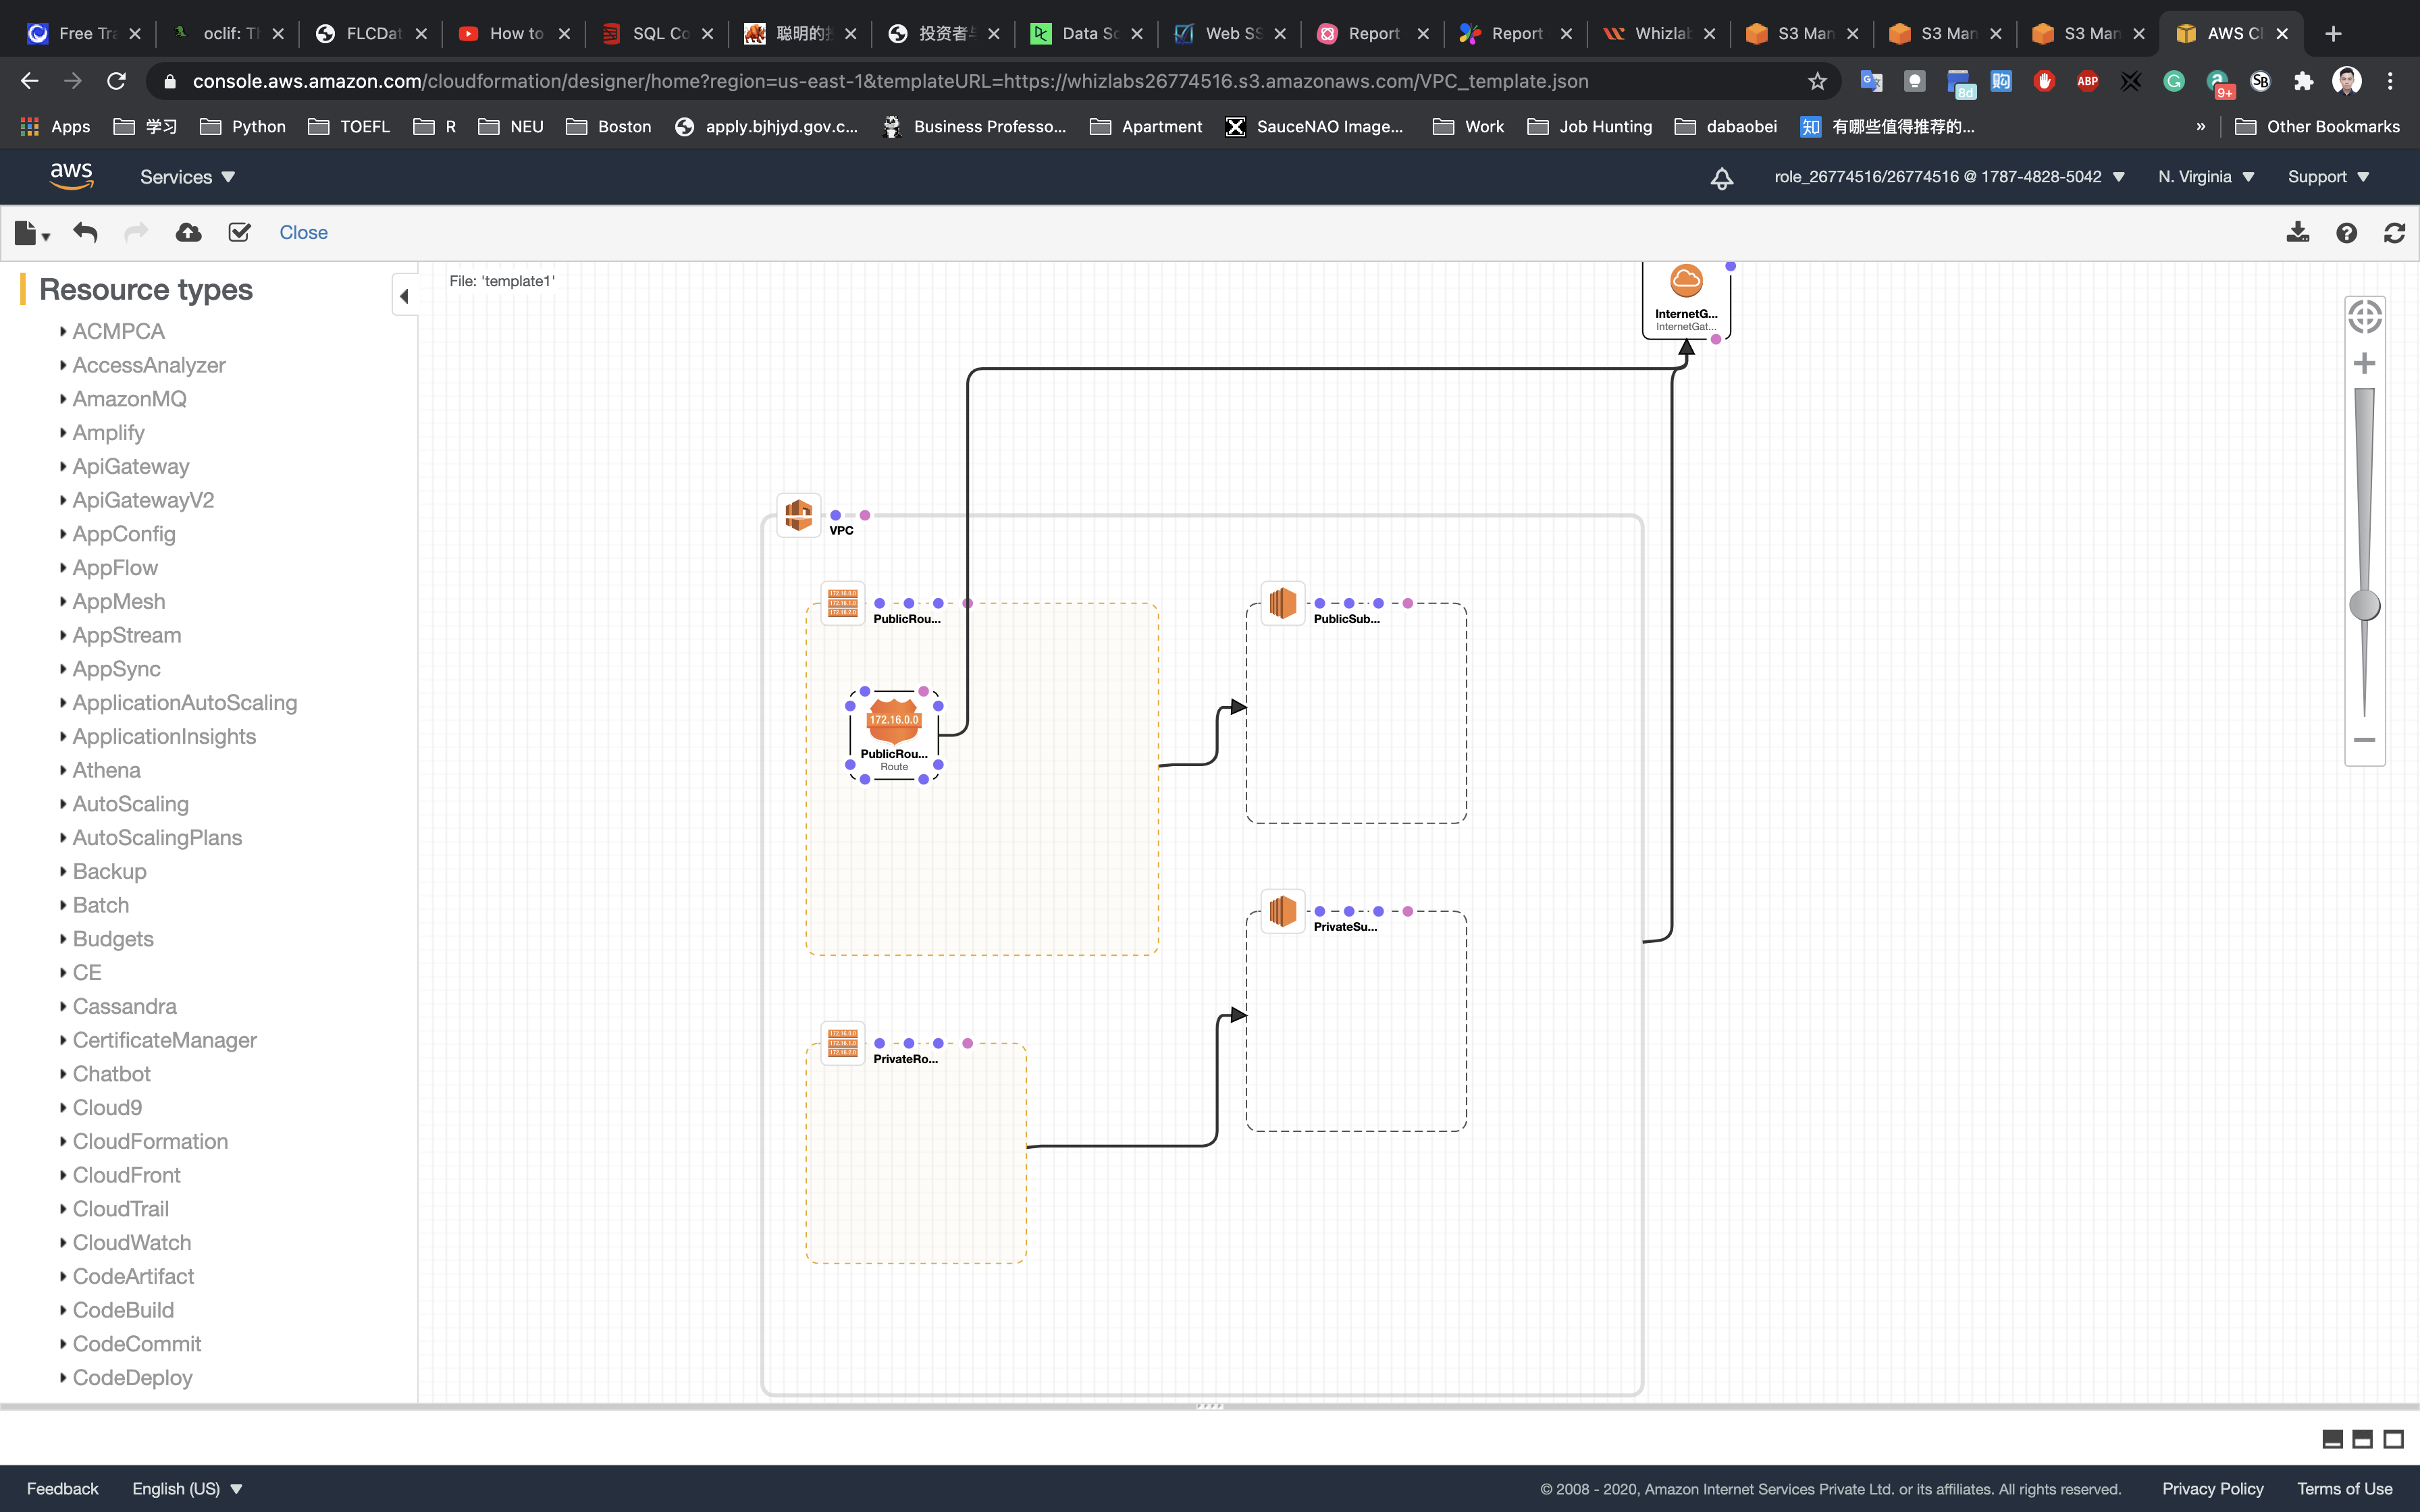
Click on View in Designer
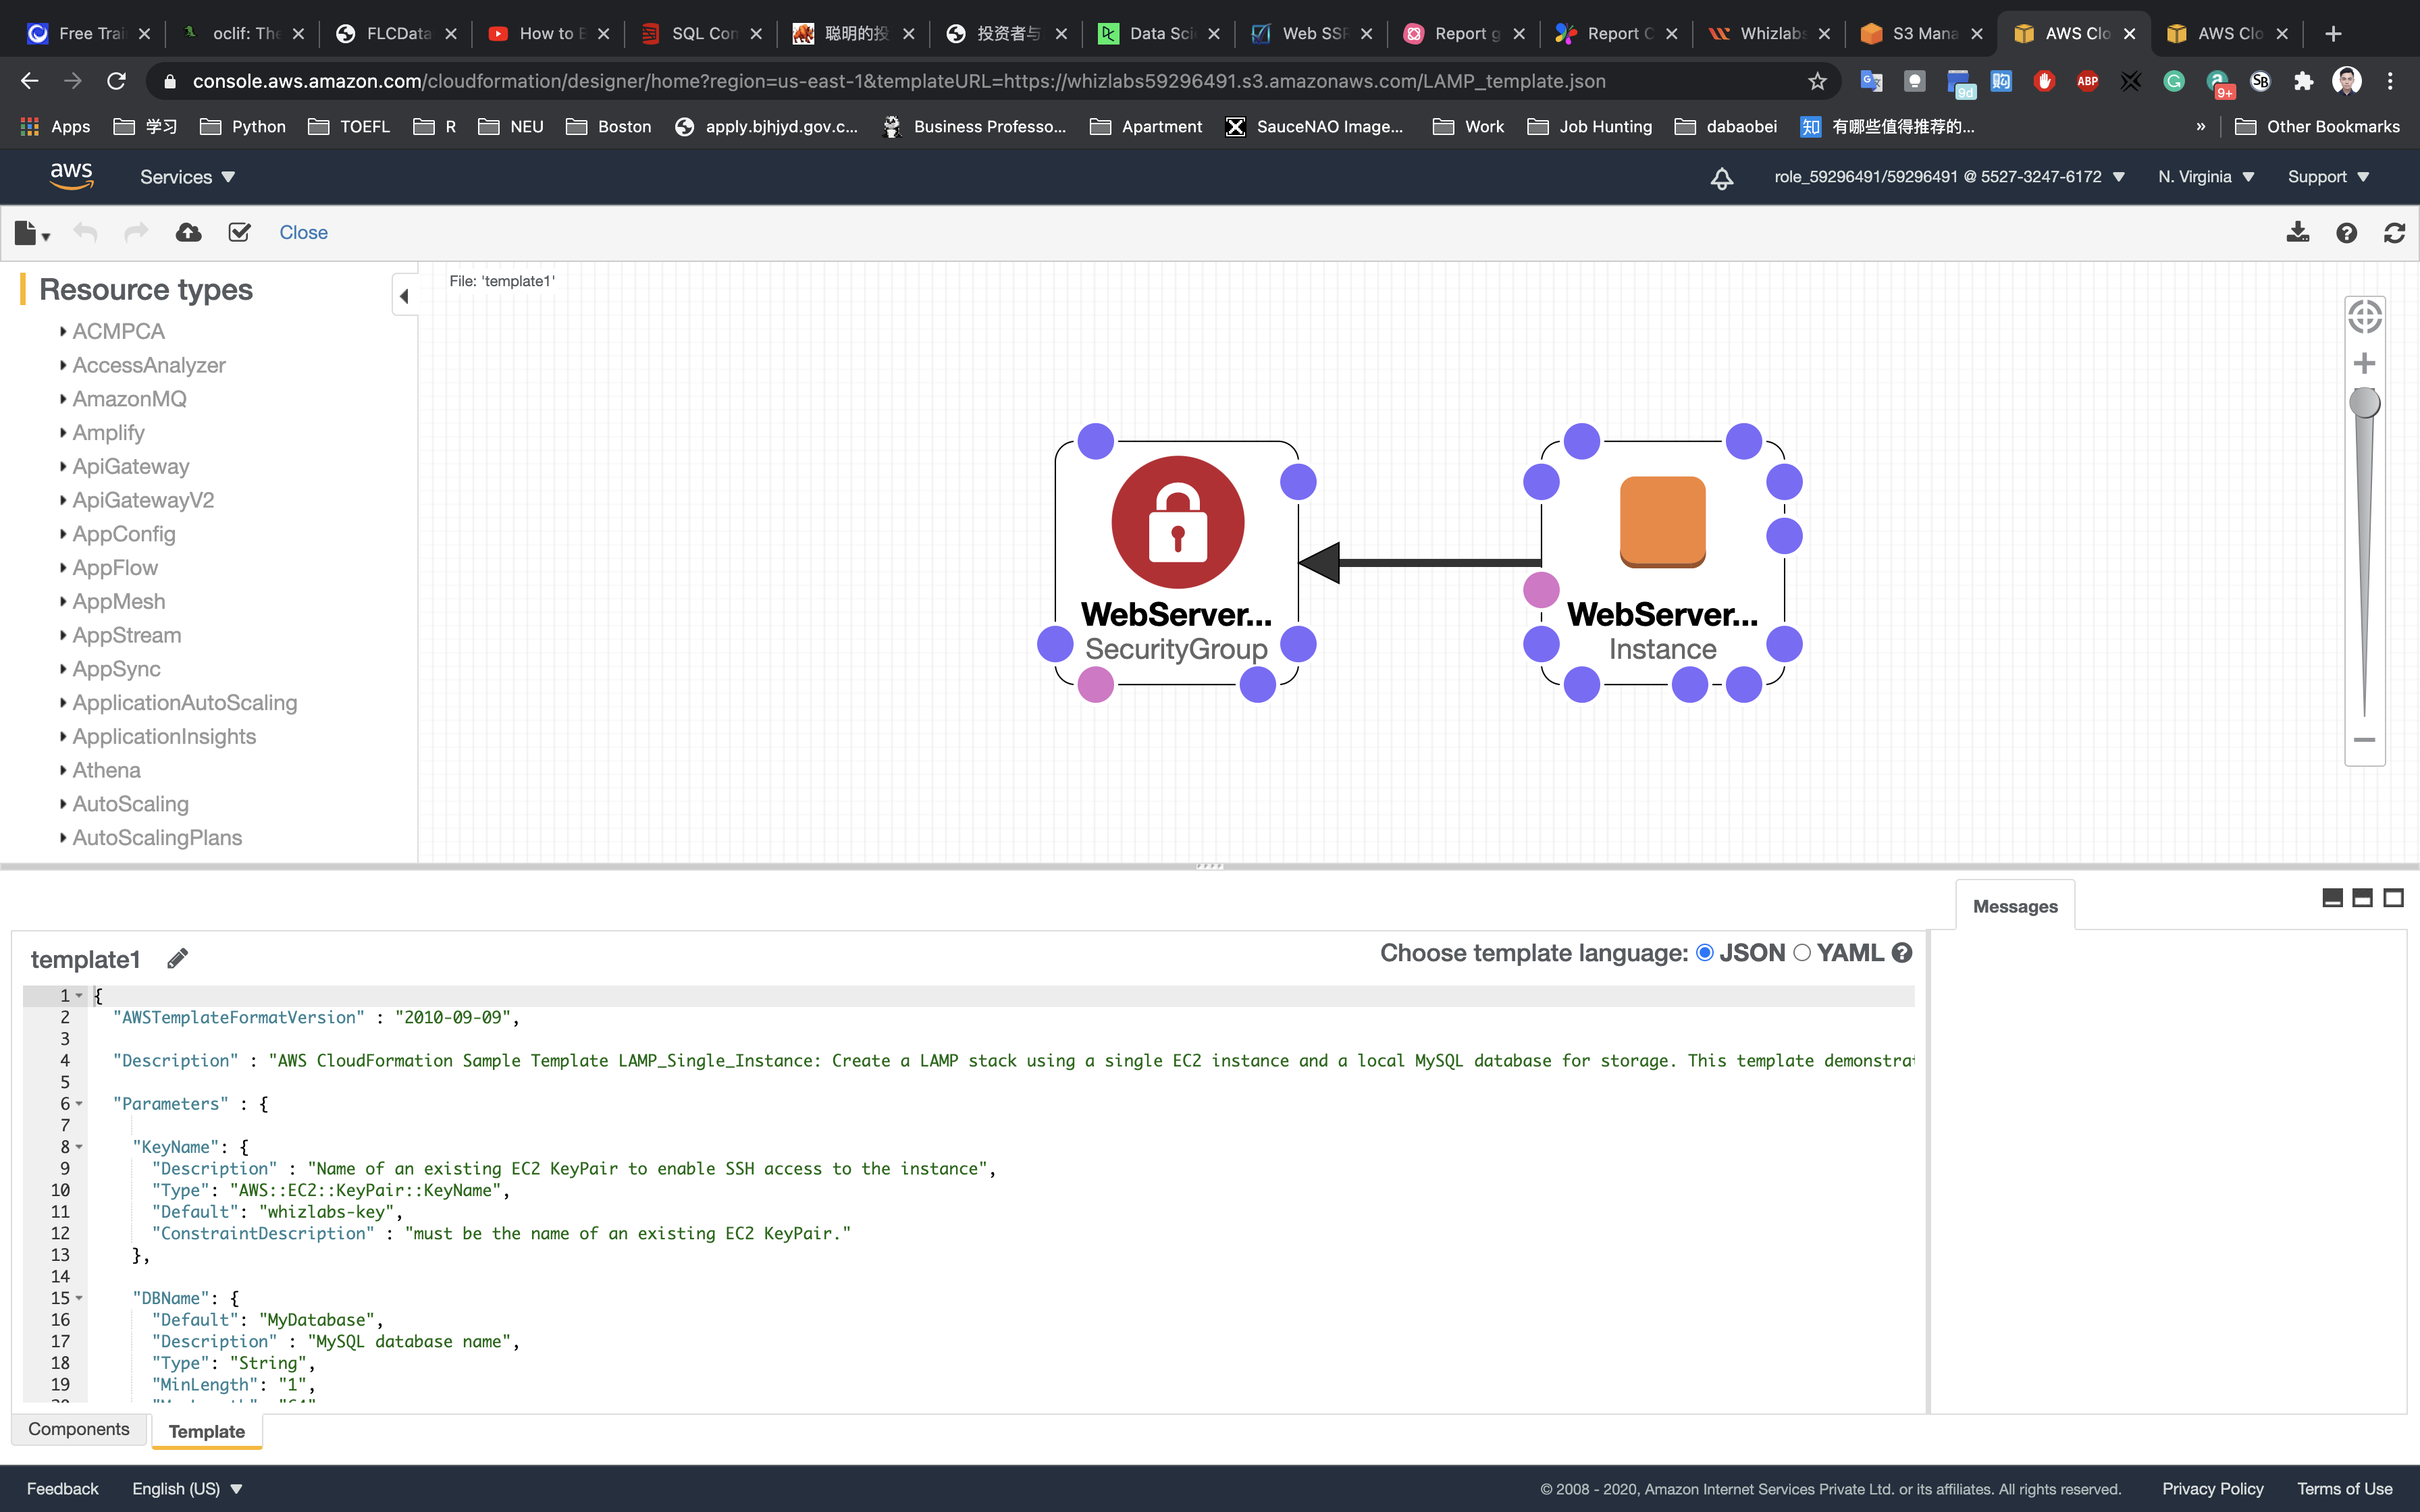
or

Click on Next.
Step 2: Specify stack details
- Stack name
- Stack name:
MyFirstCFStack
- Stack name:
- Parameters
- DBName:
MyDatabase. - DBPassword: Enter a database password
- DBRootPassword: Enter database root password
- DBUser: Enter the database username
- InstanceType:
t2.micro - KeyName: Select the key from the list name (you must create a key first!)
- SSH Location:
0.0.0.0/0
- DBName:
Click on Next.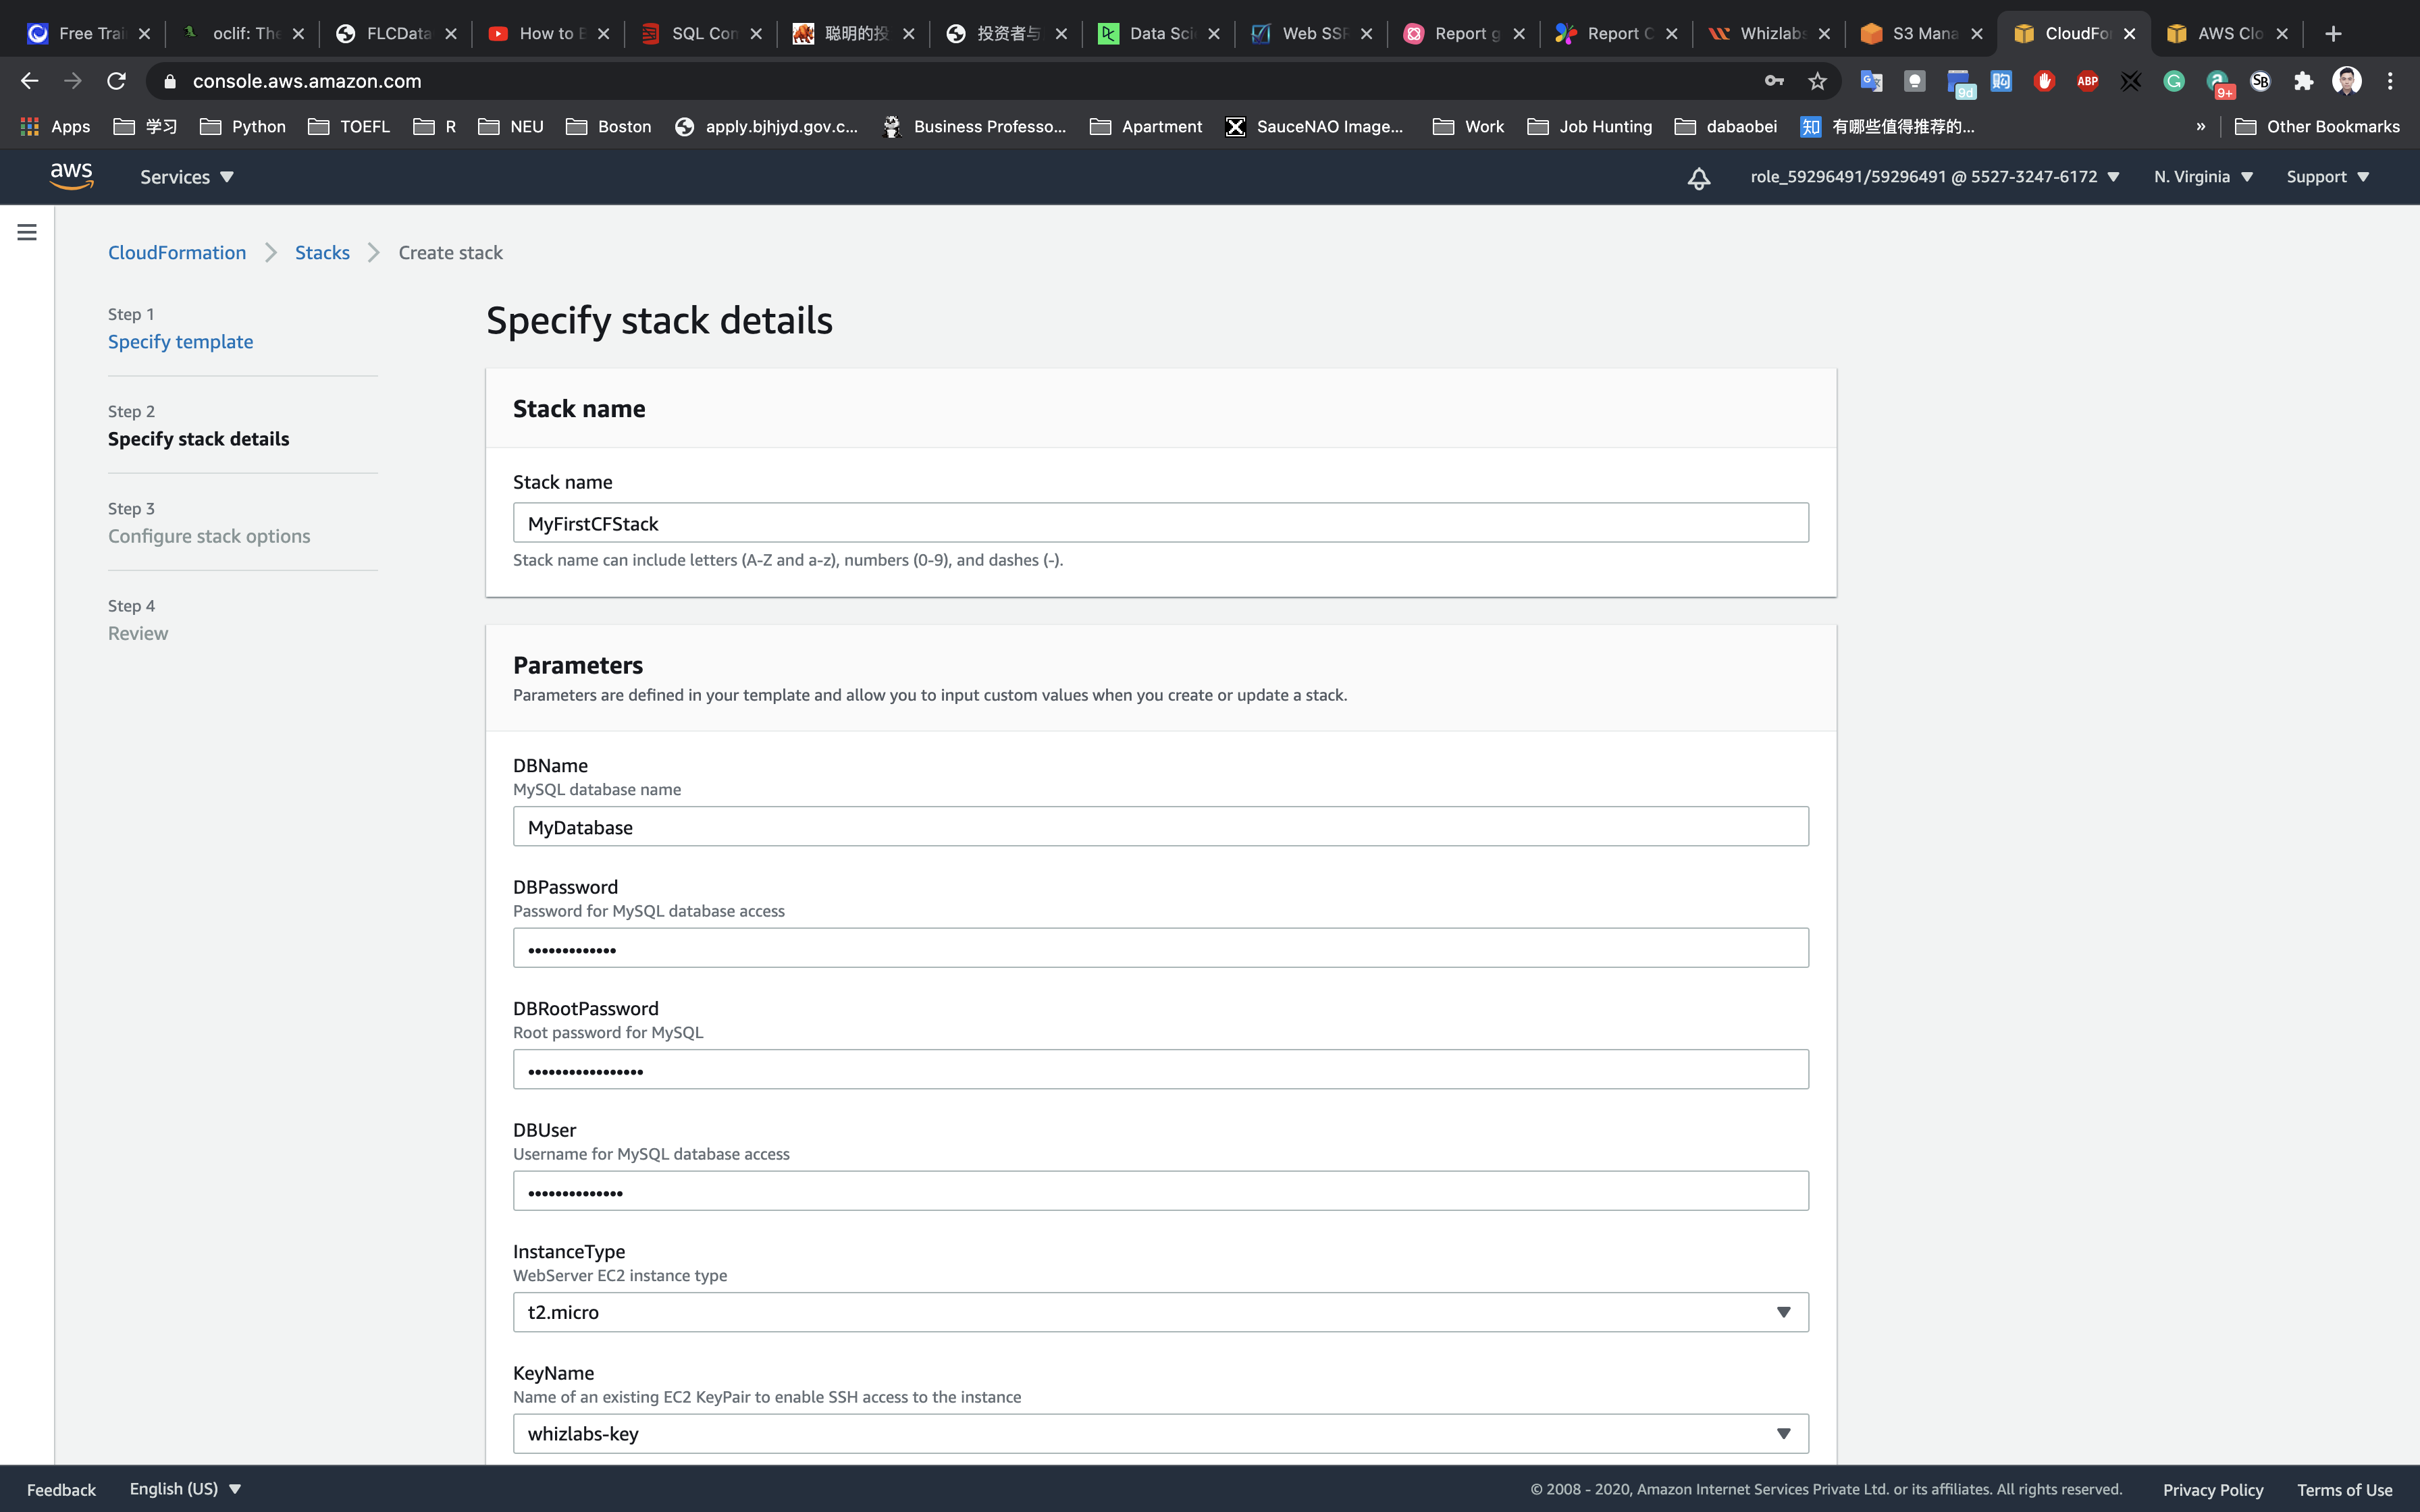
Step 3: Configure stack options
Tags
- Key:
Name - Value :
MyCF
- Key:
Permissions: No need to select for this lab, leave it blank.
Leave all other configuration fields as default.
Click on Next.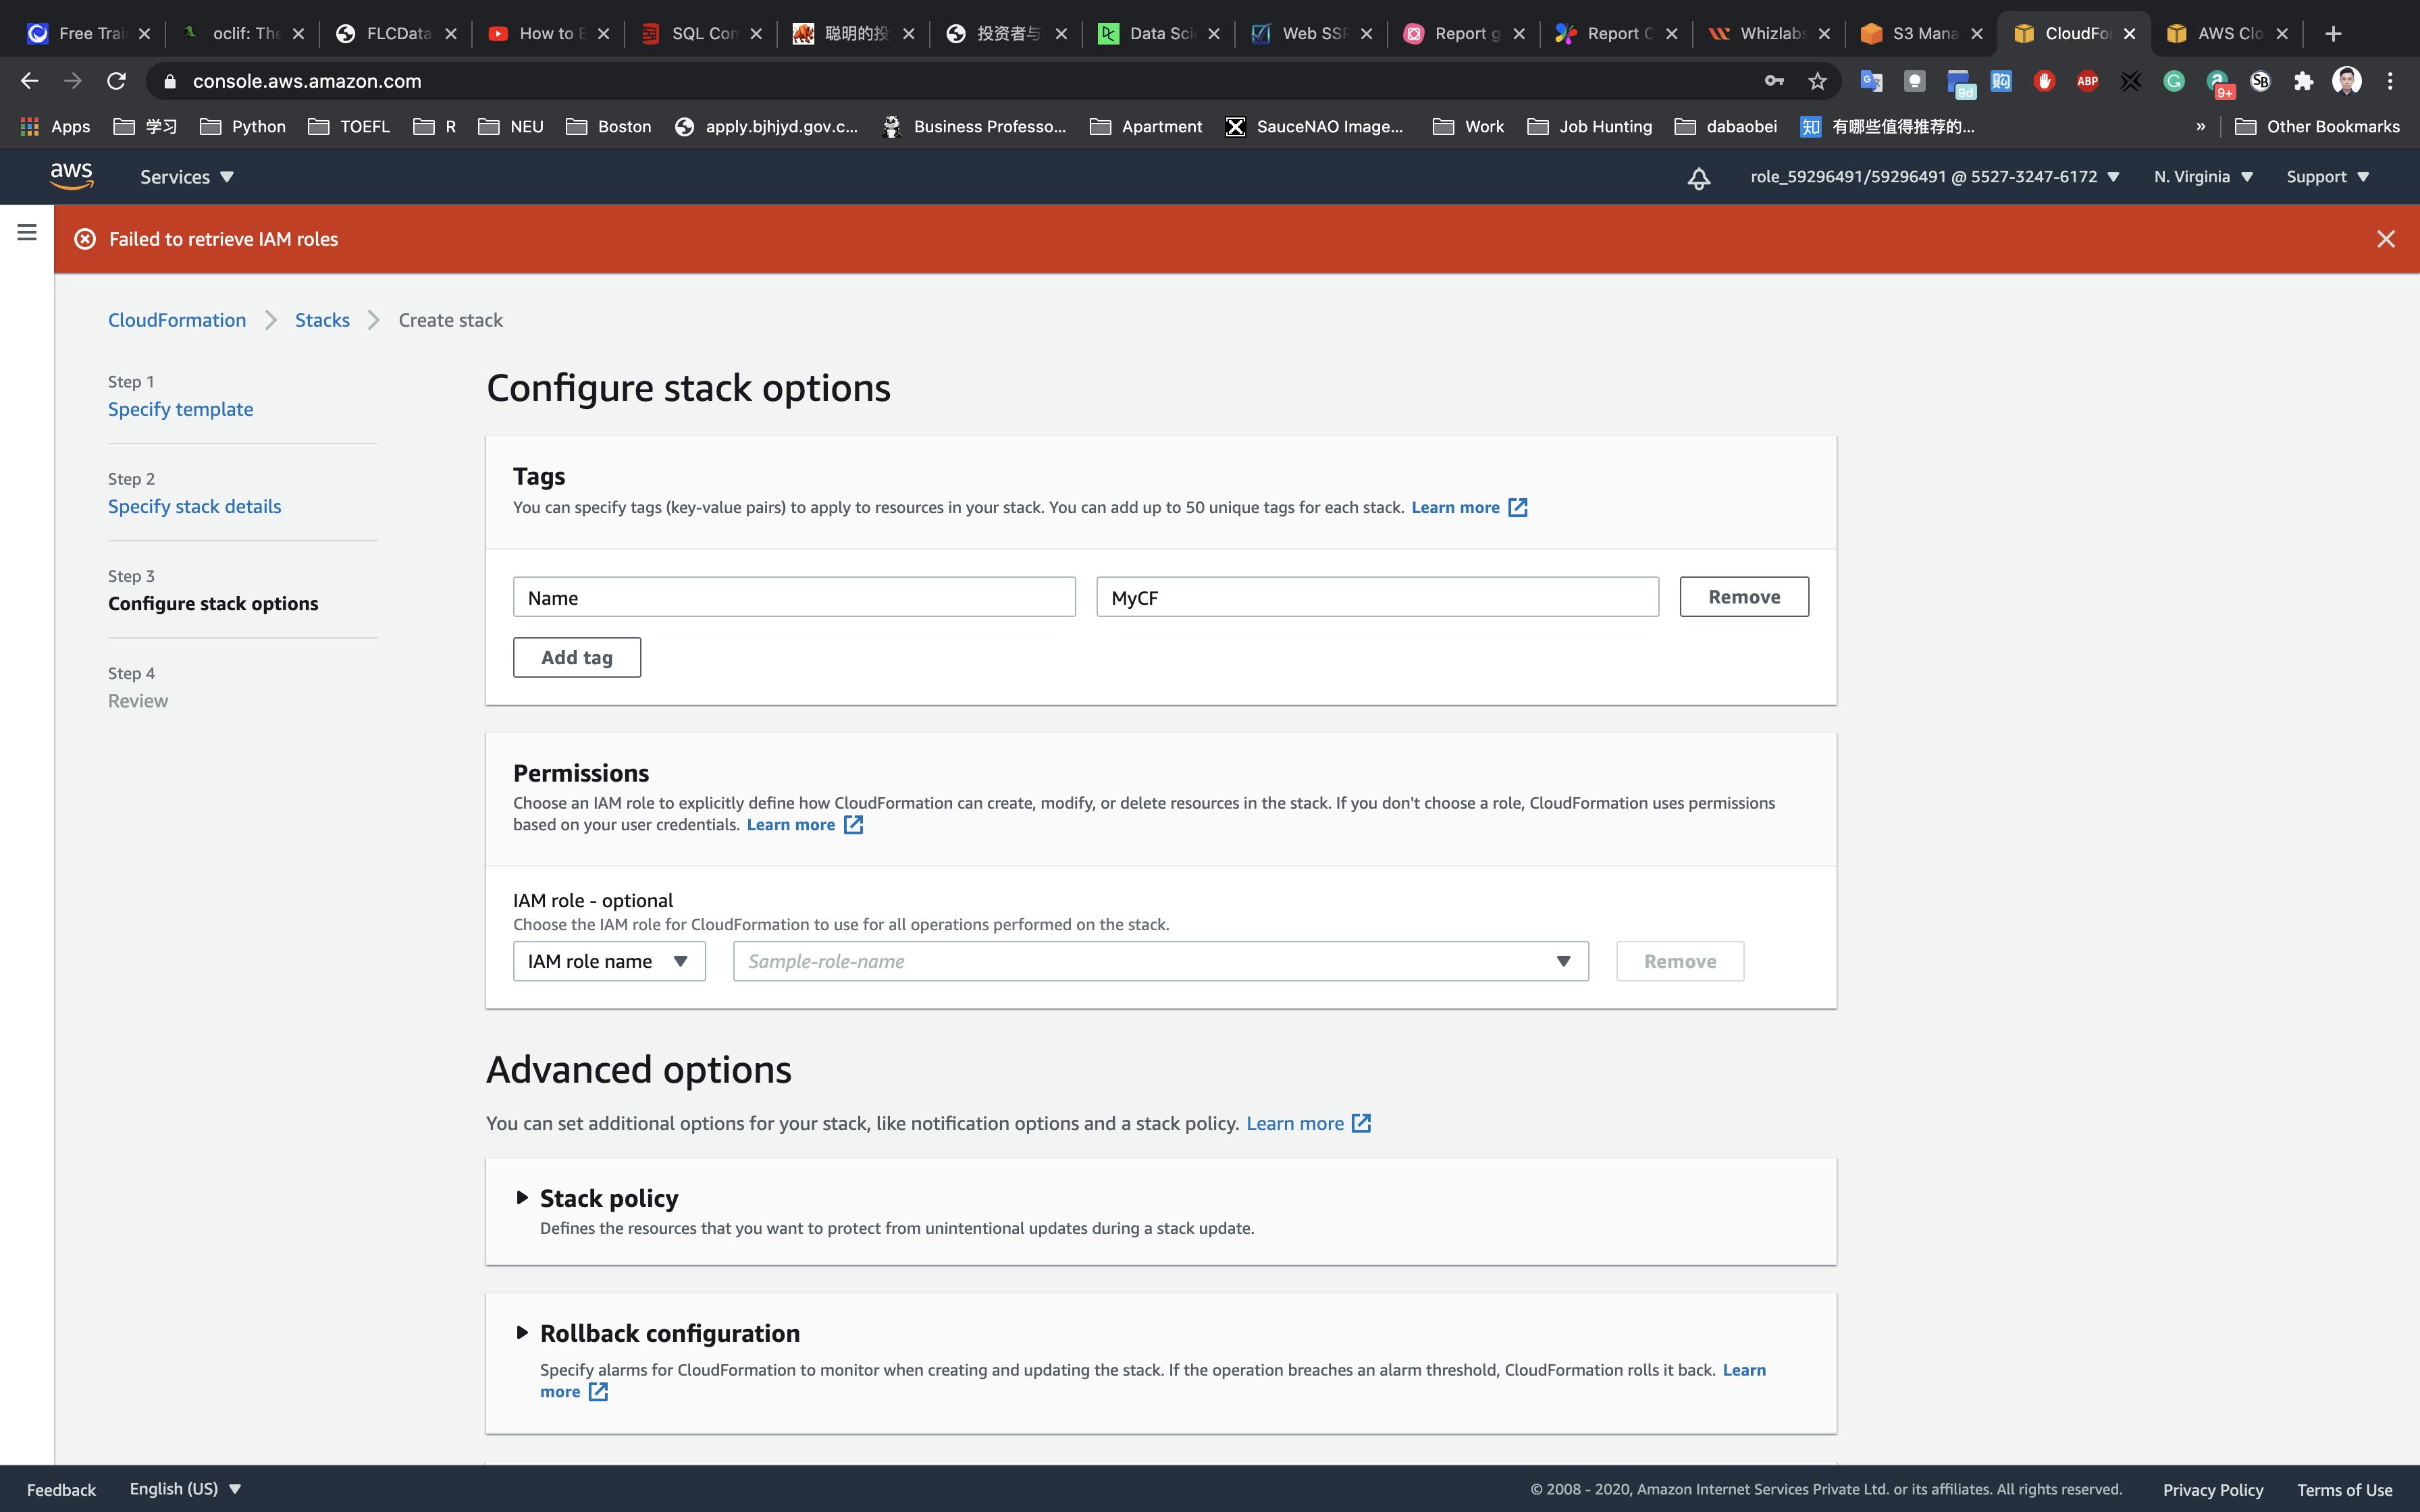
Step 4: Review
Review your stack details and click on Create stack.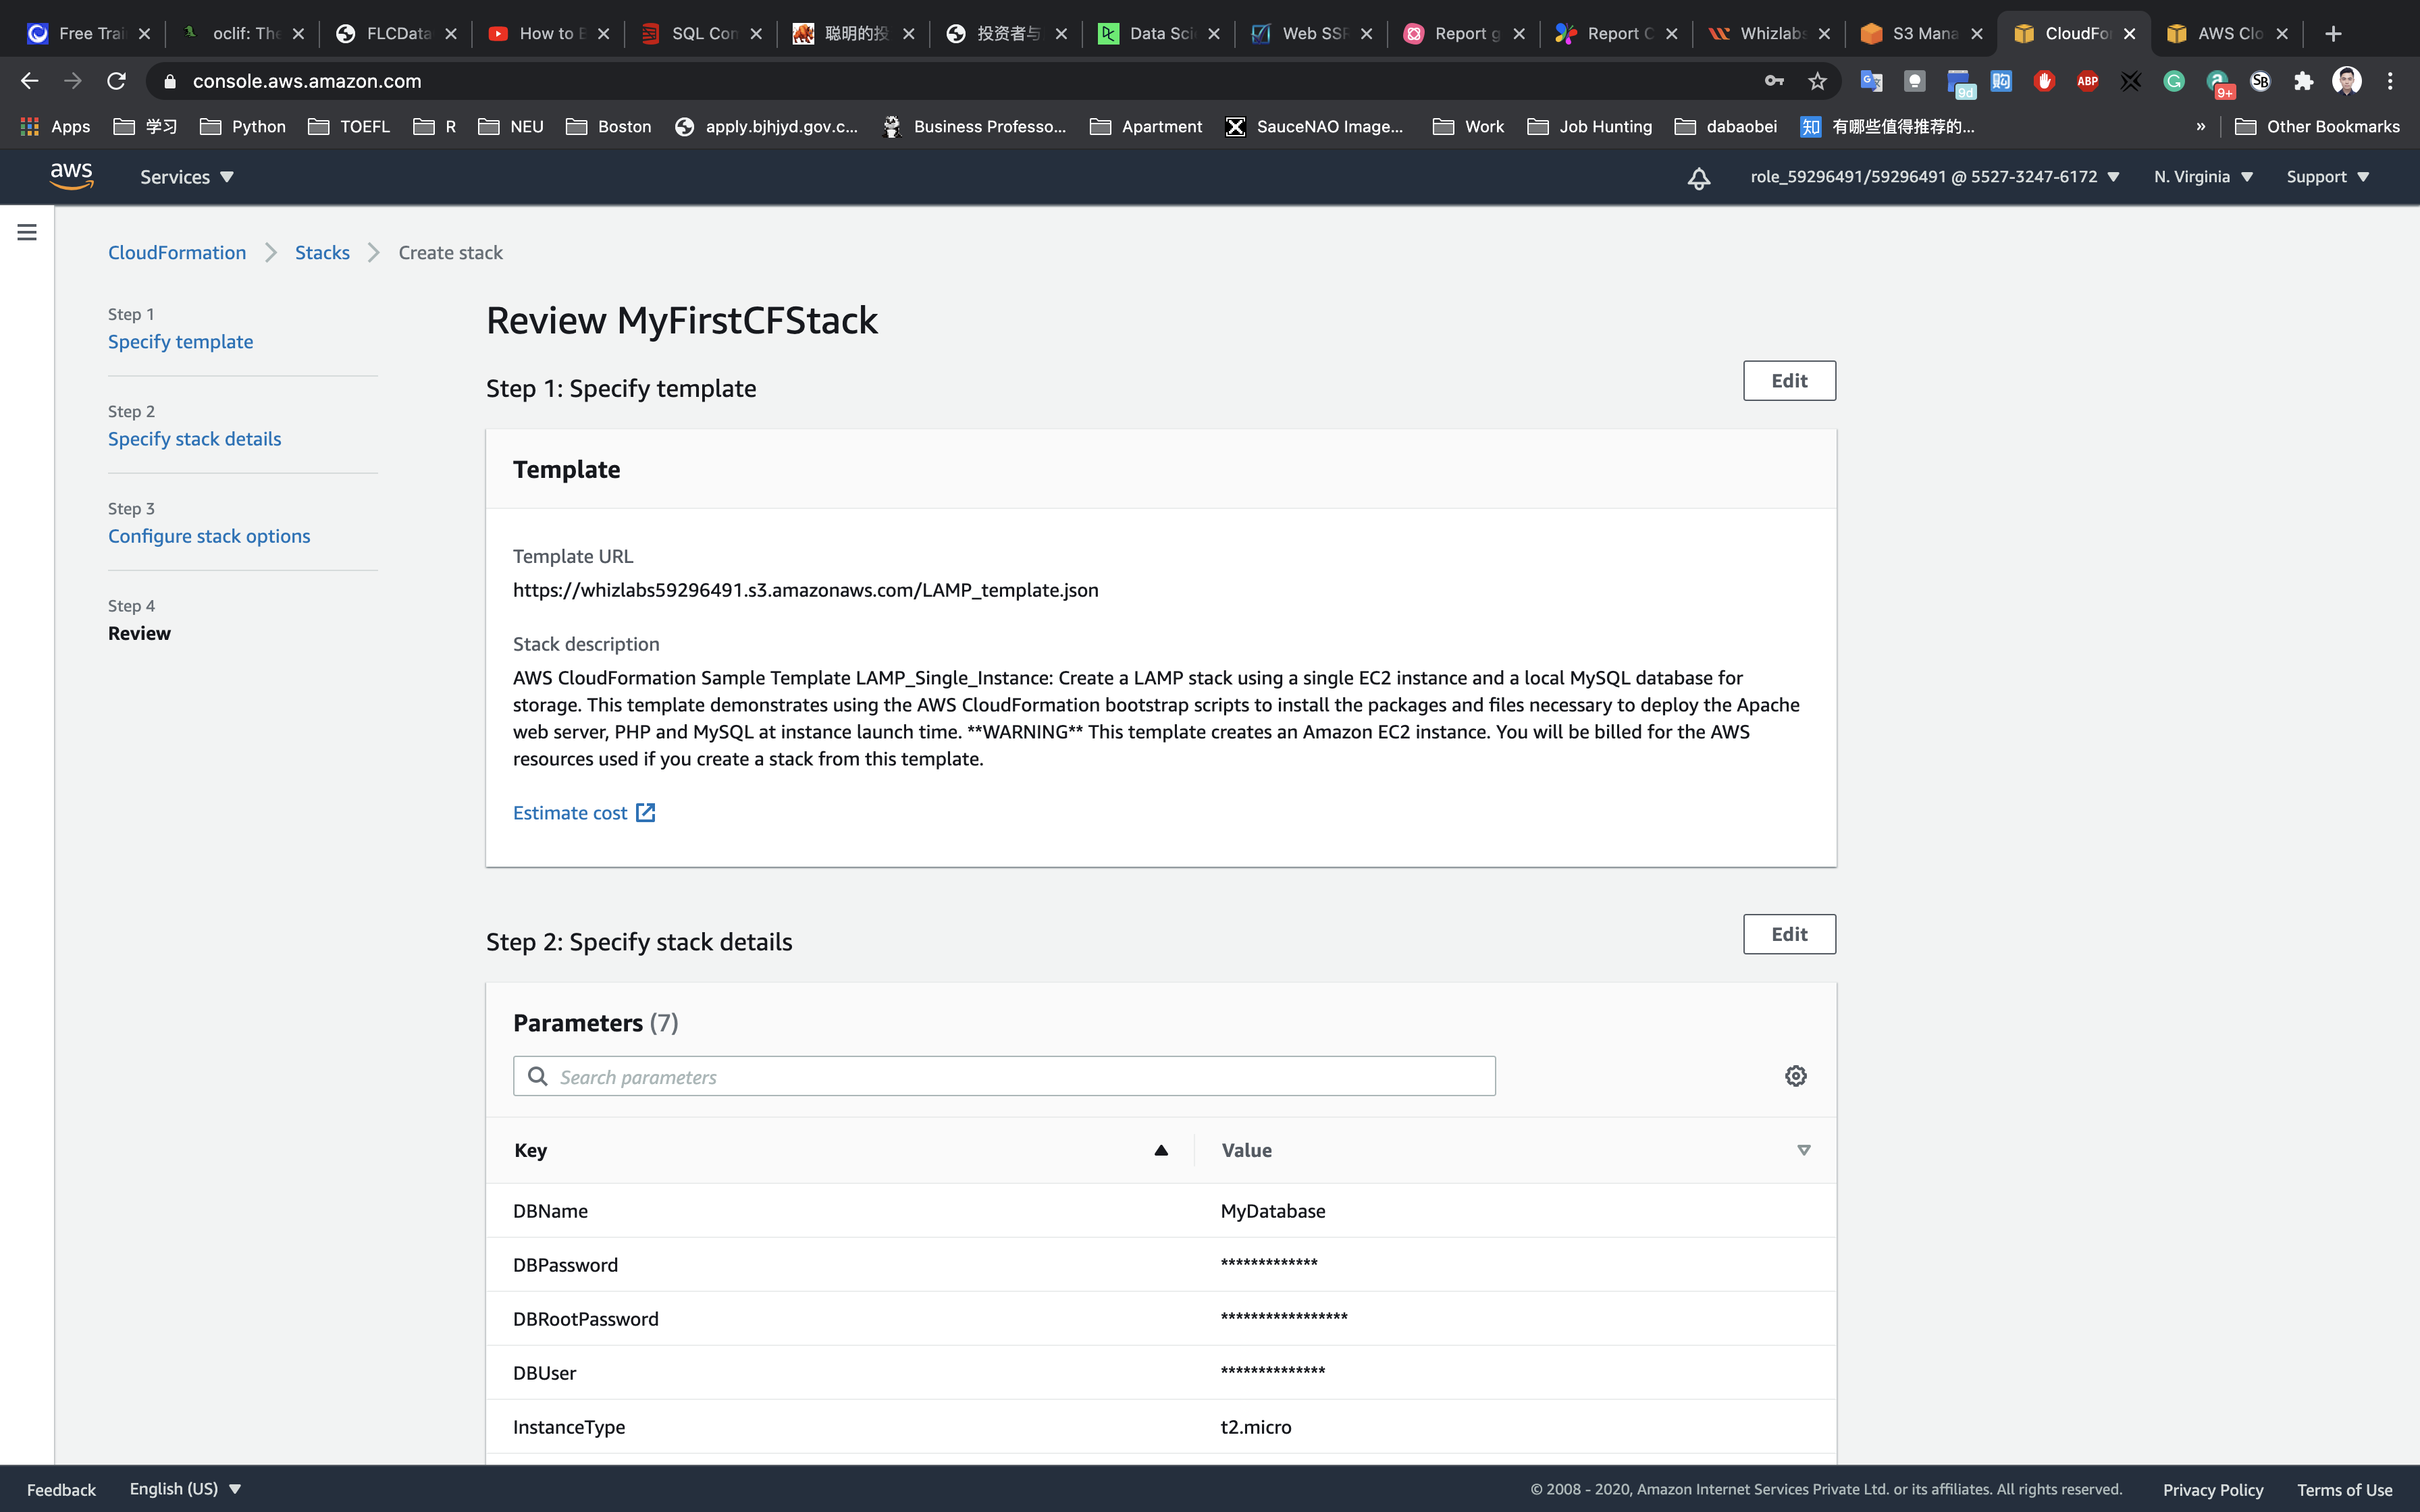
Once you have clicked the create button, you will be redirected to the CloudFormation stack list. A sample screenshot is provided below.
Status: You will see the status CREATE_IN_PROGRESS.
Click on the refresh button beside New events available to see the updates.
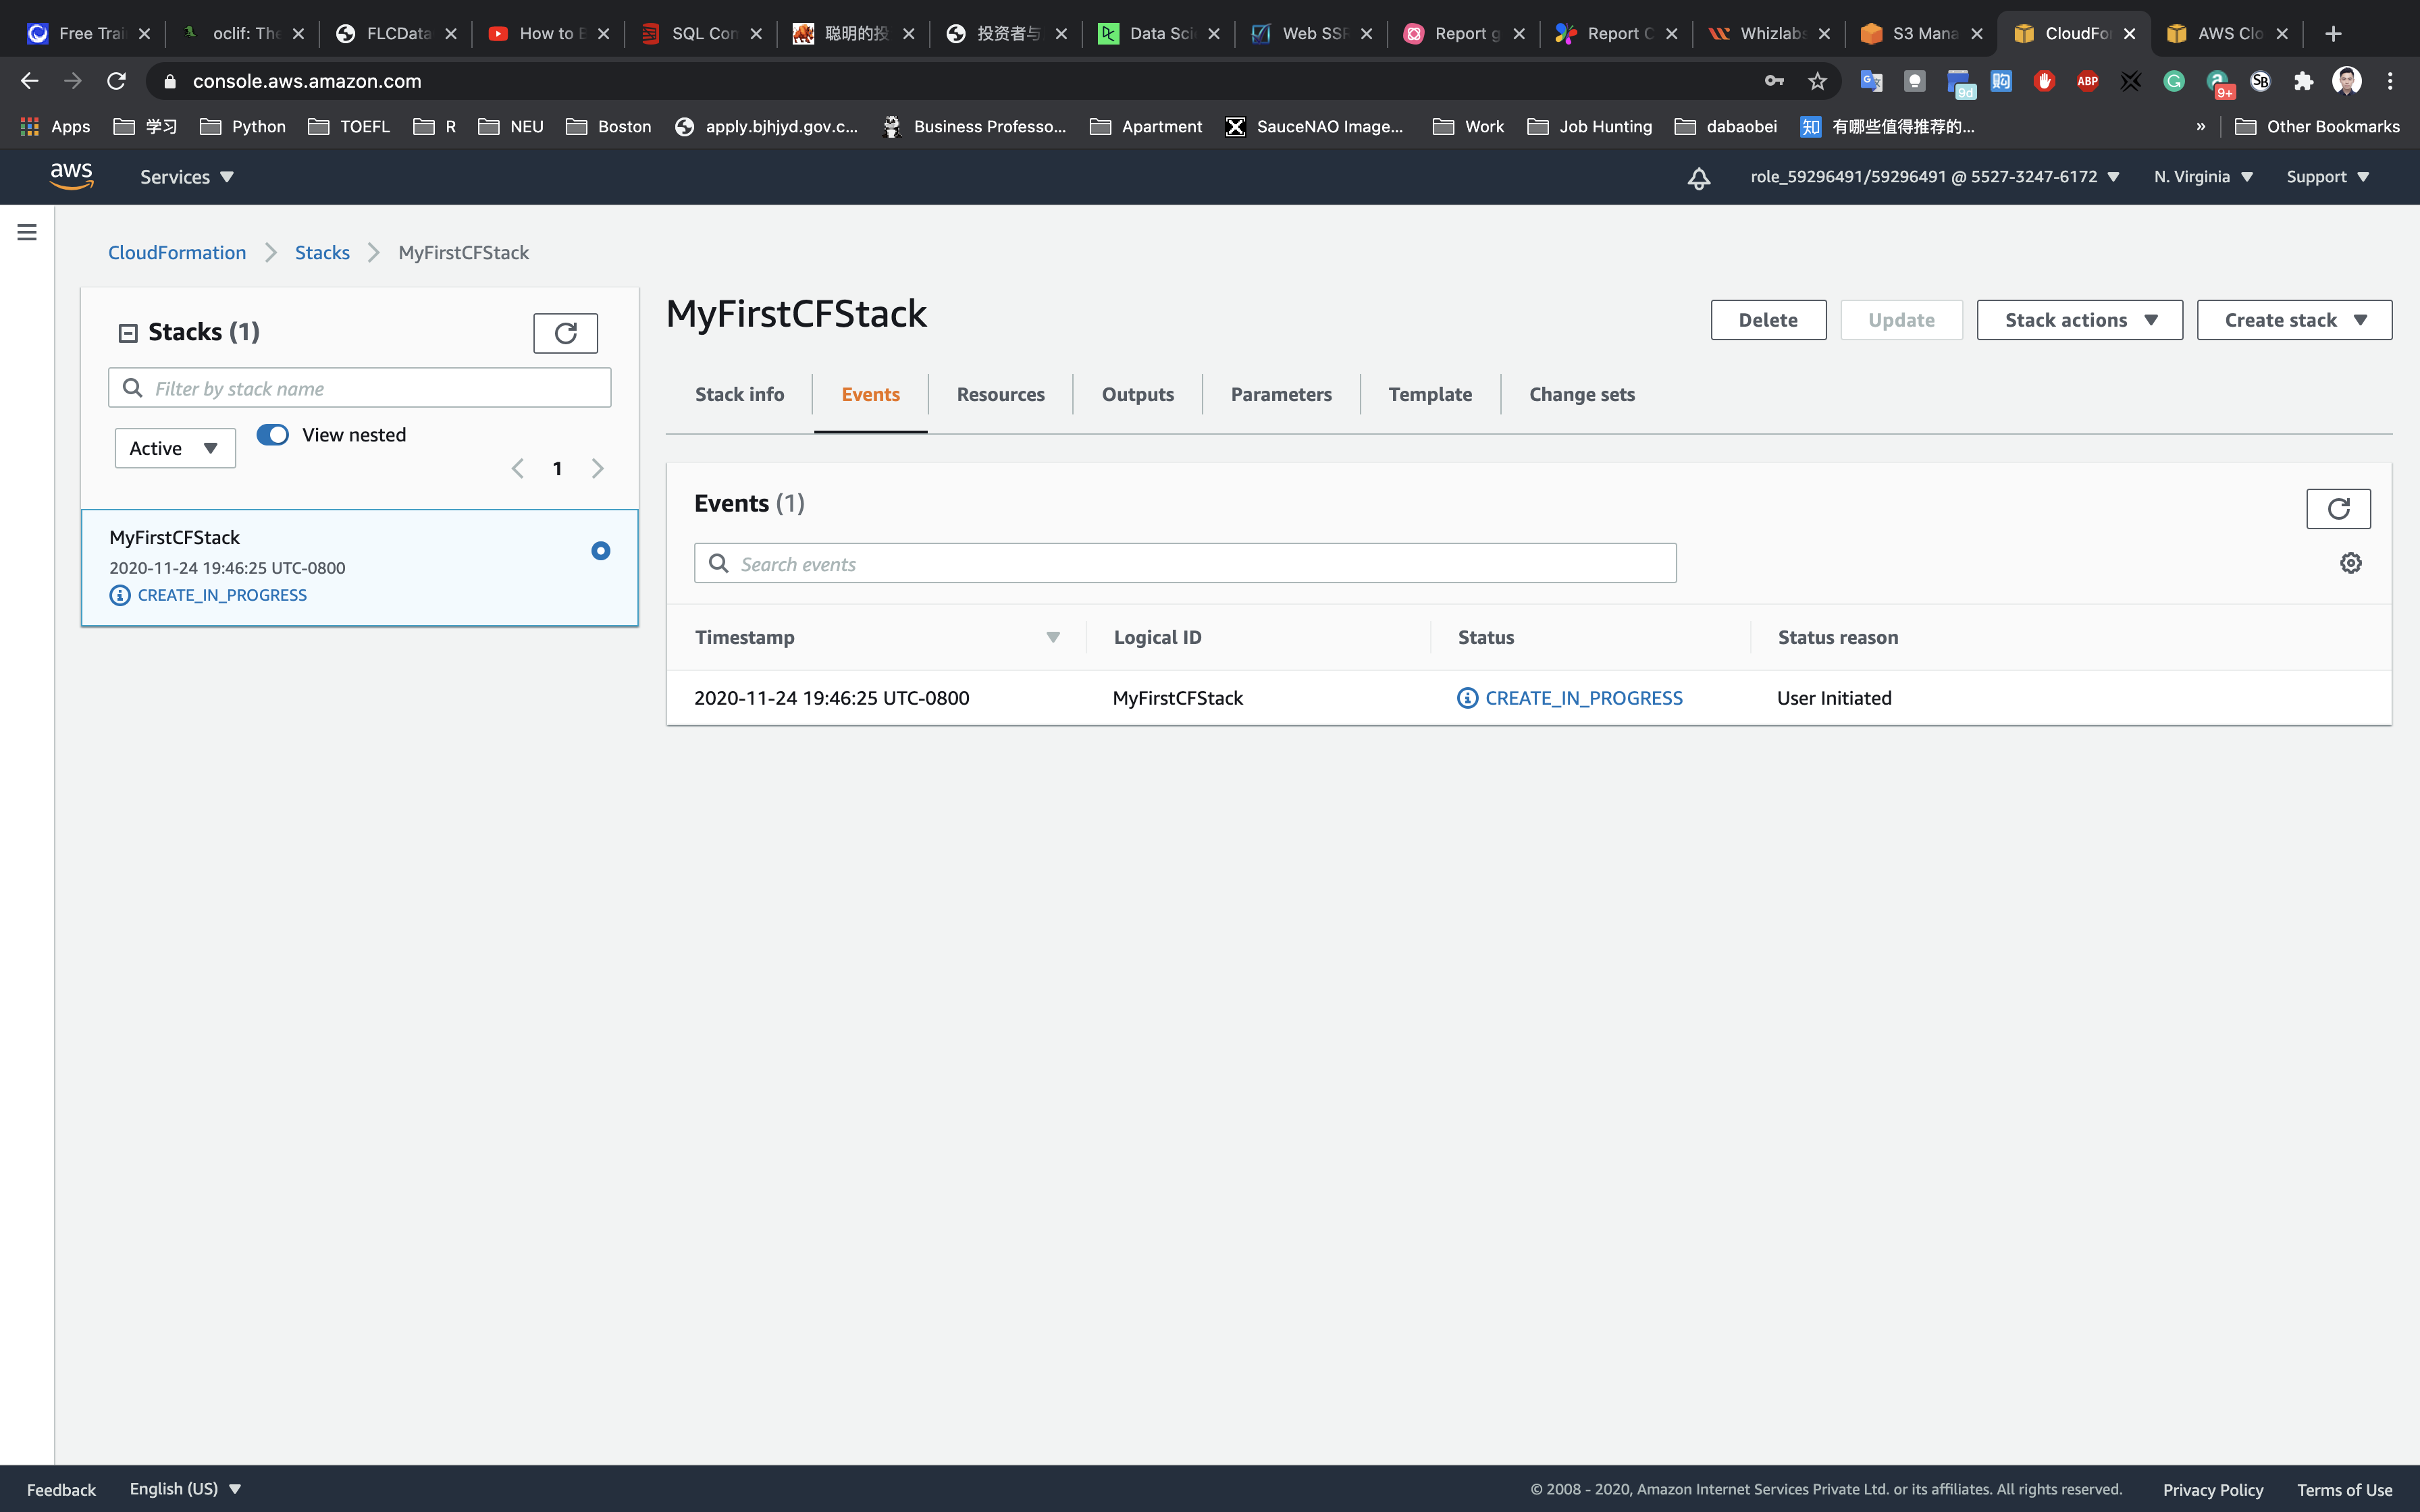
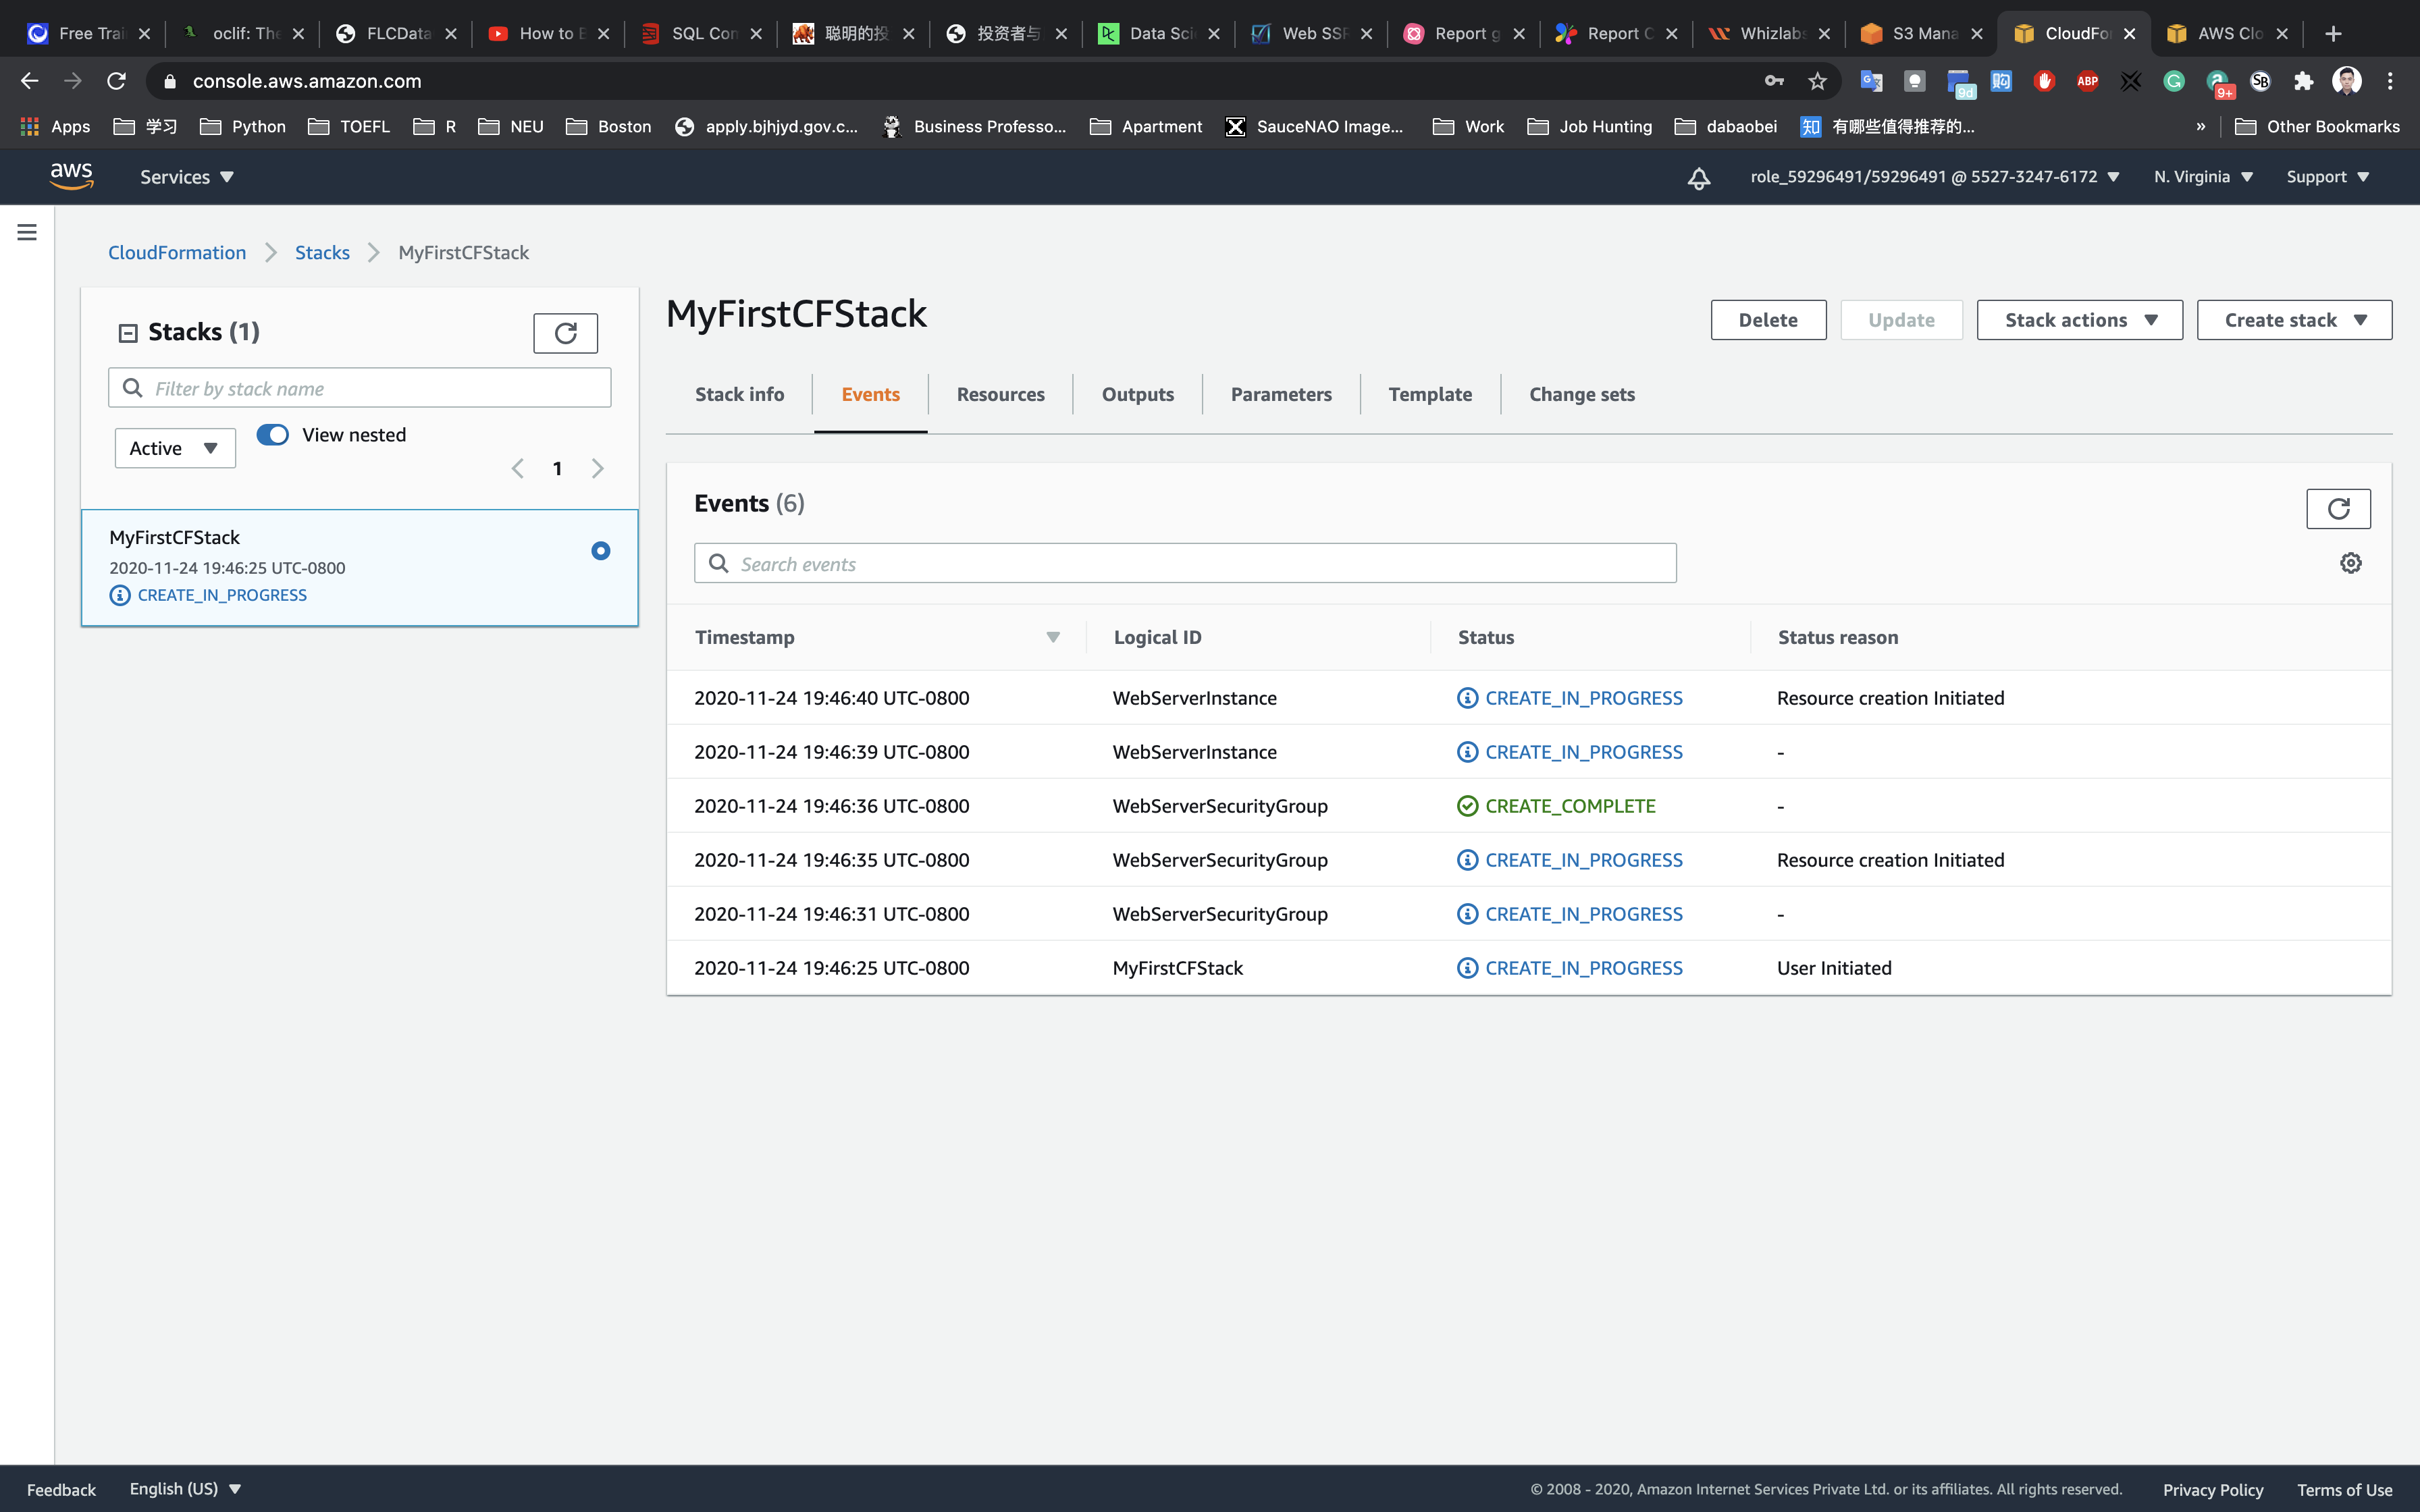
You need to wait around 1-5 minutes to complete the stack resource creation.
Click on Stack info tab to see the overall status.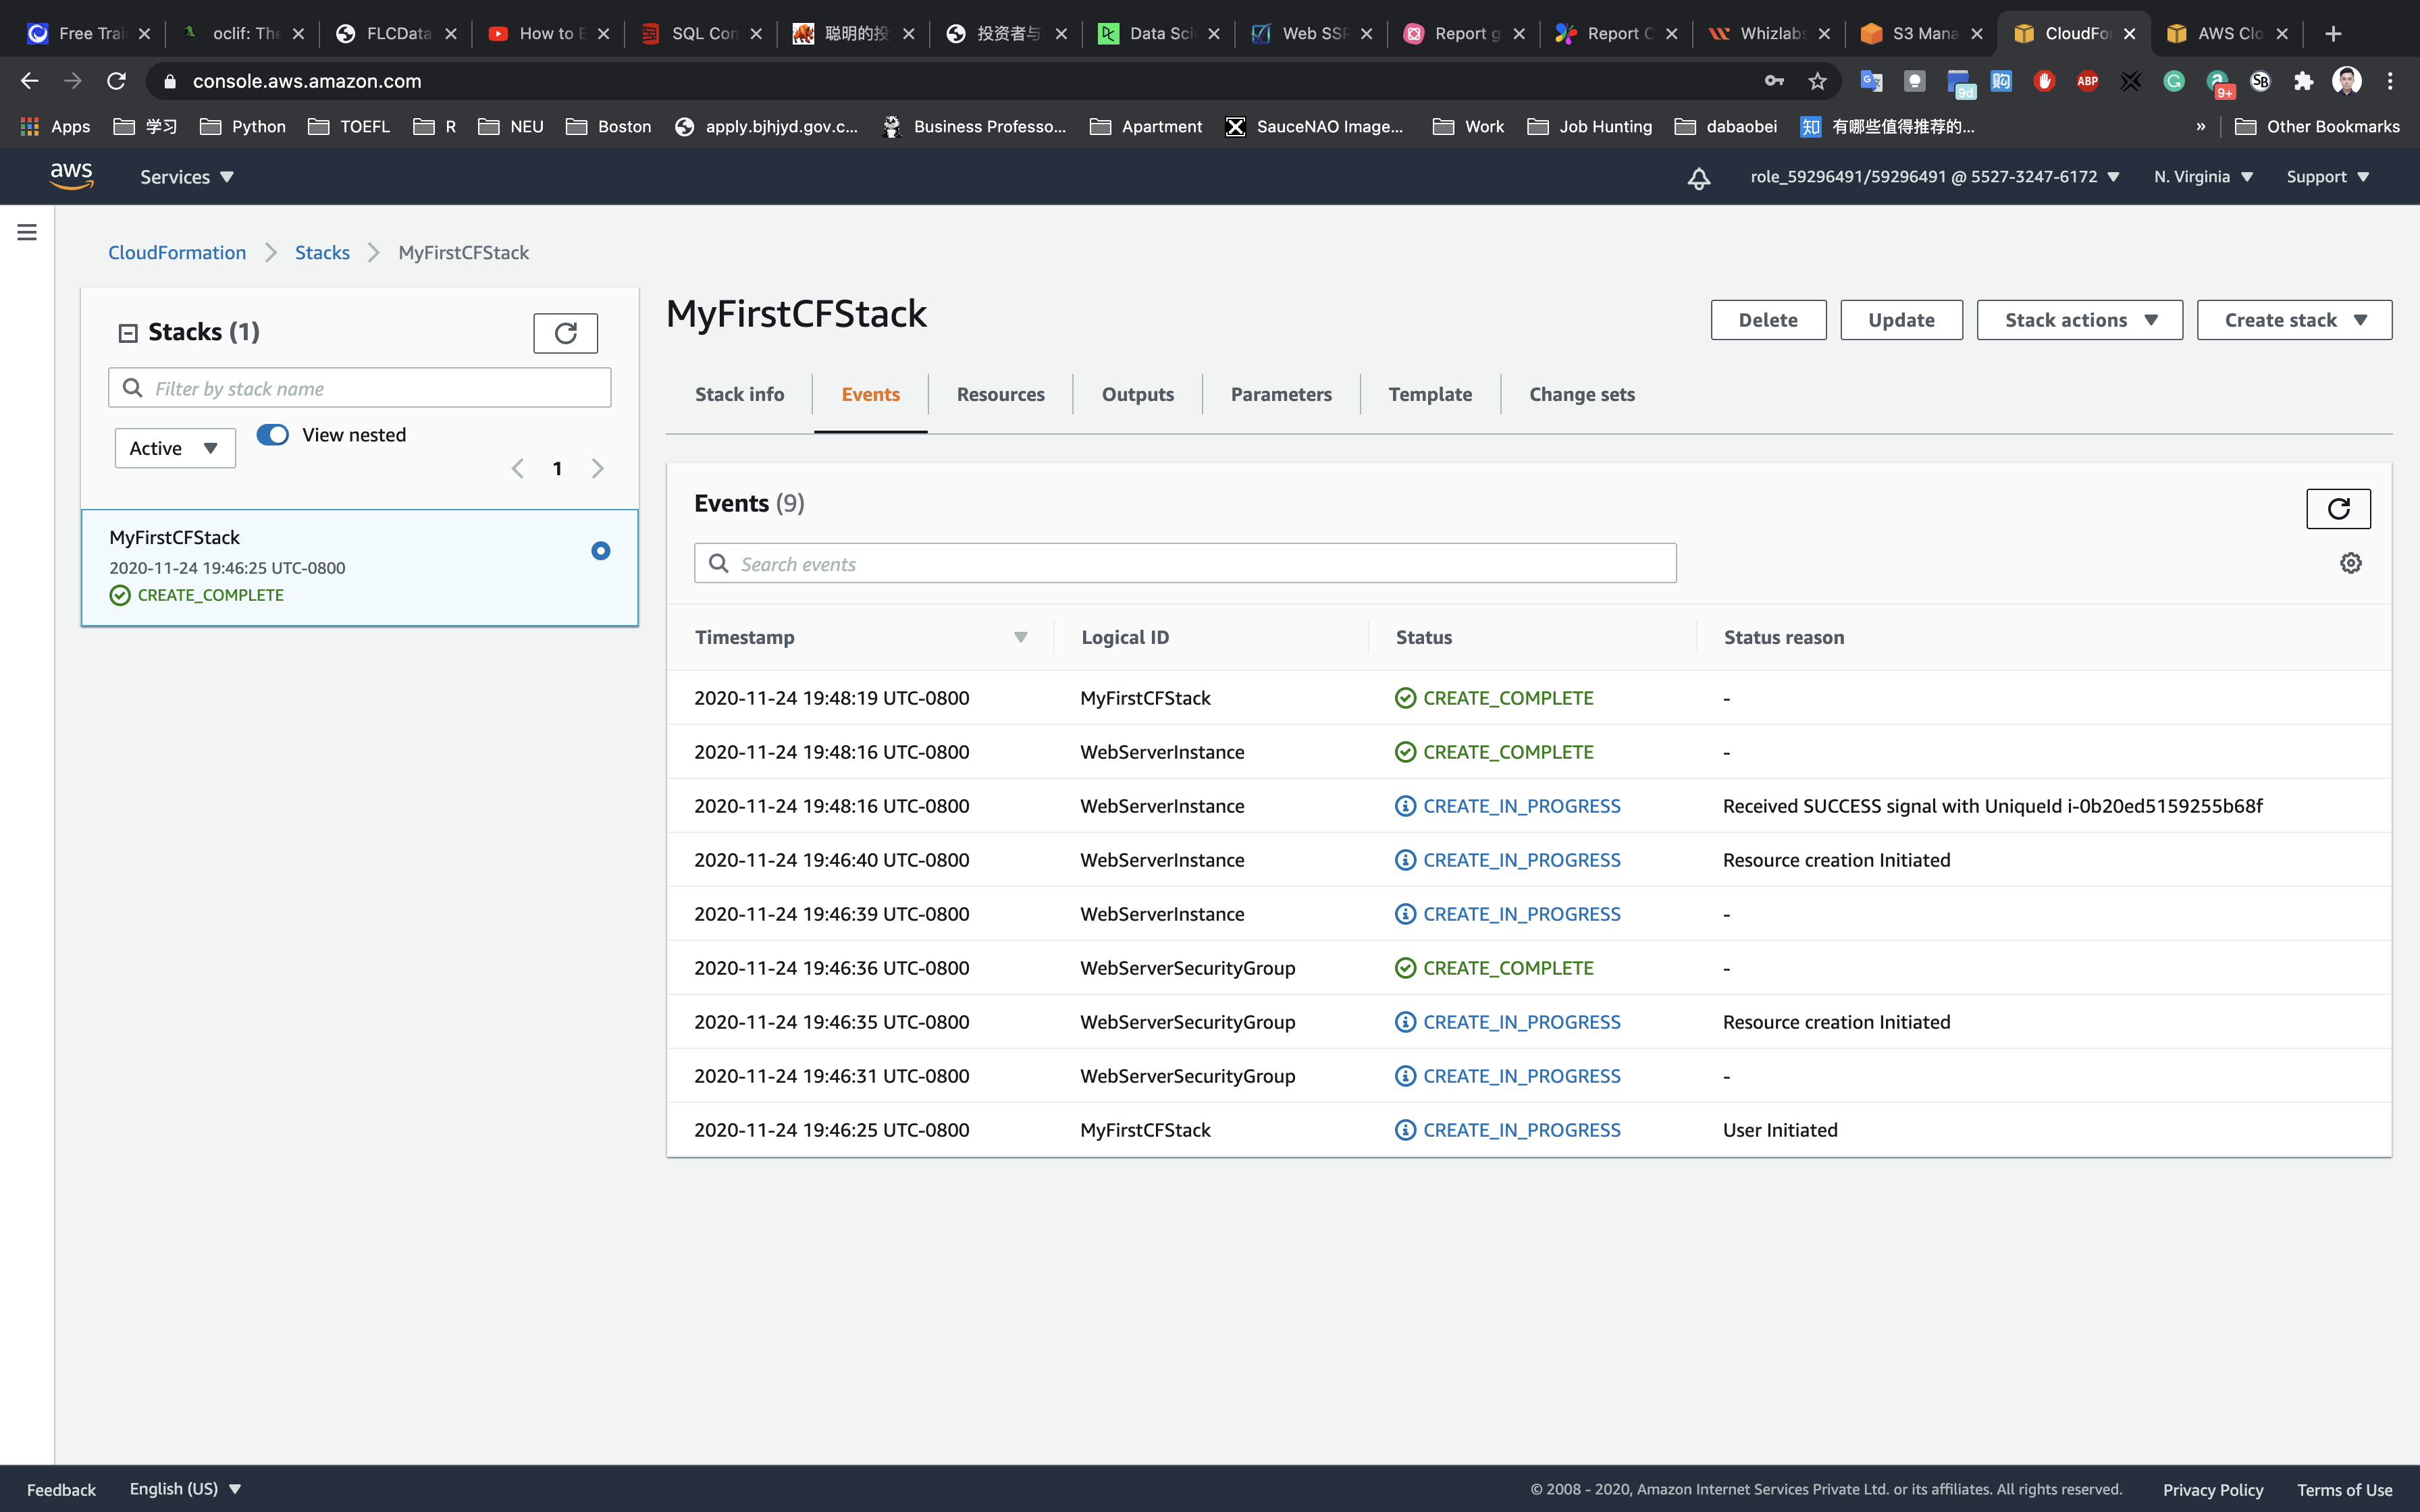
Once your stack status changes to CREATE_COMPLETE.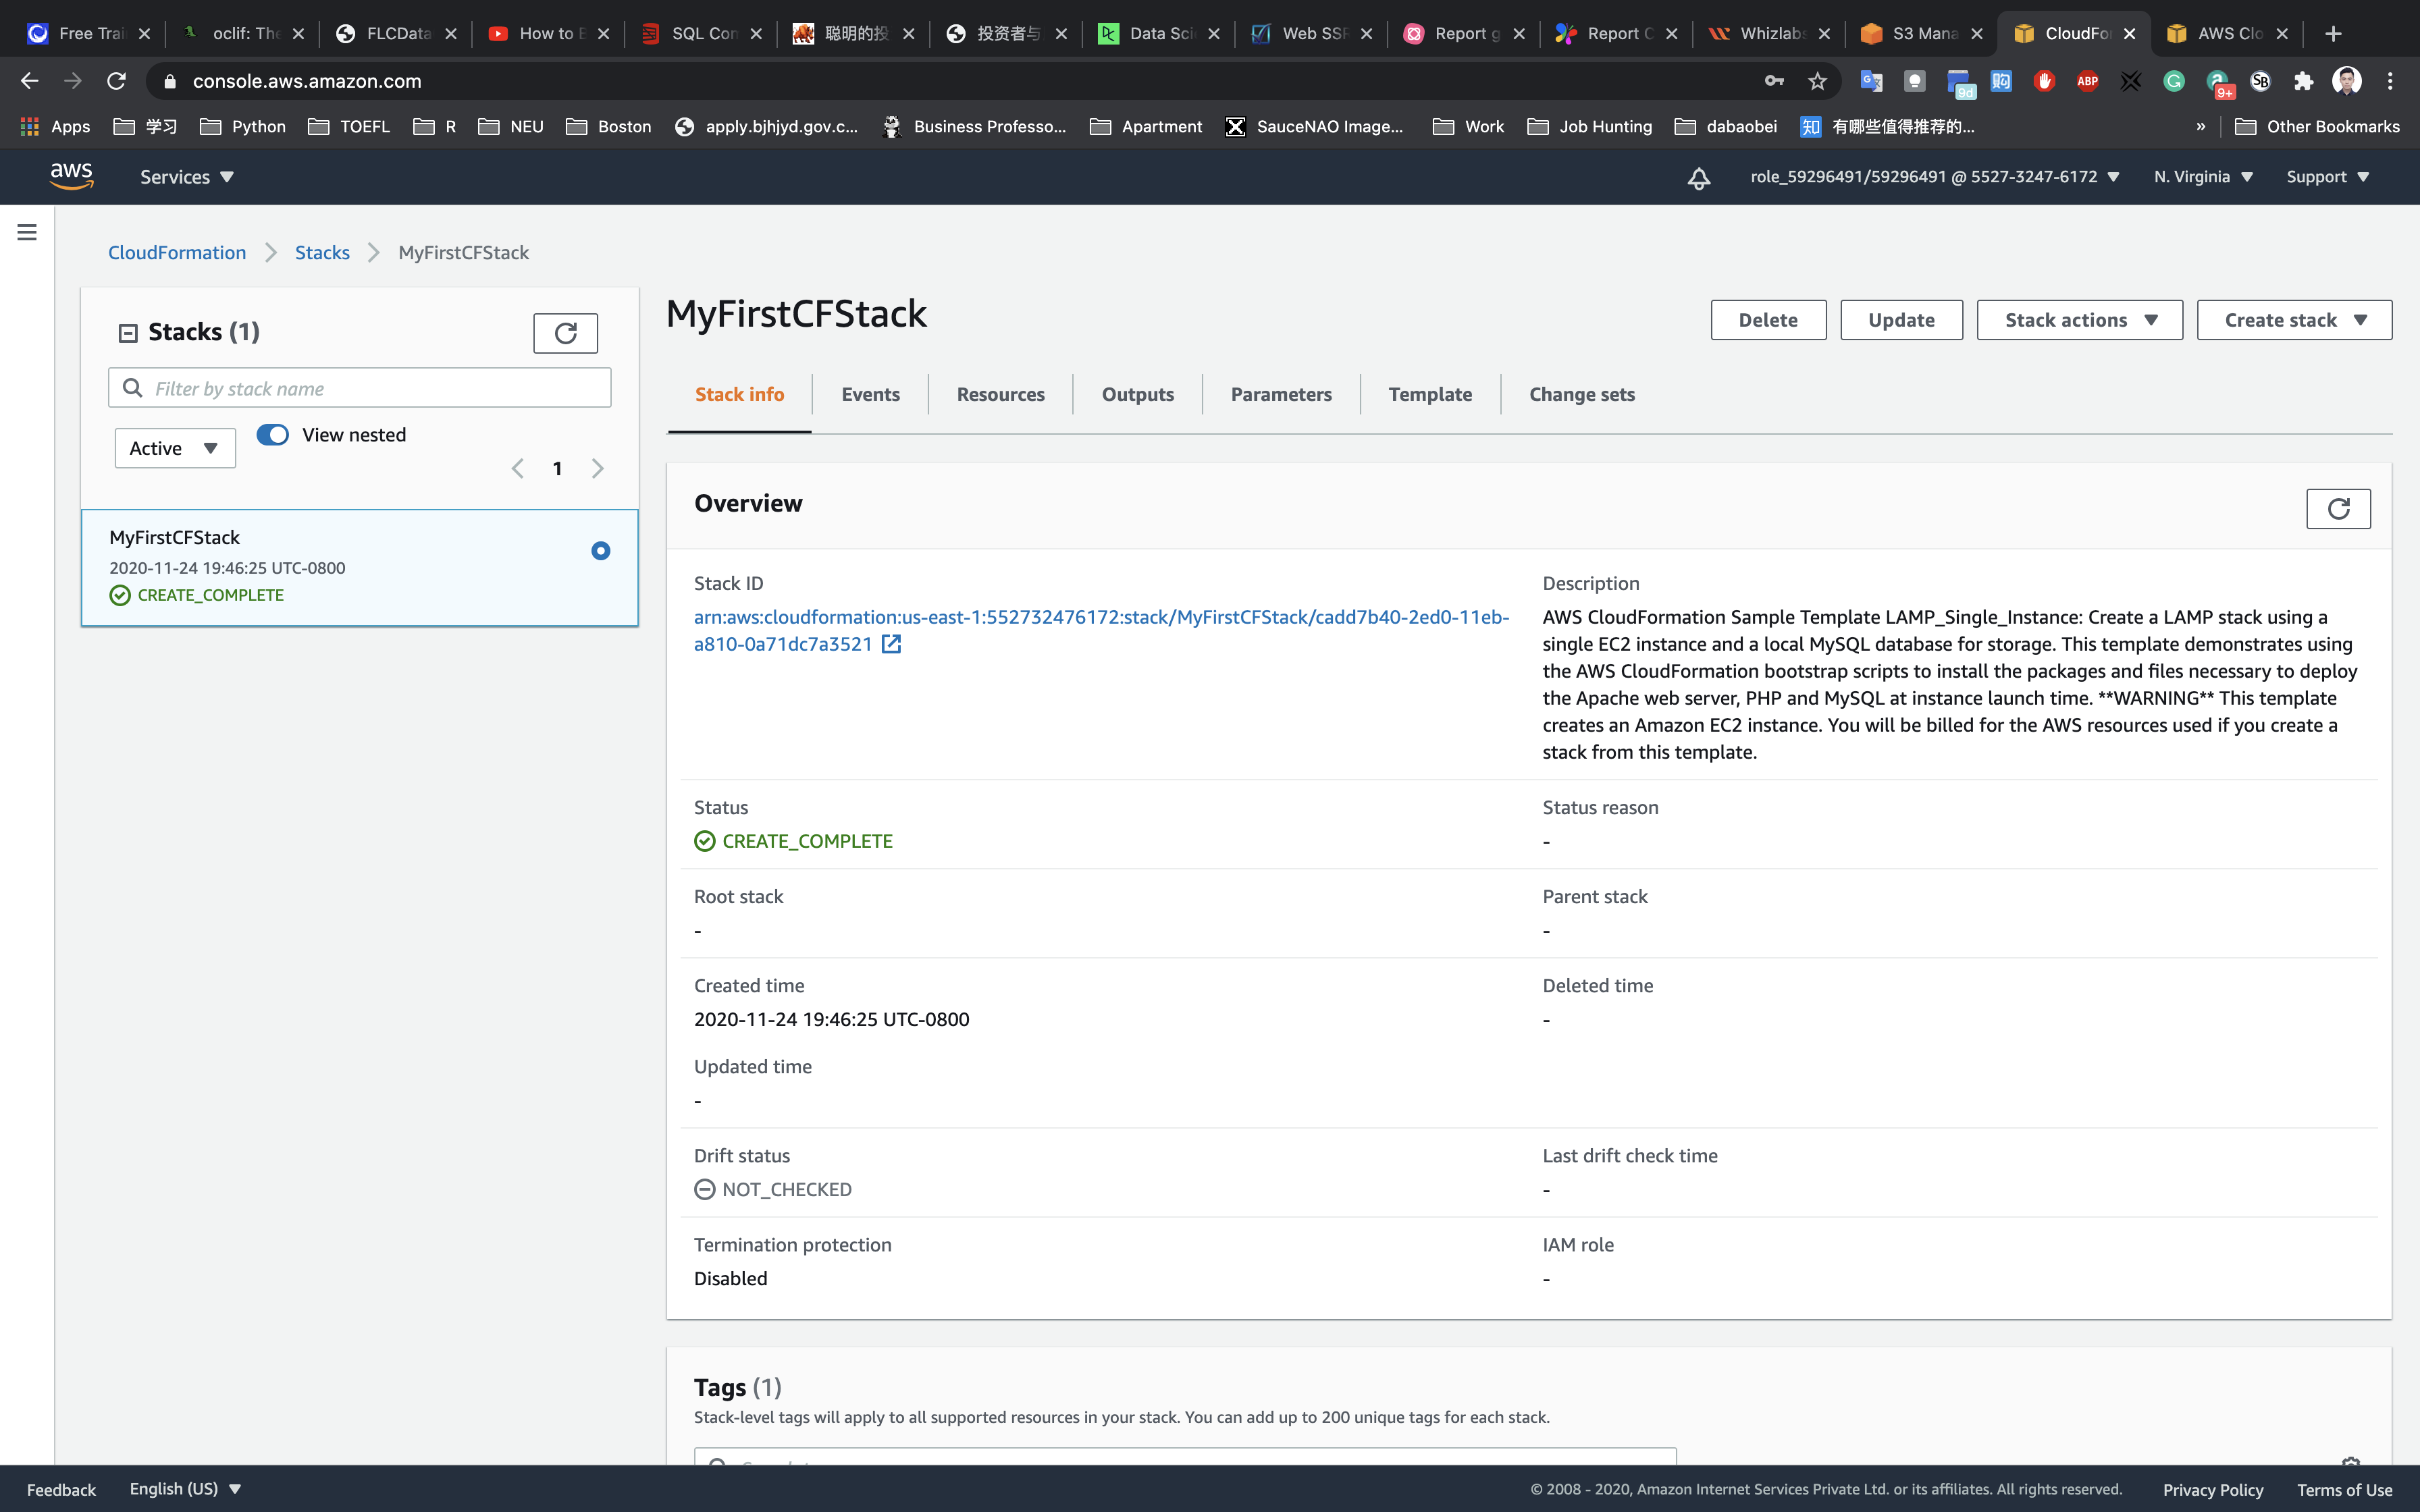
Validation Test
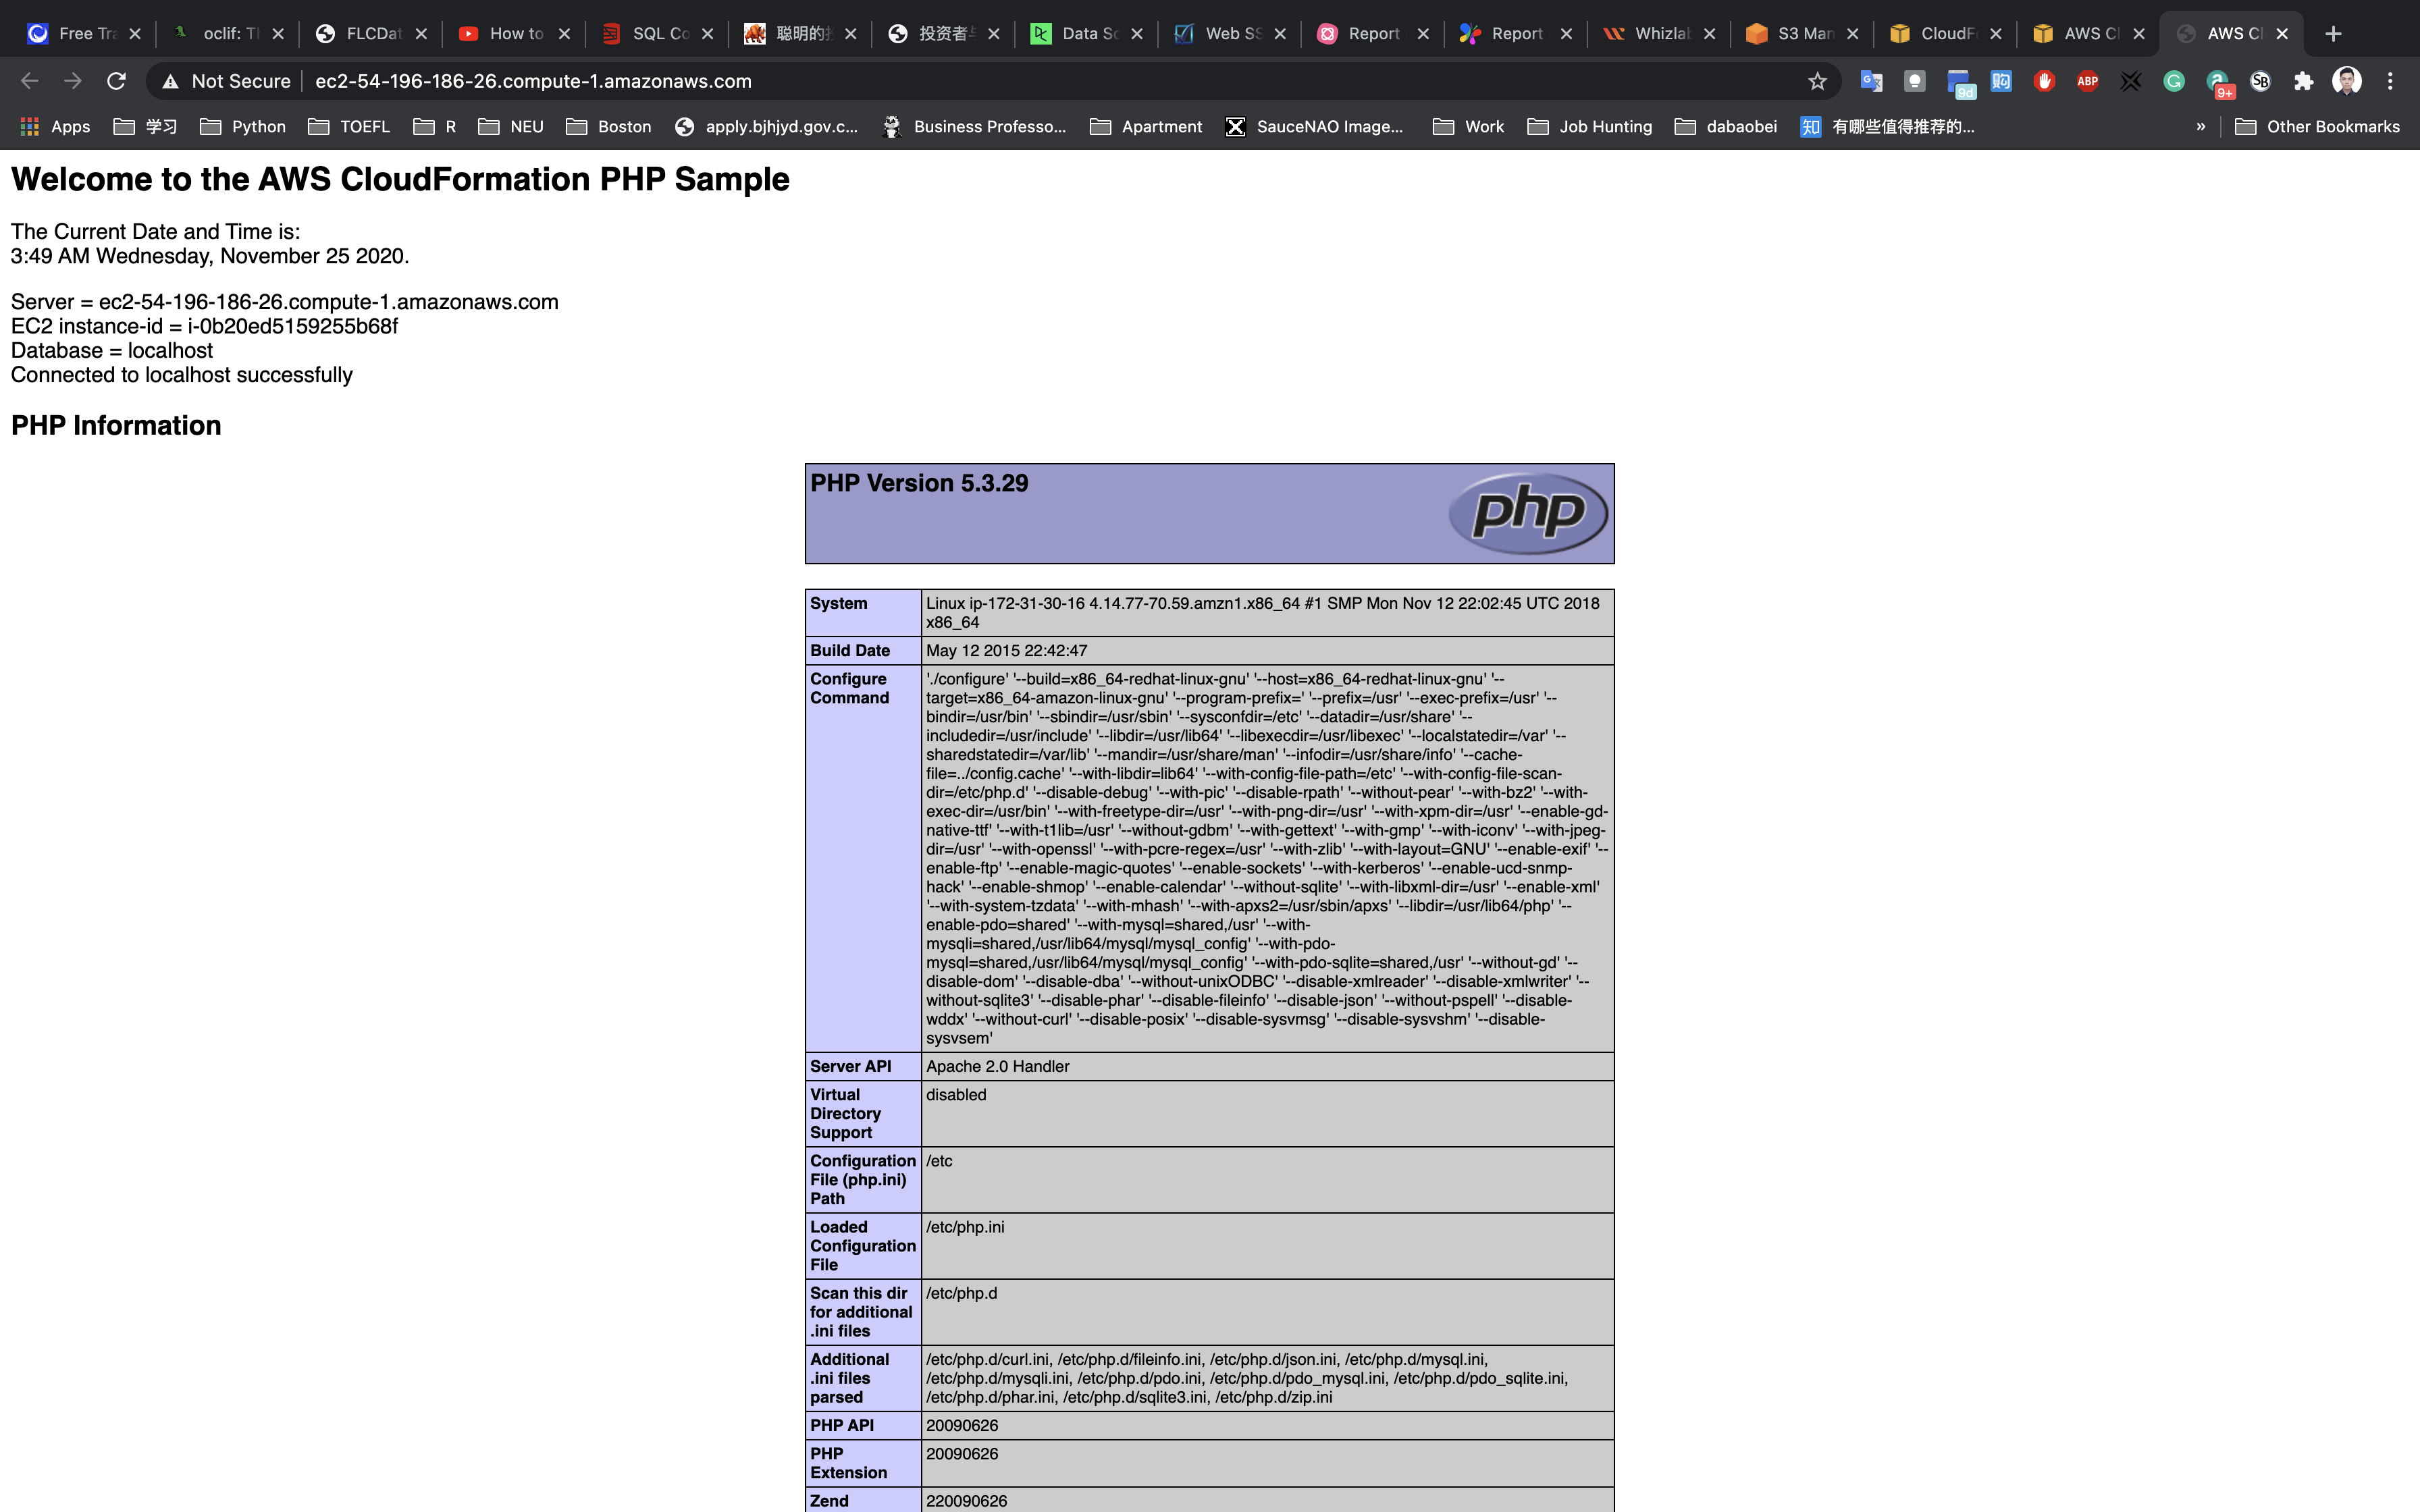
Navigate to the Outputs tab and you will be able to see a url similar to below. Click on the URL. This will take you to your server’s home page.
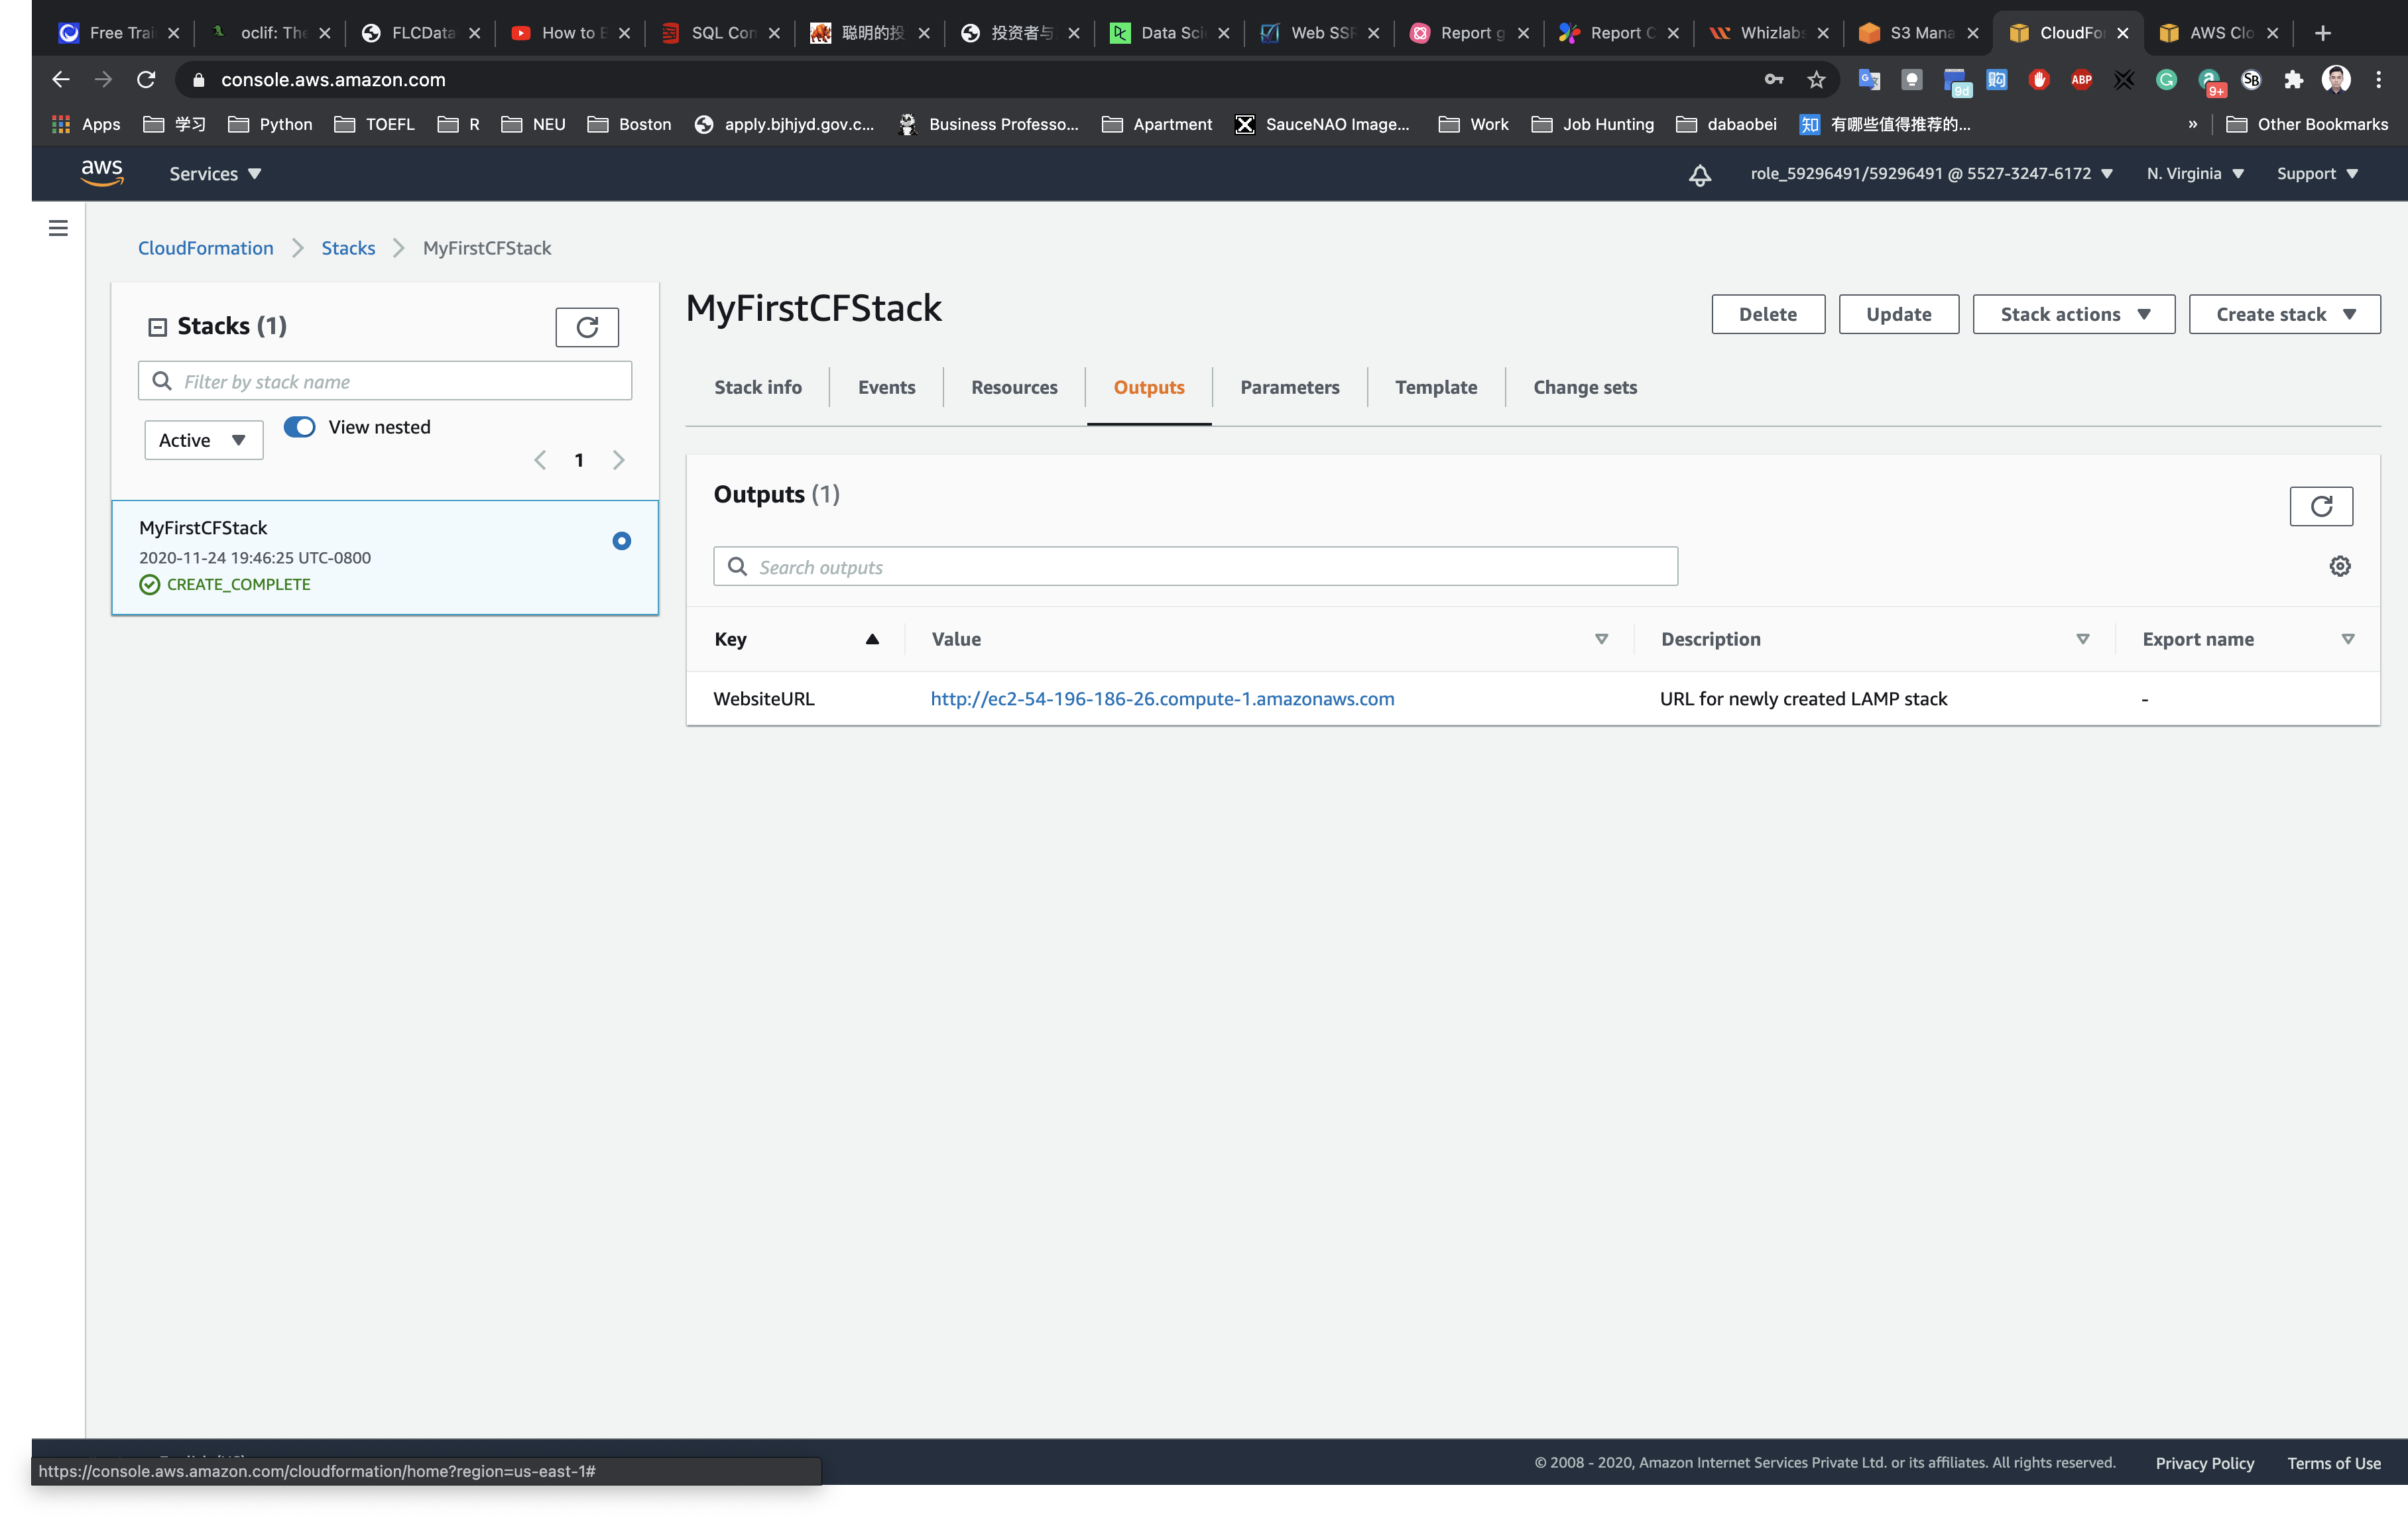
If you see the PHP info and your database connection, it means you have completed a LAMP server setup with AWS CloudFormation. Sample screenshot provided below:
Completion and Conclusion
- You have successfully created a Lamp server setup using a new Cloudformation Stack with the help of the JSON template provided in the S3 bucket.
- You have successfully tested the new lamp server created by CloudFormation.
How to Create Virtual Private Cloud (VPC) with AWS CloudFormation
https://play.whizlabs.com/site/task_details?lab_type=1&task_id=22&quest_id=35
Lab Details
- This lab walks you through how to create a VPC using an AWS CloudFormation Stack. In this lab, we will launch an AWS CloudFormation template to create a four-subnet Amazon VPC that spans two Availability Zones and a NAT that allows servers in the private subnets to communicate with the Internet in order to download packages and updates.
Task Details
- Log into the AWS Management Console.
- Deploy an AWS CloudFormation template that creates an Amazon VPC
- Examine the components of the template
- Update a CloudFormation stack
- Examine a template with the AWS CloudFormation Designer
Architecture Diagram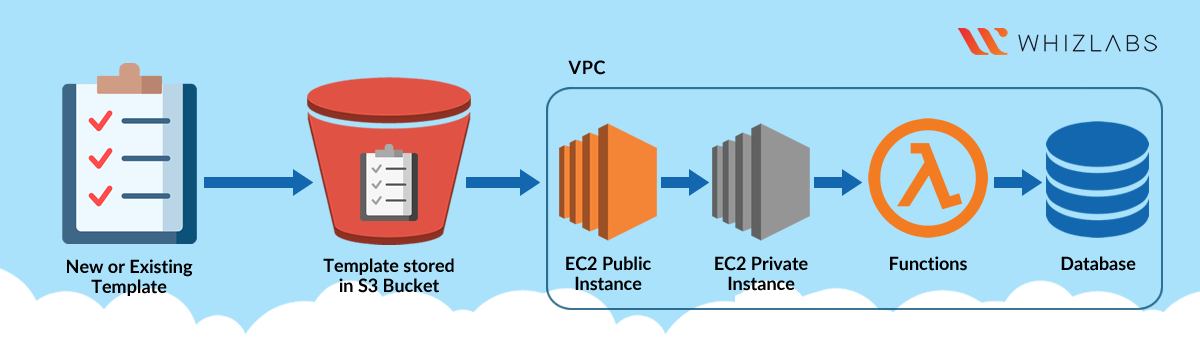
CloudFormation Configuration
Services -> CloudFormation
Prerequisite
- Download the CloudFormation template from
- Upload the JSON file to your S3 bucket (make sure with proper access permission) and copy the objects url.
Creating Subnets using the VPC_Template cloudformation stack
On the CloudFormation dashboard, click on Create stack.
Step 1: Specify Template
- Prepare template:
Template is ready - Specific templates
- Template source:
Select Amazon S3 URL or Upload your template - Amazon S3 URL: Paste the URL copied from earlier.
- Template source:
Click on View in Designer
Click on Next.
Step 2: Specify stack details
- Stack name
- Stack name:
MyFirstCFStack
- Stack name:
Click on Next.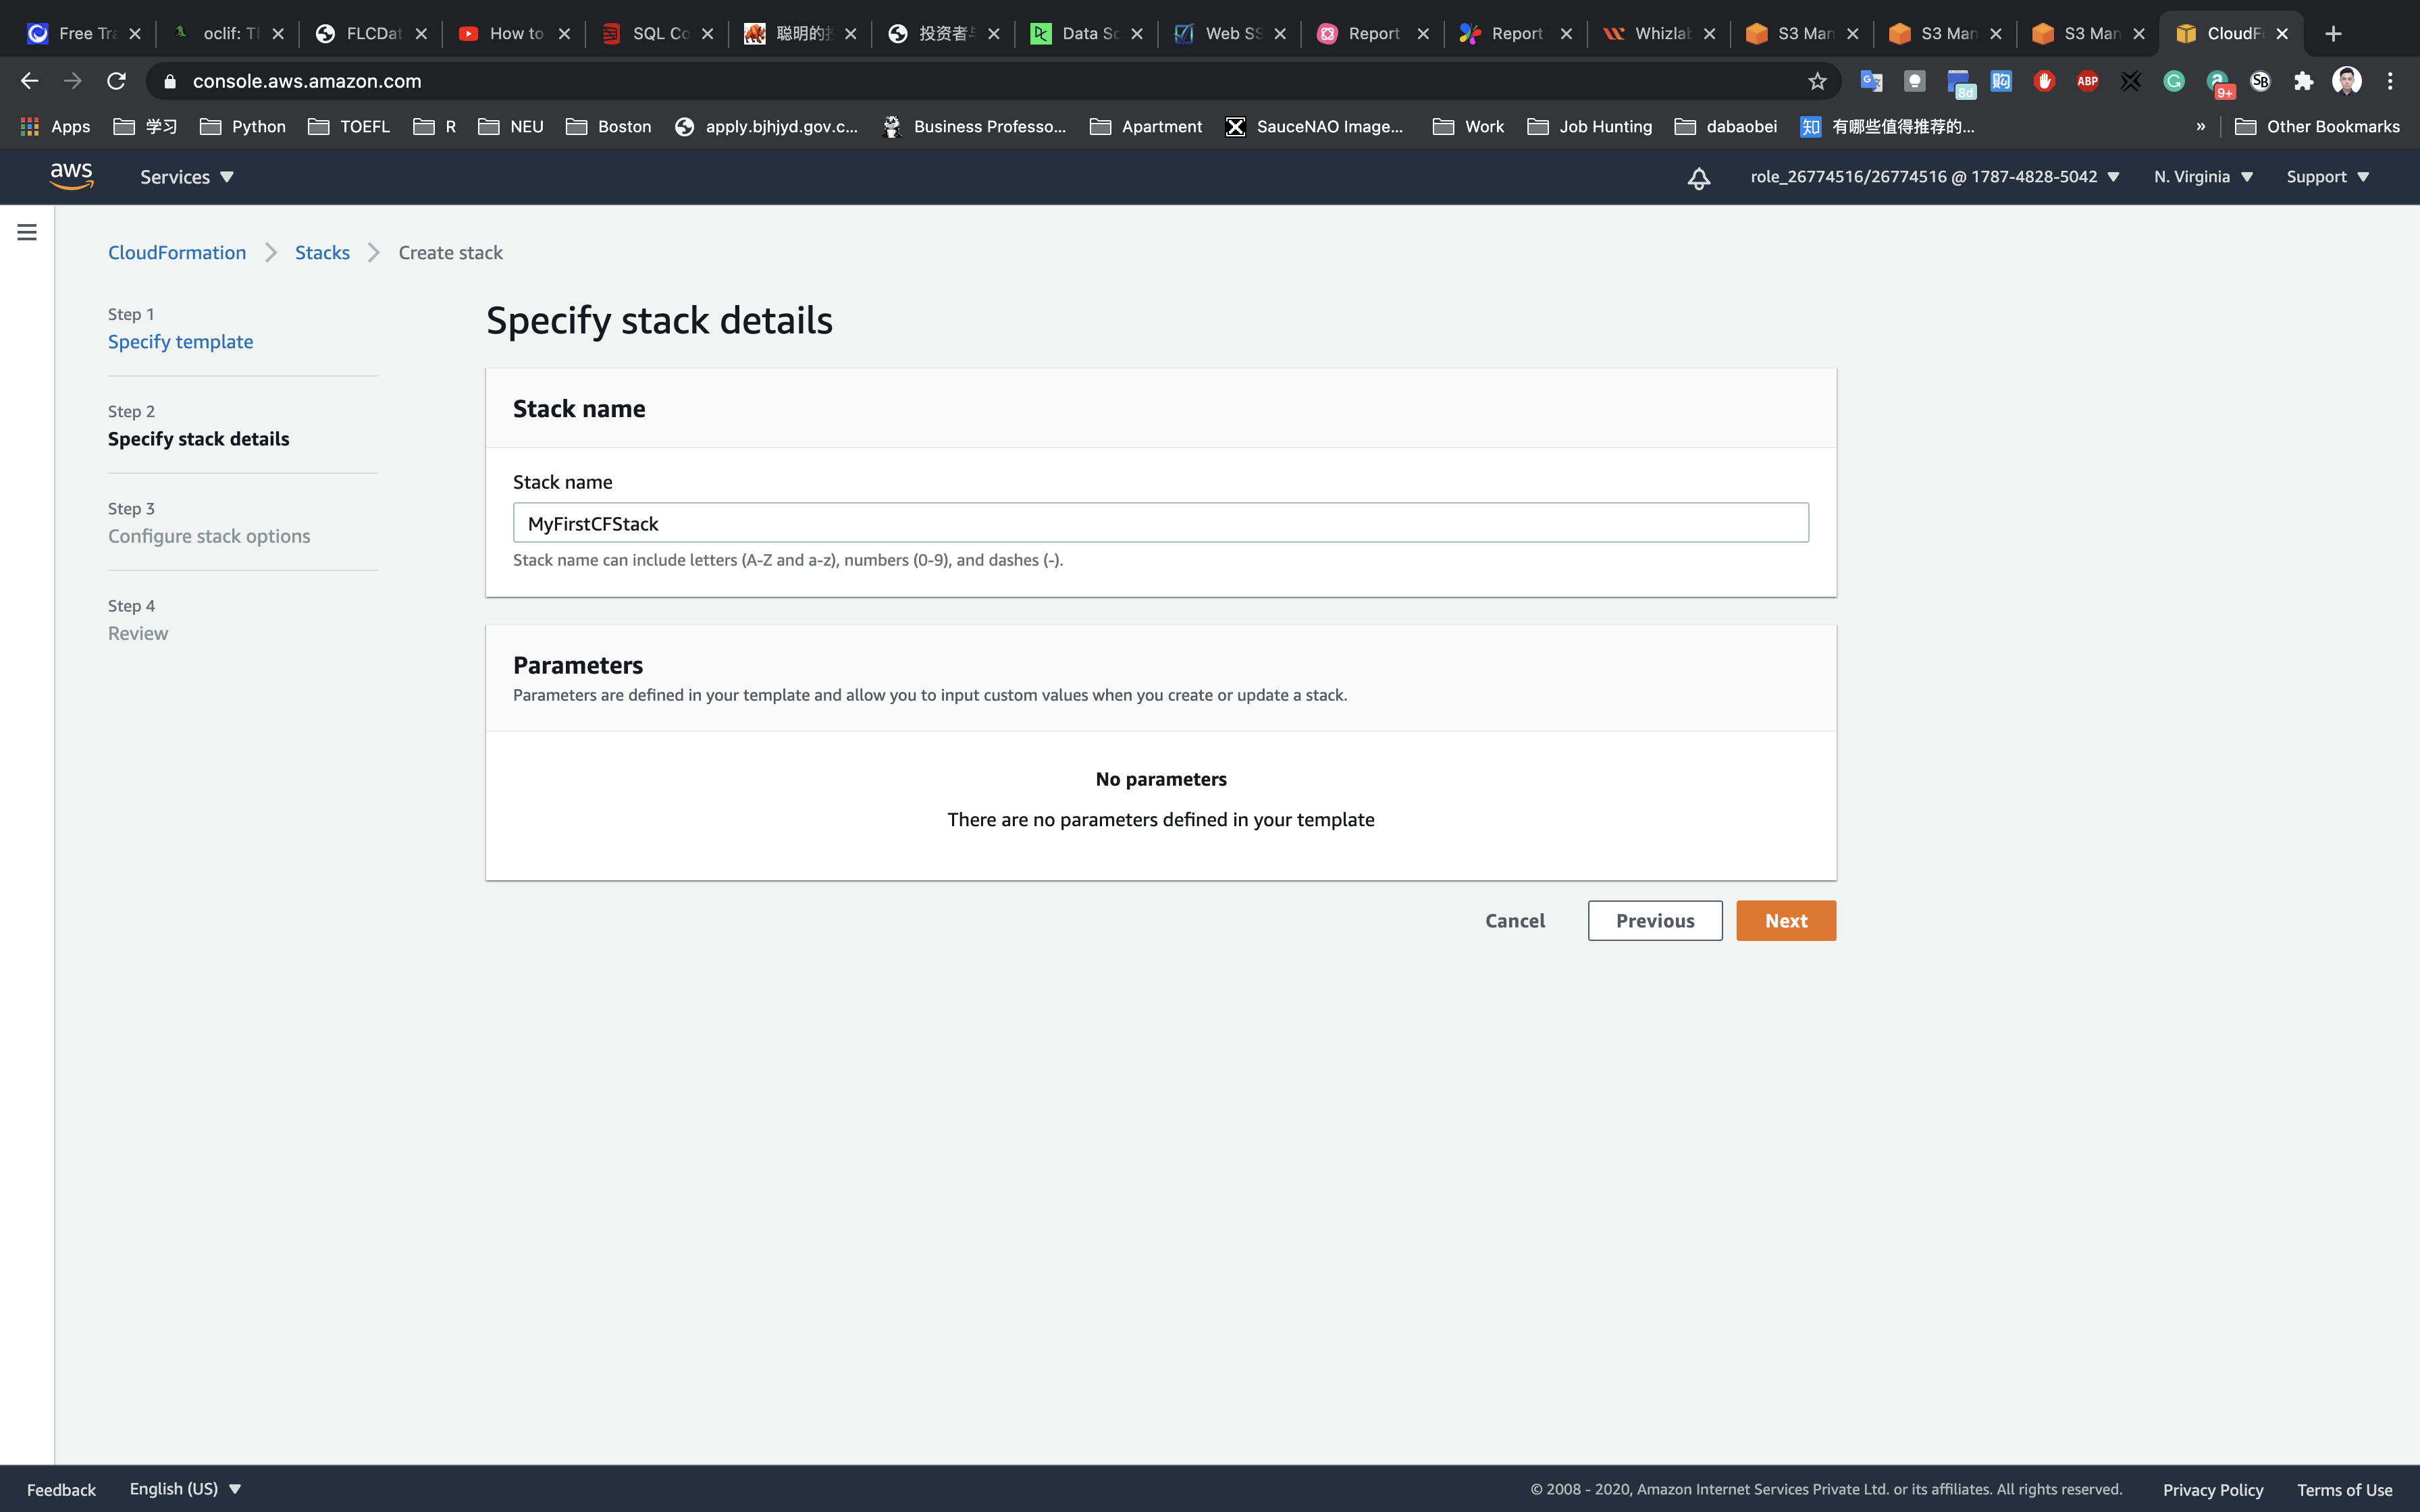
Step 3: Configure stack options
Tags
- Key:
Name - Value :
MyCF
- Key:
Permissions: No need to select for this lab, leave it blank.
Leave all other configuration fields as default.
Click on Next.
Step 4: Review
Review your stack details and click on Create stack.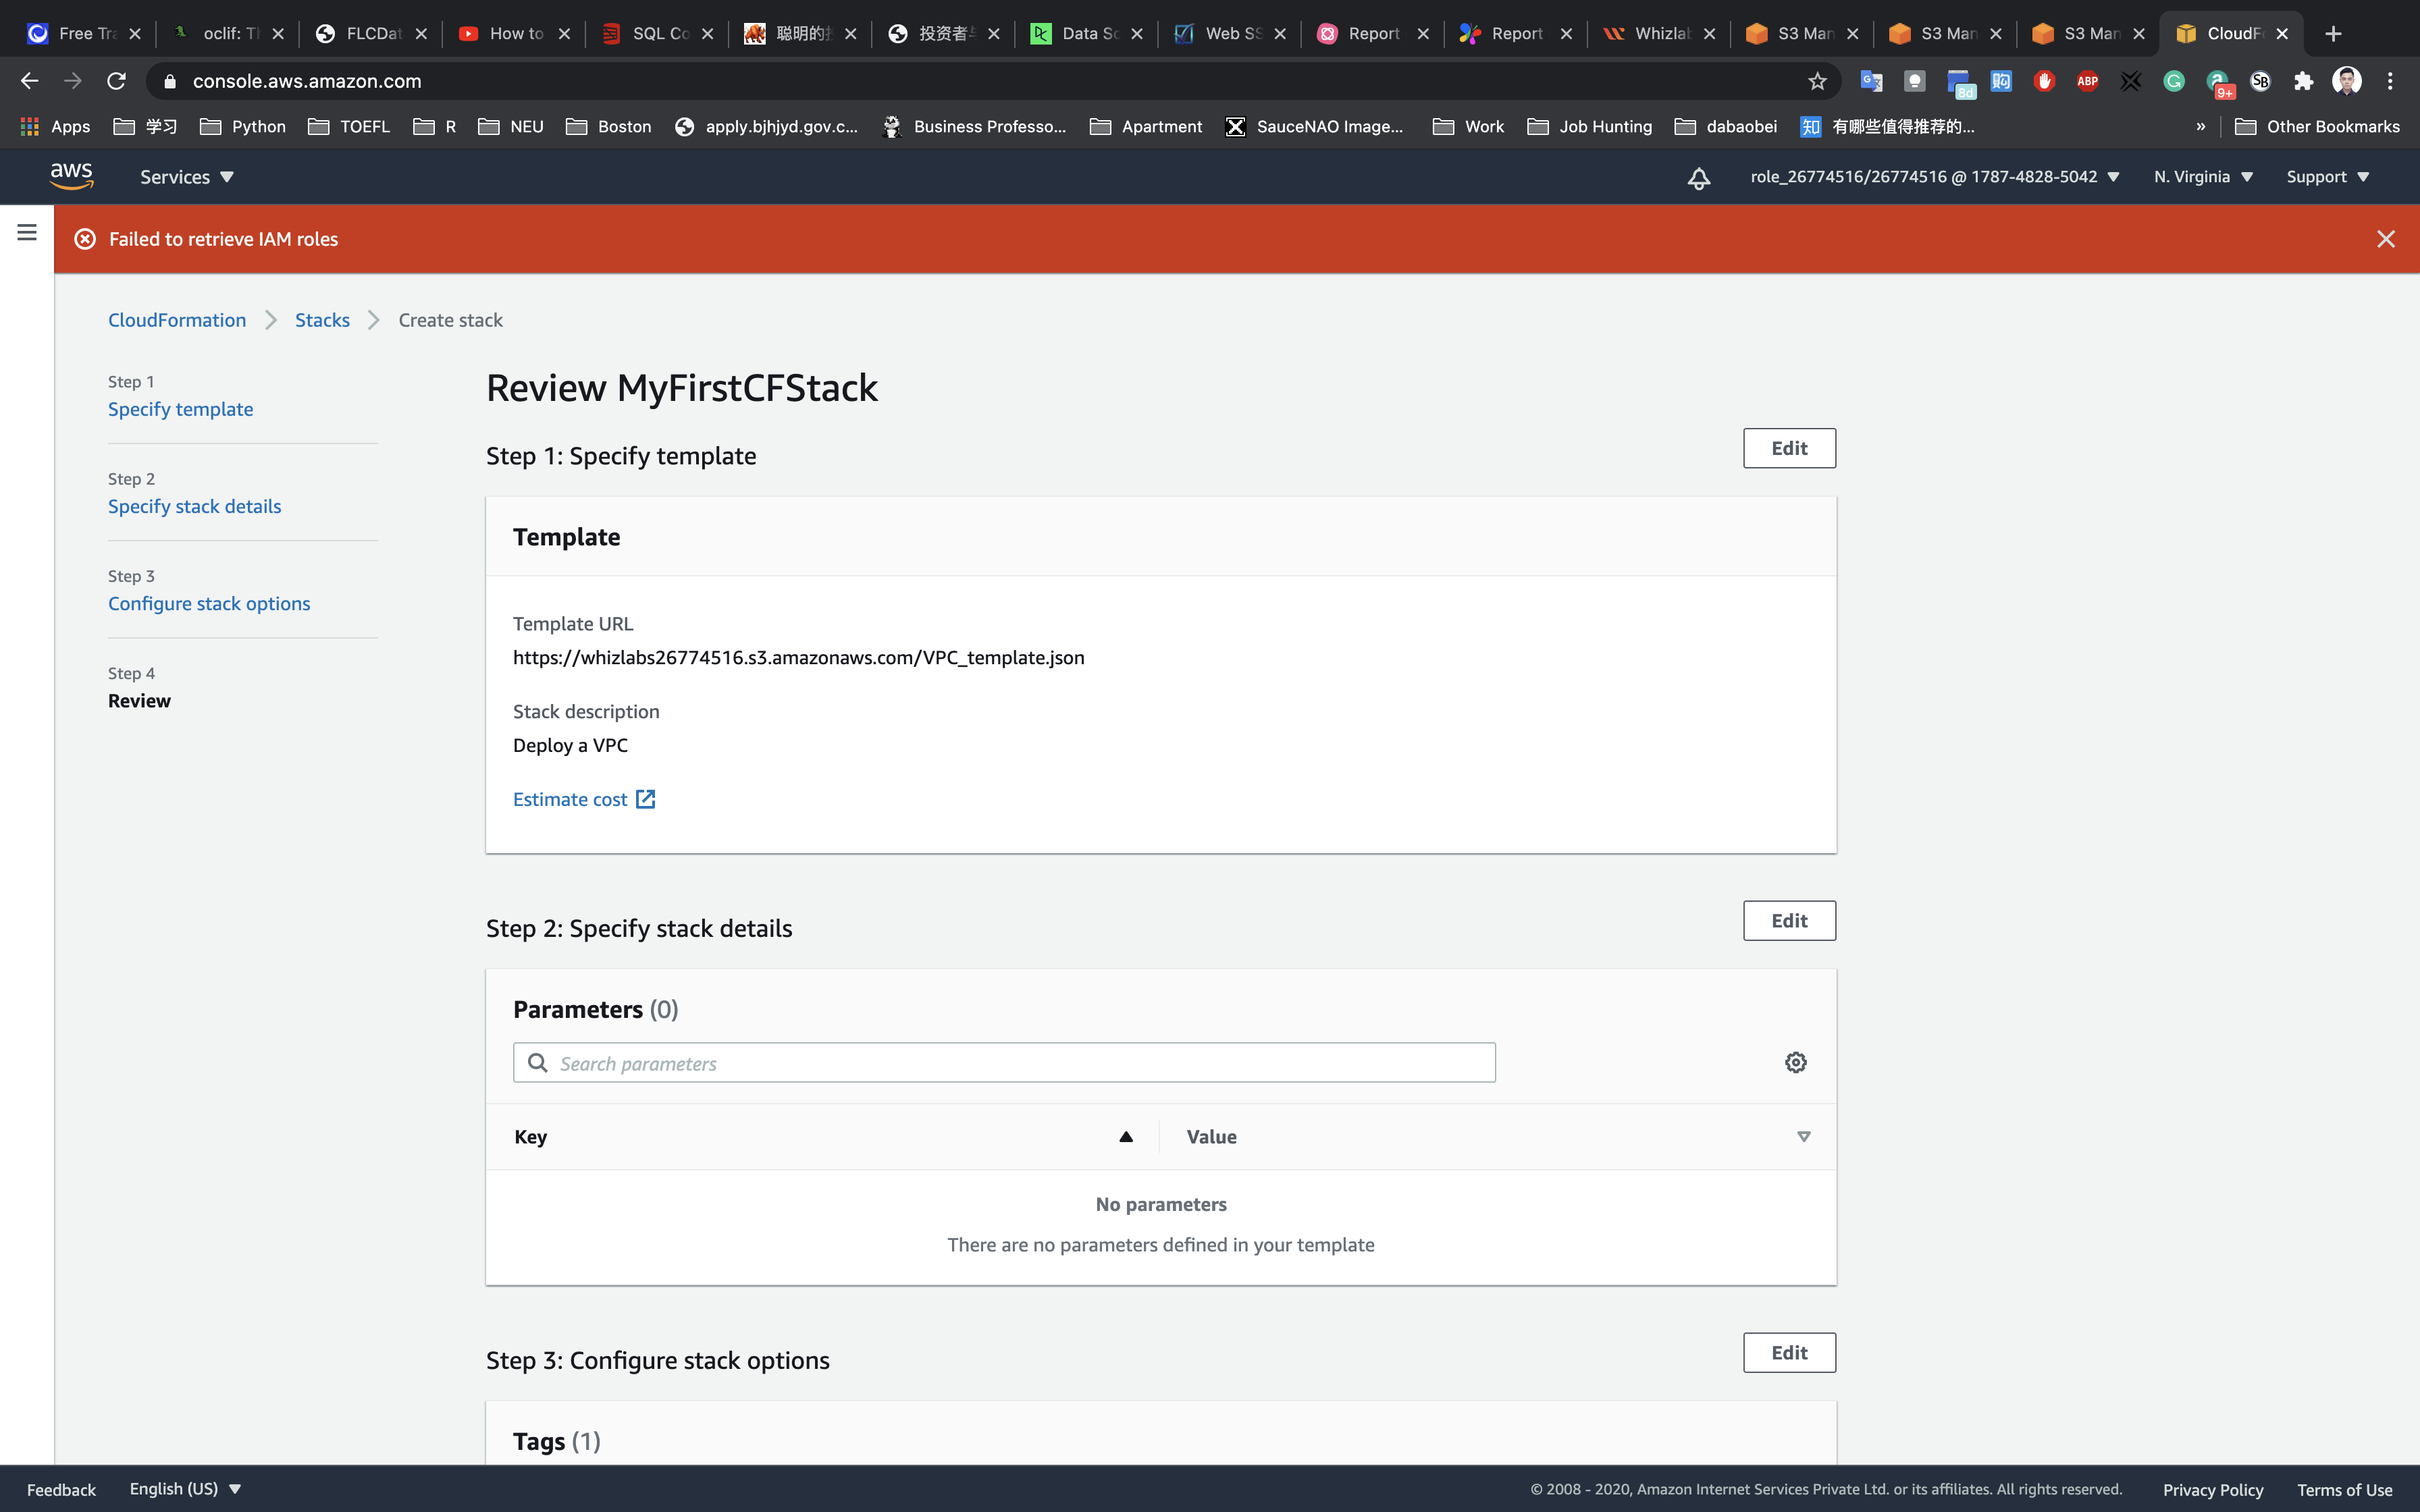
Once you have clicked the create button, you will be redirected to the CloudFormation stack list. A sample screenshot is provided below.
Status: You will see the status CREATE_IN_PROGRESS.
Click on the refresh button beside New events available to see the updates.
You need to wait around 1-5 minutes to complete the stack resource creation.
Click on Stack info tab to see the overall status.
Once your stack status changes to CREATE_COMPLETE.
Creating Subnets using the VPC_II_Template cloudformation stack
Click on Stacks on the left and top.
Select the stack you just created, then click on Update.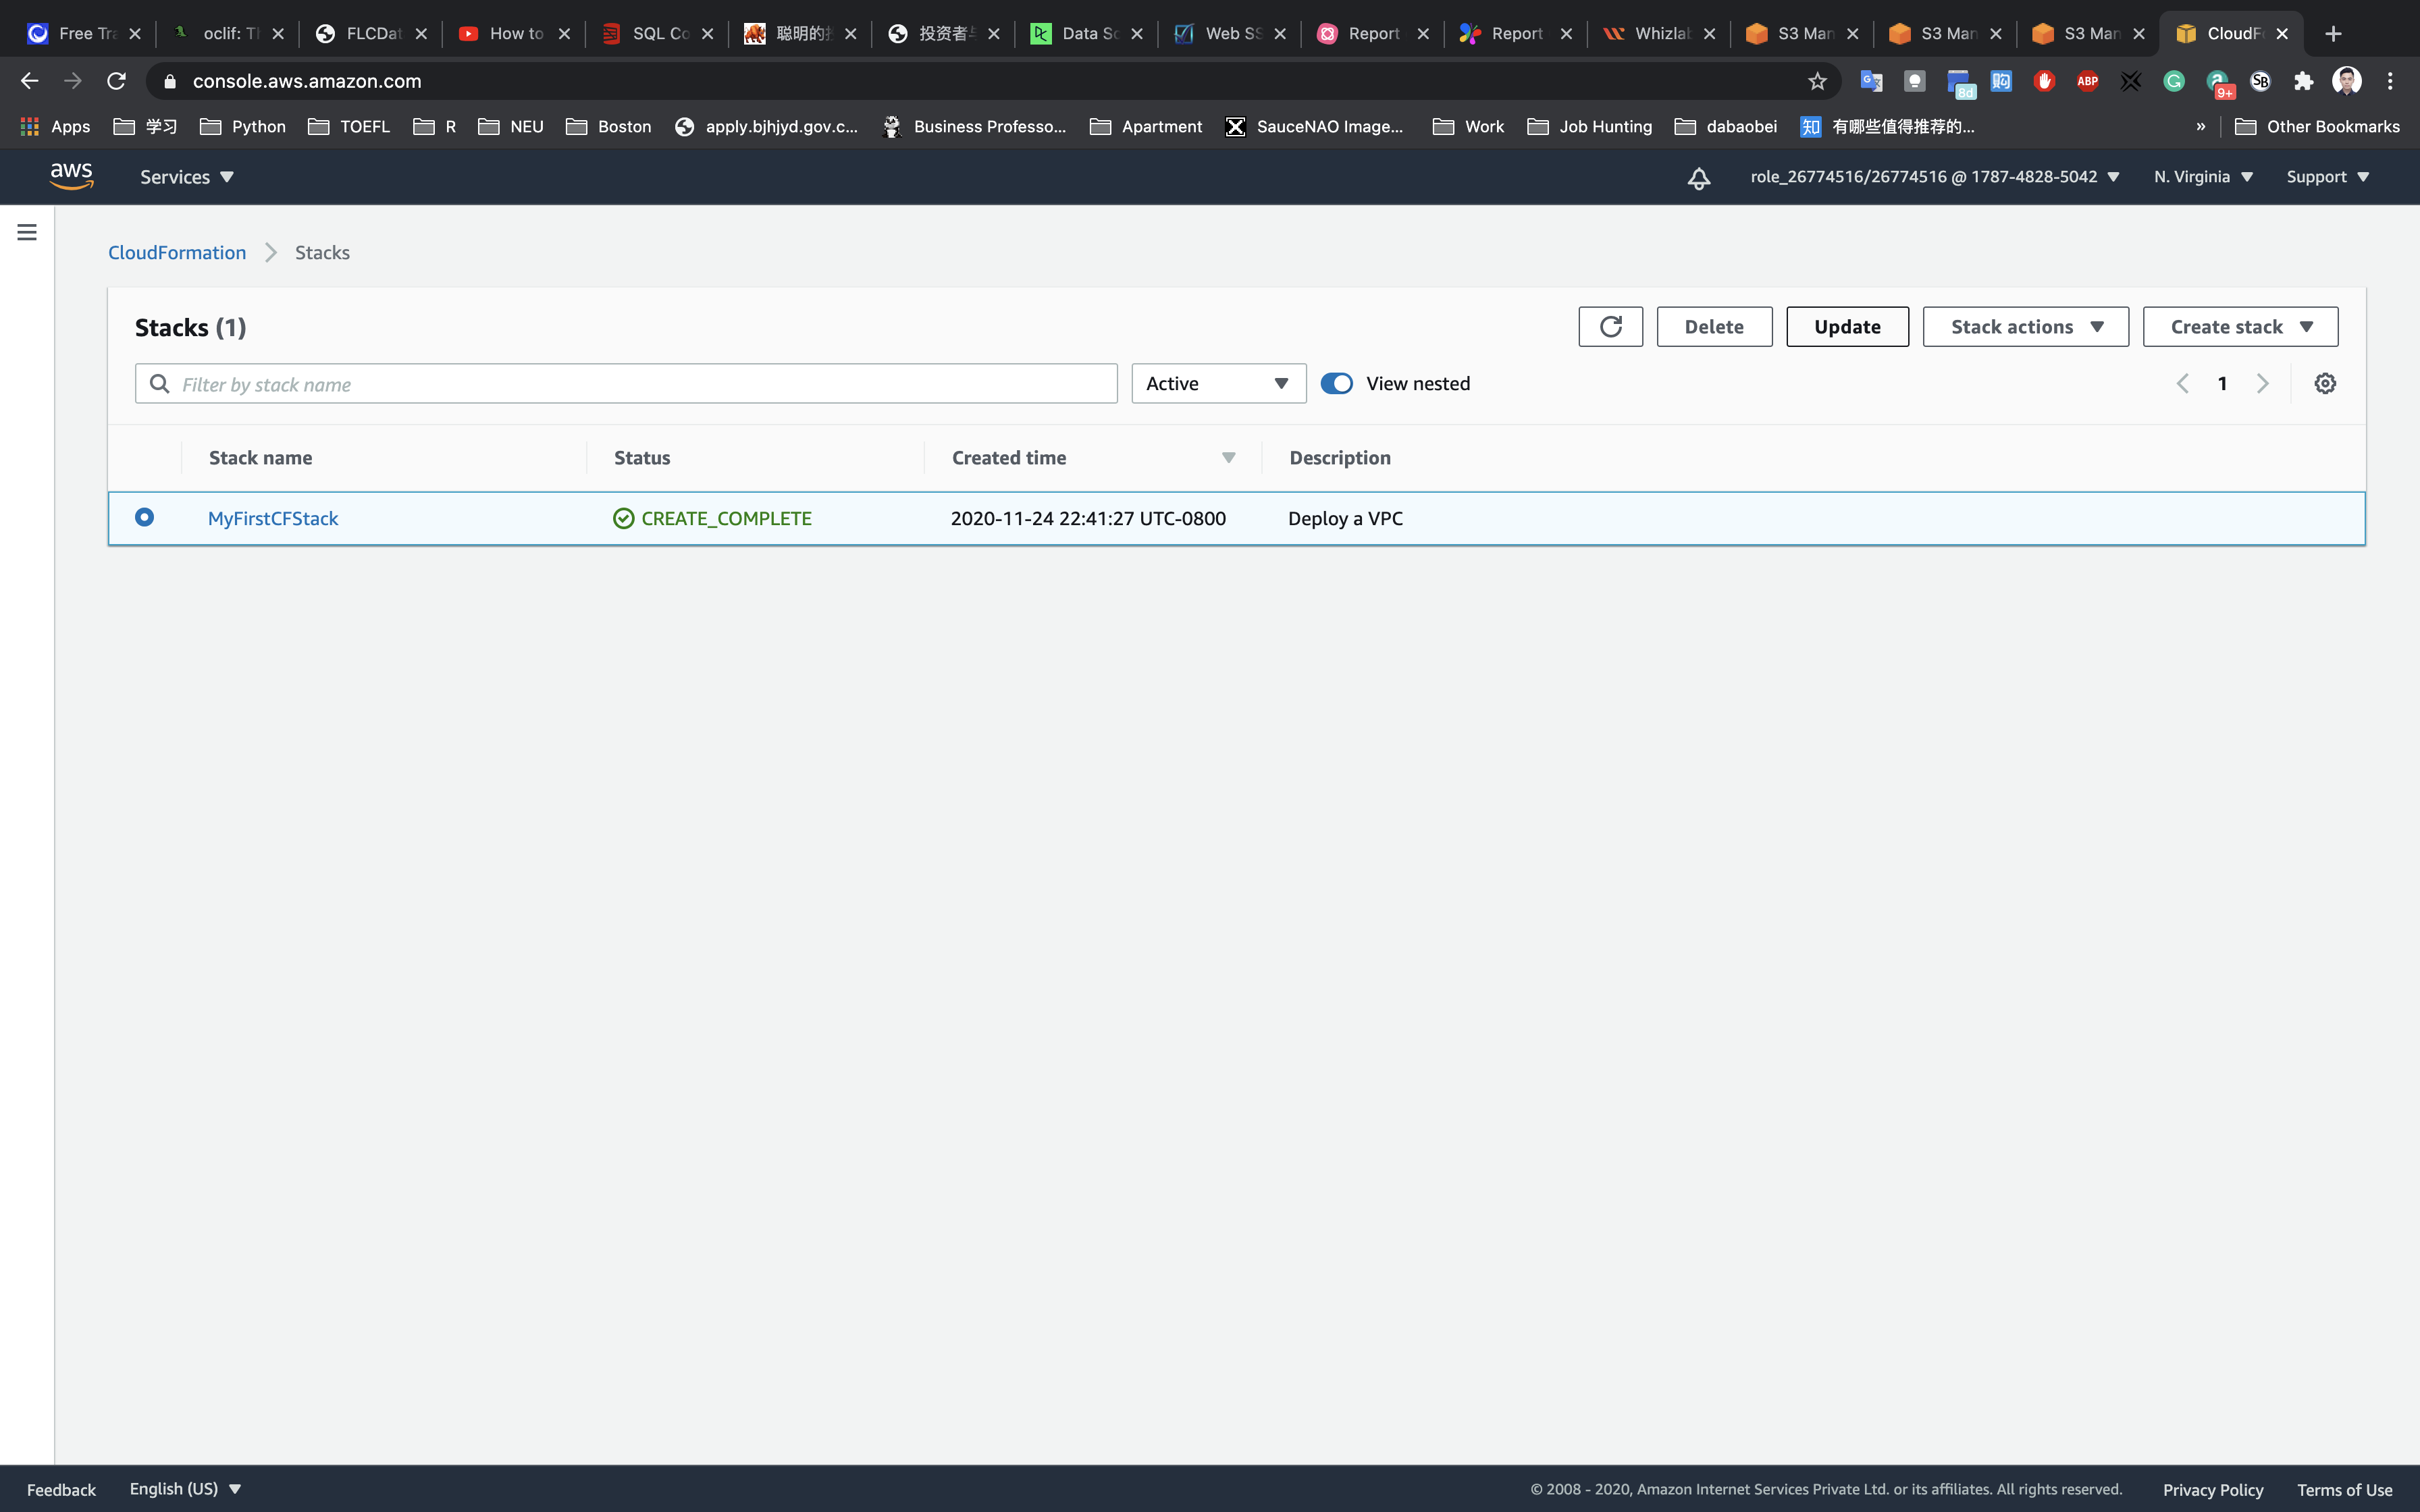
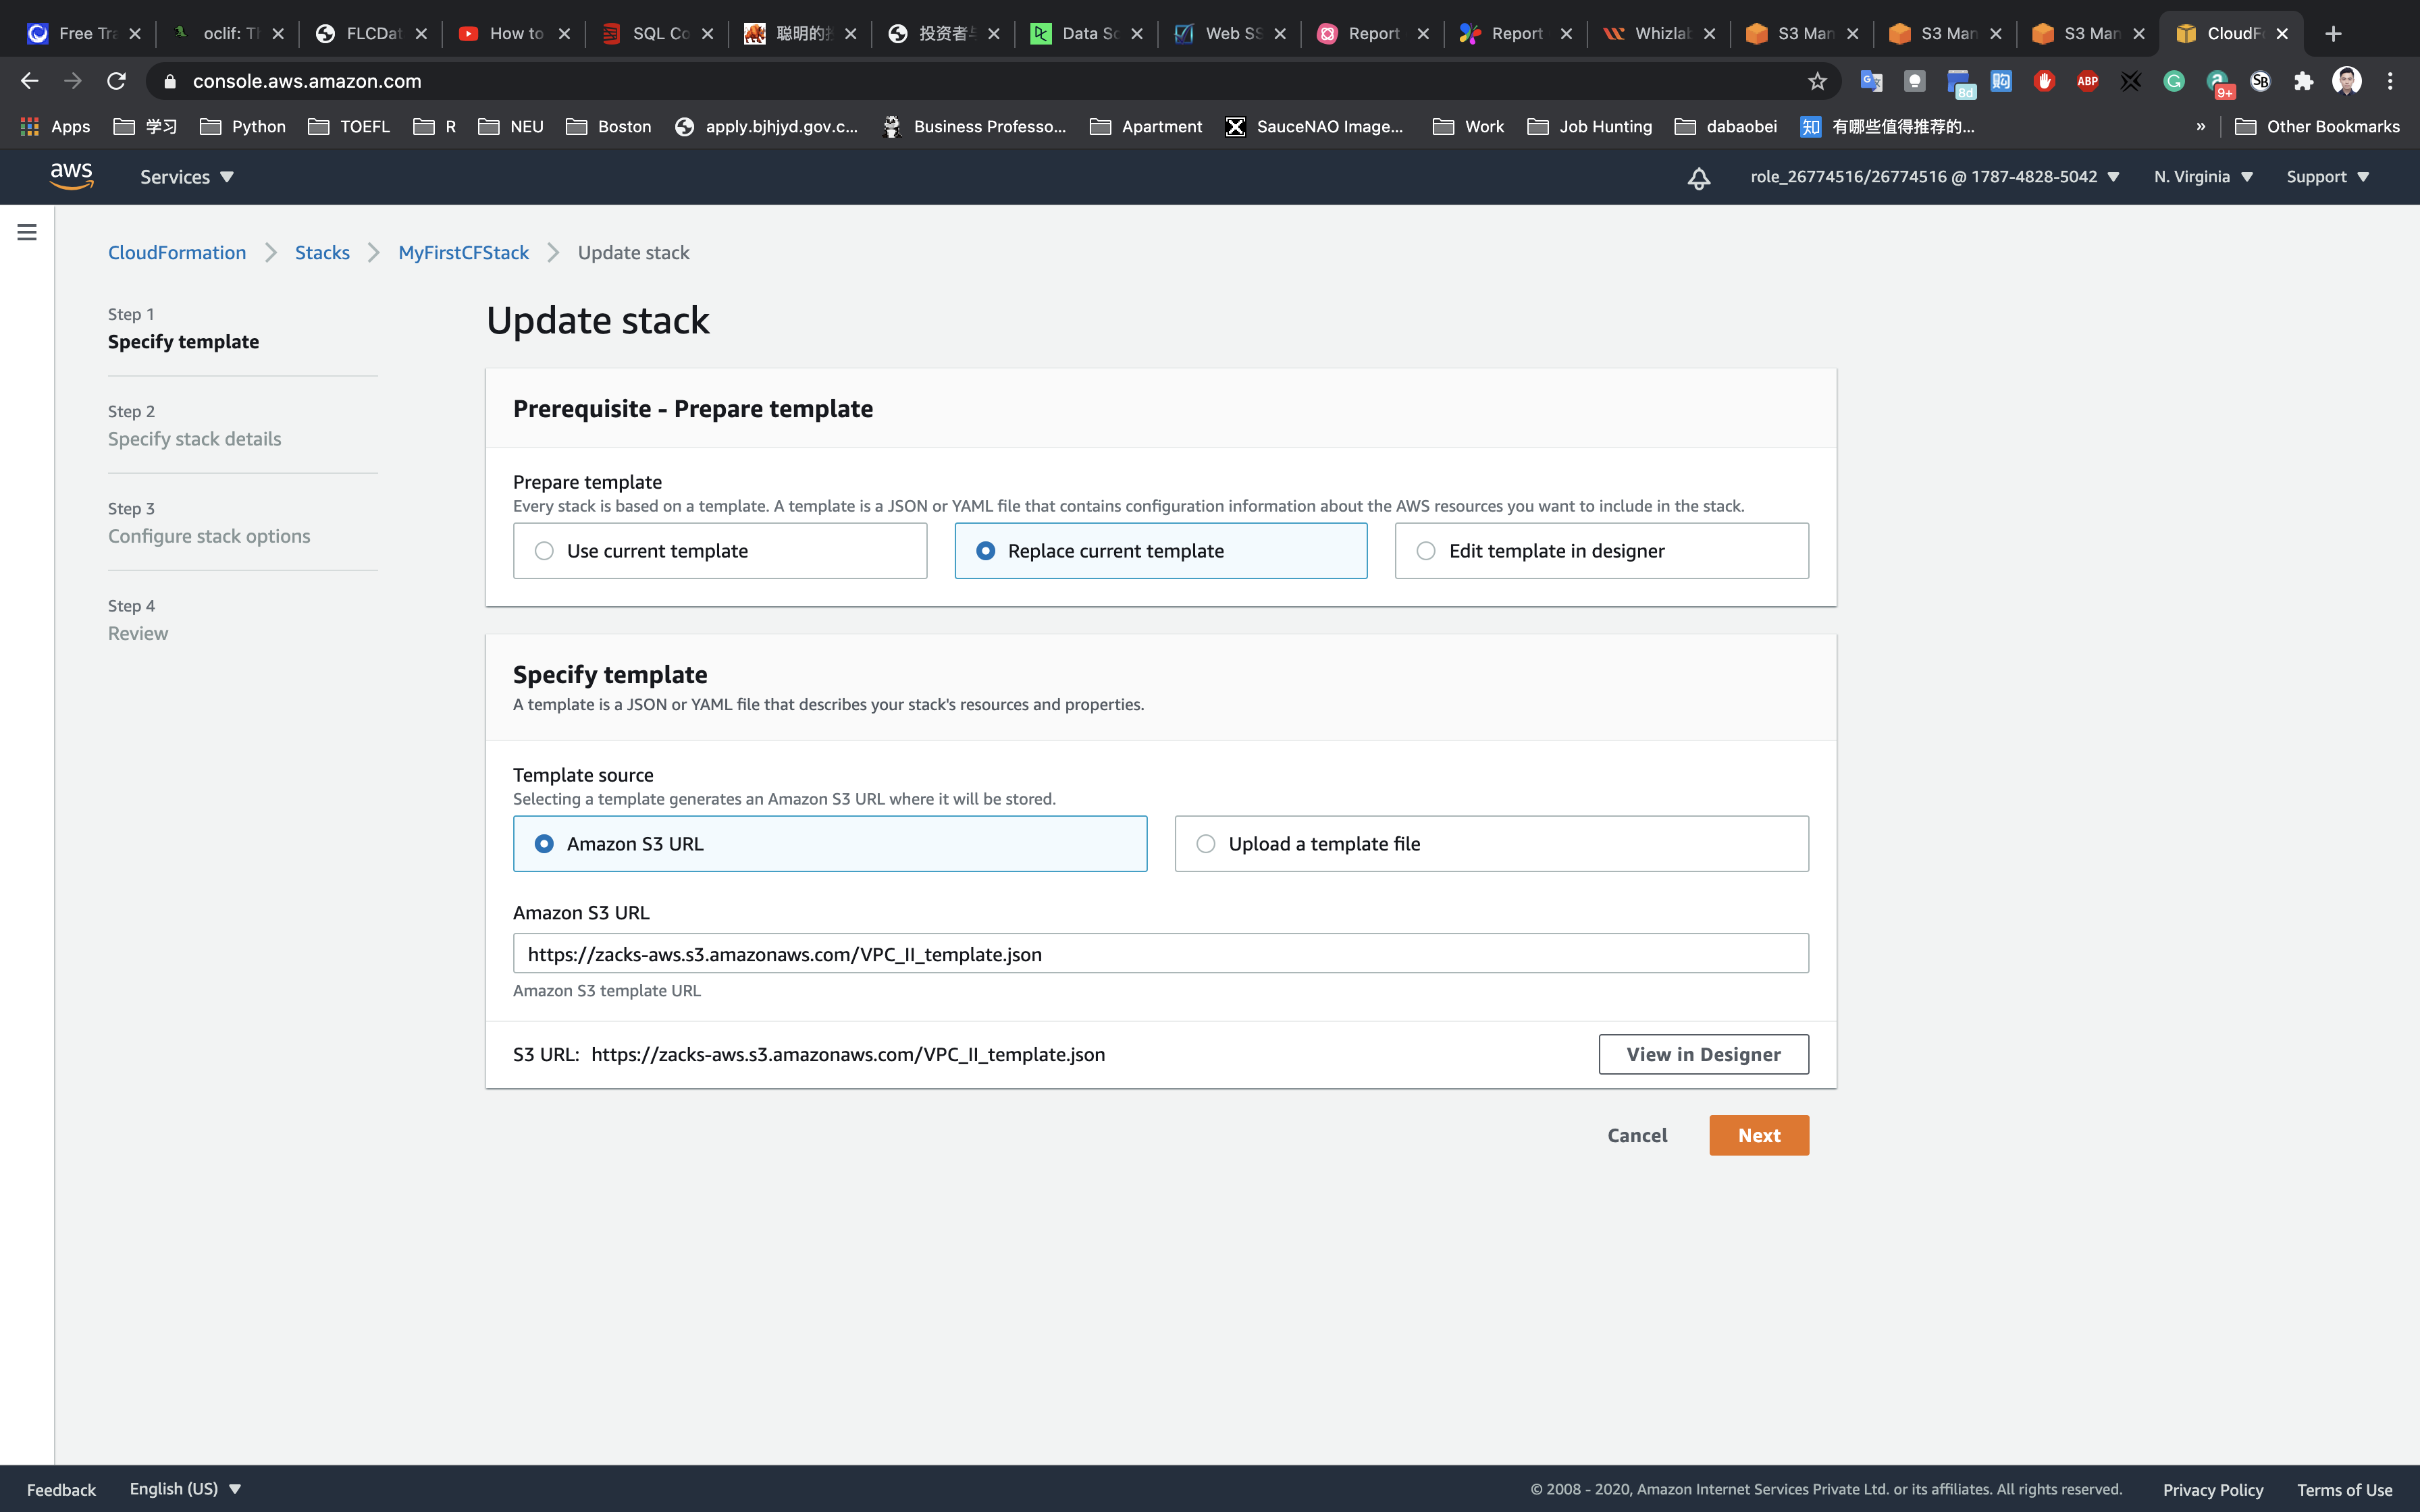
Step 1: Specify Template
- Prepare template:
Replace current template - Specific templates
- Template source:
Select Amazon S3 URL or Upload your template - Amazon S3 URL: Paste the URL copied from earlier.
- Template source:
Click on View in Designer
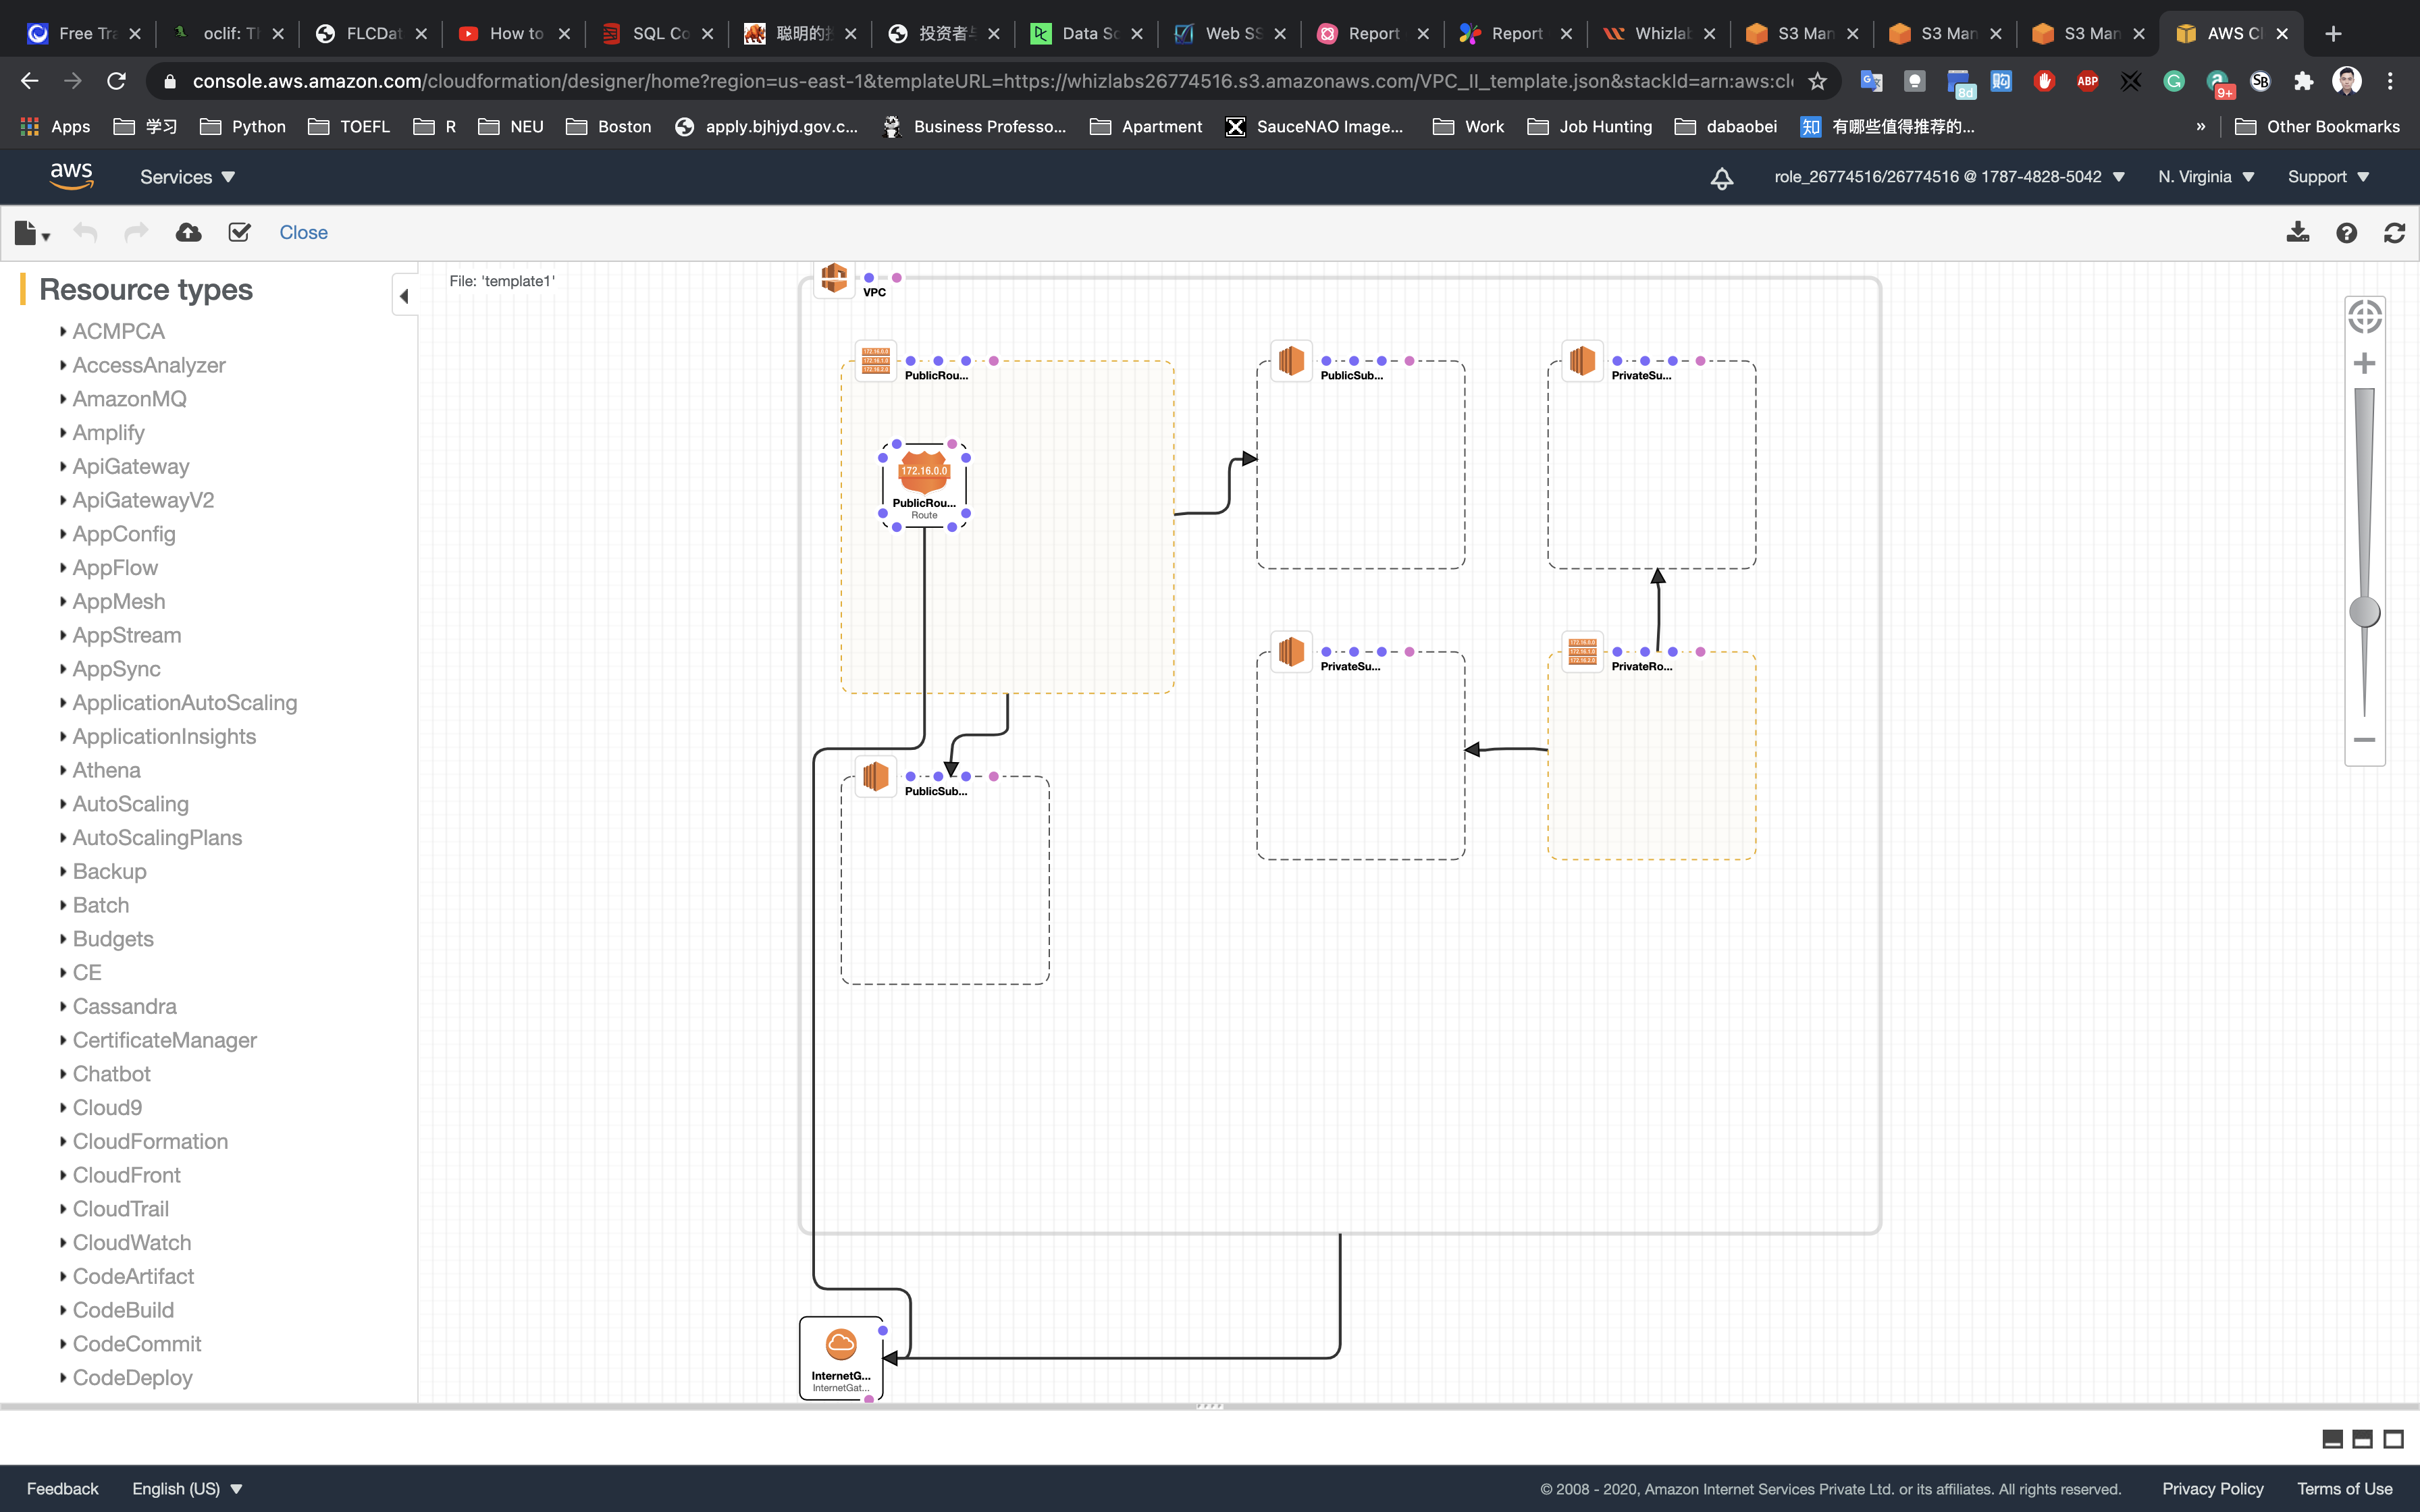
Click on Next.
Step 2: Specify stack details
Click on Next.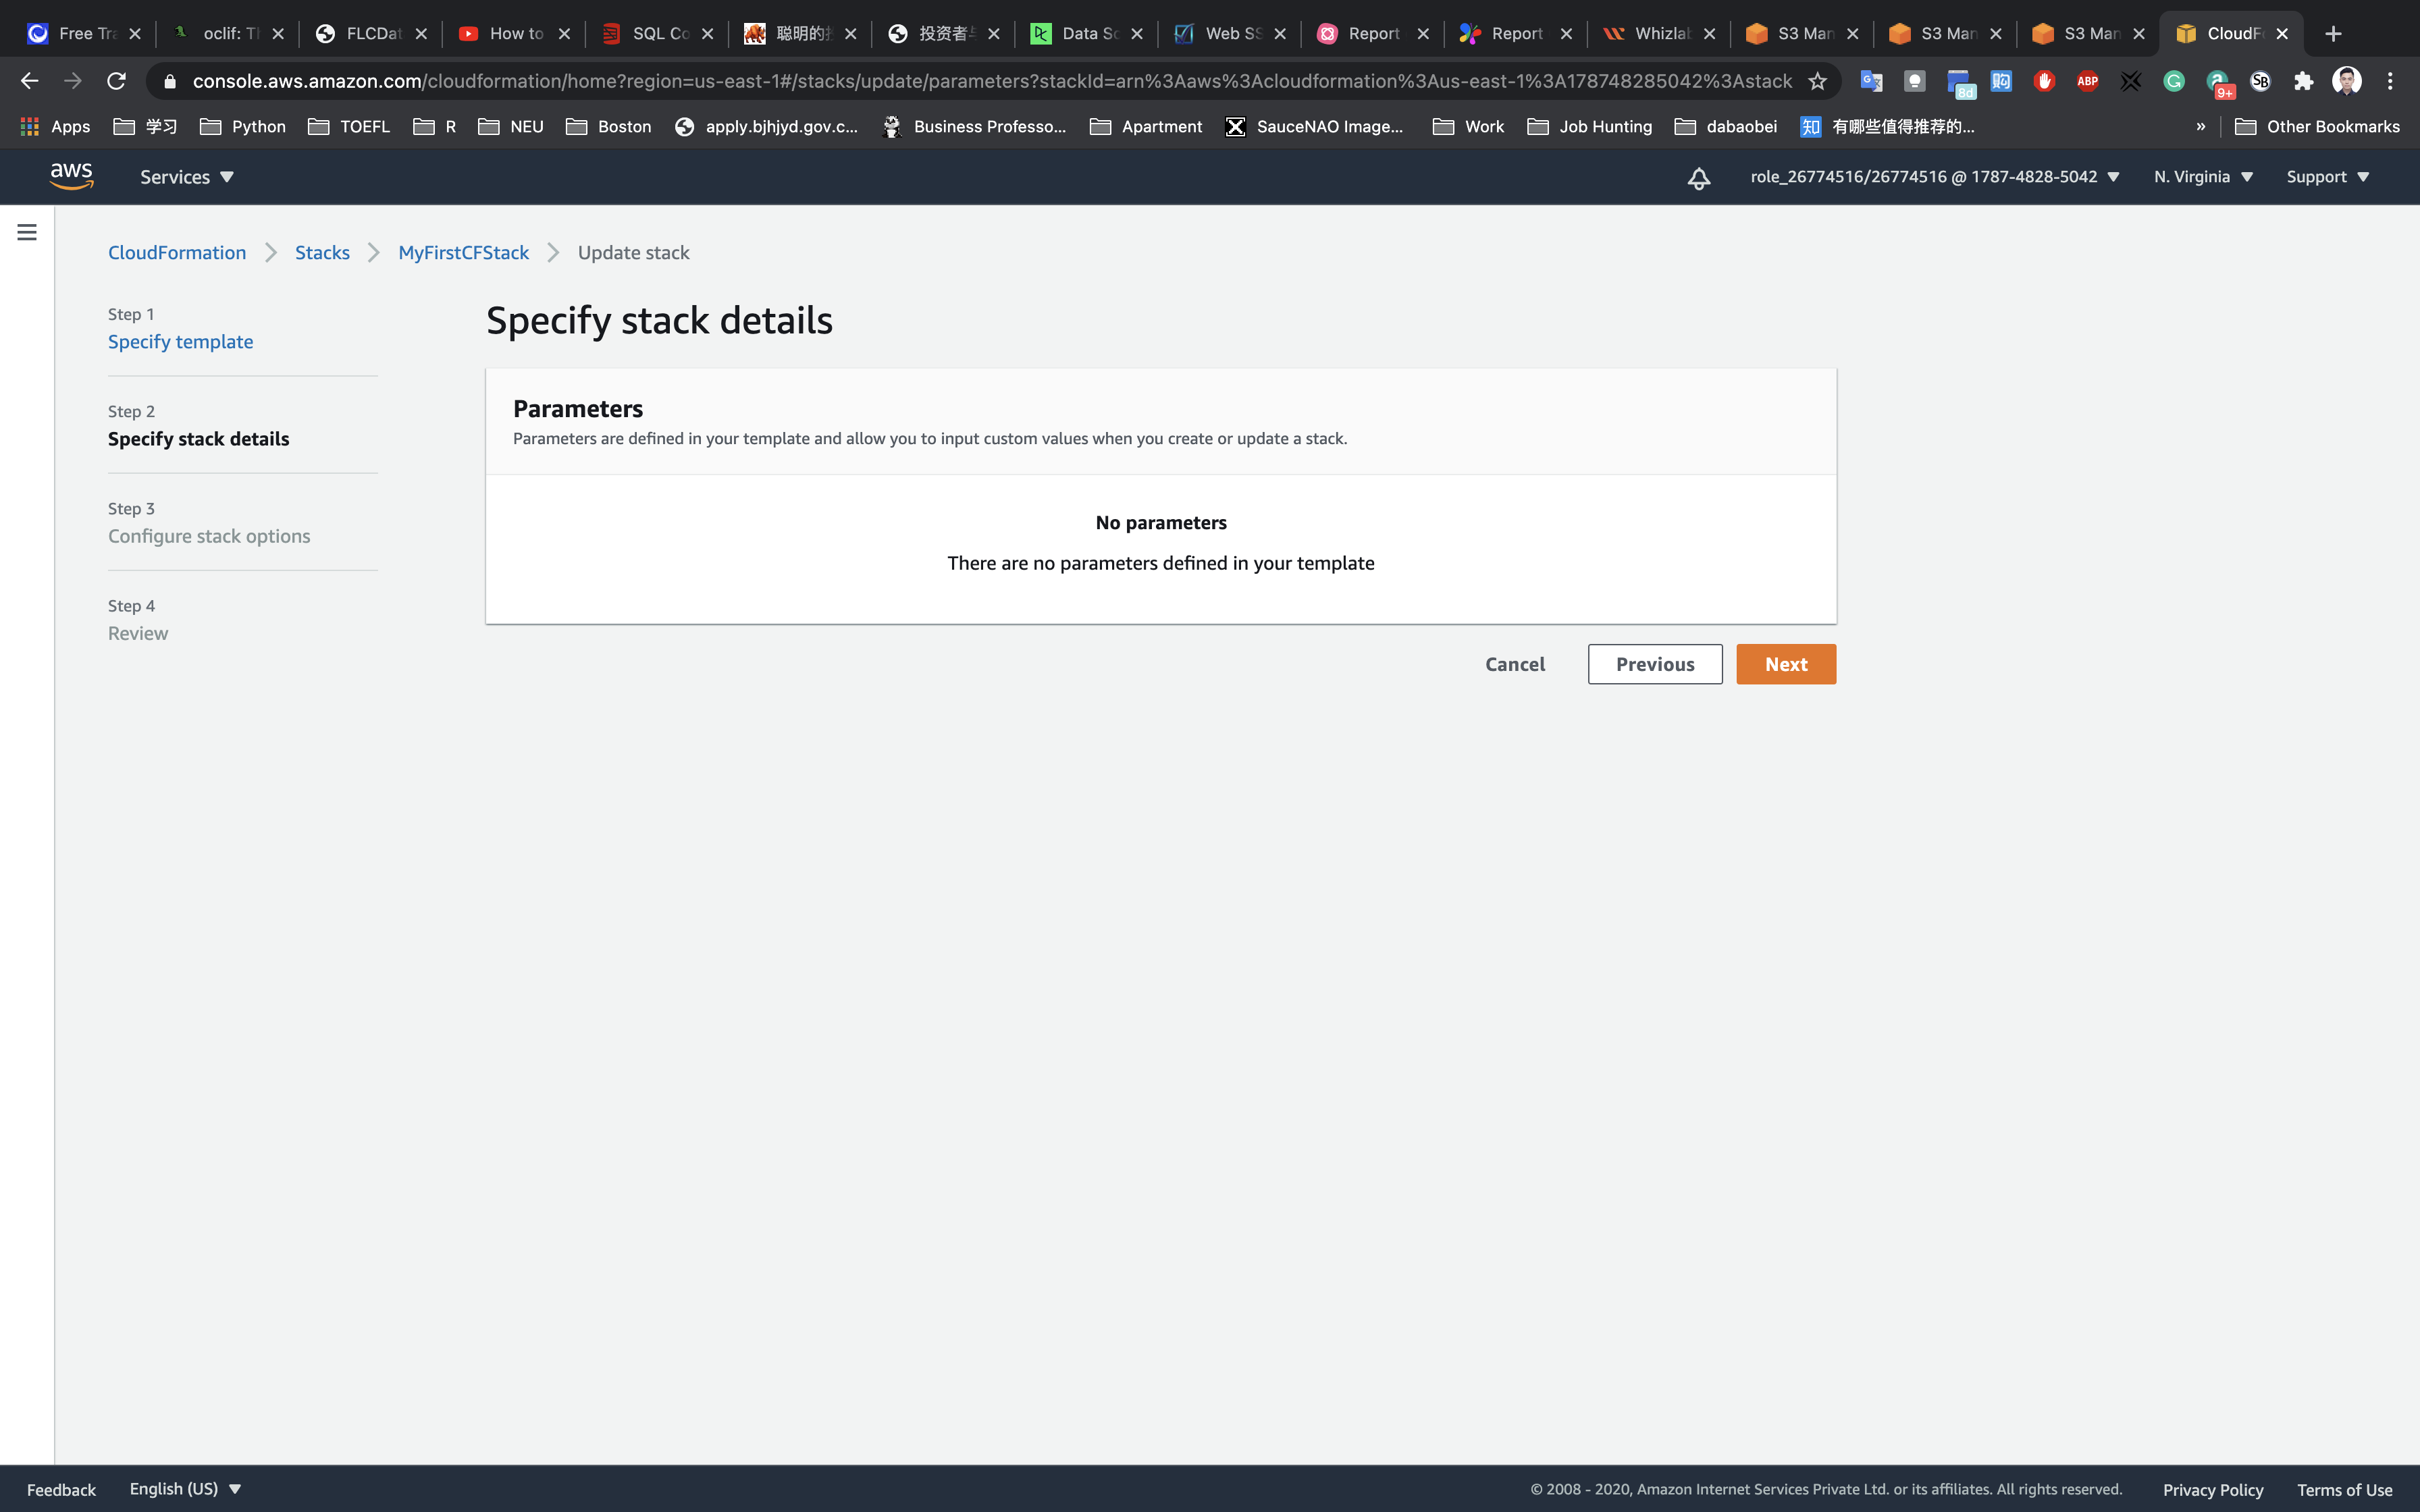
Step 3: Configure stack options
Leave all other configuration fields as default.
Click on Next.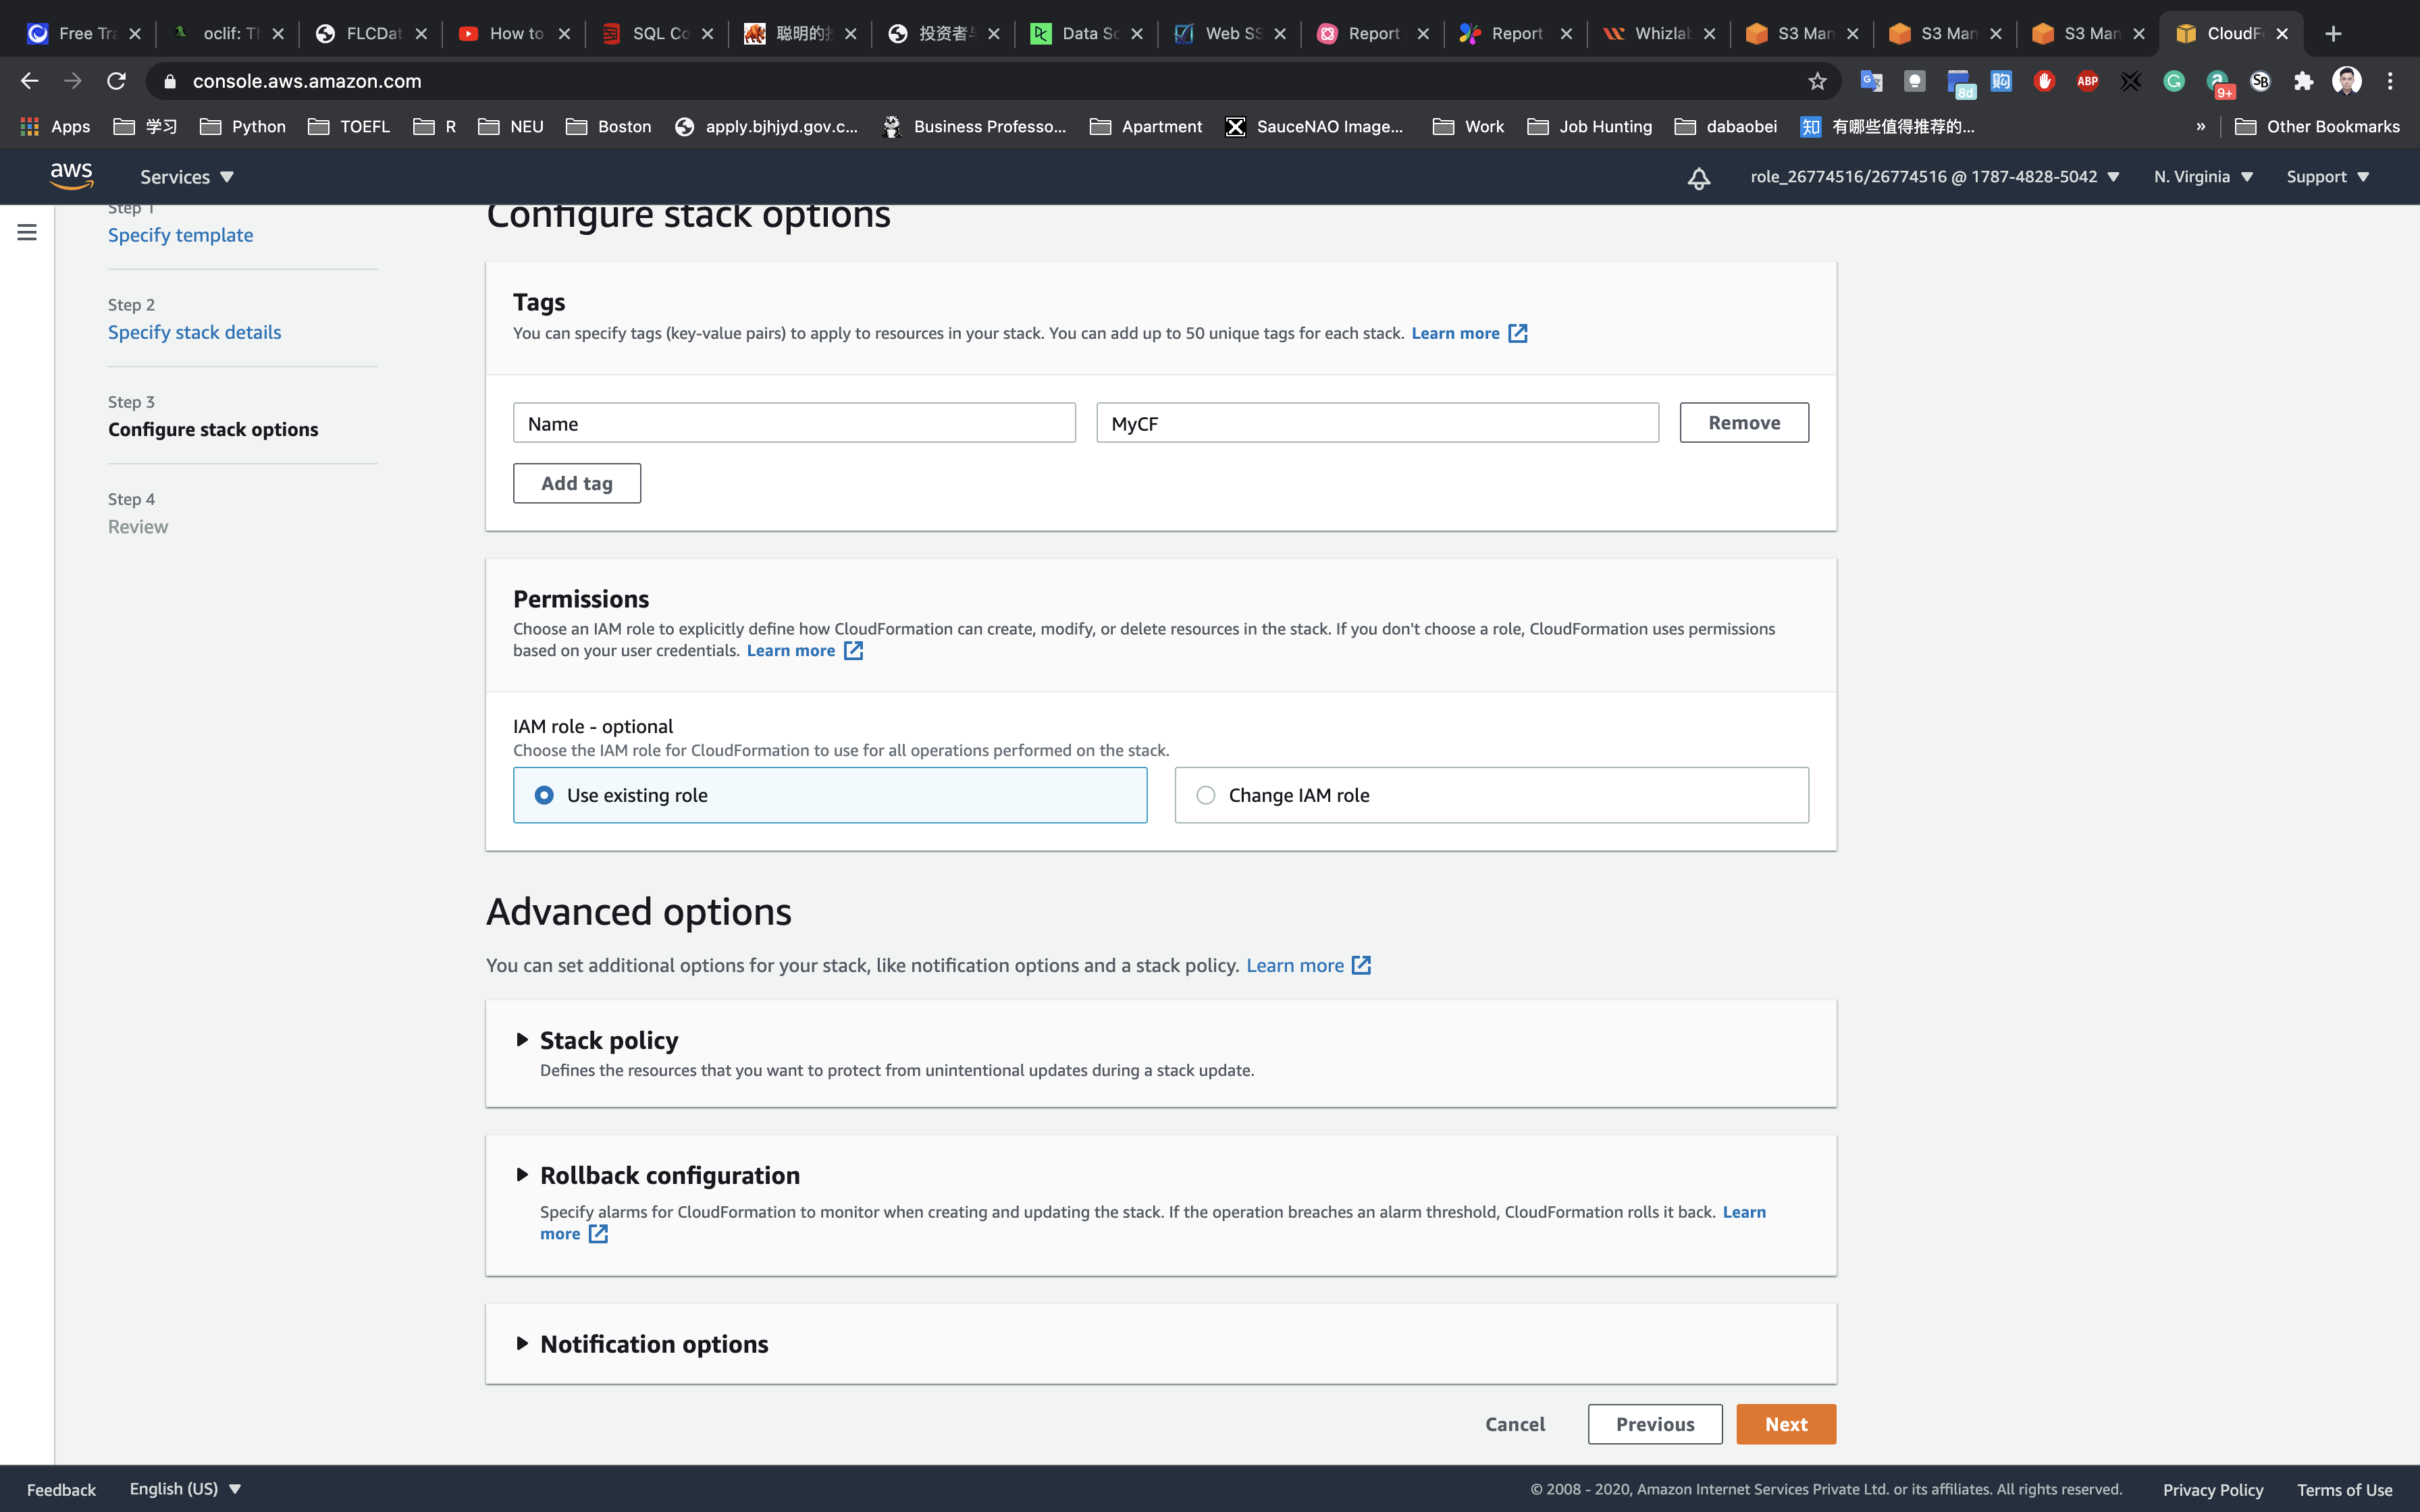
Step 4: Review
Review your stack details and click on Update stack.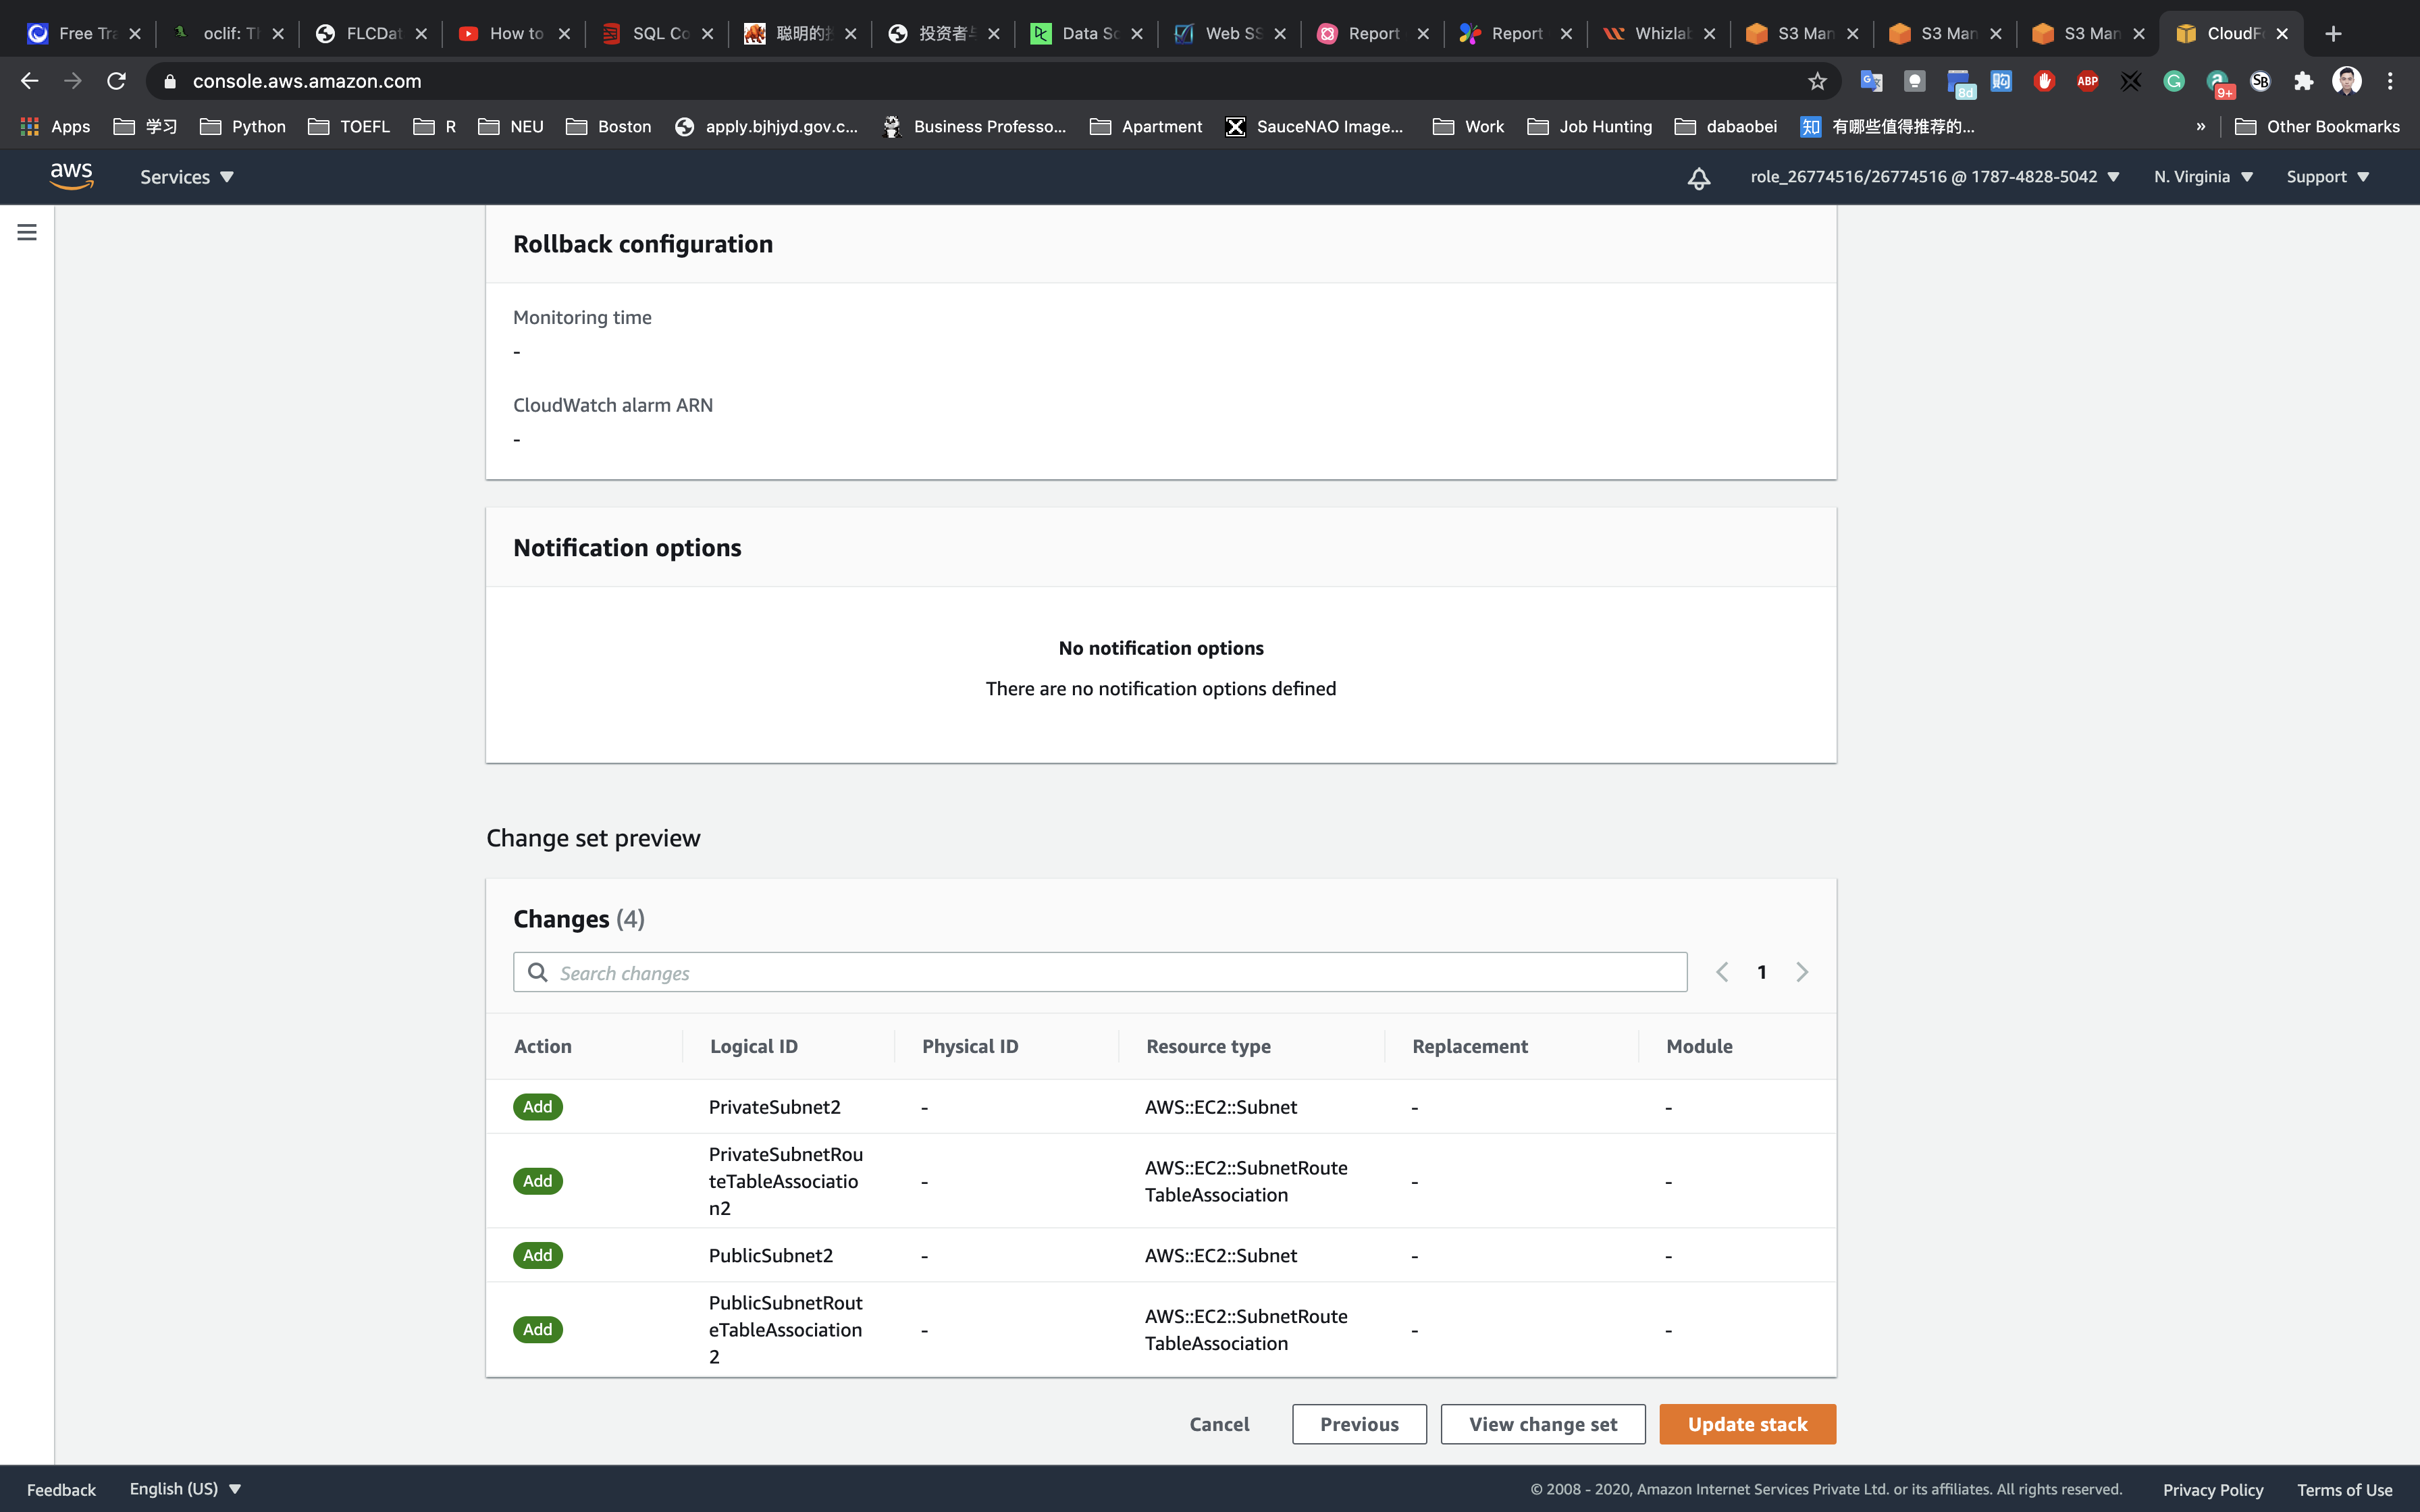
Once you have clicked the create button, you will be redirected to the CloudFormation stack list. A sample screenshot is provided below.
Status: You will see the status CREATE_IN_PROGRESS.
Click on the refresh button beside New events available to see the updates.
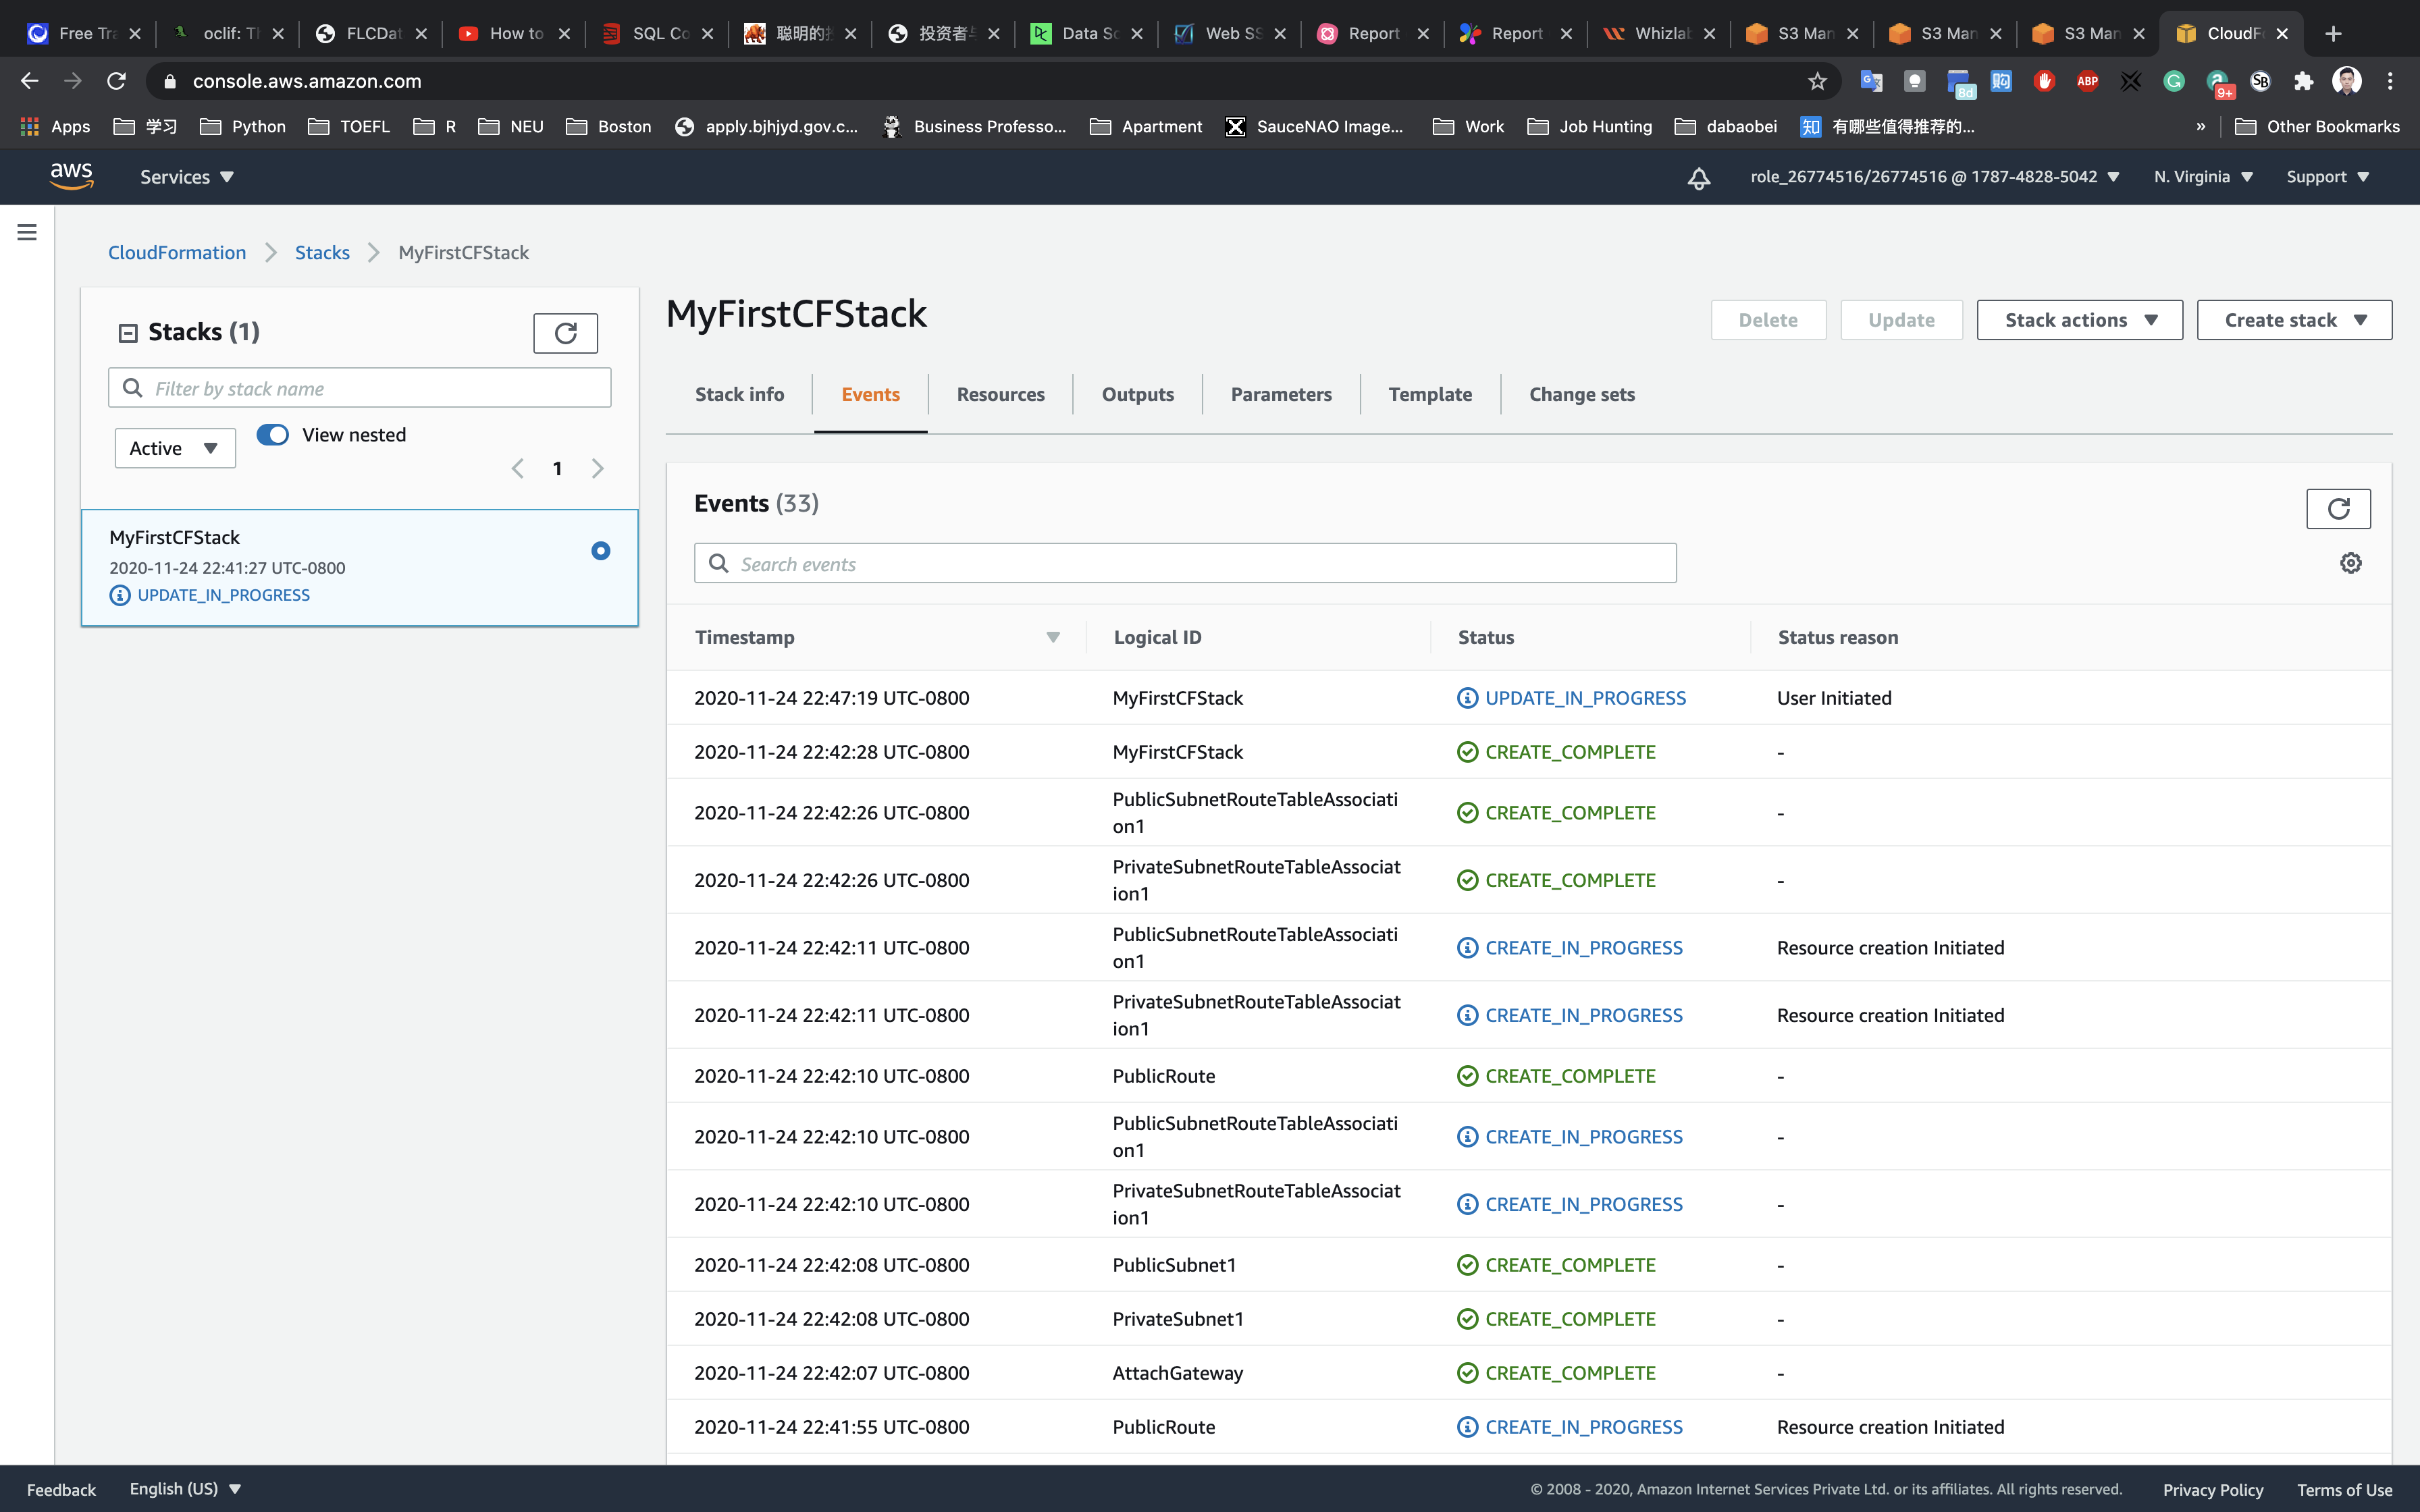
You need to wait around 1-5 minutes to complete the stack resource creation.
Click on Stack info tab to see the overall status.
Once your stack status changes to UPDATE_COMPLETE.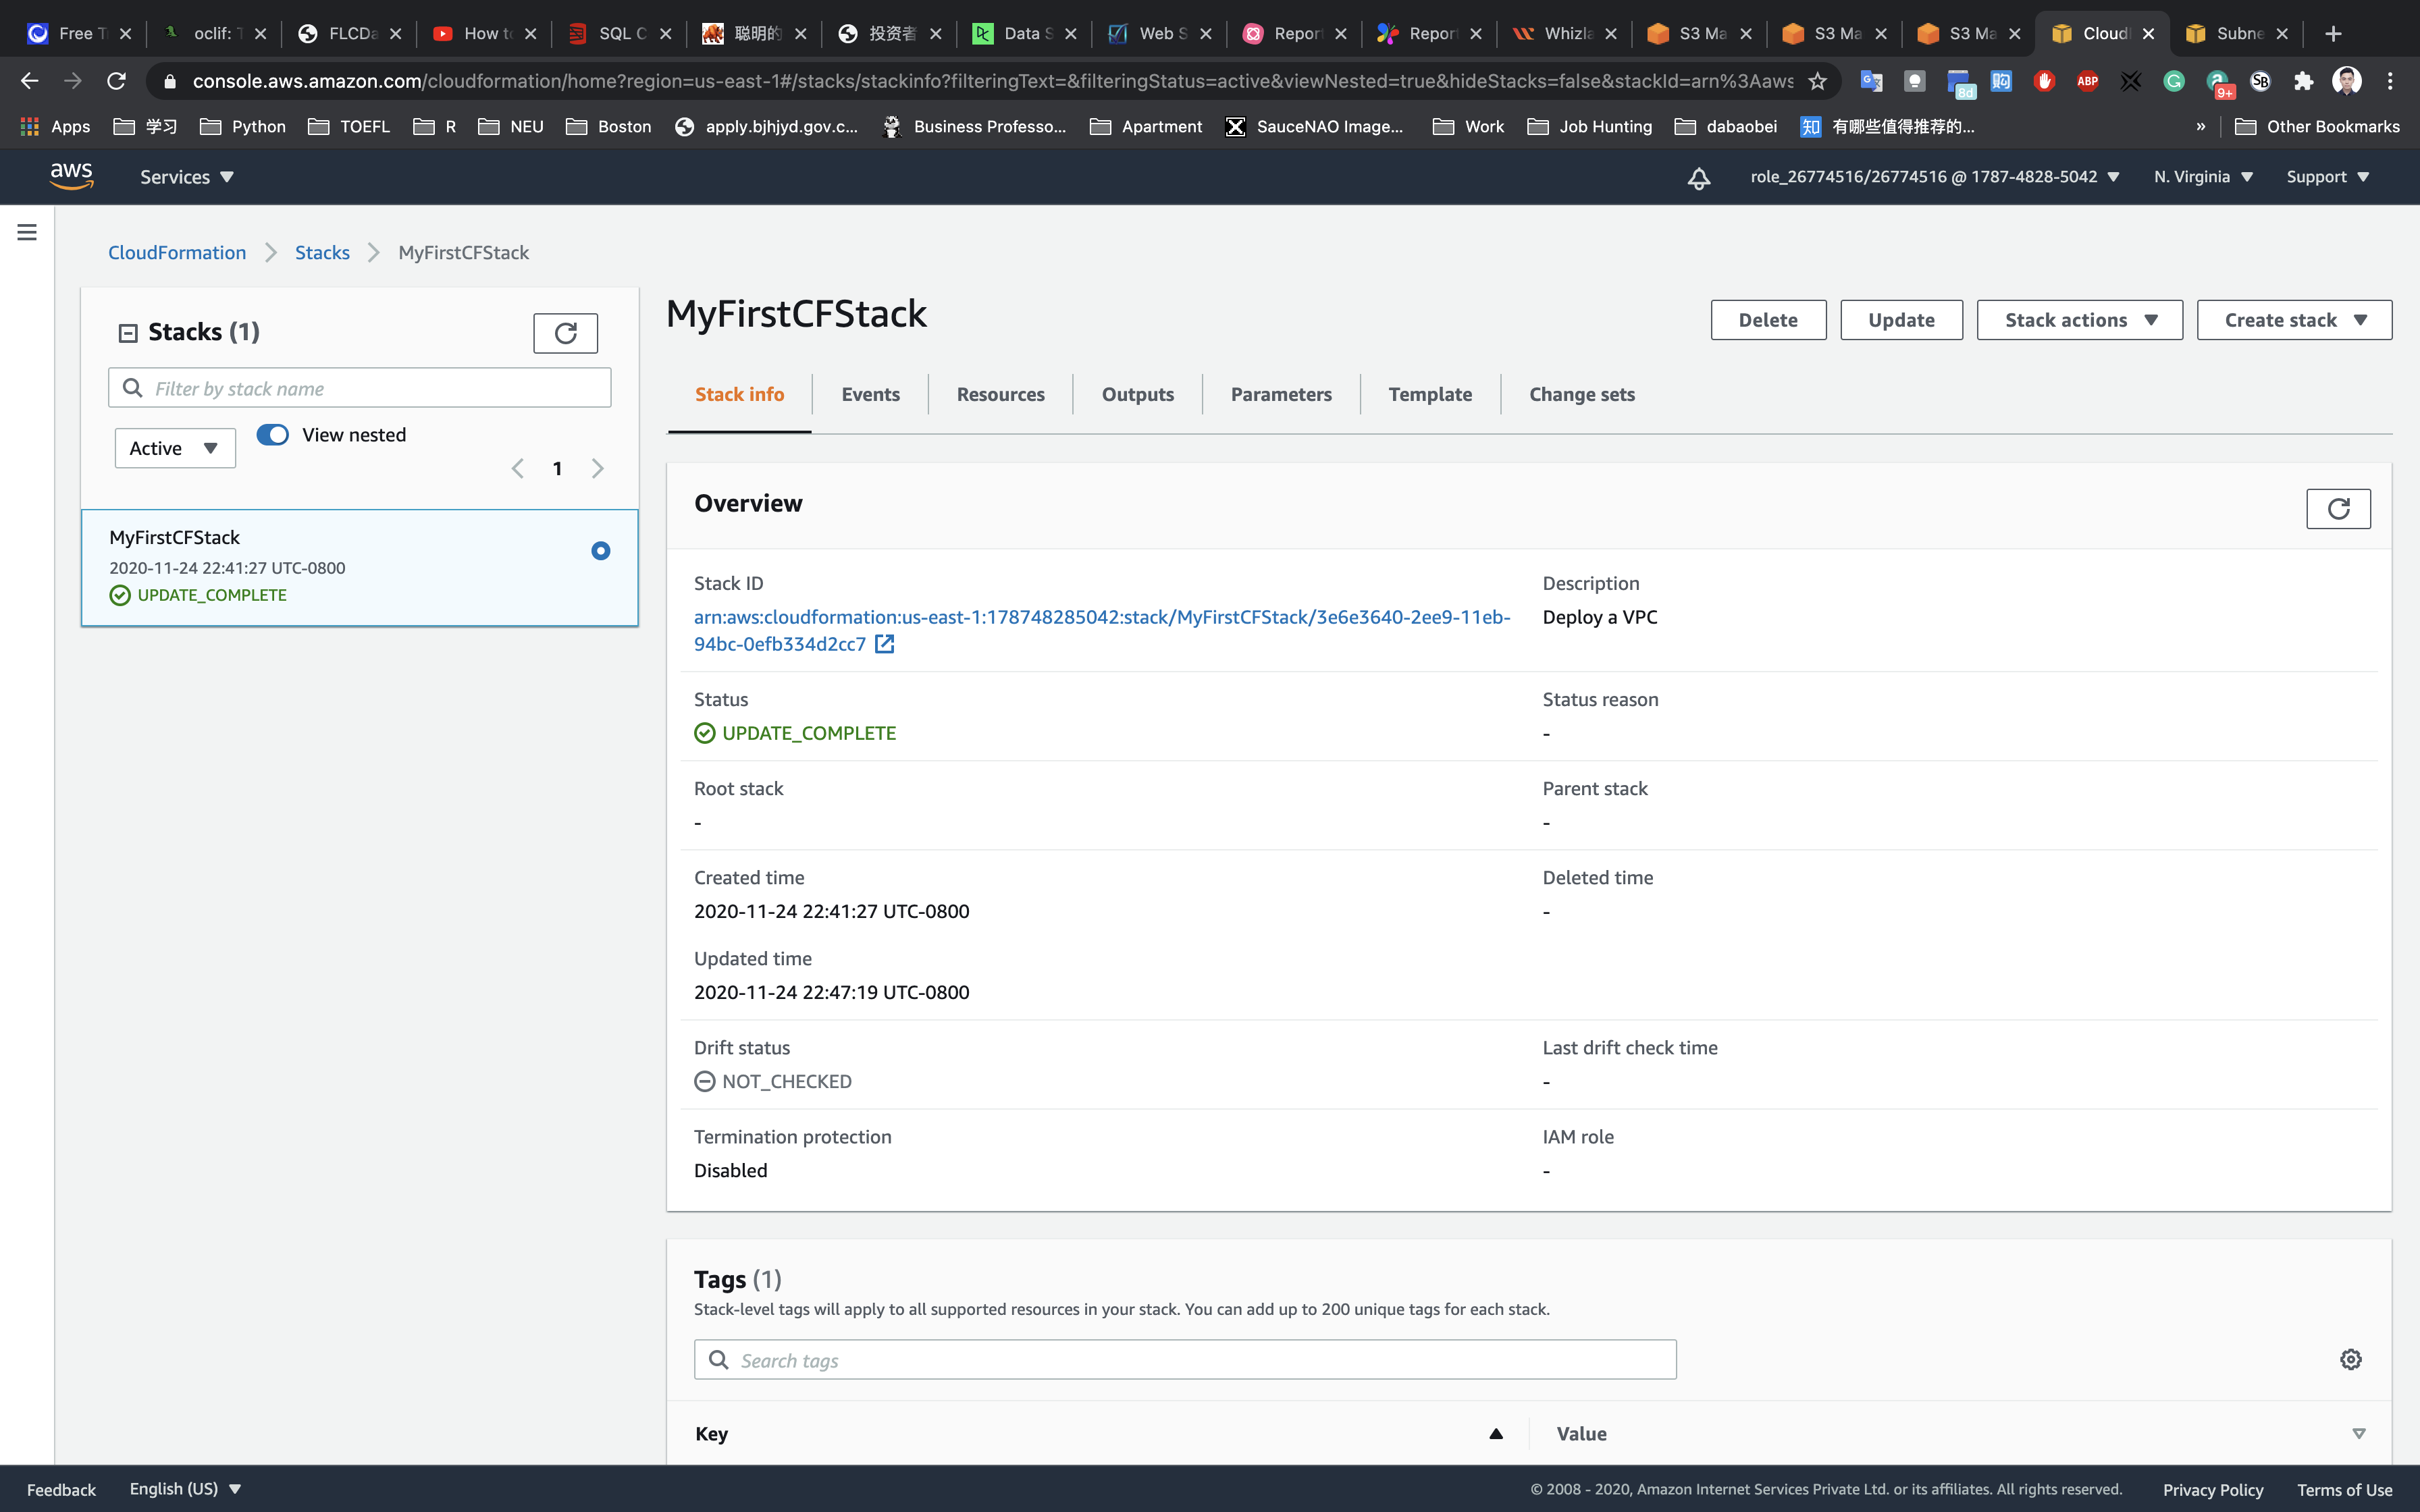
Validation Test
Services -> VPC -> Subnets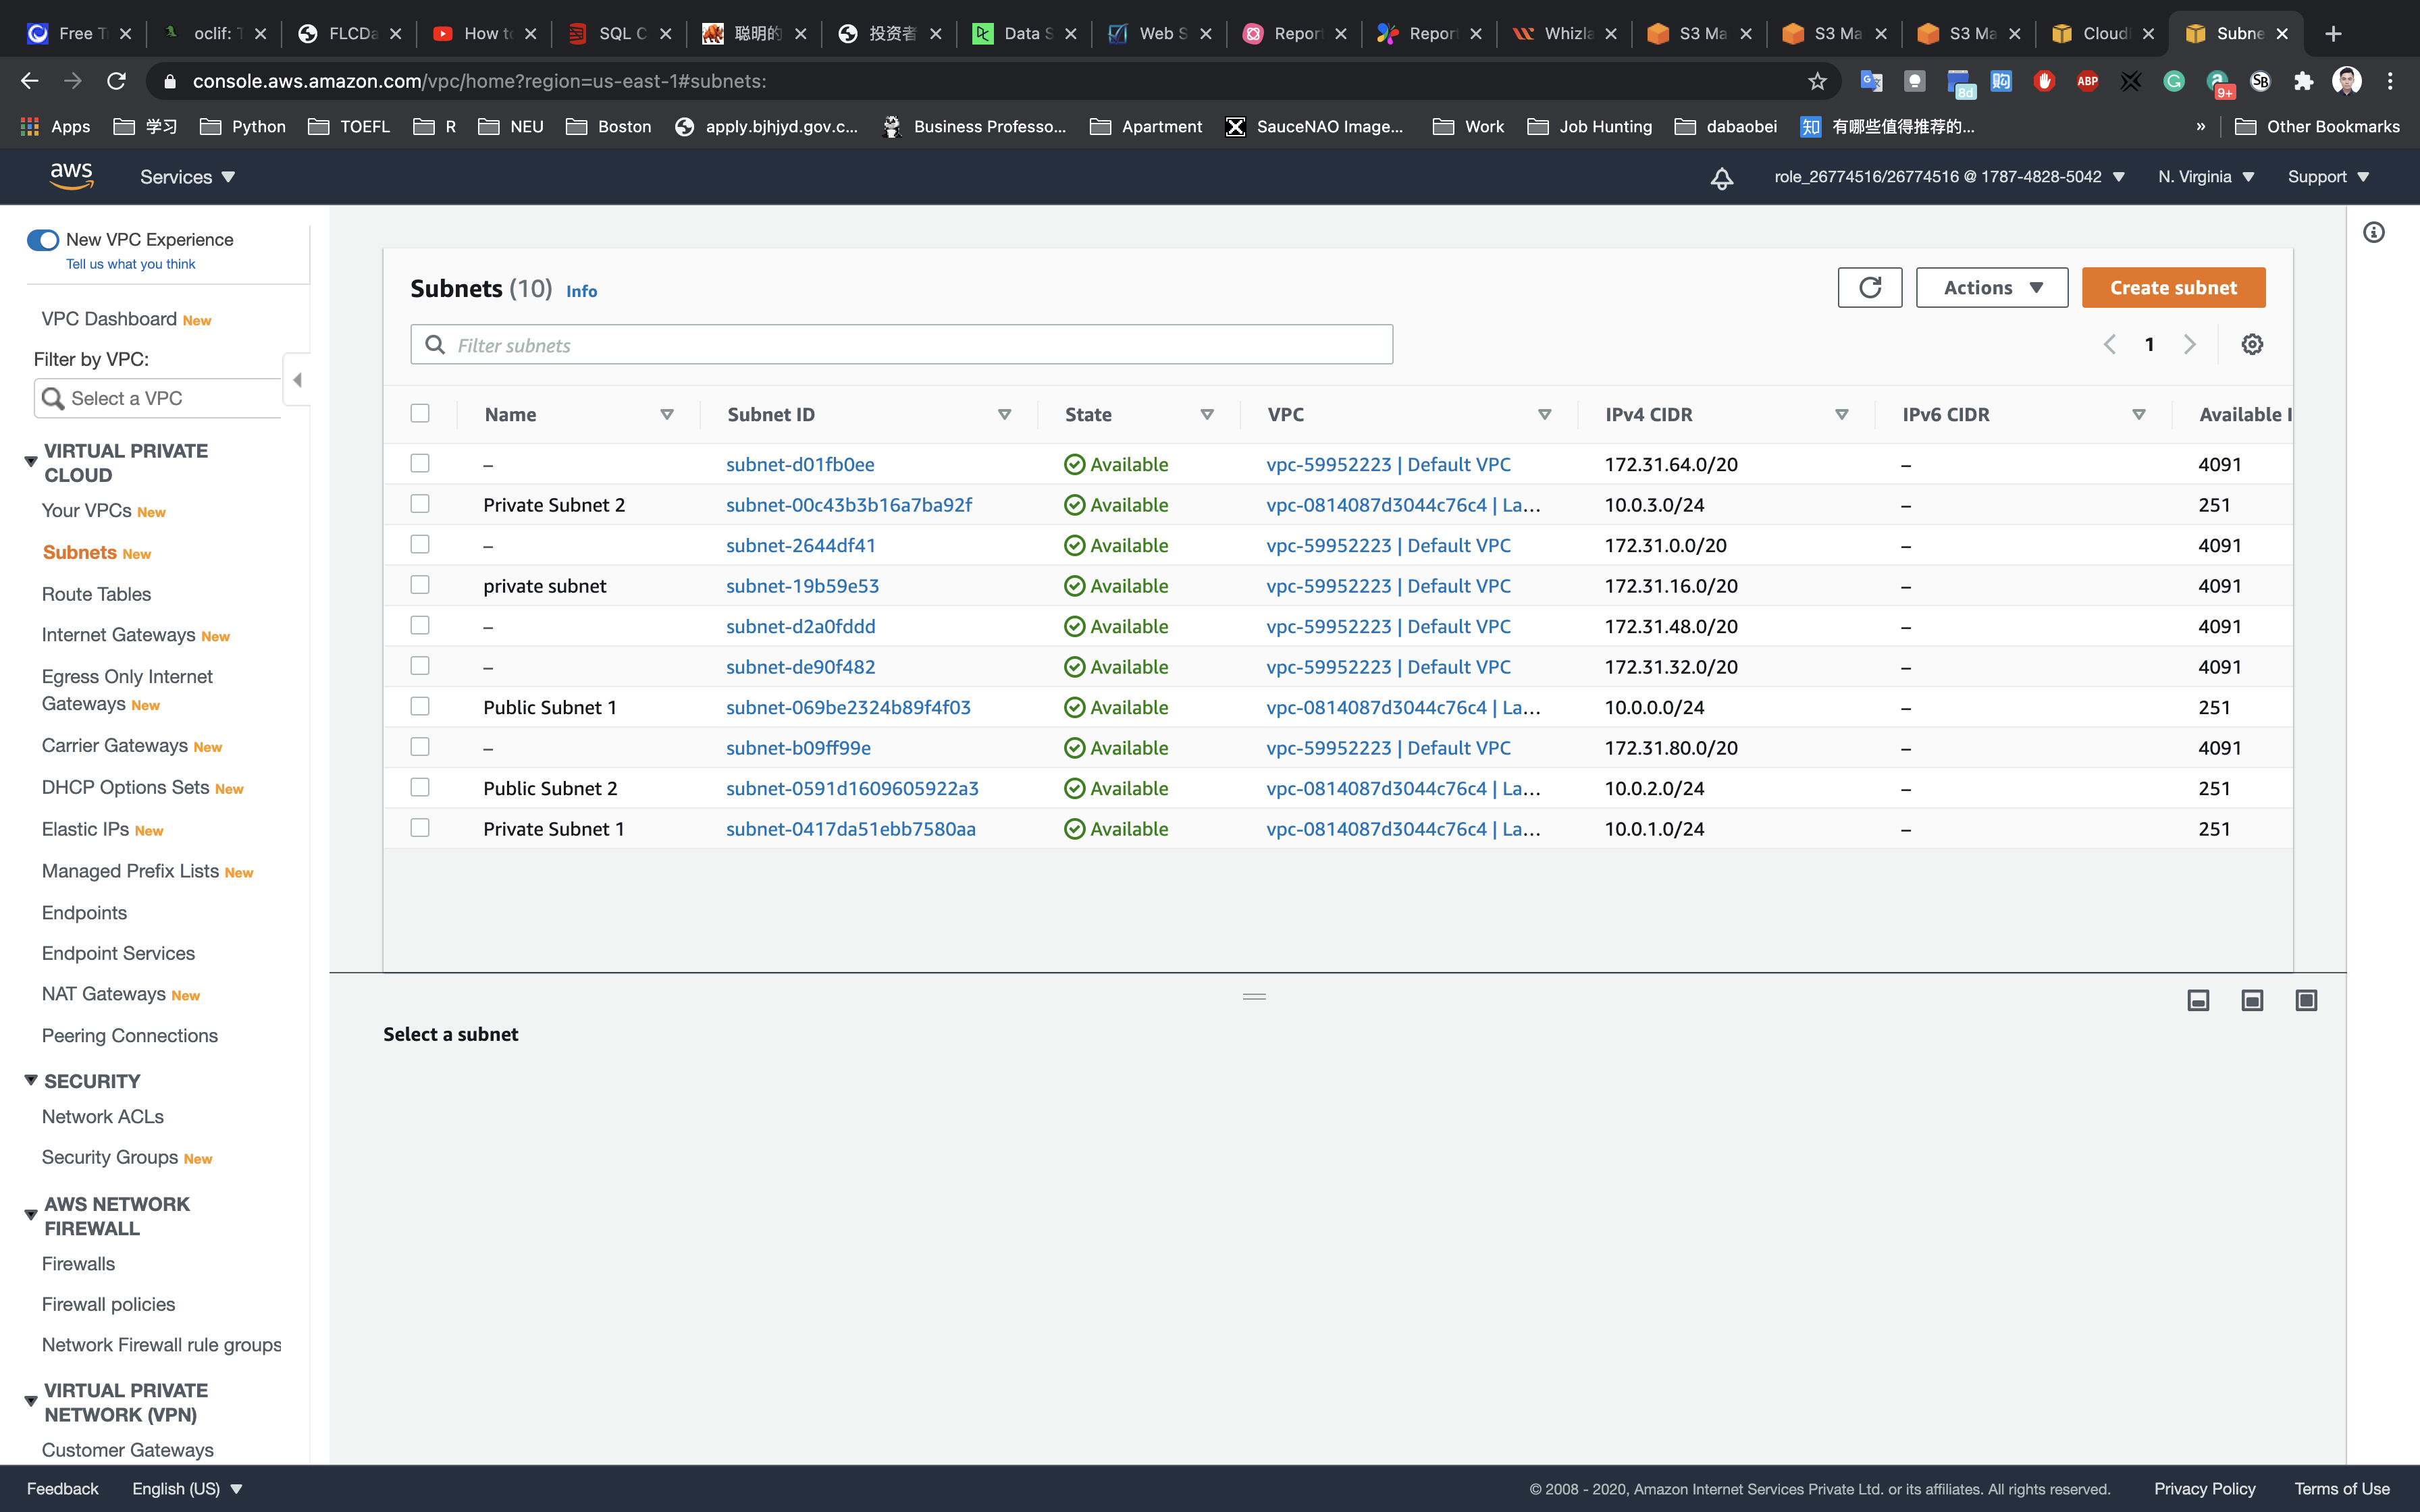
Completion and Conclusion
- You have successfully deployed an AWS CloudFormation template that creates an Amazon VPC
- You have successfully examined the components in the template
- You have successfully updated a CloudFormation stack
- You have successfully examined a template with the AWS CloudFormation Designer